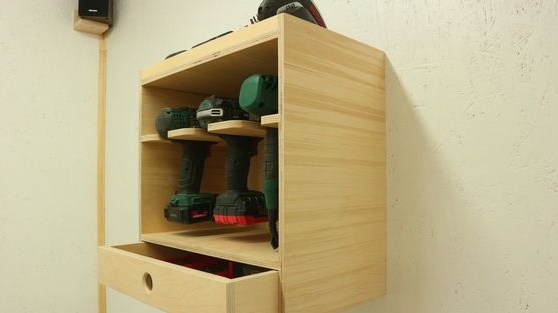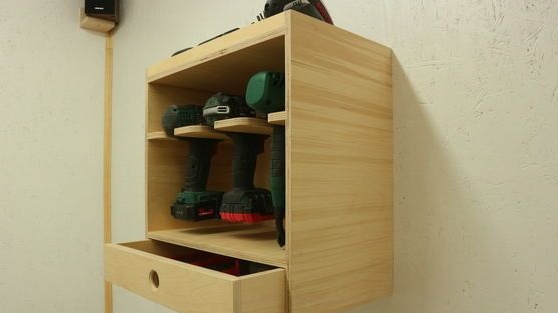
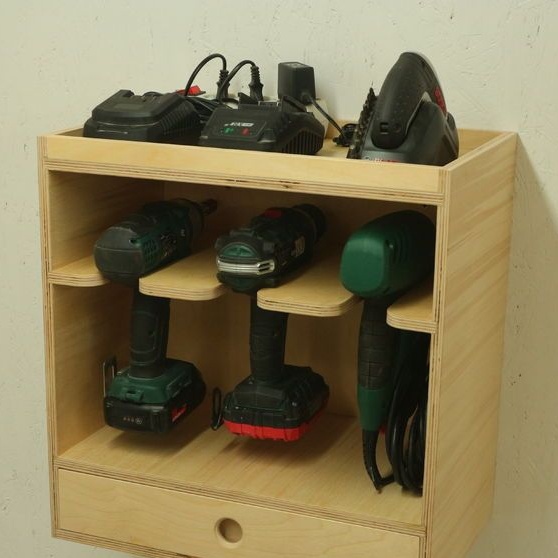
If you have a large number of cordless tools, for example, a drill, a screwdriver and others, it will be convenient for you to use such a cabinet. Now the tool will always be in place, and will not interfere with the table. In addition, it is very easy to take if necessary.
But this is not all, a charging platform is provided above the shelves with the tool. Connectors are attached here, you just need to install the device in the right one for charging.
The cabinet solves another problem, it is injuring nozzles and other tools for devices. Now they can be folded into one pull-out shelf, which the author also provided. Everything is made of plywood, and for the most part glue is used for joining.
Materials and tools for homemade:
- plywood (here it was used with a thickness of 12 mm);
- a circular saw;
- manual grinder;
- drill;
- PVA glue;
- roulette;
- sandpaper;
- extension cord (surge protector from the computer)
Cabinet manufacturing process:
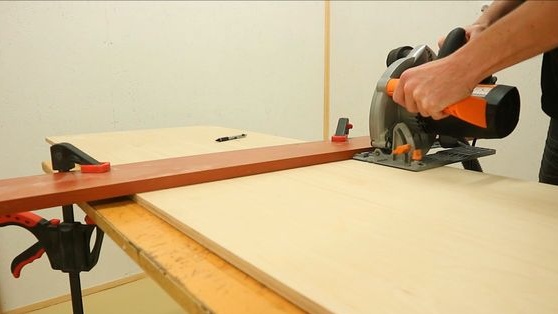
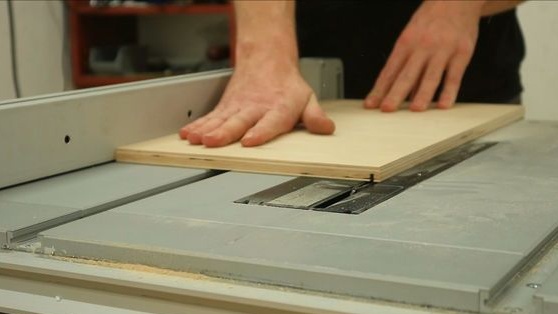
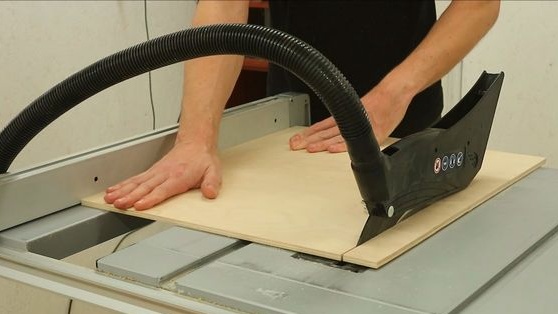
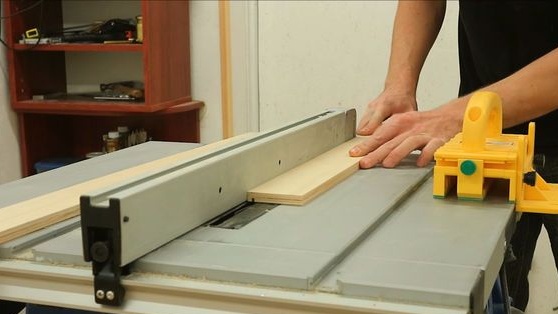
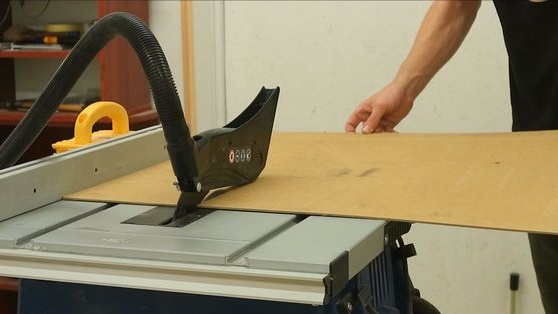
Step one. Cut the blanks
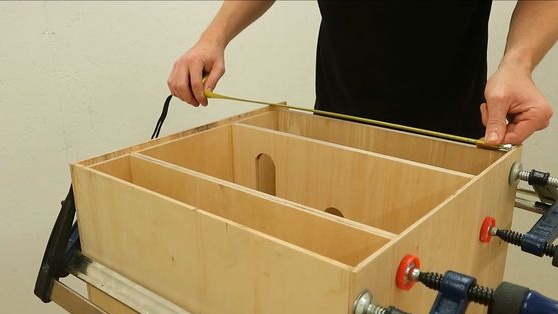
Table making is the author of the shelf that holds the tool. Specific dimensions are not given, make a cabinet for your needs. Cut the desired piece of plywood and mark niches in it to install your tool.
Also cut out all the other components to assemble the cabinet.
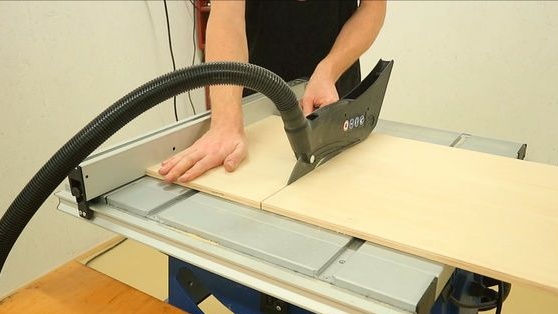
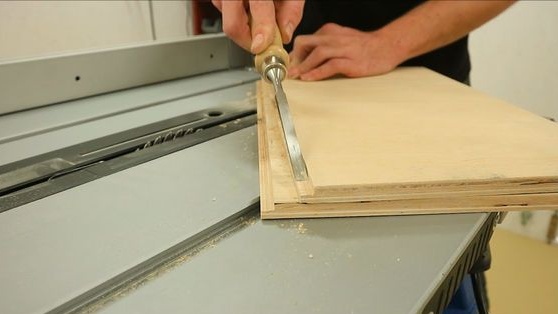
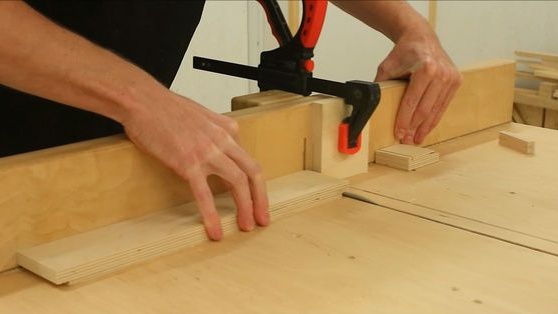
Step Two Cut out the grooves
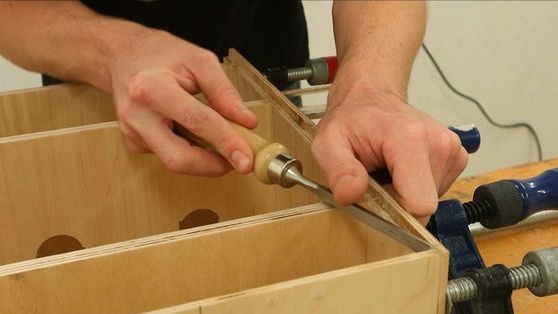
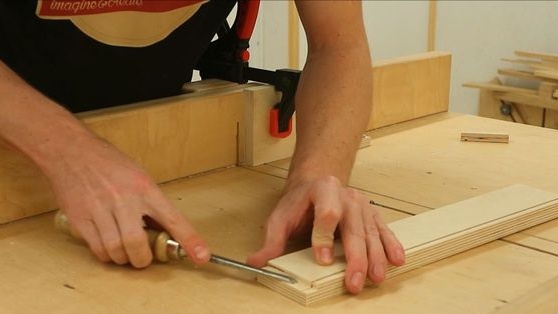
To assemble the cabinet, the author cuts out the grooves in the blanks. Well, and then this whole thing is assembled as a designer and glued with a good glue for wood. To do this, you will need a chisel, a circular saw, and so on.
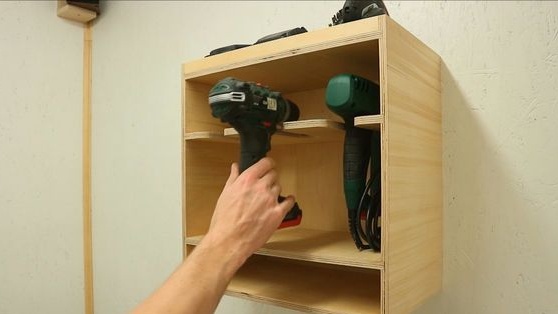
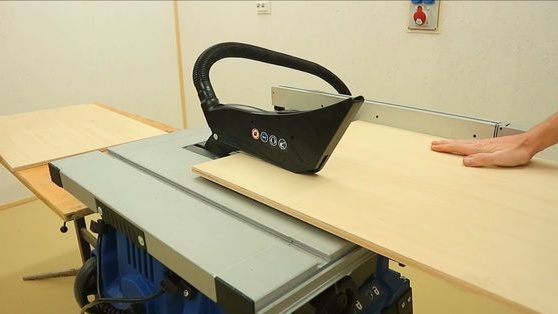
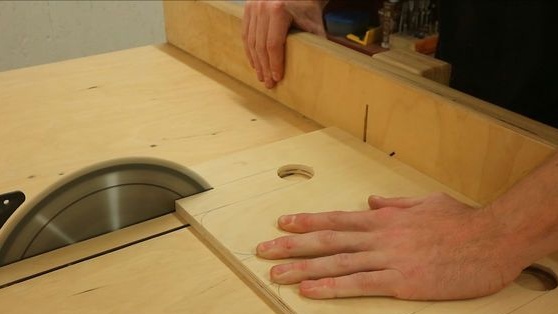
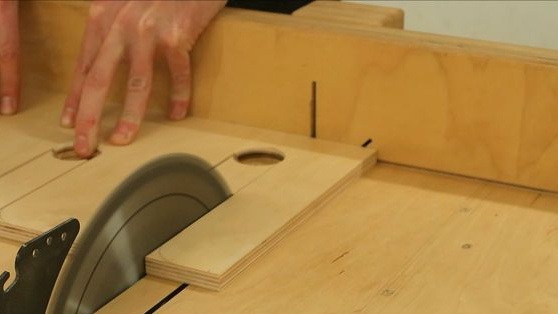
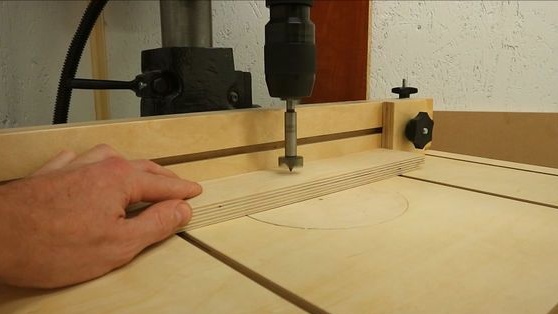
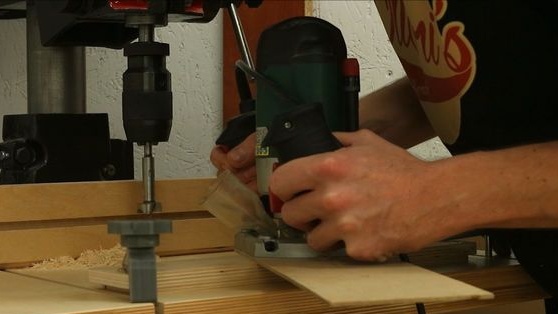
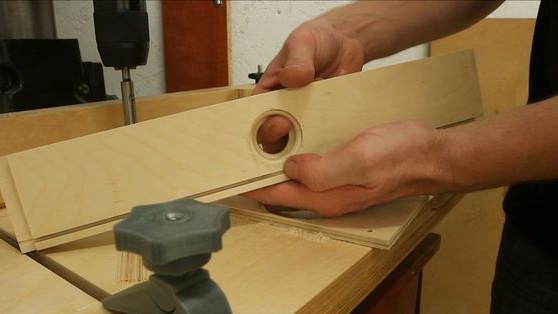
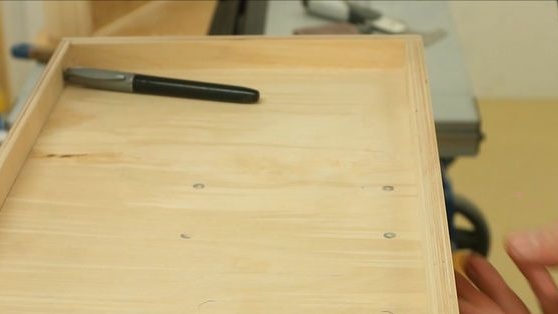
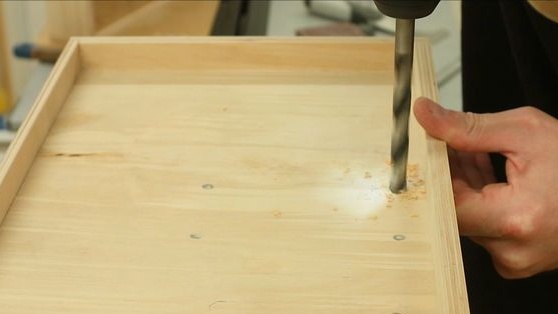
Step Three How to cut niches in the shelf for tools
To make such niches, you will need a circular saw and a drill head for drilling large holes. Measure the maximum width of the handle of your tool and select a drill for this size. Well, then you have to determine how deep the tool will go into the cabinet and drill holes at this distance. Now you just need to make a slot with a circular saw to these holes.As a result, you will get neat niches.

Step Four Putting the closet together
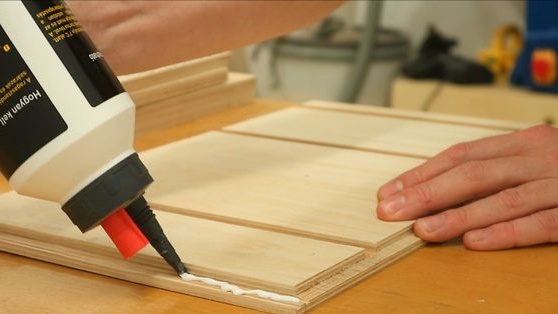
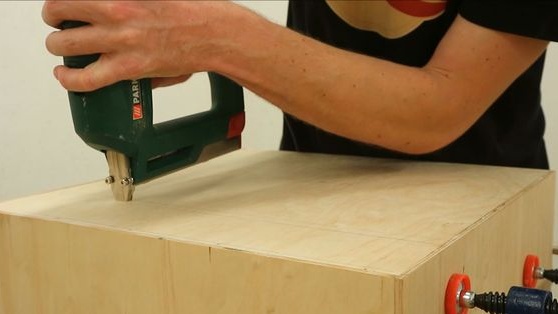
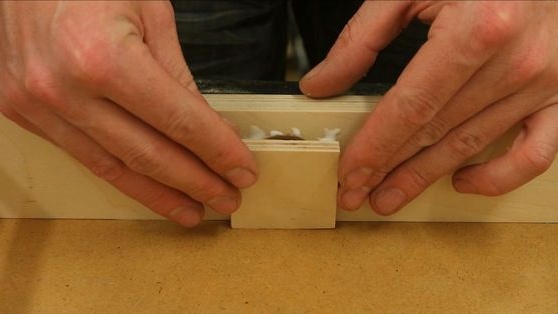
Now the cabinet can be assembled, you need glue on wood, you can use PVA. Apply glue to the grooves and carefully assemble the cabinet. Make sure it is level. Finally, secure the parts with clamps or other methods. We wait until the glue is completely dry. It is advisable to remove the exposed glue before drying.
You also have to install the back wall, but its presence is not necessary. You can screw it with screws.
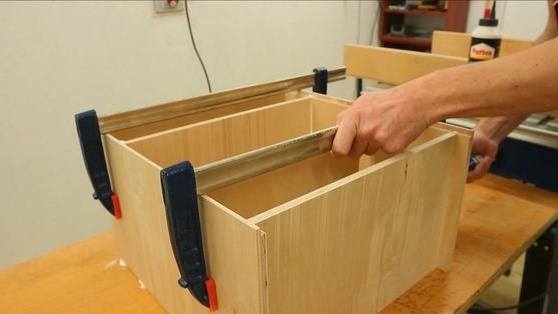
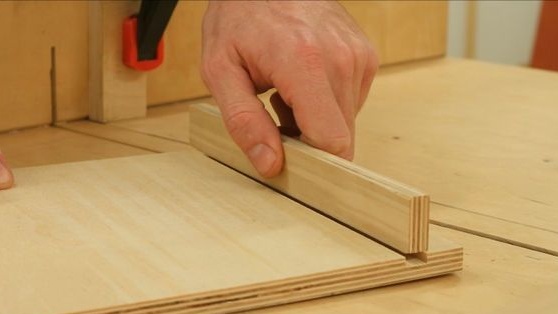
Step Five Making a drawer
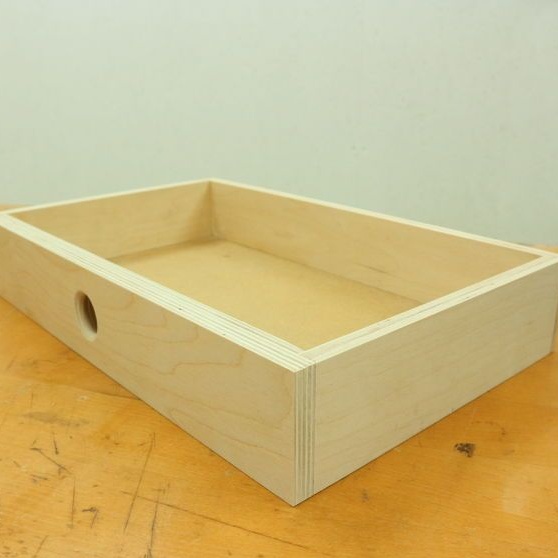
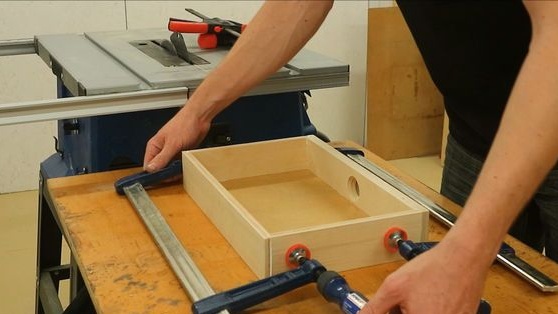

The drawer is made using the exact same technique as the entire cabinet. Cut four pieces of plywood to the desired length. Make grooves in them and glue the whole thing with wood glue. You also need to set the bottom, which can be plywood, fiberboard, a sheet of metal, and so on.
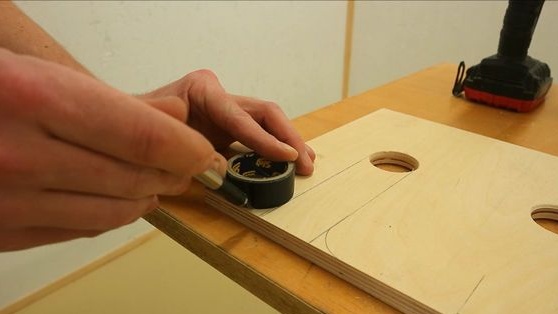
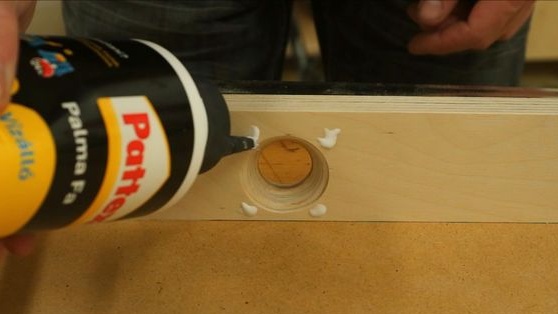
In order not to mess with the handle, the author simply cuts a hole in the front of the shelf. If the cabinet will be where there is a lot of dust and other dirt, on the reverse side you can seal a hole with a piece of plywood. The hole is made under the cone so that your fingers do not slip off.
When the cabinet is fully assembled, take sandpaper and treat it well from all sides. Smooth sharp edges, remove burrs and other defects. So the cabinet will be pleasant to use, and it will also delight the eye.
Step Six We install connectors for charging
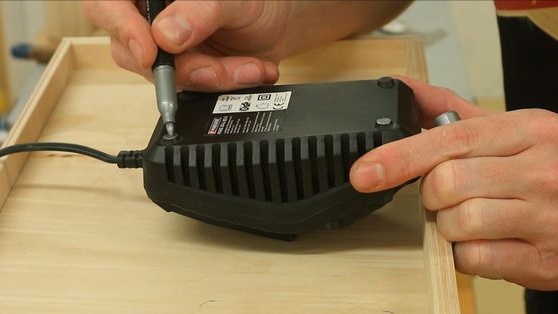
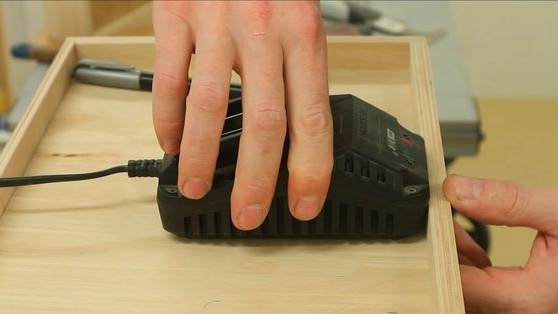
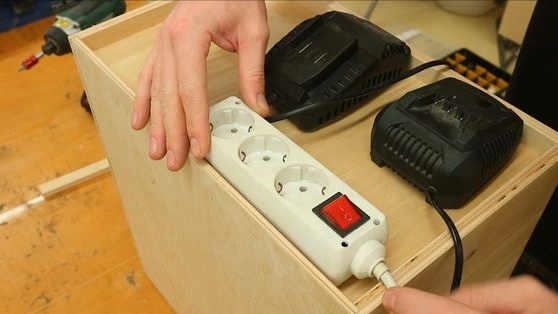
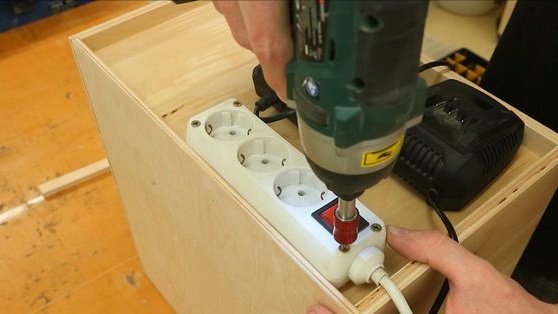
On the top of the cabinet are connectors for charging batteries. You can screw them with screws, but the easiest way is to stick them.
Sockets will be needed to connect the connectors; for these purposes, you can adapt the surge protector. Never forget about safety, the extension cord must have a fuse or circuit breaker if something goes wrong. The filter can be fixed with self-tapping screws, usually brackets are provided for this.
Seventh step. Aesthetics…

In the assurance, the cabinet can be painted or varnished. The priority is varnish, since in this case the surface can be easily cleaned, and dust will stick to it less. Screw the hinges to the cabinet and hang on the wall. Homemade ready, good luck!