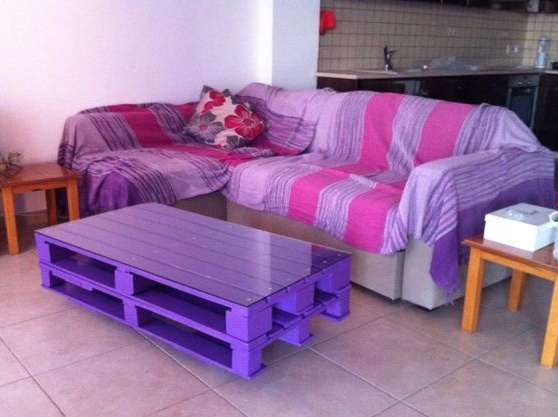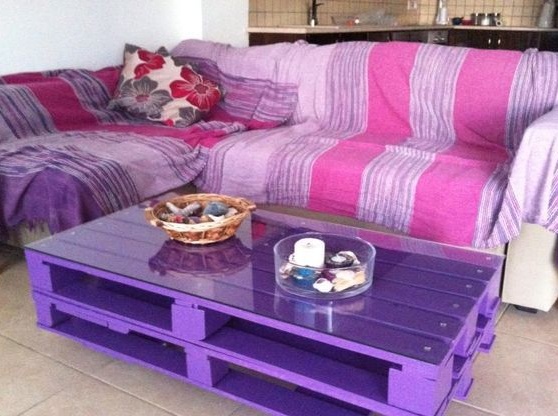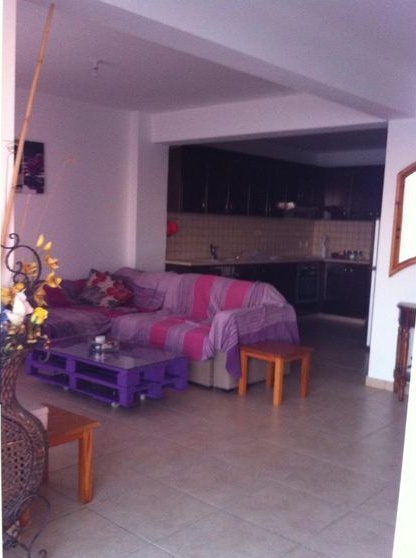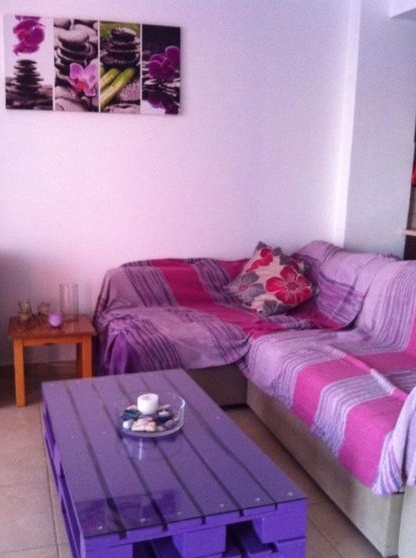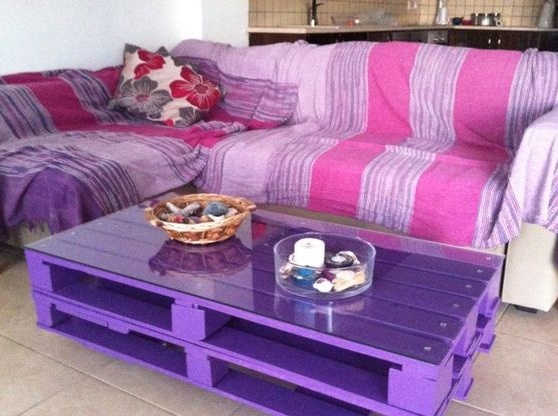
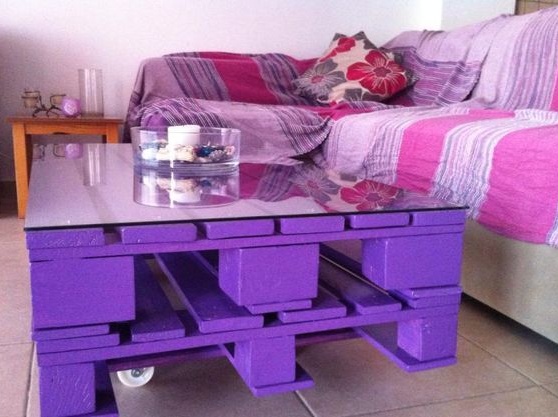
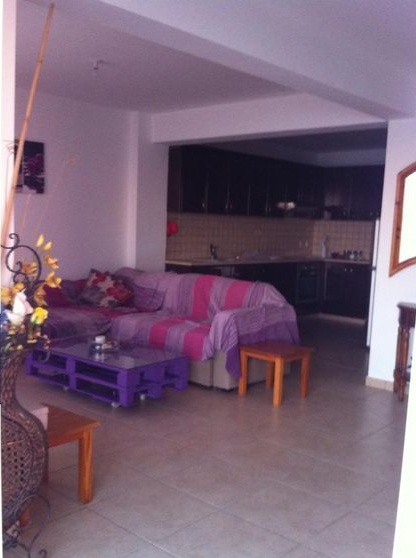
If there are wooden pallets that nobody needs you near, do not waste time and quickly drag them to your workshop. This is an excellent source of materials for the manufacture of a variety of household products, and the exception is furniture. For furniture production, in most cases they are dismantled into boards, and in some almost nothing is changed.
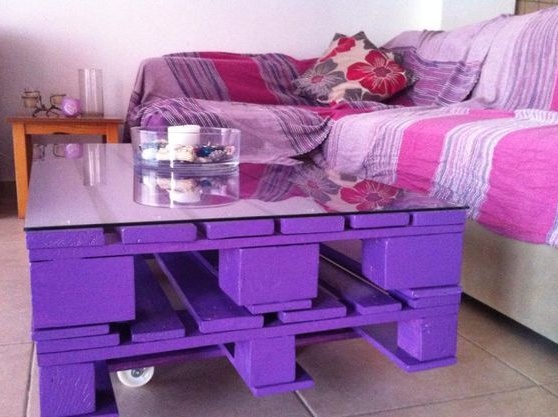
In this instruction I will show you how to make a simple, stylish and comfortable table. do it yourself. According to the author, it is not difficult to assemble, and if necessary, you can upgrade it by equipping it with wheels.
Materials and tools for making the table:
- wooden pallets;
- glue for wood;
- paint, primer and brush;
- screwdriver;
- self-tapping screws;
- screwdriver;
- wheels (if you want);
- drill with drills;
- a tool for cutting and disassembling wood;
- hammers and more.
The process of making a table:
Step one. We disassemble pallets and prepare blanks
Since we will do a stoic from scratch, you will first need to disassemble the pallets. Do it carefully with a mount. Cracked, decayed and other damaged boards, put aside.
Next, you must decide what size your table should be, the author is 120cm x 63cm. Narrow the right number of boards, cut off the extra length.
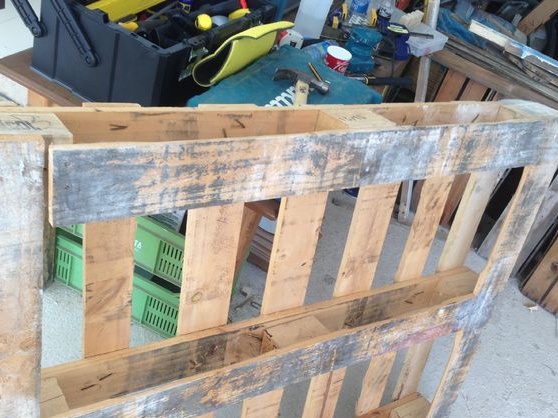
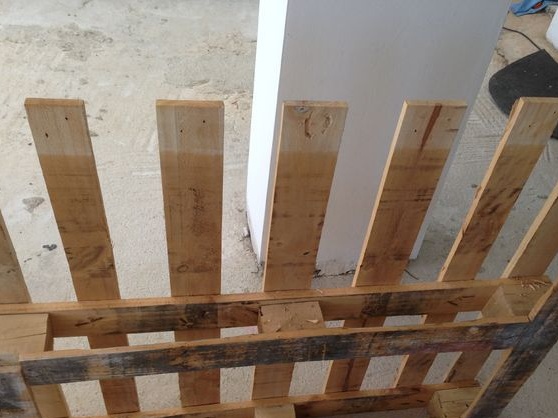
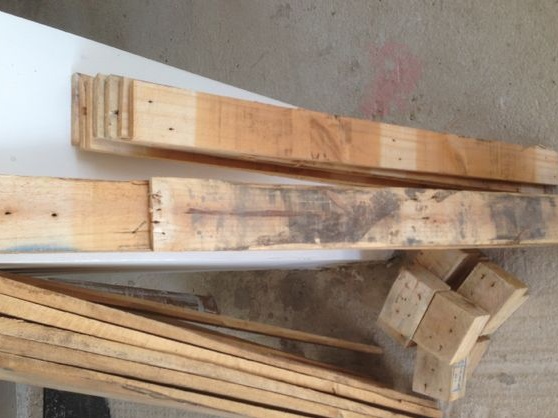
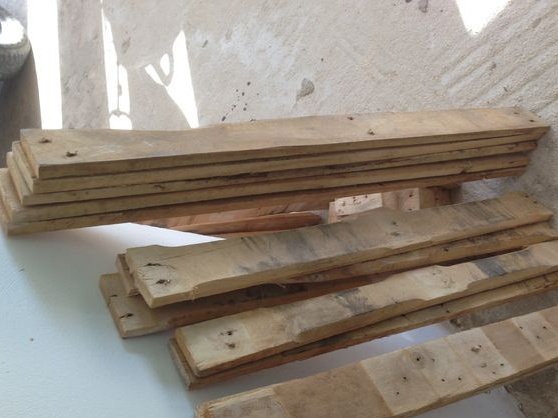
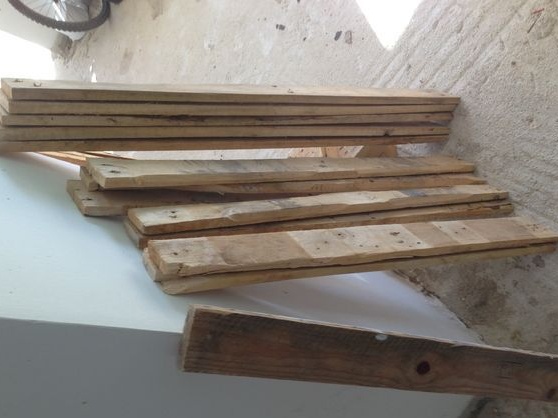
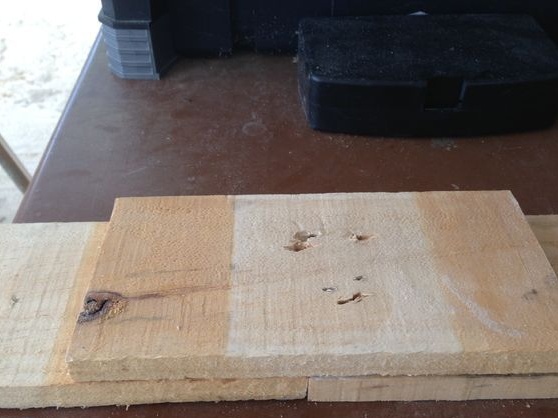
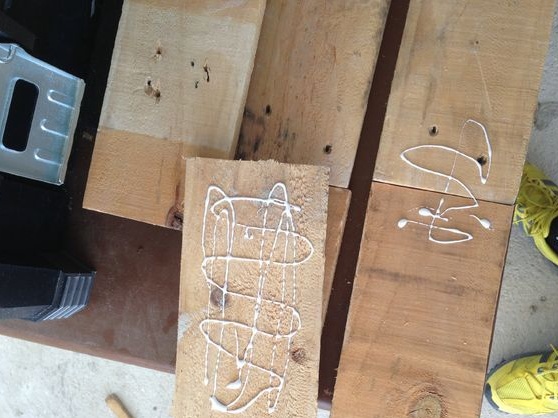
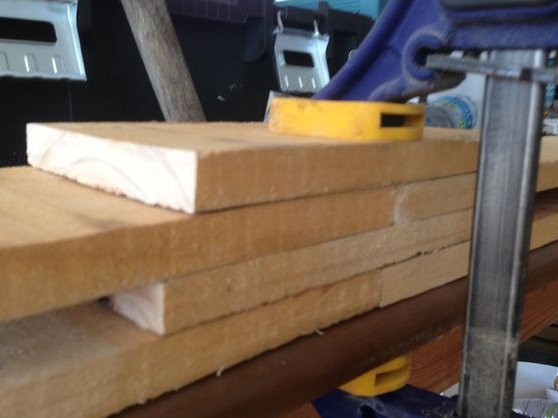
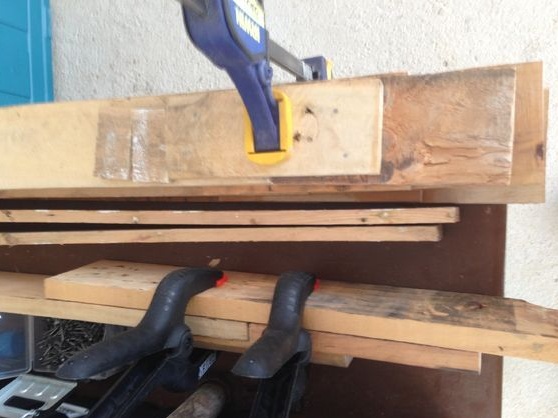
The author turned out so that the pallets were of different lengths, one per meter and the other 20 cm longer. As a result, the author had to grind shorter boards to a length of 120 cm, then he used self-tapping screws and glue. In addition, make sure that the boards are approximately the same thickness, they can be sanded to the same level.
Step Two Grinding and chemical processing of wood
Next you need a grinder. The task will be to clean the surface of the boards from dirt, as well as level them in one level.
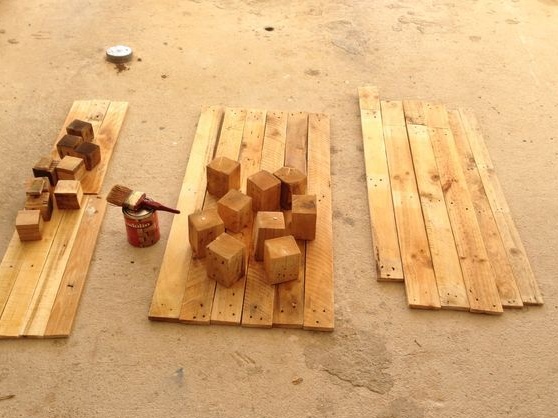
After polishing, the wood must be treated with a special substance. The fact is that bugs usually eat in the wood of pallets that eat it. For us this is unacceptable and we must destroy them.
Step Three Ground
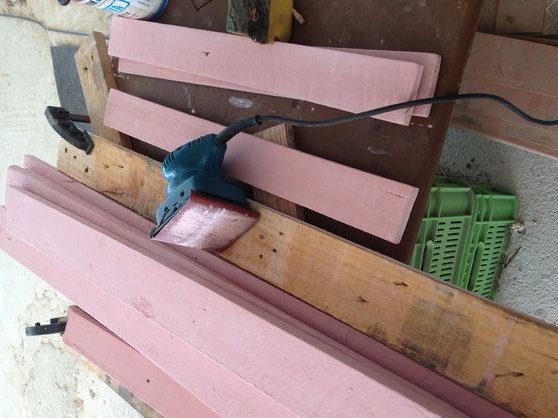
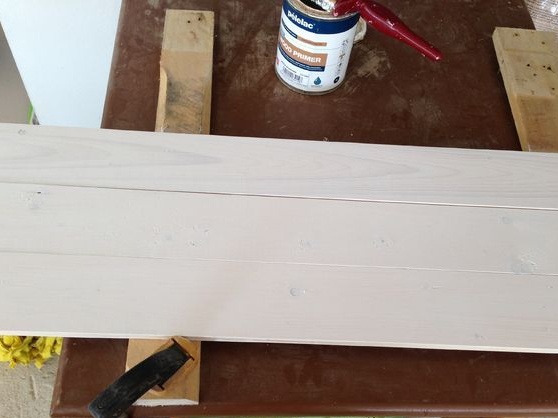
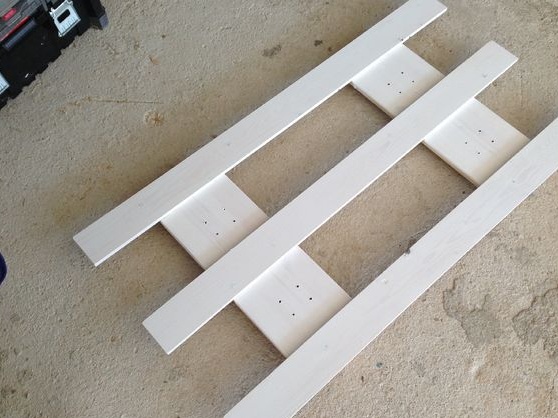
At this step you will need a primer for wood.Put it on the workpieces and let dry. After that, it will be necessary to carefully sand the surface, preparing it for painting. Use sandpaper, the surface should become smooth.

Step Four Workpiece painting
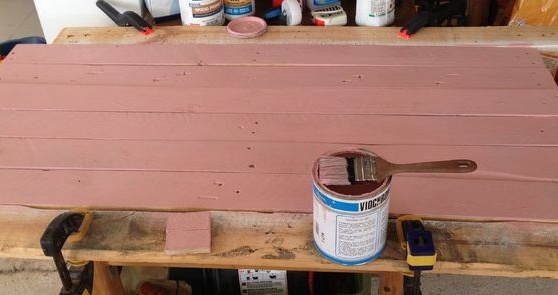
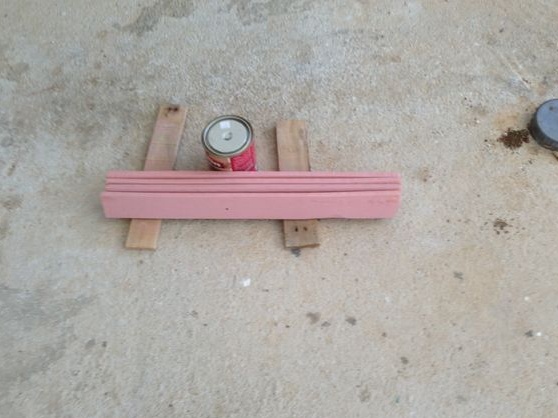
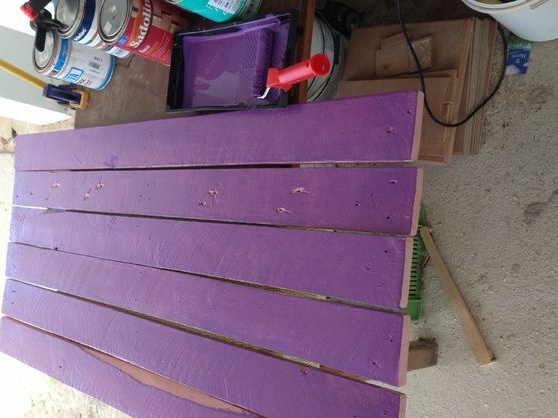
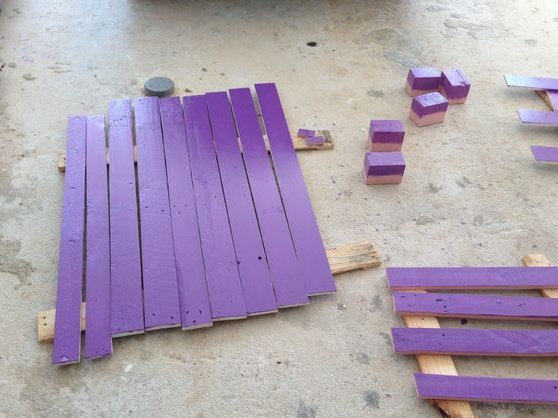
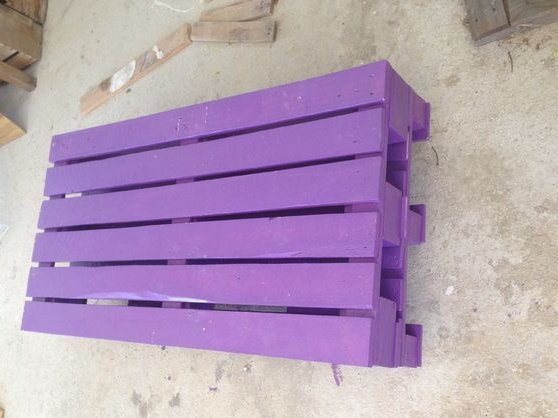
After priming, a painting step follows. The author used lilac paint on wood, but you can use any color of your choice.
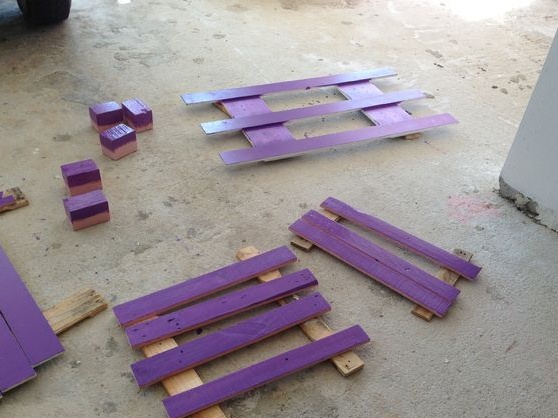
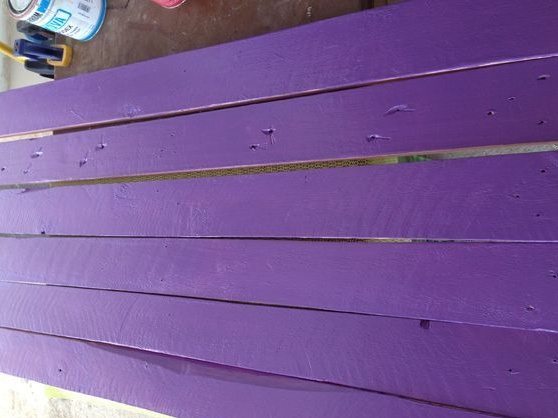
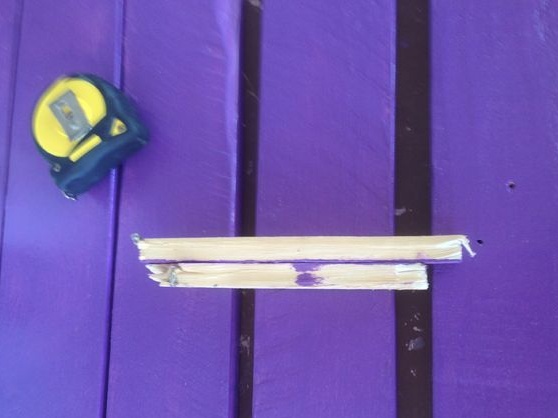
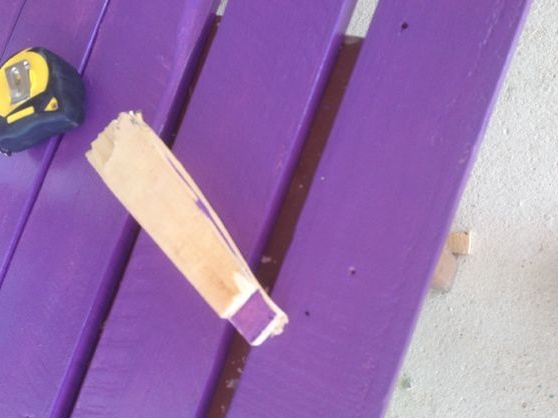
Step Five Component assembly
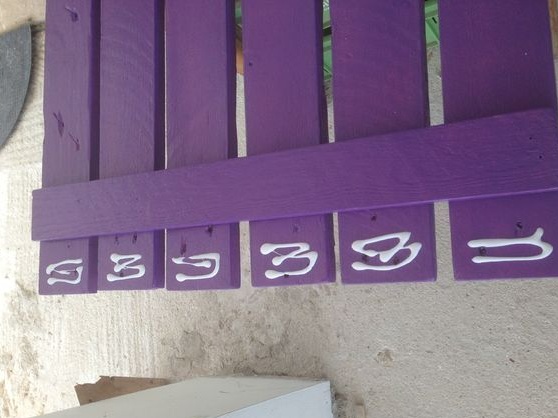
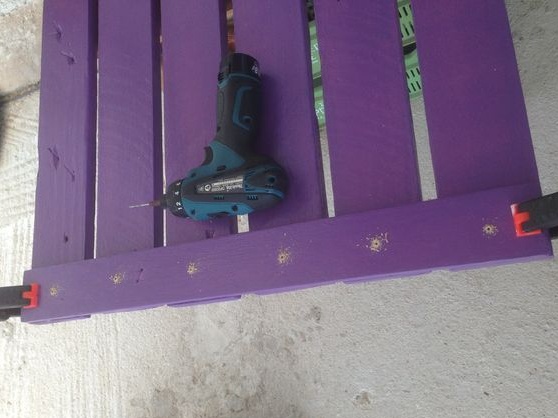
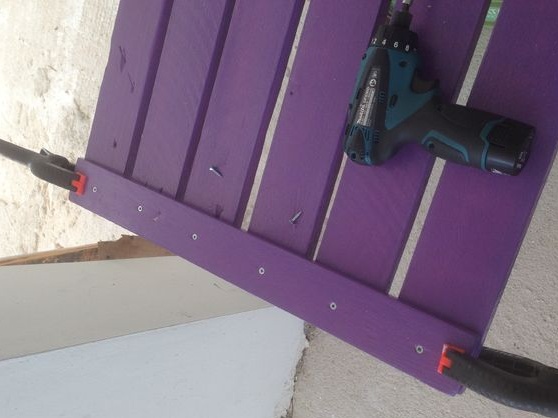
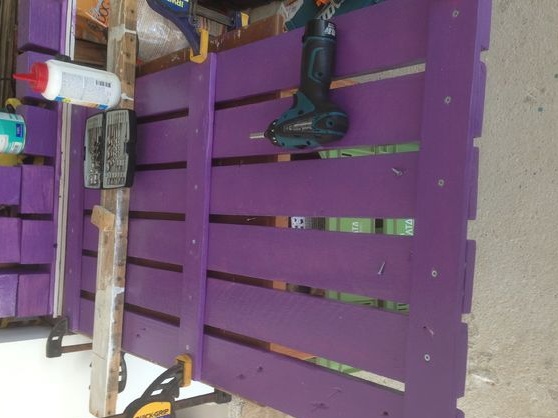
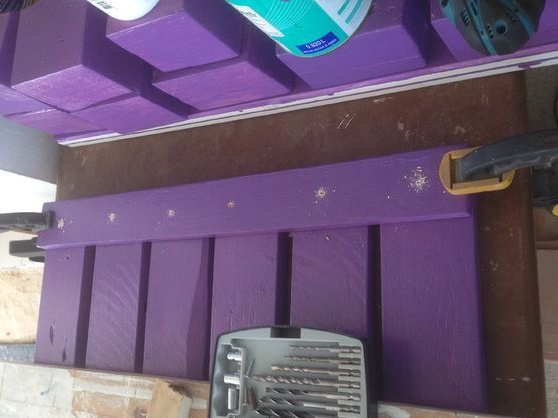
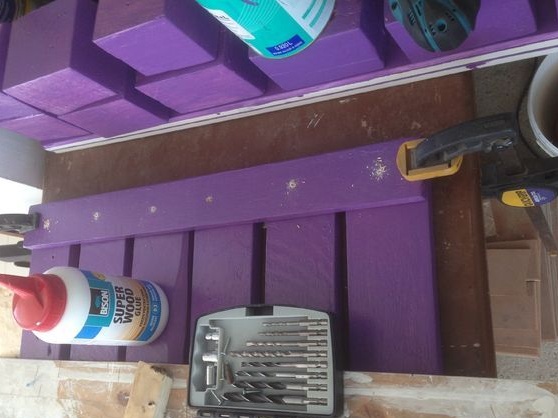
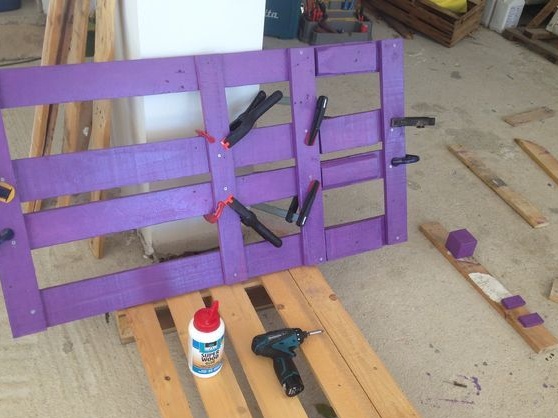
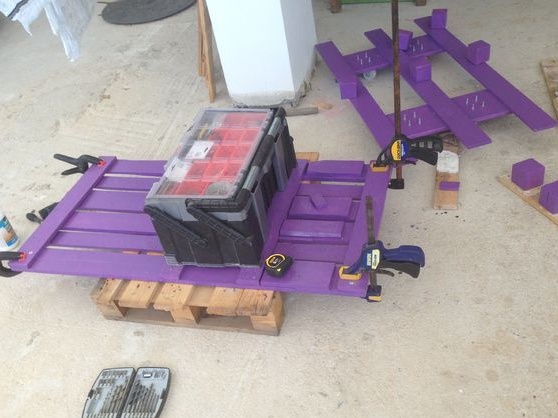
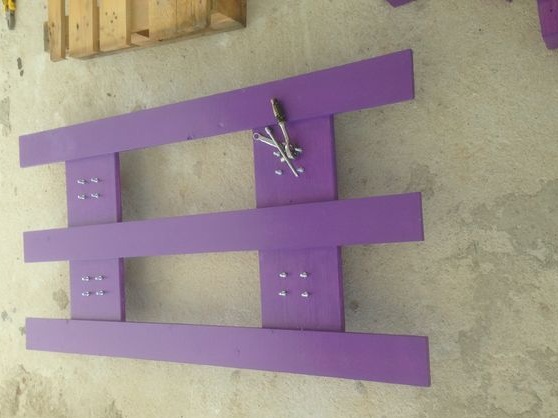
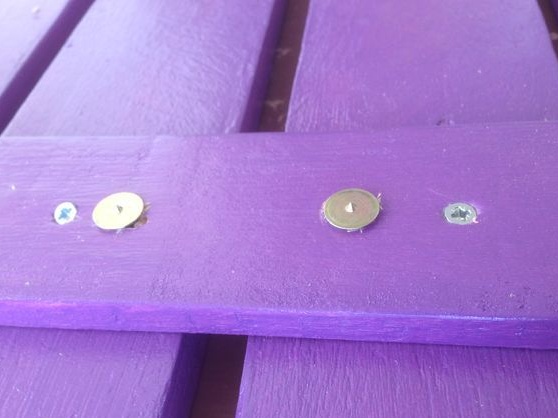
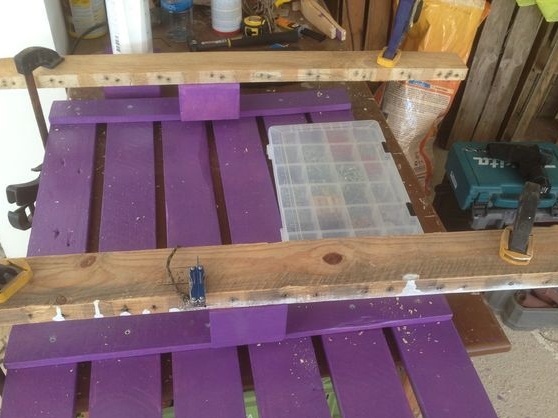
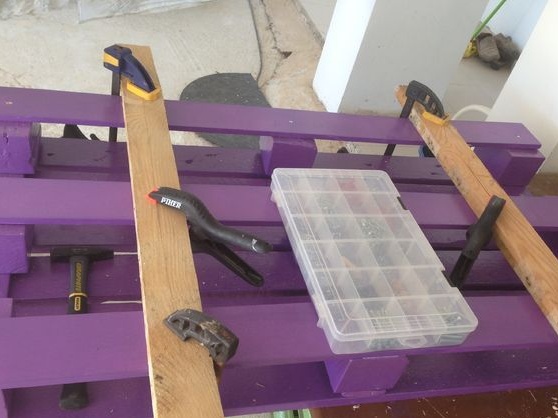
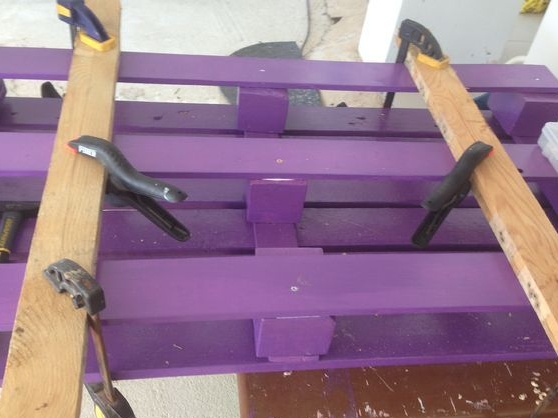
At this step, we proceed to the assembly of individual parts of the table, here you will need glue for wood, a screwdriver, screws, as well as clamps. In principle, glue is not necessary here. We lay the boards and fasten other boards across them to connect the structure.
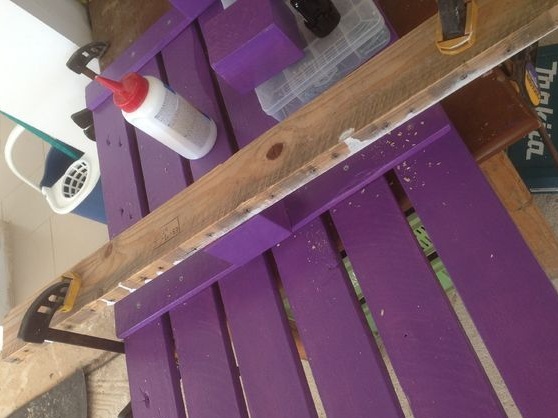
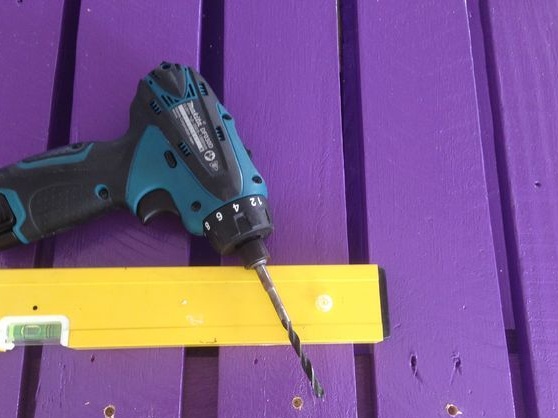
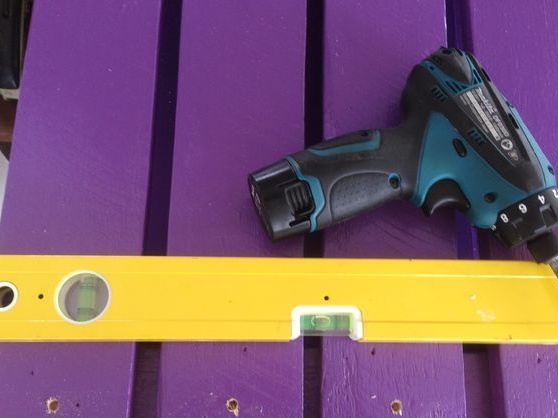
First, it is recommended to tighten the boards with clamps and drill, and then tighten the screws so that everything fits well.
Step Six Wheel setting
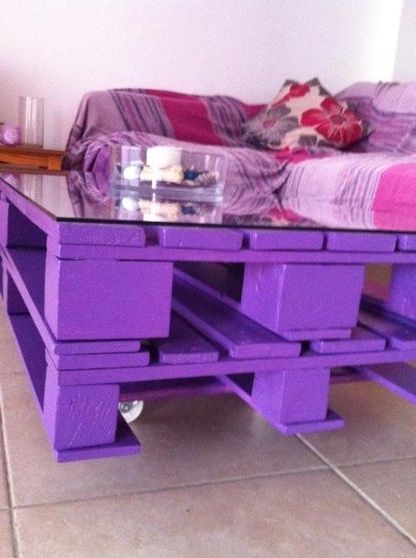
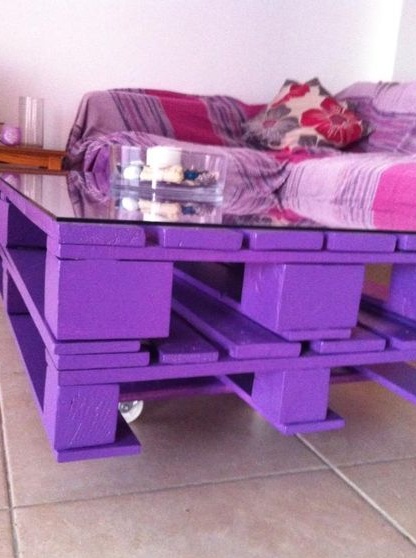
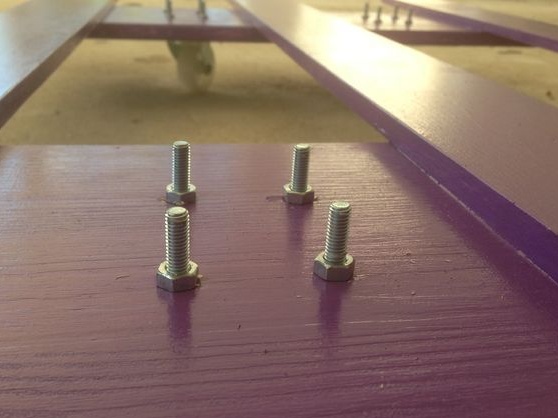
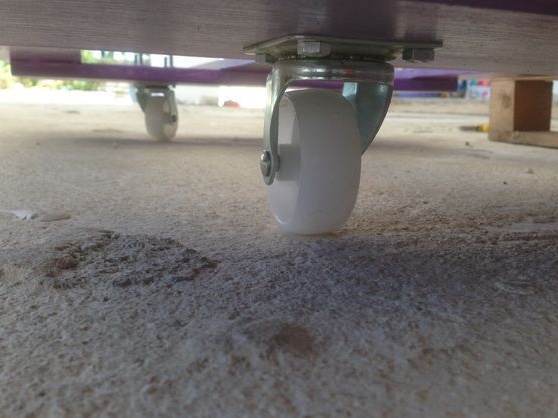
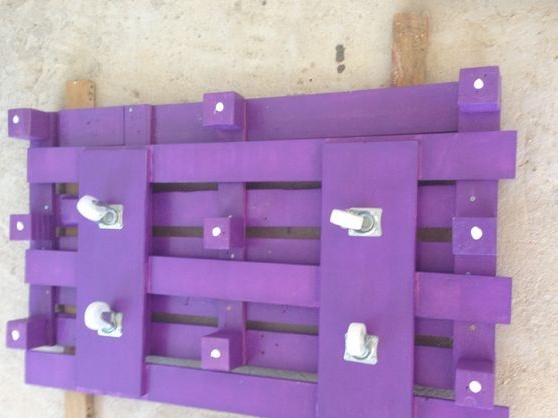
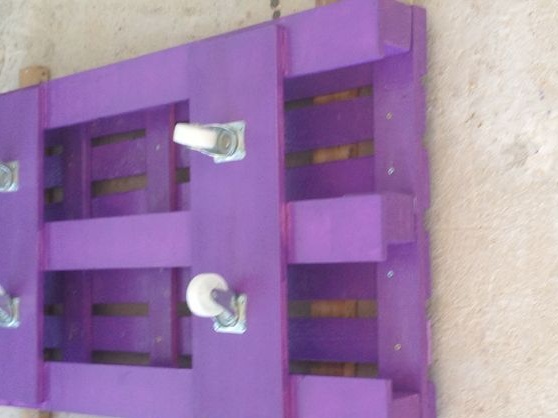
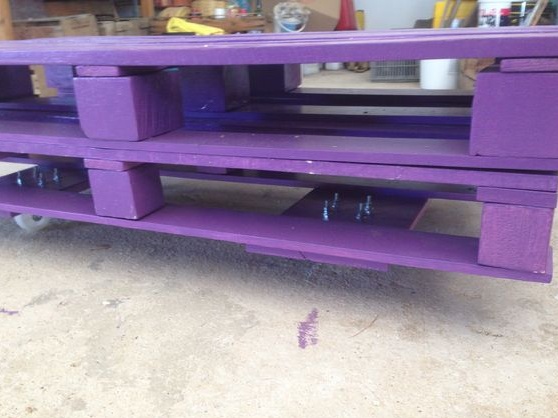
If you want your table to be comfortable moving, equip it with wheels. You will need four of them. You need to fix it securely, since the table is quite weighty. We drill boards at the base and fasten with bolts and nuts.
Seventh step. Final assembly of the table
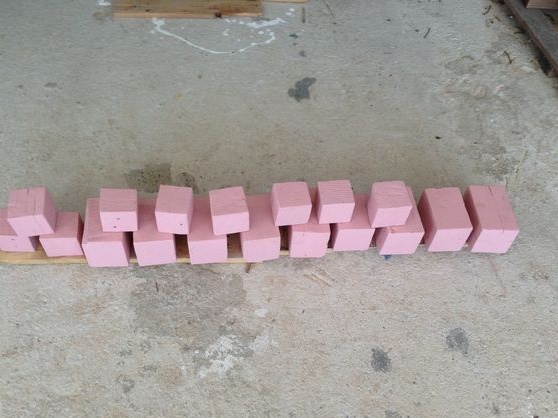
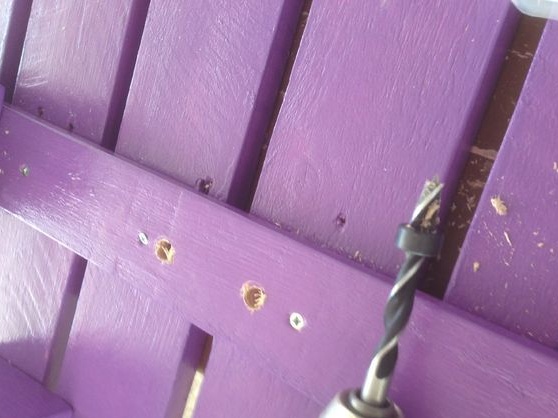
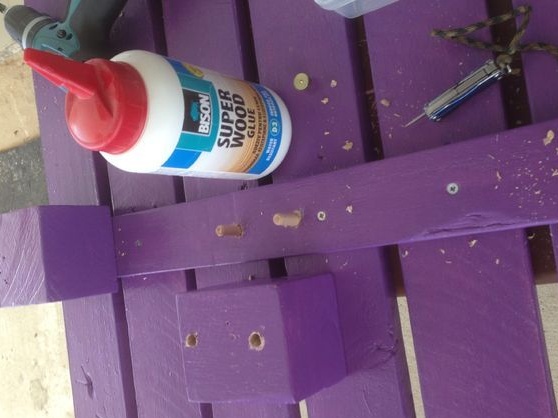
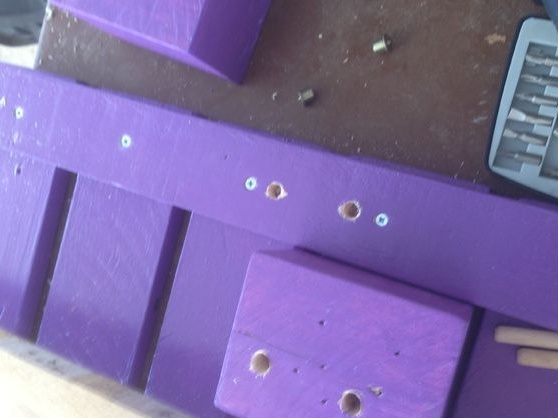
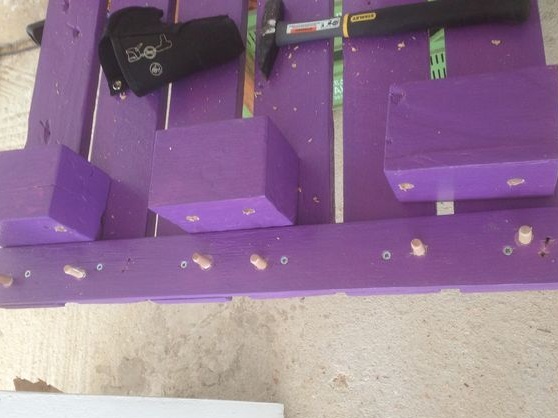
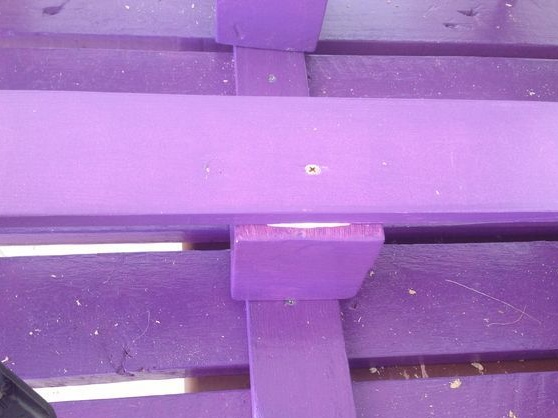
Since we don’t want the hats of self-tapping screws to be visible on the countertop, the author uses wooden pins and glue to connect the cubes and countertops. We drilled holes in the cube and tabletop, grease the wooden pin with glue and install the cubes. The following tiers can already be fixed with self-tapping screws. In total, the author got two tiers with shelves. Finally, let the glue dry completely.
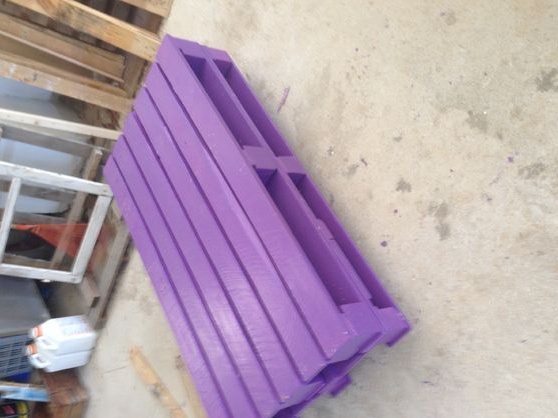
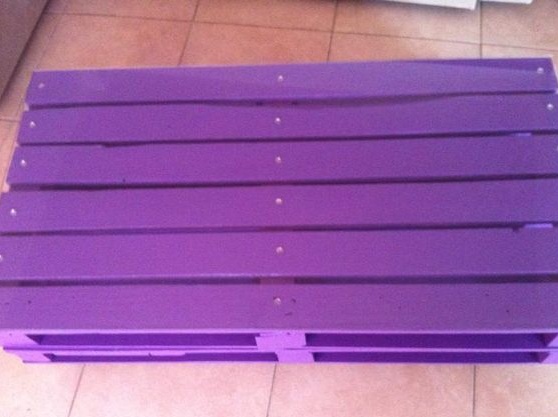
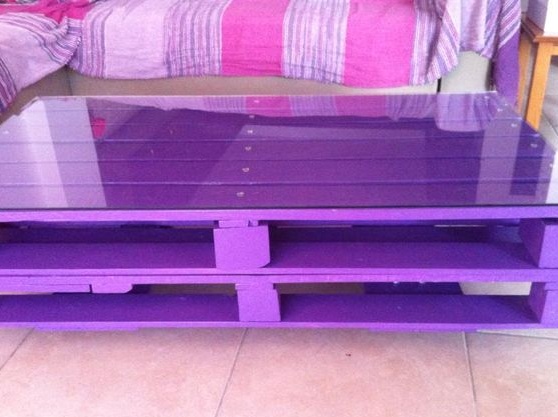
That's all, our table is ready. If you need a flat and smooth surface, you can install glass on the countertop. Good luck
