
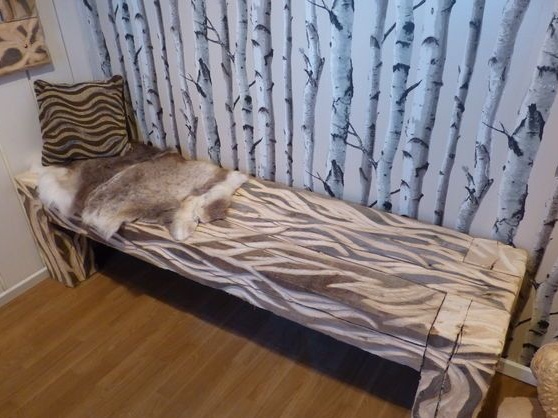
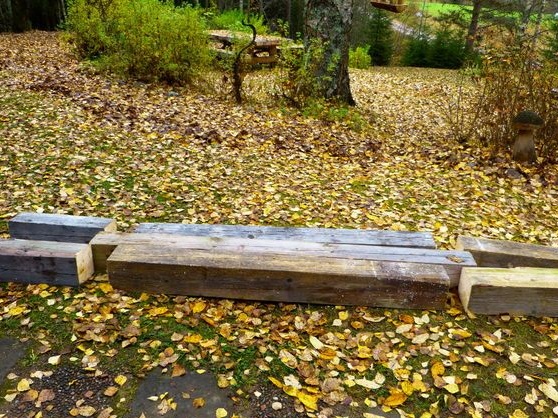
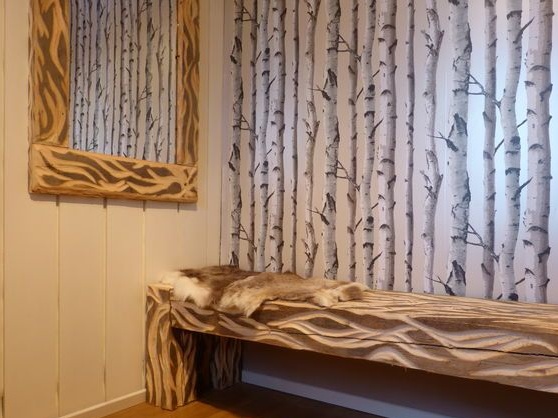
If you have old beams and you don’t know where to put them, you can make yourself such a bench. Typically, such beams are used in the construction of roofs in villages, so that they can be easily found in abandoned houses. Of course, you will need beams not rotten, which is typical for pine. The peculiarity of such a bench is that it is peeled off without the use of nails, self-tapping screws and other similar materials, everything is made only of wood.
Just the whole bench is made of 7 components. Four of them are legs, and the other three are the bench itself, that is, “flooring”.
Materials and tools for homemade:
- old beams (often used in roofing);
- a wooden board or bar;
- a tool for cutting wood (hacksaw, chainsaw, etc.);
- drill with drills (or manual drill);
- the hammer is heavier;
- sharp strong knife;
- preferably glue for wood;
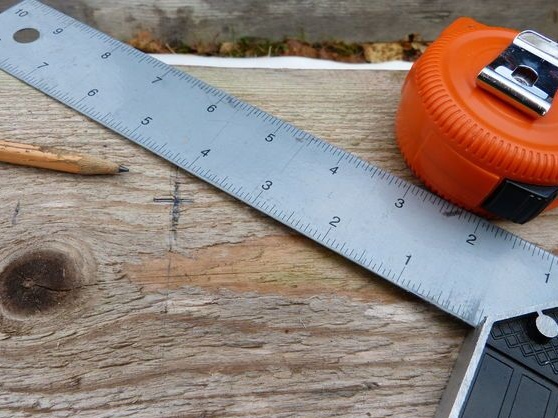
- ruler, pencil;
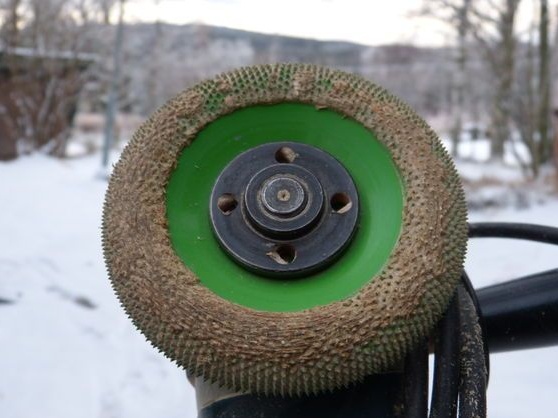
- It is desirable to have a grinder with nozzles for cleaning and grinding (for the picture you need a sabbur tooth).
Bench making process:
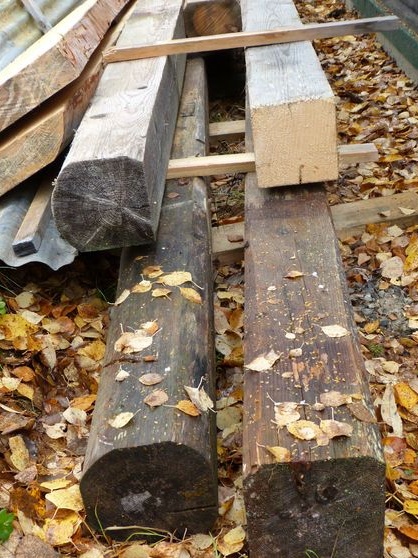
Step one. Mark and cut blanks
The first thing you have to decide on the size of the bench, also do not forget to consider the amount of materials you have. Of course, to cut logs of this thickness, you will need a chainsaw or an electric saw, but the most zealous can do this job with an ordinary hacksaw.
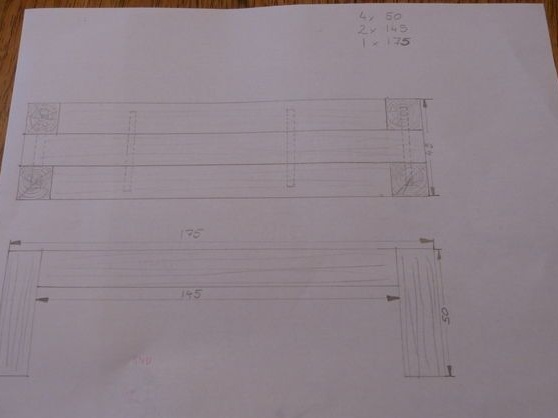
In the end, you will need:
- 4 pieces length 50 cm;
- 2 pieces, length 145 cm;
- 1 pieces 175 cm long.
Dimensions are selected depending on the thickness of the beams. Cut them so that the front and back of the bench form benches of sufficient size to install the legs.
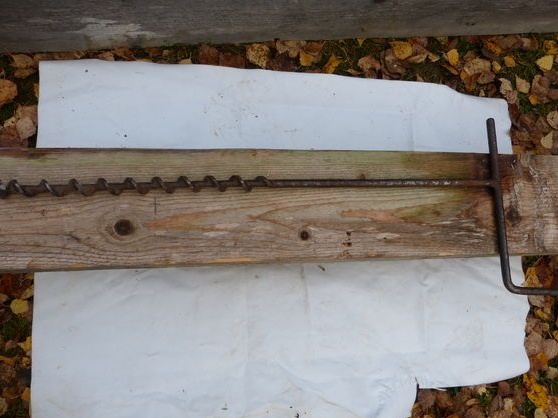
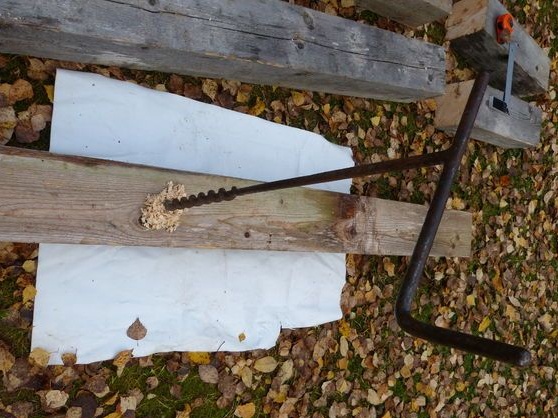
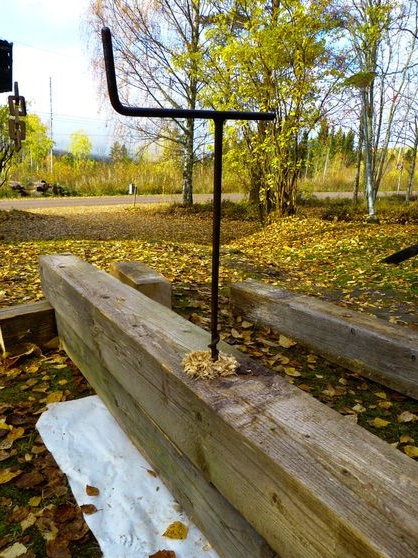
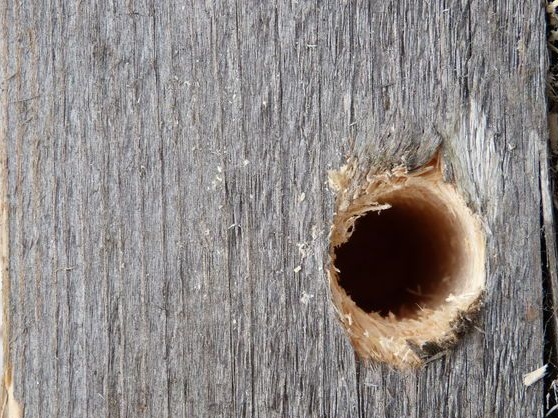
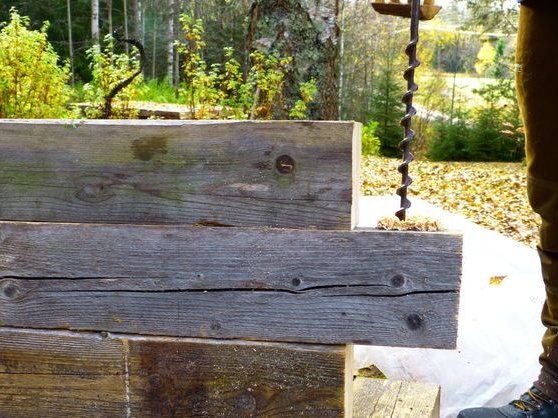
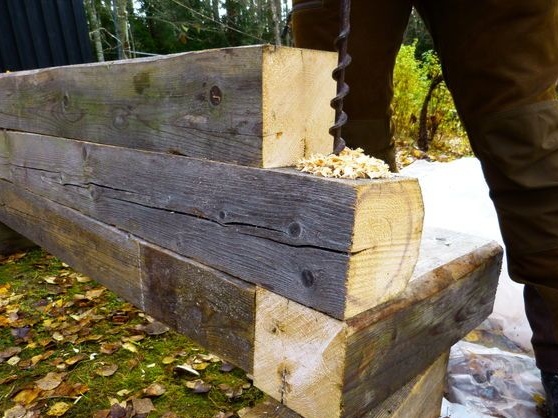
Step Two Drill holes for dowels
The whole structure is assembled on dowels, not a single nail or self-tapping screw is used here. Under the dowels you will need to drill holes of large diameter. The author does this when washing a hand drill. But with an electric drill, these holes can be drilled with it. If there are no large diameter drills, you can drill several of them. Drill holes in accordance with the scheme.

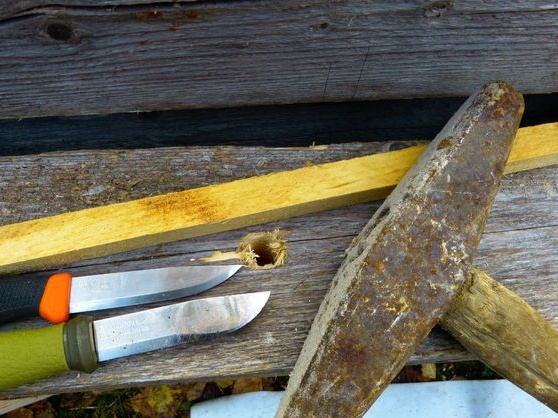
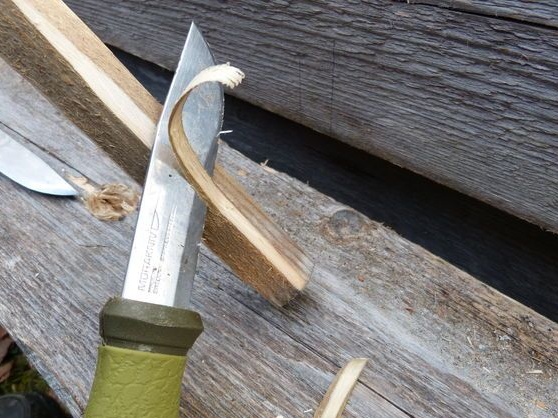
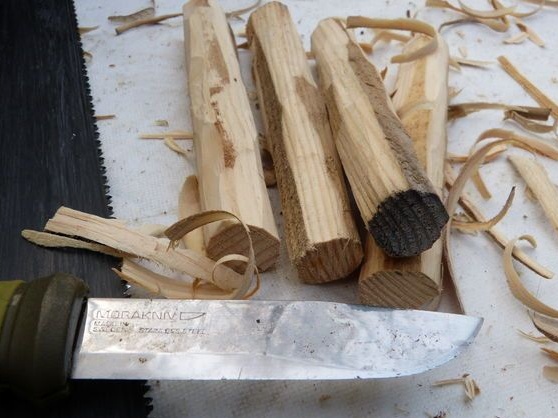
Step Three Production of dowels
Now you need to make dowels, the author also makes them from pine. But you can use and stronger than, for example, acacia, oak and so on. Of course, soft rocks are much easier to handle with a small set of tools. Your task will be to make the dowels as even as possible, they should go into the holes as tightly as possible.Their thickness should be such that the dowels are clogged with a hammer, and not come in by hand, then the connection will be reliable. The author makes them with a knife. The dowels were 16-18 cm long.
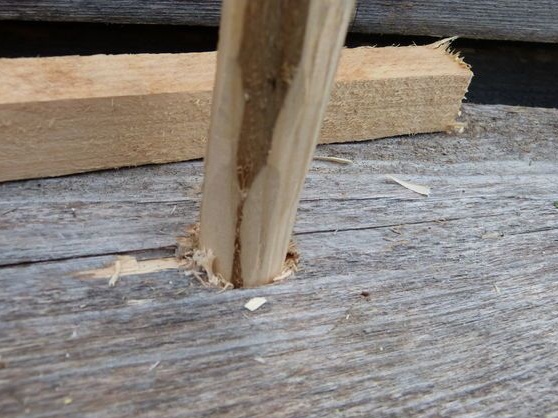
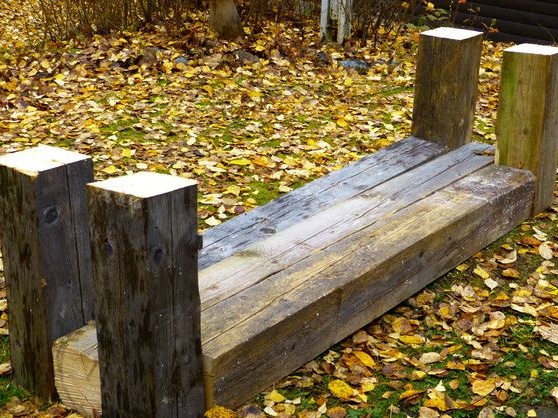
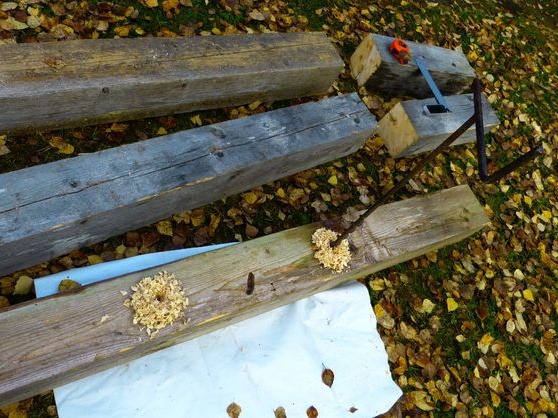
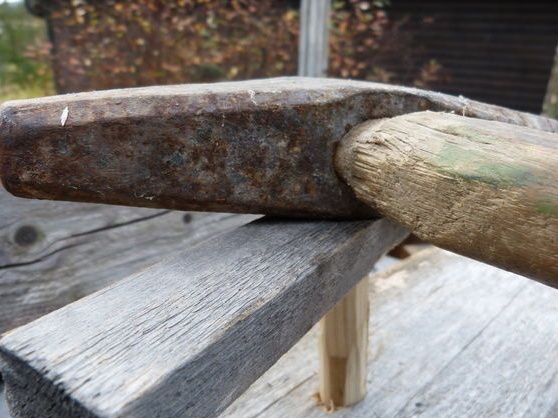
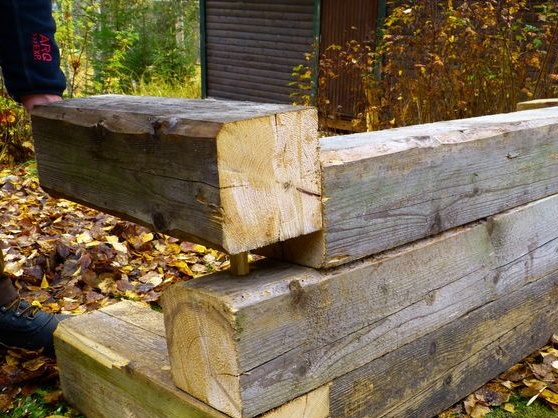
Step Four Connect the beams
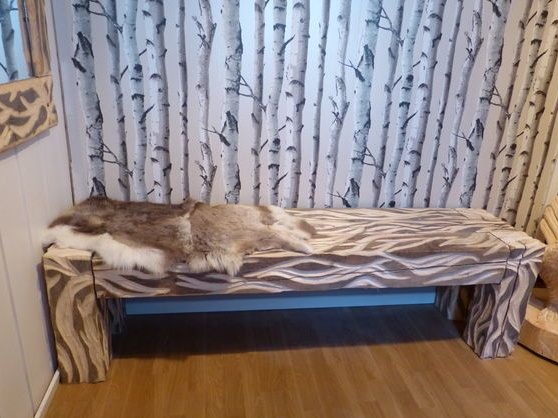
The flooring itself consists of three beams. The central beam is the longest, and the two side are short. Due to this, grooves are formed in front and behind the bench, into which legs are then installed. We take dowels, a good hammer and a bar or a board. Slowly hammer the dowels into the prepared holes. Between the dowel and the hammer we put a board or bar, so as not to damage them with a hammer. For maximum reliability, dowels can be coated with PVA glue, but this is not necessary.

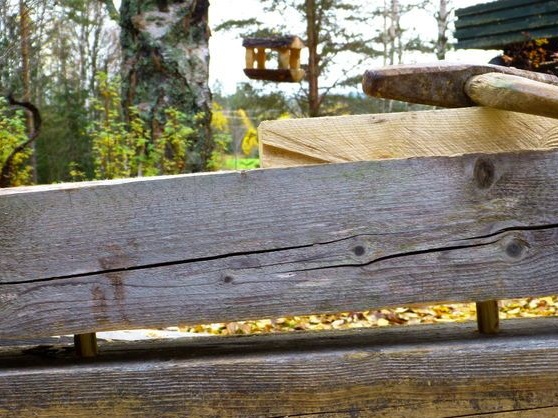

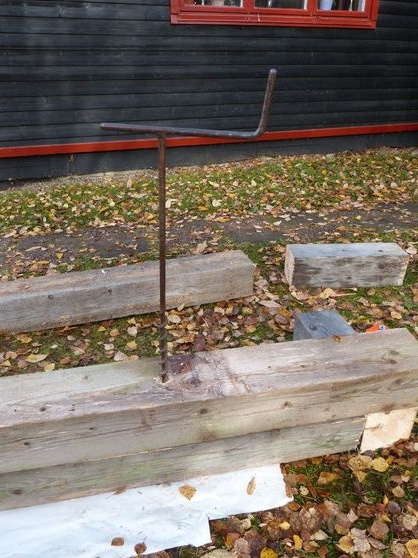
Step Five Fasten the legs
That's all, now it remains to fix the legs and the bench is actually ready, without taking into account further external processing. At this step, it is highly recommended to use PVA glue, or, in extreme cases, oil paint. In total, the author uses only 4 dowels for fixing the legs, but I would recommend fixing each leg with two dowels.
If you still fasten with one dowel, take glue or paint and grease the legs in the place where they fit to the bench. This will significantly strengthen them so that they do not crank under load. Well, then you just have to hammer your dowels in them.
Next, proceed to the external processing of the bench.


Step Six We pass to grinding
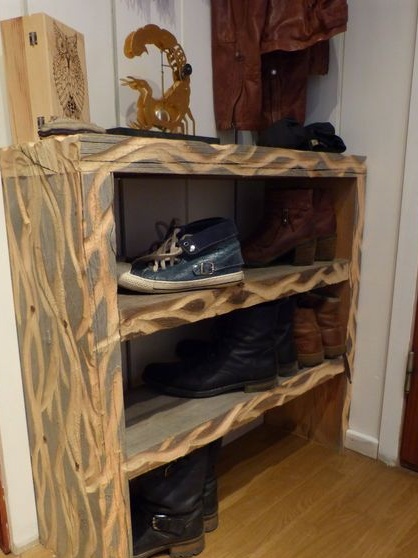
At this step, you will need sandpaper, or rather a manual grinder. Sand the bench thoroughly on the outside to remove any burrs, dirt, or other abnormalities. Also smooth the corners of the bench so that you do not drive the splinter during use. Align the beams to one level. But try not to remove the upper dark layer, it is needed for further bench decor.
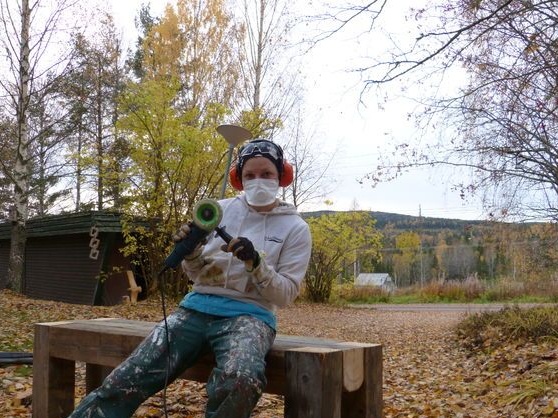

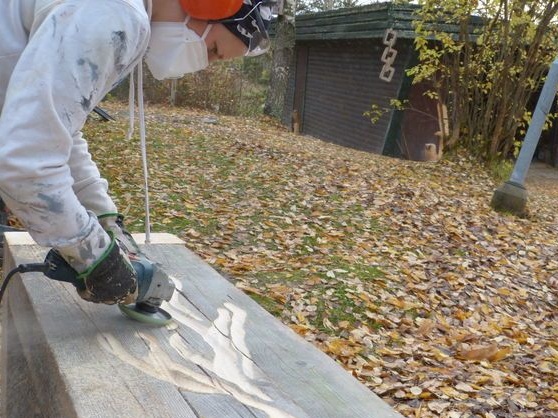
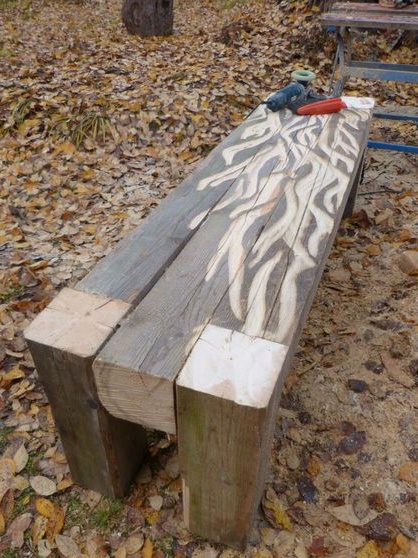
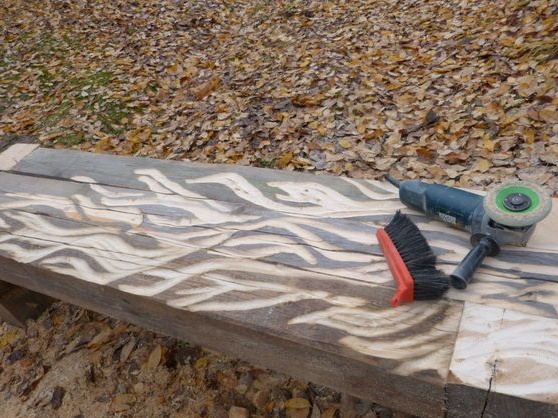
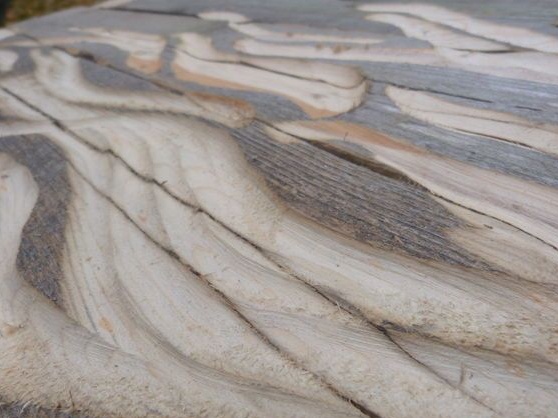
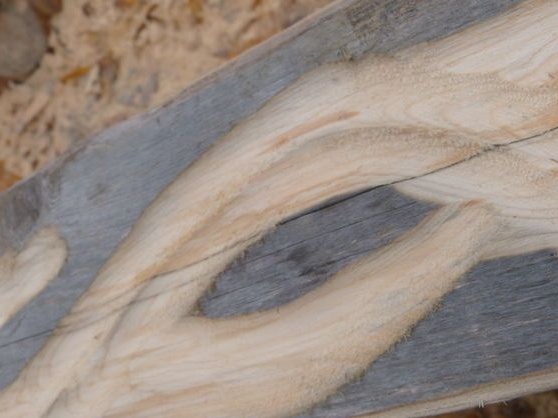

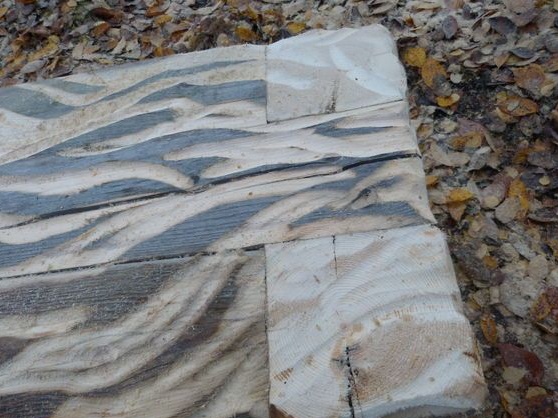
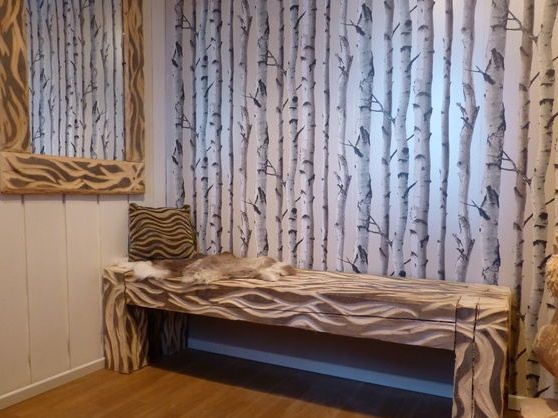
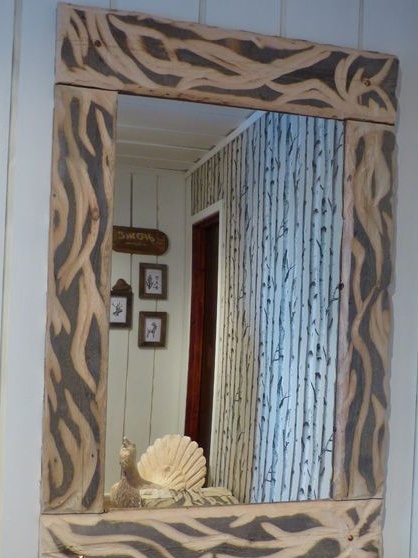
For the following works, the author needed a nozzle on the grinder sabbur tooth. With it, you can form beautiful patterns on wood. You can draw a grinder any pattern at your discretion. It took the author only an hour to process the entire bench, given that the girl worked with such a harsh tool.
You can first remove all the “patina” from the tree, then paint, and then form a picture. As a result, the bench will come out in a different color.

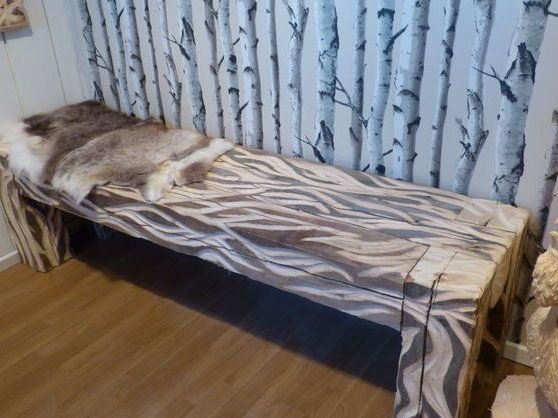
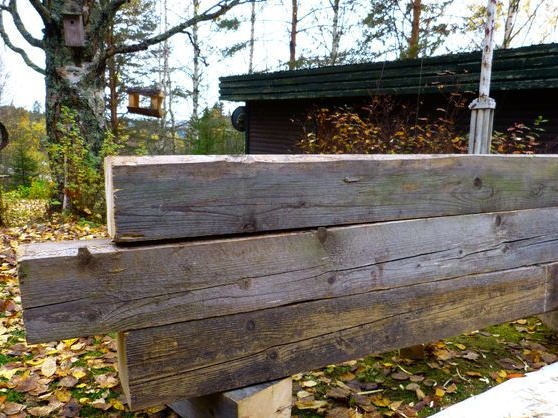
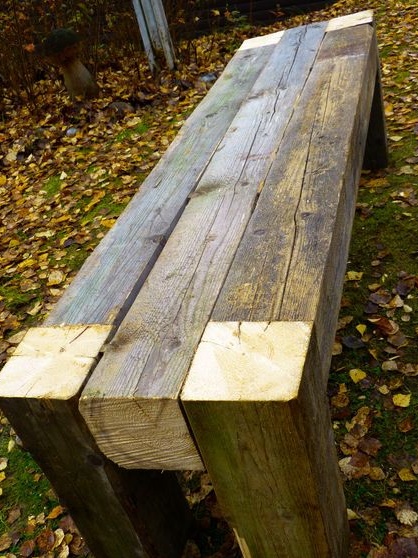
Conclusion
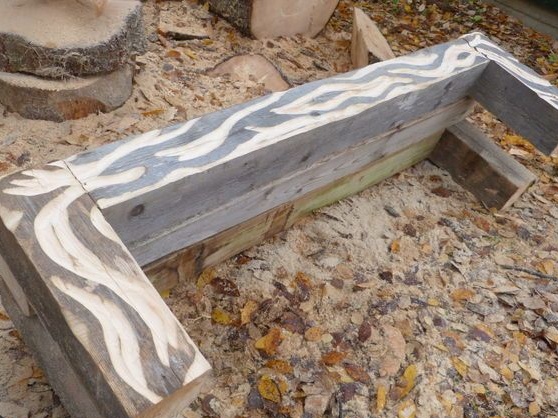
That's all, the bench is completely ready. As you can see, it is going to be very simple, but it requires a minimal set of tools. In conclusion, you can coat your product with varnish or paint. This will protect the wood, and the appearance will make it even more attractive.