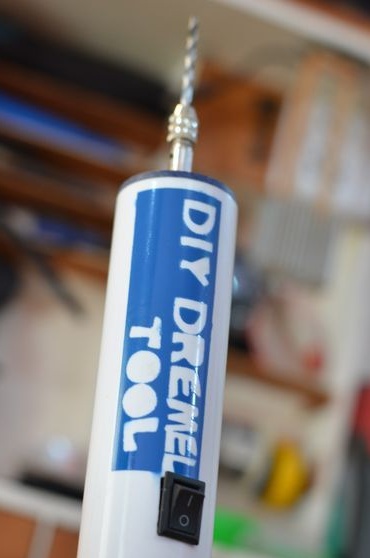
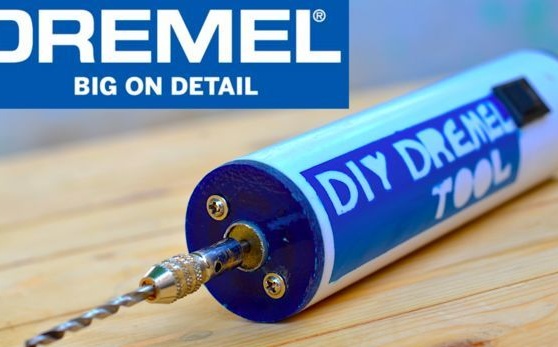
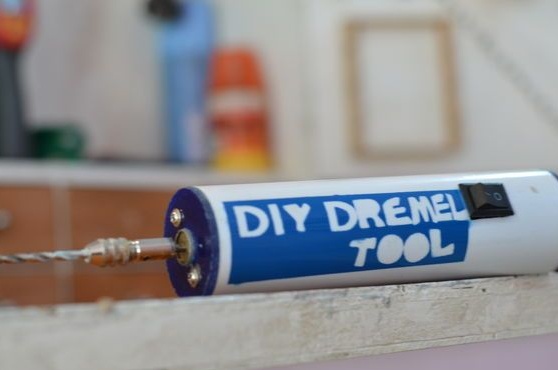
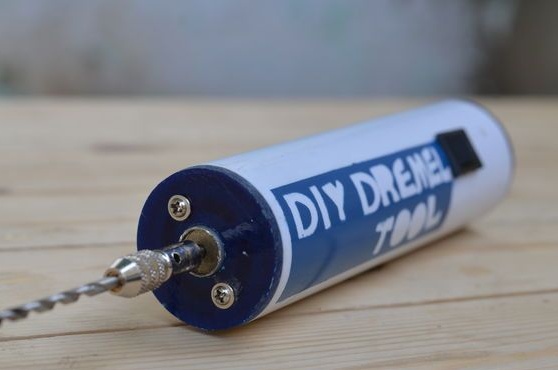
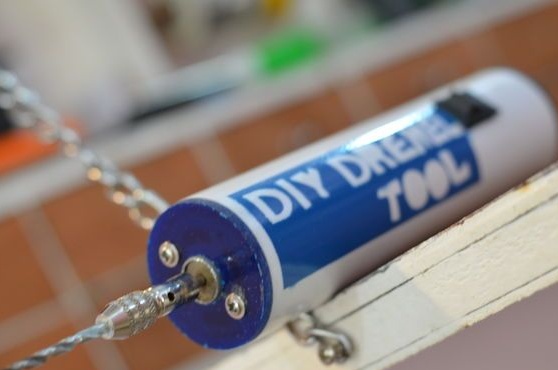
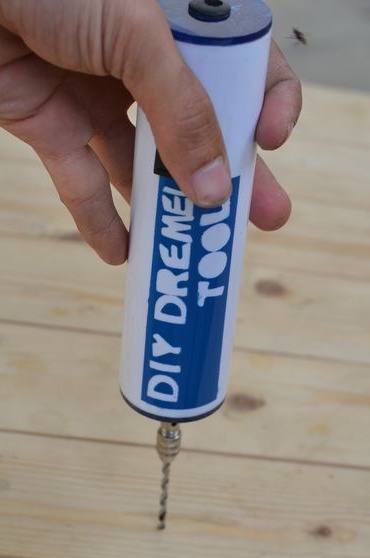
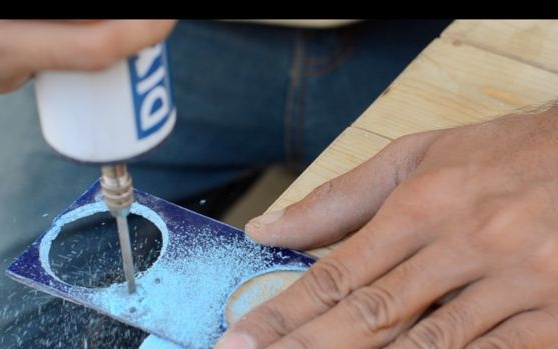
According to the master, his analogue of the model of the instrument of a famous brand is not inferior to the original. The statement is controversial, but given the cost (about $ 10) and the implementation of the main task (drilling and grinding), the tool turned out to be not bad. Drill diameter up to 3 mm.
Tools and materials:
-Engine;
Collet chuck;
-Collet;
-Polypropylene 2-inch pipe;
-Rule;
-Marker;
- Canvas for metal;
-Sandpaper;
- fiberglass;
-Drill;
-Drill for wood adjustable ("ballerina");
-Clamp;
-Glue;
- The file is round;
-Calipers;
-Wire;
-Soldering iron;
-Thermotube;
-Lighter;
-Screwdriver;
-Screws;
-Rechargeable batteries;
-Switch;
-Connector;
-Insulation tape;
- Sticky letters;
-Scotch;
-Aerosol spray can with paint;
-Scissors;
Step One: The Case
The author made the case from a polypropylene pipe. Pipe diameter 5 cm, length 15 cm.
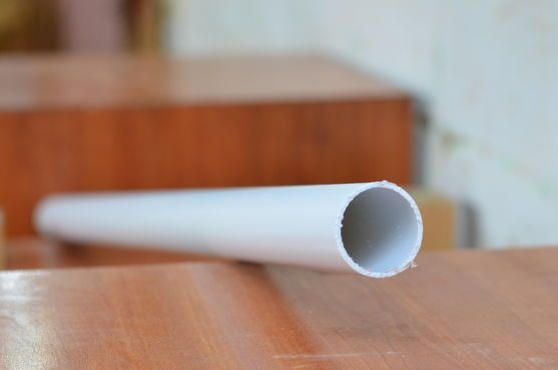
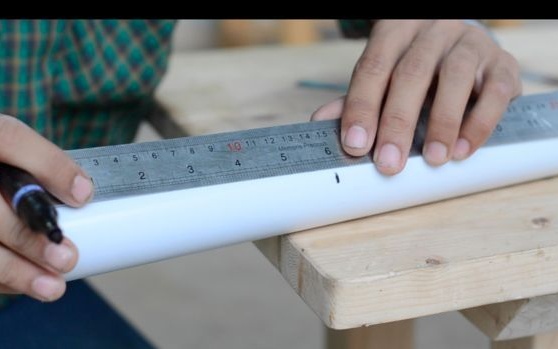
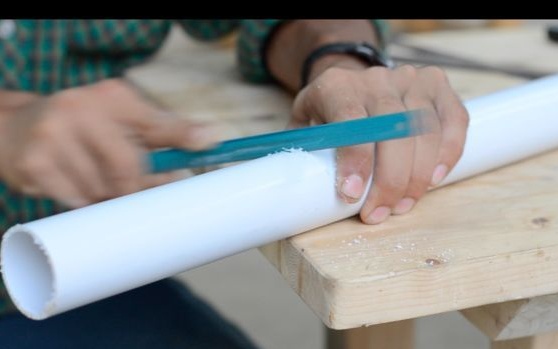
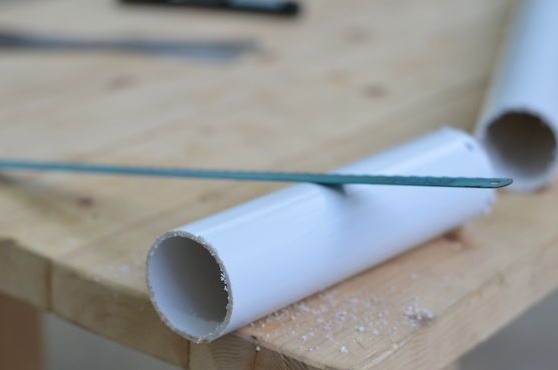
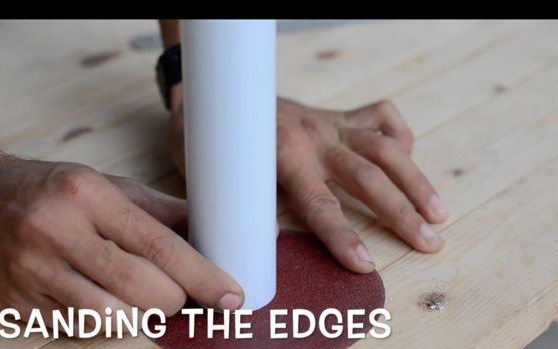
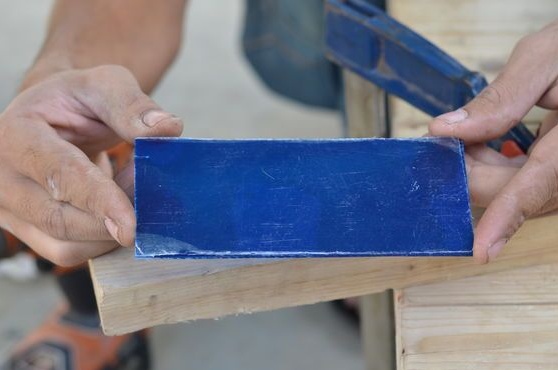
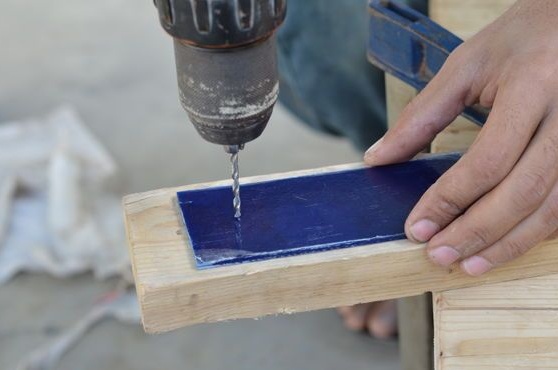
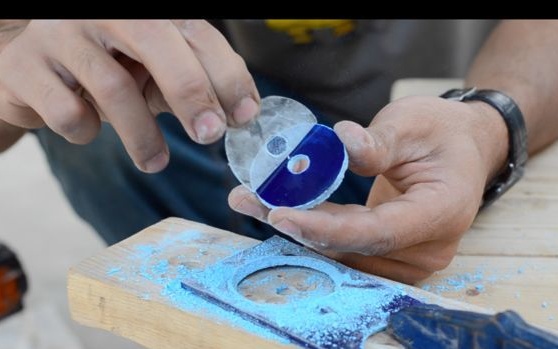
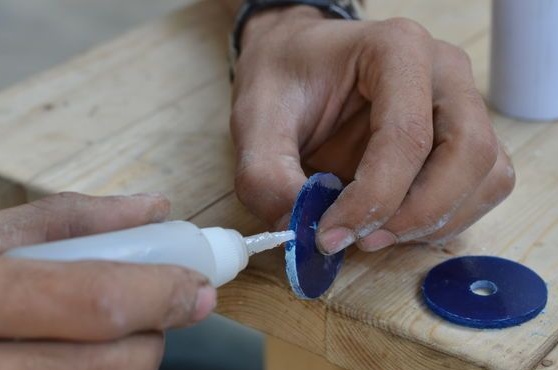
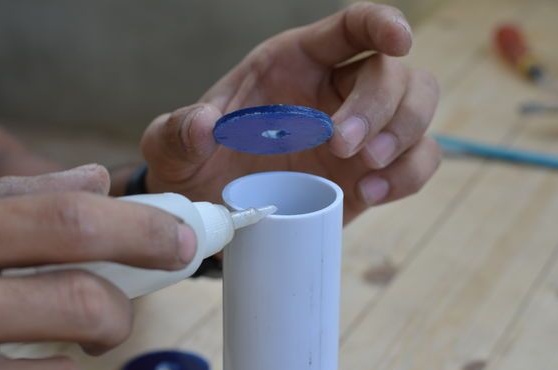
I cut two fiberglass plugs at the ends of the pipe. The plugs should be slightly larger than the outer diameter of the pipe. The master immediately stuck one plug.
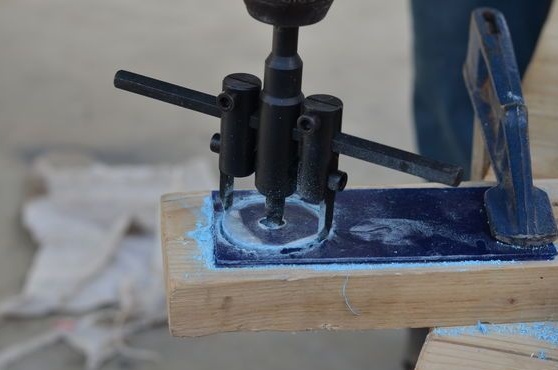
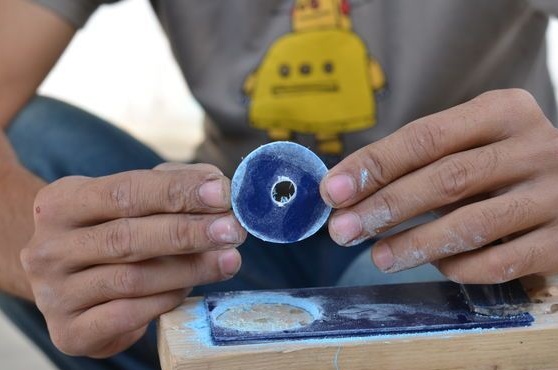
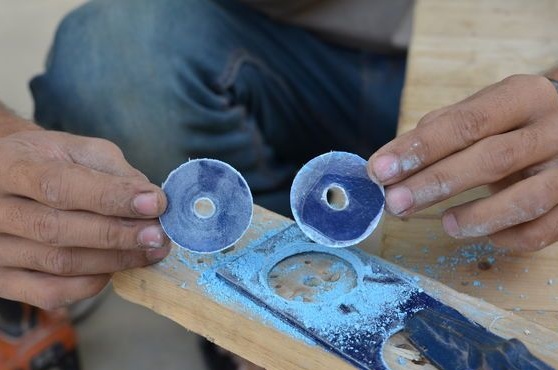
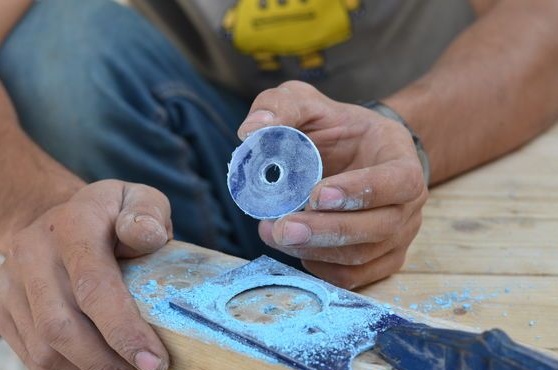
Step Two: Engine
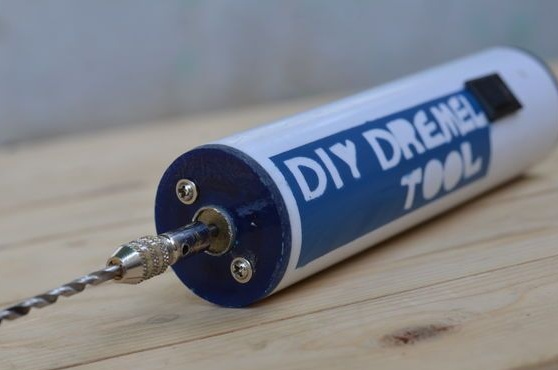
For his instrument, the author used a 12 V engine, 400 rpm. A collet chuck was mounted on the motor shaft.
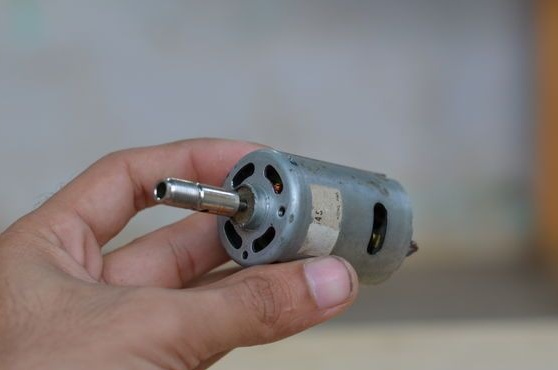
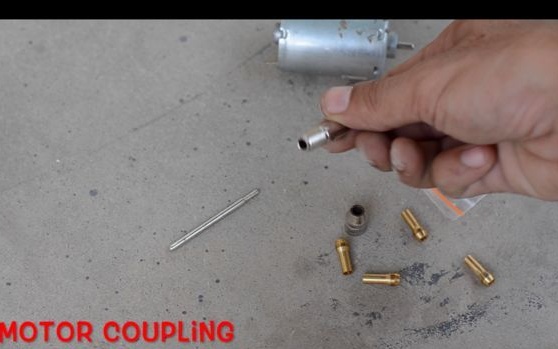
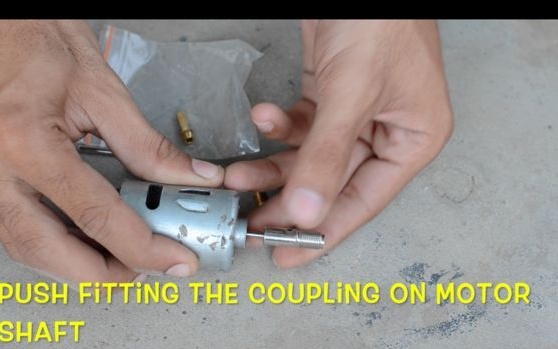
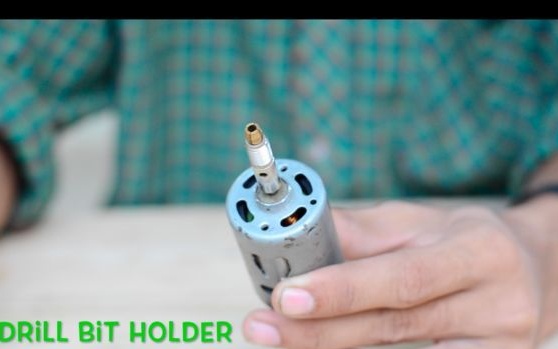
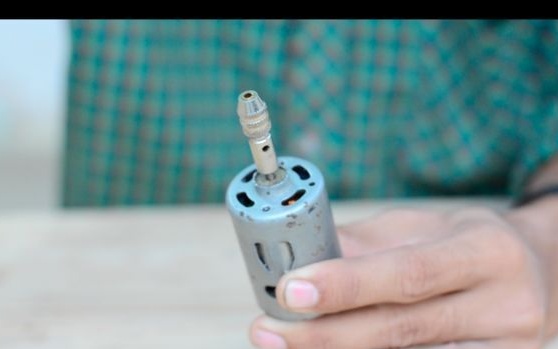
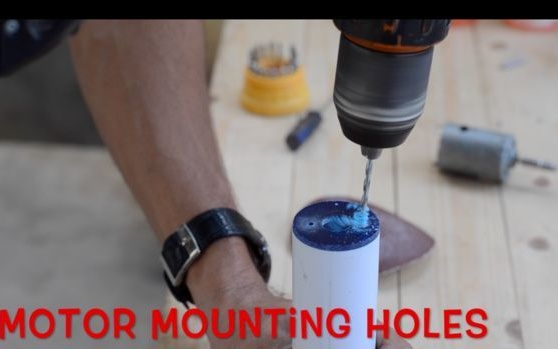
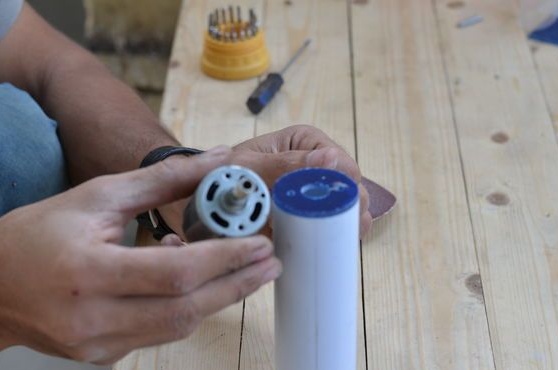
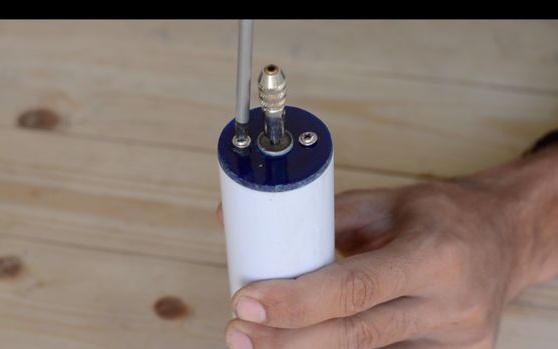
I drilled a hole in the center of the shaft for the shaft and two holes for the mounting screws.
Step Three: Batteries
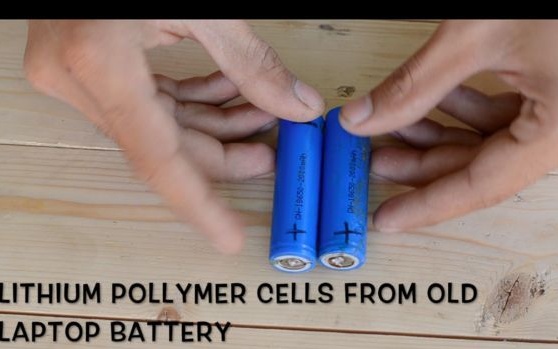
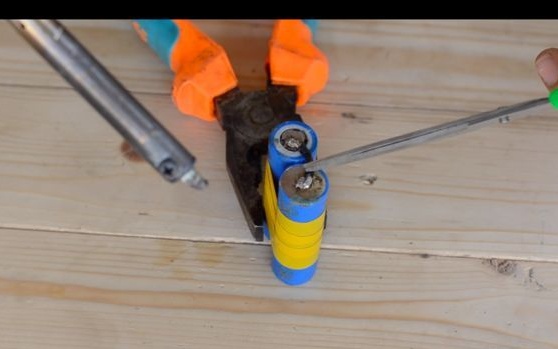
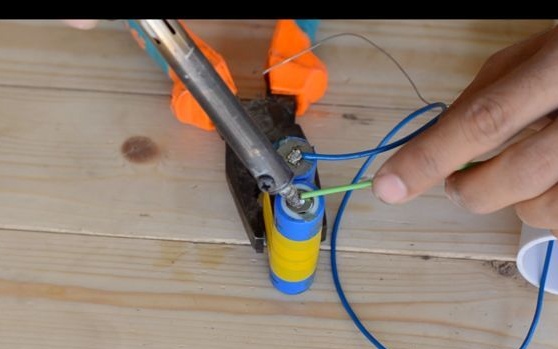
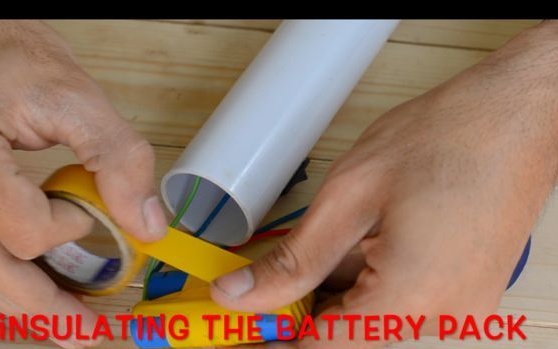
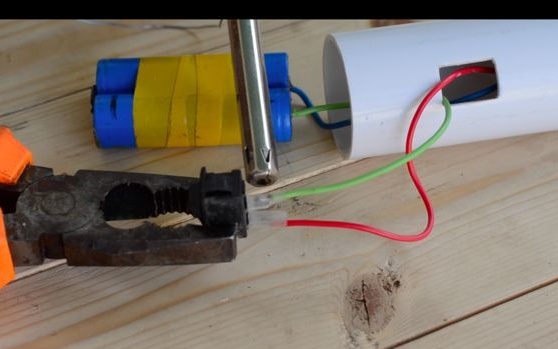
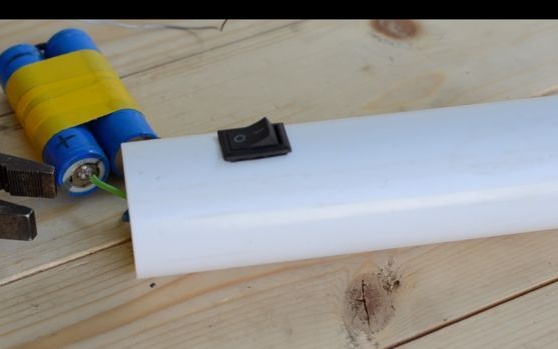
To power the mini drill, the master used two lithium batteries. Two batteries connected in series give out 7.4 V and have a capacity of 2400 mAh. The voltage is certainly less than that required for the engine, but according to the author, it is enough. The author solders the wires to the battery contacts. Fixes batteries with electrical tape.
Step Four: Build
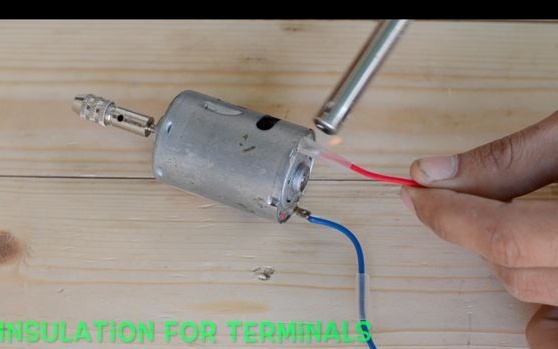
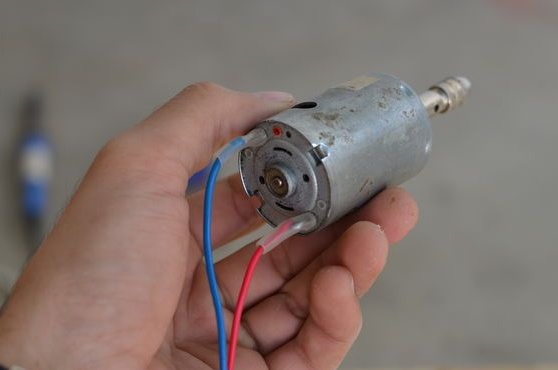
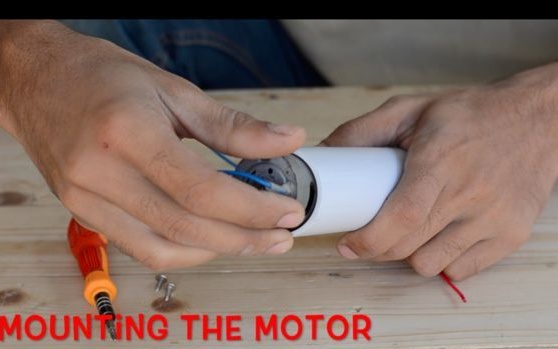
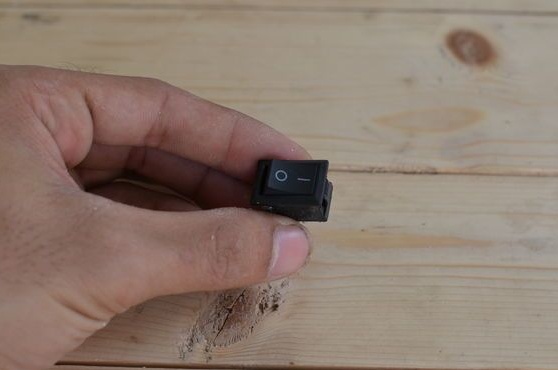
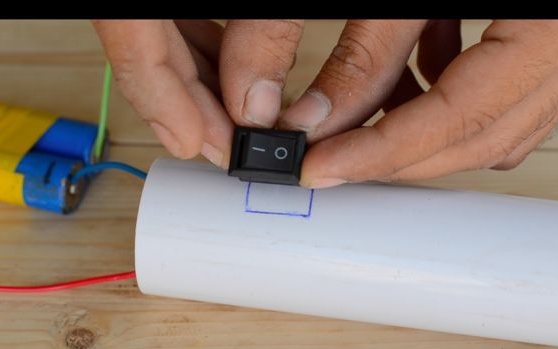
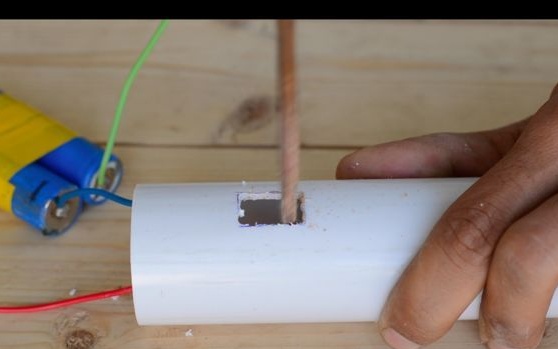
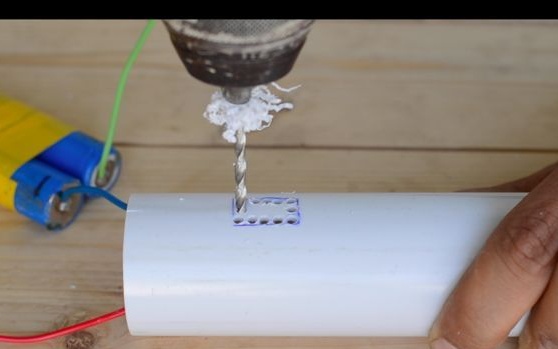
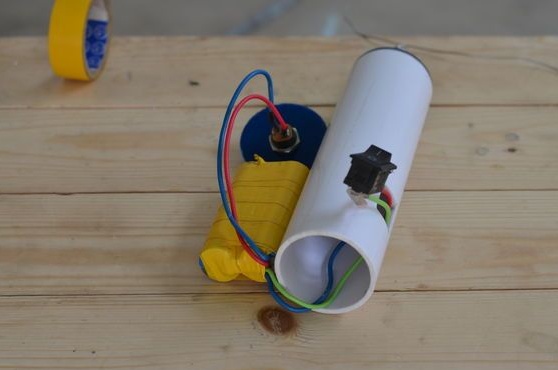
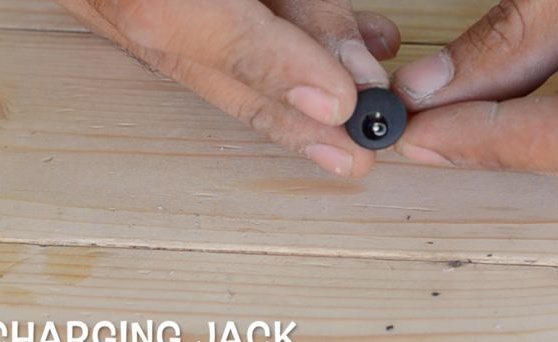
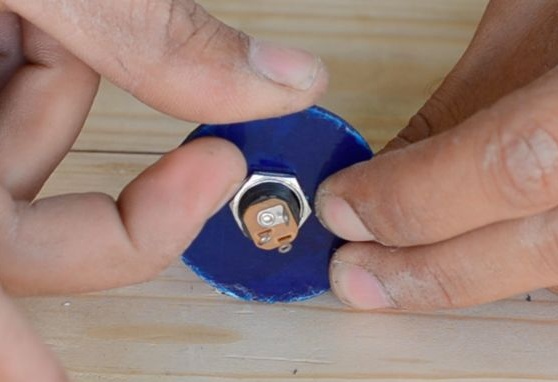
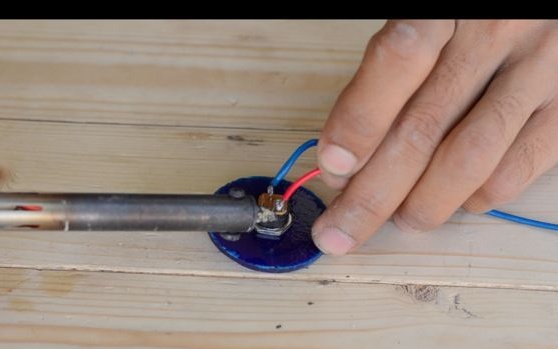
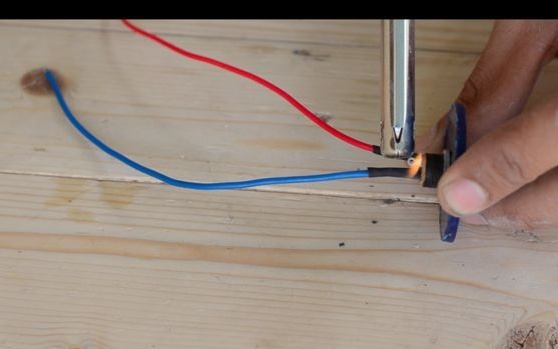
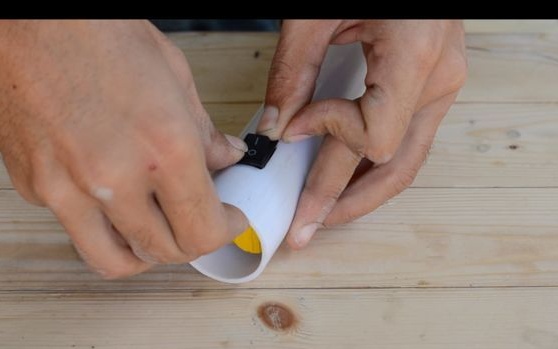
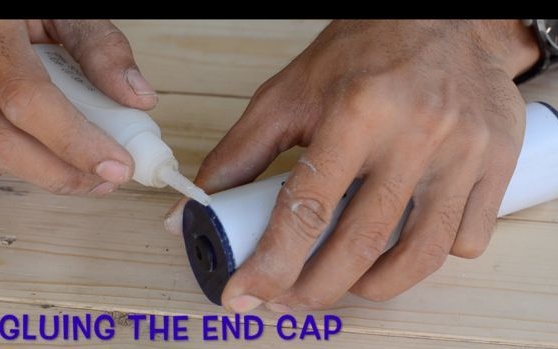
Now you can start assembling. Solder wires to the motor and fasten it with screws to the front end cap. In the case, makes a hole for the switch. Installs it and builds it in the circuit between the battery and the engine. The second plug sets the connector for charging the battery. Connects the connector and the battery with wires. Glues the back cover.
Step Five: the inscription
So that no one doubts that it is Dremel, the master, with the help of a spray can of paint, adhesive tape and letters, makes an inscription.
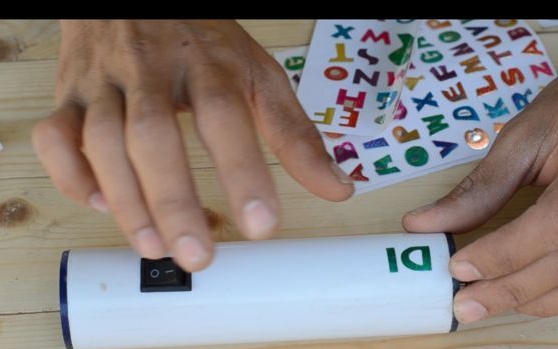
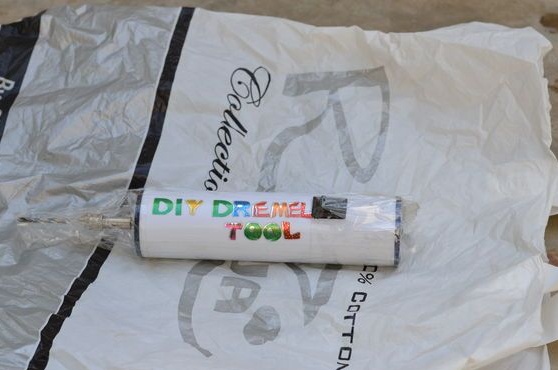
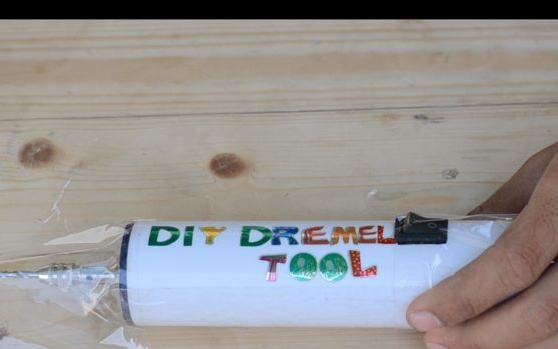
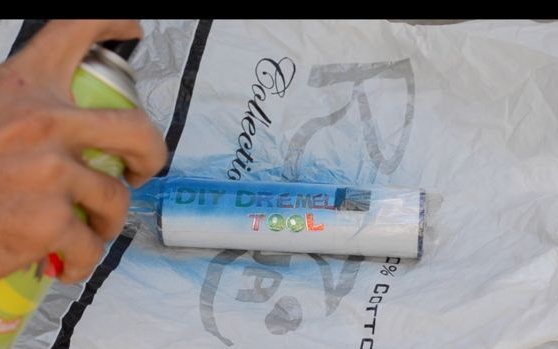
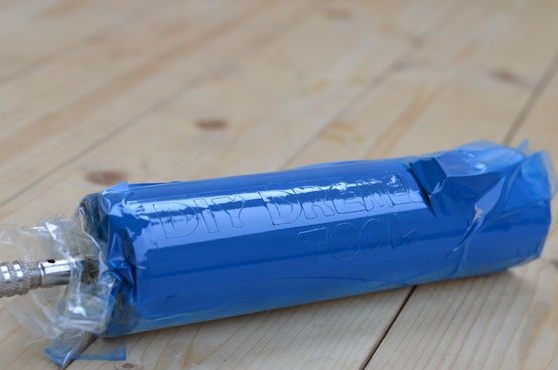
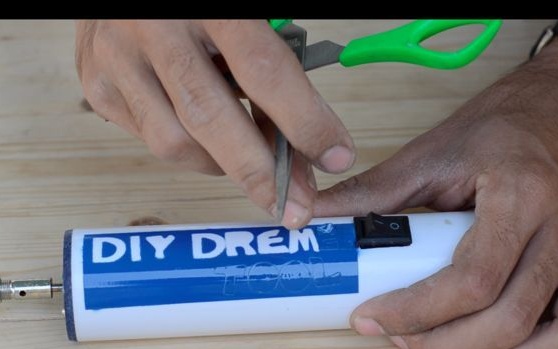
The tool is ready, it remains to test it.
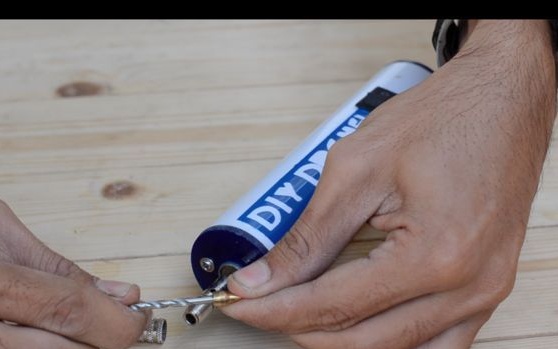
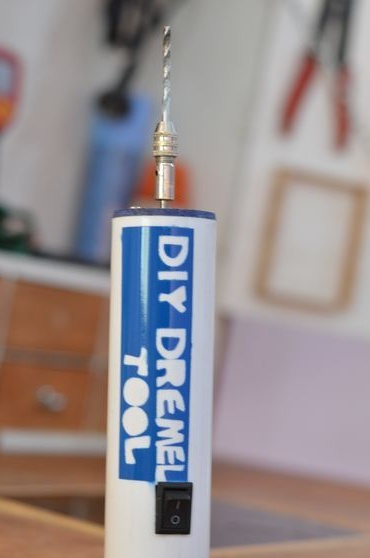
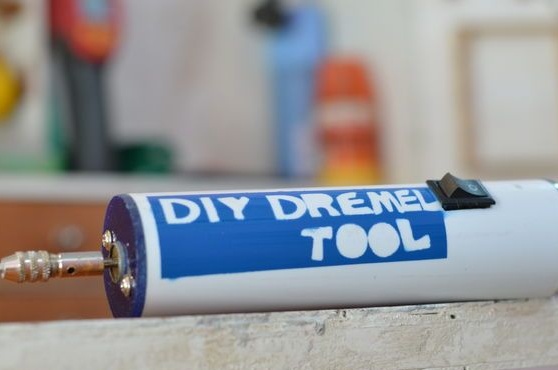
The entire manufacturing process can be seen in the video.
