Let's get started!
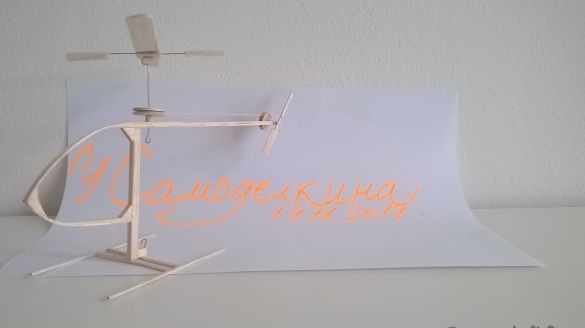
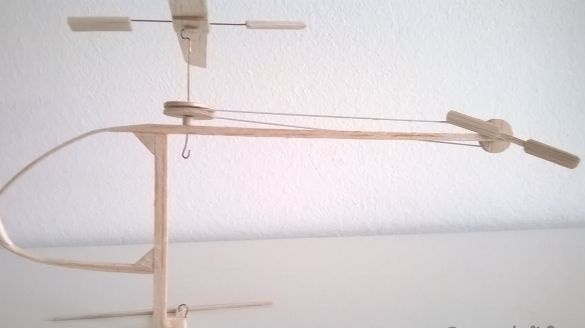
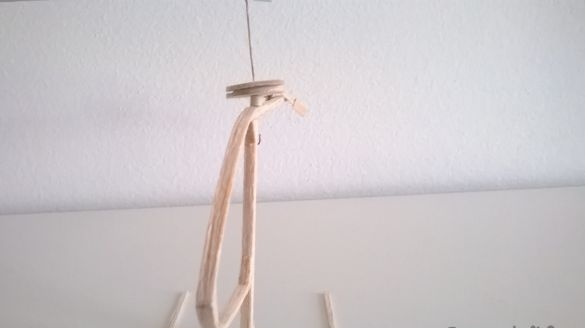
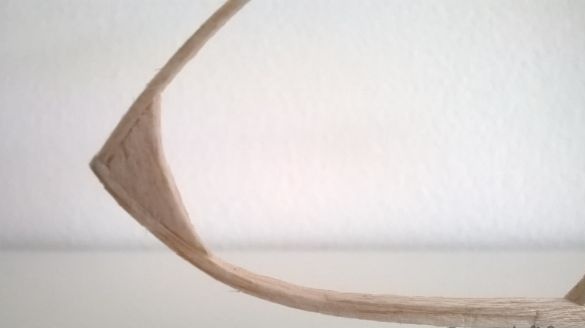
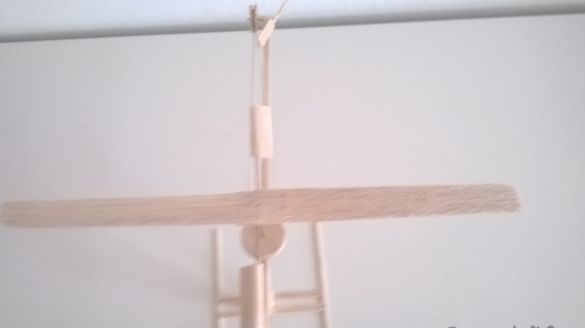
The entire body of our helicopter is made of 2mm balsa. The tail boom is made of 2 x 2 mm rail. Cabin - from bent balsa rails 1 to 2 mm.
The main rail (the rubber motor is located on it) is made of 3 mm by 2 mm rail.
Note: many beginners ask how to bend these slats. The folding technology is quite simple. Take a jar, which is filled to the top with boiling water. We lower the slats there and leave them for 10 minutes. After that, heat up the soldering iron or iron and apply them to it, and gradually bend it. Everything is simple.
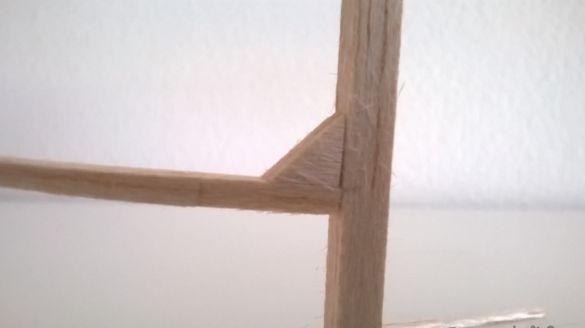
Then we glue all the parts. IT IS IMPORTANT!
At the place of each joint we glue a small triangle (at an angle of 90 degrees). This is necessary for structural strength.
Now we make the rubber motor itself.
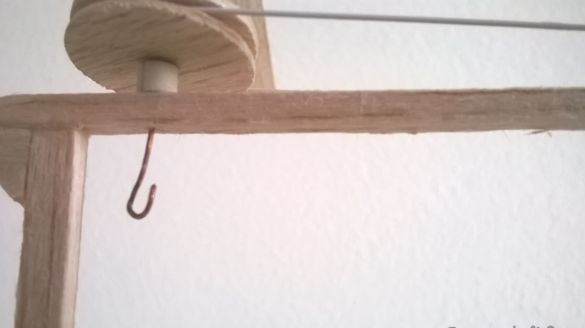
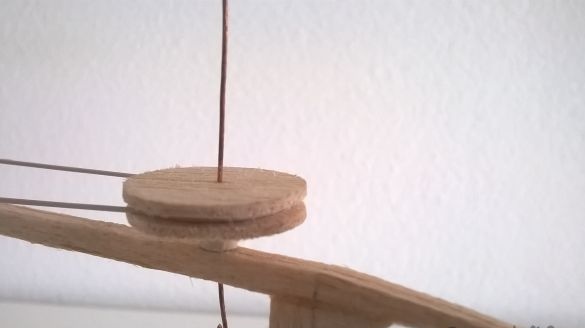
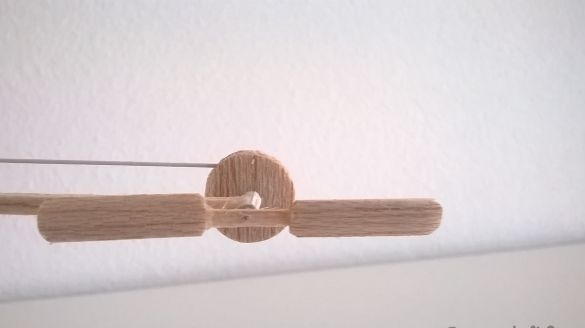
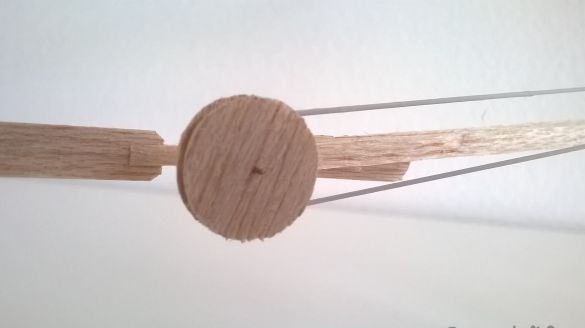
The axis is made of a small paper tube soaked in superglue. Then, from 1 mm balsa, we make 2 small circles and one smaller one, and then glue them.
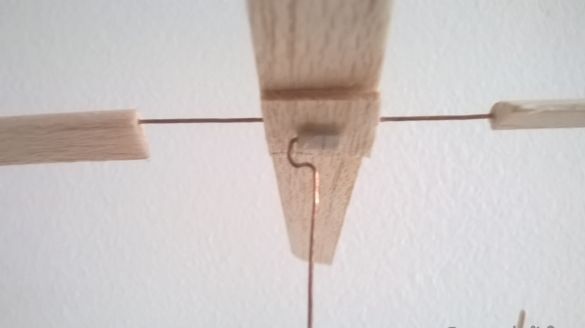
The shaft itself is made of thin wire from wire. (The end needs to be bent into a hook.)
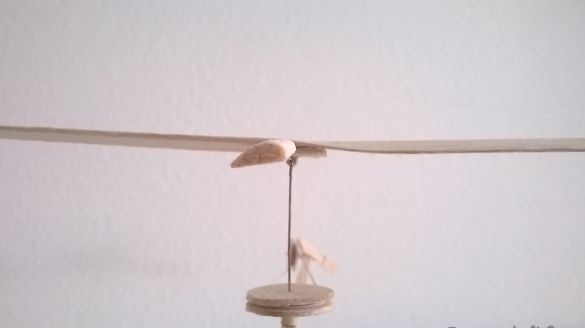
Now it's the turn of the screw itself
We make the screw stabilizer from 3 mm balsa and connect it with the same wire.
All this is attached to the shaft using another duct
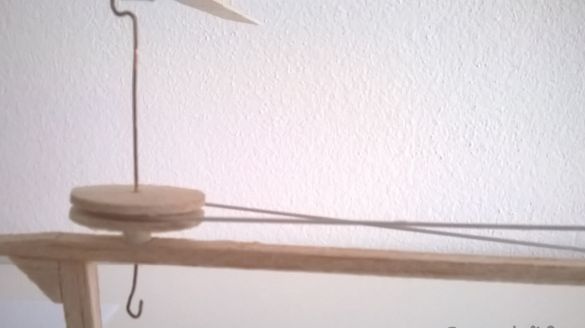
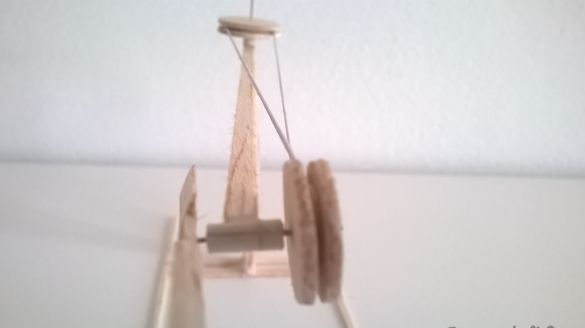
Now move on to the tail. The tail rotor axis is made of the same paper tube ..
Balsa screw 0.7 mm
Then again we assemble the structure from the circles
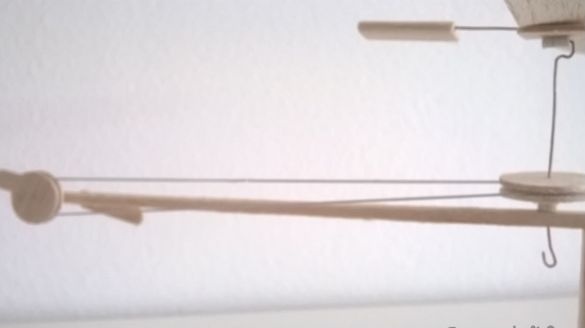
As many have already understood, a belt drive. That is, during the flight of the helicopter all the screws will spin.
The screw itself is an elastic band from the pants :)
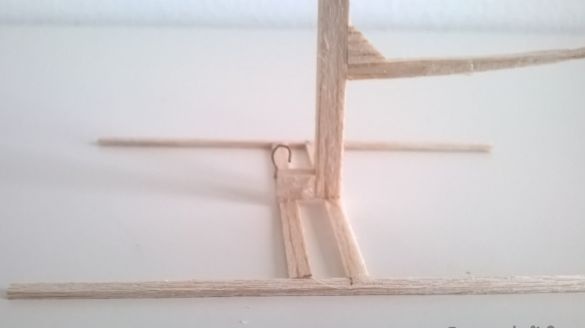
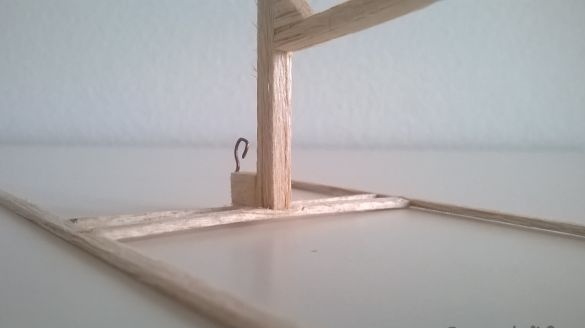
Now it remains only to do make stands for the helicopter (1 mm balsa)
and simultaneously attach a second gum hook
Done! To raise the helicopter into the sky, it remains to hang 2 office gum (or the same gum from the pants) on hooks, twist and release!
Blueprints
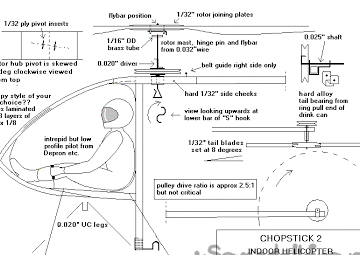
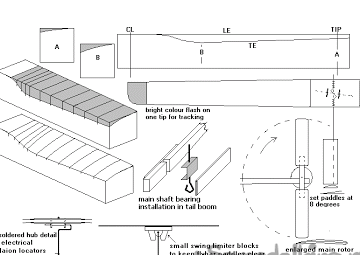
Thank you for watching


