
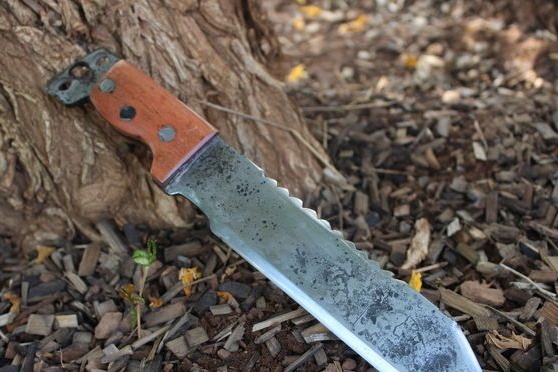
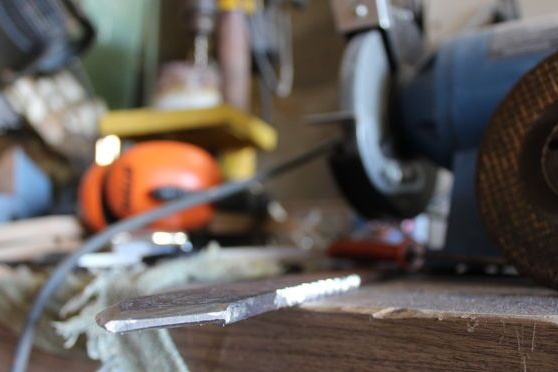
People who look at the world negatively have some advantages. For example, they are always ready for some vital problems, at least morally. And to be ready for such things physically, you will need to stock up or make do it yourself some things. For example, you can make yourself such a simple survival knife. It is durable, sturdy, it can be cut, chopped, and if necessary used as a tip for a spear

The main requirement for such knives is their reliability. Therefore, in most cases, knives are made without finishing the handle, that is, this is an all-metal product. In this homemade the author did decide to make small pads on the pen. But even if they are damaged, the knife will continue to function.
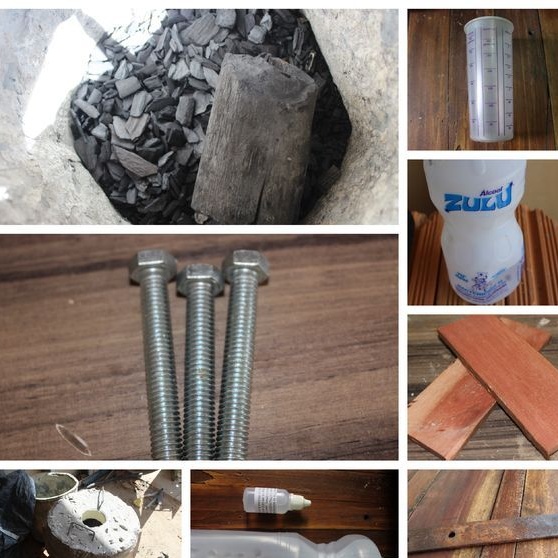
Materials and tools for homemade:
- a source of high carbon steel (commonly used in tools);
- wood for the manufacture of pads on handles and pins;
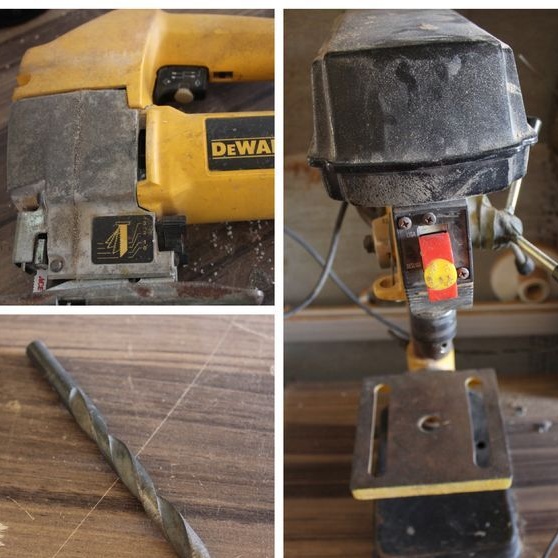
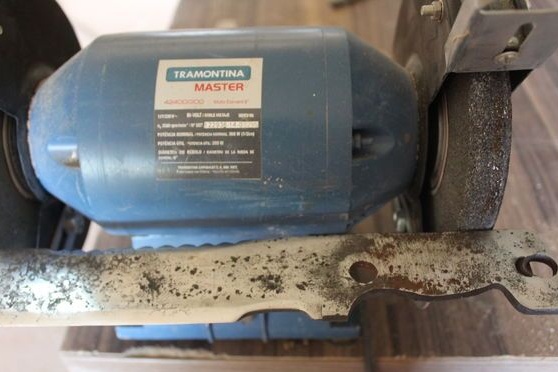
- drill with drills (preferably a drilling machine);
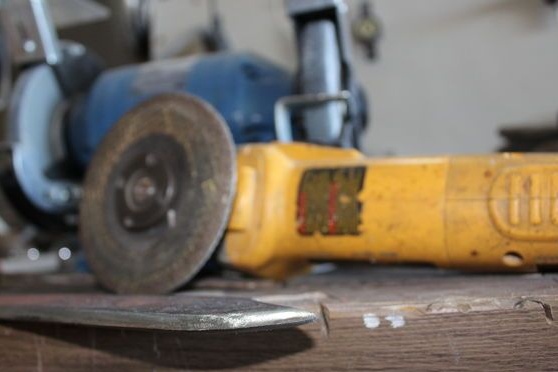
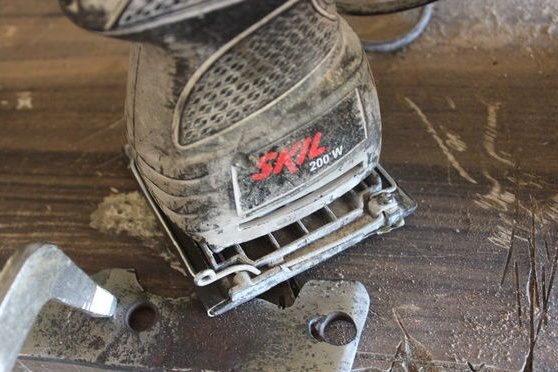
- a grinder with cutting and grinding wheels;
- clamps;
- electric;
- files;
- sandpaper with grit from 80 to 600;
- epoxy;
- a hardening furnace and automotive testing.
It would be nice to have a belt sander.


The process of making a knife:
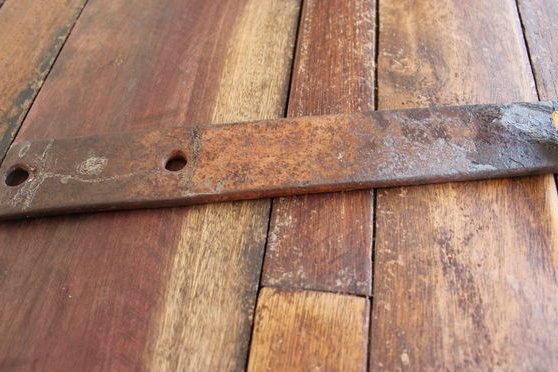
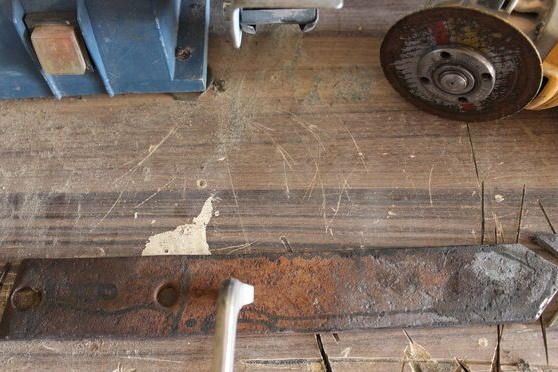
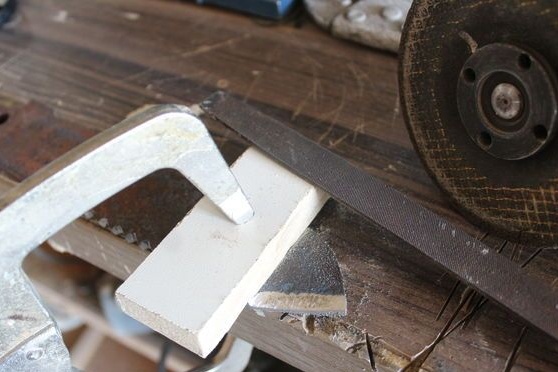
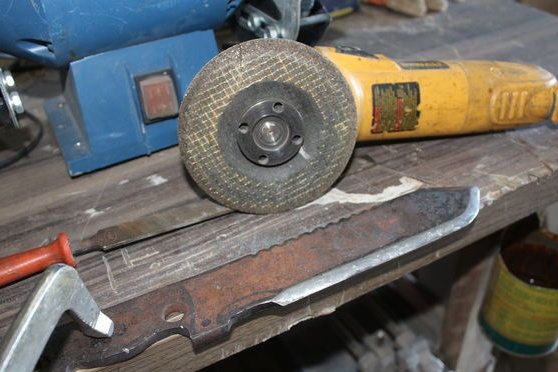
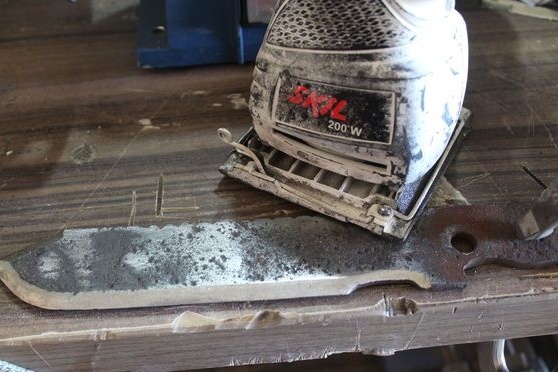
Step one. Cut the workpiece
We start making a knife with a template. You can draw it on paper and then cut it. The author simply drew a profile of his knife on a piece of metal. Well, then we gain patience and slowly cut out the profile. The grinder is not difficult to perform this work, but it will turn out faster if you have a tape cutting machine. In the worst case, some craftsmen cut out the profile with a hacksaw, however, before this, the metal is usually released.
Then using a sharpener, grind barbs and other irregularities.
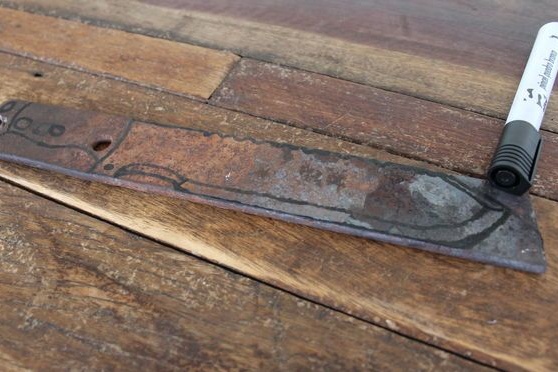
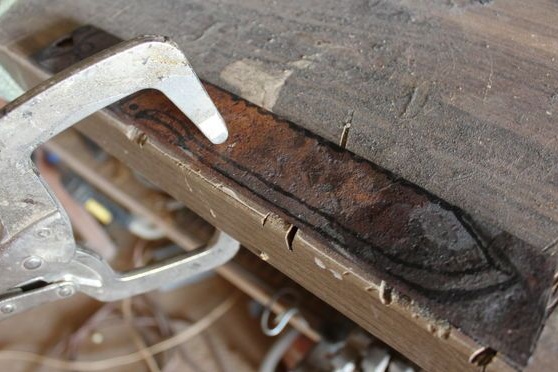
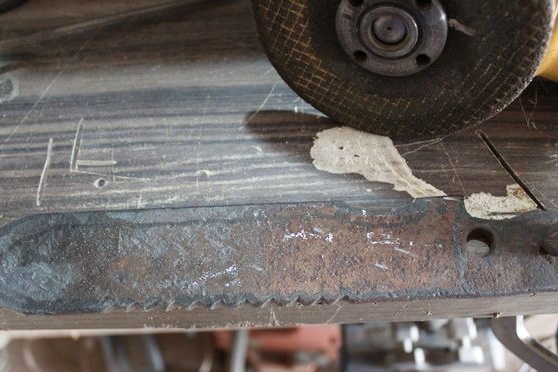
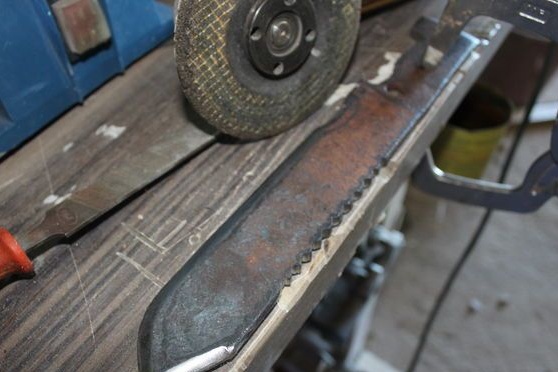
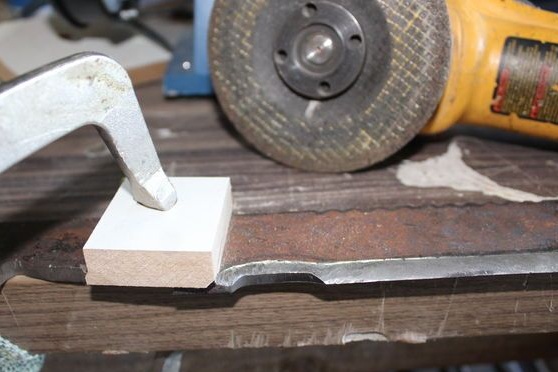
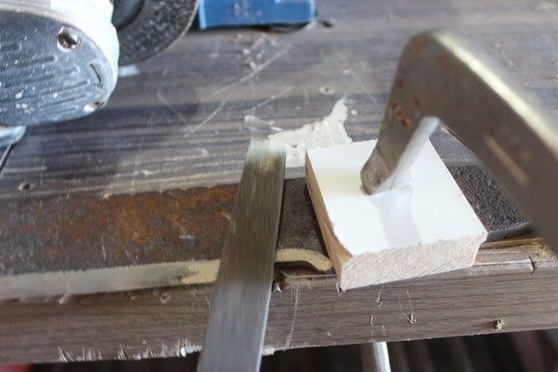
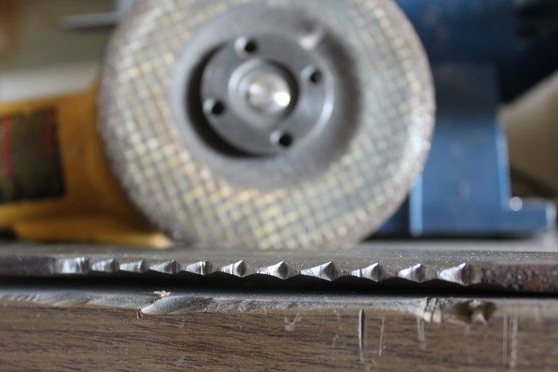
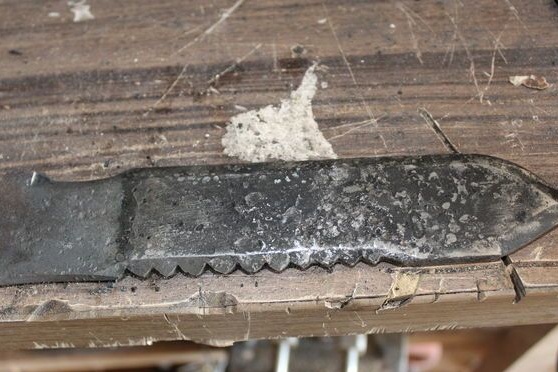
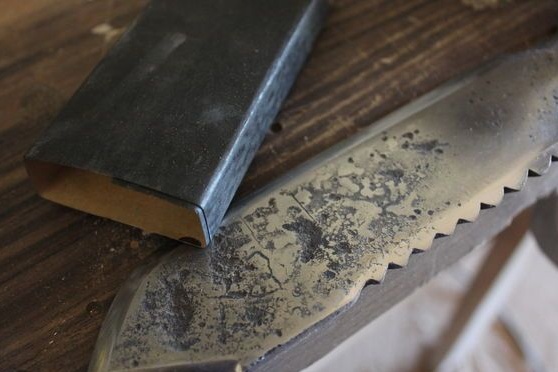
Step Two Cut the cloves
The teeth on the survival knife simply must be, they can crush something, saw, and so on. First mark them with a felt-tip pen, and then clamp the workpiece in a vice. The cloves can be cut using a grinder.
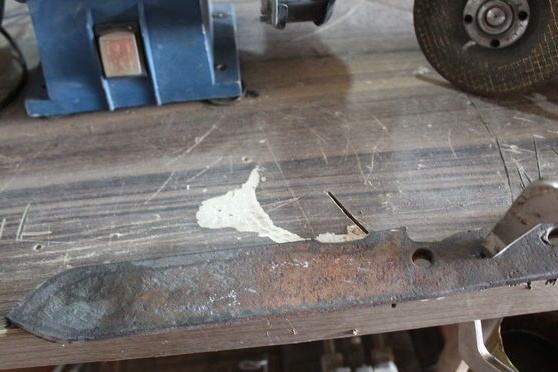
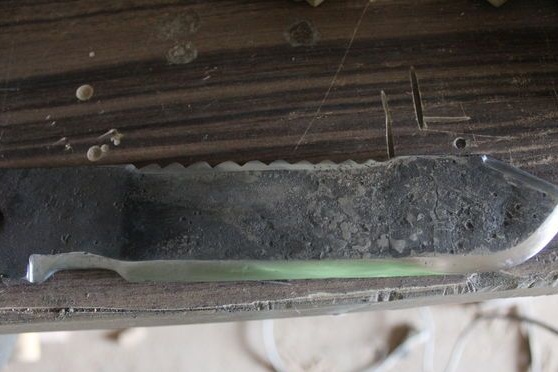
Step Three We form bevels on a knife
The bevels on the knife are responsible for its cutting data. For a survival knife, the blade must be strong so that it can be chopped, crushed, and it should be cut well. In this regard, the bevel is made small so that the blade is moderately thick.

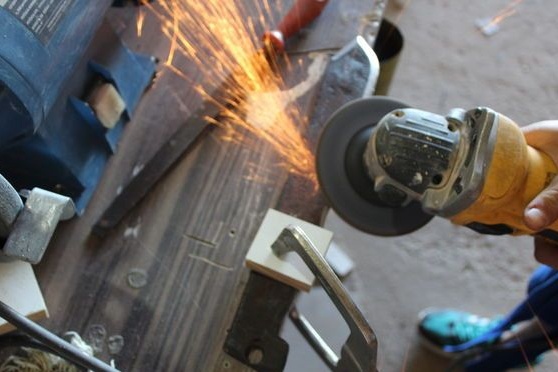
An interesting fact is that the author forms the bevels using an ordinary grinder and a grinding disc. Clamp the blade in a vise and get to work. If you have a good eye, you can even not mark anything. But it is best to mark the blade beforehand. Draw a line that indicates the width of the bevel. Also draw a center line along the length of the blade to divide it into two halves. This will allow evenly beveling the bevel on each side.
After rough formation of the bevel by the grinder, you can proceed to the final processing manually. Here you will need a set of files and sandpaper. Make the bevels symmetrical and sharpen the knife. But do not sharpen the blade too much, as the thin metal overheats when hardening. The author makes the tip of the knife sharp so that they can pick something up, unscrew it, and so on.
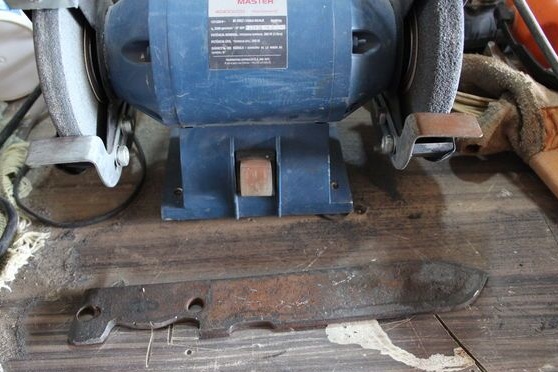
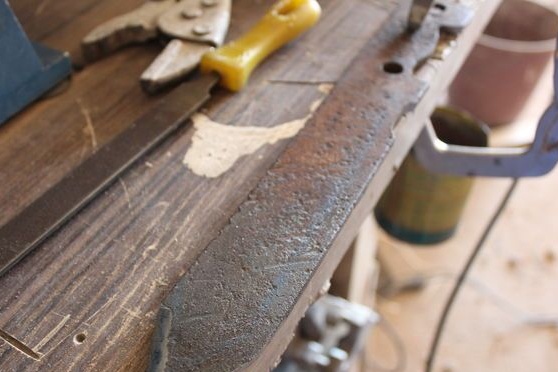
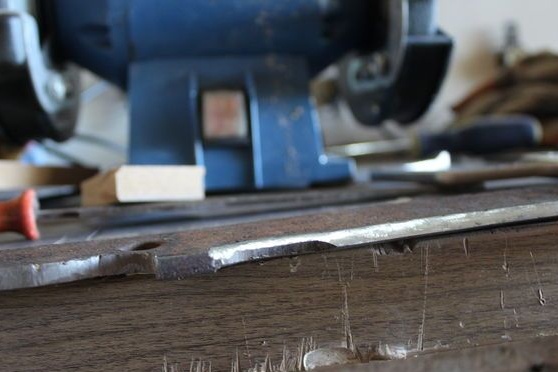
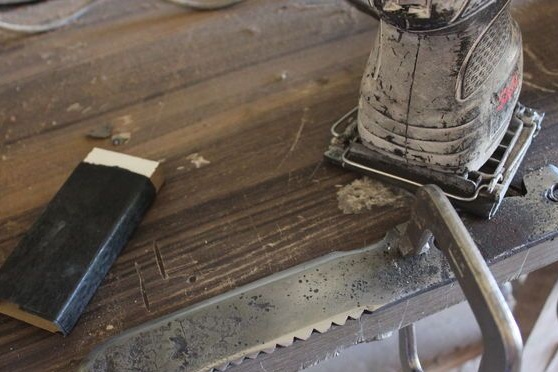
Step Four Knife grinding
At this step, the author cleans the workpiece before hardening. There was a lot of rust and other impurities on the metal. For work, you need a manual grinding machine, you can use a stationary tape machine, if available. If you don’t have a power tool, it’s okay, metal can also be processed manually.

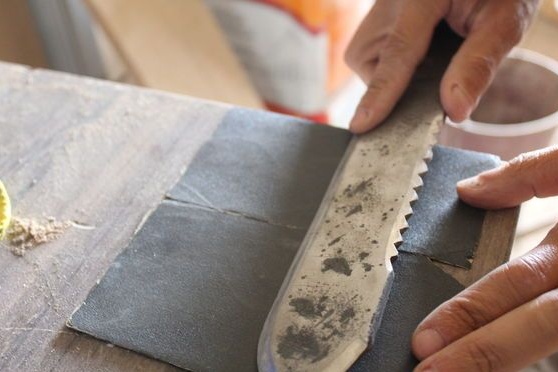

First, the knife is roughly polished with 80 grit sandpaper, then 300 and 400 grit, and at the very end it is processed with 600 units of sandpaper.
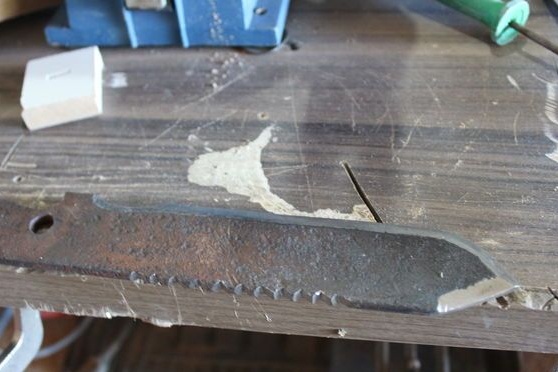
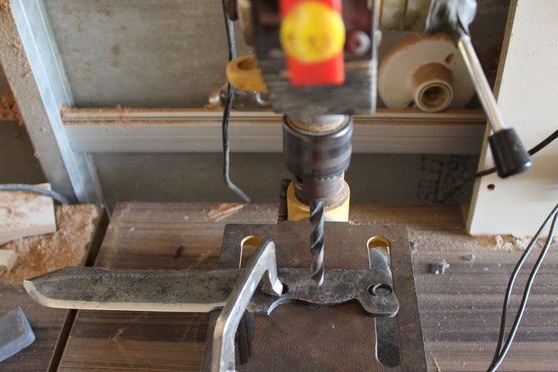
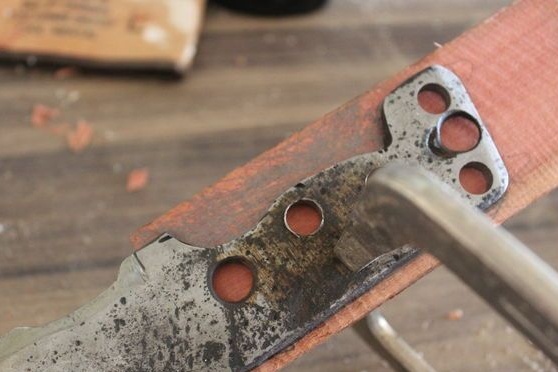
Step Five We drill holes for the pins
To install the pads on the handle, you will need a drilling machine or a hand drill. This work needs to be done before hardening, because when the metal is hardened, it will be very difficult for you to drill it. In total, at least two holes need to be drilled for the pins, the author decided to make three, since this is still a survival knife, everything should be tight. Also, at the end of the handle, the author drilled three more holes just in case. Using them, you can tie a knife, if necessary.

Step Six Quenching
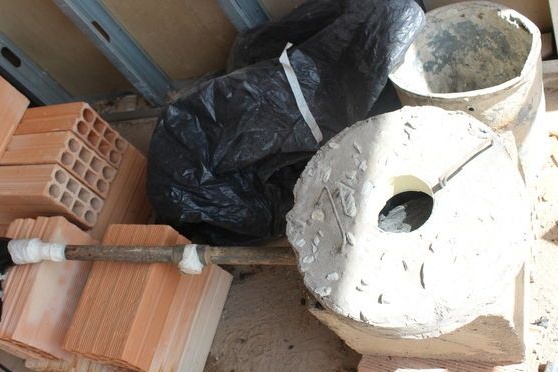
To harden the knife you will need a furnace. A good temperature can be obtained in ordinary coals, only you need a forced air supply, which can be done with an ordinary household hairdryer.
I note right away that only steels with a high carbon content are suitable for hardening.
We heat the metal until it completely ceases to be attracted by a magnet. In color, it should become a bright yellow color. It is important that the metal is heated evenly. Well, then we lower the metal to mining or to vegetable oil. Be careful, as oil sprays and usually lights up, a lot of smoke is also emitted.
After quenching, a vacation should be mandatory, this step should not be neglected. You will need a household oven, heat it to a temperature of 200 degrees Celsius and place the knife for an hour. Let the oven cool with the knife. Everything, now the steel will not be brittle, it will become elastic and the knife will not break when it hits the ground, stone, and so on.
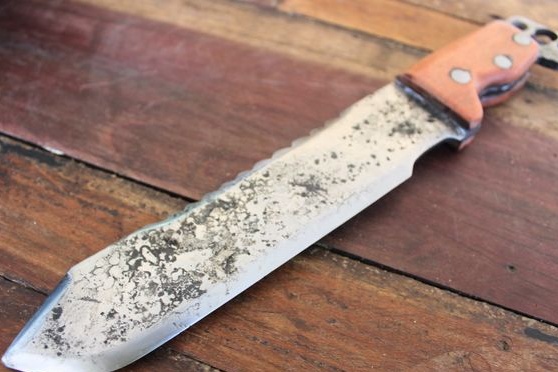
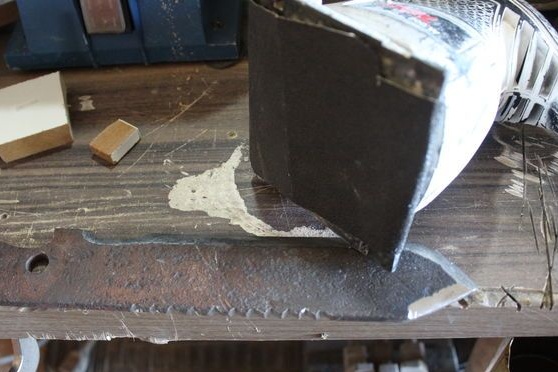
Seventh step. Metal cleaning
After quenching, the metal will have a lot of burnt oil, scale and other contaminants. You have to thoroughly clean them with sandpaper. Simplifies this process of the WD-40. Take a coarse emery cloth and sand with it the part where the handle pads will be located. This is done so that the epoxy adhesive adheres well to the metal.
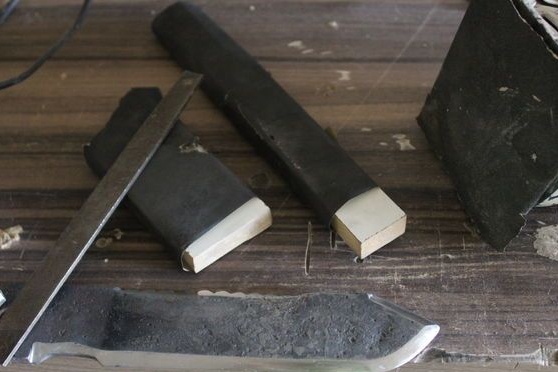
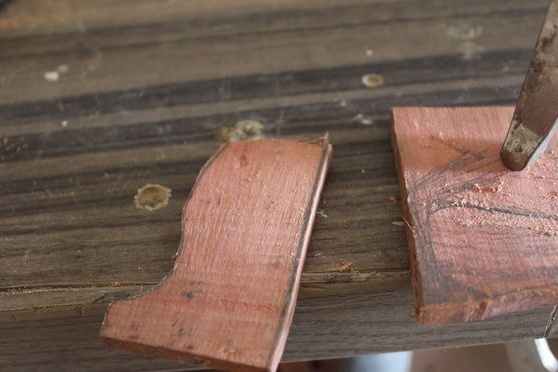
Step Eight. Make a pen
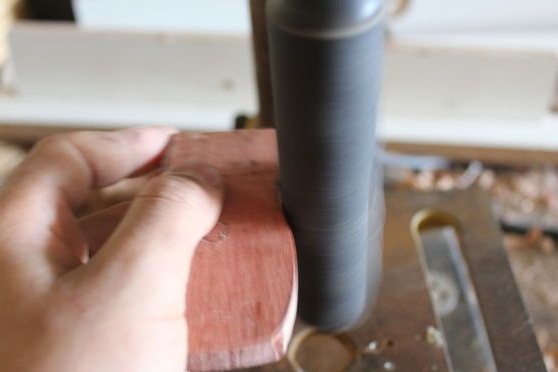
The author makes pads on the handle of wood. Place the blade on the tree and circle the handle area. Cut two pads. Next comes the process of grinding workpieces. To grind all the bends well, make yourself a nozzle made of sandpaper on the drill, like the author’s. In addition, you may need files, sandpaper. Make the pads on the handles smooth.

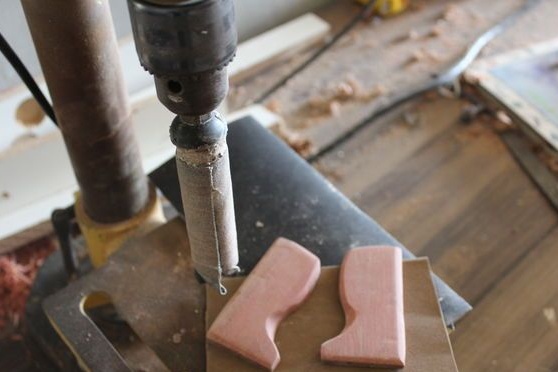
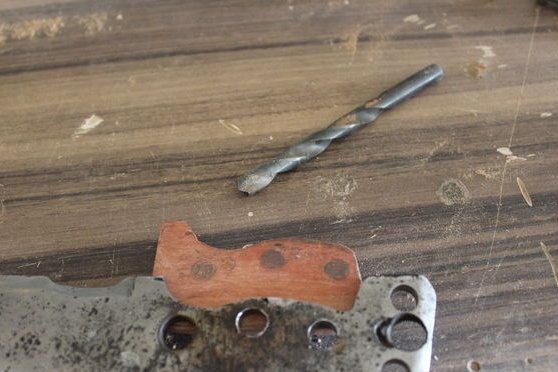
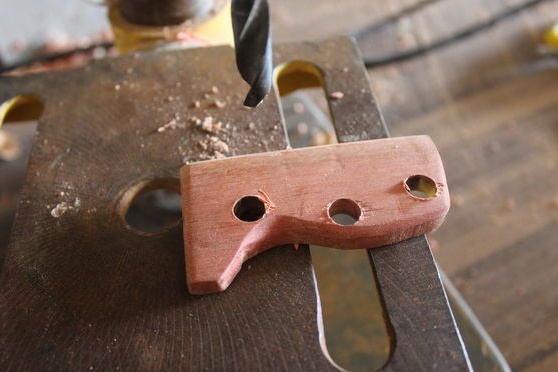
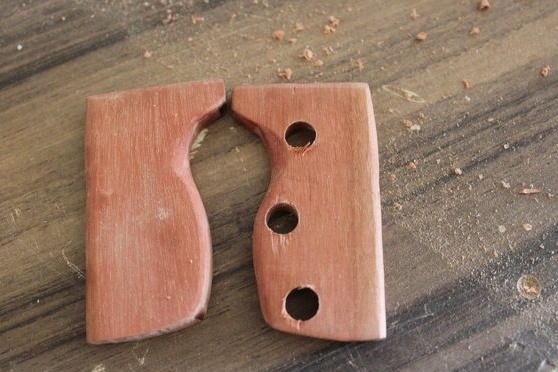
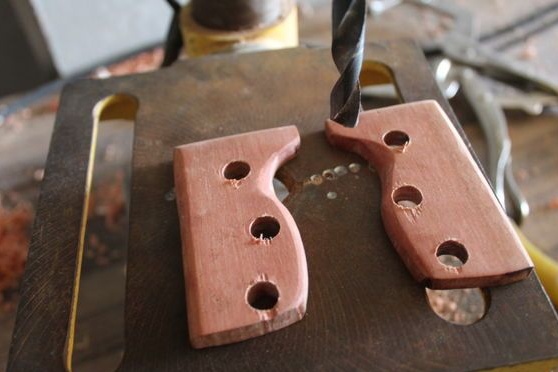
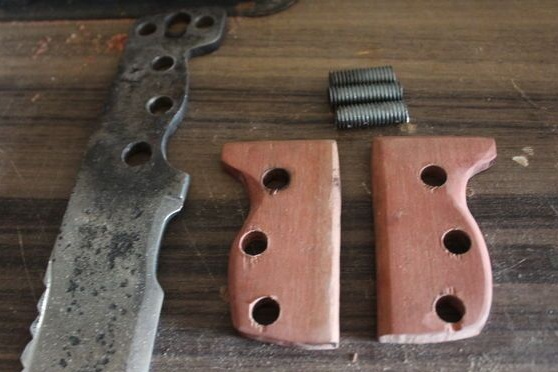
As pins, it was decided to use steel screws. It is simple and reliable. Drill holes in the covers and insert the bolts. With some margin, then cut off the excess.
Step nine Collect the knife
The knife is almost ready, we just have to glue the pads, final polish, and also sharpen the knife.
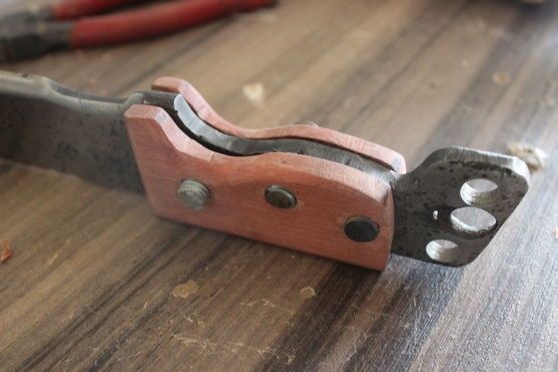
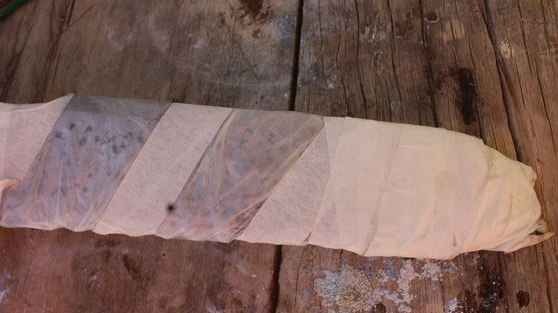
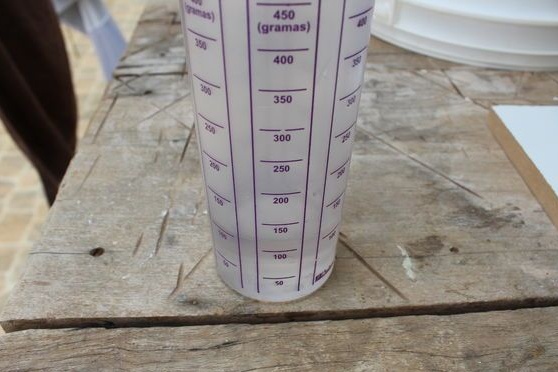
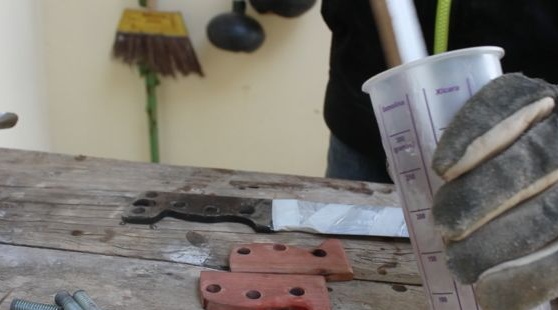
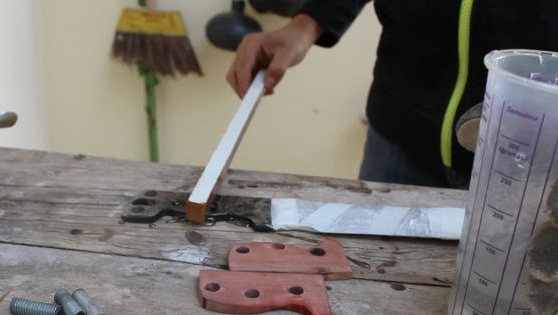
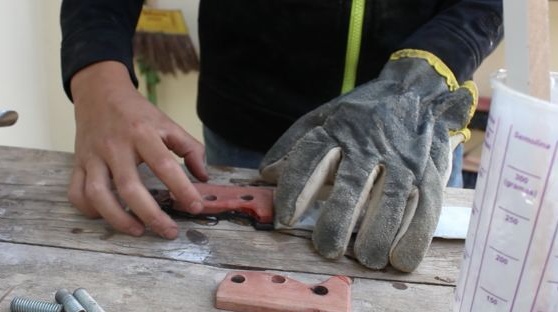
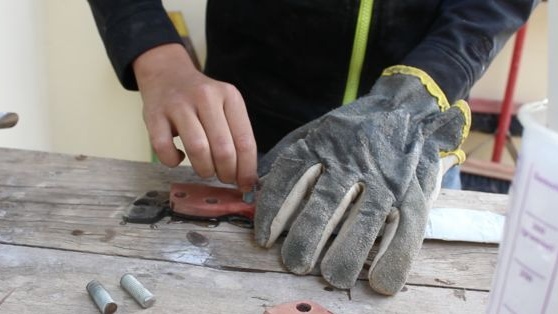
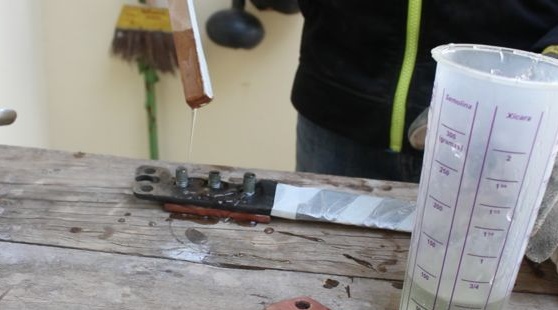
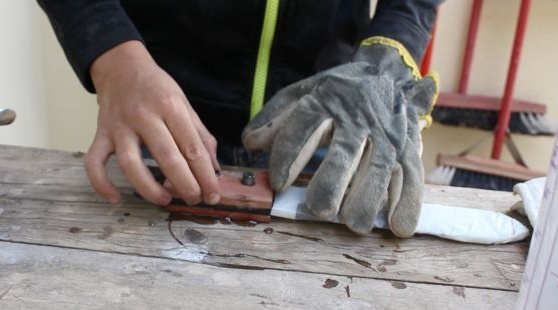
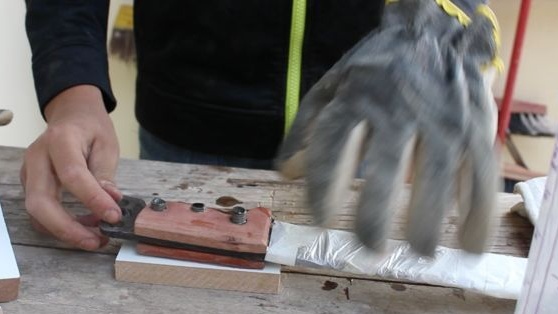
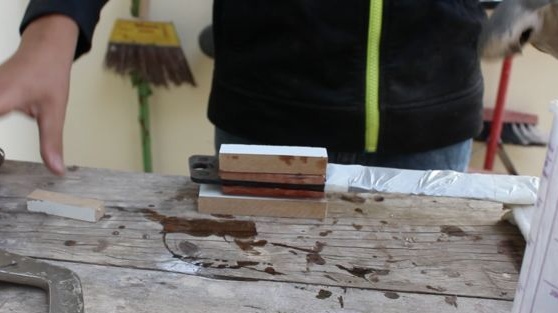
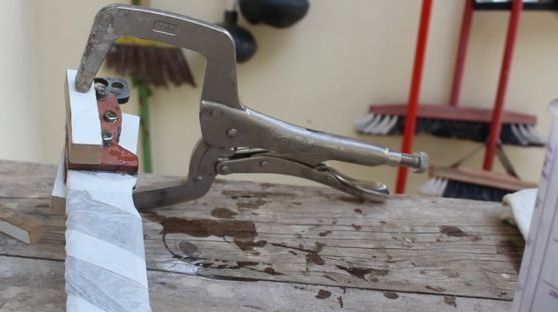
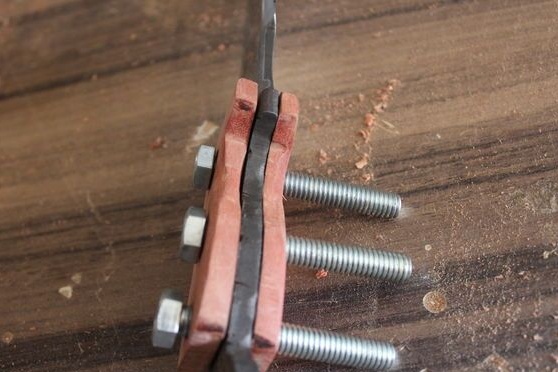
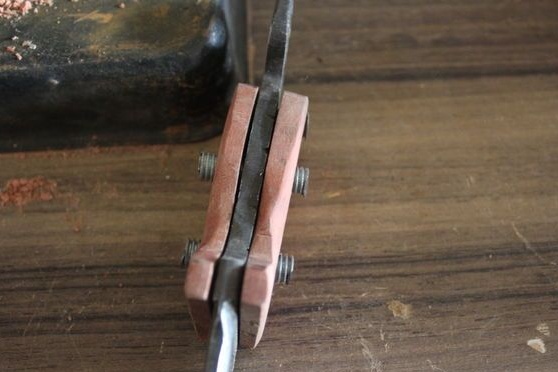
We take an epoxy resin, mix with a hardener and put on metal. Then we collect the pads on the pins and carefully squeeze the handle with a clamp. Epoxy glue dries during the day, leave all work with the knife for this time. The exposed drops of glue you need to remove, so as not to peel them off later.

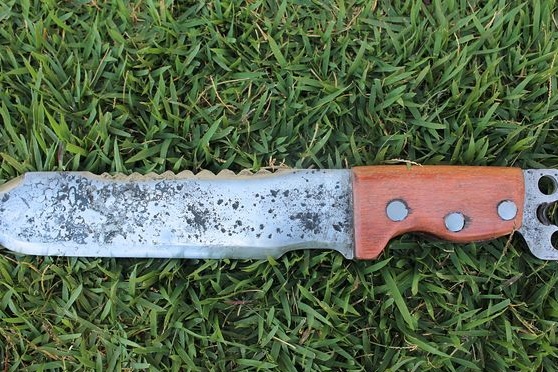
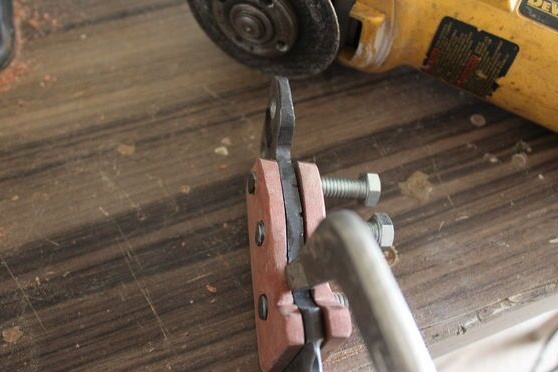
When the glue dries, proceed to the final grinding. The task will be to remove the remaining glue, and also grind the pins flush with the pads. We work hard with sandpaper and achieve the desired result. When the handle is fully prepared, soak the wood with linseed oil to protect it from moisture.
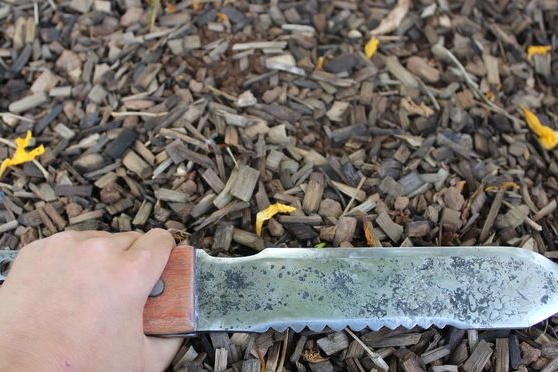
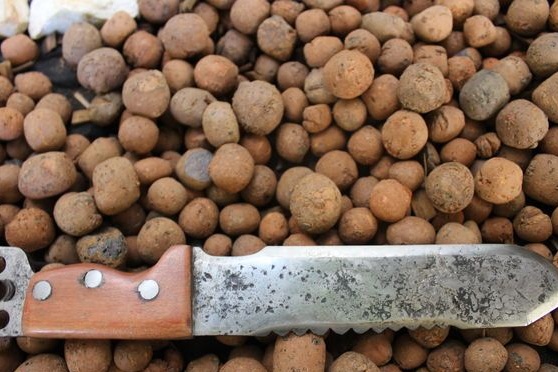
That's all, the knife is ready. Bring it to perfect sharpness with a fine sandpaper or water stone.
Good luck and take care