
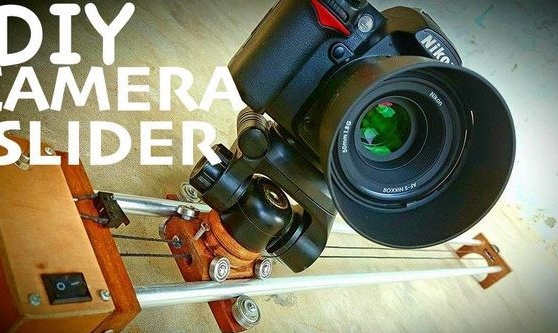
* Slider - a tool for video shooting, allowing the camera to move smoothly in space, to slide. Allows you to quickly, easily and at low cost add the effect of camera movement.
In this article, the wizard will tell you how to make a slider. do it yourself. Making a slider for the master cost only $ 10.
Tools and materials:
-Board;
-Plywood;
-Rule;
-Pencil;
-Miter saw;
-A circular saw;
-Drill;
-Crown on wood;
-Drill;
-Rasped;
-Aluminum tube;
- Canvas for metal;
- Electric jigsaw;
-Grinder;
-Sandpaper;
-Bearings;
-Fasteners;
-Screwdriver;
-Clamp;
-Electromotor;
-Glue;
-Wire;
-Pulley;
- Painting tape;
-Varnish;
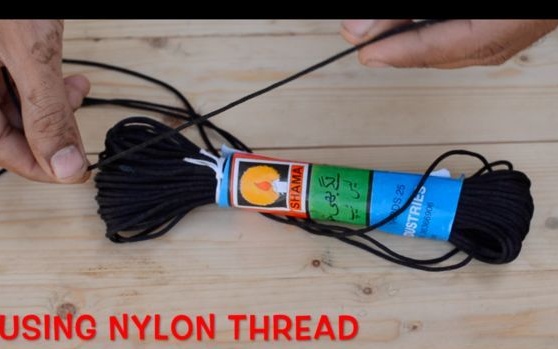
-Nylon cord;
-Connector;
-Switch;
-Potentiometer;
-Tumbler;
-Soldering iron;
- Limit switch;
-Thermotube;
-Lighter;
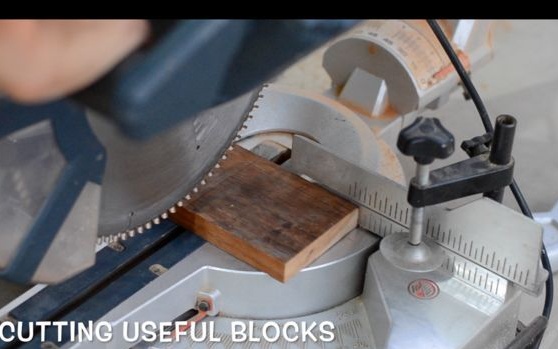
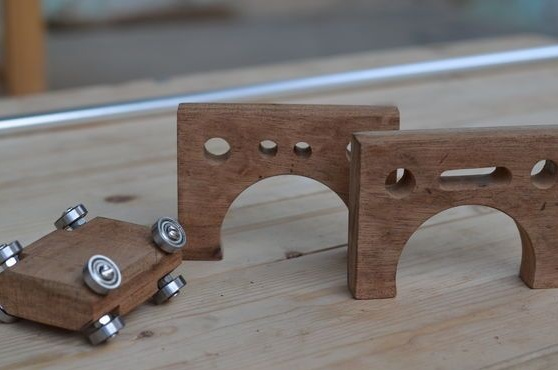
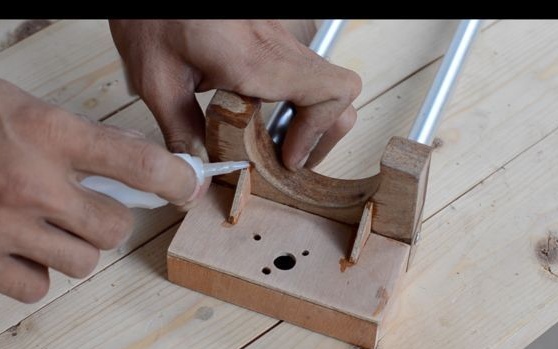
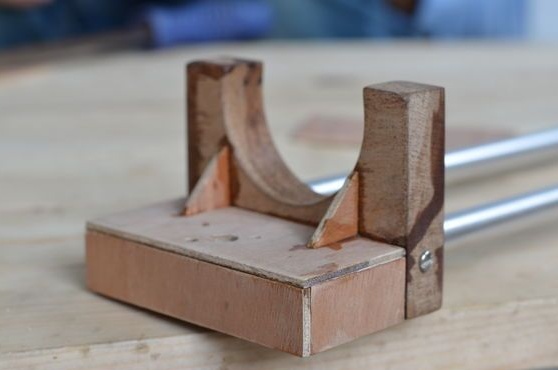
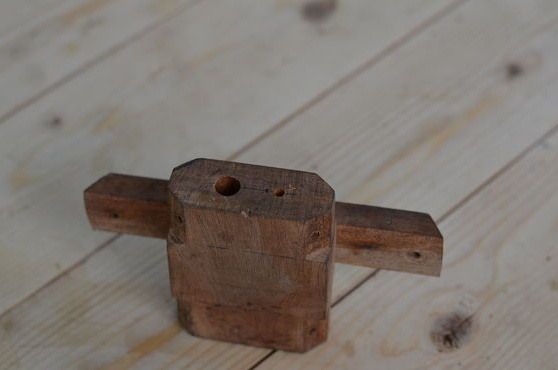
Step One: Racks
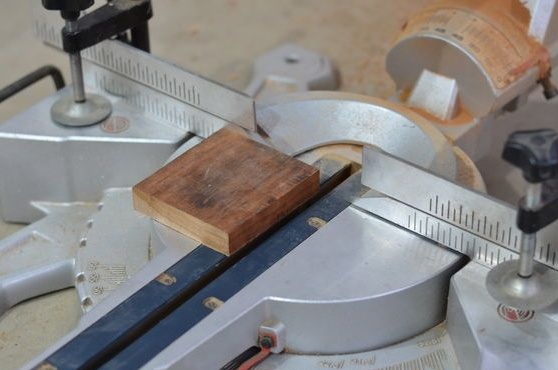
First, the author cuts off three wooden blocks.
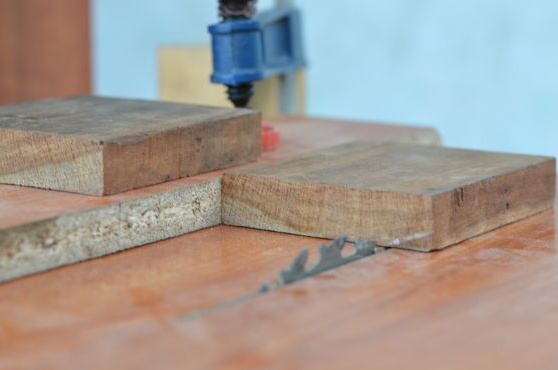
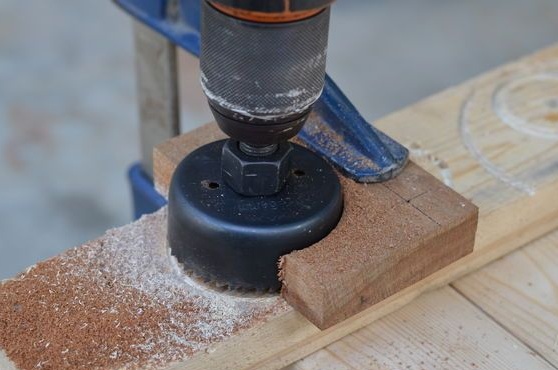
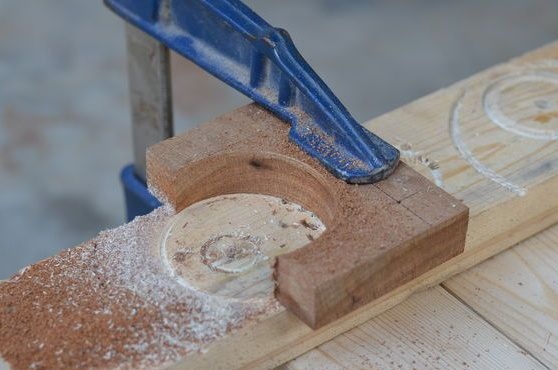
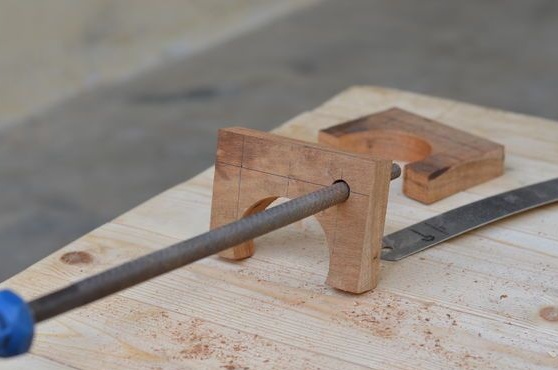
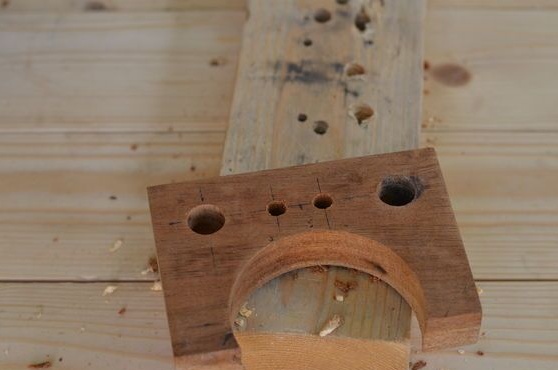
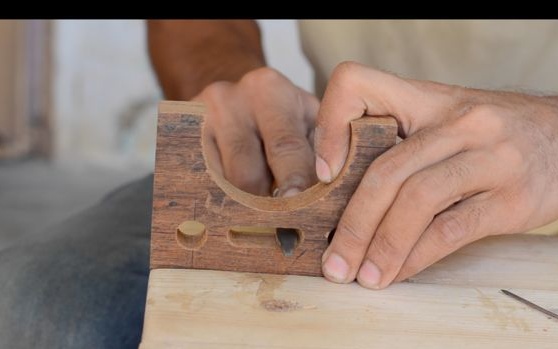
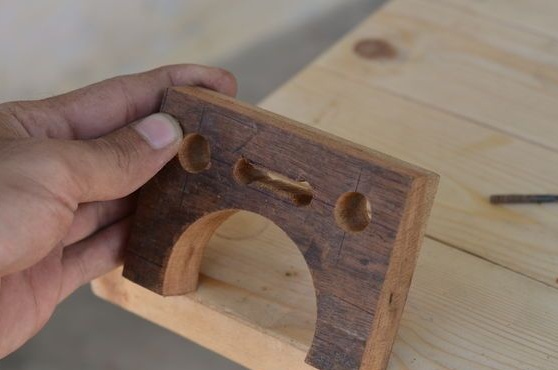
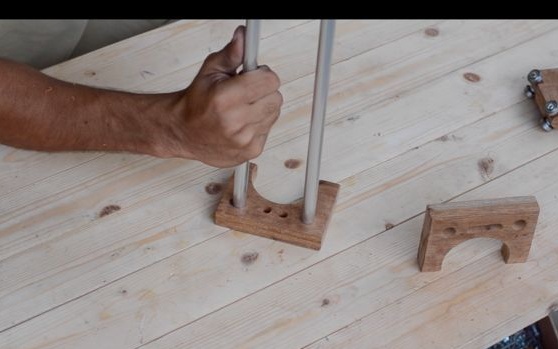
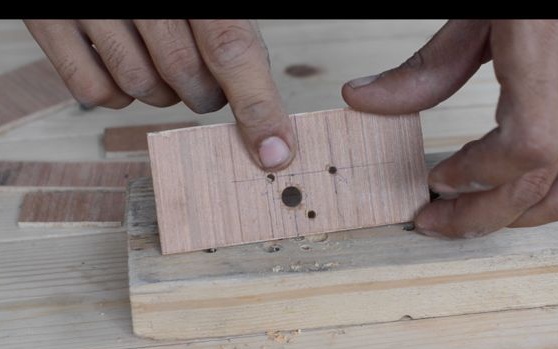
Two bars will be installed at the edges of the device. A crown makes cutouts in them.
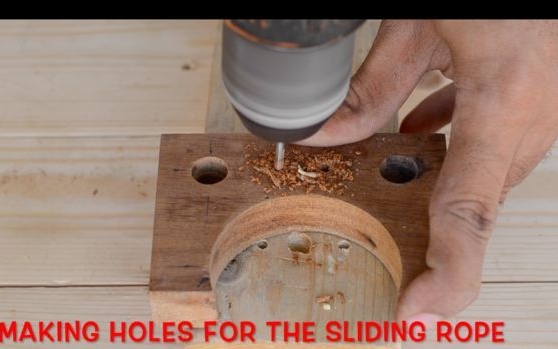
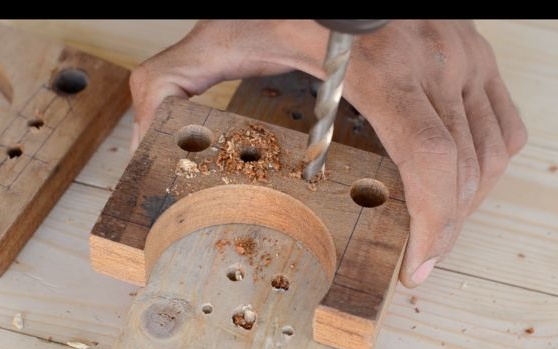
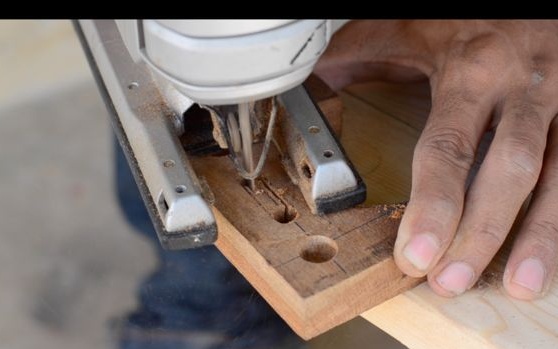
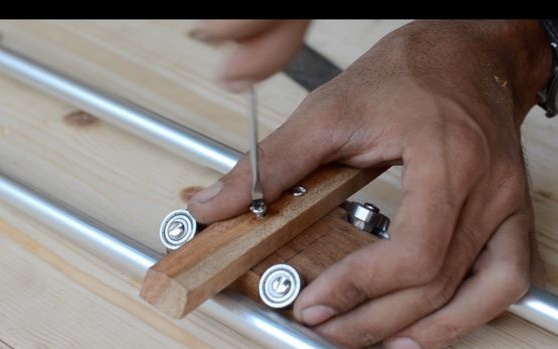
In the upper part at the edges drills a hole for the guides. Handles holes with a rasp.
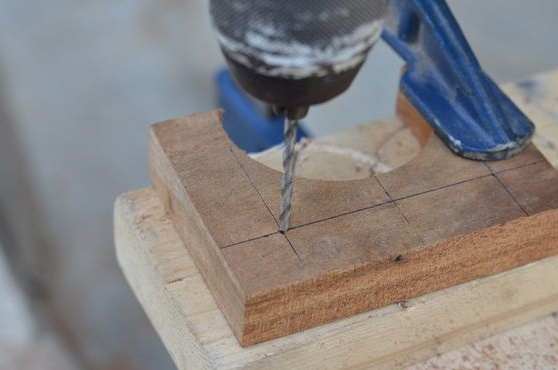
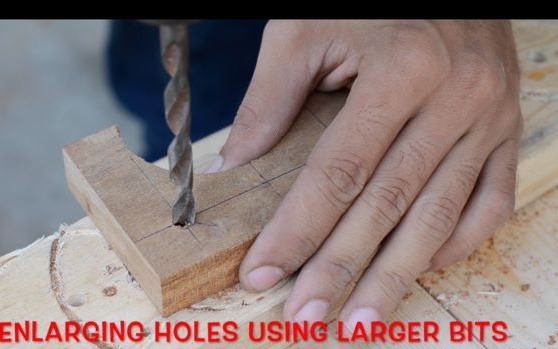
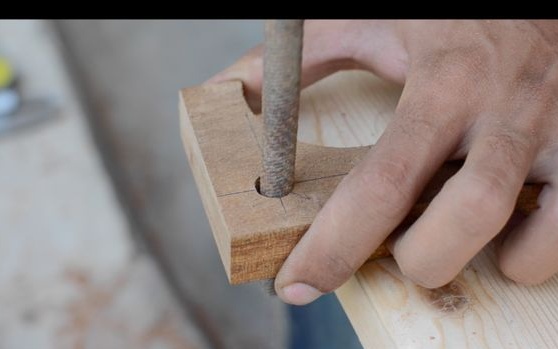
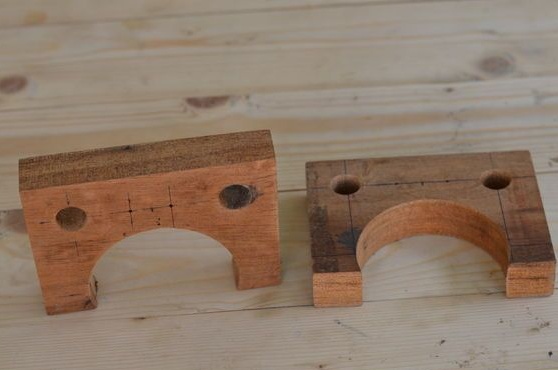
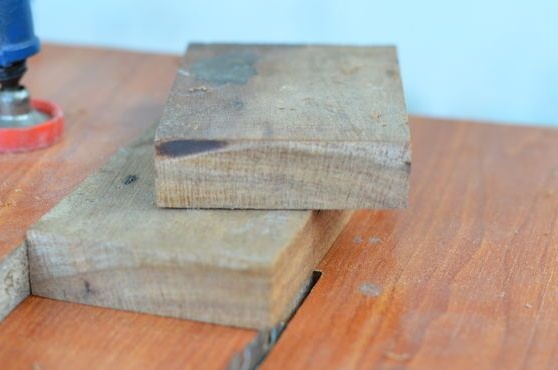
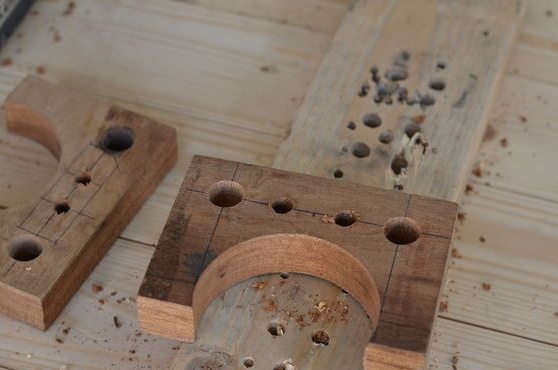
Drills two holes in each bar between the rails. Further, in one of the bars between the holes, a partition is cut with a jigsaw (see photo).
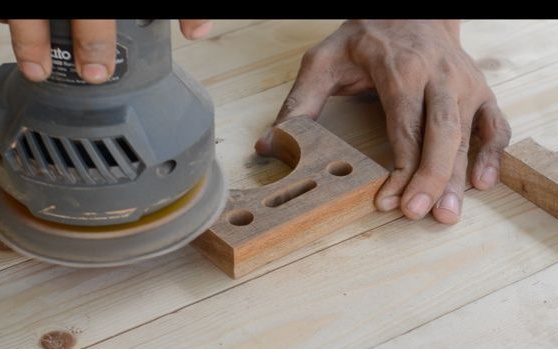
Grinds racks.
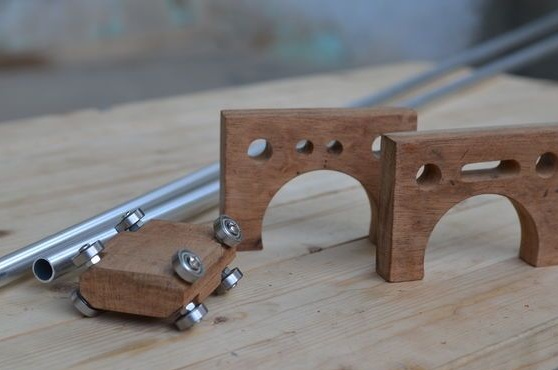
Step Two: Guides
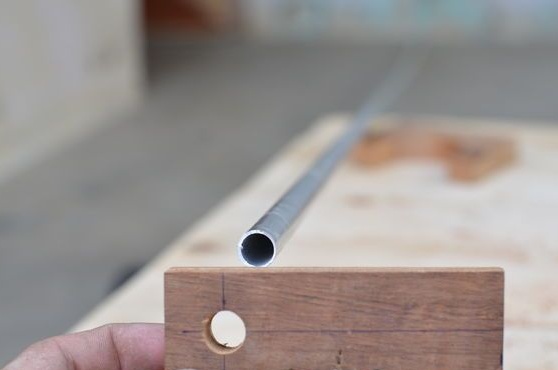
The author made guides from an aluminum tube. Cut off two tubes of the desired length.

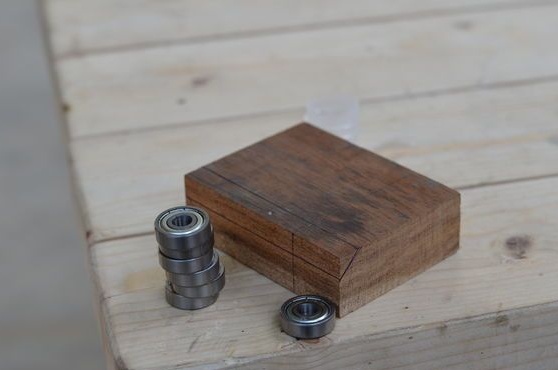
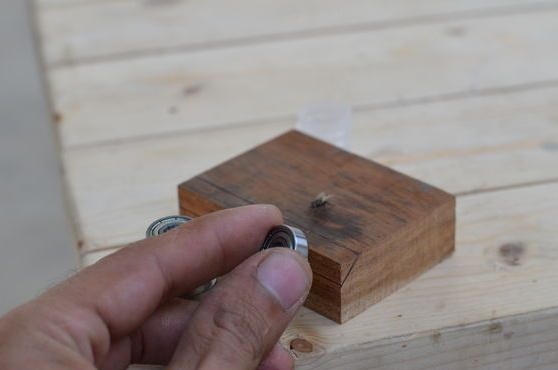
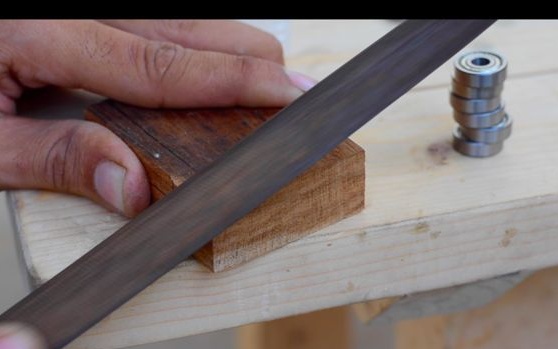
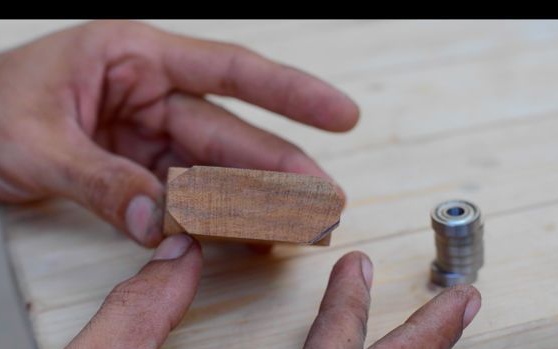
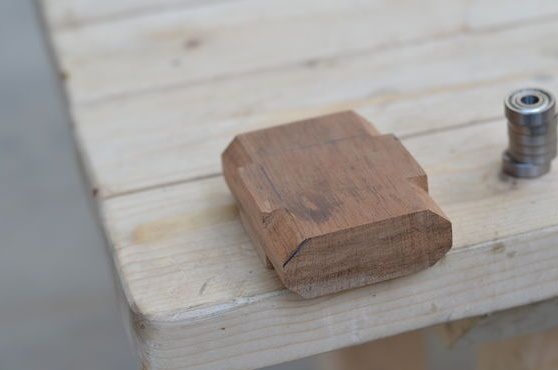
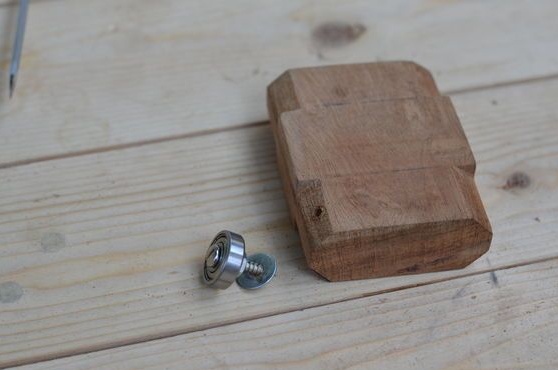
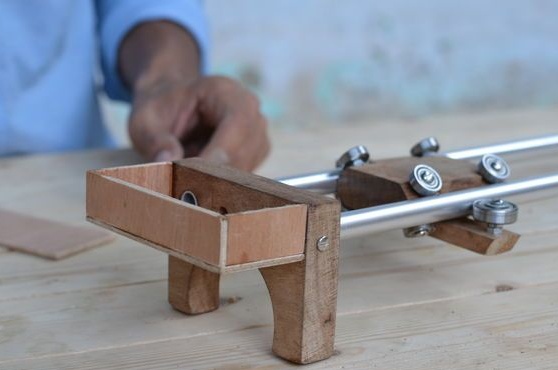
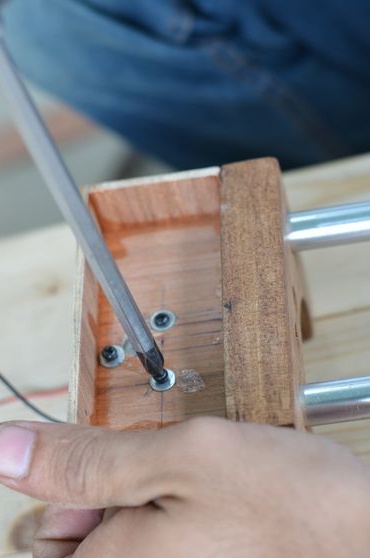
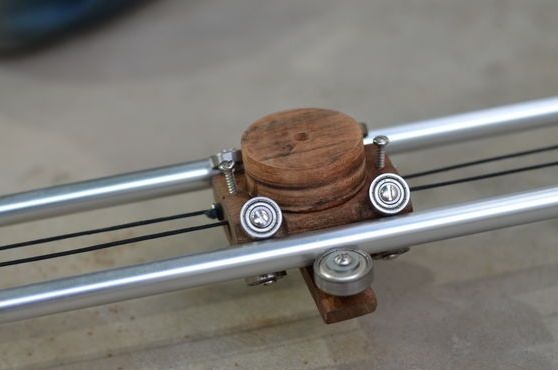
Step Three: Platform
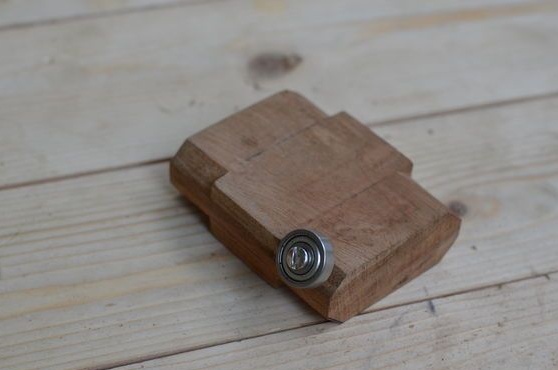
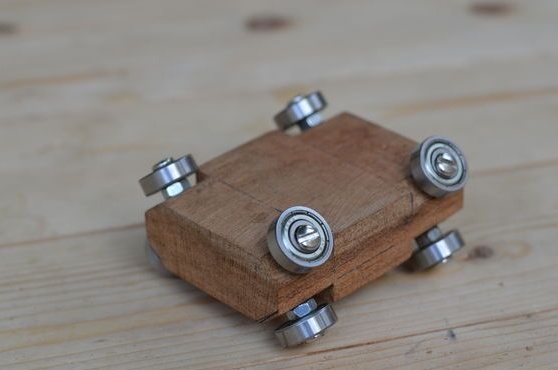
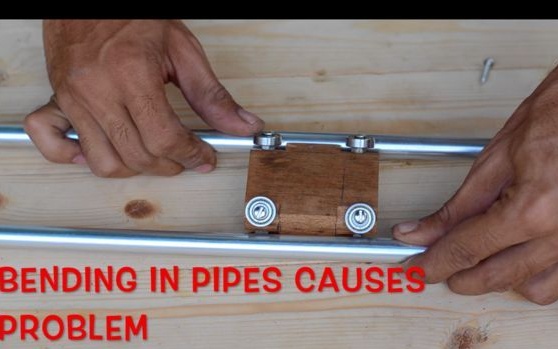
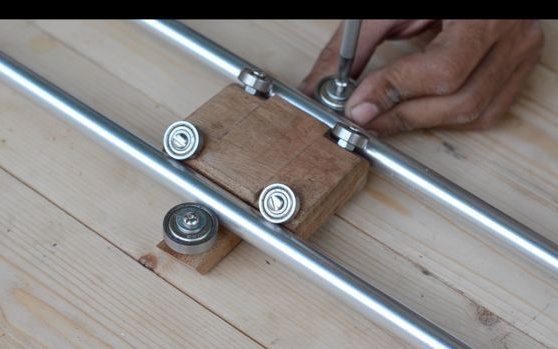
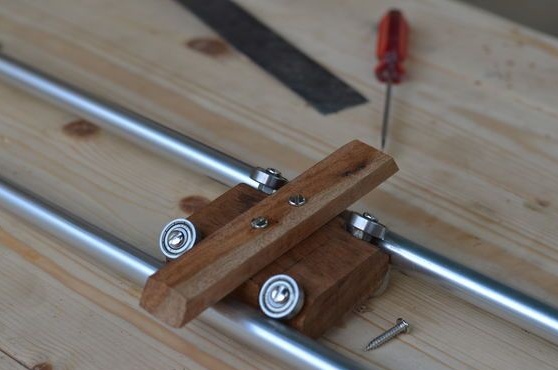
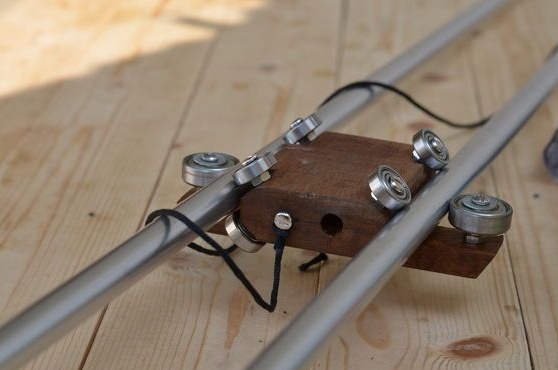
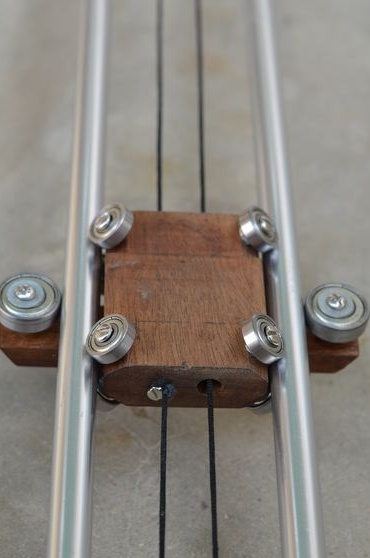
The master made the slider platform from the third bar. I cut the bar to the desired size. The corners of the platform were sharpened at 45 degrees. A bearing was mounted on each corner. It turned out a platform with eight bearings.
Fourth step: racks, rails, platform
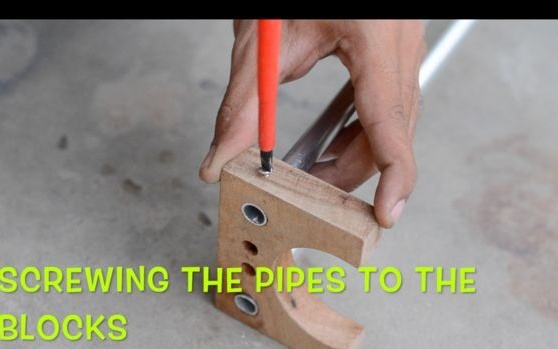
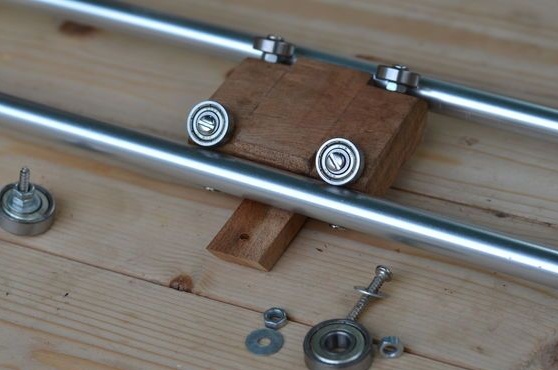
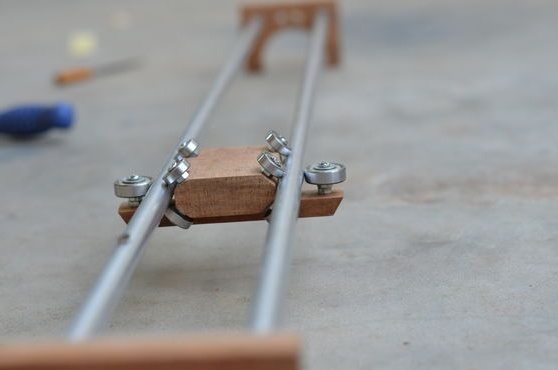
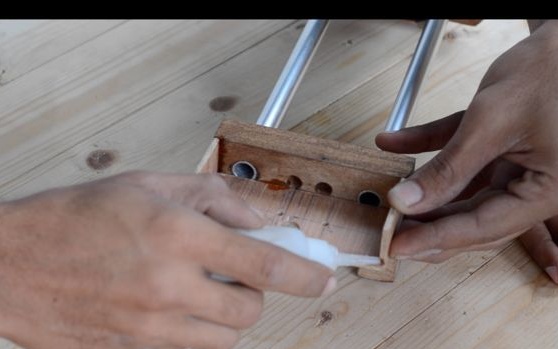
Installs guide tubes in one of the racks. Between the rails sets the platform. Installs a second rear pillar with an oval neckline. Guides at the edges are fixed with screws.
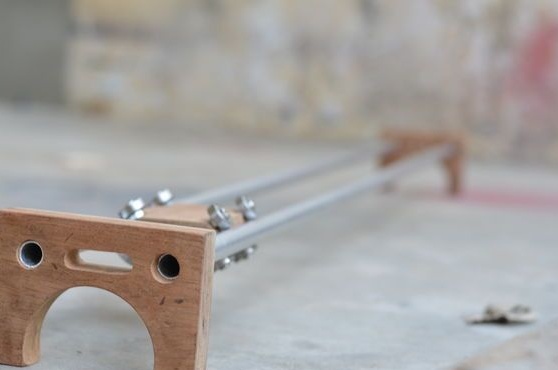
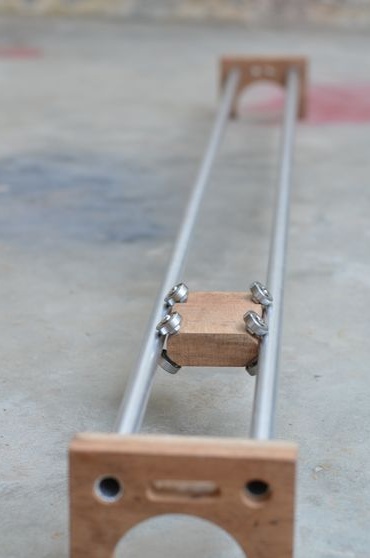
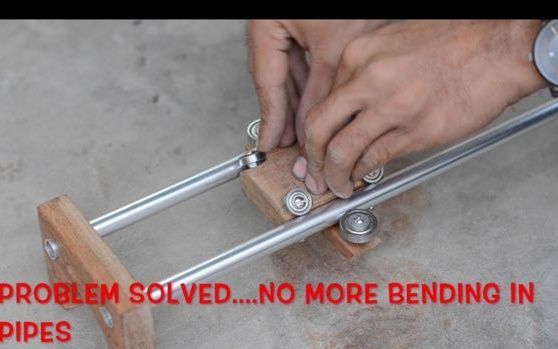
To prevent the rails from bursting, fixes a limit bar with bearings on the platform.


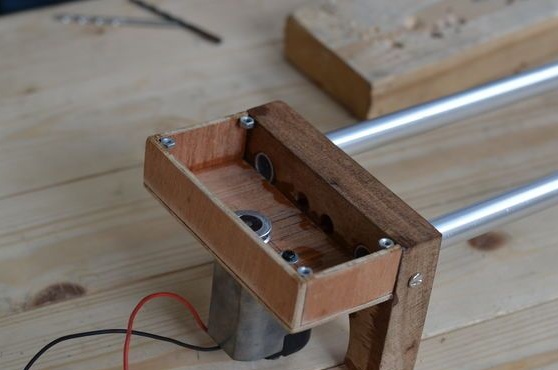
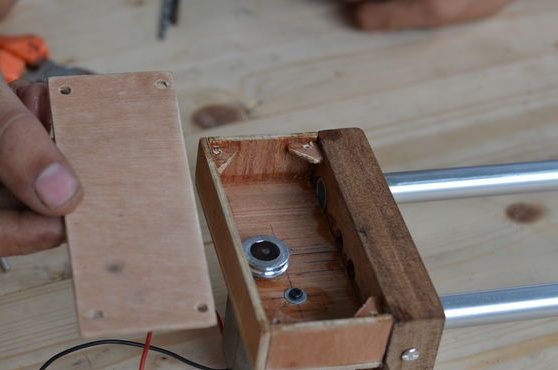
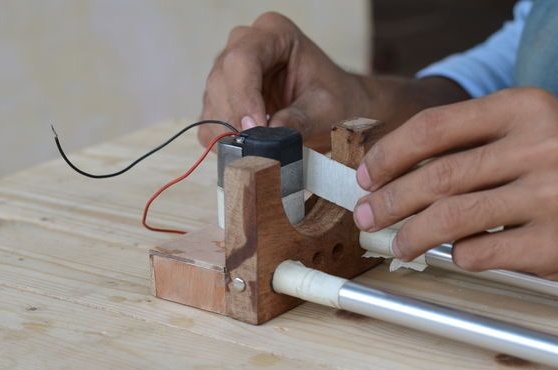
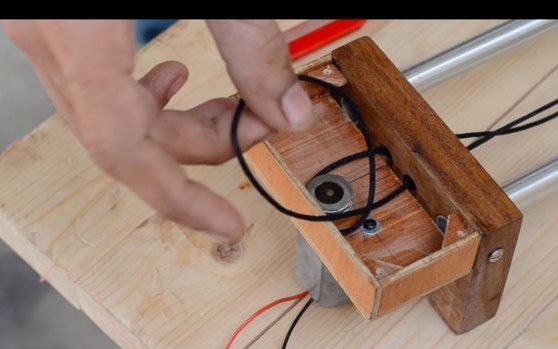
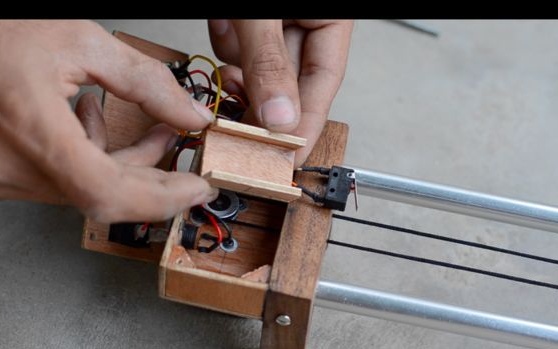
Step Five: Install the engine.
For the slider, the master used an 18 V motor with a gearbox and with an adjustable speed and direction of rotation.
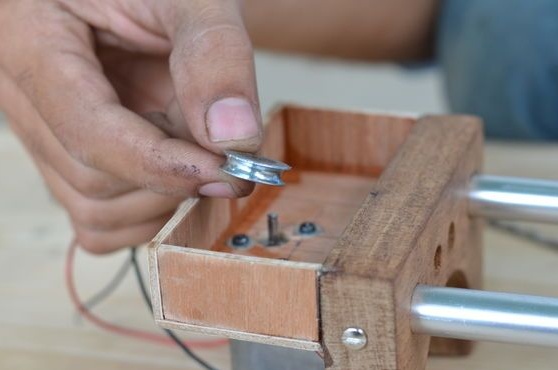
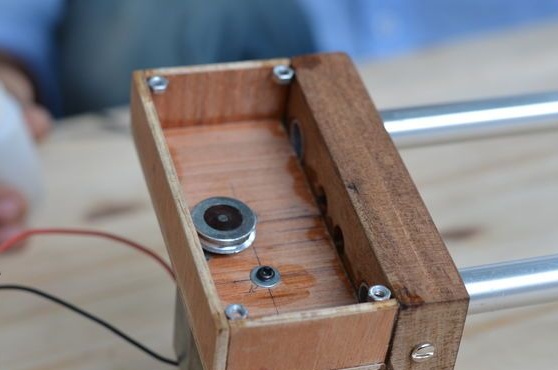
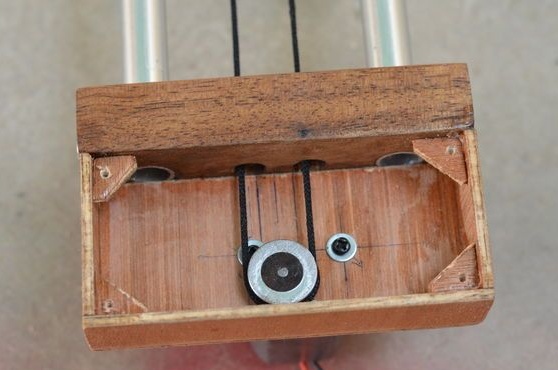
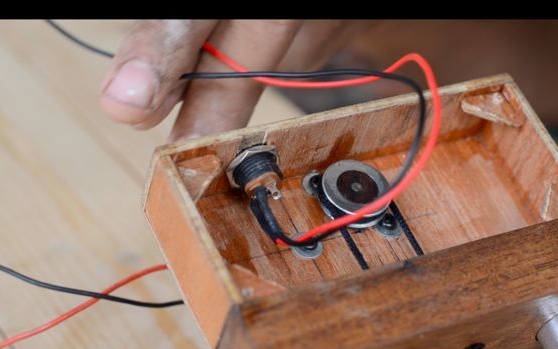
On top of the rack glues a box of plywood.The motor is fixed on the bottom of the box. The motor shaft protrudes into the box.
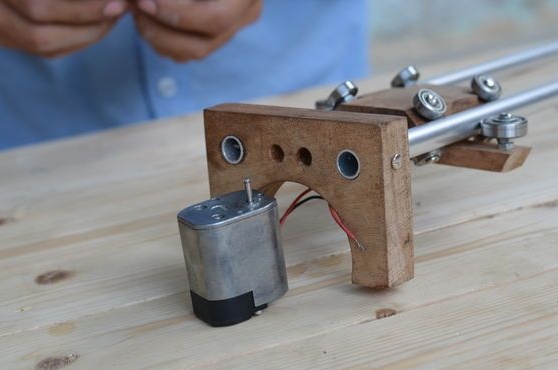

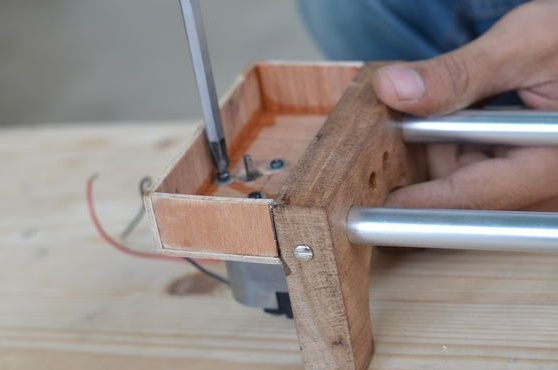
A pulley is mounted on the shaft.
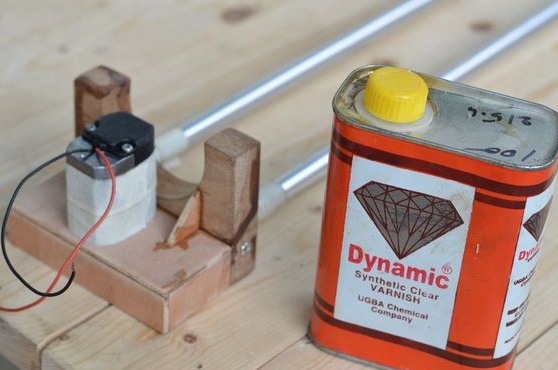
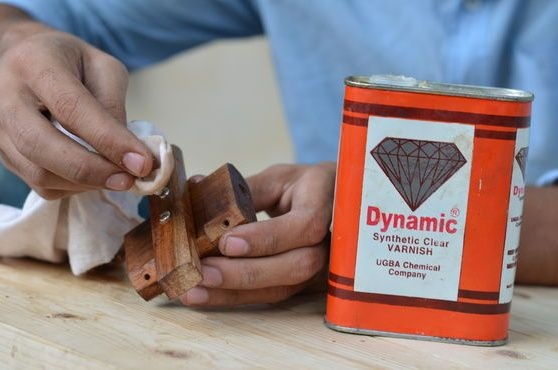
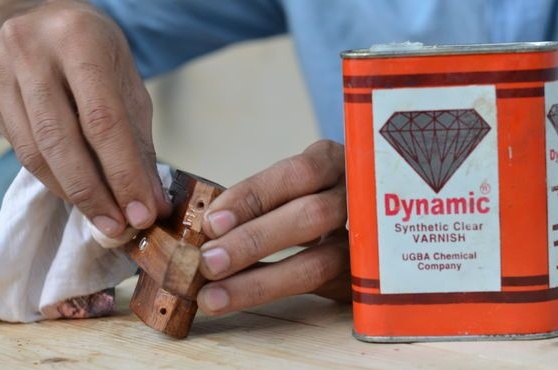
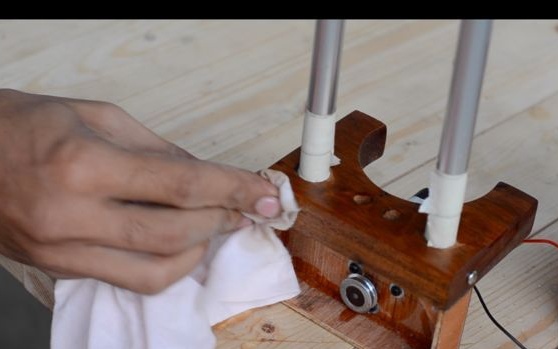
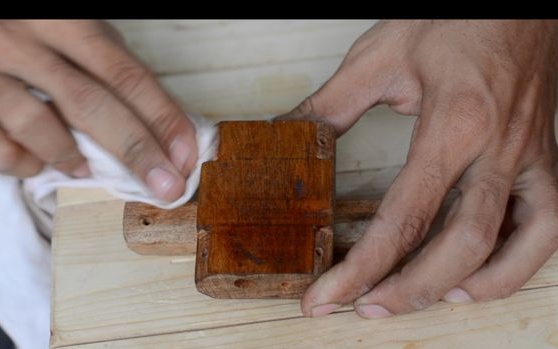
Step Six: Varnish
Covers wooden parts with varnish, having previously covered the engine and guides with masking tape.
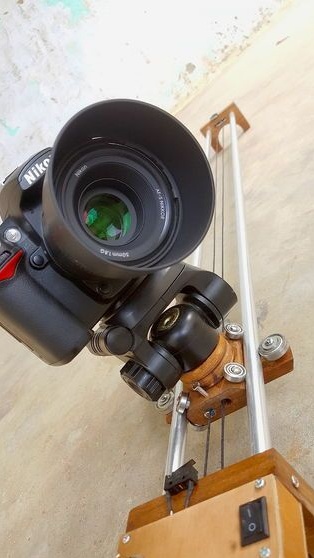
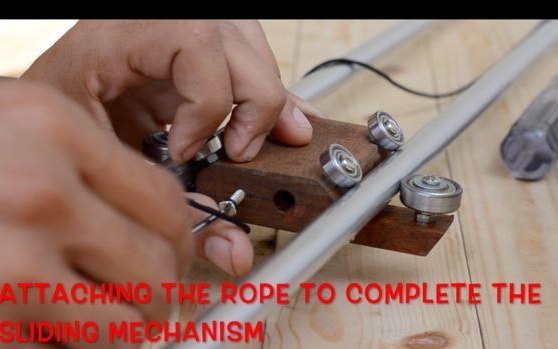
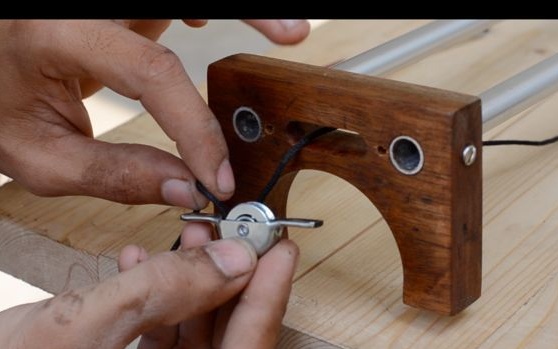
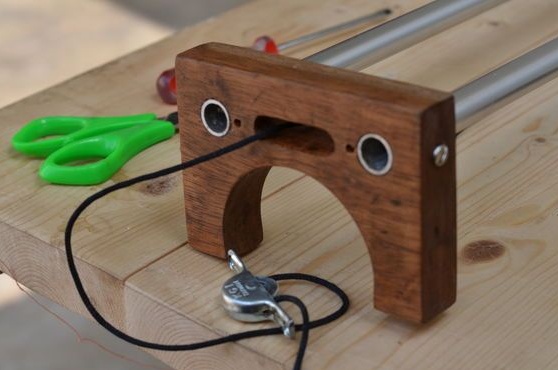
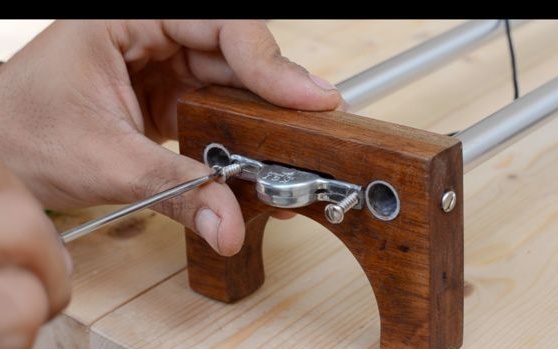
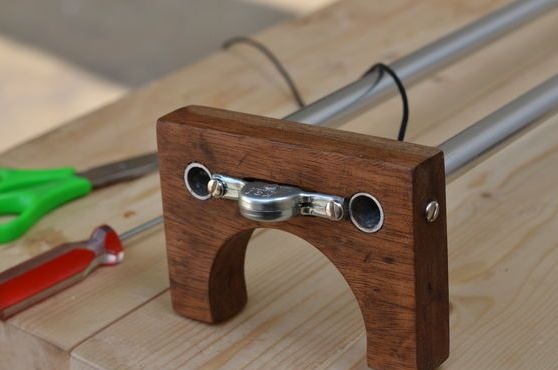
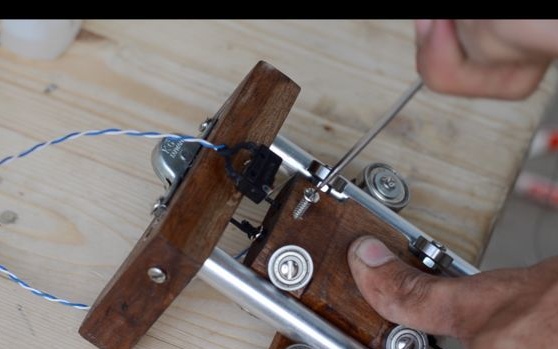
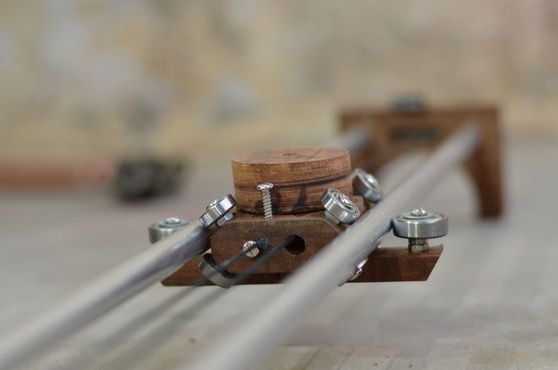
Seventh step: cord
The platform will move with a nylon cord. The master secures one end of the cord on one side of the platform. Pulls the cord into the hole in the front pillar. Wraps the cord twice around the pulley. Stretches into the second hole. Stretches the cord around the rear leg pulley. Secures the rear pulley. Fastens the other end of the cord on the other side of the platform.


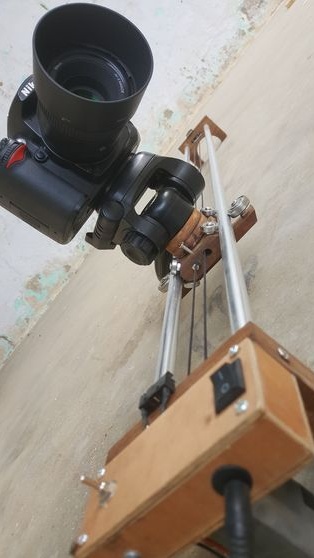
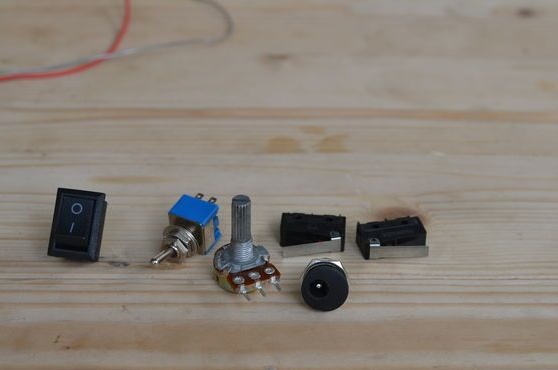
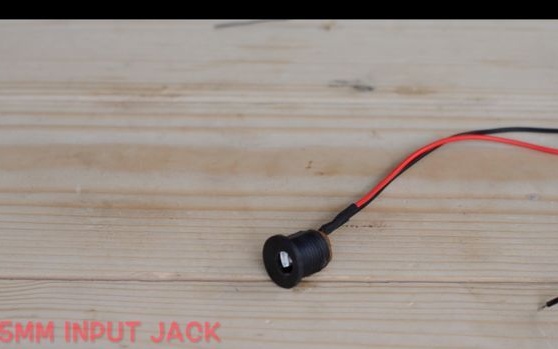
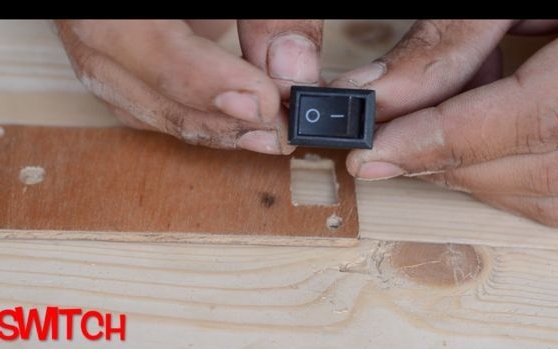
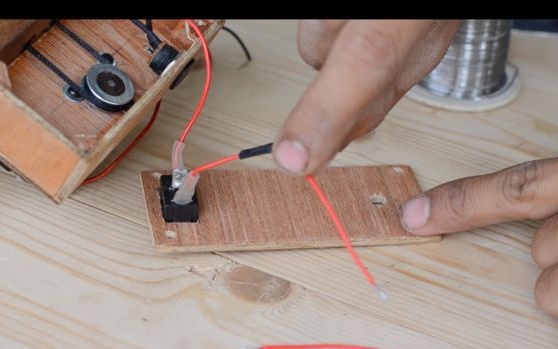
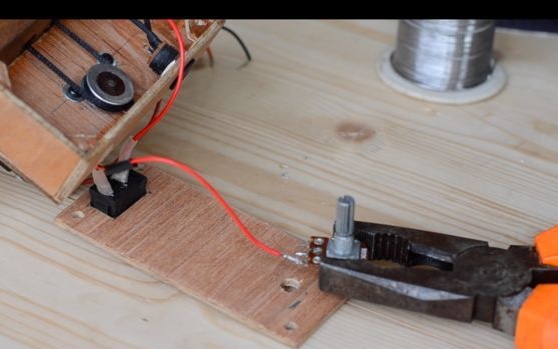
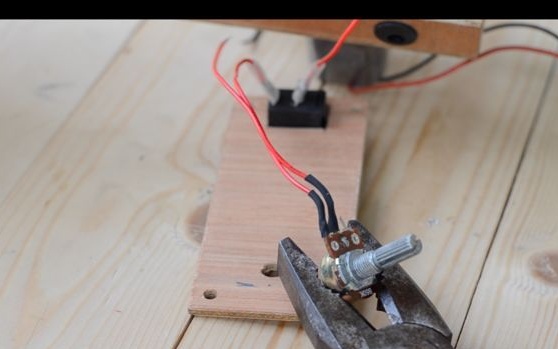
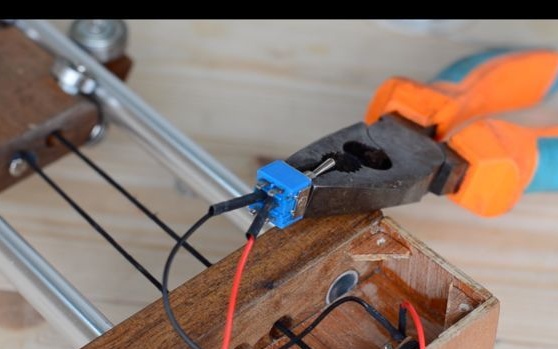
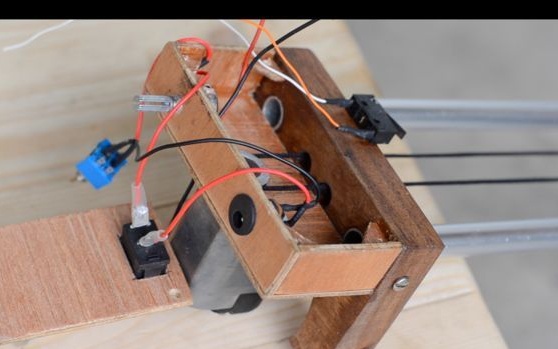
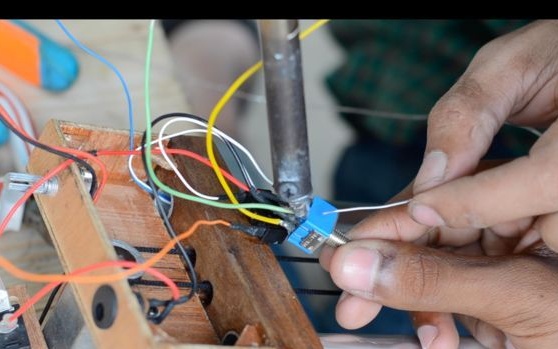
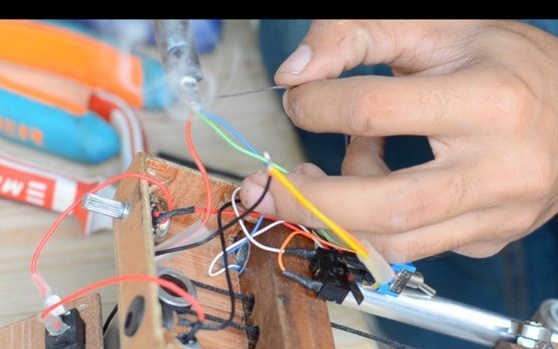
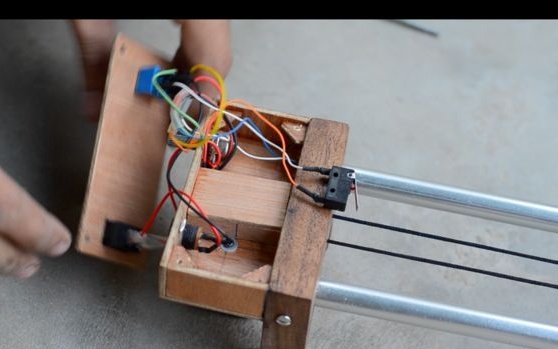
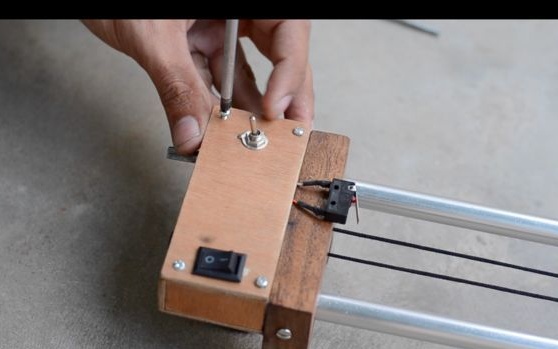
Step eight: electrical part
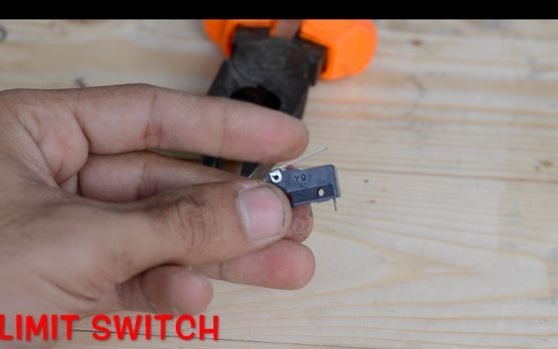
Mounts the electrical part. Sets the connector. Further, the power goes as follows: connector - switch - potentiometer (speed adjustment) - 3-position toggle switch (choice of direction of movement) - and through the limit switches to the engine. The limit switches serve to break the power circuit when the platform reaches the extreme rear or front point. The second wire from the connector is mounted on the toggle switch.

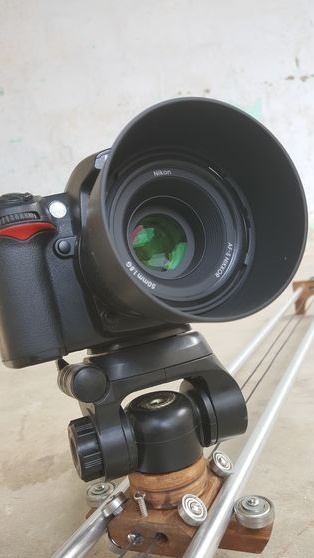
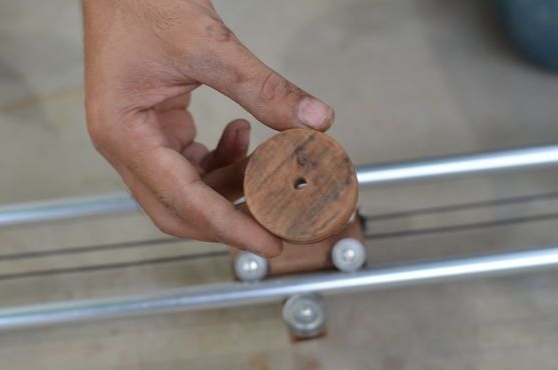
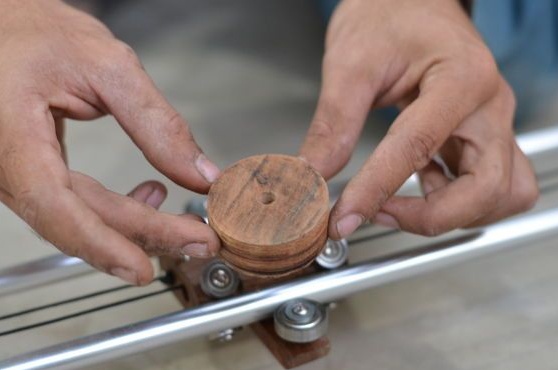
Step Nine: Installing the Camera
On the platform, the master glues a circle of wood. Screws the camera mount onto the circle.
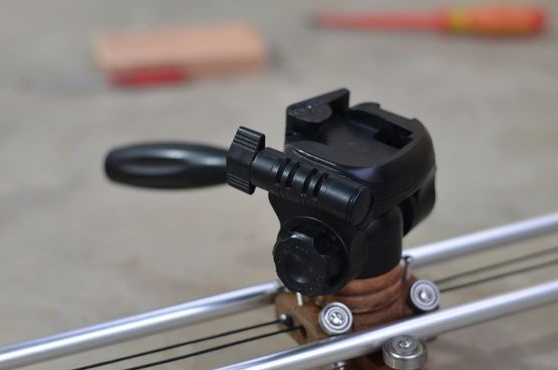
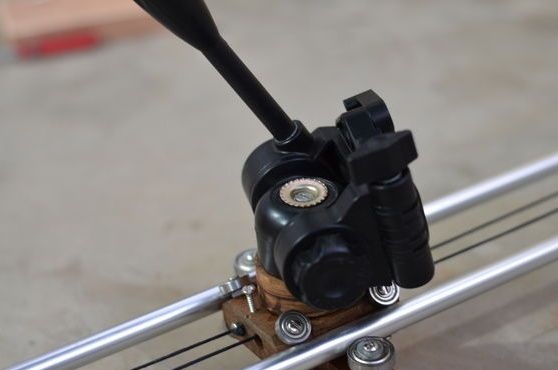
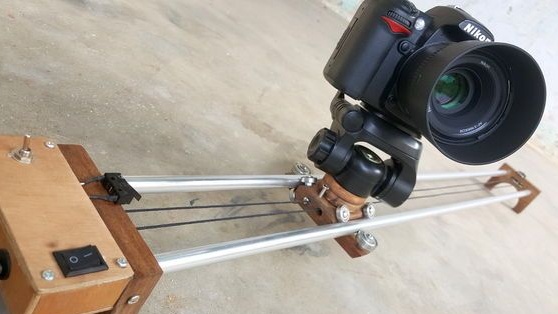
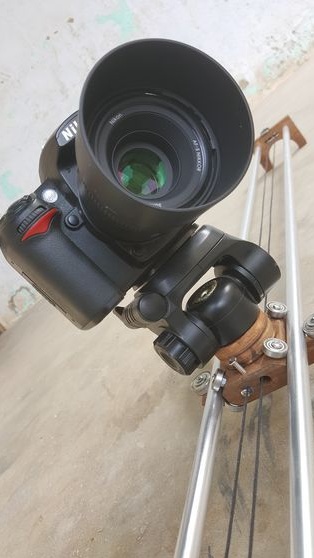
The slider is ready. The whole process of making the slider can be seen in the video.