
Consider, together with the master, how to make a miter saw for small carpentry.
For its manufacture, the master needed the following
Tools and materials
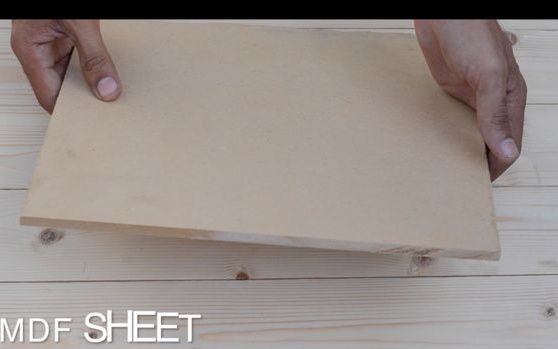
- MDF 10 mm;
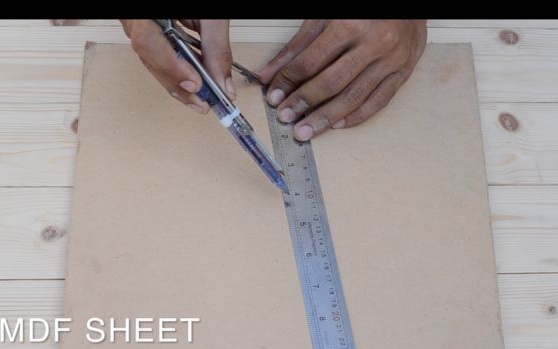
-Rule;
-Compass;
-Clamp;
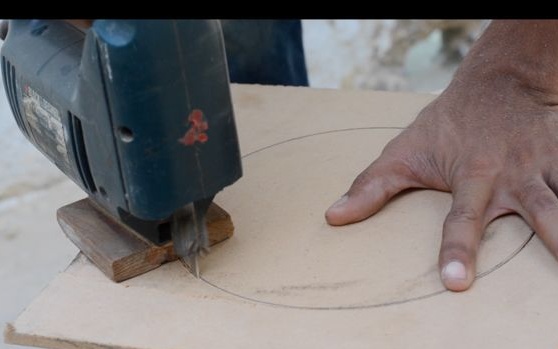
- Electric jigsaw;
- Canvas for metal;
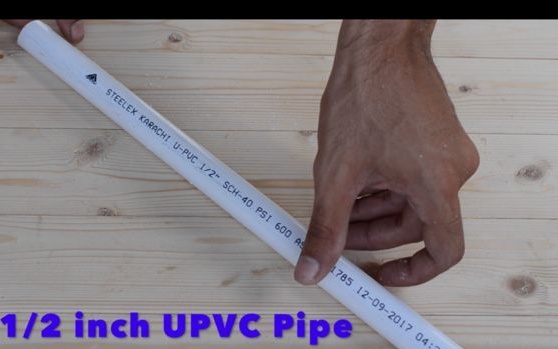
-Polypropylene pipe;
-File;
-USHM;
- Pliers;
-Glue;
-Bar;
-Hacksaw;
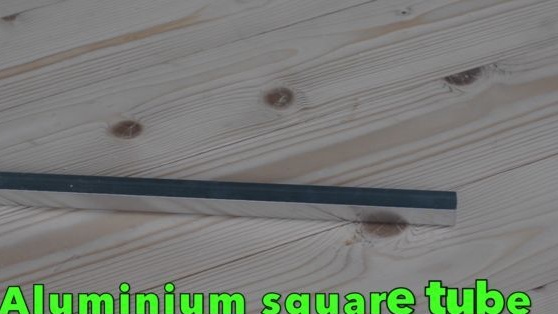
- Aluminum square tube 10 * 10 cm;
-Drill;
-Fasteners;
-Screwdriver;
- 12V engine;
-A circular saw;
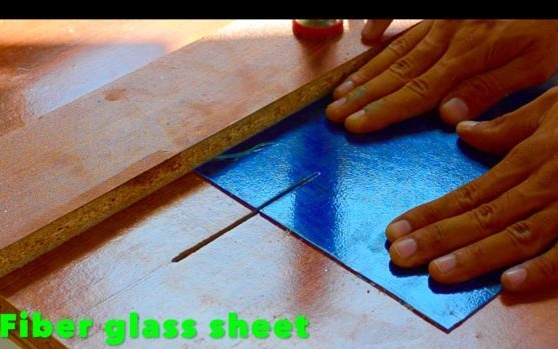
- fiberglass;
-Crown on wood;
-Nippers;
Coupling;
-Spring;
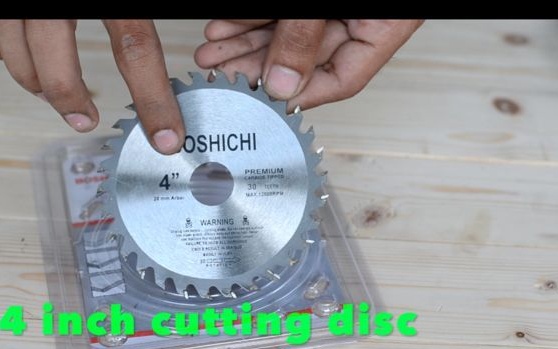
-Saw blade;
-Soldering iron;
-Switch;
-Thermotube;
-Lighter;
-Connector;
- The collar is plastic;
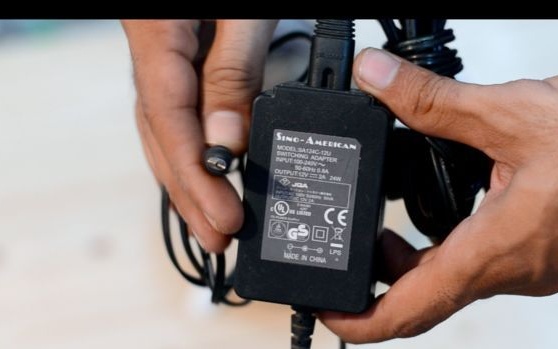
-12V power supply;
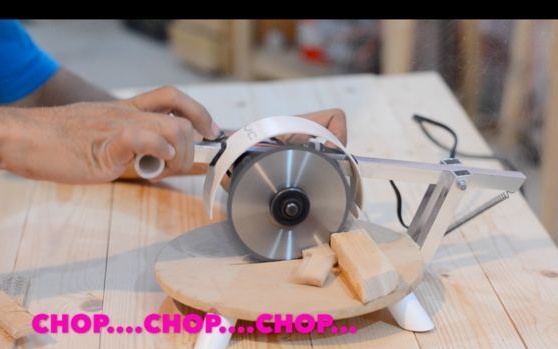
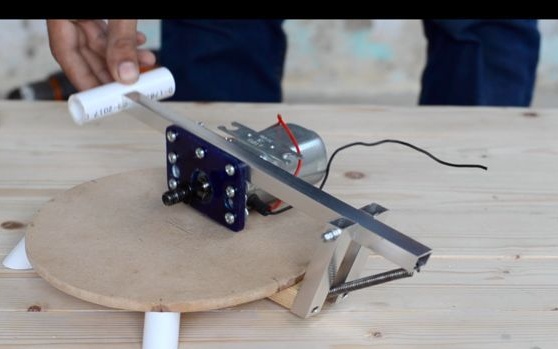
Step one: making a table
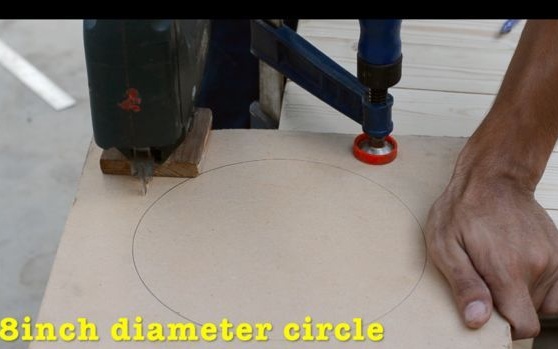
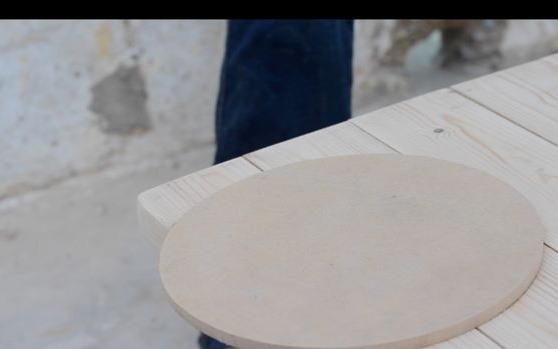
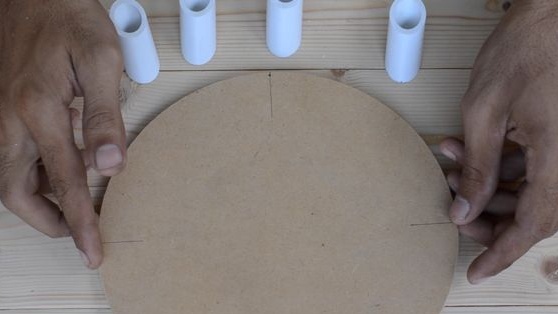
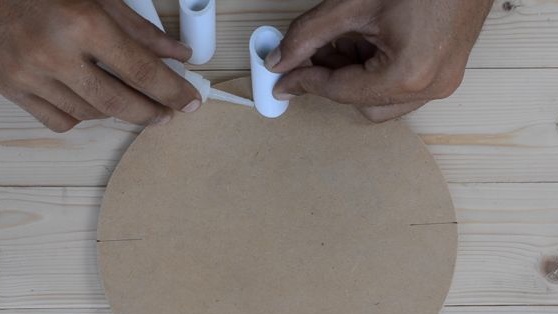
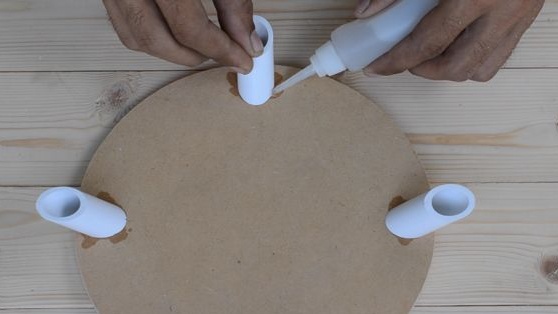
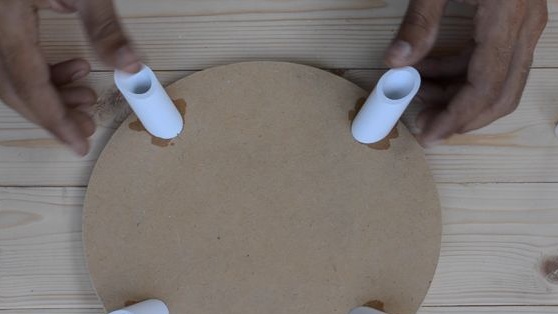
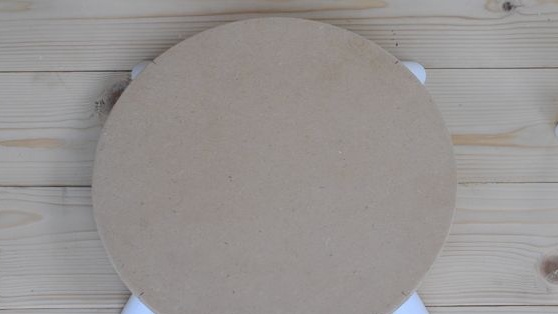
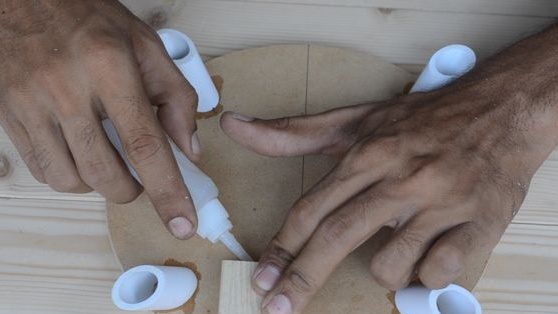
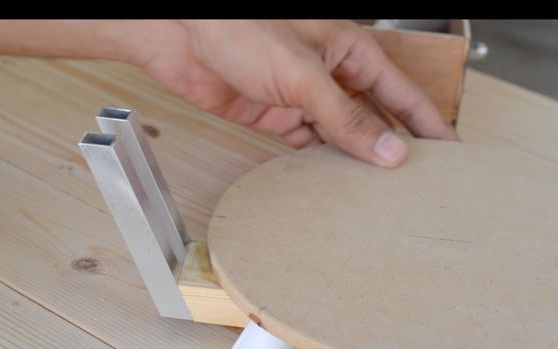
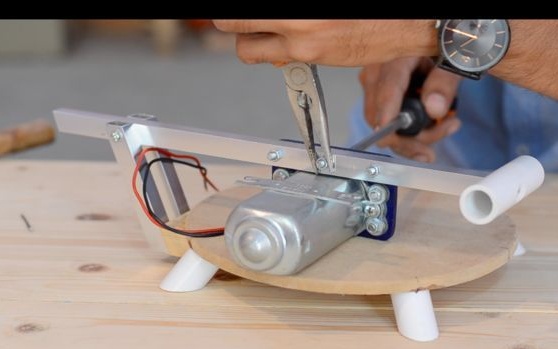
From 10 mm MDF cuts a circle with a diameter of 20 cm.
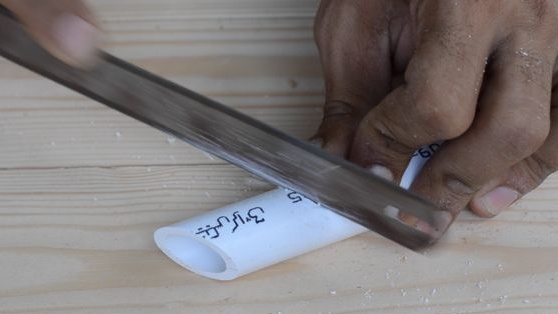
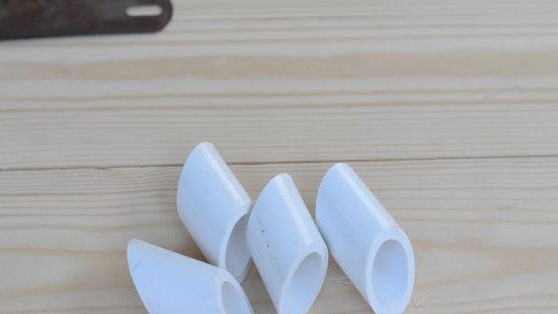
Legs are cut from a polypropylene pipe. The ends of the legs are cut at an angle of 24 degrees. Glues them to the stove.
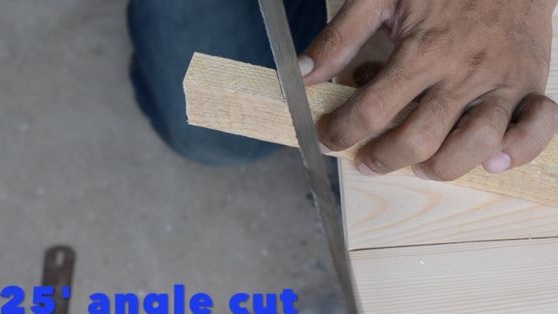
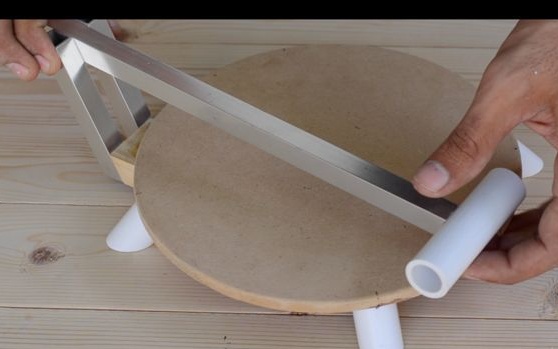
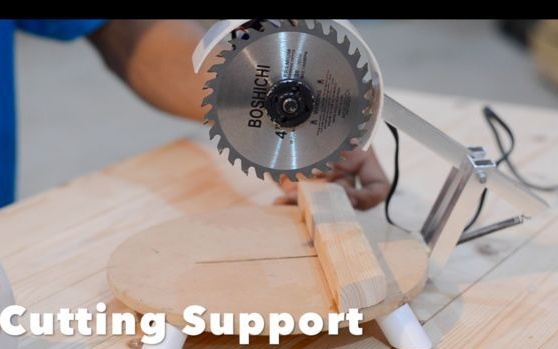
Step Two: Lever
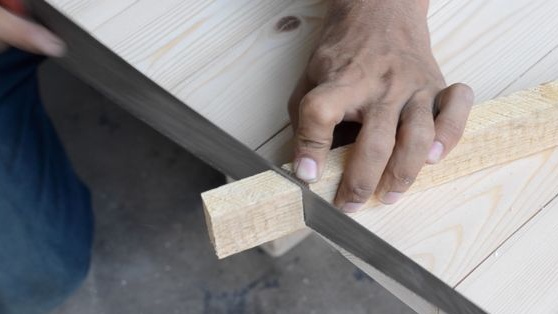
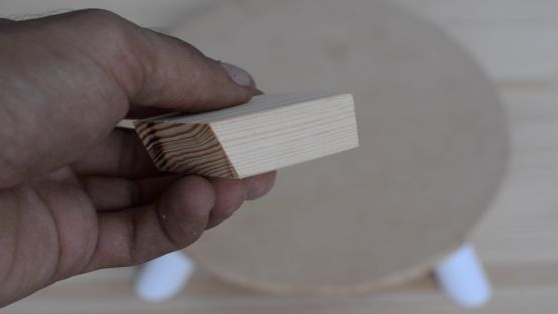
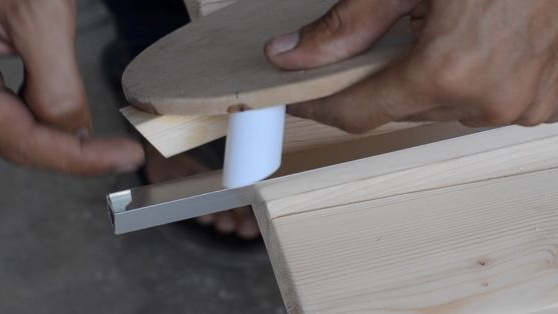
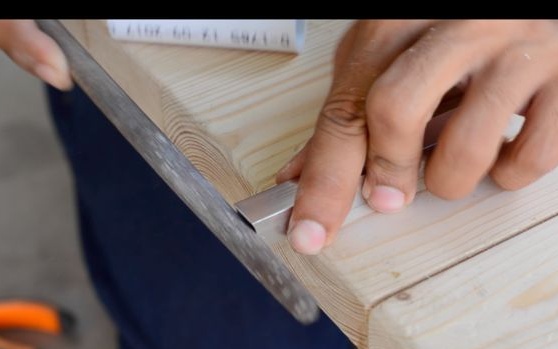
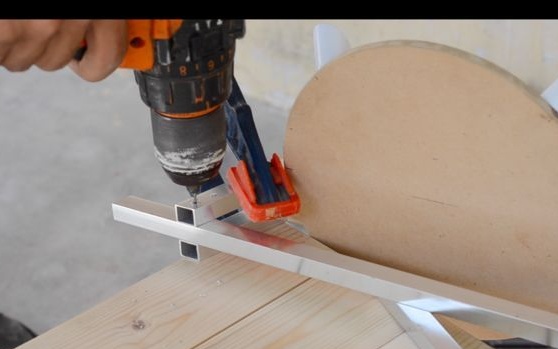
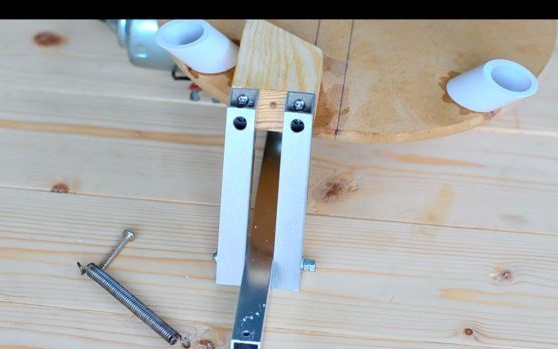
Cuts a wooden block 5 cm long. One edge cuts off at an angle of 25about. Glues the bar to the bottom of the table with the corner outward.
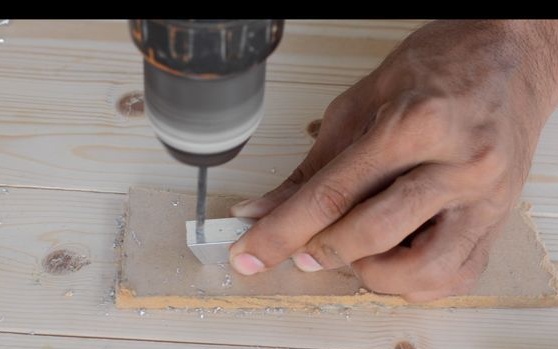
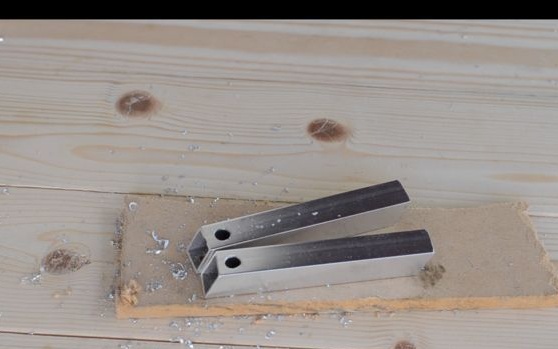
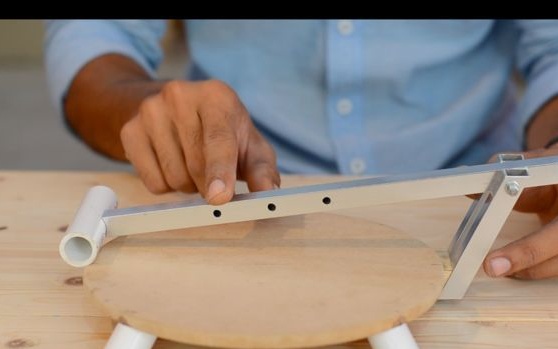
Cuts two segments of 7.5 cm from the aluminum pipe. The ends of the tubes are cut at an angle of 25about. Drills holes in the bottom. Screws the tubes to the bar.
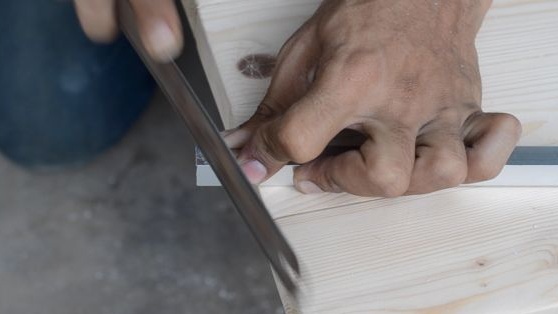
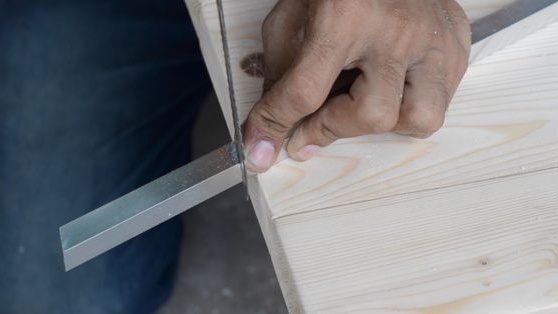
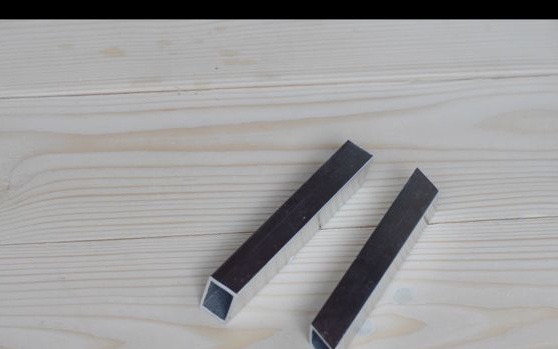
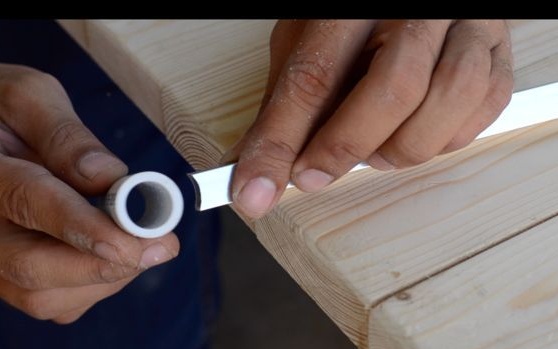
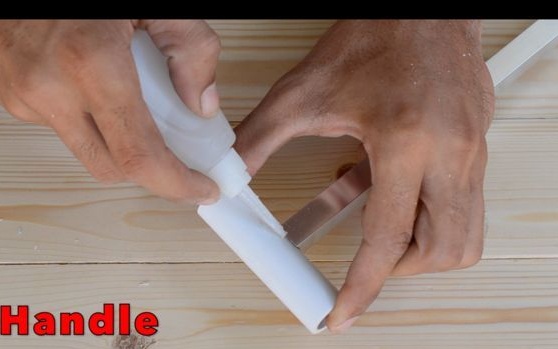
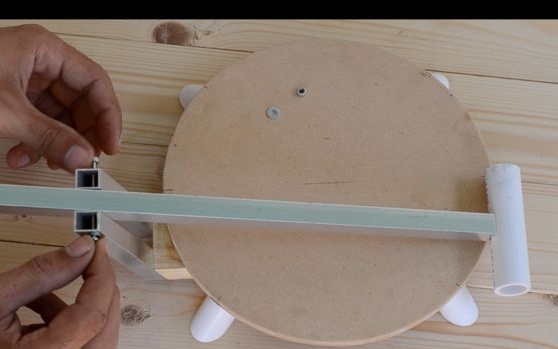
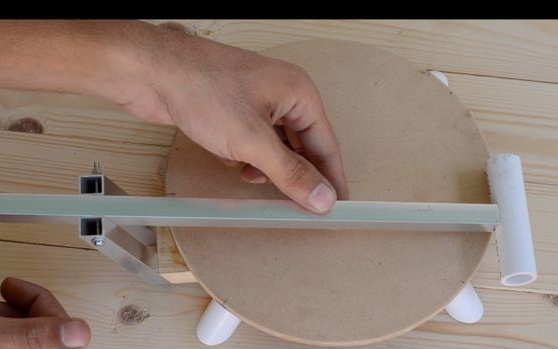
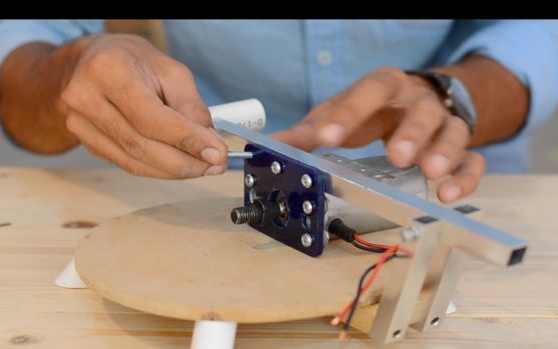
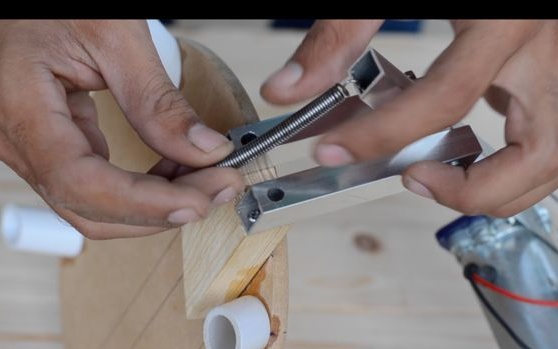
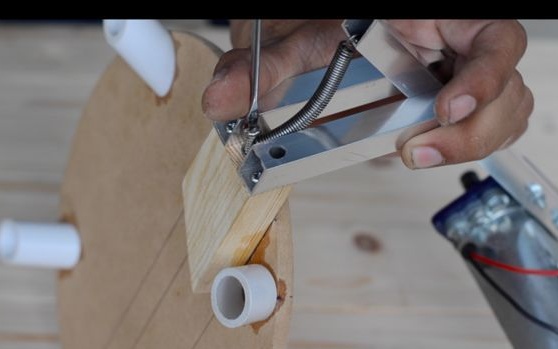
Further cuts off 25 cm of aluminum tube. The butt end grinds in a semicircle. Glues a piece of polypropylene pipe to the end.
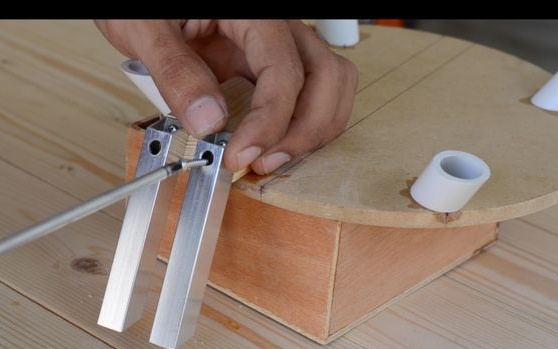
Drills a through hole on the other side of the tube. Drills holes on fixed tubes. Fastens the lever, between two tubes, with a bolt.
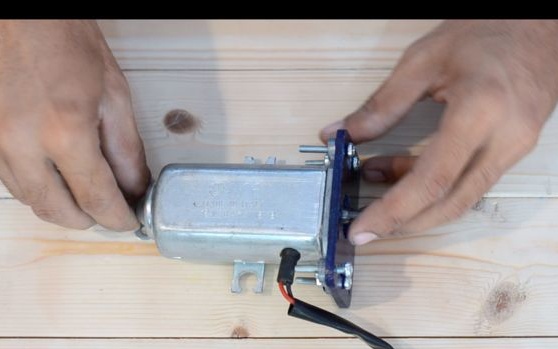
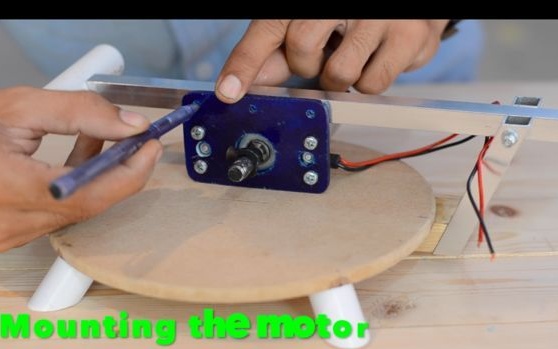
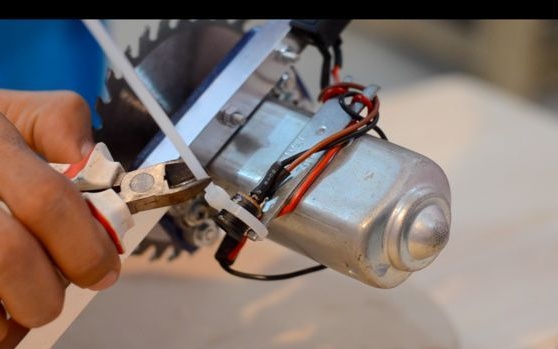
Step Three: Engine Installation
The master installed a 12 V engine from the car wiper on his machine.
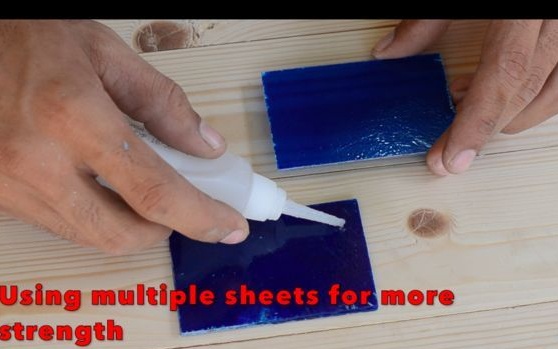
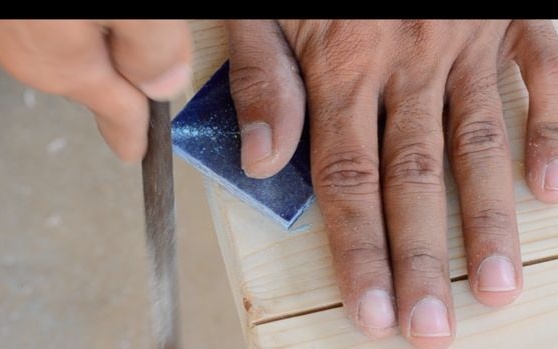
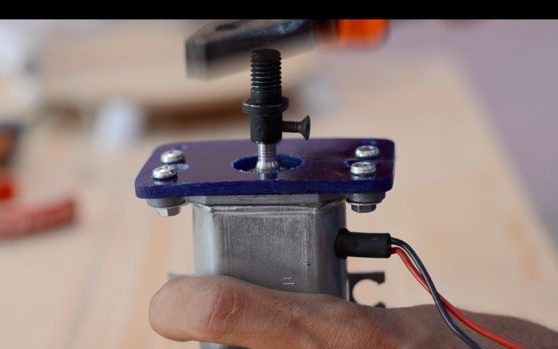
From fiberglass cuts two plates. Glues them together. On the plate makes a marking for mounting. Drill a hole. A crown cuts a hole for the tide on the engines.


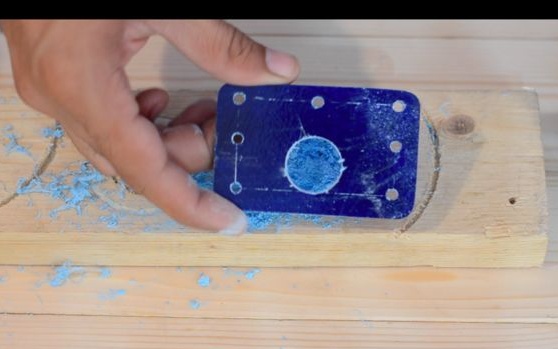
Screws the plate to the engine.
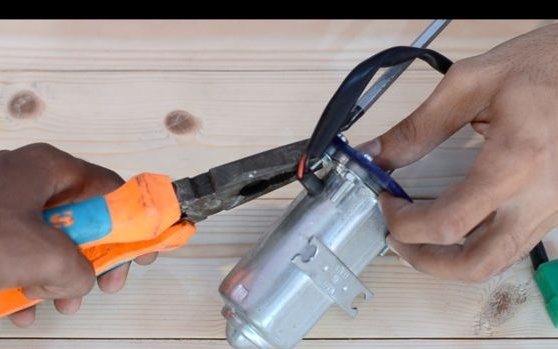
Cuts off part of the motor shaft.
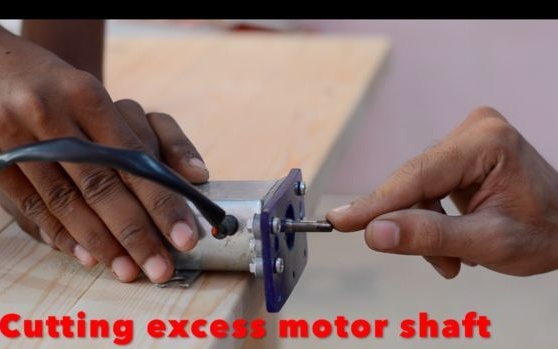
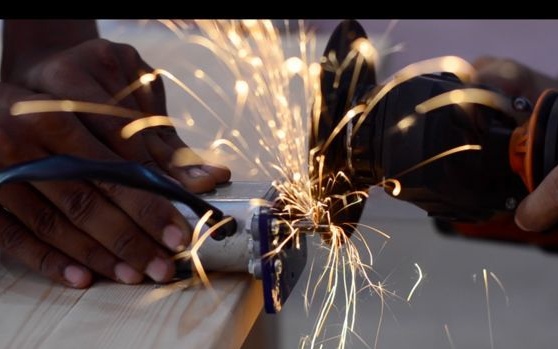

Fastens the adapter sleeve onto the shaft. It cuts off the standard connector.
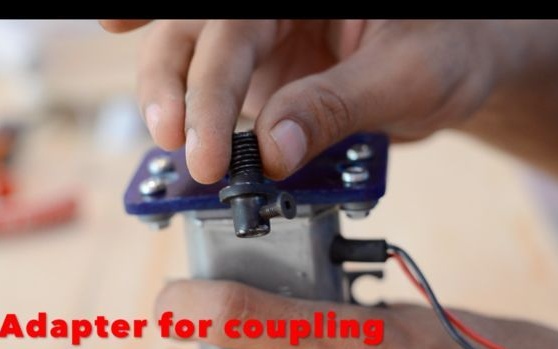
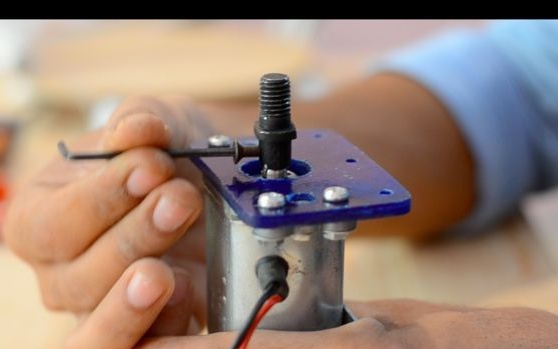
On the lever drills three holes. Screws the engine to the lever.
Step Four: Spring
To return the lever to the upper position, the spring is fixed behind the lever.

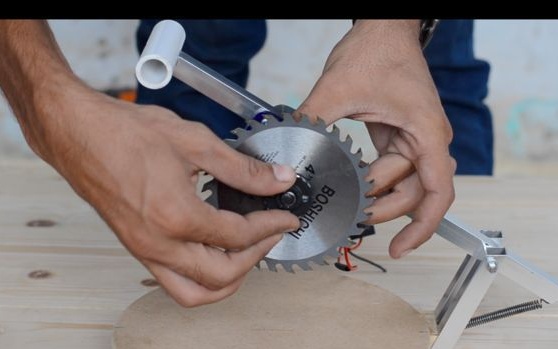
Step Five: Drive
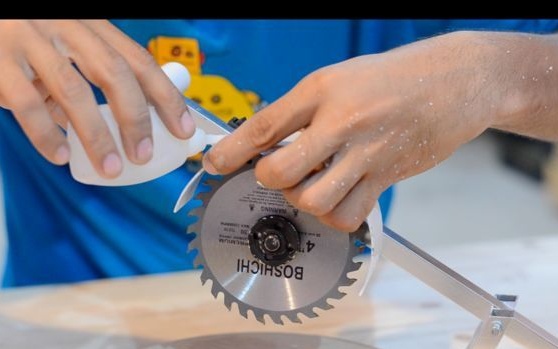
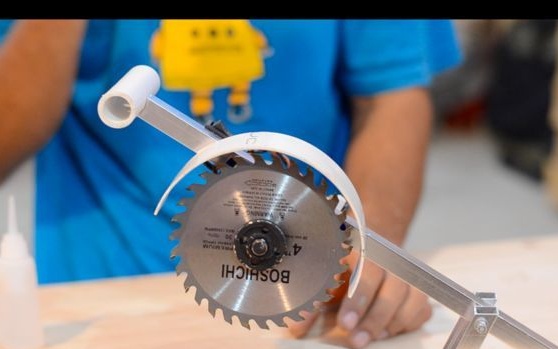
Secures the disc to the clutch.
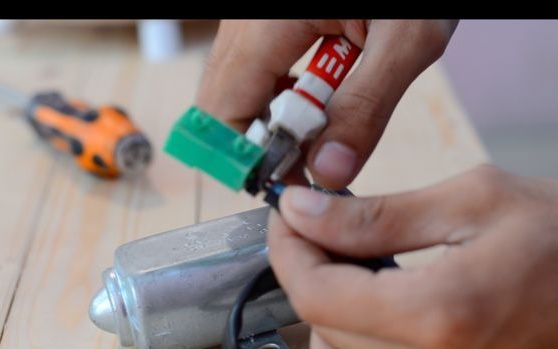
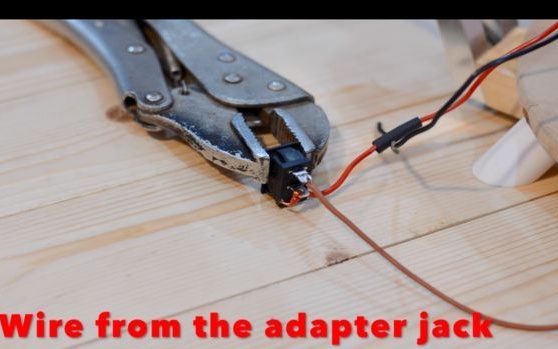
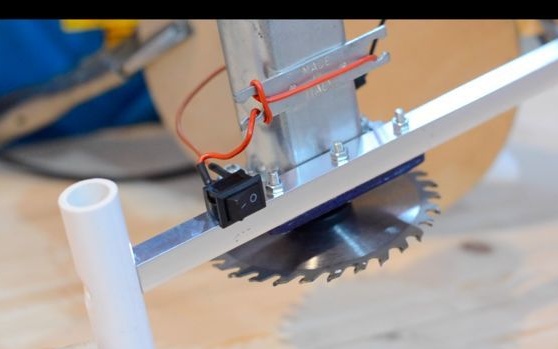
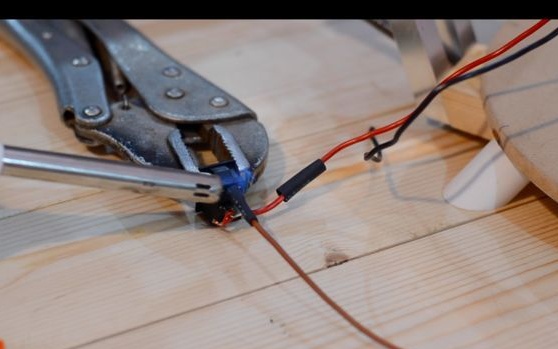
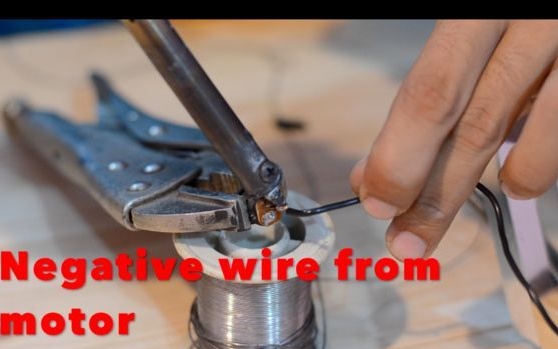
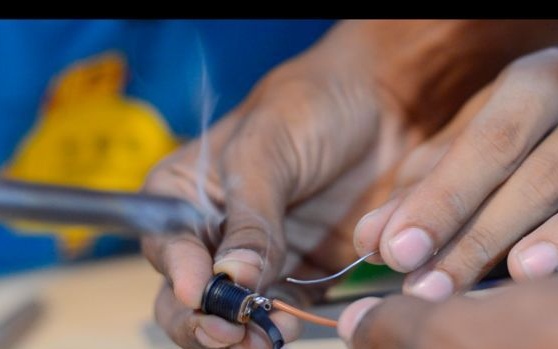
Step six: electrical part
The engine is powered by a 12 V power supply. The power supply is connected via a connector and a switch to the engine.


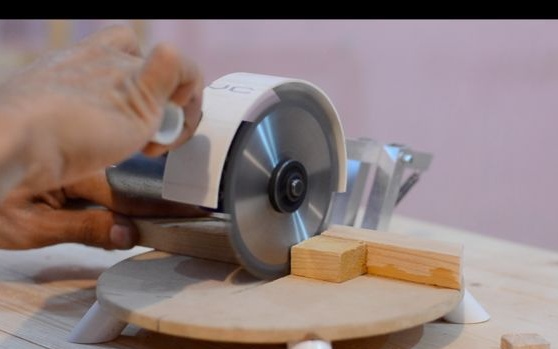
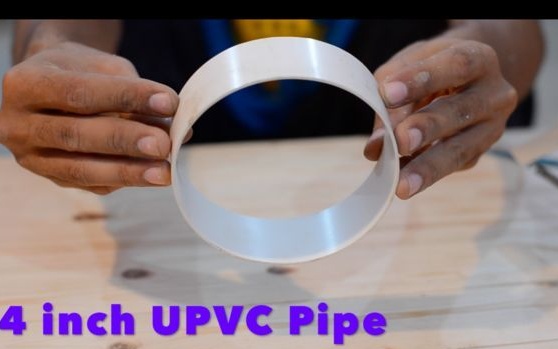
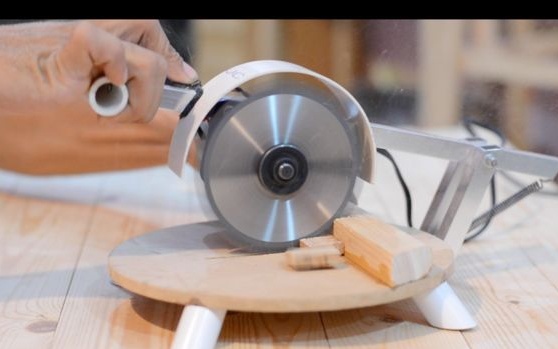
Seventh step: casing
The master made a casing from a 4-inch plastic pipe. Cuts the ring from the pipe. Cut off a third of the pipe. Adhes to the lever.
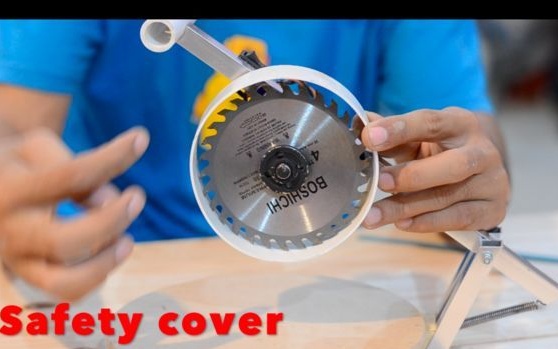
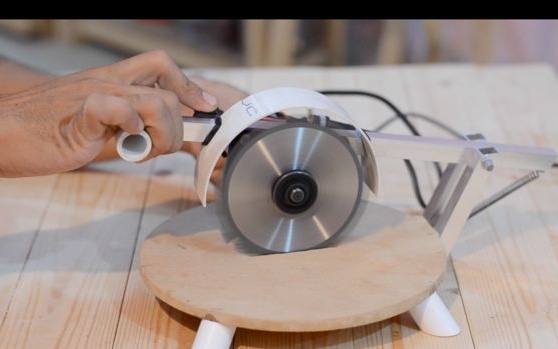
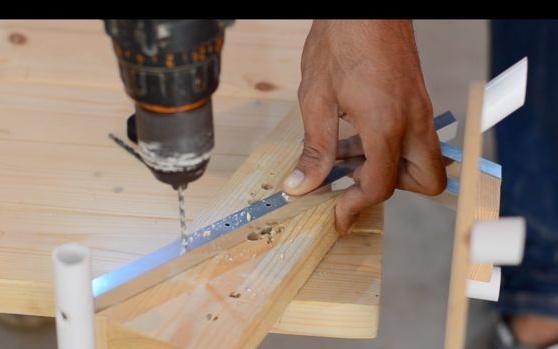
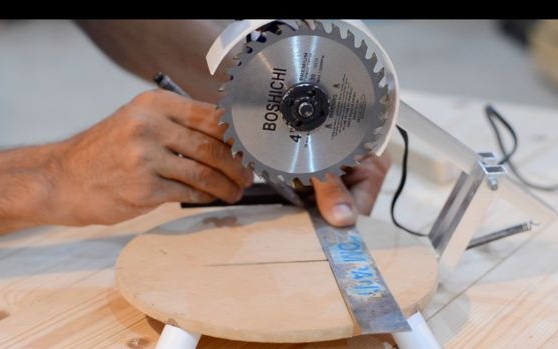
He makes a cut in the table. Emphasizes the bar.
The mini miter saw is ready. The whole process of making the saw can be seen in the video.
From myself I’ll add:
1. Rubber tips must be added to the legs
2. In some places it is better to replace the adhesive joint with a stronger one