
Hello friends winter is already very close. This is good on the one hand, but there is a negative side to this wonderful time of the year, this is the heating season. The air entering your apartment is dry due to heaters. And subsequently the skin cracks, the hair deteriorates and the indoor plants wither. In this article I will show you and tell you how to make an automatic room humidifier.
Devices and materials:
1) Food container.
2) Box for the distribution of wires.
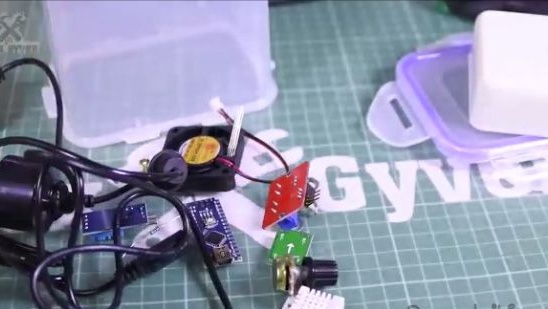
3) Ultrasonic evaporator.
4) Power supply 24V 1A.
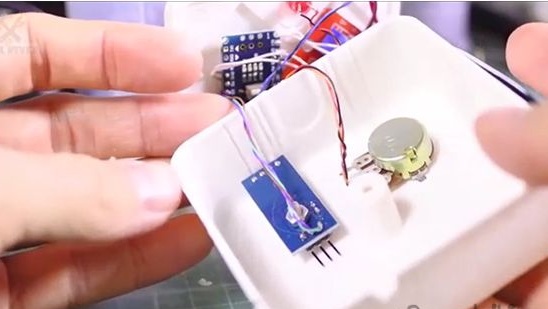
5) Arduino Nano.
6) Humidity sensor.
7) Potentiometer at 10k.
8) Power key module on the transistor.
9) Small 12V fan
10) Step-down converter.
11) 220 ohm resistor.
12) A pair of LEDs is one red and the second blue (optional)
13) Box from the CD.
Manufacture:
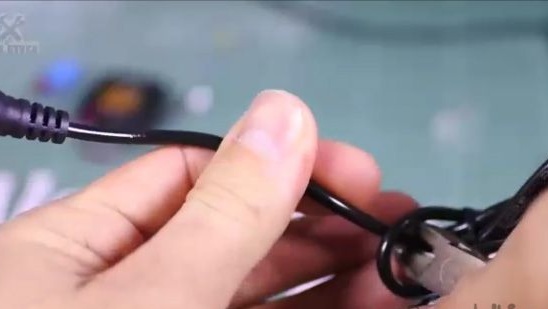
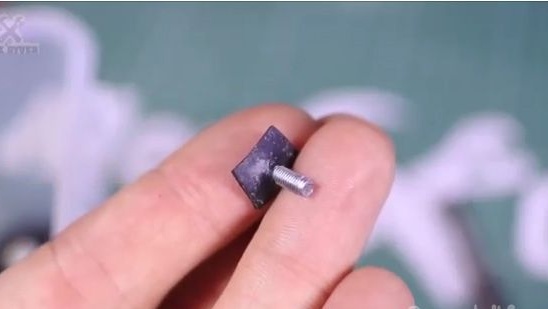
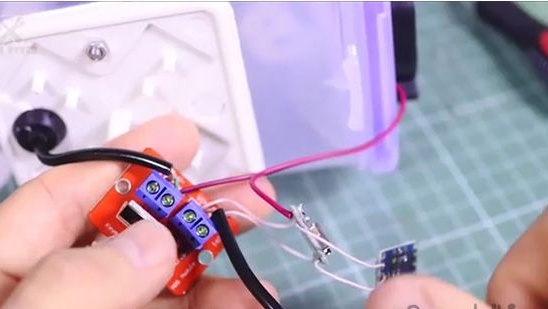
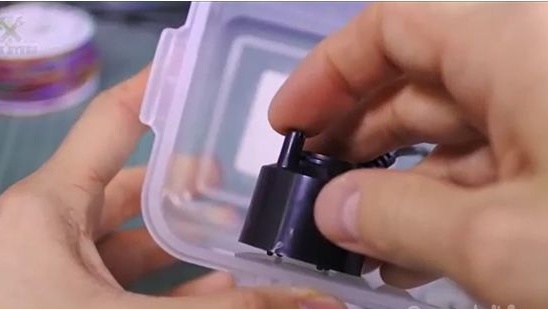
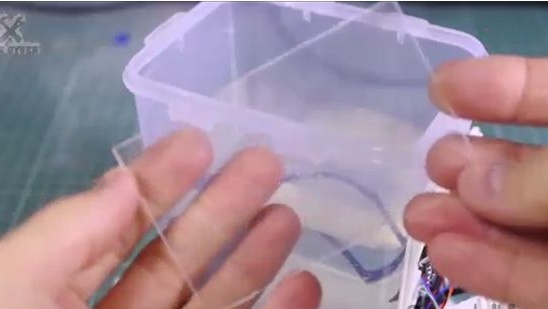
1) First, take an ultrasonic humidifier and cut off the nest from it. He doesn’t need him anymore, and we need him as a socket for a power supply.
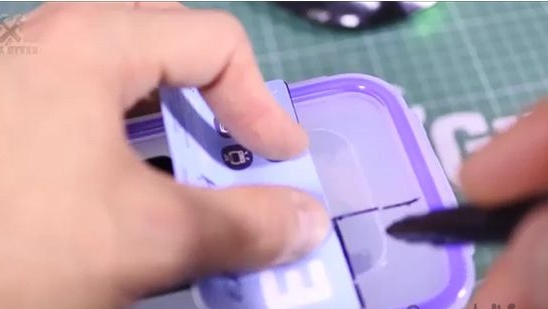
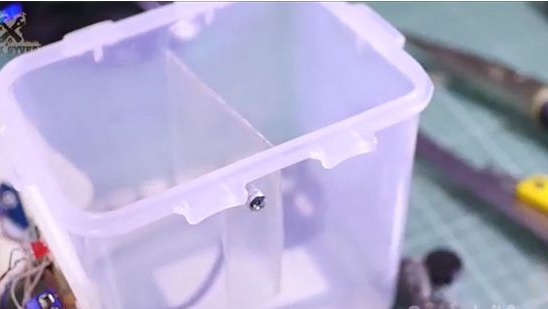
2) On the case you need to fix the ra-pre box.
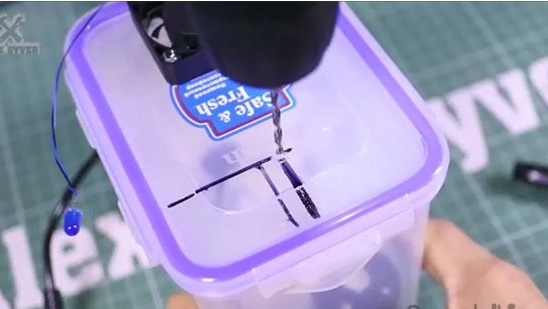
3) Drill.
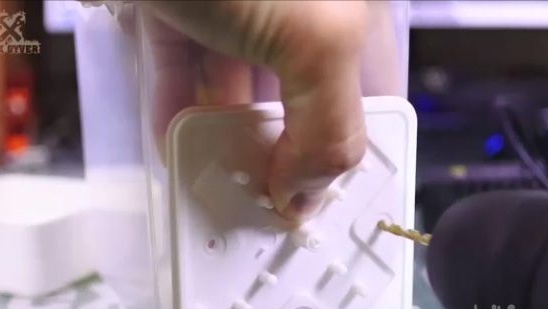
4) Twist. Using sealant, well, or like we are pieces of rubber from a bicycle camera.
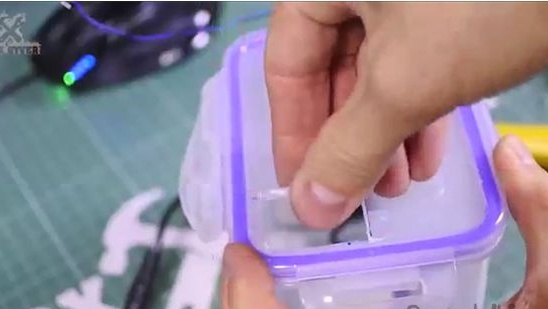
5) A hole is also needed for the evaporator wire. We drill a hole equal to the diameter of the sealing ring of the evaporator.
6) Cut the wire from the evaporator leaving not a large tail for connection.
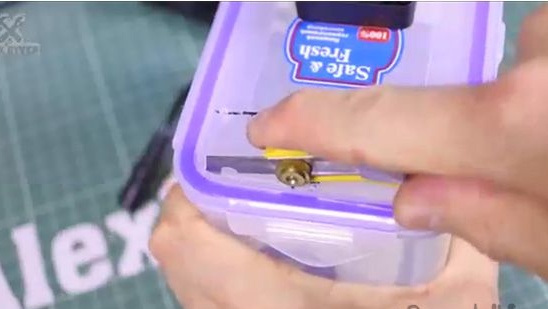
7) We fix the fan on the covers, two screws will be enough. We drill two holes of suitable diameter.
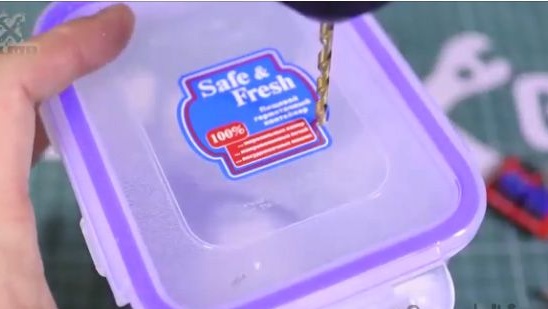
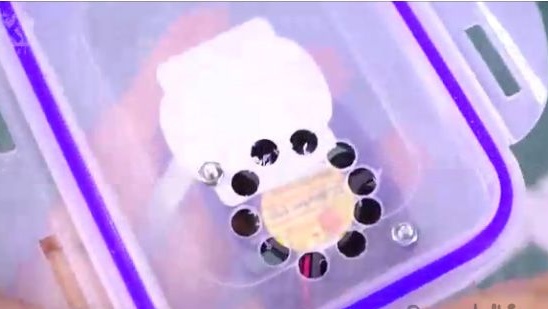
8) We mark the circle along which it will be necessary to make inlets for air supply.

9) We drill.
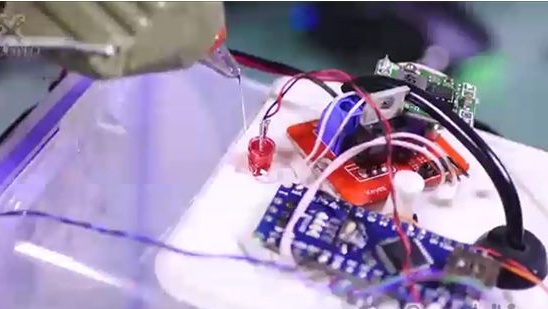
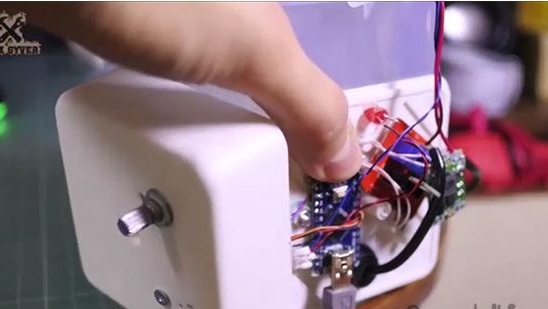
10) We begin to collect electronics. We will connect everything according to the scheme below.
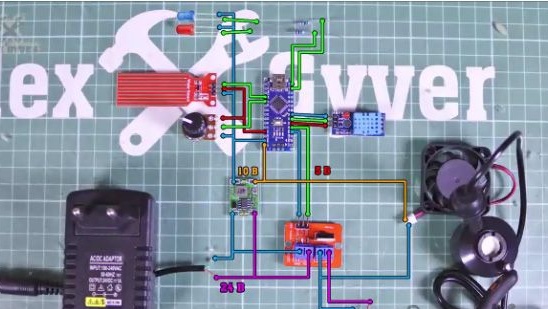
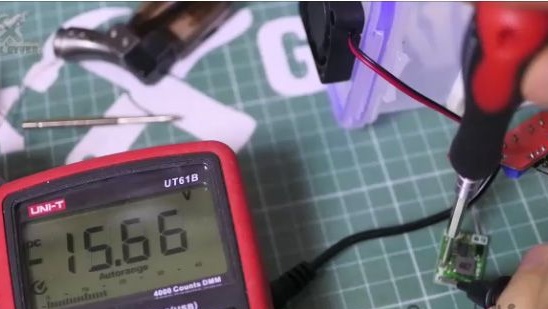
11) Connect the power supply and step-down converter. Set it to an output voltage of 10-15V.
12) The power scheme is ready. The plug from the power supply goes to the transistor module, from it in parallel to
buck converter. With a step-down converter on the Arduino and a fan, the output from the power switch to the evaporator.
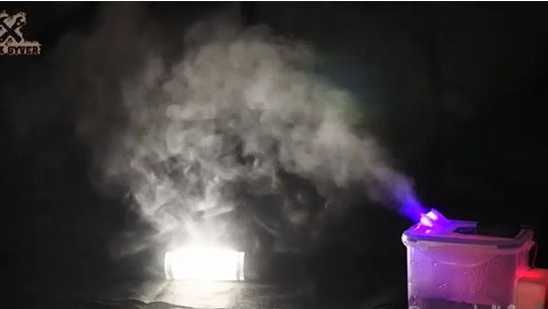
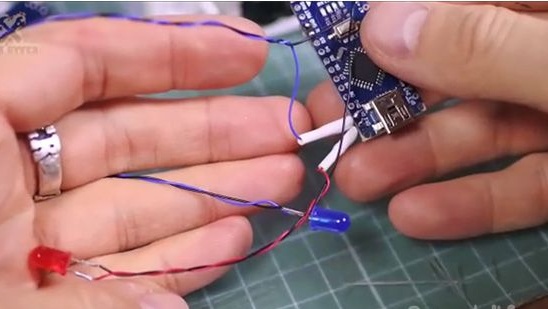
13) Then we take two LEDs. Blue will highlight a stream of steam, and a red container.

14) We connect them as in the scheme (see photo above).
15) To the note, this Chinese evaporator has a liquid level sensor and do not be afraid that it will burn if there is not enough water.
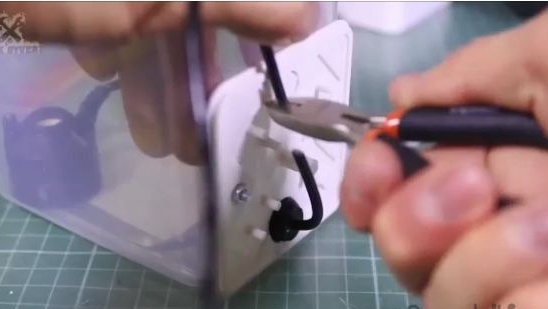
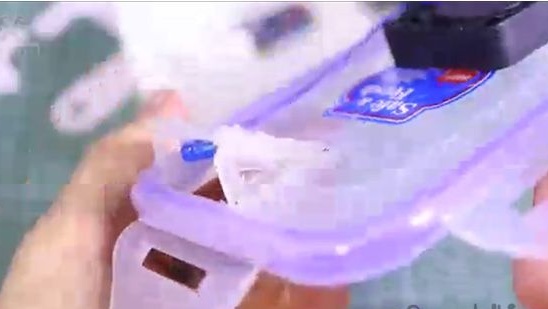
16) We push all the electronic stuffing into the junction box and fill the term with glue.
17) And mount the red LED, as it is shown in the photo above. We fix the term with glue.
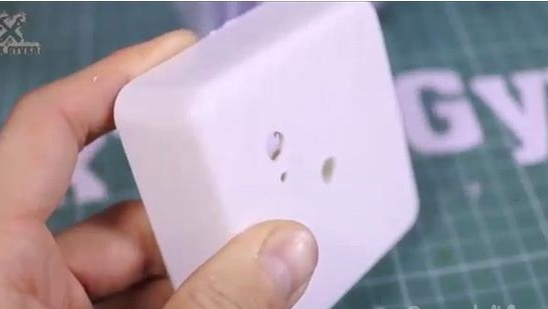
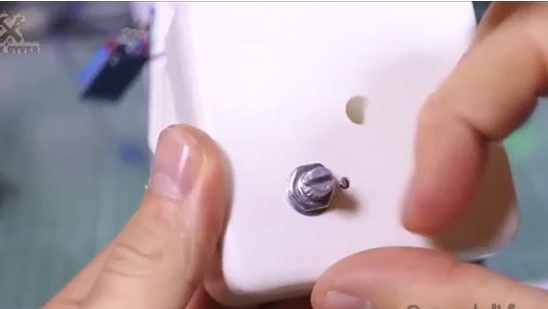
18) We drill a hole under the potentiometer and under its foot.
19) We insert and twist.
20) We also drill holes for the humidity sensor.

21) And fix it to the body (see photo below).
22) Then you need to make a hole for the steam outlet, on the contrary, from the humidity sensor. We mark the contour where we will cut the window, then with a thin drill along the contour we drill not large holes, and then cut it with a knife (see photo below).
23) To protect the fan from steam, use the box of the CD. Using a cutter for orc glass, cut out the desired piece (you can use a clerical knife).
24) We bend this piece by heating it with a lighter.

25) We attach to the body.
26) Glue the blue LED on the output window. We also make the side walls for the window so that the steam stream exits directly and without turbulence.
27) Almost everything remains to connect the Arduino to the computer and program it.
28) We go to the project page and. If this is your first experience with Arduino, then you can also see detailed, step-by-step instructions.
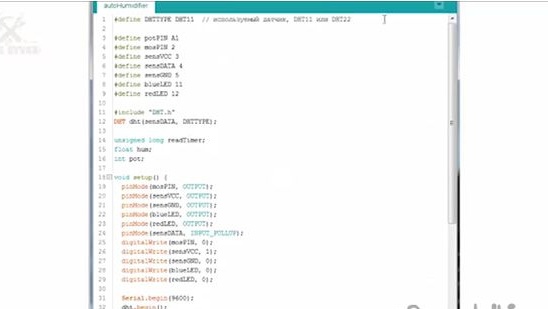
29) This is what the firmware looks like. At the very beginning, this is the type of sensor, the eleventh or twenty second. Save and you're done!
The principle of operation and application.
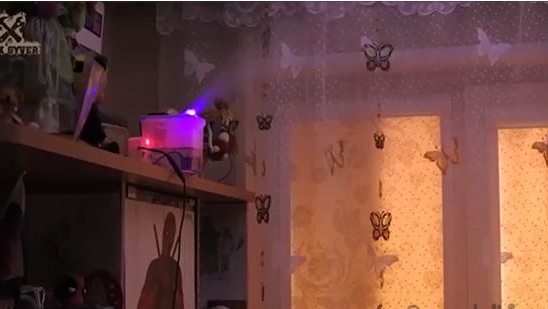
A humidifier is a pretty useful thing and you can talk about its usefulness for a long time. Our humidifier turned out to be quite powerful and compact. Our humidifier works like this - the voltage is applied to the necessary pins, the sensor is initialized and work starts, we get humidity from the sensor every second, and compare it with the set value with a potentiometer, if the set value is more then turn on the evaporator, turn off the fan and LED.

Pour distilled water into the humidifier, preferably close the lid, turn on the power, set the desired humidity level. The humidifier will maintain the desired humidity.
It is advisable to place the humidifier itself on the edge of the table so that the steam from the humidifier will not get to the sensor, and it will work correctly. Ideally put it wherever - be on a shelf or closet
I hope this article was useful for you, you can also watch the video assembly of this homemade.