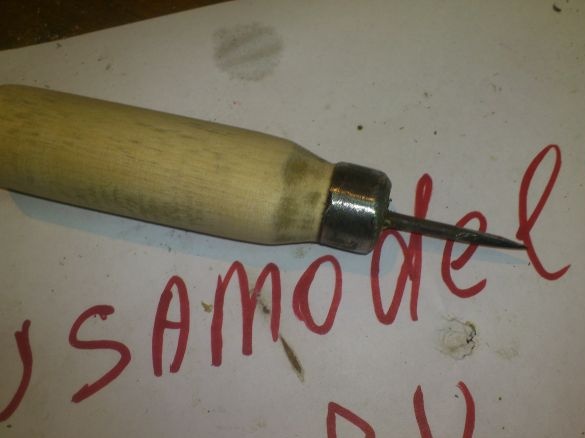
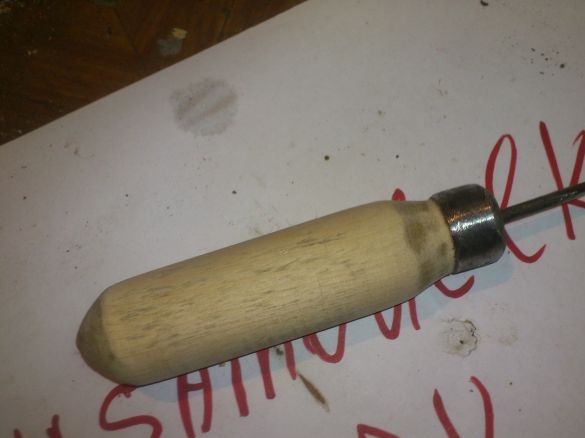
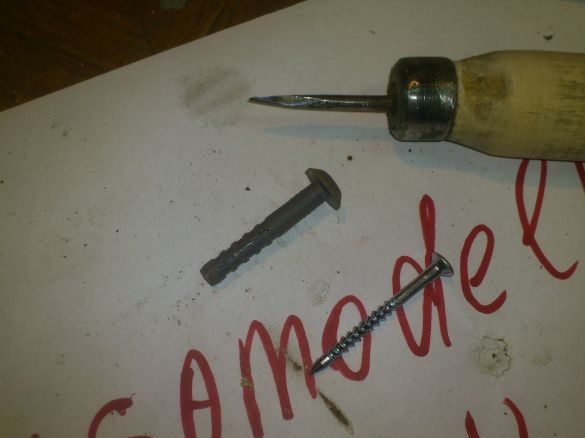
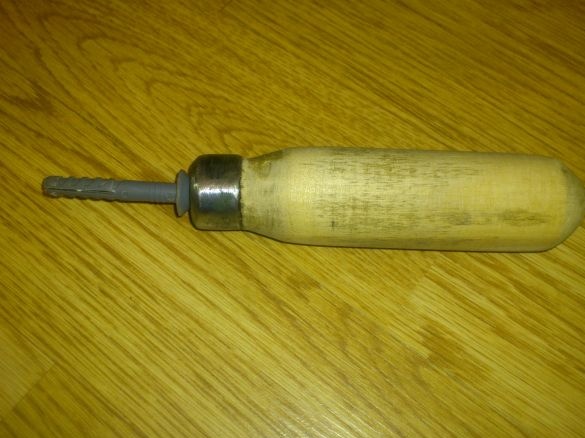
..But I'm sure that in the conditions of the current urbanized society, even such a simple technology will come in handy for someone ...
It all started with the fact that my father-in-law called me and asked if I had a strong "stiff" awl. He needs somewhere in a limited space to screw the screws into the laminated chipboard. The screwdriver does not fit, you have to work with a screwdriver! And to “start” with a screwdriver is quite difficult - you must first punch through the upper decorative layer with an awl, otherwise the screw will slip. And I decided to make an awl and give it to my father-in-law ...)))
... In the basement, I had several files that picked up rust. (That is, as files, they can no longer be used.) I decided to use one of them as a blank for the awl.
So I needed:
1. The old file.
2. A cut of a handle from a rake.
3. Cutting of a water pipe DU15
4. Glue PVAD
The tool kit is also minimal:
1. Drill.
2. angle grinder (or emery)
3. Any saw on a tree.
4. Sandpaper (preferably.)
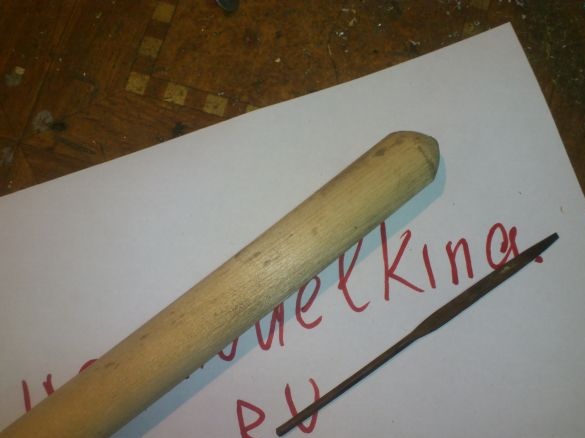
For starters, I found a file and a handle from a rake. (I always have various cuttings for shovels, rakes and other tools in my stock, because, in addition to its main purpose, it is very good material for making various wooden handles ... Well, like now, for example))))) :
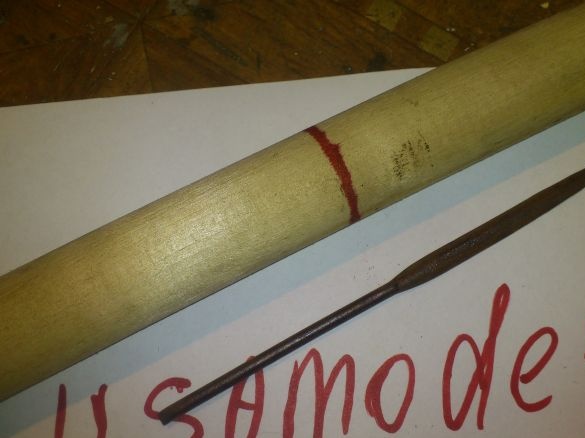
Since the working part of the needle file in my product will, on the contrary, play the role of a shank, I put it next to the handle and marked with a marker on the last segment, slightly longer than this working part:
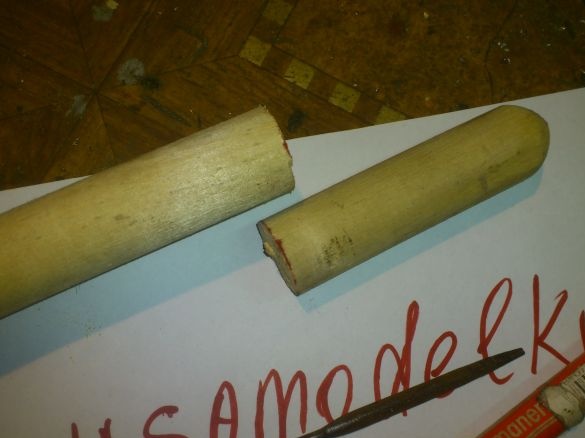
After that, I sawed off the part of the handle I needed:
In the manufacture of wooden tool handles, it is imperative that the front part be reinforced with a metal ring before hammering the shank. This is necessary for two reasons - firstly, when you hammer the shank, the tree may crack, and secondly, then, when working with the tool, it is this part of the handle that will bear the maximum load, and the tree may not withstand.
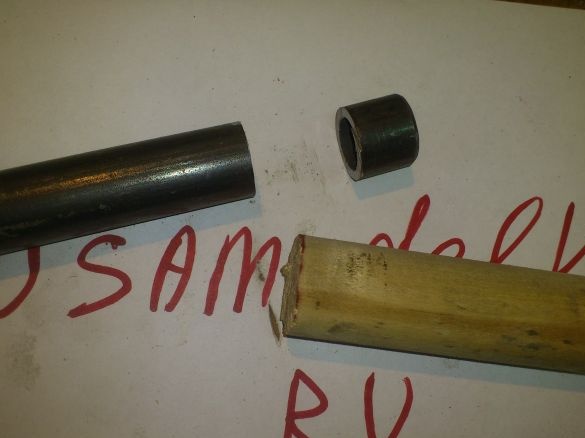
I decided to make a metal ring from a water pipe DU15. Using a angle grinder with a cutting wheel, I cut about 2 cm of pipe:
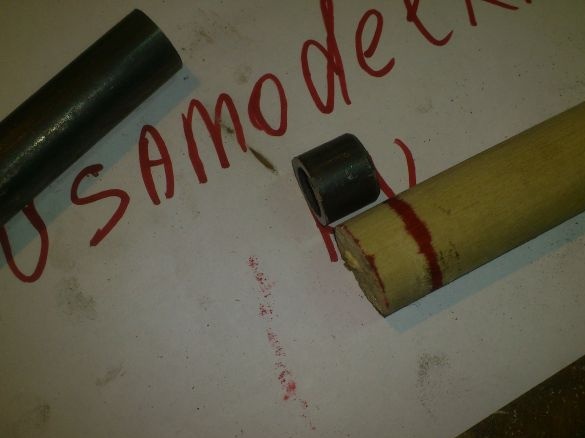
Next, I prepared a seat for this ring, for which I marked the right distance on the tree ...
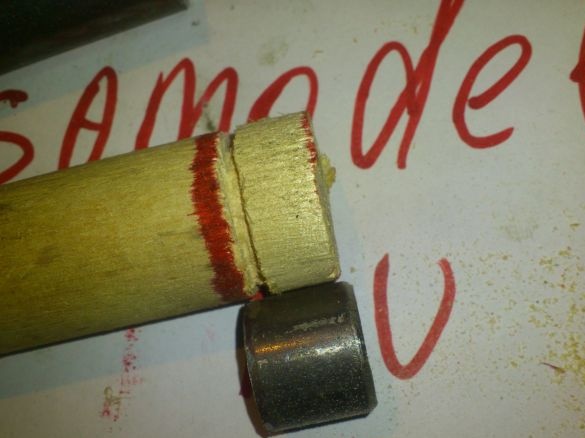
And cut through the mark annular incision. (The depth of the cut is such that about the outer diameter of my metal ring remains in the tree:
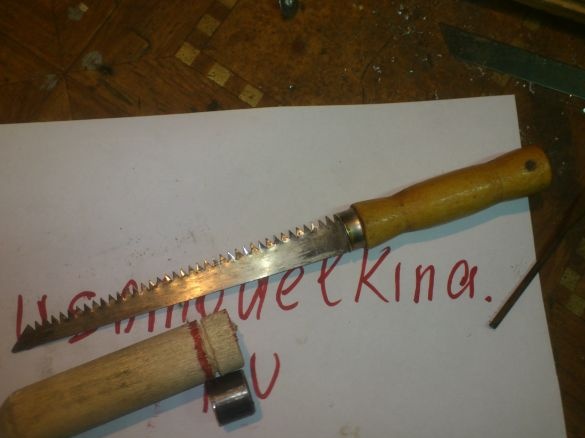
By the way, for such rather rough, and, at the same time, small woodwork, I use just such a saw, which I made from a hand saw for drywall. (Just made a wiring and sharpened the teeth like a hacksaw on a tree):
Then, with a knife that fell under my arm, I chopped off the extra diameter, leaving it a little larger than necessary, and narrowing it only at the end so that the ring slightly overlaps:
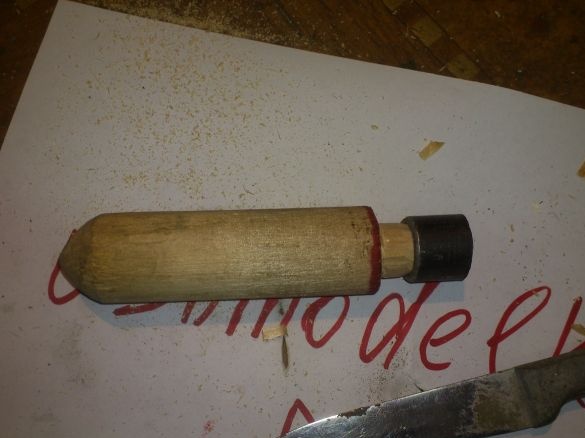
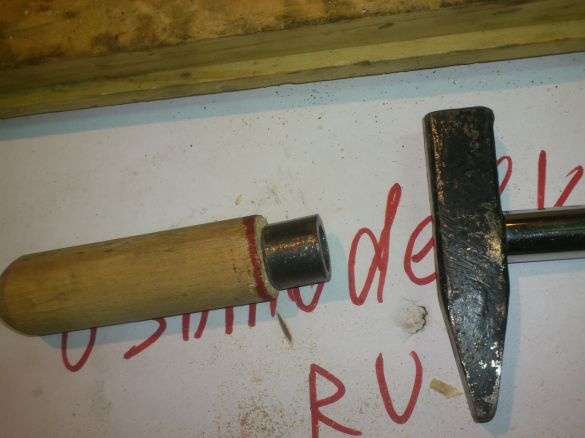
..And hammered it all the way:
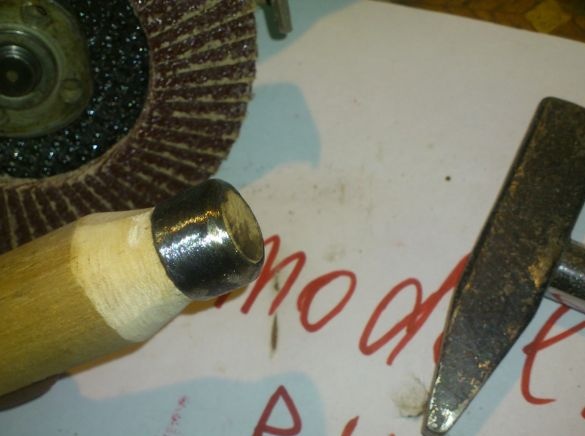
Further, setting the emery-petal wheel on the “grinder”, I processed the resulting handle, rounding the edges of both metal and wood:
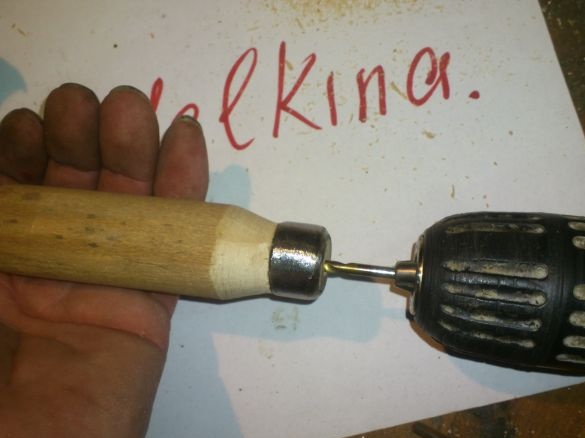
Having installed a drill in the electric drill chuck, the diameter of which is slightly less than the diameter of the needle shank, I drilled a blind axial hole in the workpiece. At the same time, I did not use a vice, but I held the workpiece in one hand, and the drill in the other.
I know that this is a gross violation of safety precautions, but I have extensive experience in such work, and therefore, for me, such an operation is quite safe. I always, if you need to drill a wooden cylinder “along the axis,” I do just that: start “by eye”, and then, when the drill is already deep enough, periodically slightly lower the workpiece, allowing it to turn in my hand. (I drill at low speeds). Thus, I achieve alignment - the tree is quite soft, and if the workpiece “hits”, you can correct its position until the drill has gone deep.) But I strongly recommend not to repeat my method, but to use the machine, or drill with a workpiece fixed in a vice! !!
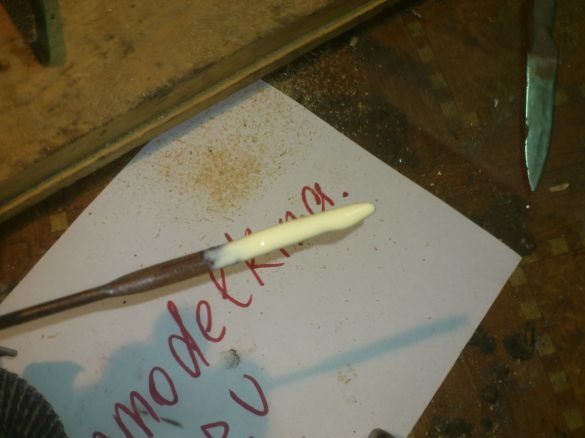
So the handle is almost ready. You can crop the file. Before hammering it, I dipped it in a PVA dispersion. It will provide reliable bonding, and will strengthen the tree by soaking it around the metal:
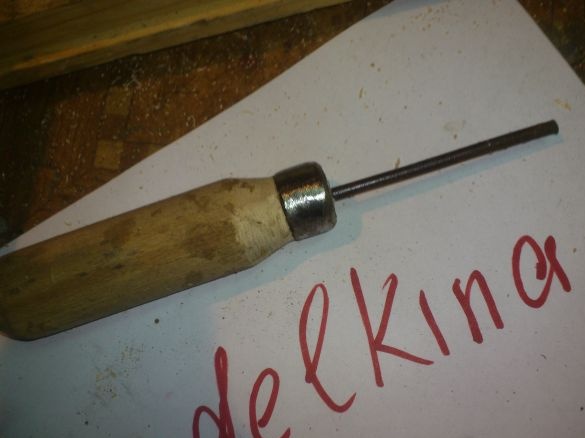
After that, I hammered the file into the handle with a hammer, leaving only its shank sticking out:
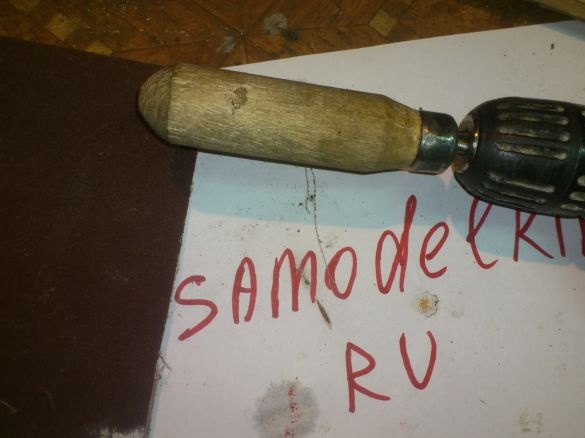
I cut off the extra length, clamped it into the drill chuck, and wrapping it with sandpaper, finally processed it. (The process itself did not take pictures. Hands were busy))))
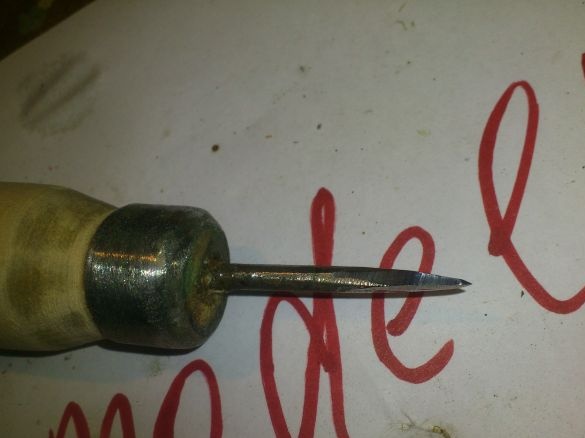
Sharpened with the same emery-petal circle:
I thought that for the operation for which I am doing it (punching holes for screws in a laminated chipboard), a tetrahedral sharpening is better ...
That, in fact, is all. The awl is ready:
So that it can be "hidden in a bag"
Now you can safely carry it in your pocket ...))))
This awl can be easily and quickly done by yourself. At the same time, I spent about ten to fifteen minutes making it. (And described an entire hour
Not necessarily for this you need a file. Any suitable metal can be used. Even an ordinary nail! Moreover, if the steel is not carbon, it is advisable to rivet the end before driving into the wood. If it’s hard, it’s a bit to cut, making a plane ... Or you can hammer it with a round one - the awl is not a screwdriver, if it turns, it’s not so scary)))).


