

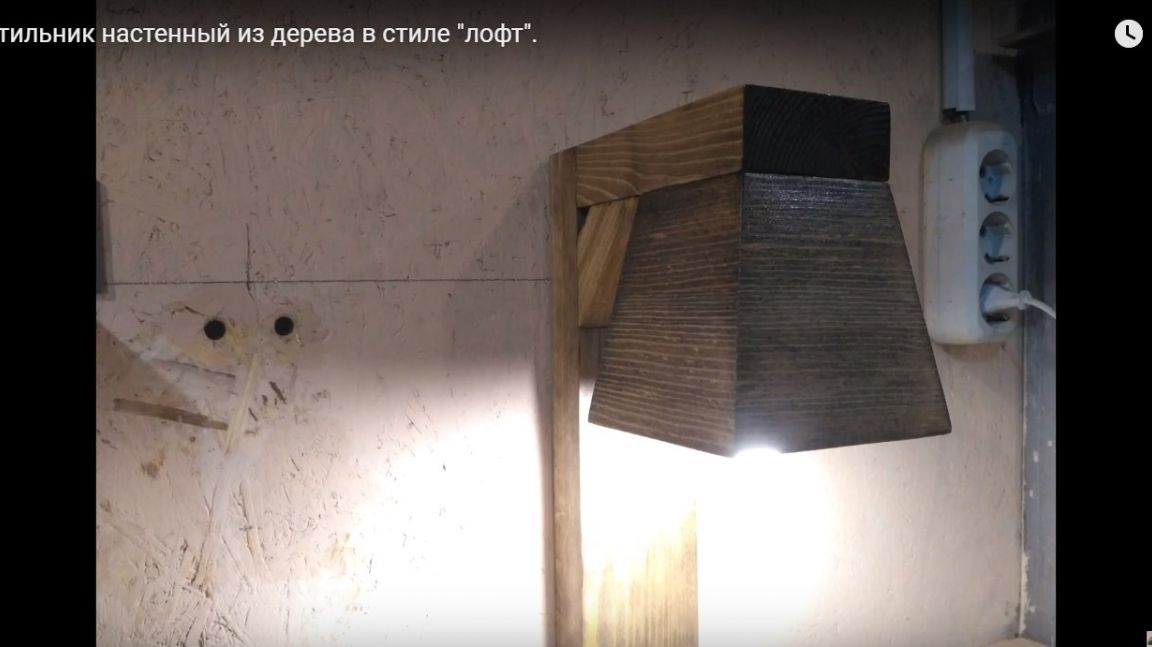
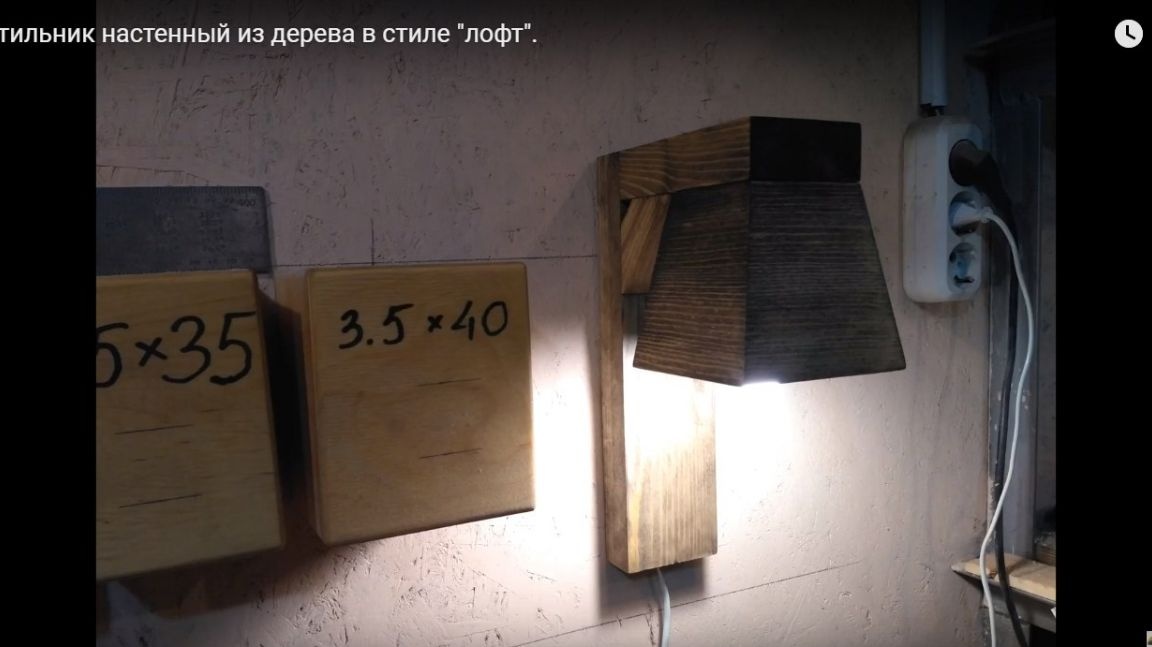
Hello to all lovers homemade. Often comes the inspiration to do something do it yourself, this time the idea came up with the idea of making a home-made lamp in the loft style, which will be a constant source of light in the workshop for additional lighting of the workplace. The materials that are used in this homemade product are more likely to be found in everyone who works to one degree or another or has worked with wood.
Before reading the article, I suggest watching a video on the assembly of this homemade product.
In order to make a wall lamp, you will need:
* A few boards
* Sawing machine
* Reysmus
* Jointing machine
* Wood glue
* Clamps
* Wires with a bulb holder
* Drilling machine
* Screwdriver
* Self-tapping screws
* Pencil
* Sander
* Oil for of furniture
* Vernier caliper
* Two furniture hangers
* Milling table
That's all that is needed to assemble our lamp, I think few people will find it difficult to find such readily available materials. If you have everything, you can start assembling.
Step one.
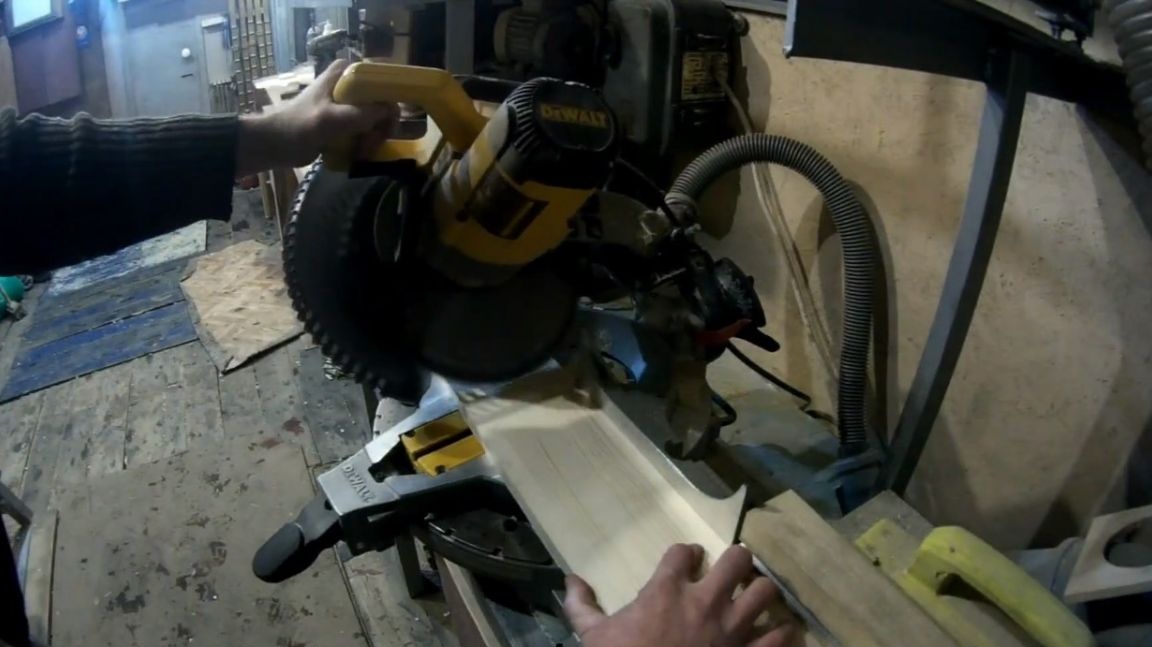
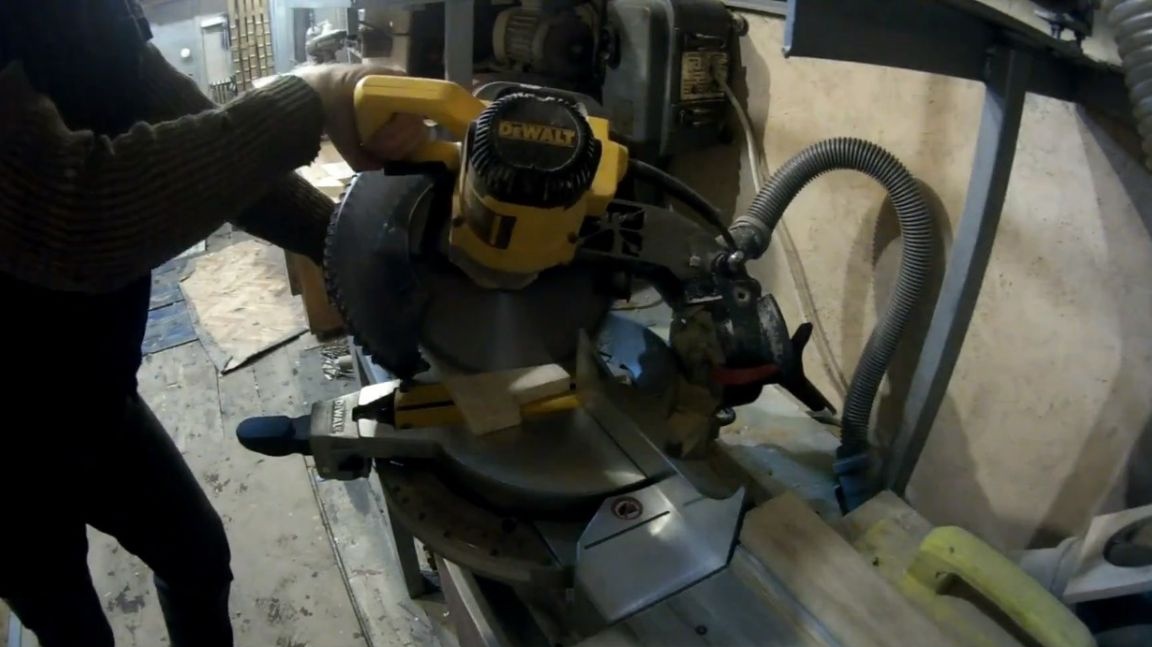
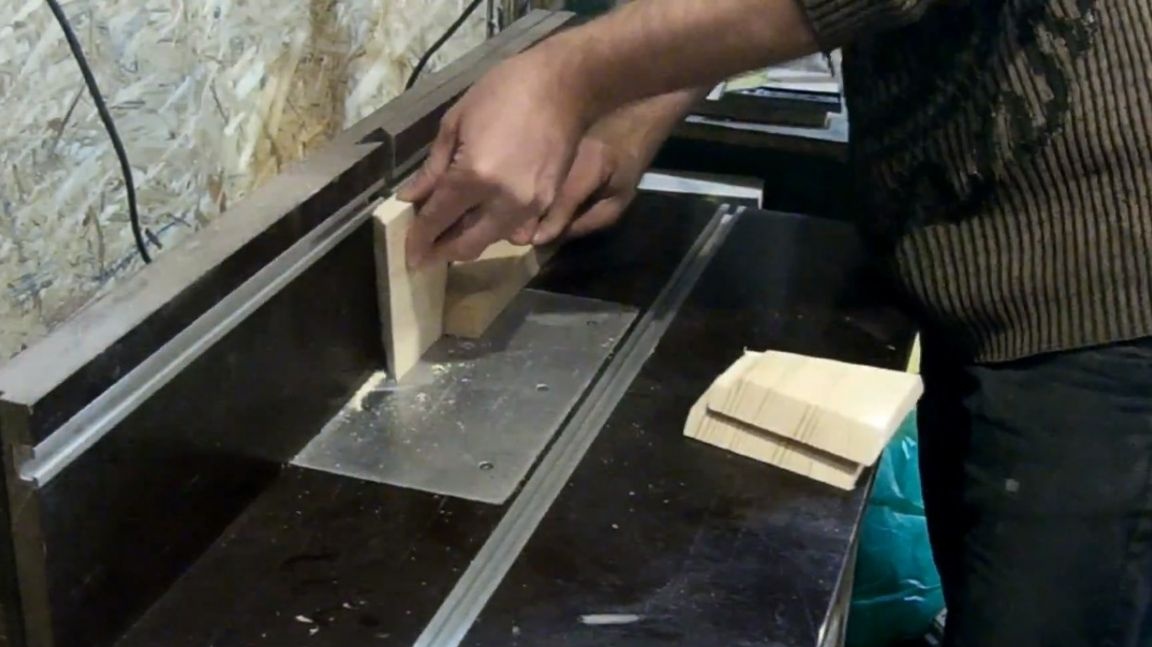
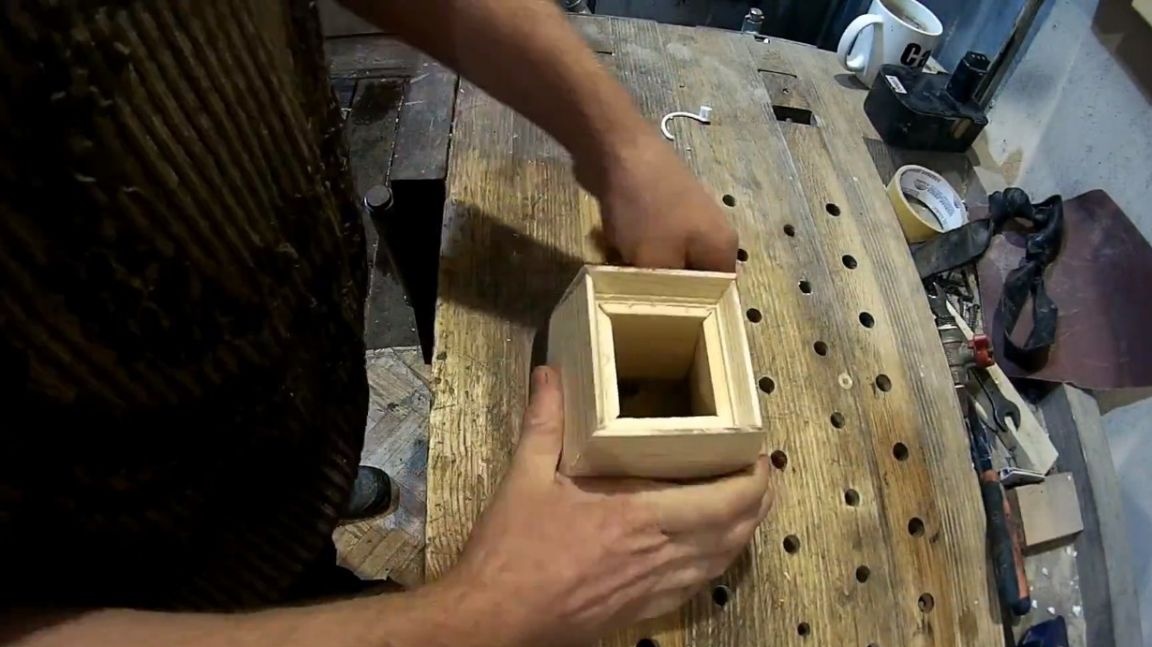
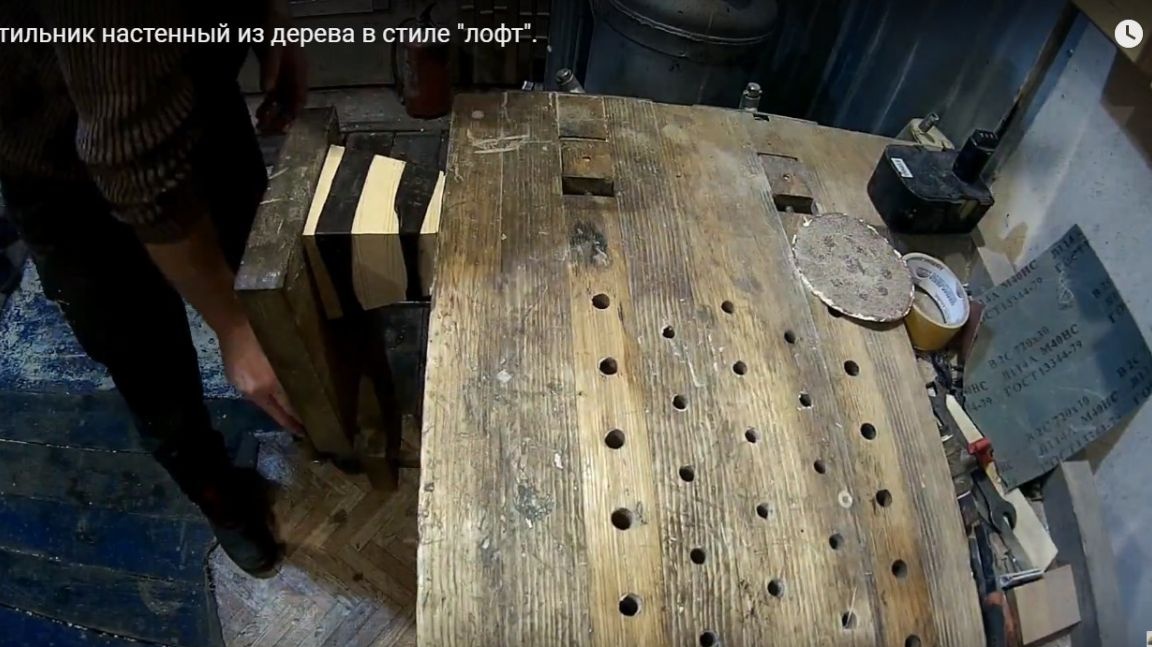
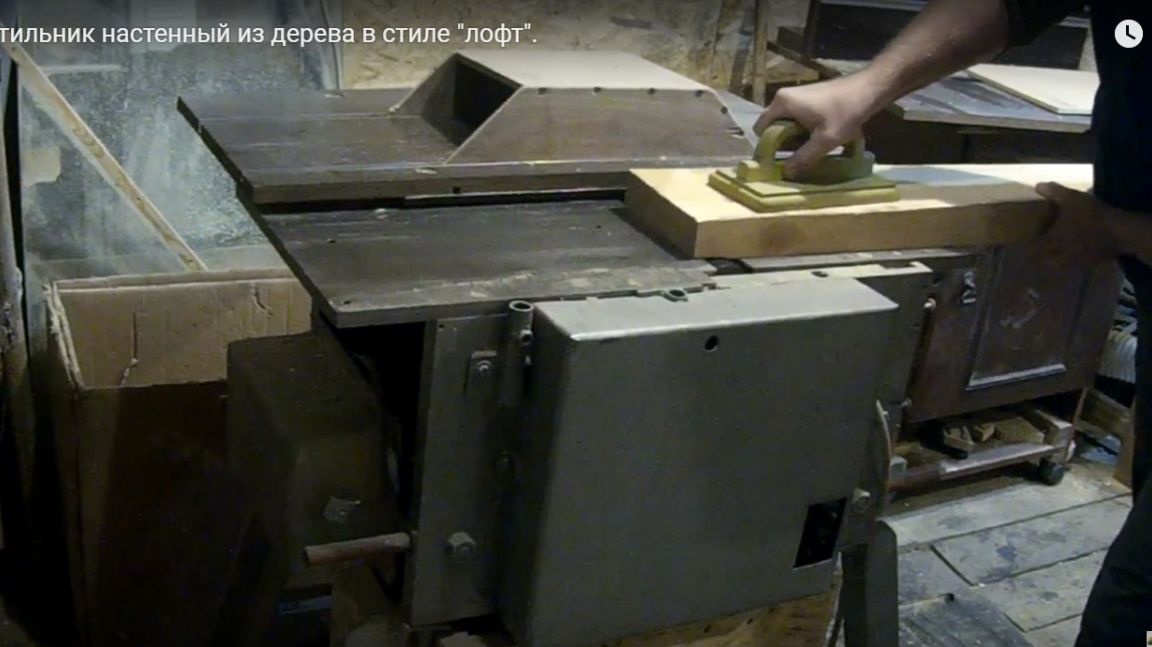
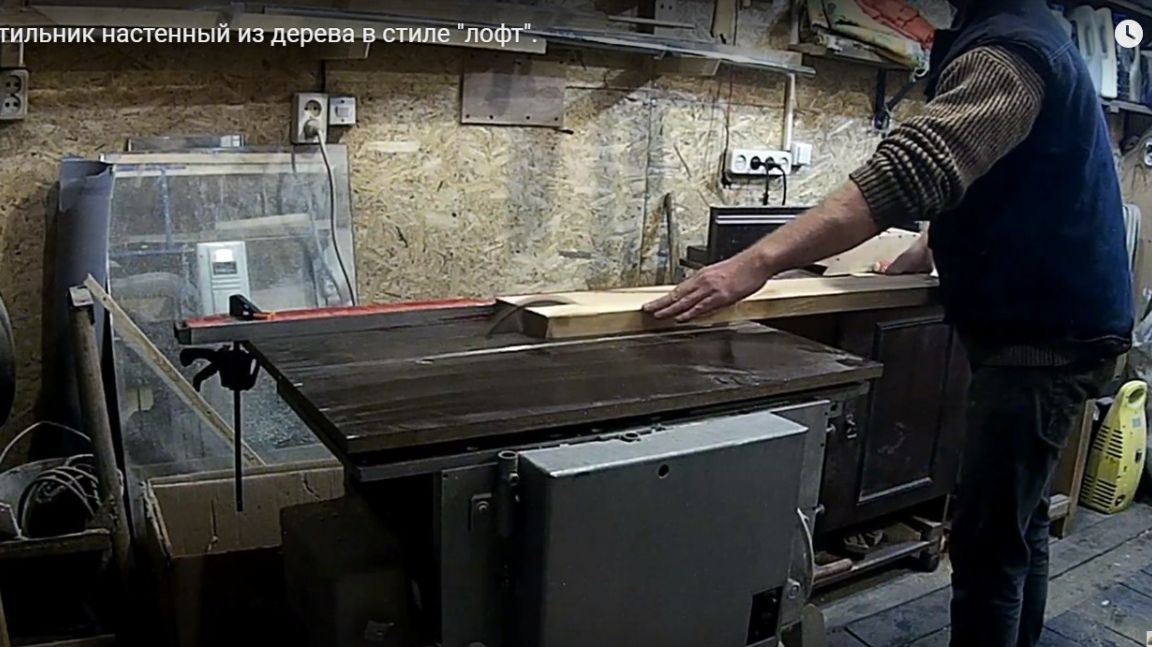
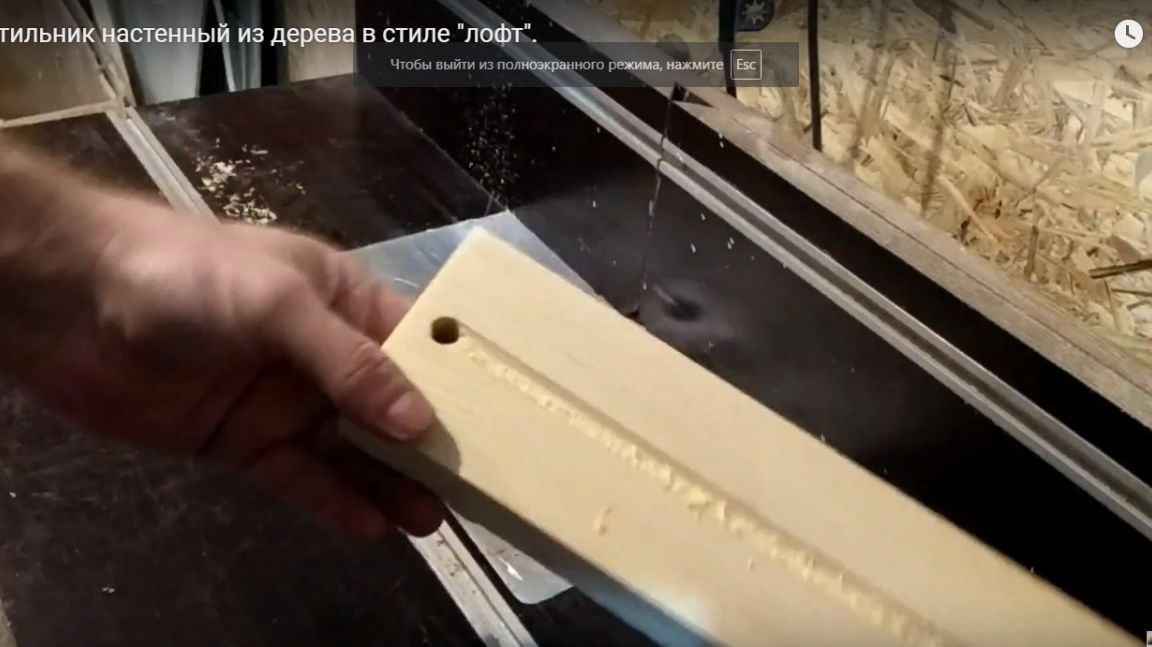
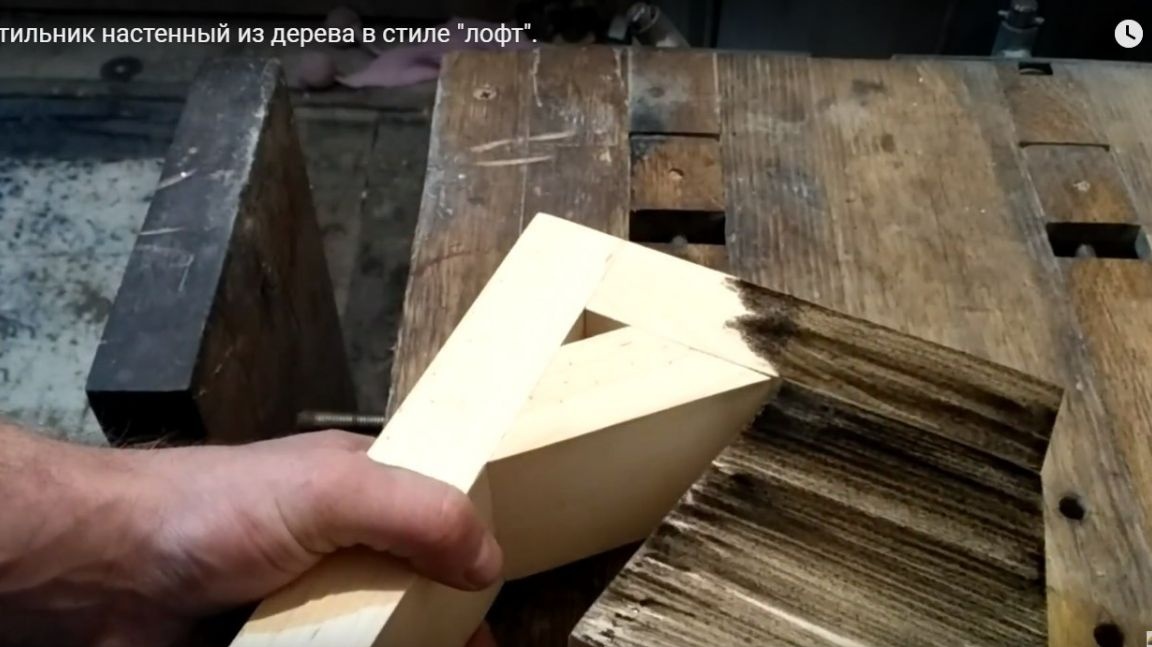
The first step is to cut the boards, which will be assembled into a single whole in the form of a square. To do this, we cut four boards of the same length on a sawing machine, you need to saw at an angle of 45 degrees, then to dock them together.
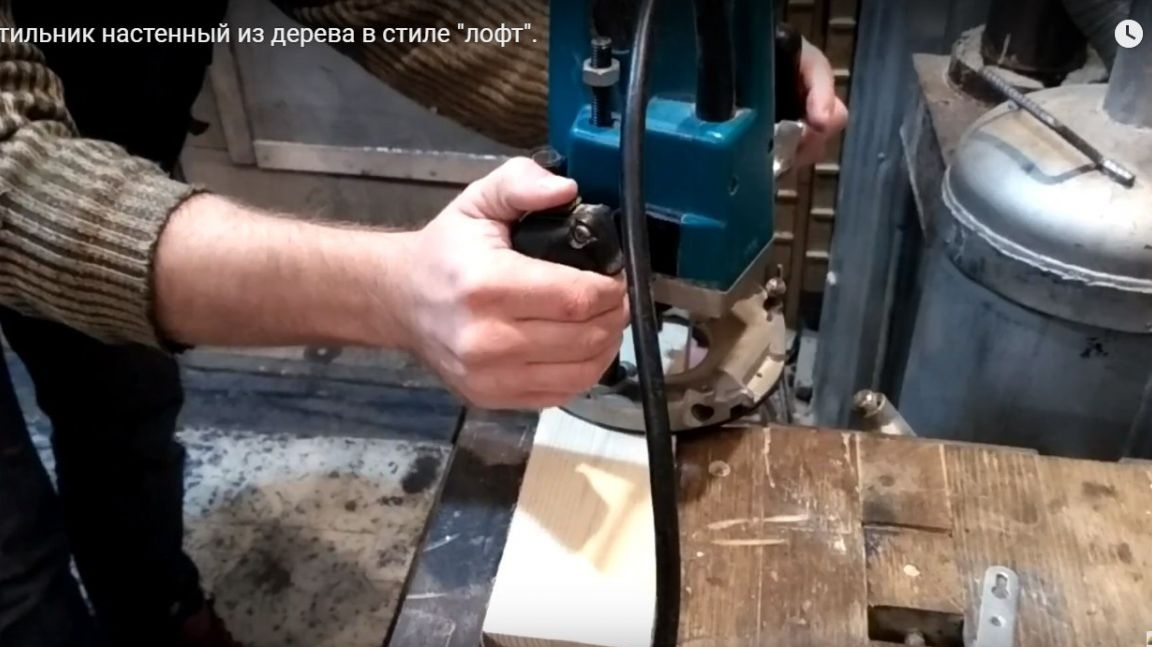
Next, we make a groove in each plank with a corner mill on the milling table.
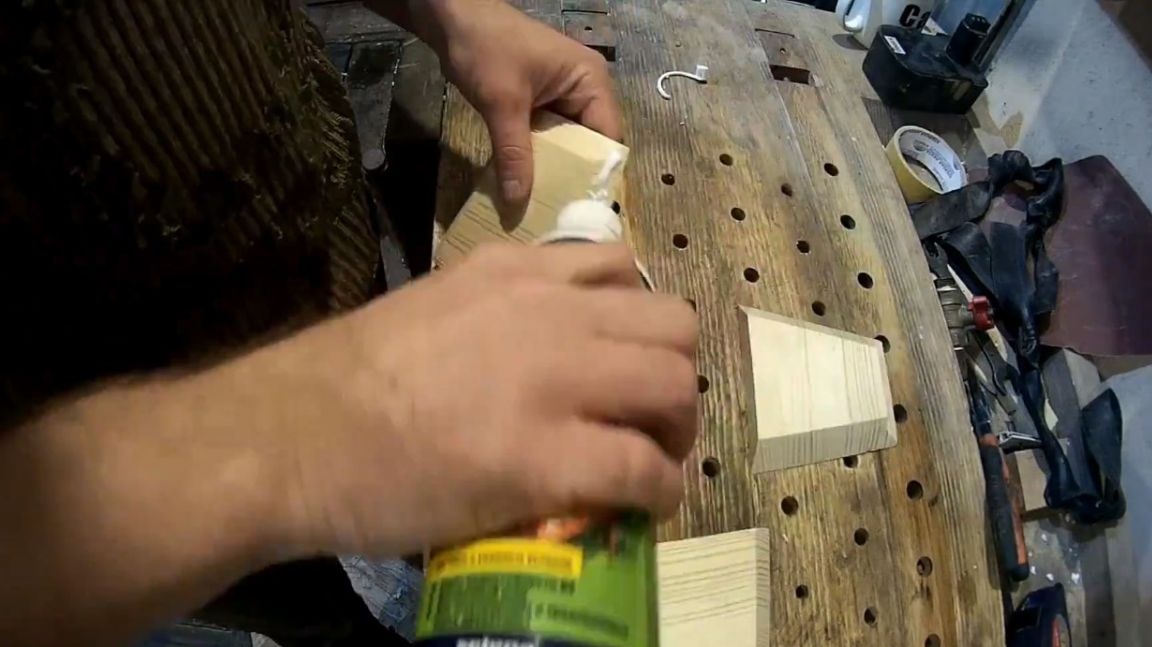
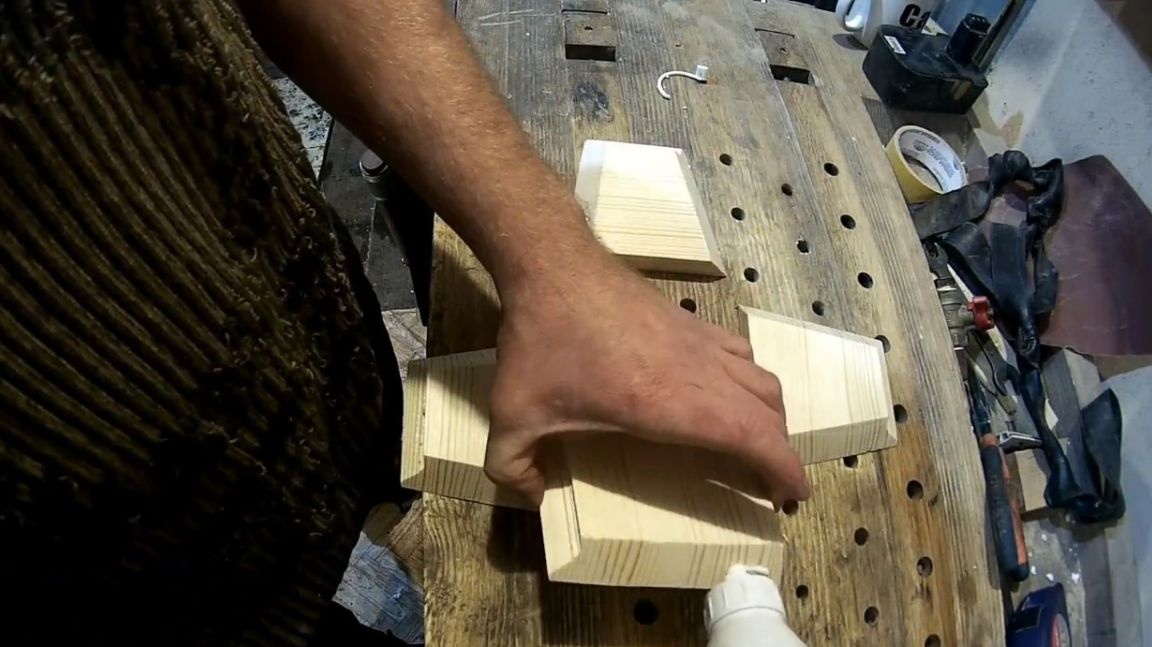
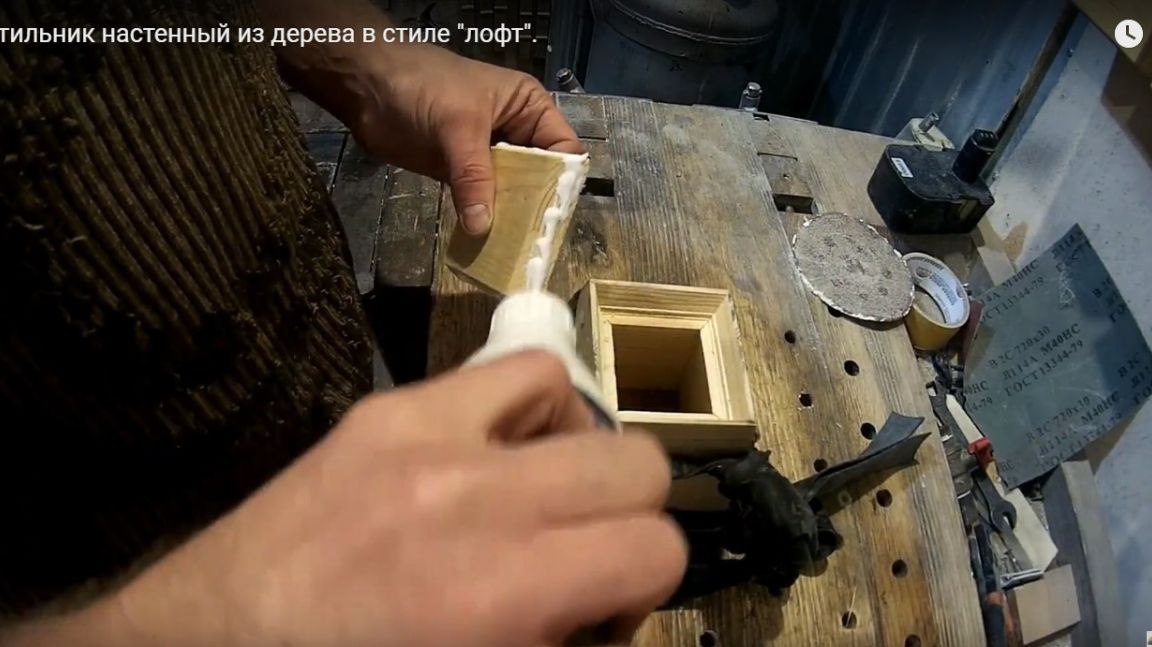
After that, we glue the parts together with wood glue and fix with rubber bands, for example, a bicycle camera will do.
Step Two
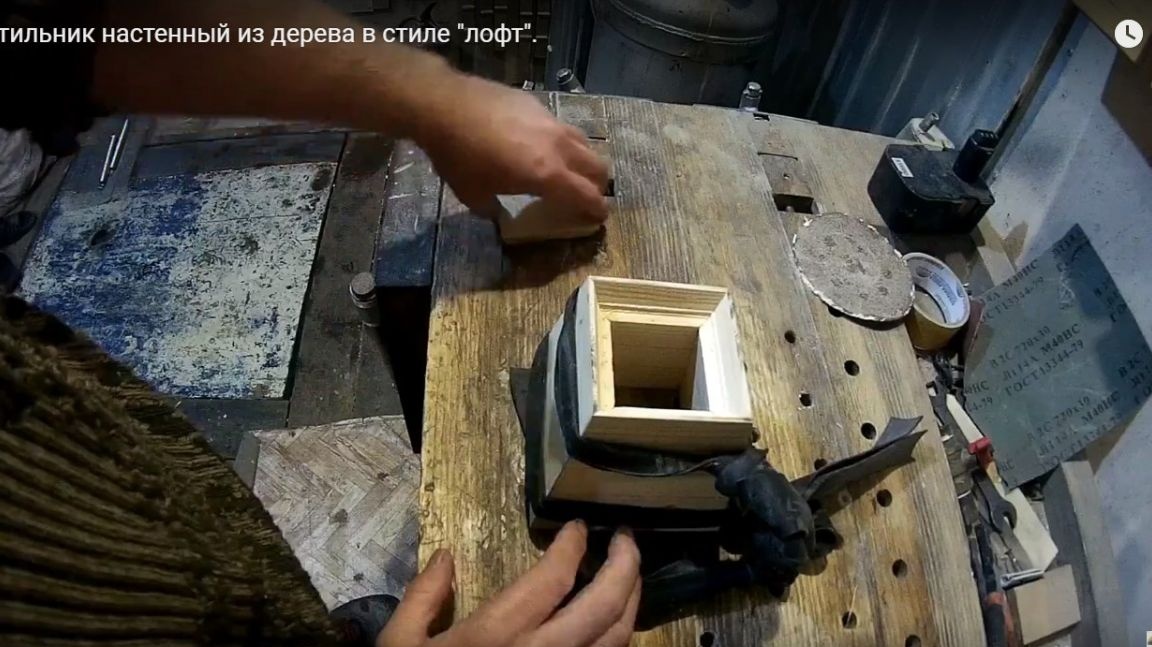
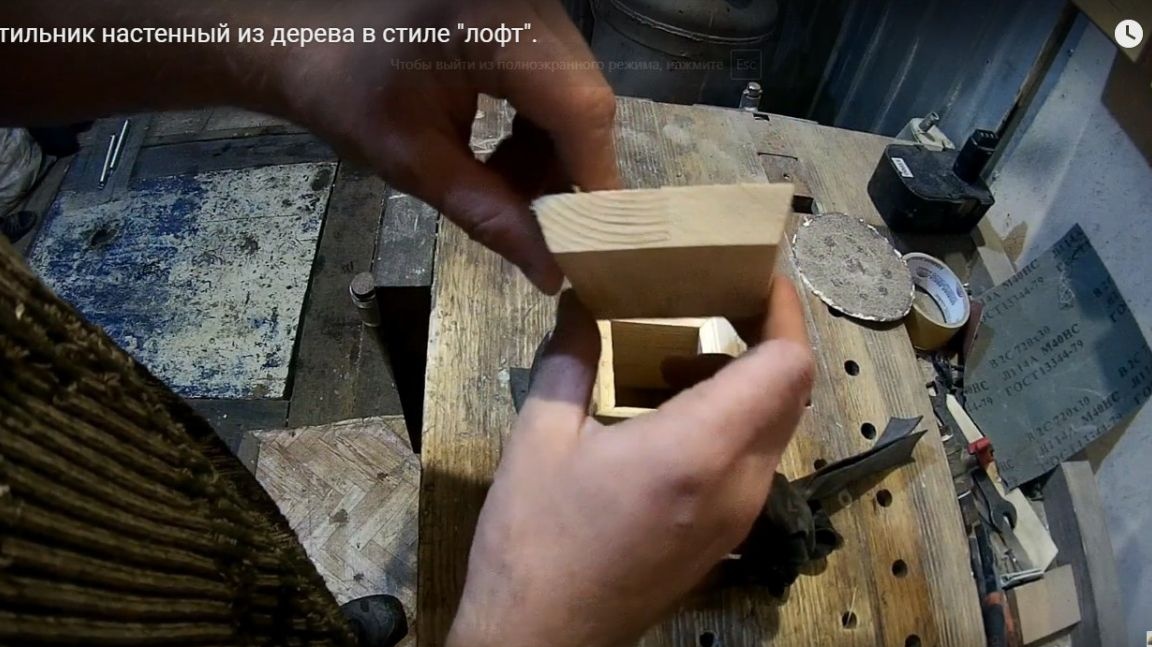
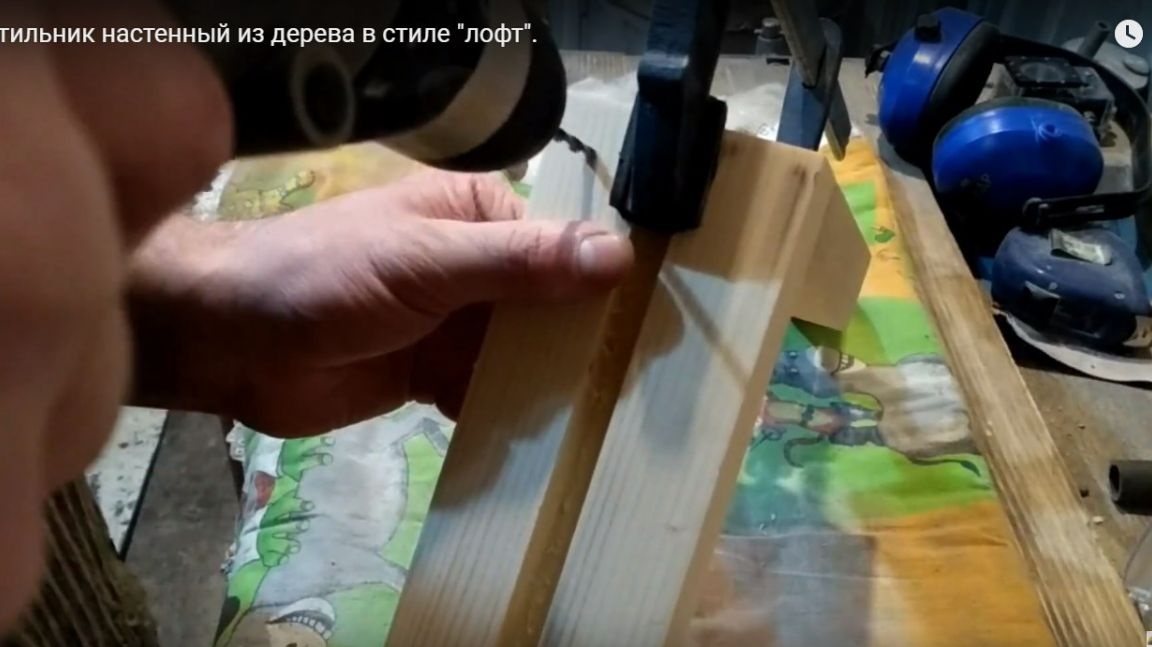
Now we make a lid that will hold the bulb holder. In order for her to sit perfectly, we also pass through its edges with a mill.
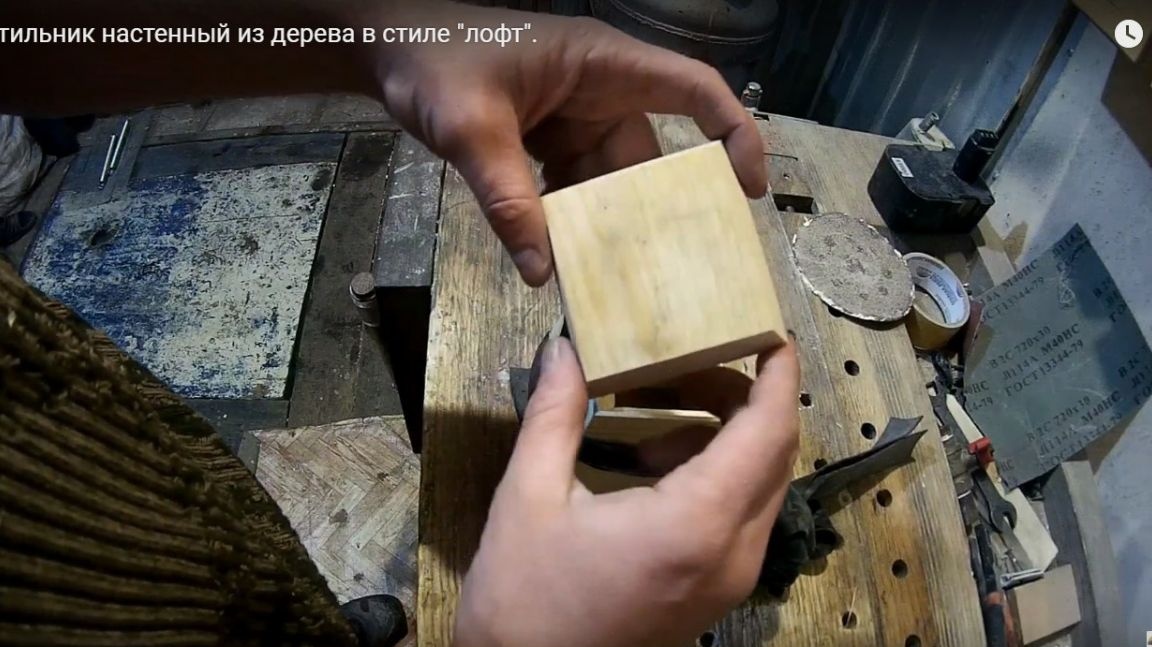
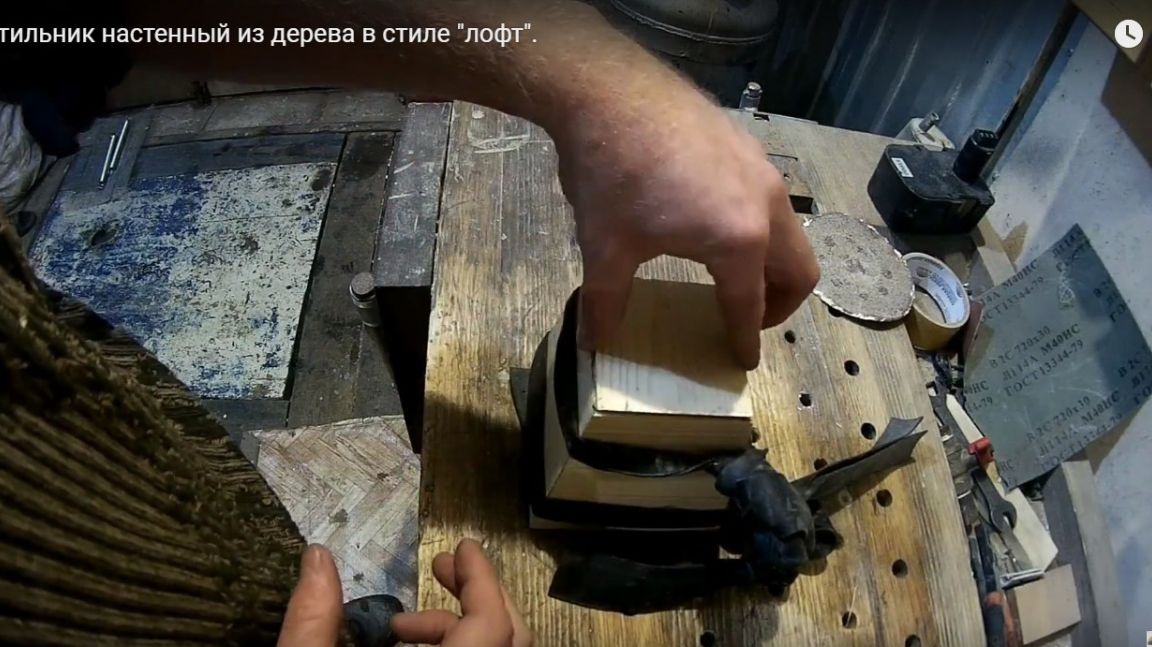
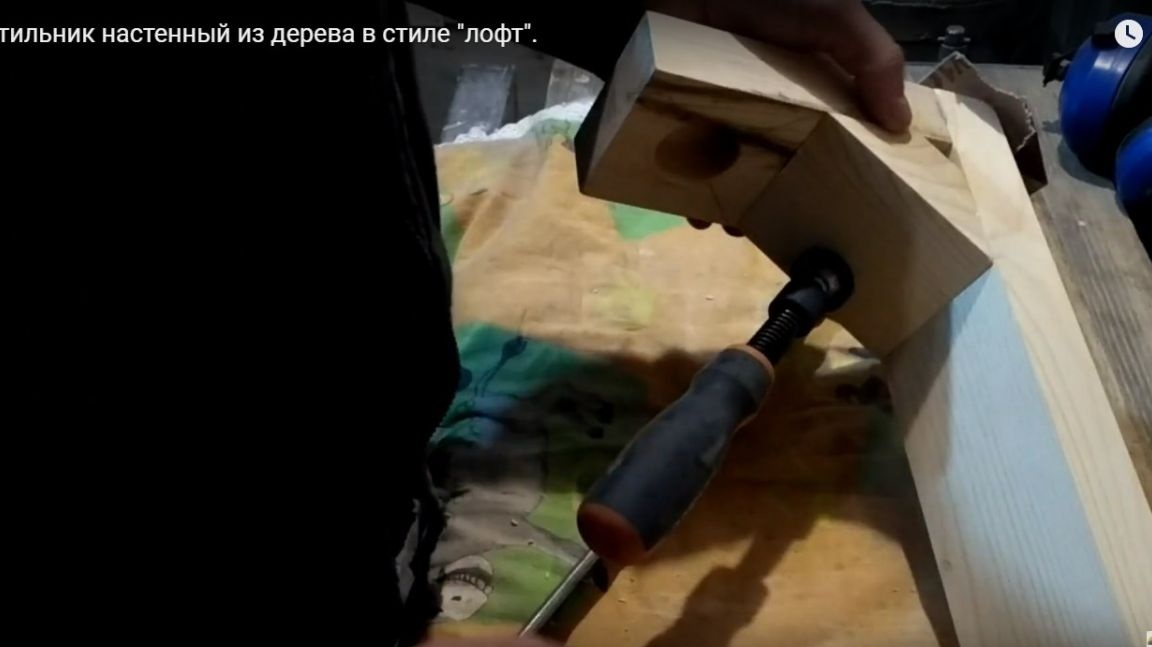
For gluing we use the same glue and press it with a joiner's vice.
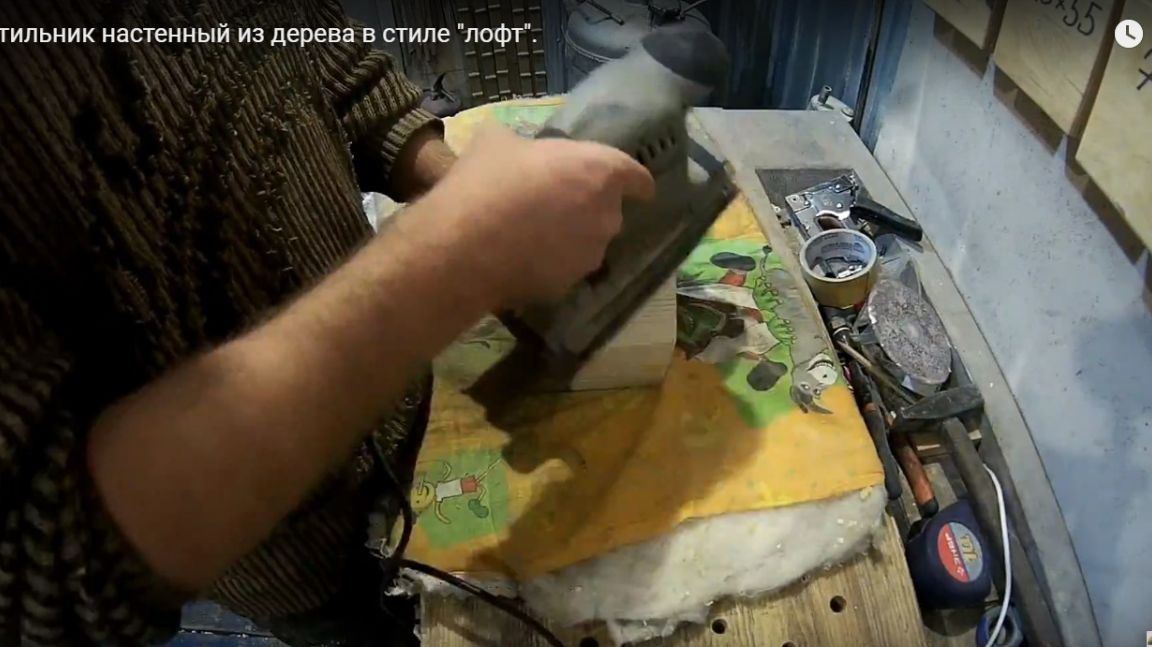
After the glue has dried and the design of the lamp is held by grinding the surface using a grinding machine, we perform this procedure with all planes.
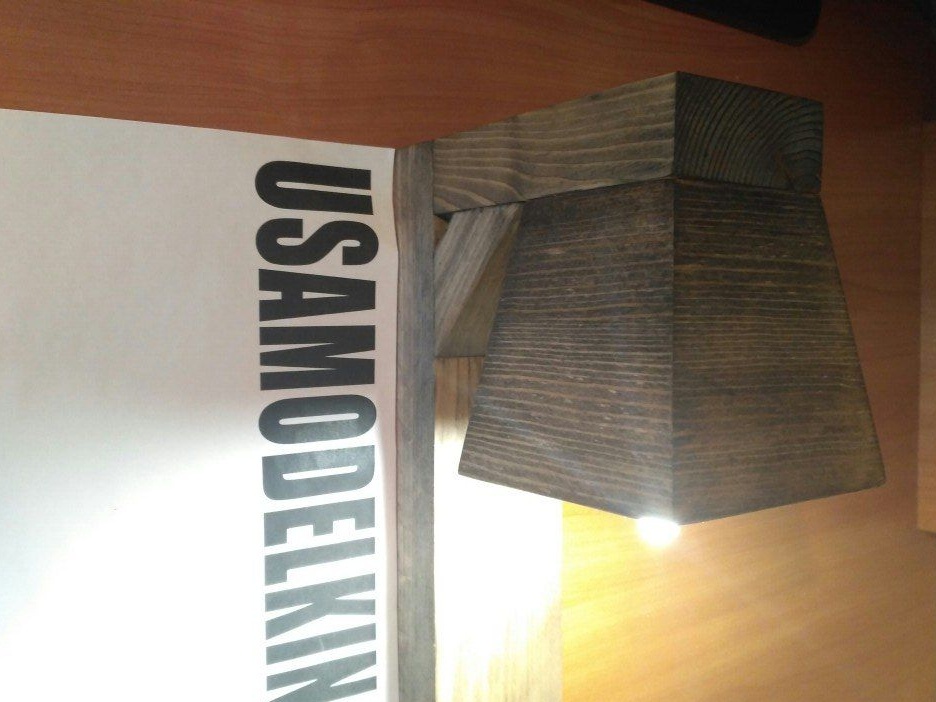
The result should be something like this.
Step Three
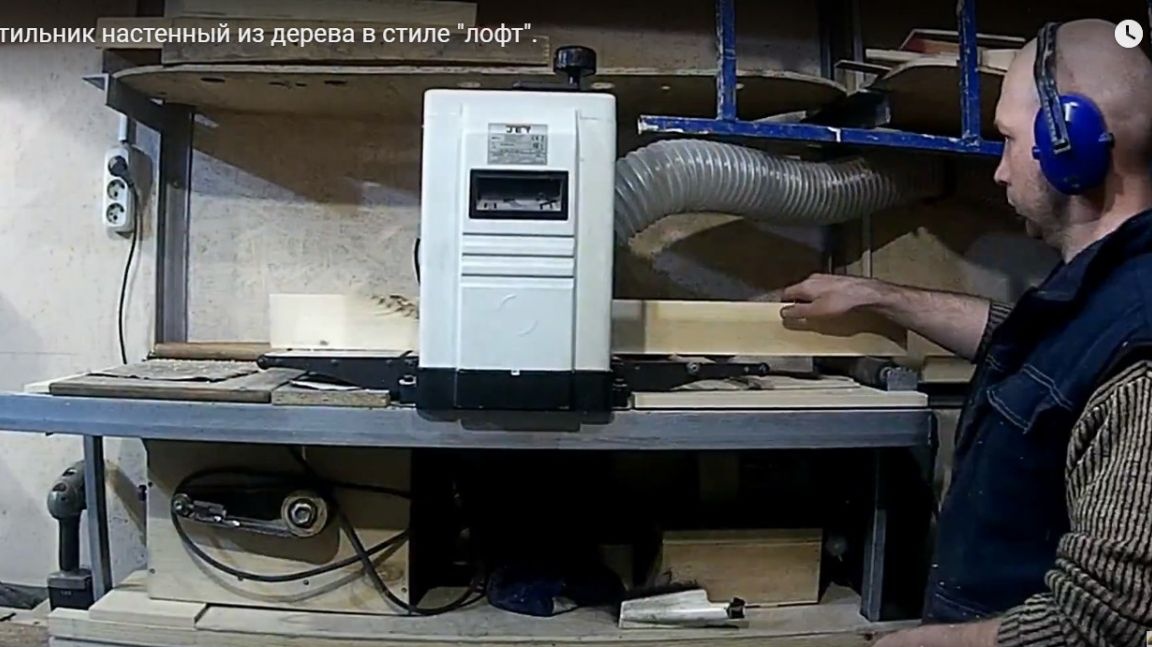
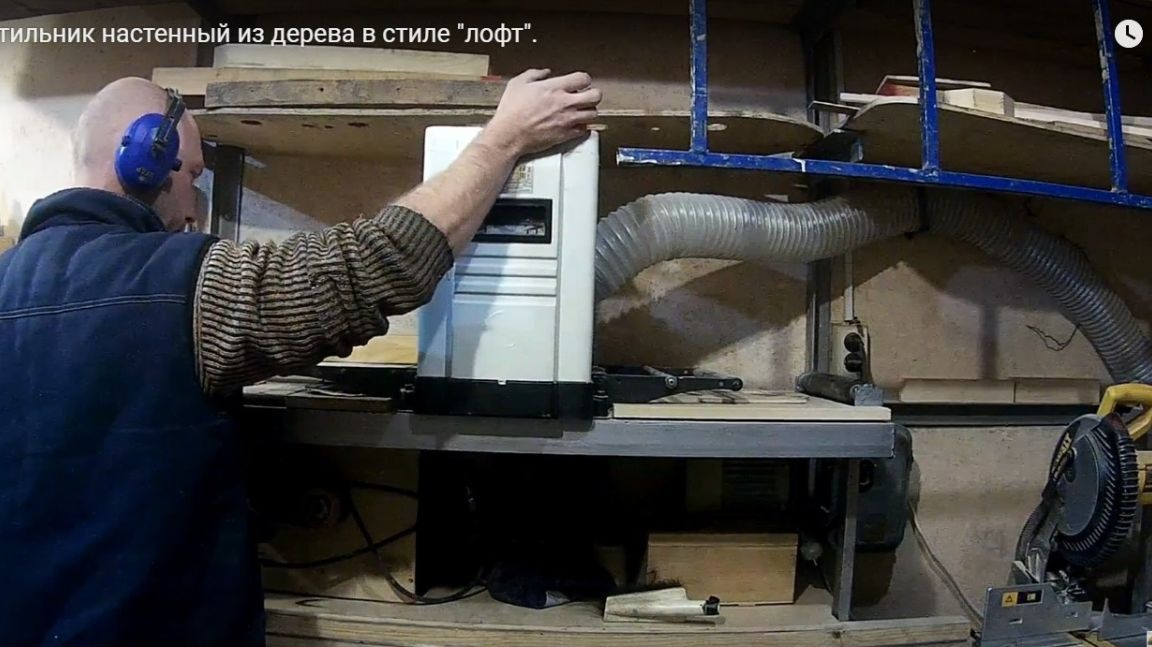
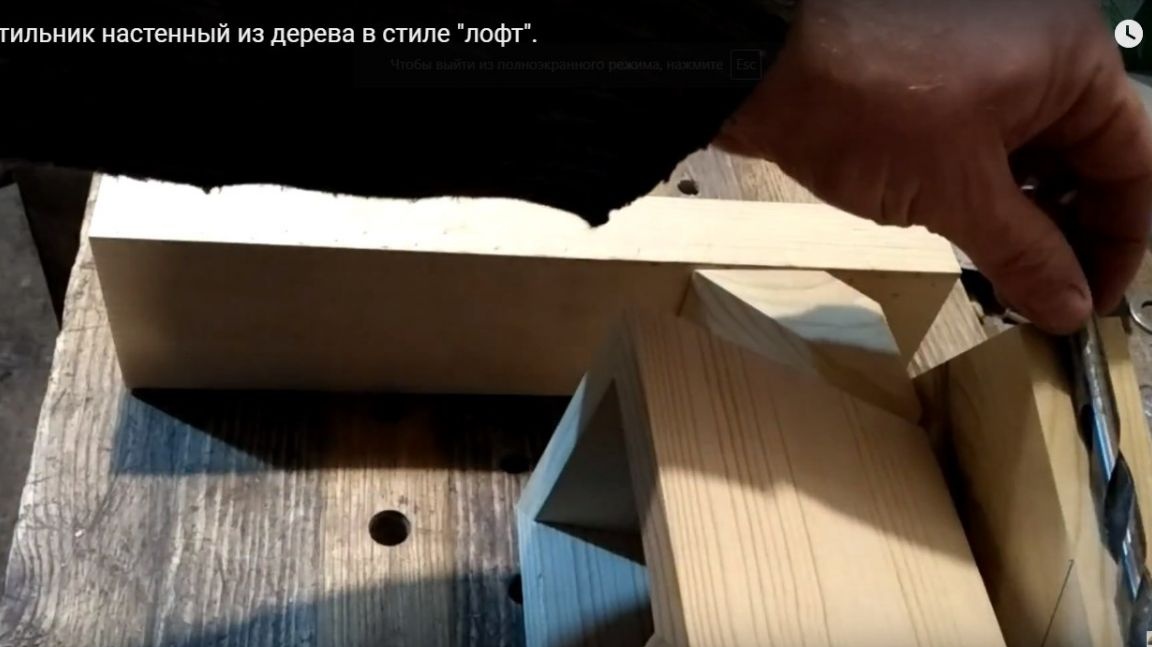
Since at the very beginning it was planned to make a wall lamp, for this type you need several more boards that will be interconnected in the form of the letter G. We take the board and drive it on the jointer, removing all the irregularities.
Then we process a board on a surface gage.
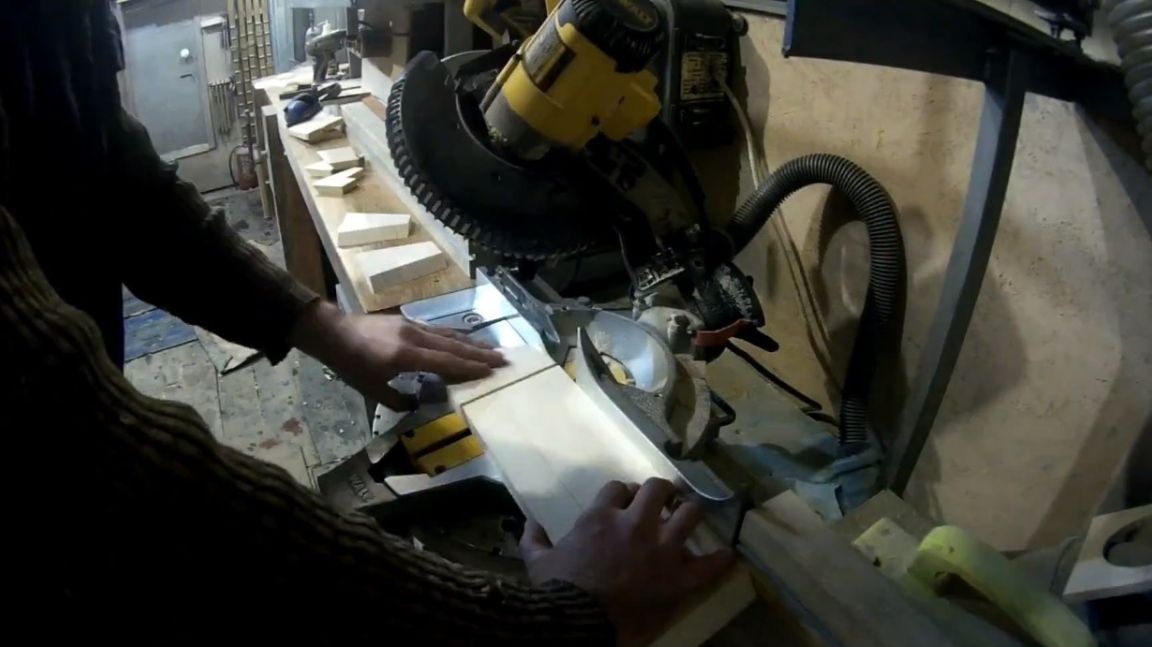
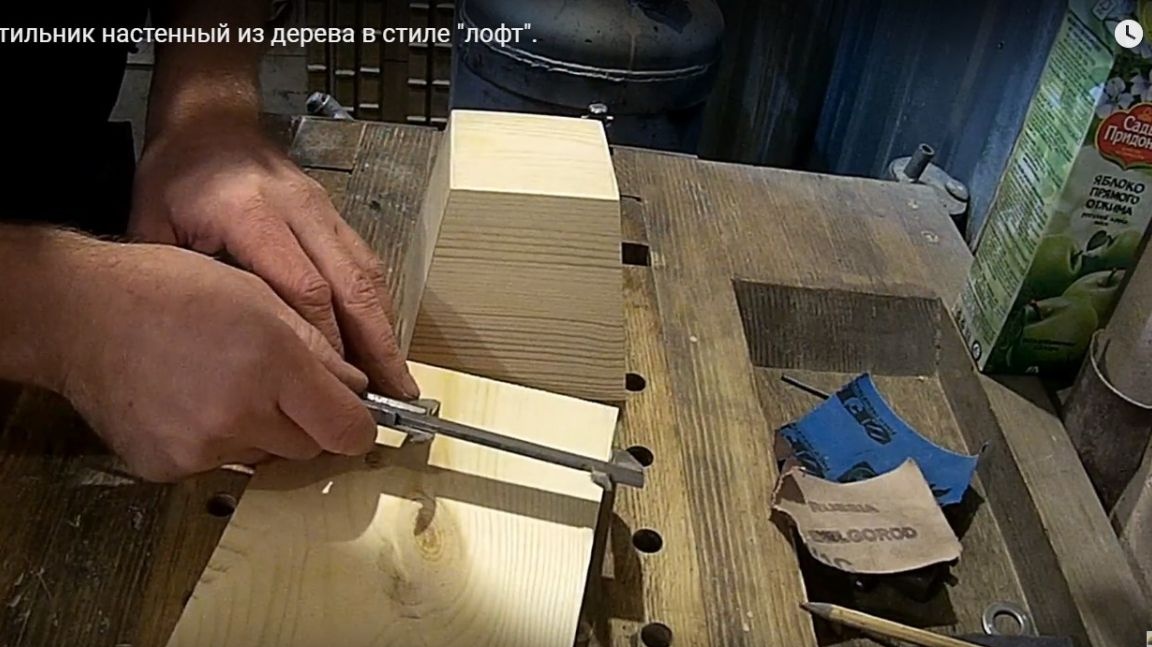
After this, the board needs to be sawn to the required width, which is equal to the width of the lid that was glued earlier, a sawing table helps with this. But first, we compare the ends on the jointer.

Now you need to divide the board into short, medium and long, this is best done on a sawing machine.

Step Four
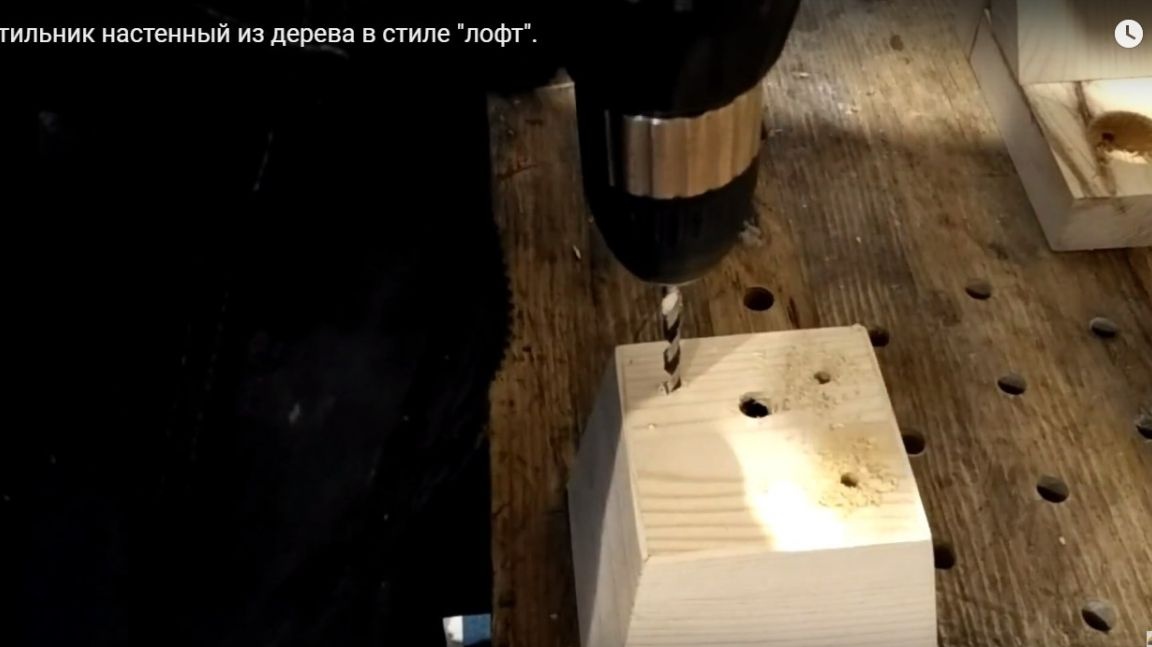
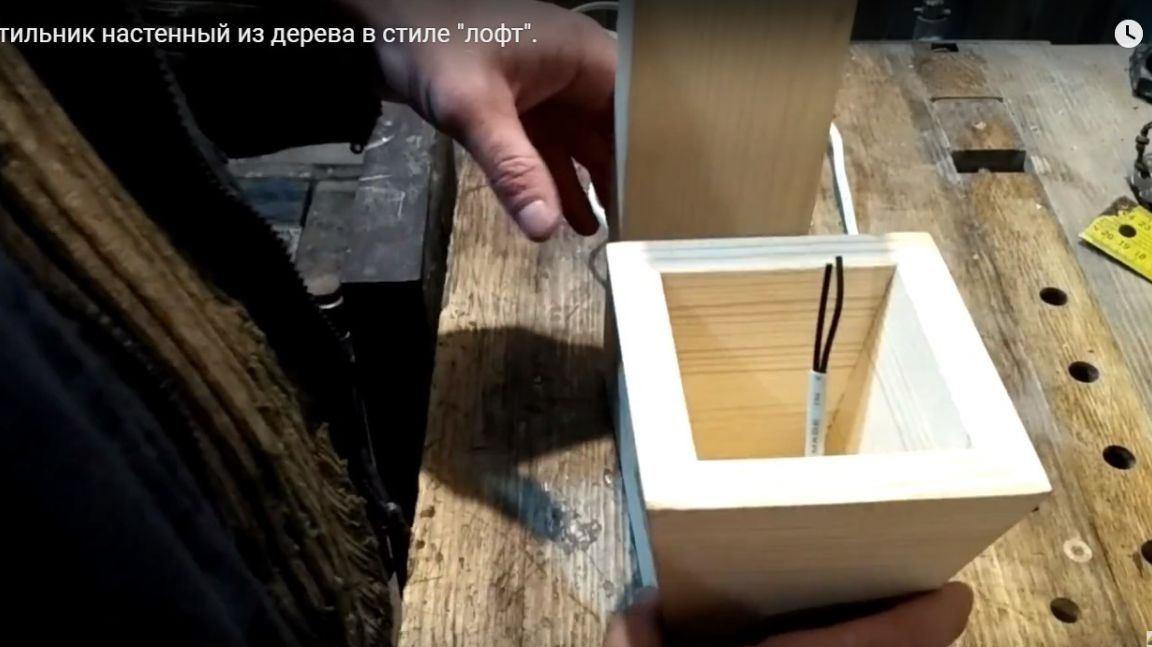
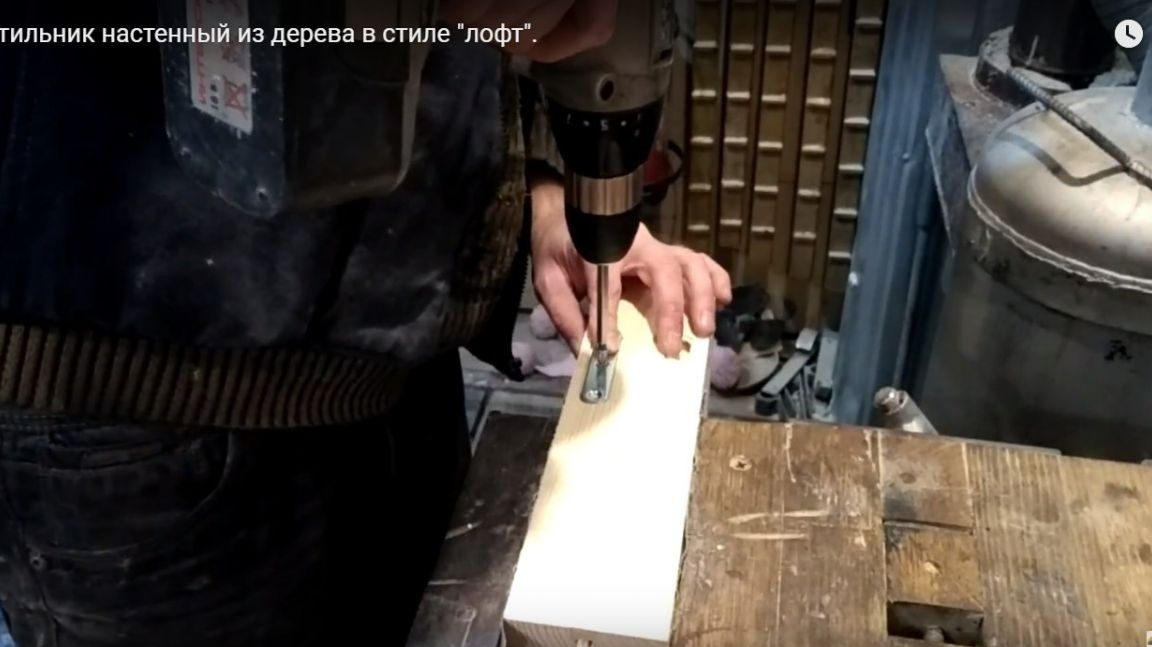
In the plate, which will be attached to the lamp with a light bulb, you need to drill a hole that is provided in order to hide the wire going to the cartridge.
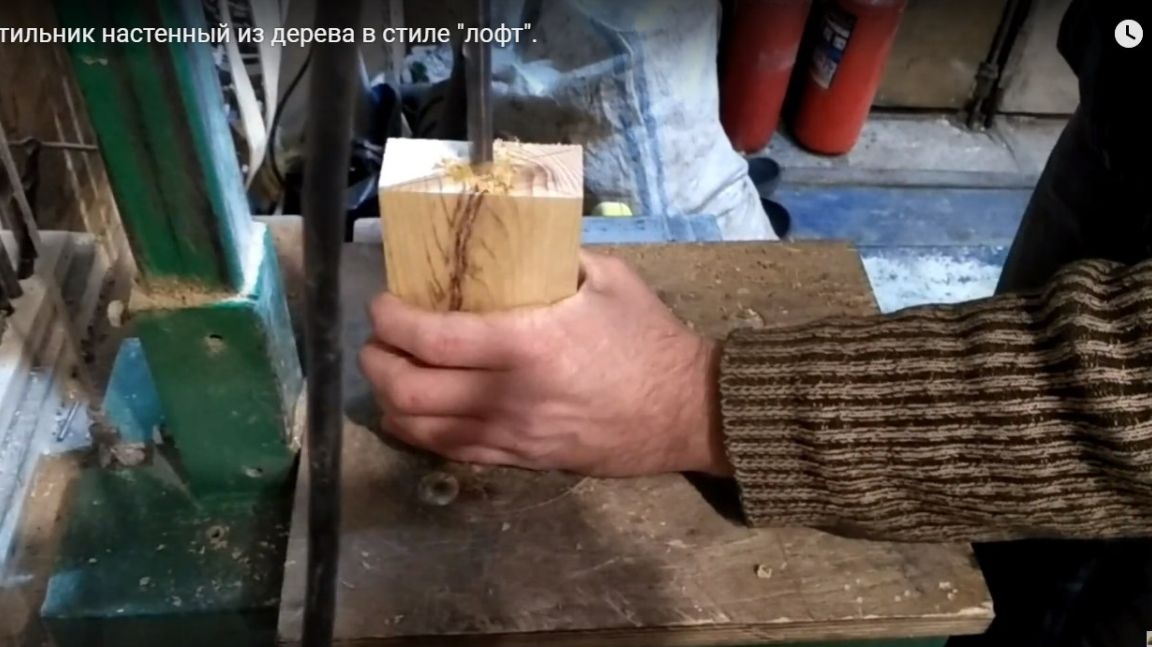
With a feather drill, we drill a hole in the lid of the flashlight for attaching the cartridge.

On a long board we make a groove on the milling table, it should be exactly in the middle, an electric wire will be laid there.
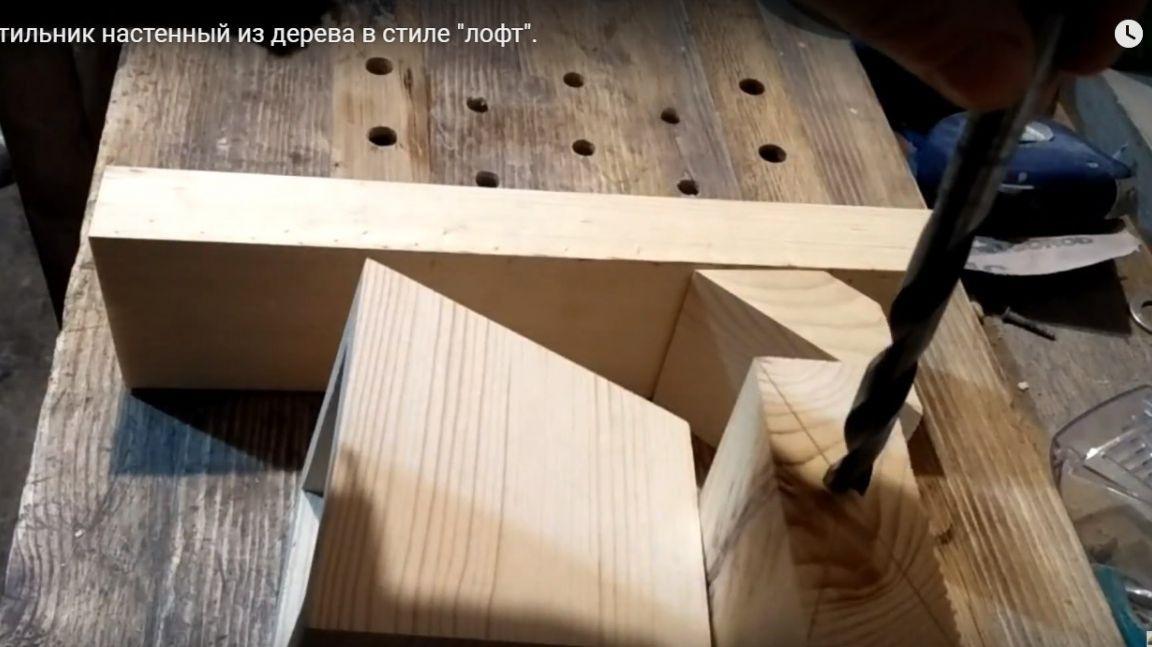
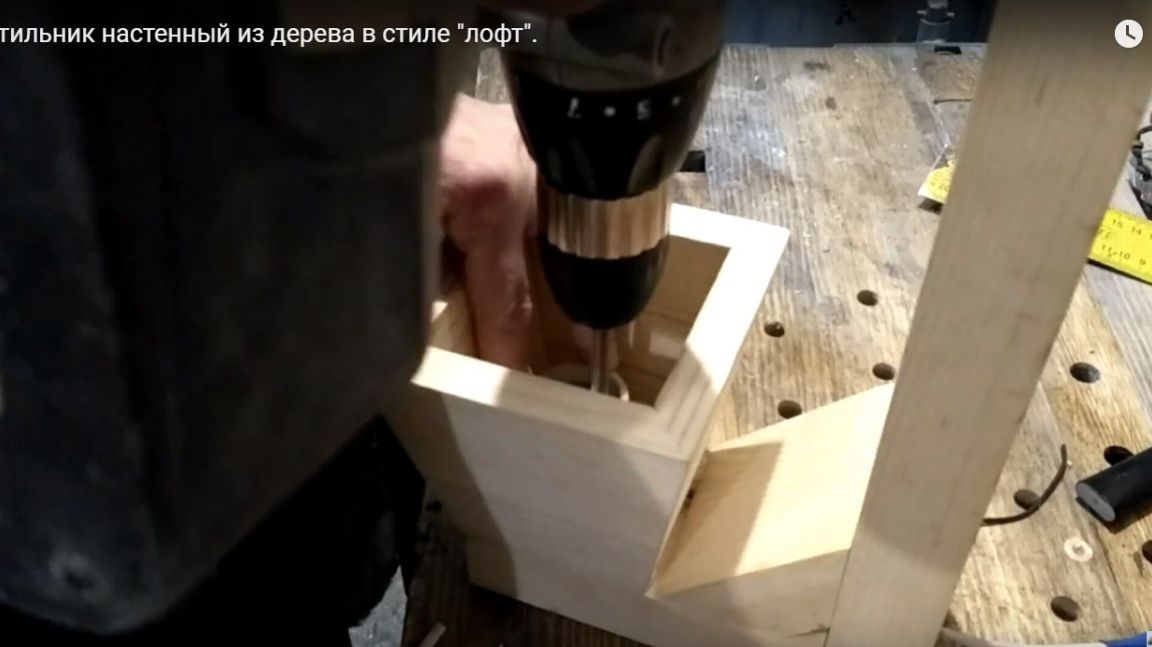
We connect two boards, for this we drill two holes in that board, which is more authentic and screw the screws.
So that a large load would not act on the connection of two boards at 90 degrees, and also in order to strengthen the structure, it was customary to put a small emphasis between the two boards, which in turn was fixed with glue.
Step Five
It's time to fix the head of the lantern. We drill four holes in a square and screw on the screws to the mount in the form of the letter G.
It's time to do the wires, or rather, lay the wire throughout the lamp. Poke the wire into the groove and into the lamp itself through a previously made hole.
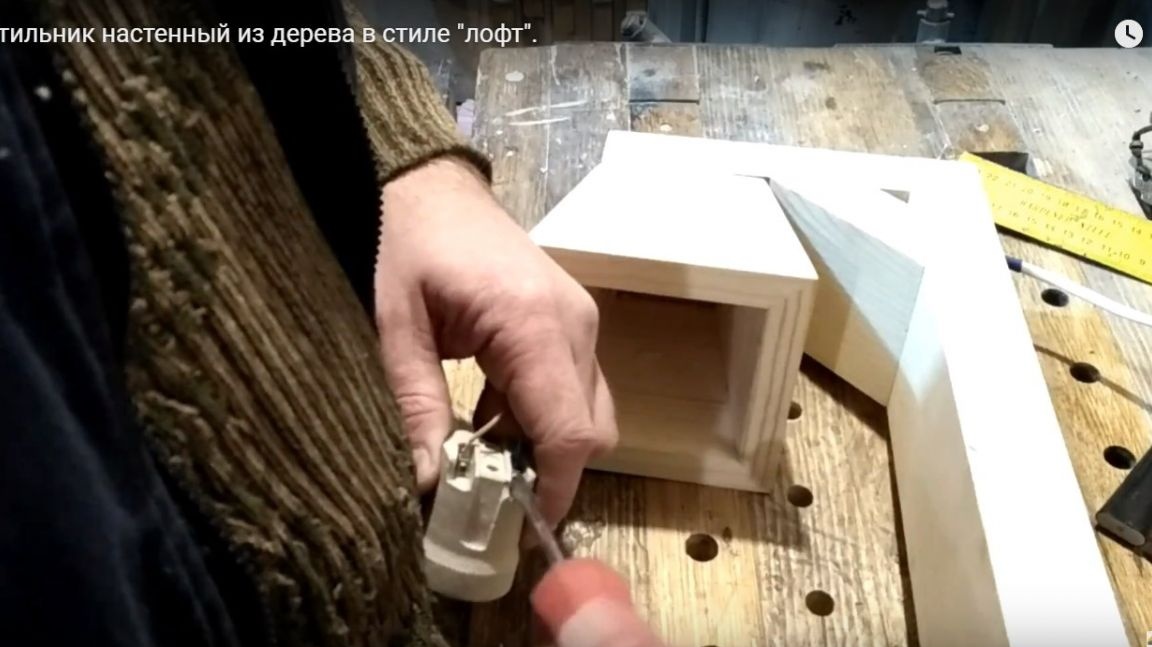
Then we screw the cartridge into the head of the lamp, prematurely connecting to the wires.
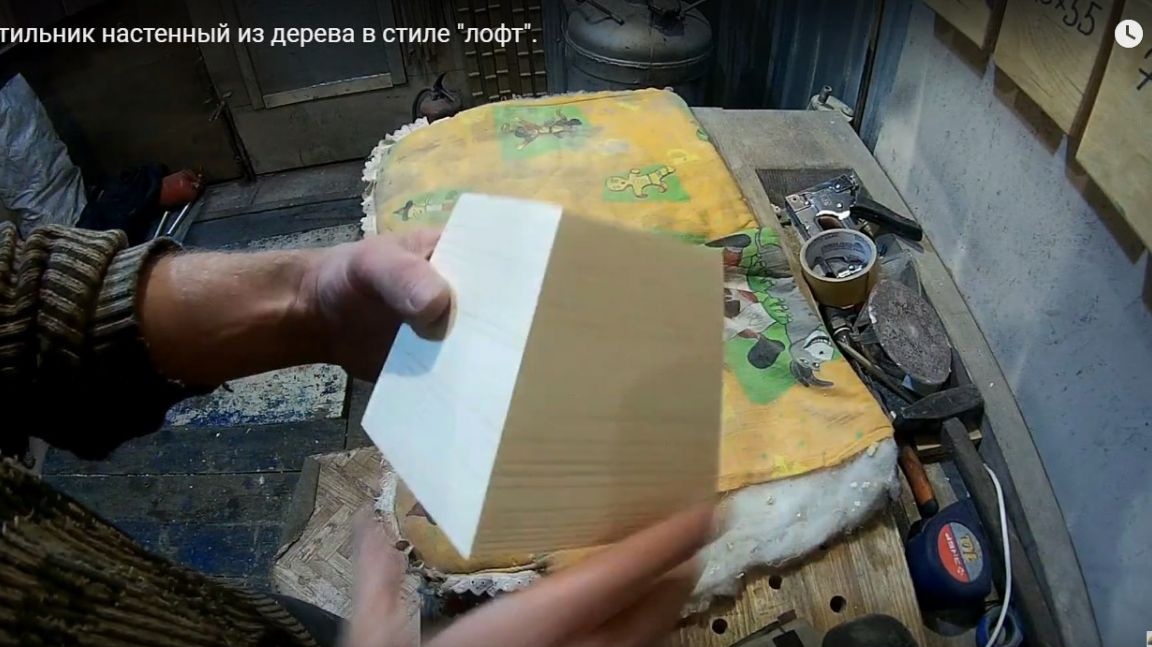
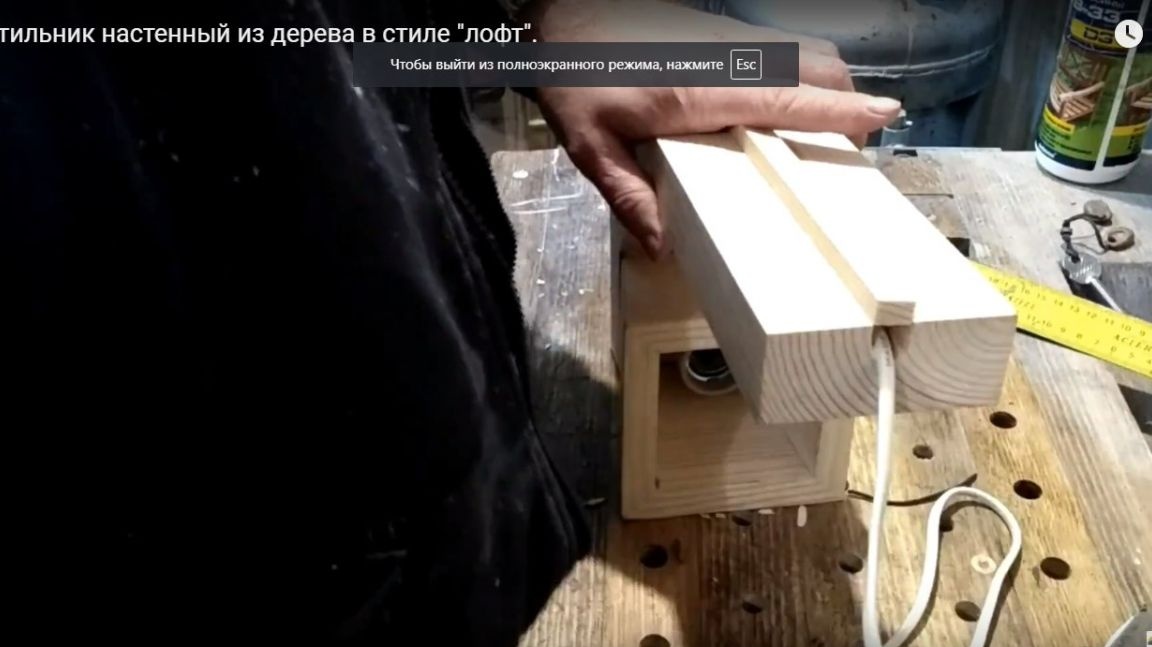
After the wire is in the groove, you can mask it with a thin board cut out strictly along the width of the groove.
Step Six
Since the lamp in my case is wall mounted, it is logical to think that it is attached to the wall. To do this, it is necessary to mark the place of milling and make a marking of the suspensions, then use the manual milling cutter to mill the seats of each mount.
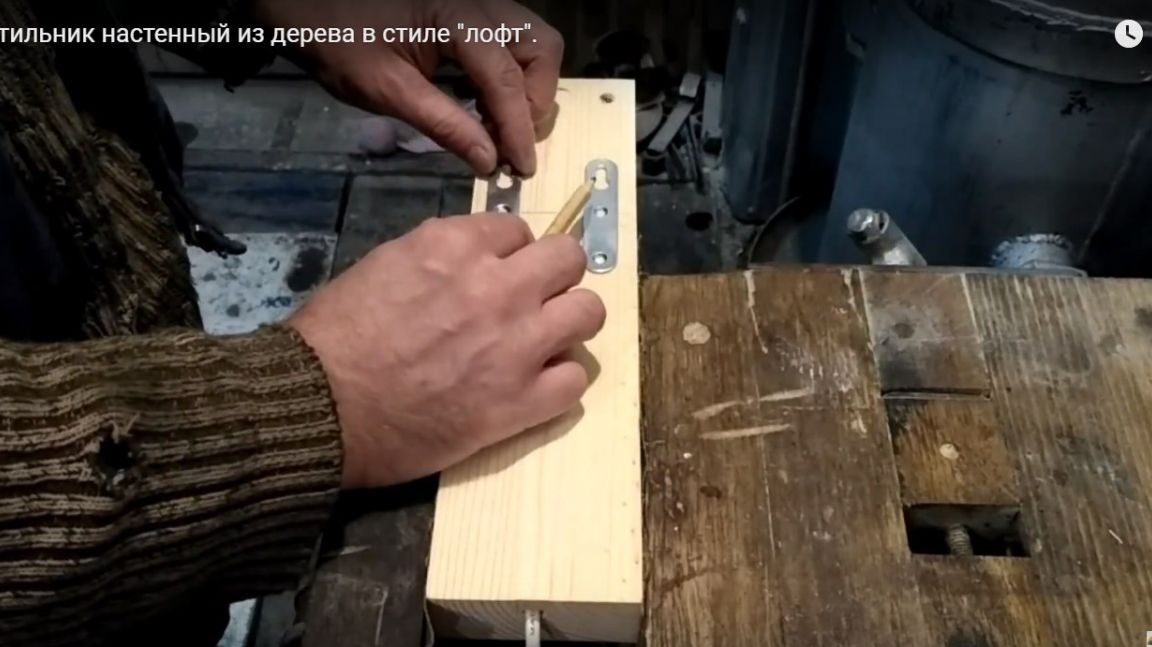
After milling, we install suspensions on two screws for each with a screwdriver.
Seventh step.
The final stage in this home-made product in the form of a lamp is oil coating for furniture, this lamp was coated with oil with a Chaga color, which gave the product its zest, and also protected it from external factors.
In my little workshop, the lamp found its place, in the dark such a product can easily help you pass a couple more hours at your favorite work or leisure.
That's all for me, thank you all for your attention and creative success.