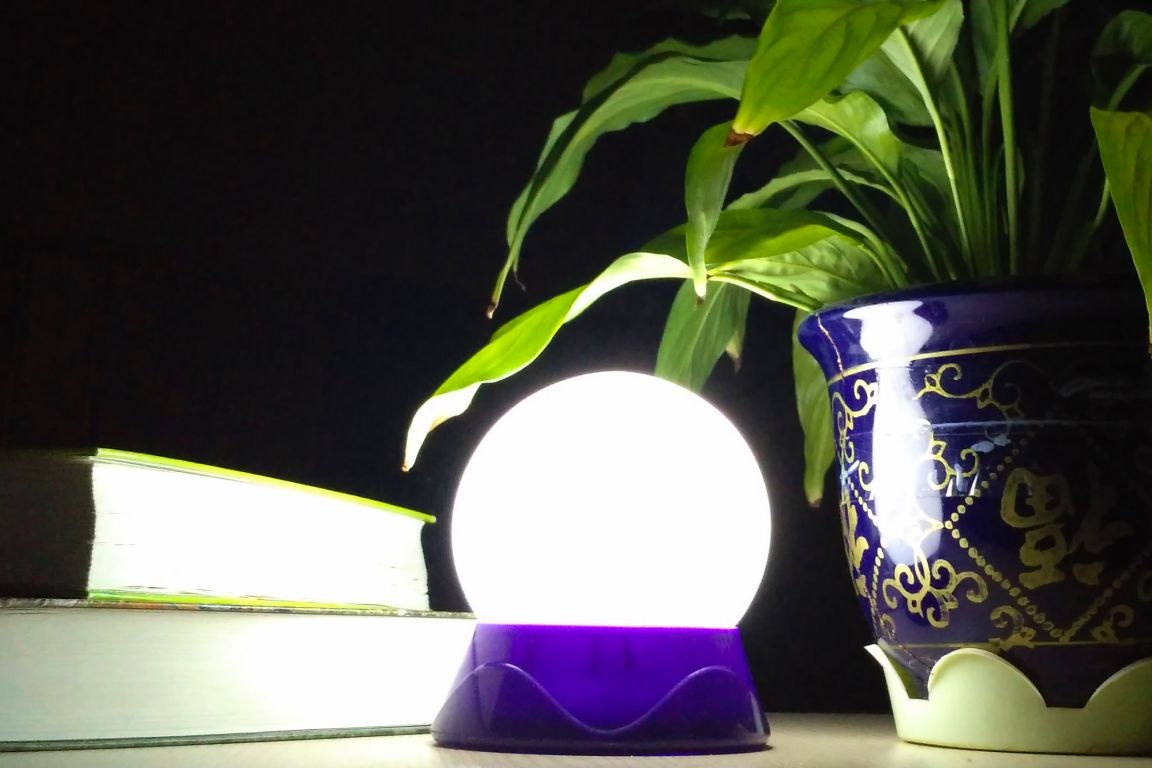
Need to create this homemade, arose as a result of the manufacture of another homemade product. And it was also an LED night light. And everything about him was good, only the light from it was too harsh and, to be honest, it was just annoying. LEDs hit the beam, but for a night lamp this is completely unsuitable. So I decided to make something like that, but with a diffuser that makes the LED "spotlight" a night light with soft light.
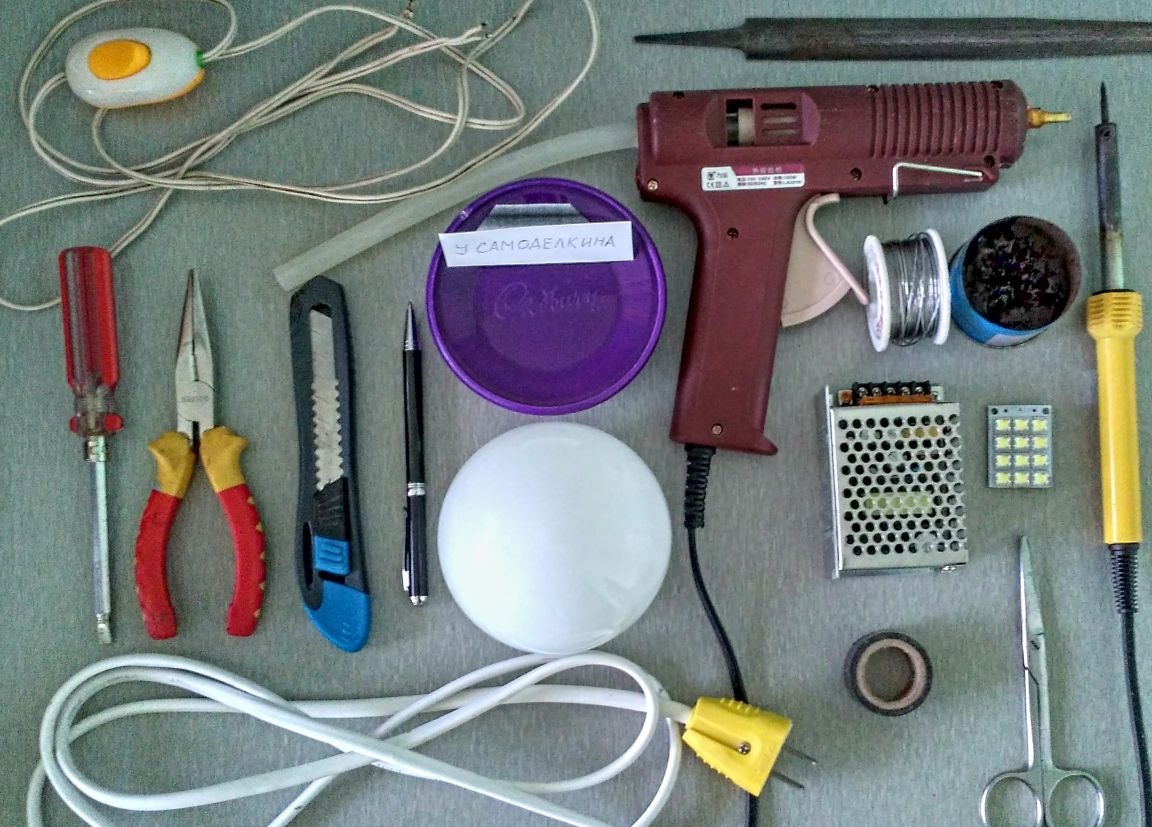
Materials and tools:
1 piece of 220 V wire
2 fork
3 piece of 12V wire
4 Toggle Button On / Off
5 Power supply 5 V 6 A (,)
6 Plastic candy can
7 Glass shade from the chandelier
8 LEDs 9 pcs
9 Soldering iron with consumables
10Glue gun
11 stationery knife
12 Heat shrink sleeve or electrical tape
13 scissors
14 Pliers
15 screwdriver
16 file
17 Pencil / pen
Detailed manufacturing description:
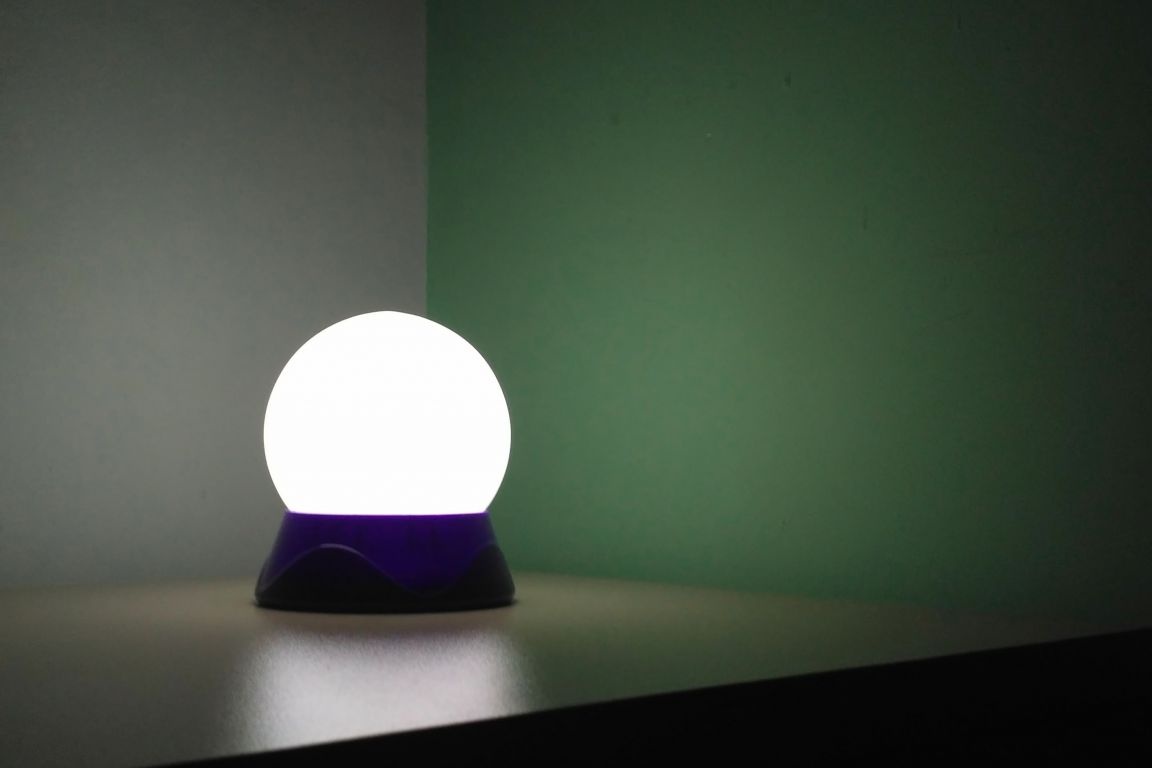
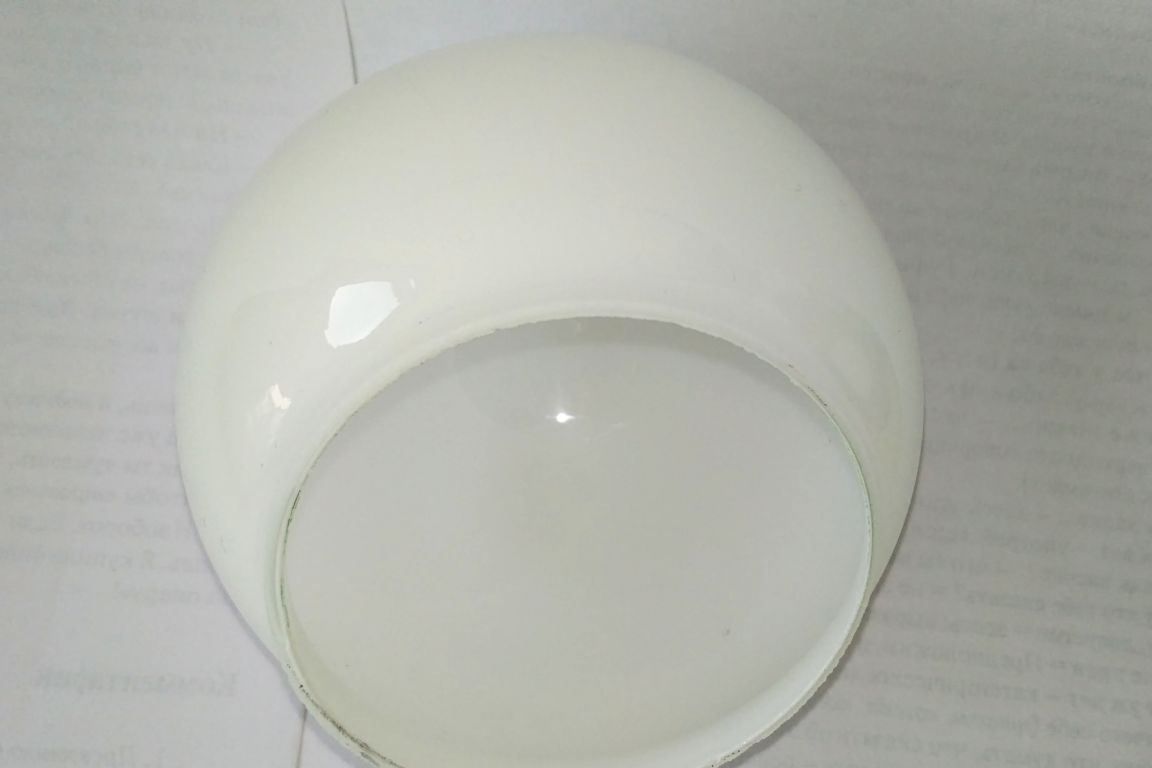
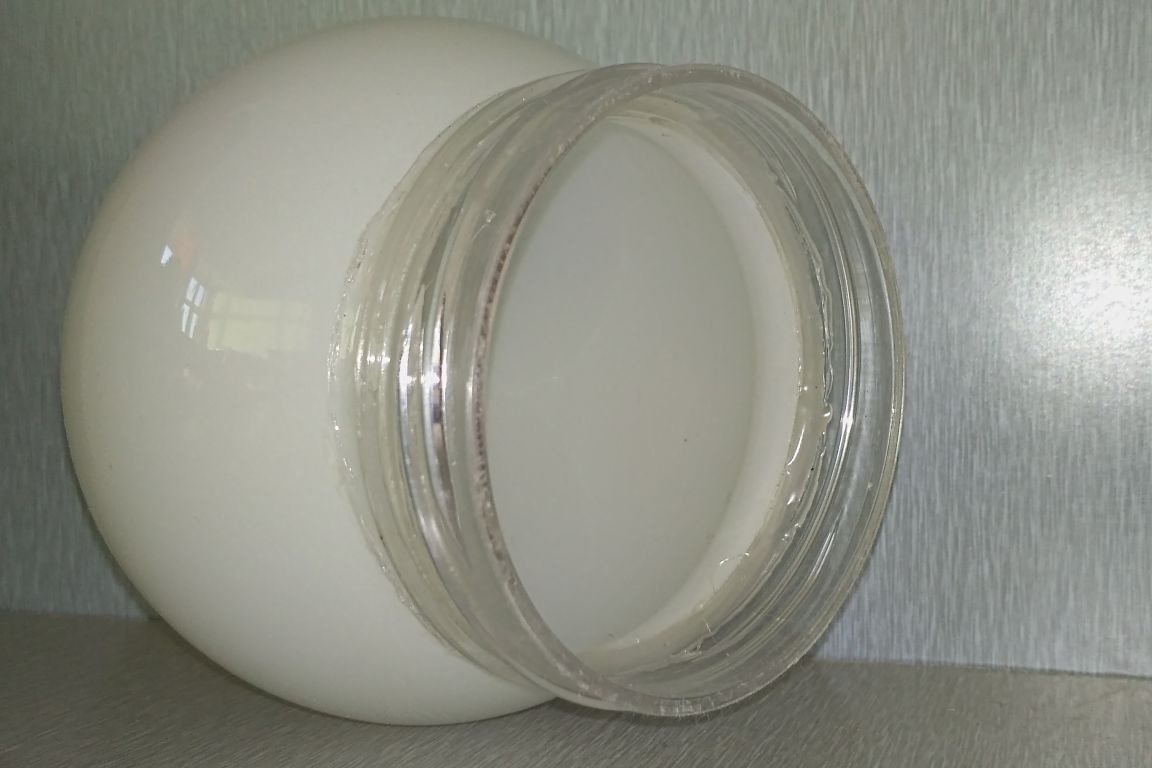
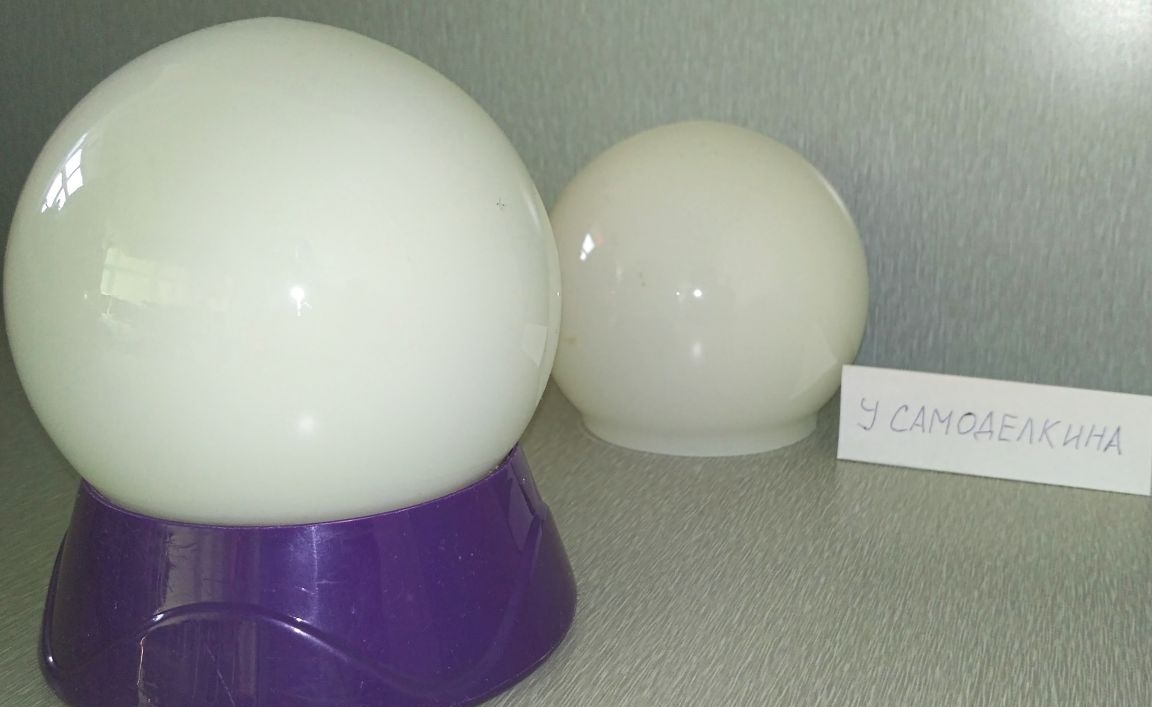
Step 1: As a basis, I took a frosted glass shade from an old chandelier, a couple of which were lying in the household. After the experiment with the LEDs and the ceiling, I was satisfied with the quality of light scattering, I got a white luminous ball, with a very uniform distribution of brightness - just a ball without light spots. That was what was needed.
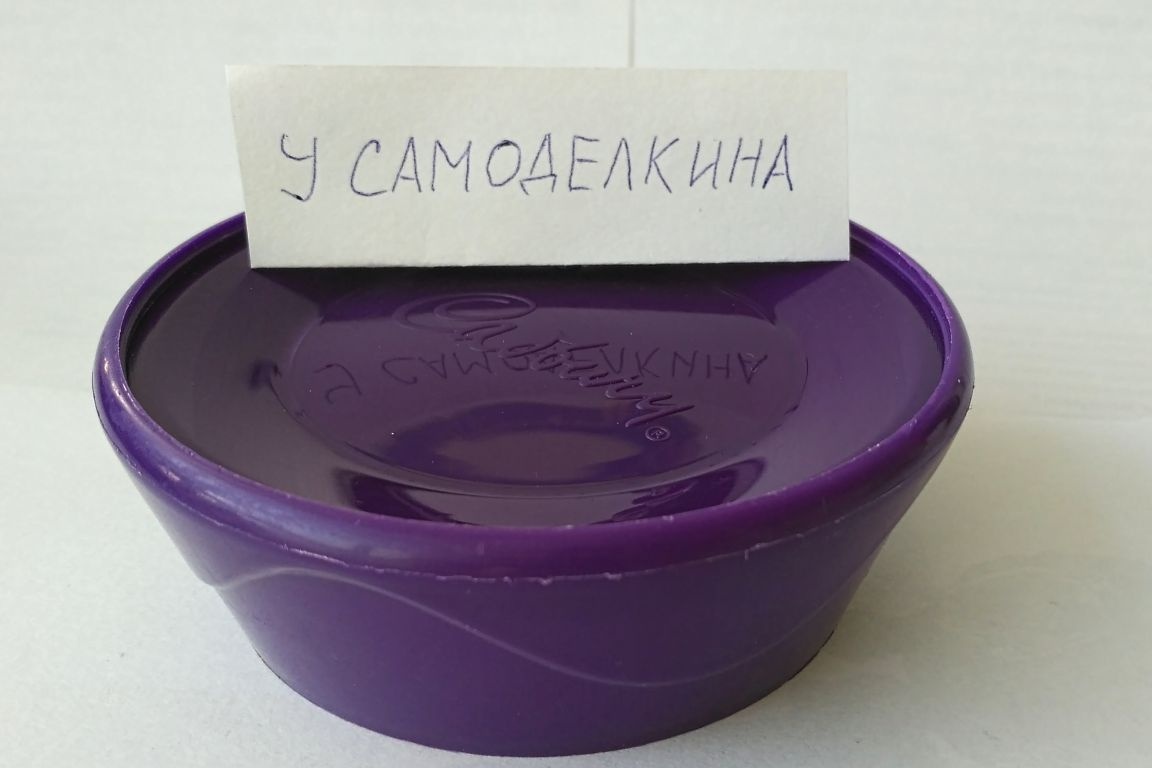
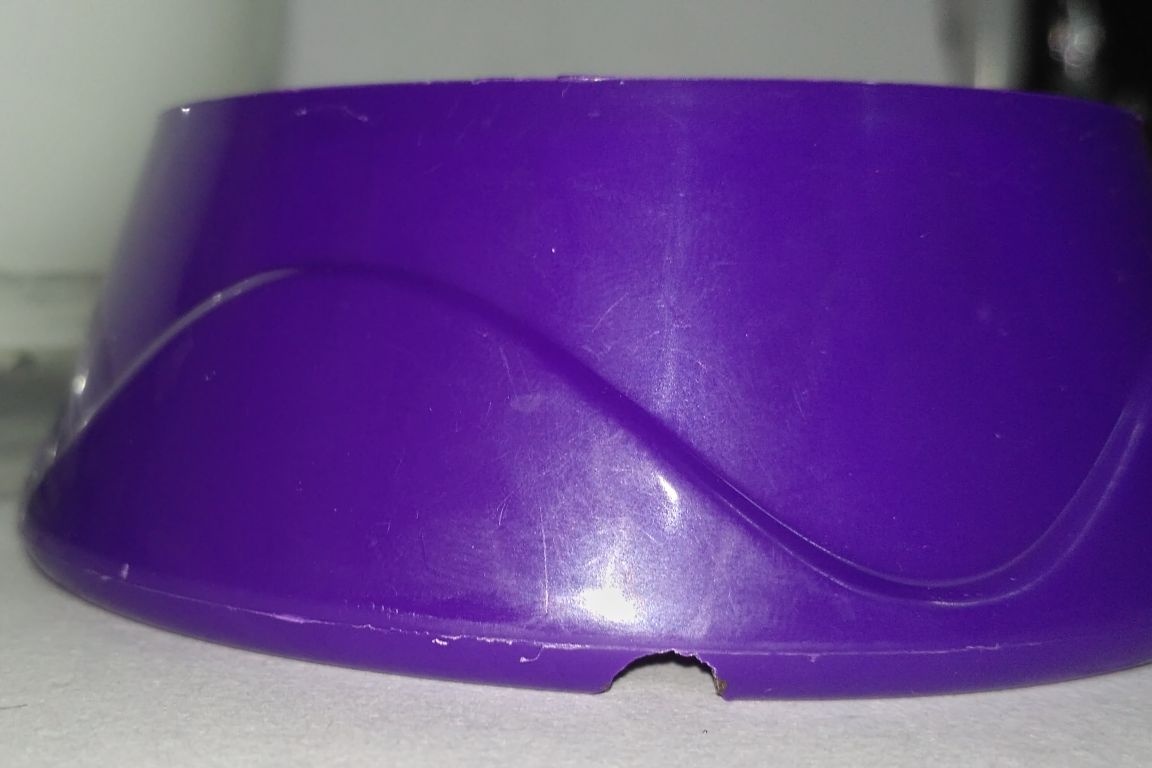
Then I began to look for something to fix the ceiling on. We needed a stand or a base similar to a fixture on a chandelier, but unfortunately the chandelier itself was not preserved at home - only a couple of shades. And then a plastic jar of an interesting shape caught my eye, the lid of which looked very good with a ceiling and also coincided in diameter. I simply forgot to photograph the bank itself, and when I realized it it was already disposed of, so I downloaded the image from the Internet.
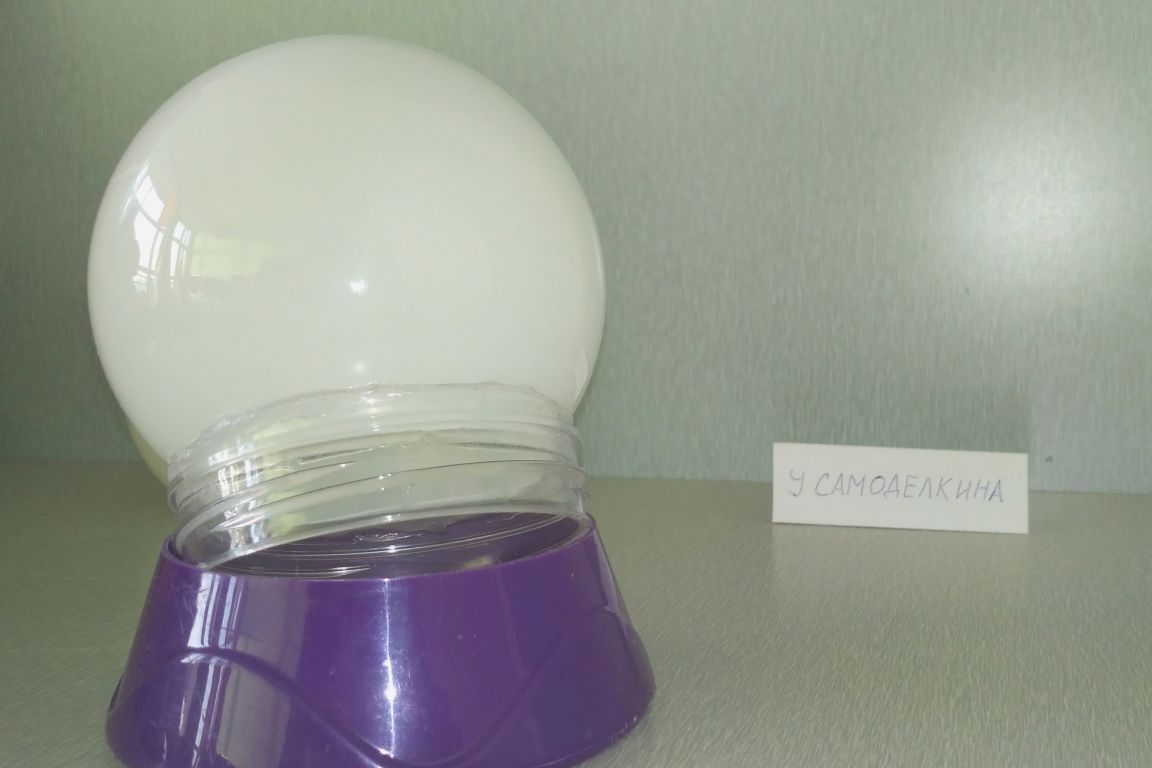
As a power source, I used a 5V power supply. There was an idea to place a battery inside the nightlight and make it wireless, but it seemed to me superfluous, since the lamp was not supposed to be dragged from place to place, but “registered” on the bedside table.

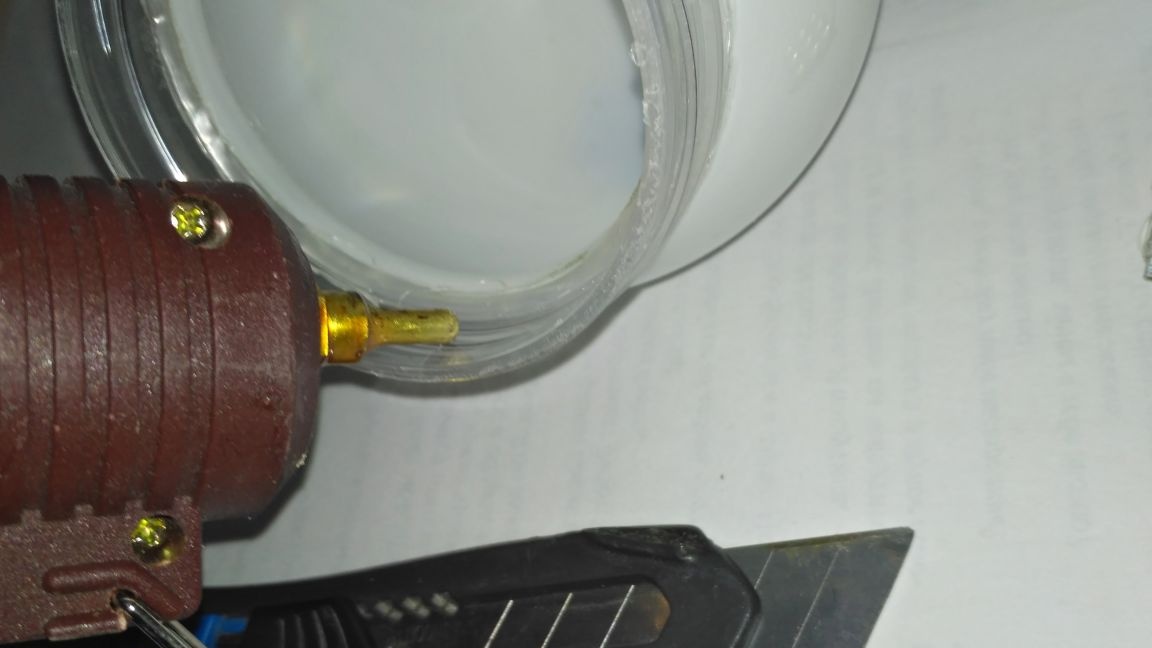
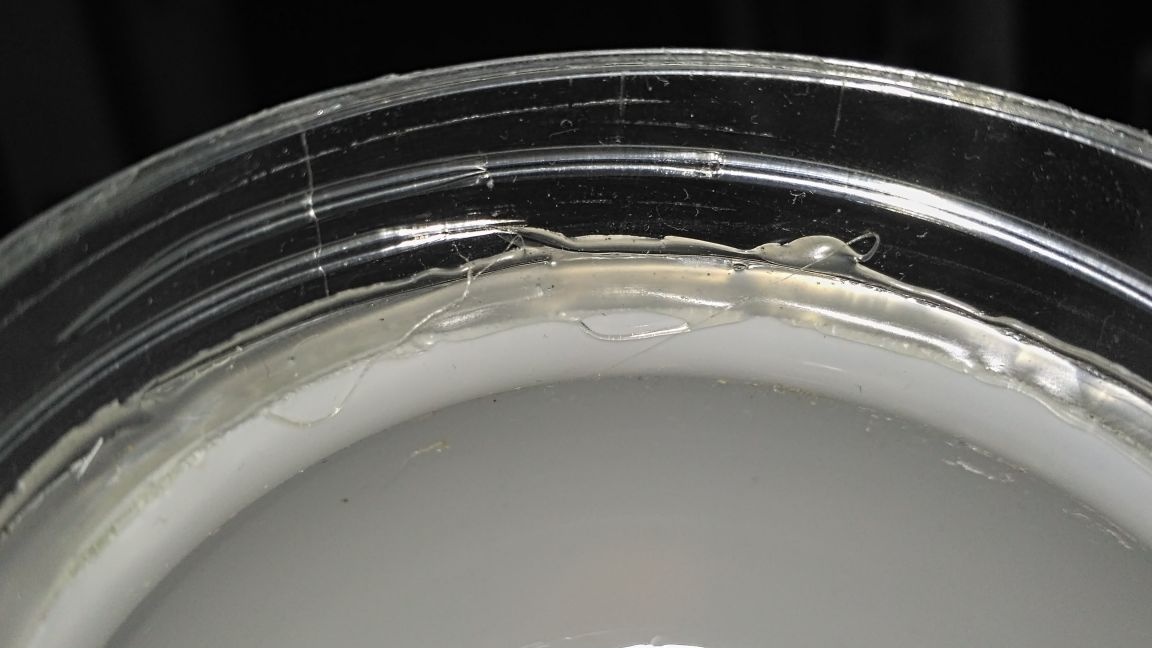
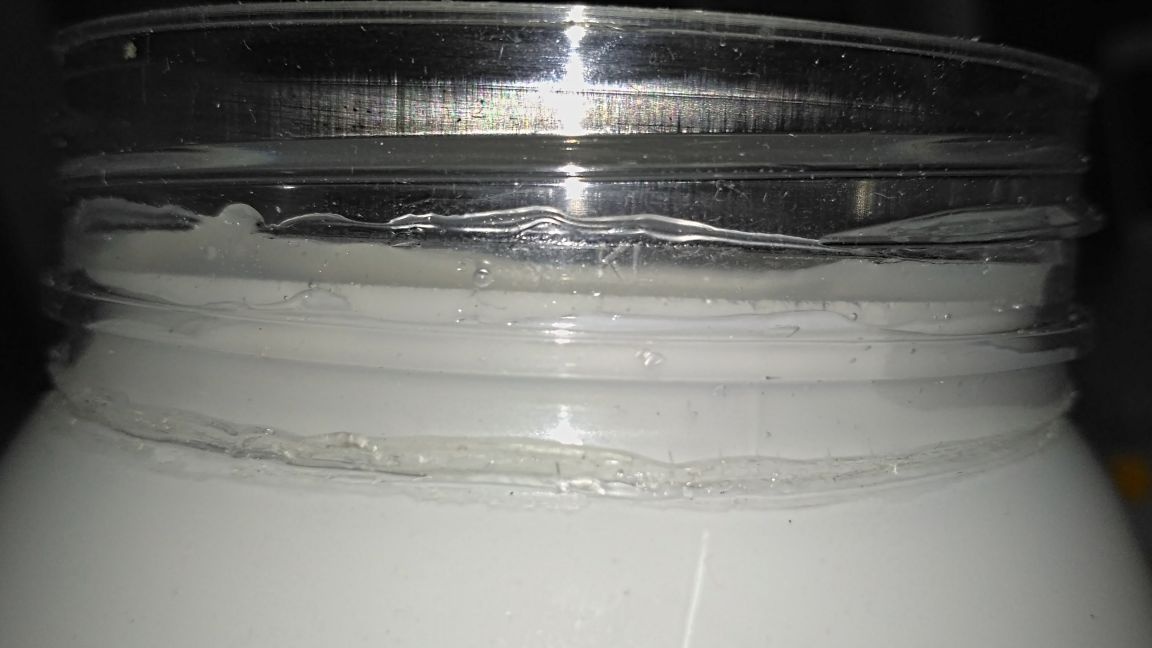
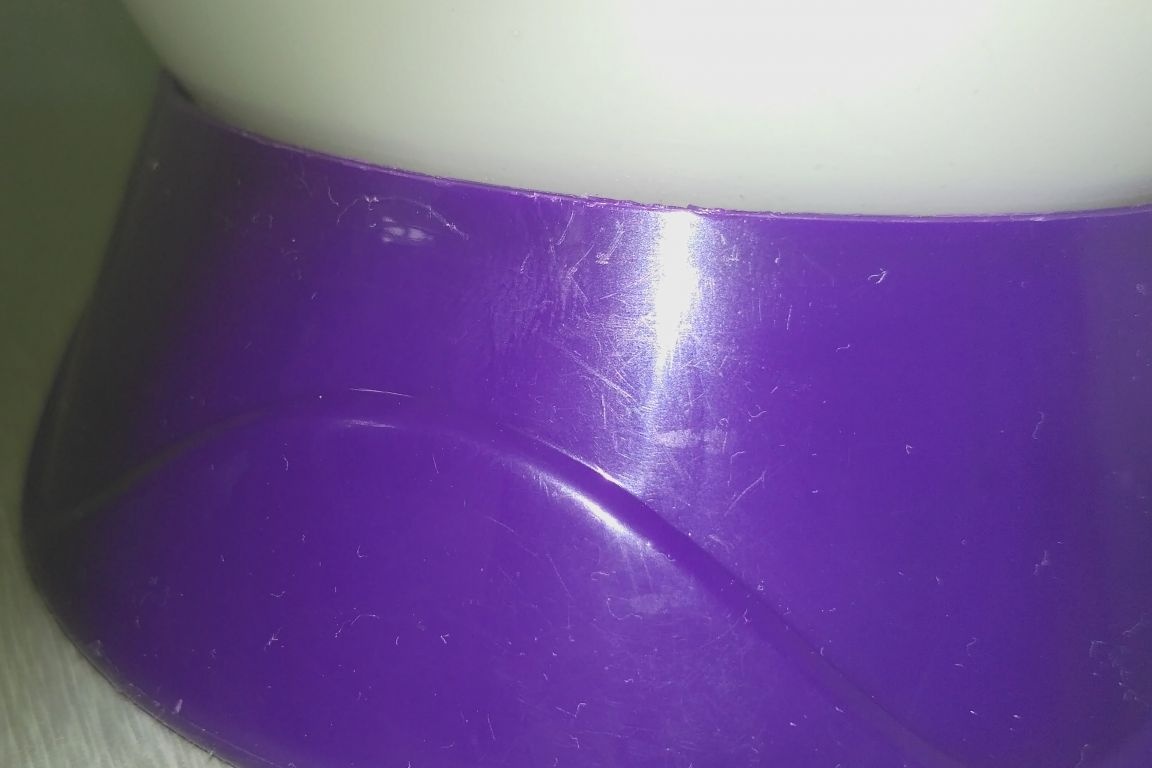
Step 2: To fasten the canopy and the lid of the can, it was decided to use the neck of the can itself by gluing the canopy to it with hot melt adhesive. Subsequently, this turned out to be a very successful solution, since the ceiling turned out to be threaded, and the nightlight was collapsible. (Maybe even then I will fit the battery there if the wire interferes)
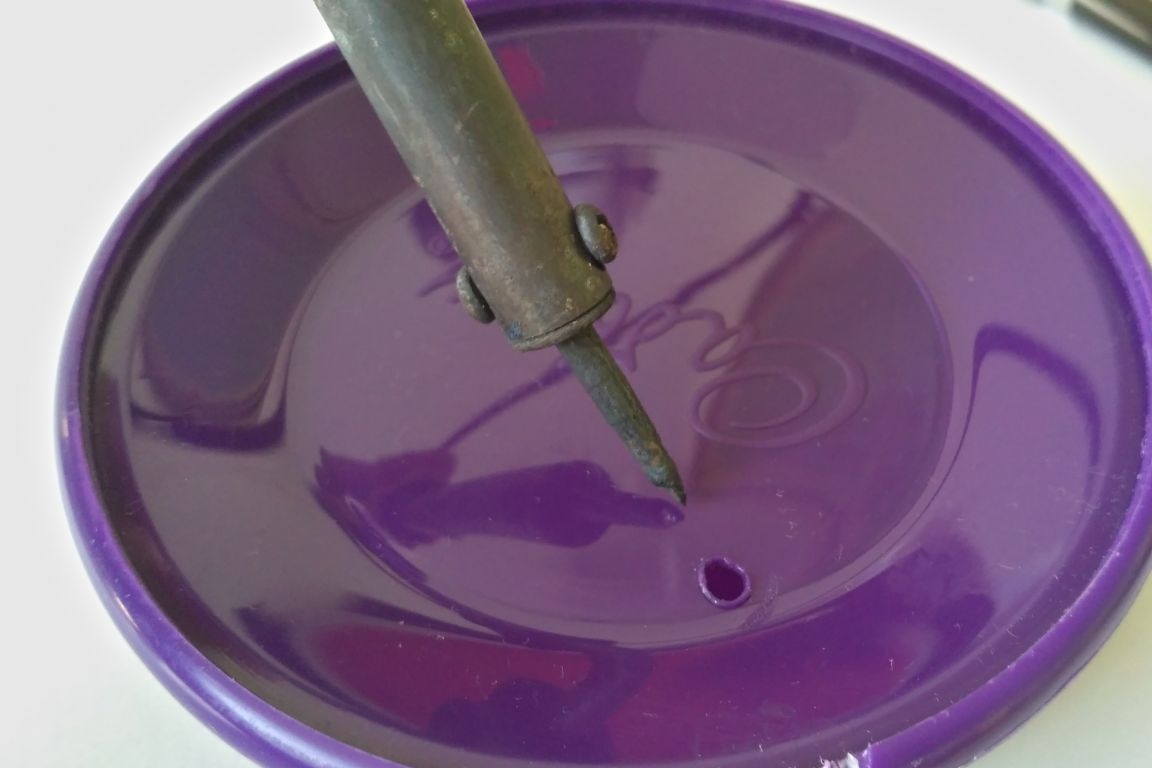
It was impossible to just cut the jar with a clerical knife, the walls were too thick in the upper part, so I cut it with a soldering iron and then processed the edges with a file. It would be better, of course, to do this with a metal file, but it was not at hand.
The plafonds differed in a long “skirt” (bottom edge). He took one with a larger allowance for more reliable bonding with the neck of the can. In order to melt the hot-melt glue on cold glass more slowly, I poured hot water from the kettle inside the plafond, and then slowly began to put hot-melt glue from the gun and put a threaded neck on it (it is better to degrease the plafond in advance). So, I had the opportunity to try on the cover and align all the gaps. Then he poured water and cooled the ceiling under the tap. The gluing process itself could not be photographed, since the hands were busy.
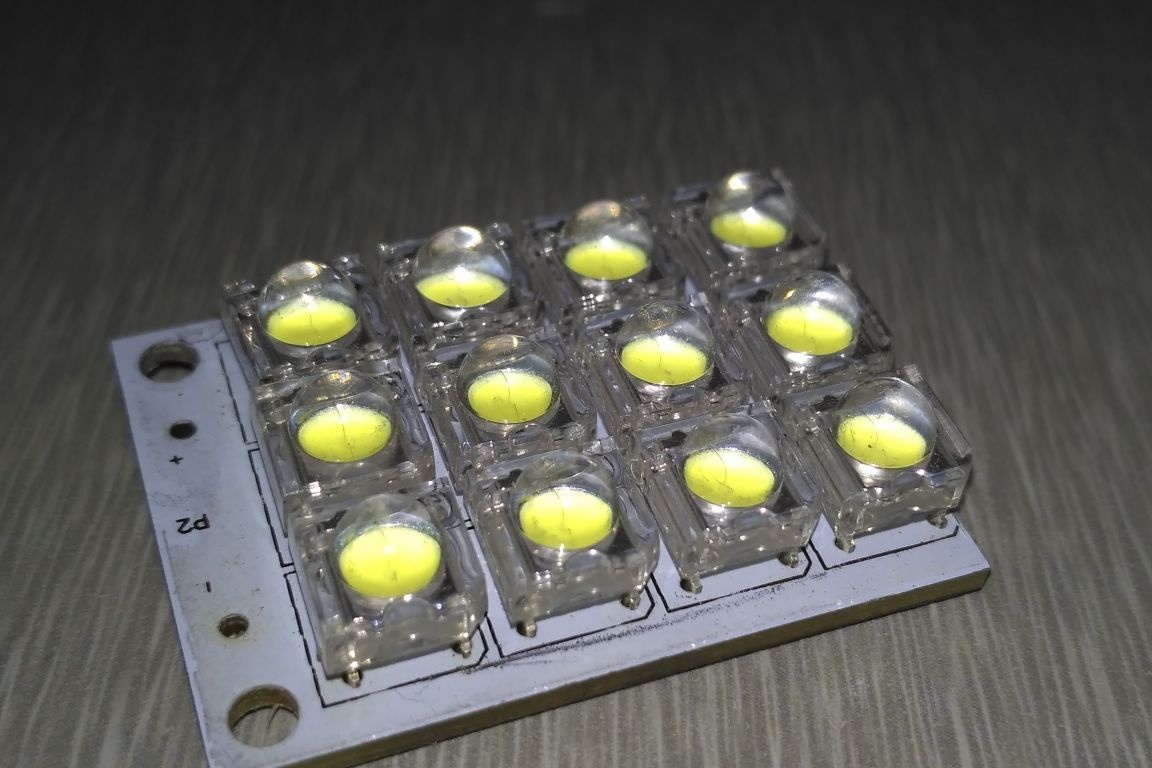
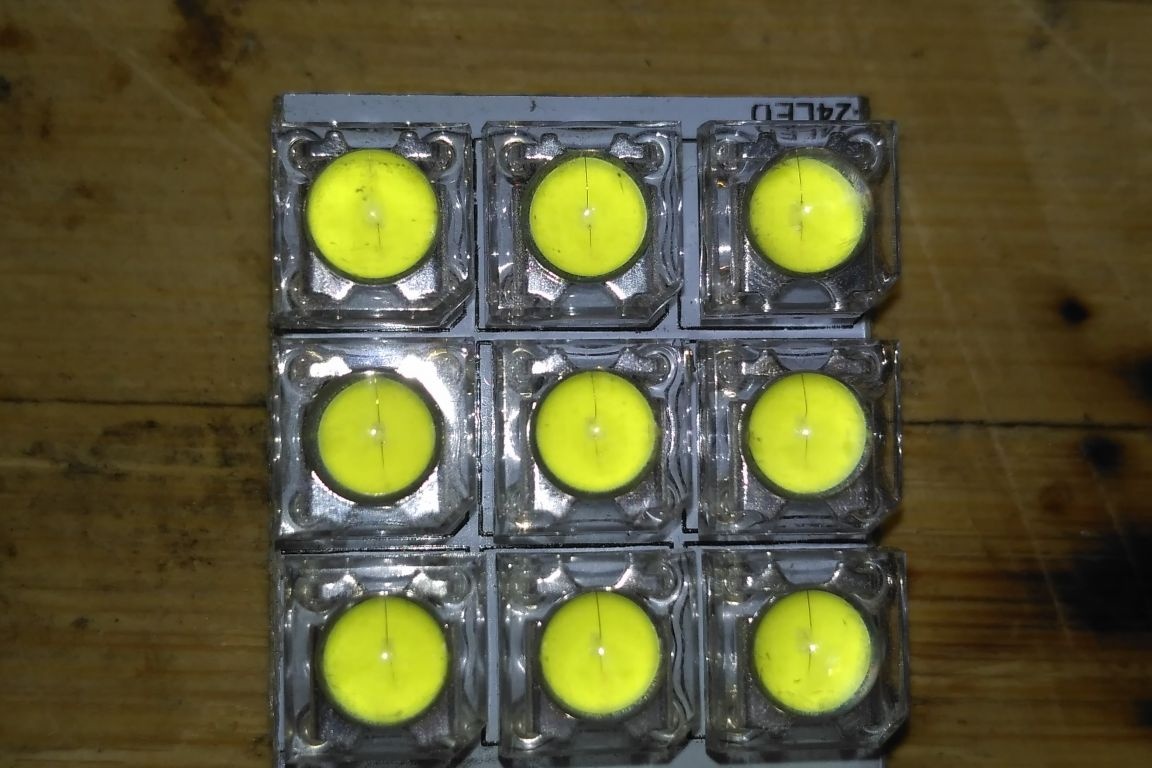
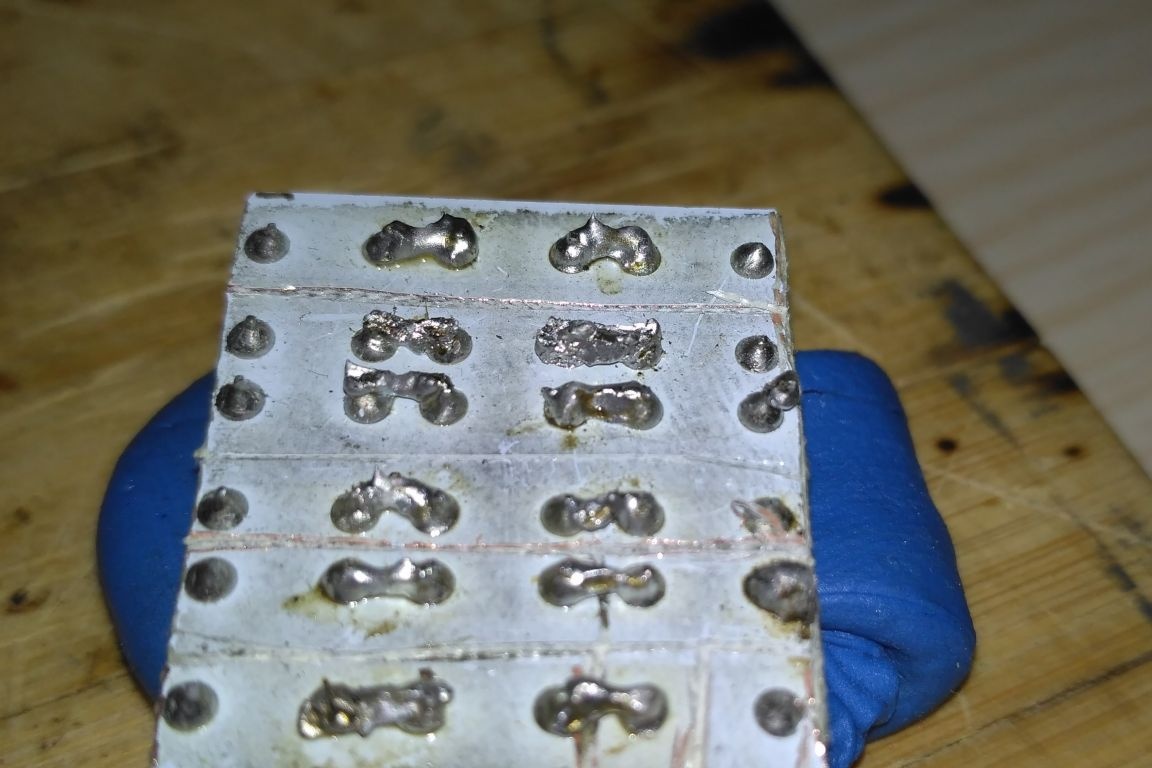
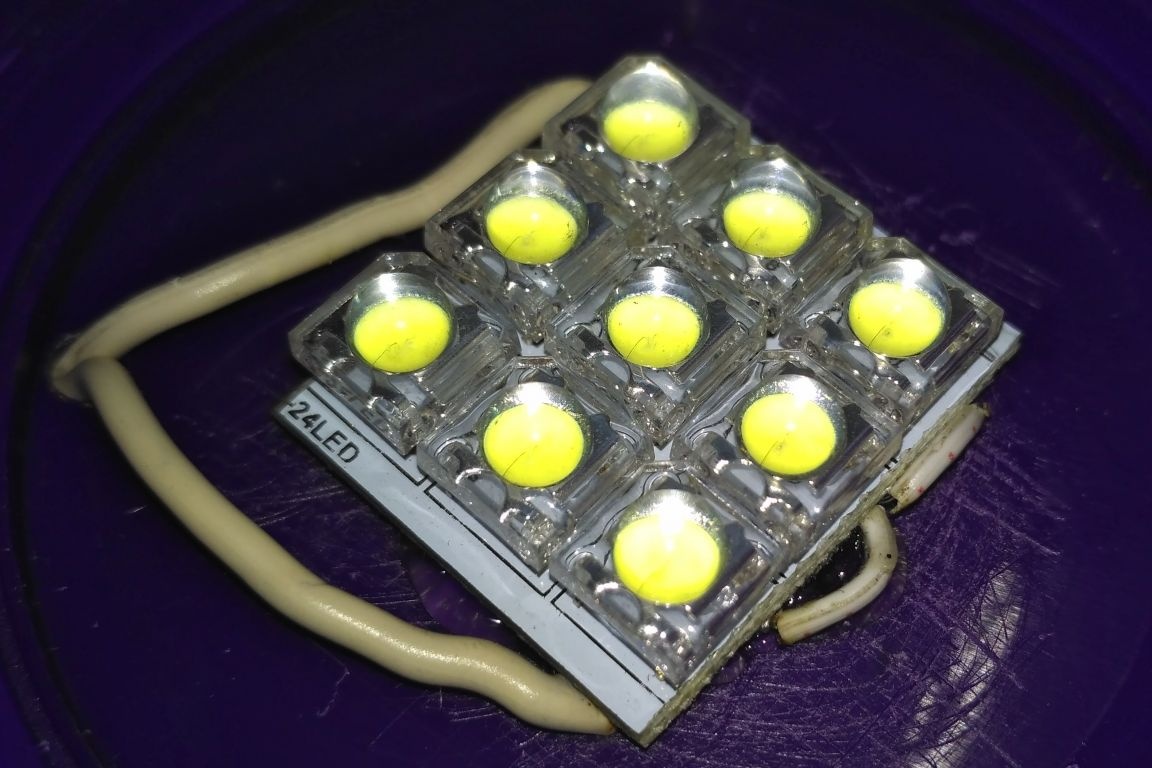
Step 3: Instead of individual LEDs, I took a panel with already soldered, I do not remember where it came from, but it looked suitable. For symmetry, I cut off 3 extra diodes and got a square board with three rows of LEDs. When connected, it turned out that there are tracks on the panel under the paint and they interfere with powering all the LEDs at a time. Apparently initially they were included in groups or with some other cunning. I had to cut through with a clerical knife, on the reverse side, thin grooves to break the tracks and re-solder the circuit in my own way. The board itself was cut with the same clerical knife (you cut it on both sides along a shallow furrow, and then just break it off with pliers)
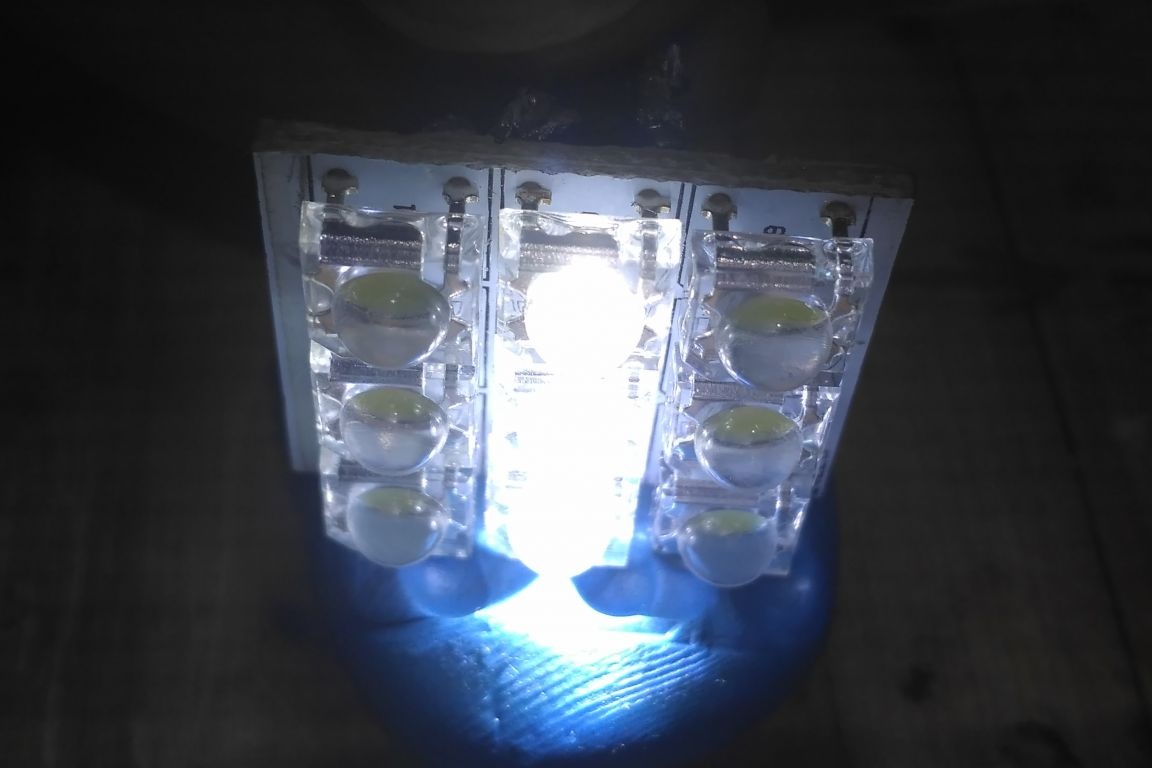
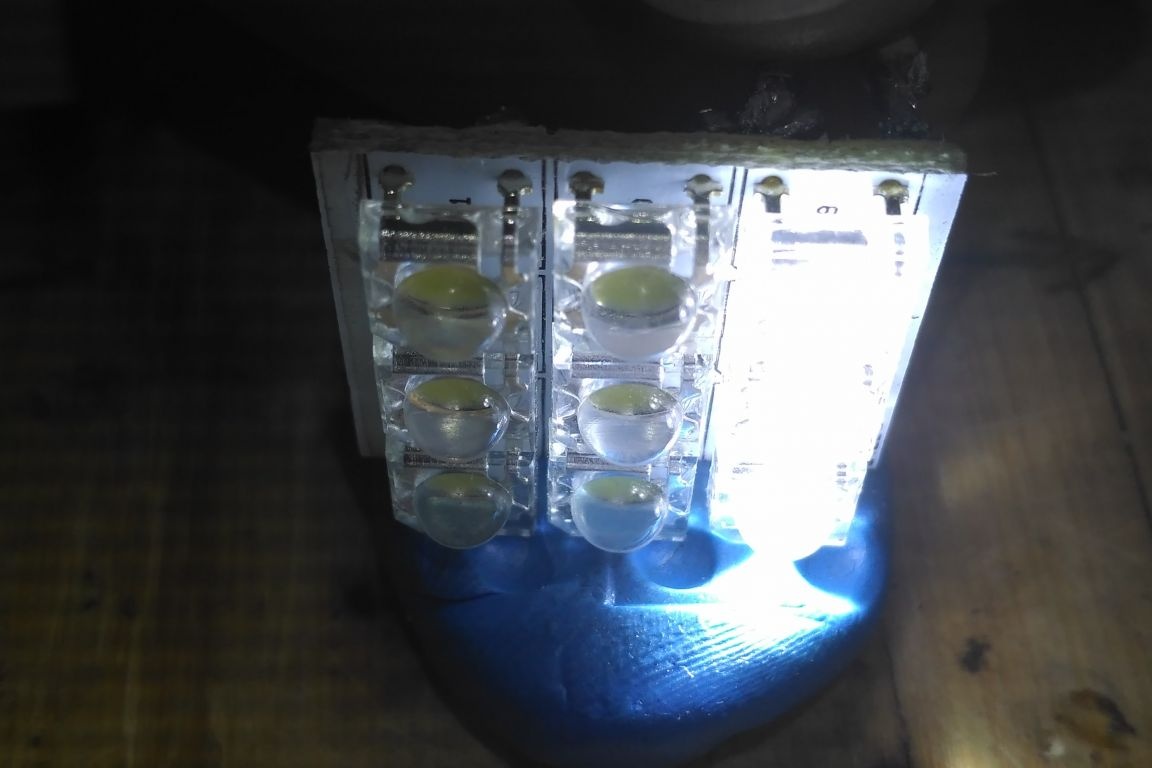
Step 4: We proceed to soldering and trial inclusion. First, I soldered the LEDs into three groups of three and checked for operability. Everyone burns - we continue further (I don’t really know how to solder, so do not judge strictly).
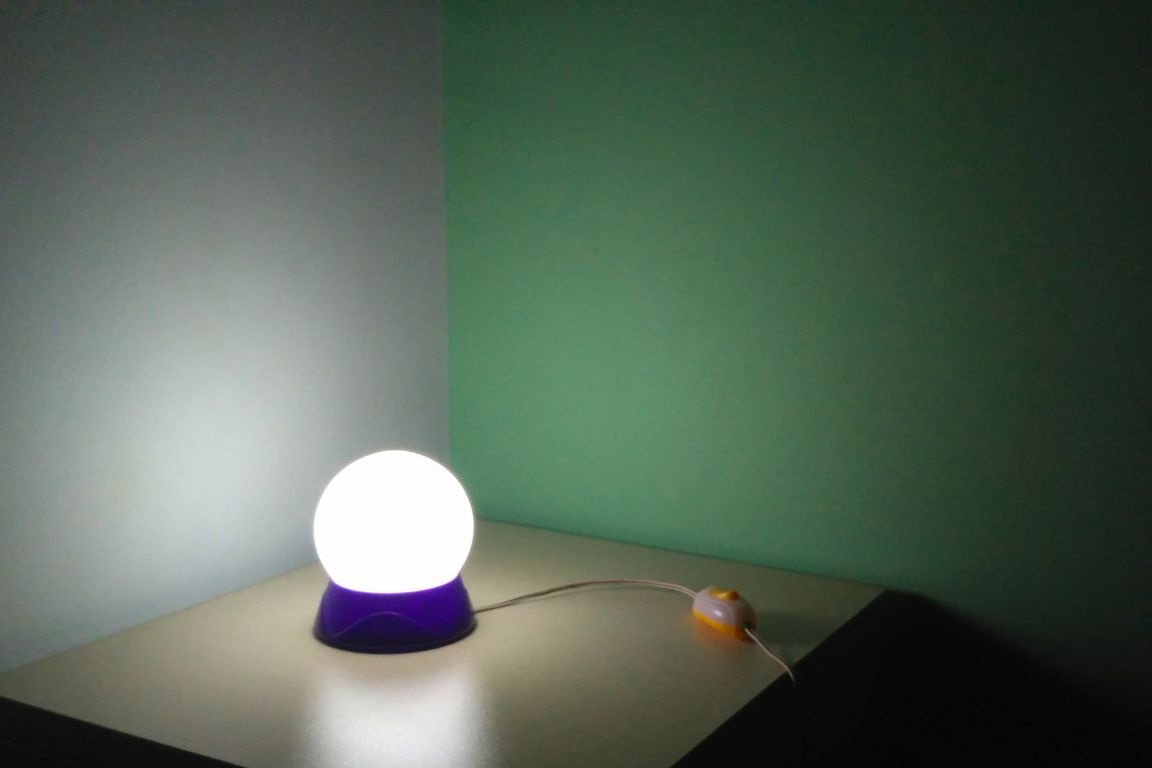
We connect everything into one circuit and make a switch. I measured 20 cm from the lamp to the switch so that the button is located at the level of the bed, so as to find it by touch even in the dark and not reach the bedside table. At this stage, you can already see how the nightlight will shine.

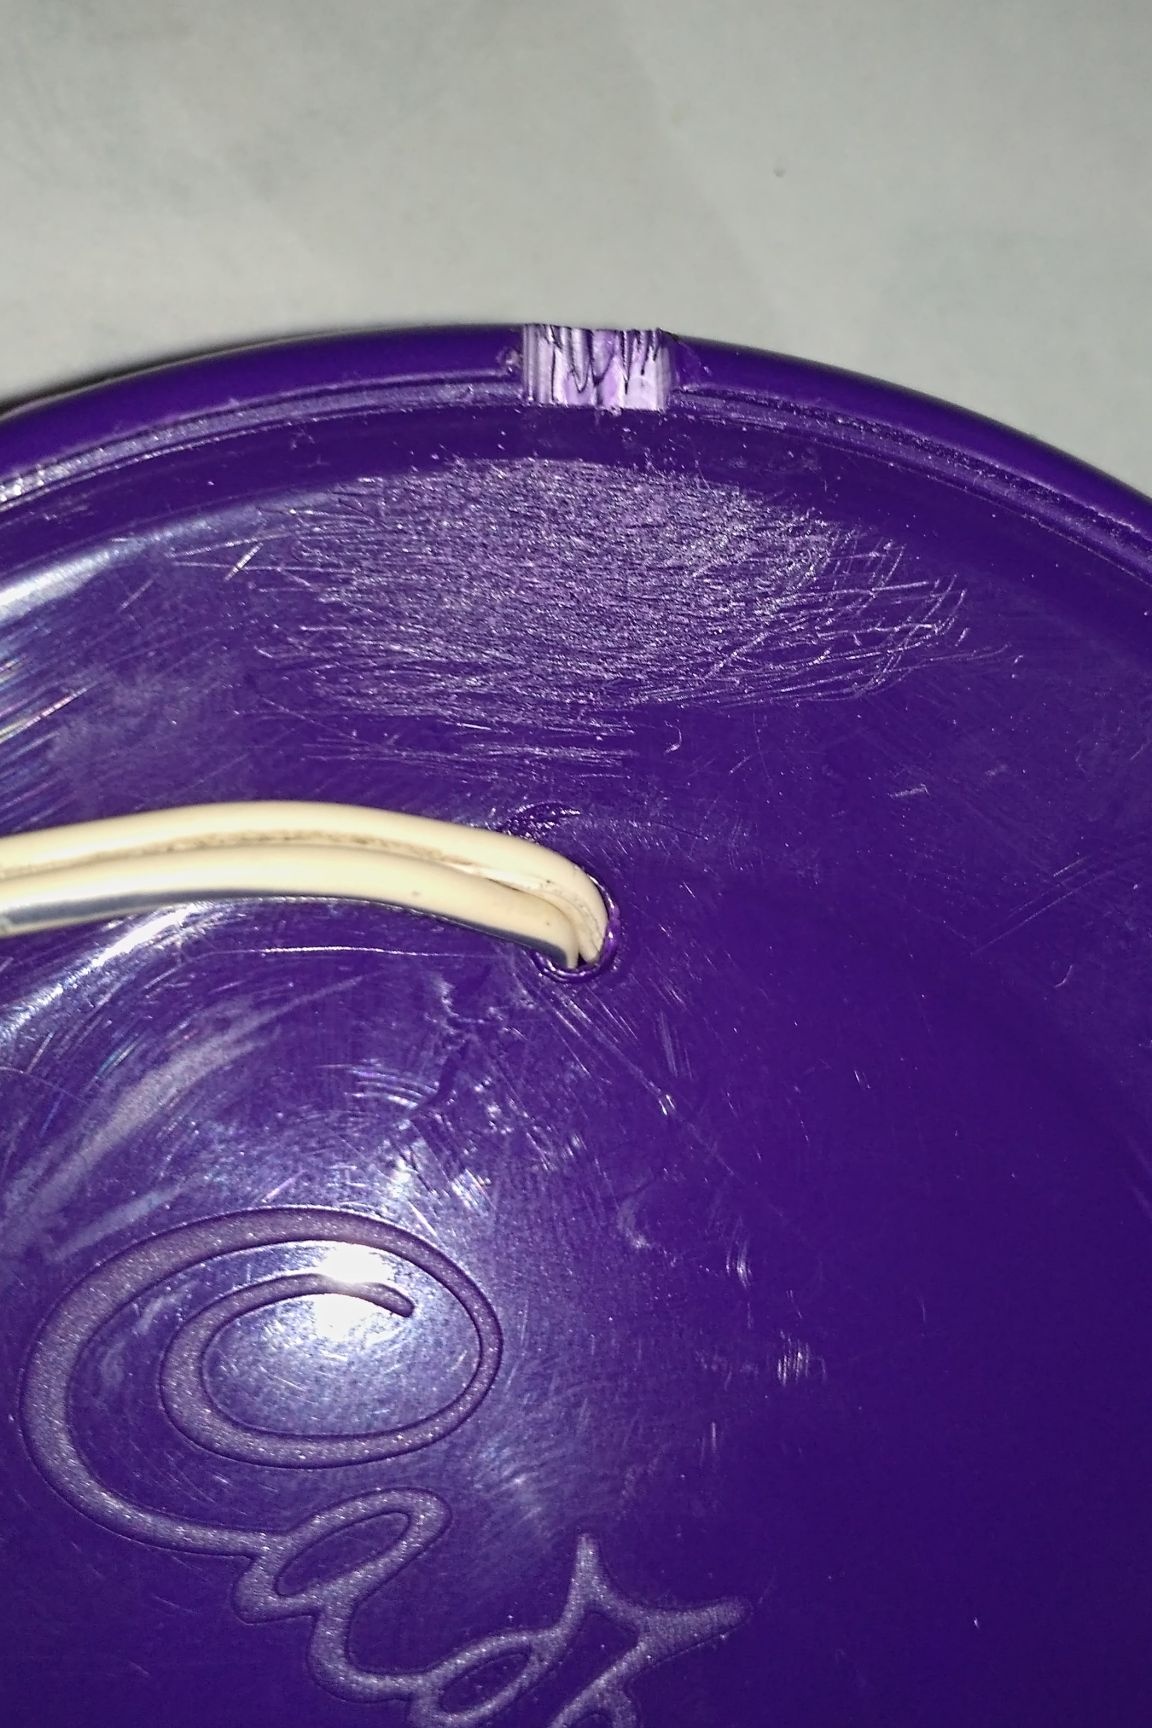
Step 5: We make two holes for the wire in the bottom cover. The first is inside the lamp, I just burned it with a soldering iron, although you can drill it. And the second, cut out with an office knife.
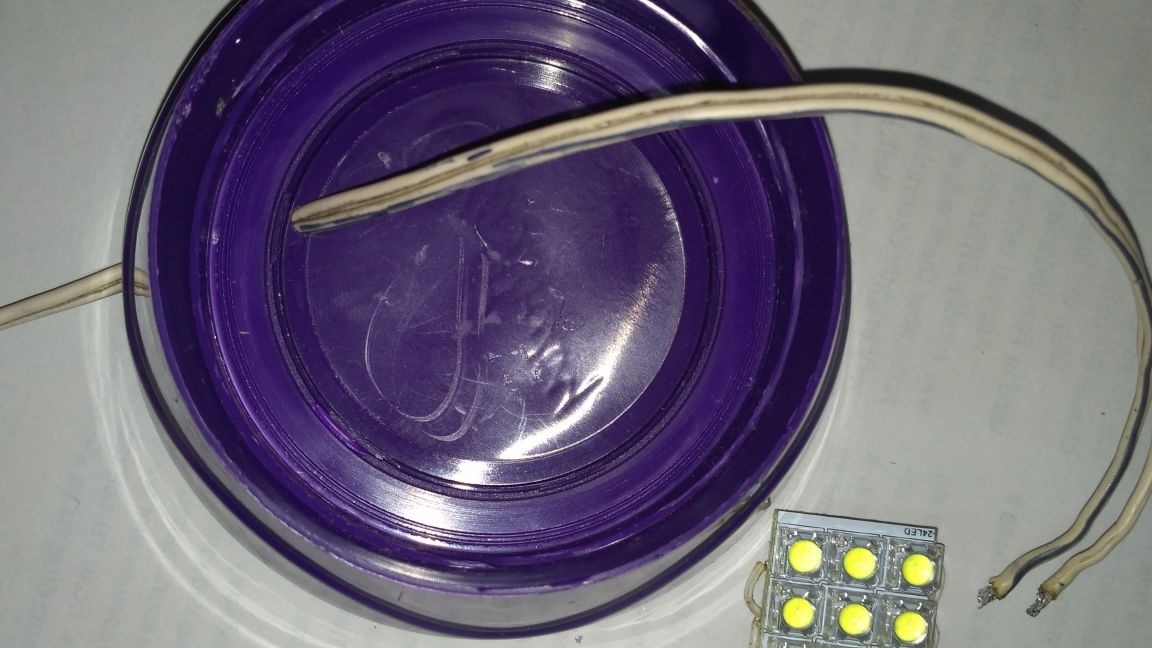
Next, unsolder the wire from the LED panel and pass it through the hole in the cover. It was possible, of course, to immediately solder the drawn wire, but I prefer to separate the preparatory and finishing work.
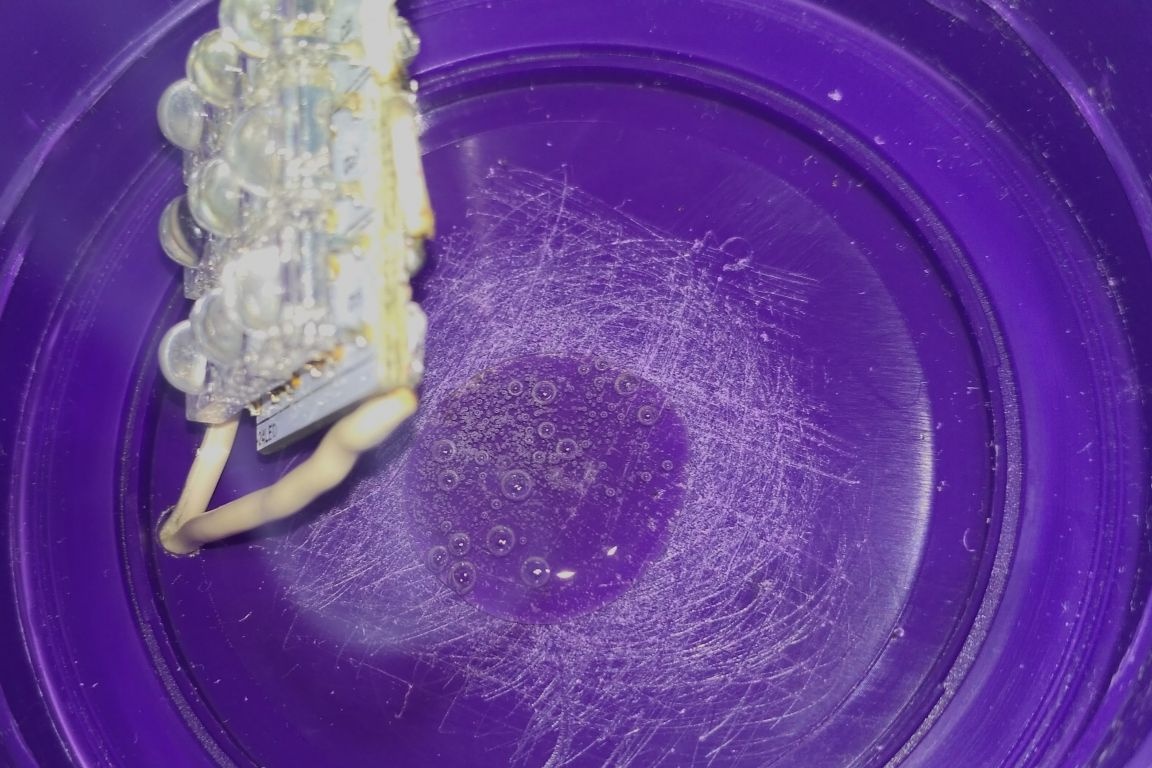
For reliability, we clean with a large emery cloth inside the cover the area for gluing LEDs and the outside for attaching the wire. Apply hot melt adhesive and press. We check if the glue is sticking out where, we examine for jambs and other shortcomings.
My power supply has a tuning ... screw or resistor, or something else (I don’t know what it is called) I used it to turn down the brightness a bit, because the LEDs were warming a little, and the brightness was too strong - it’s also an overnight light!

Conclusion: Inside the cover, around the LED panel, you can install a ring of opaque material, such as cardboard. At first, I had in mind that only the ceiling was illuminated, and the base was not visible at all, but it turned out that with a light glow of the violet base, the night lamp looks even better. The lamp, by the way, turned out to be completely airtight (unless of course you glue the place where the wire entered), it can be used in the bathroom, or even in the rain in nature, if you place the battery inside, the place there allows.