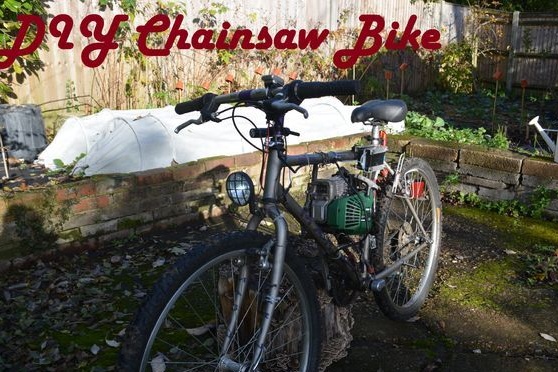
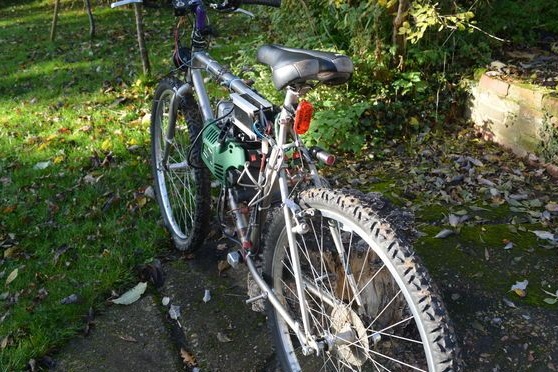
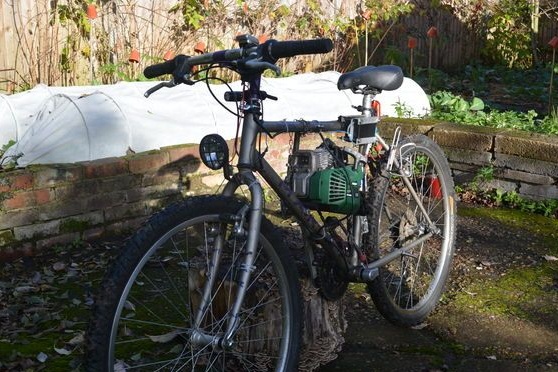
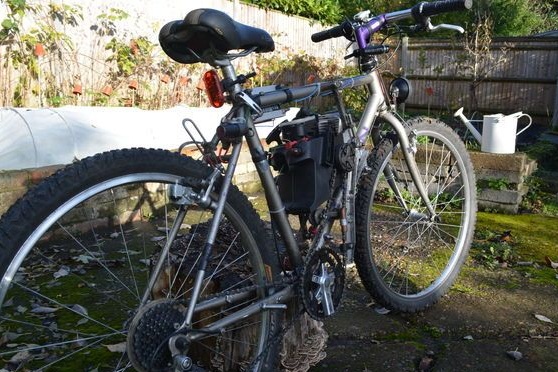
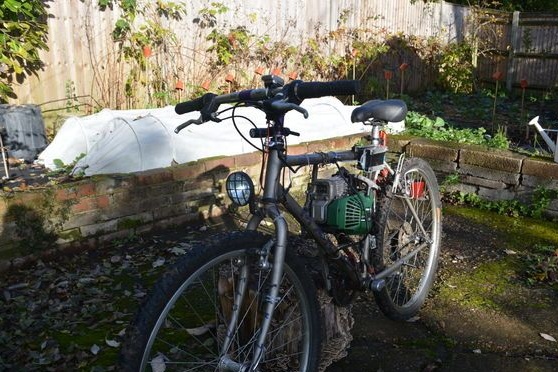
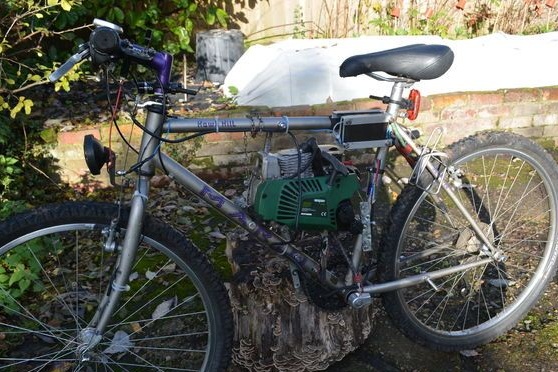
If you want to make yourself a simple moped from a bicycle, you can take a closer look at this design. The author used the engine from a chainsaw as a power unit, but you can also adapt the engine from a chainsaw and other tools. Large alterations are not required here, you just need to find a small asterisk, which is welded to the clutch of the chainsaw. You will also need a bicycle chain, some screws, a corner and other little things.
Materials and tools for homemade:
- engine from a chainsaw (it is possible with a dead body, but with a normal piston);
- clamps;
- bolts with nuts;
- bicycle chain;
- a small asterisk (attached to the engine clutch);
- cable, handle (for throttle control);
- welding;
- grinder;
- spanners;
- headlight, rear stop, battery, generator and other electrical equipment (if desired).
The process of installing the engine on bike:
Step one. We determine the installation location and remove unnecessary
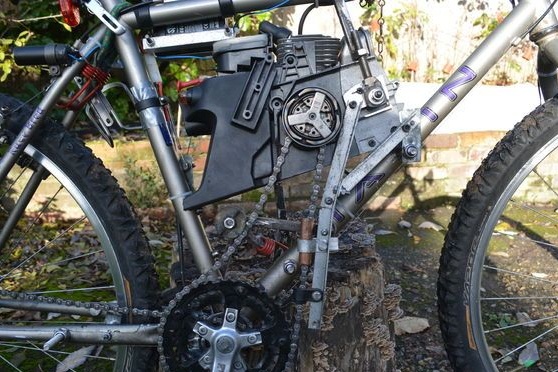
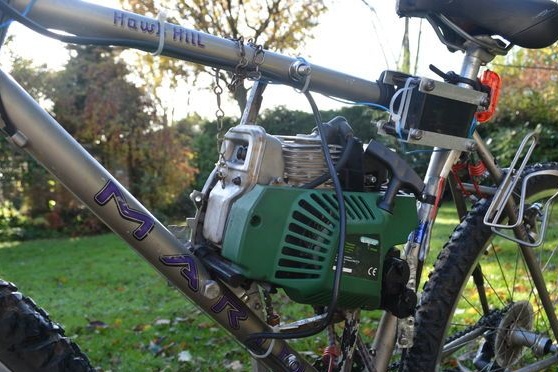
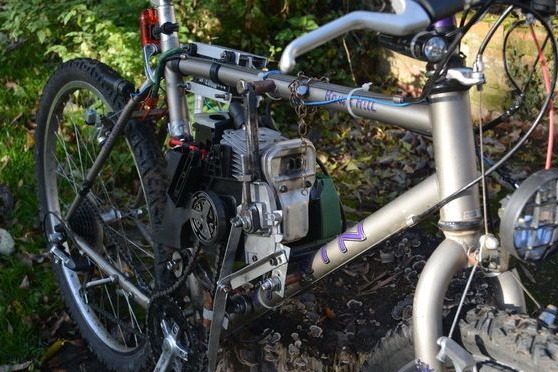
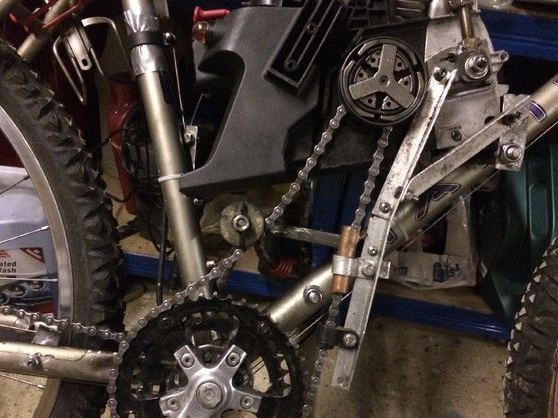
The first thing you have to decide on the installation site of the engine. Bike designs are different, as are chainsaws. The author sets the engine over the drive sprocket. The principle is to connect the motor shaft with the drive sprocket of the bicycle with the help of the chain, on which the connecting rods with pedals are located. In other words, the engine here simply replaces the legs of the cyclist. This design is simple, and if desired, it will be possible to make the gear shift on the bike.
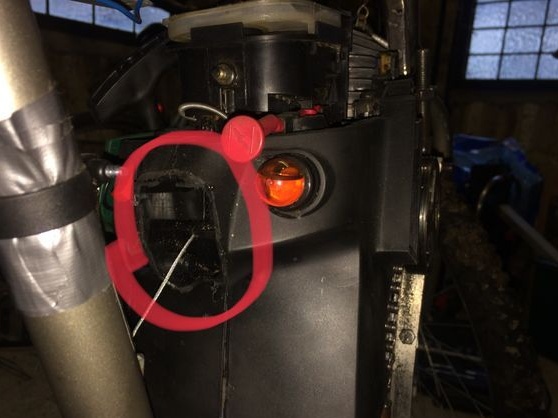
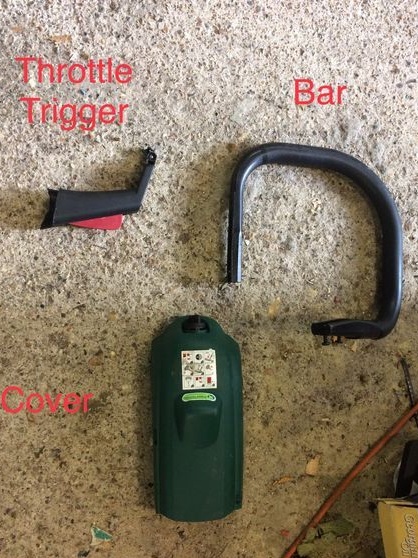
Having chosen the right place, we unscrew, and what does not unscrew, we cut off the chainsaw using a grinder. The author unscrewed the top handle, and also slightly shortened the back. In addition, the top cover and throttle were removed. Try to leave the gas tank, throttle cable in place, and also suction in place.
Step Two Asterisk manufacturing
The most difficult part of homemade work is finding the drive sprocket, which is mounted on the clutch. To get good traction power, the sprocket should be as small as possible. If you can’t find one, you can try to grind do it yourselfTrue, you will need a good strong steel, which will need to be hardened, otherwise the sprocket will quickly wear out.
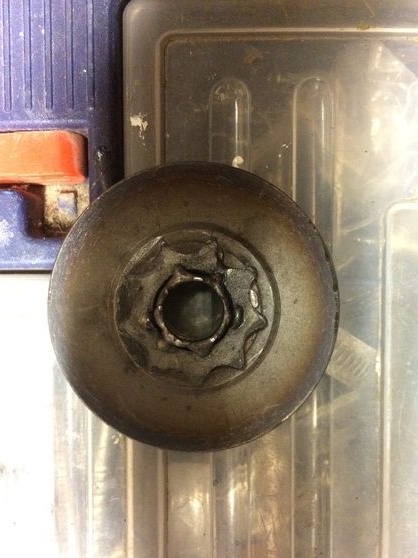
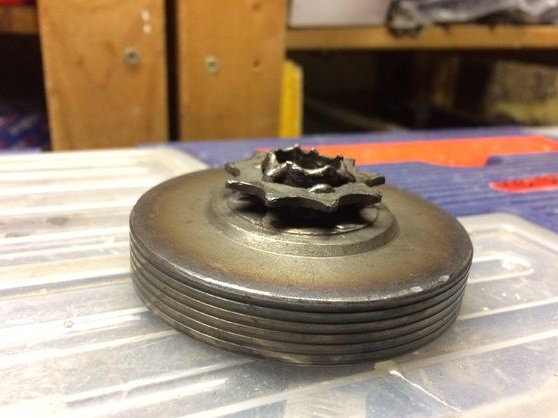
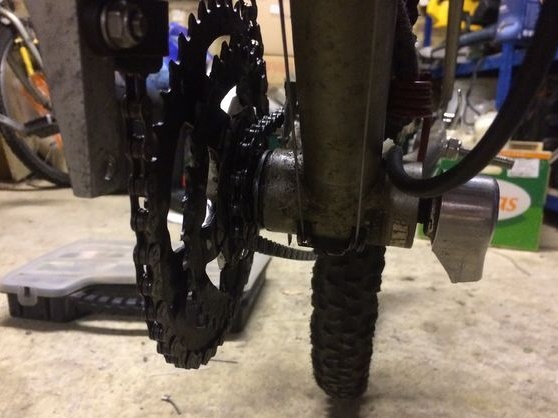
Once you find the sprocket, weld it to the part of the clutch where the chain runs at the chainsaw, that is, the place of the old chainsaw sprocket. In some designs, sprockets are removed from the clutch, in some not. When welding, it is extremely important that the sprocket is fixed as evenly as possible, otherwise the chain may fly off, and wear will be much stronger. After that, the clutch can be installed in its place. This approach will save fuel by coasting. However, the rear bicycle wheel is also deactivable, so in any case, the bicycle will move forward.
Step Three We fasten the engine
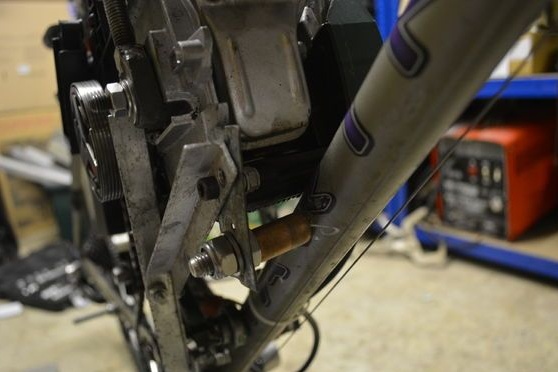
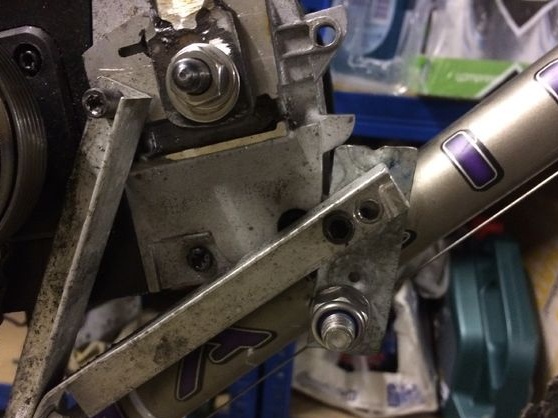
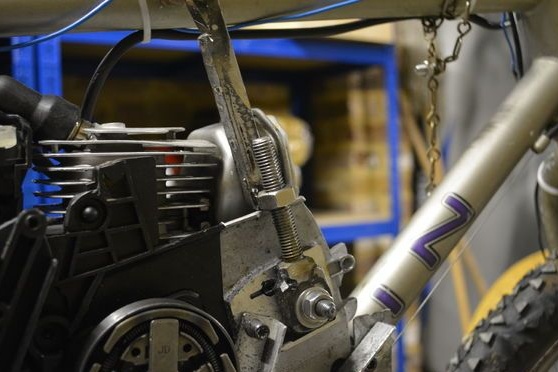
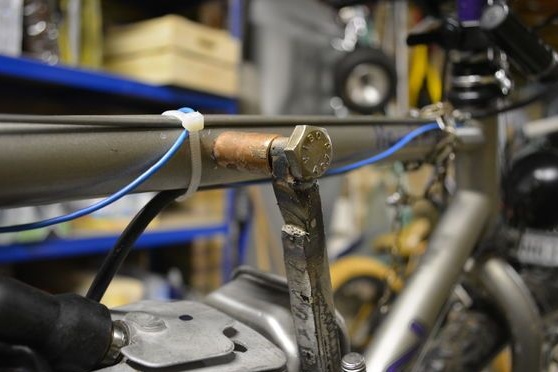
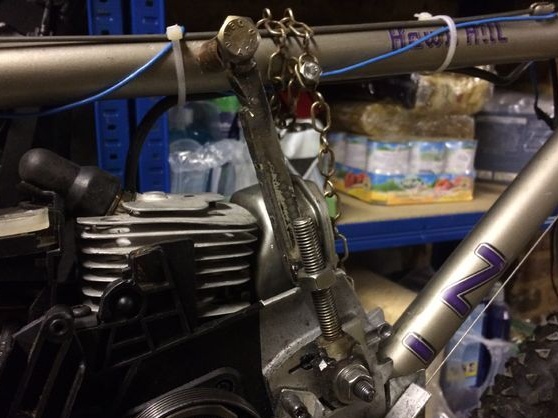
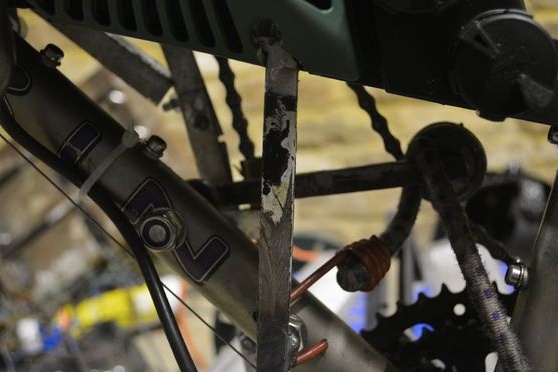
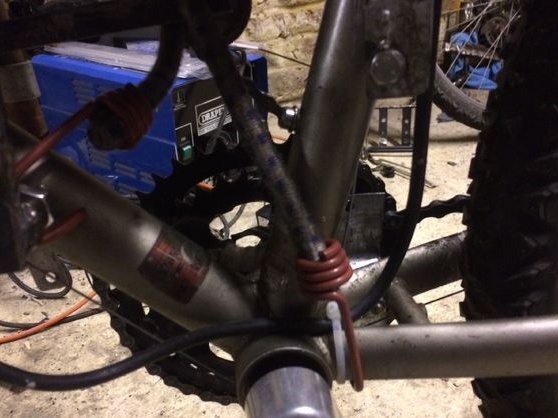
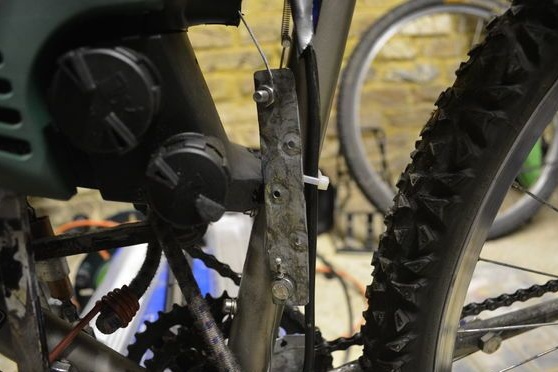
An important task is to securely fasten the engine, otherwise, if it comes off, everything can end badly. Here you will need corners, and best of all aluminum, as they are lighter. Choose their number and location, depending again on the features of the chainsaw and bicycle. Everything is fastened with bolts and nuts. The author drills the frame of the bike through the bolts through, with the body of the chainsaw you can do the same.
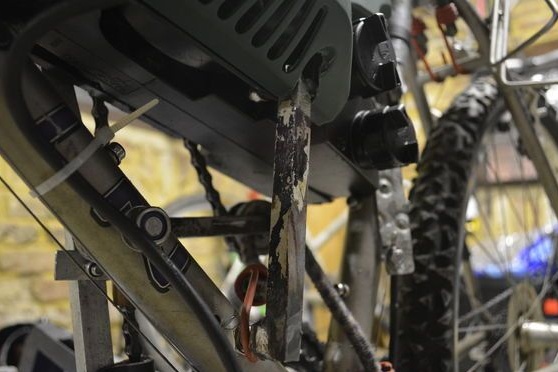
Step Four Remaking the front sprocket block
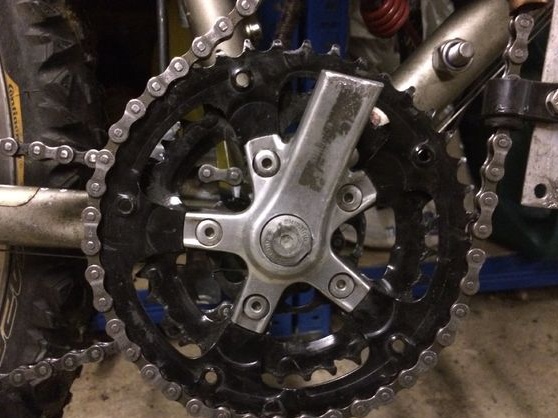
Next, you have to redo the front block of bicycle sprockets, this is the one with the connecting rods. You can immediately cut the connecting rods to the root, they will not be needed, and will interfere with the ride.
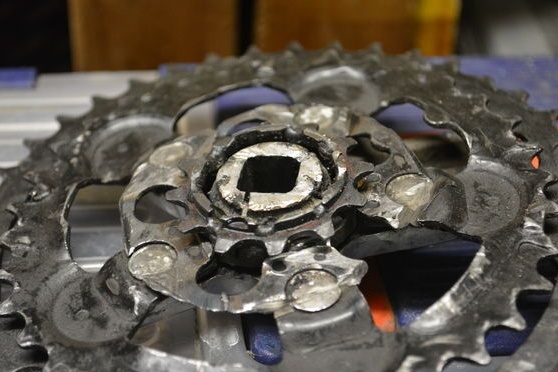
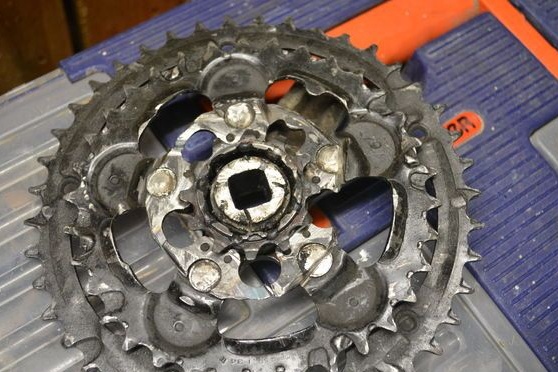
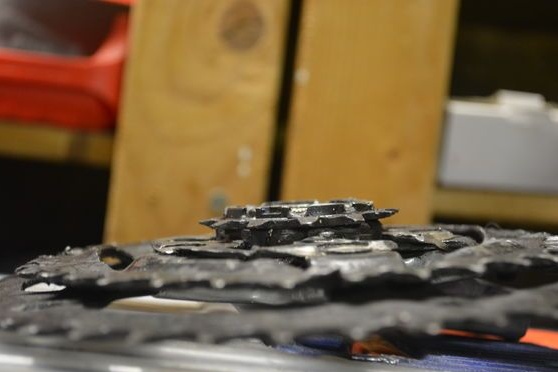
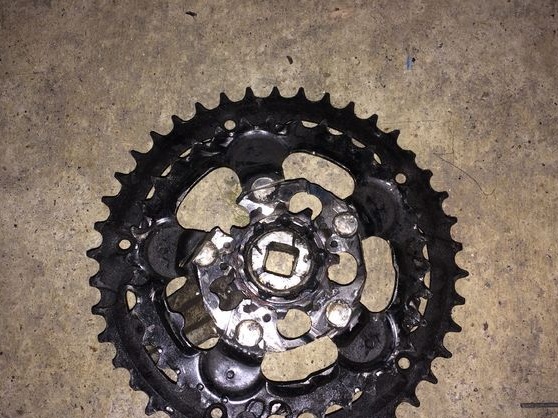
Next, we take the grinder and cut the smallest asterisk from the block. Instead, it will be necessary to fix another, even smaller size. It can also be welded. As a result, we get another decrease in engine speed, which increases the tractive power of the bike. After that, the asterisk can be put in its place. Also cut the connecting rod located on the other side.
Step Five Throttle and ignition
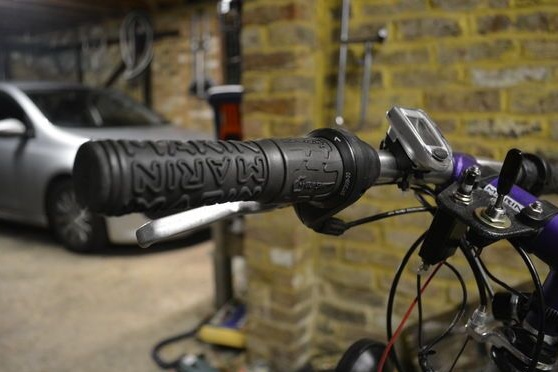
To control the engine you will need a throttle stick, you can buy it yourself or remove it from some moped. Instead of a handle, you can also make a pedal, lever, and so on.
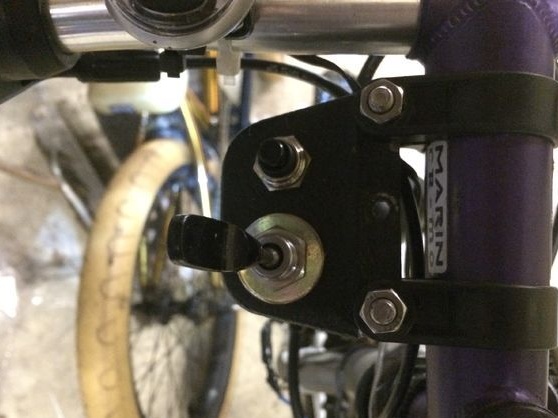
In addition, install a switch in a convenient place and connect the ignition wire to it. This will make it easy to turn off the engine if necessary.
Step Six Chain installation
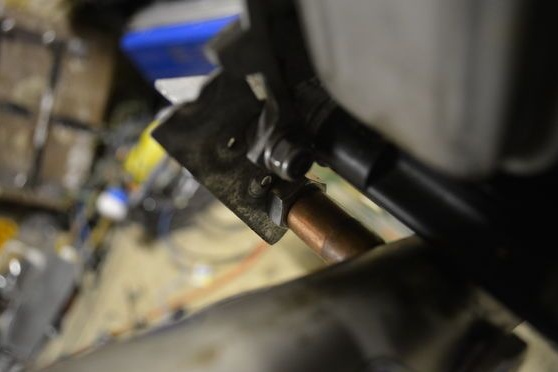
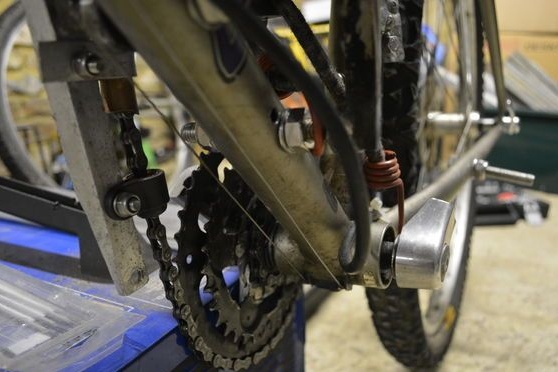
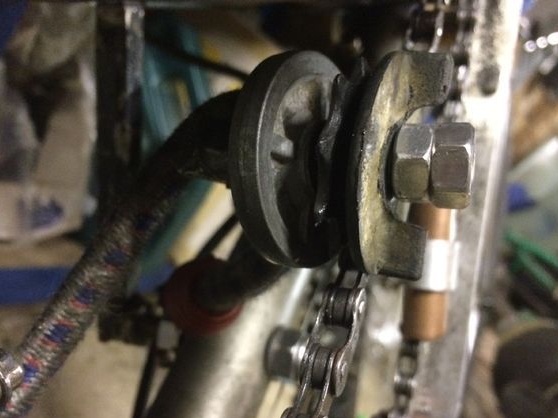
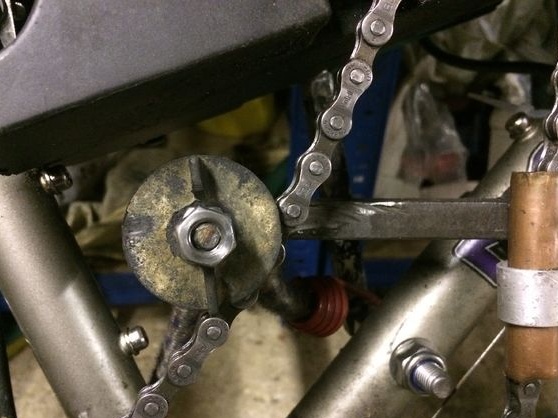
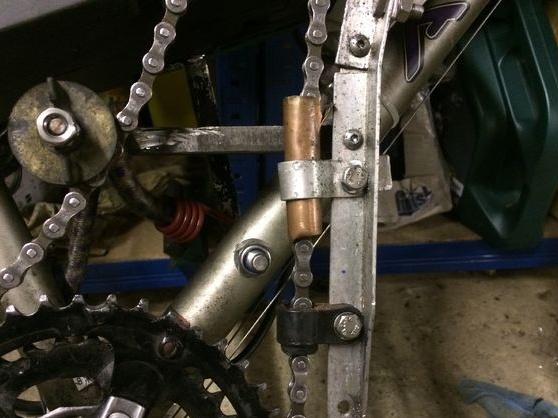
To connect the engine to the sprocket, you will need another bicycle chain. Fit it to size by removing excess links. After starting the engine, the author had a problem, the chain constantly flew due to the long length. To solve this problem, it is necessary to make stabilizers for the circuit. For these purposes, the author needed a copper tube, a chain was passed through it, the tube itself was fixed to the frame. An additional small sprocket was also installed, which pulls the chain.
Seventh step. Footrest installation
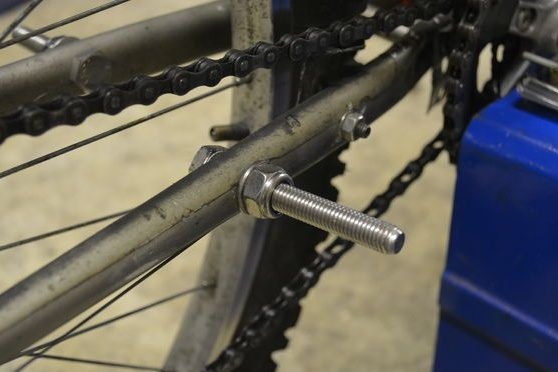
On a bicycle, it is absolutely necessary to make steps in order to place your legs. The author makes them very simple, from bolts with nuts. Just drill the frame in the right place and fasten the screws with nuts.
You can also install tube bolts on the studs to make the steps more stylish.
Step Eight. Homemade Electrical
Since the bike now runs on a gasoline engine, you can install a battery on it, as well as a good dynamo that will allow it to be charged. What to feed this current, you decide, the author, for example, set himself a powerful headlamp, as well as a taillight, so that the bike can be seen in the dark.
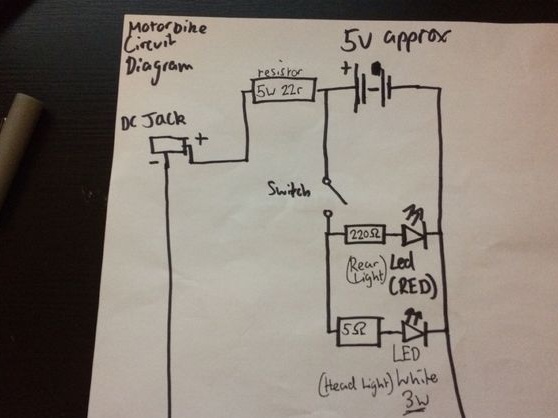
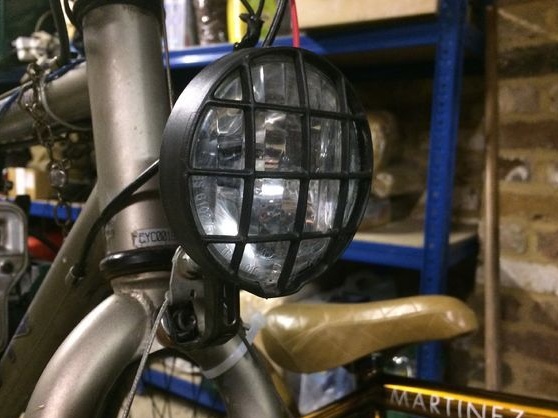
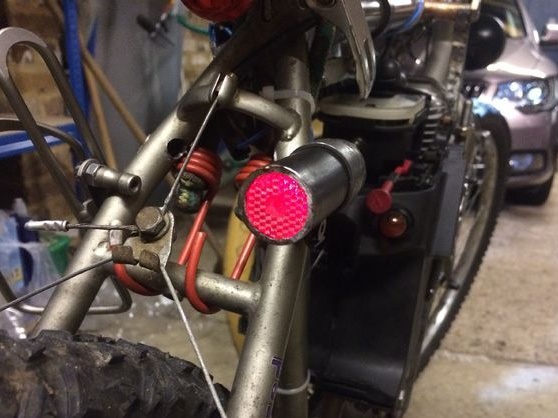
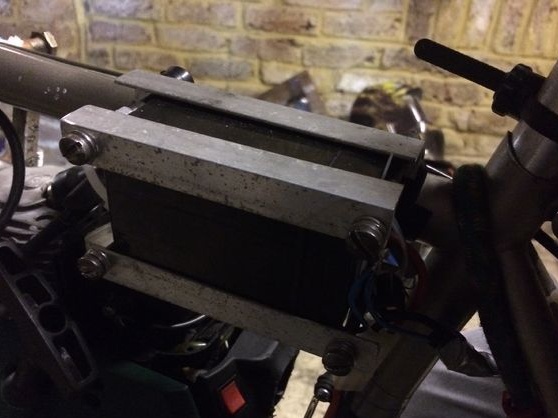
That's all, the bike is ready. You can try to start the engine, this is done with the help of a native chainsaw starter. This is not very convenient, but does not require large alterations. Also, from the shortcomings, the location of the gas tank can be distinguished. Probably the bike will have to side to refuel. So it’s better to choose a chainsaw where the filler neck is placed on top. In general, it is advisable to make a separate gas tank, since the native one is too small to drive long distances.Do not forget that oil must be added to gasoline.
A safer and more reliable solution would be to use a belt and pulleys instead of a chain.
