
The author at work left a lot of steel square pipes, which he decided to appropriate. From such a wonderful material, it was decided to make a chair. The author works with metal for the first time, so this article can help other masters who are not yet experienced in this type of activity.
Materials and tools for homemade:
Materials:
- square steel pipes;
- a wooden panel or other material for the manufacture of the seat itself;
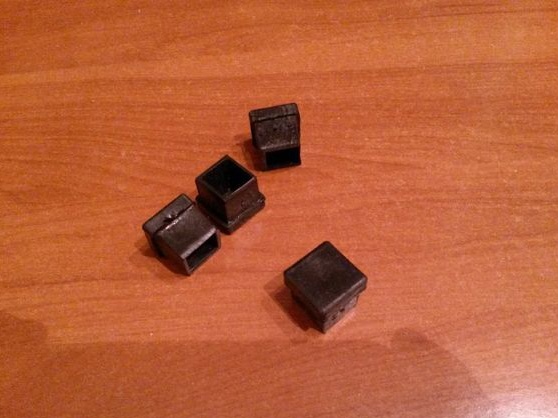
- plastic plugs for square pipes;
- primer for metal and paint;
- putty for metal;
- beeswax;
- glue for wood;
- screws.
Instruments:
- grinder;
- welding;
- drill;
- hammer;
- screwdriver;
- sandpaper (80, 100, 150, 240 grit);
- clamps;
- putty knife;
- disk;
- If you make the chair round, it is advisable to have a jigsaw.
Chair fabrication process:
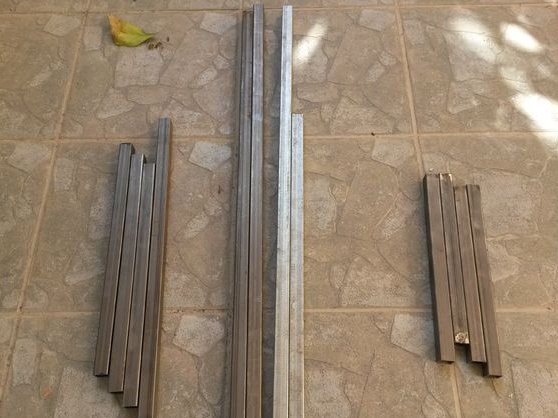
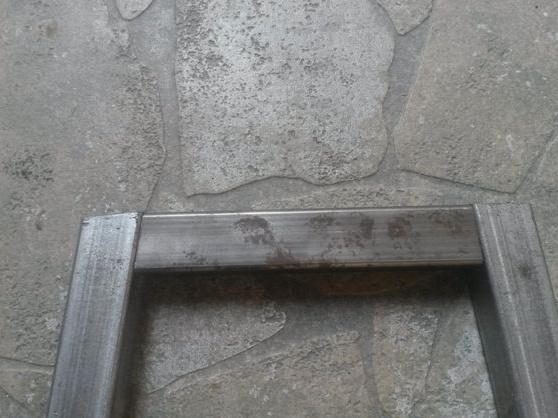
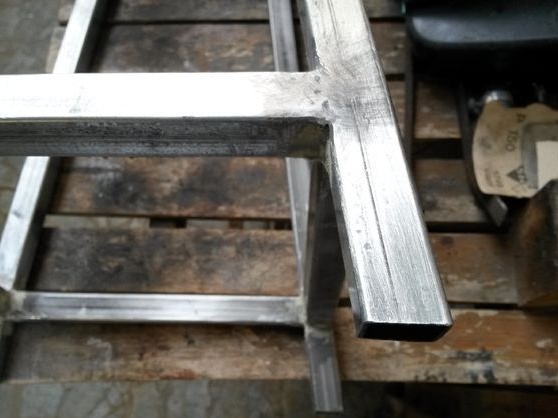
Step one. Cutting workpieces
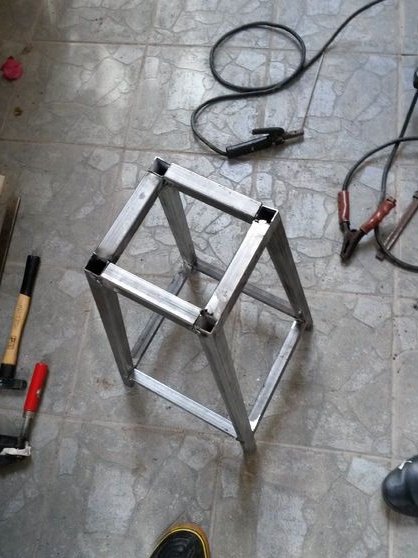
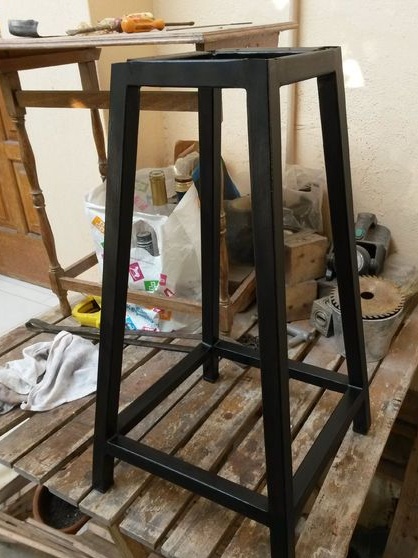
First, you have to decide on the size of the chair, make it fit your height to sit comfortably. After that, you can cut the workpiece. You should have four long legs, four long lower struts and four upper short struts. The most difficult thing in this matter is to correctly note and cut off the corners. The author worked with hand tools, so it didn’t work out very accurately, but this is not critical, because then the welds are still cleaned, puttyed and painted, they are not visible.
Also at this stage, clean the pipes from rust and other contaminants.
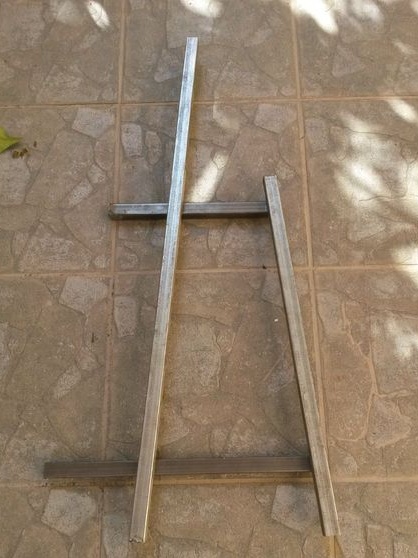
If you look from another angle, the chair is obtained from four figures in the form of "A".


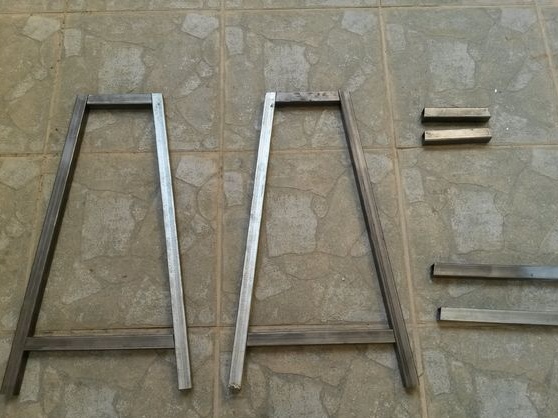
Step Two Weld blanks
Next, we take welding and weld the workpiece. In this matter, it is important not to rush so that the chair is level. Do not try especially hard on the quality of welds, because they will still be processed. The main thing is that everything be strong.
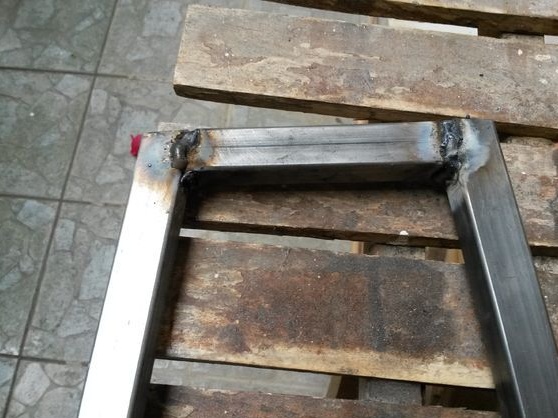
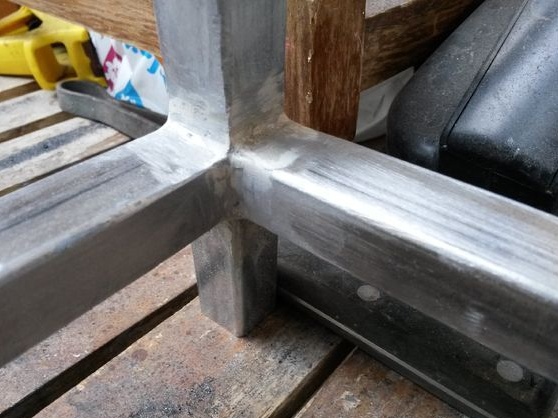
When everything is welded, take a grinder and strip the welds. They need to be made smooth, aligned flush with the pipes. This can be done manually, using files and sandpaper, though it will be more difficult.

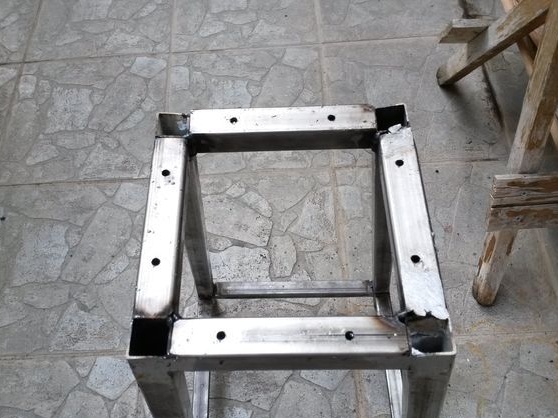
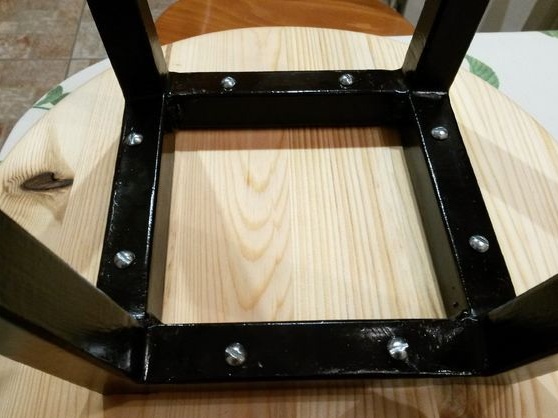
At the end of this step, the author drills the mounting holes in the upper four pipes. The author chose a hole diameter of 4 mm to securely fasten the seat with screws. There are 8 screws in total, two in each pipe. Although, in principle, four is enough.
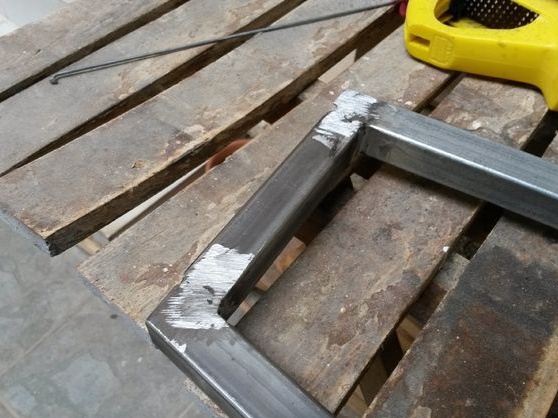
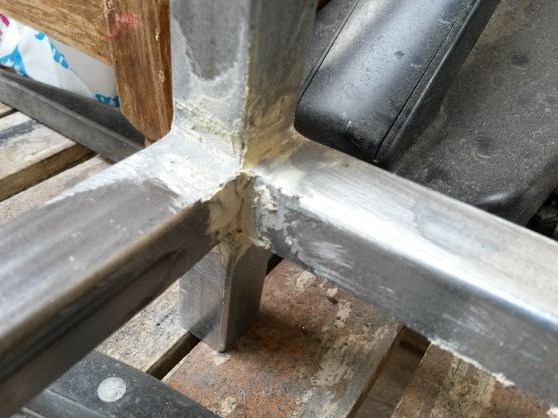
Step Three Putty of welds
To hide shells after welding and other defects, the author uses putty. Apply a small amount to the joints and let the putty dry completely.Finish with sandpaper to sand these areas well. Now there is a feeling that all of these pipes have always been an integral design.
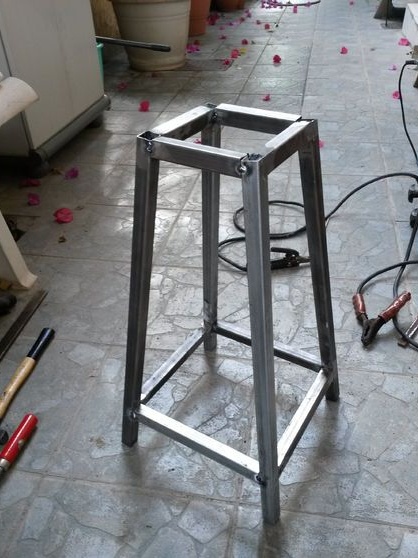
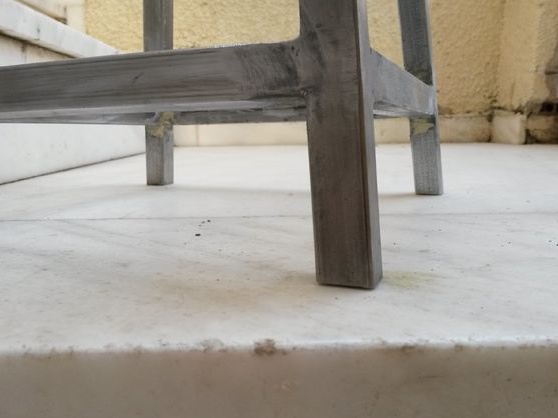
Step Four Finalization of the legs
Even with fairly accurate calculations, it may turn out that the chair on a flat surface will swing due to the different lengths of the legs. This is not scary, because we have the task of aligning the legs so that the chair is level. We mark, cut, process the edges.
Further, so that the legs do not scratch the floor, the author bought plastic plugs for pipes. We hammer them into the pipes and the "soft" support is ready.
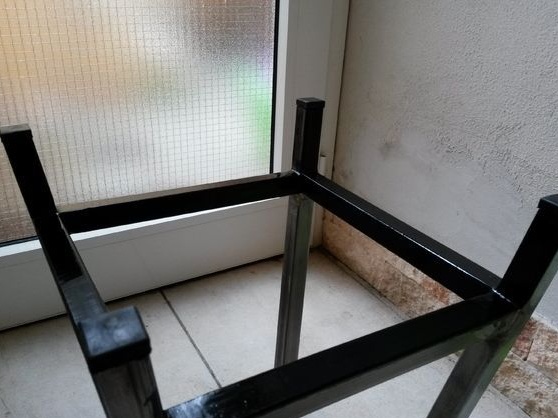
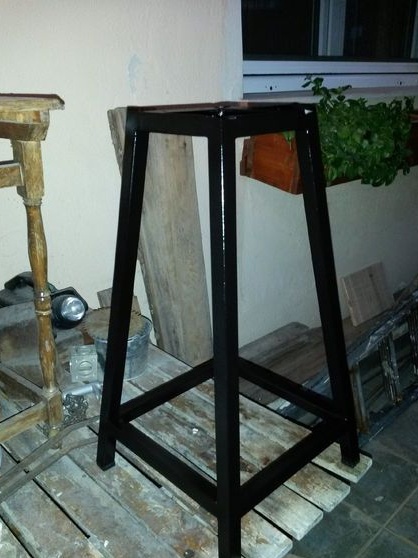
Step Five Painting
Before painting, thoroughly clean the metal, removing all rust and dirt. It is also advisable to take a rag, wet with acetone and wipe the pipes if there are traces of oil on them. Now the metal can be painted, instead of paint, you can use a primer. The author decided to paint his chair black. To make the chair sparkle, the author varnished the primer.
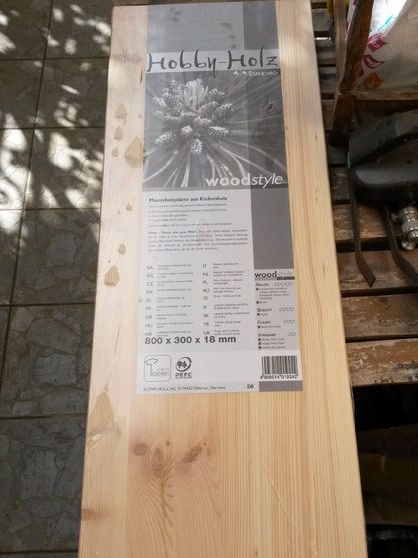
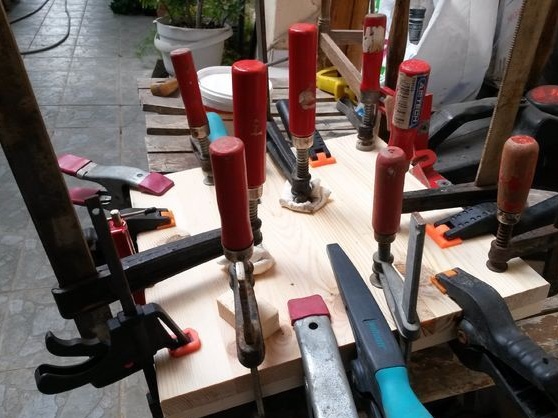
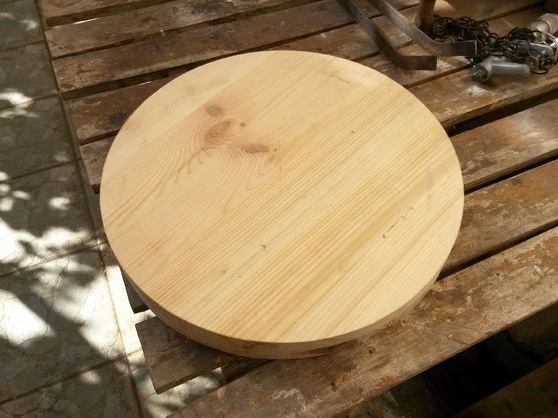
Step Six Seat fabrication
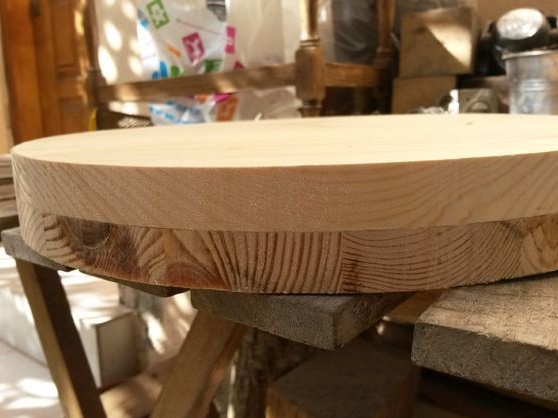
To make a seat, the author bought a pine wood panel. It was cut into 30x30 cm squares. To make the seat strong, the author glues these two sheets with wood glue, clamping them well with clamps.
When the glue is completely dry, you can cut a circle. Draw it on the workpiece, and then cut it with a jigsaw, well, or with a hand jigsaw.
Next comes the grinding stage. First use coarse sandpaper, and then get smaller and smaller. Your task will be to make the tree as smooth as possible.
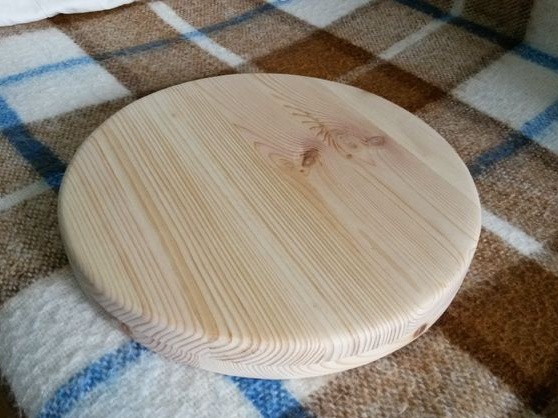
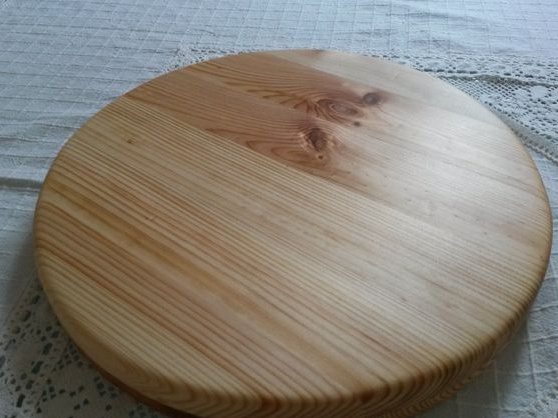
In the end, wood will be impregnated to protect against moisture, in addition, the tree will be more beautiful. The author initially made the wrong decision and soaked the tree with mineral oil. The fact is that this oil never dries. In this regard, a layer of beeswax was still applied on top to create a film that does not pass mineral oil.
To do the right thing, use linseed oil, or better boiled (natural drying oil). Some also mix linseed oil with beeswax and soak wood. Polish the seat with a cloth to make it shine.
Seventh step. Chair assembly
In the end, you just need to attach the wooden seat to the steel frame. Here you will need screws or screws. If you use screws, drill holes for them in the tree.
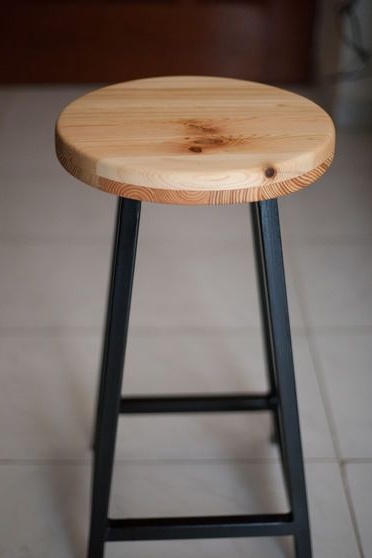
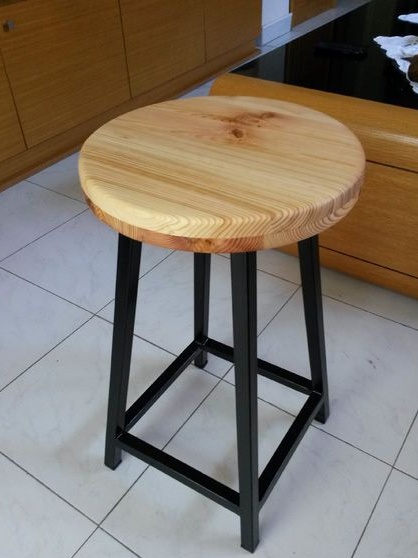
That's all, the chair is ready. In addition to useful household items, the author also gained experience when working with welding and metal in general.