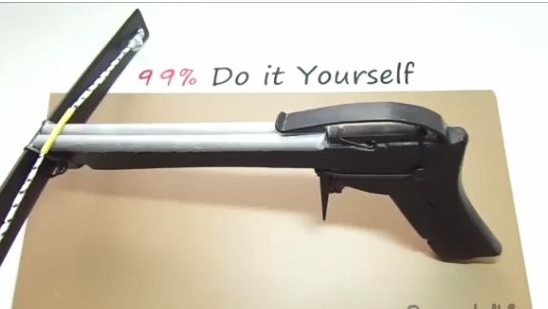
We will need:
1- Wooden hanger.
2- Terma glue.
3- Wooden skewers.
4- Two plastic rulers.
5- Drill (screwdriver).
6- Plastic ties.
7- Nippers.
8- Rope with a diameter of 5 mm.
9- Wooden clothespin 2 pcs.
10- Hacksaw (small for metal).
11- Push pins.
12- Kapron thread.
13- A piece of durable plastic (ABS).
Manufacture:
1- First, take a wooden hanger of a similar design (as shown in the photo below).
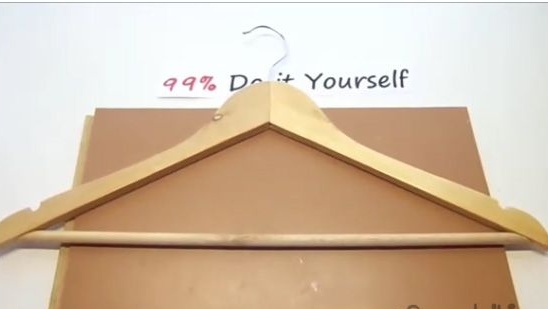
2- Disassemble the wooden hanger. Got three blanks.
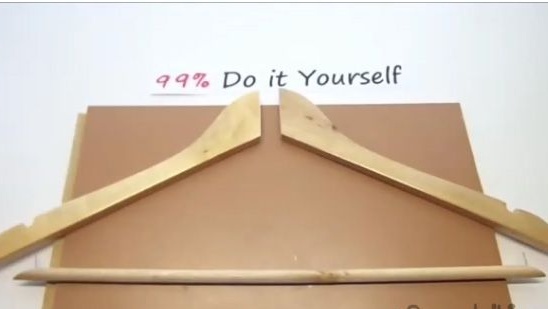
3- First, take the shoulders. And add them in a similar way, as it is shown in the photo below.
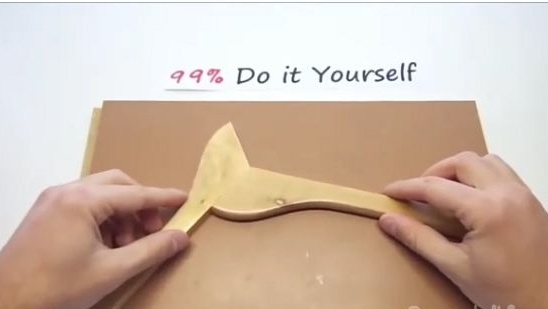
4- We mark and cut off the excess.
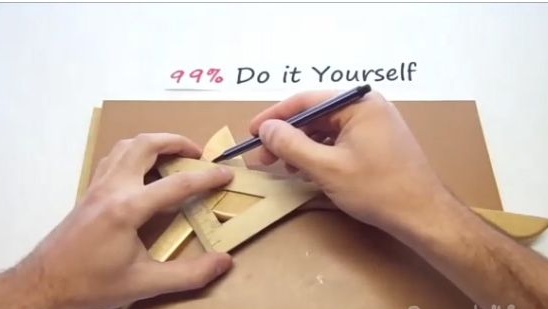
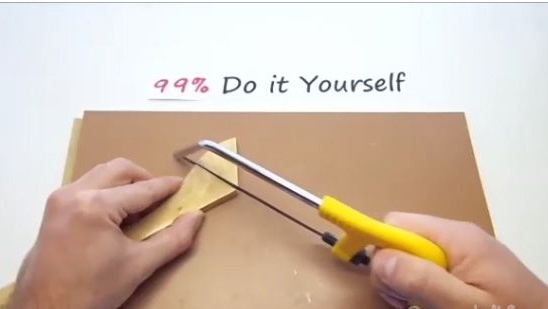
5- Next, using a term of glue, glue the blanks in a similar way, as this is shown in the photo below. In this situation, do not regret the term glue.
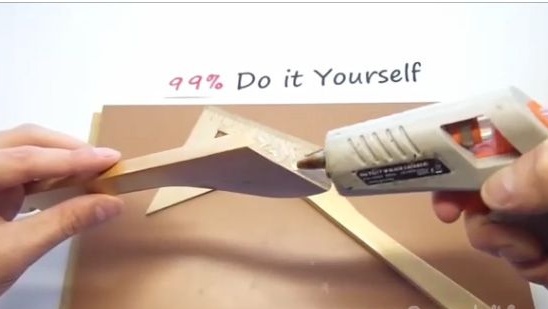
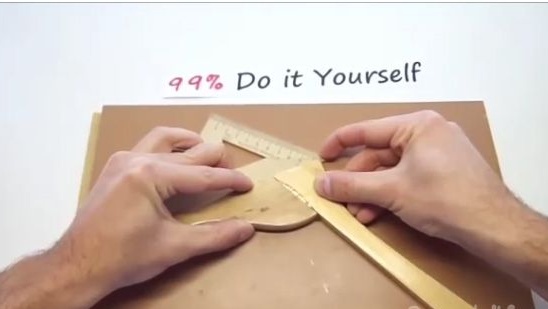
6- Then, on the bottom of the workpiece, approximately in the middle, put a mark at a small angle. Approximately, as shown in the photo below.
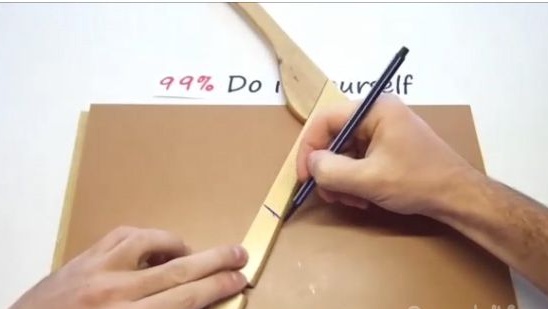
7- Saw off.
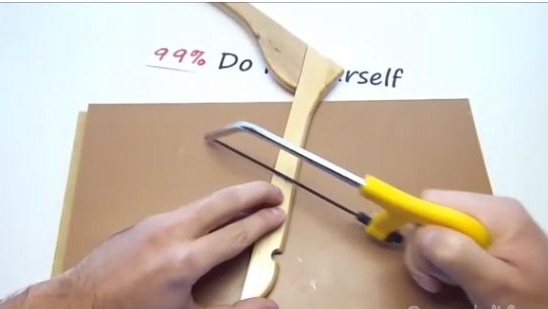
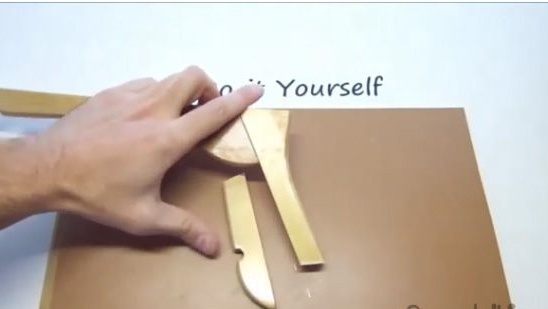
8- We do not throw out the sawn off part, we will need it now. From it we will make a pen. We do all the steps in the step-by-step photo below.
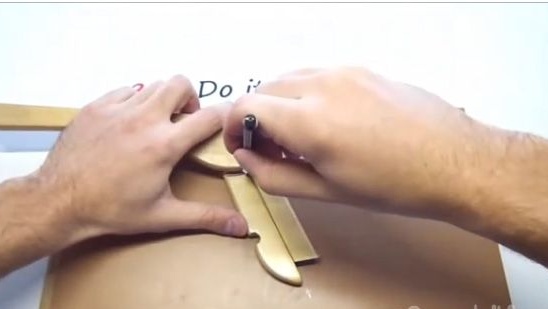
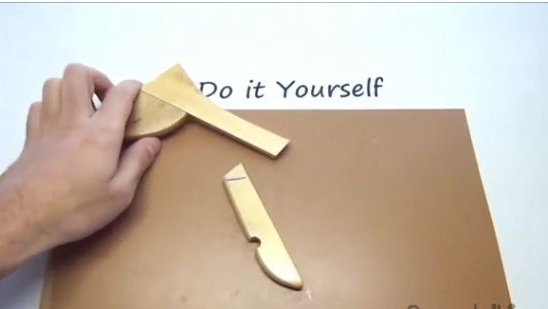
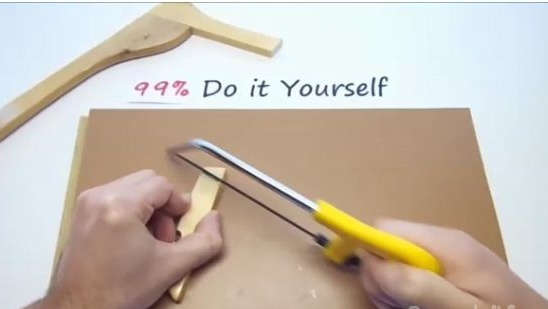
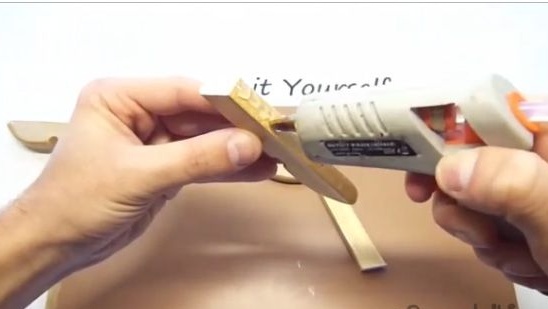
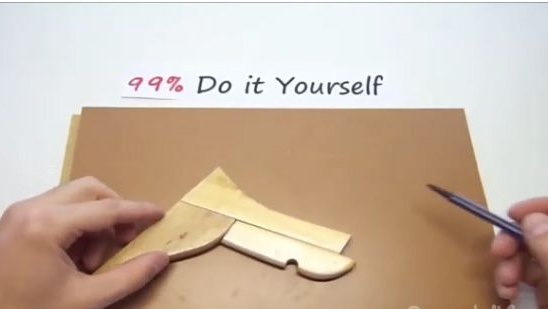
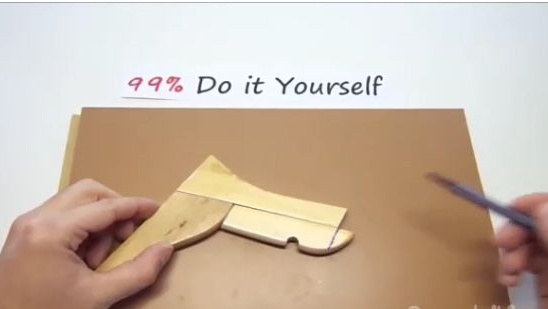
9- It should look something like this (see ph below).
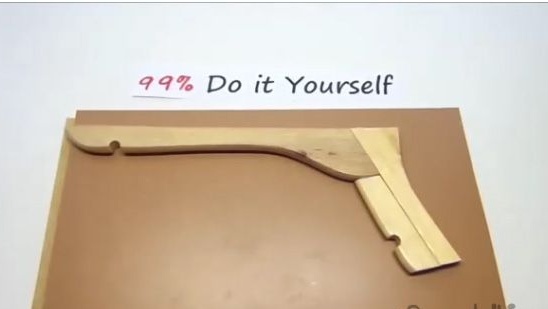
10- Next, we will make a guide, for it we take the lower part of the wooden hanger.
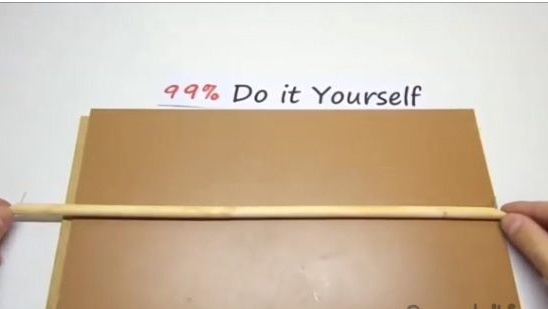
11- We mark in those places as in the photo below.
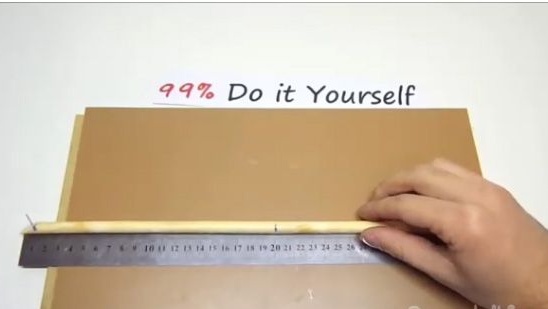
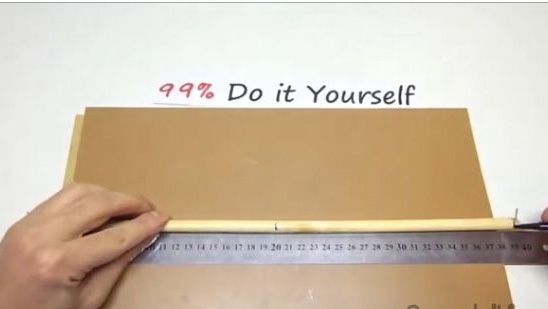
12- Saw.
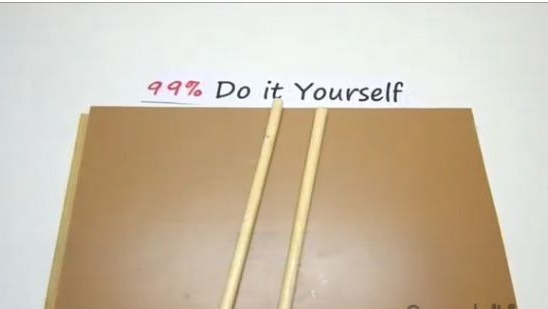
13- Then, the just-made blanks, glue them together using a glue term (see photo below).
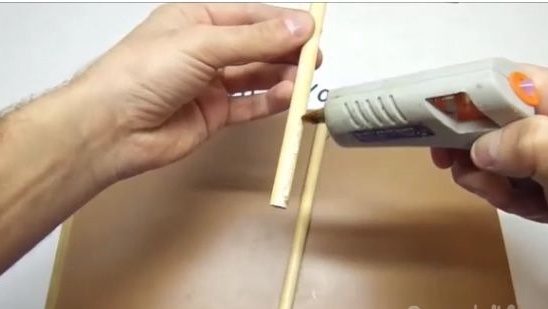
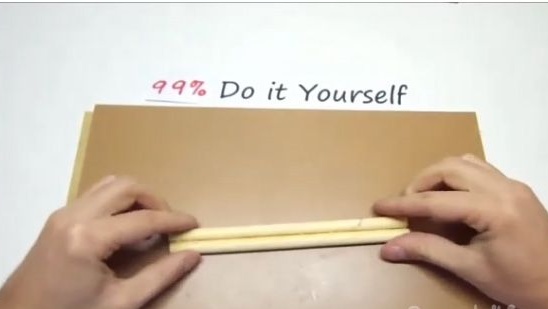
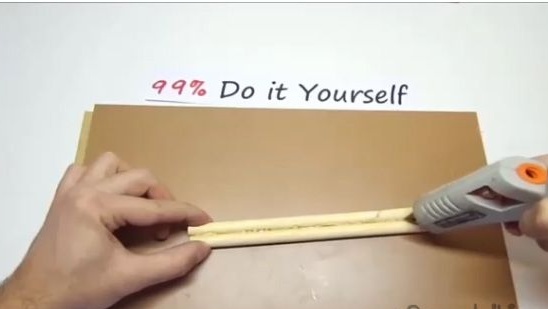
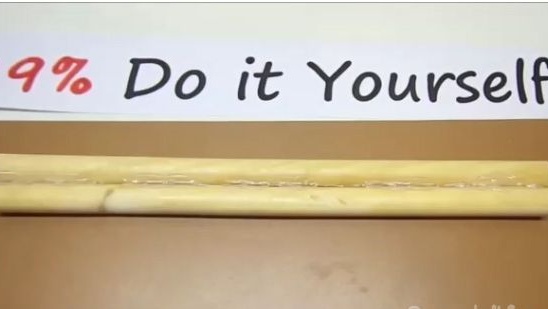
14- After we grind with sandpaper one of the sides of the workpiece.
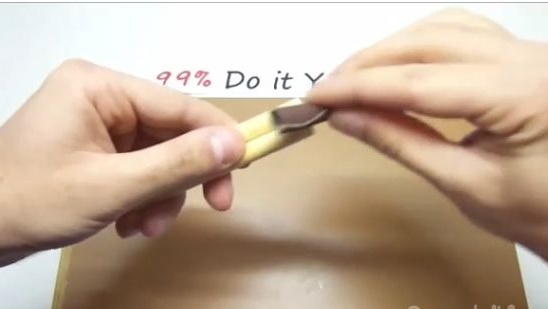
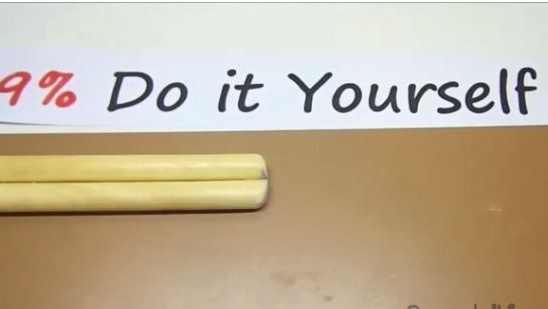
15- Make a mark as in the photo below.
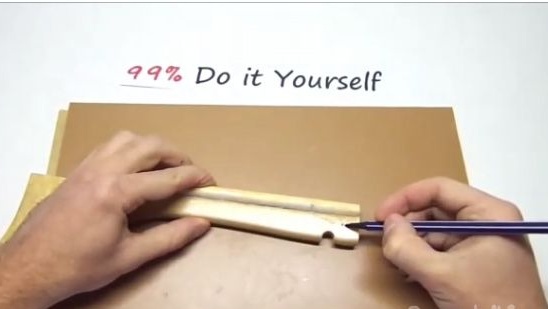
16- We glue two pieces together. The term must be glued with glue and the glue must be applied completely to the entire bonding surface. But you need to glue so as not to go beyond the mark made earlier.
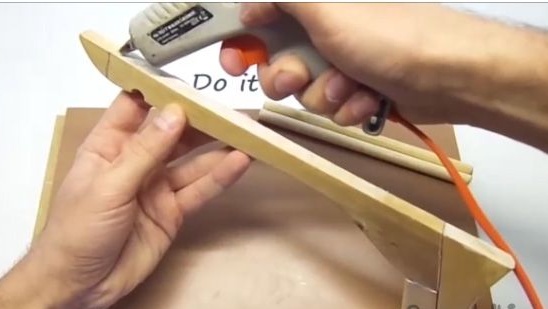
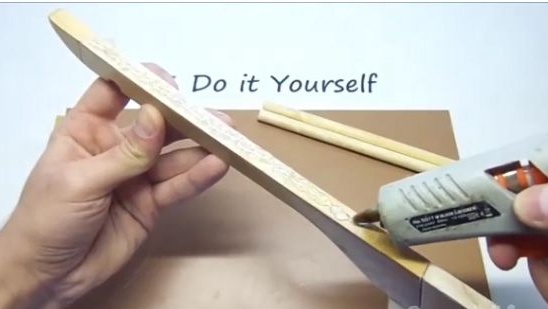
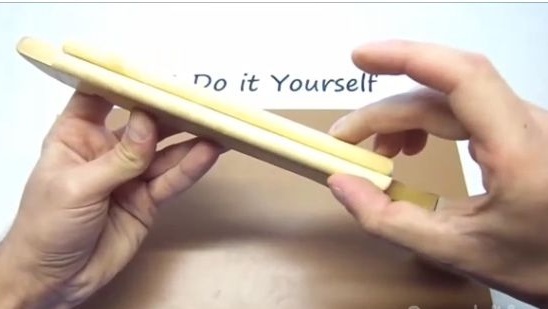
17- Strengthen the connection of the two workpieces.
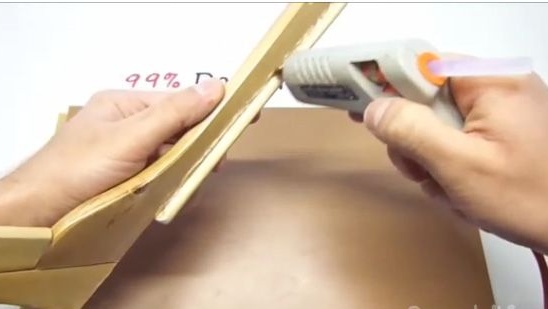
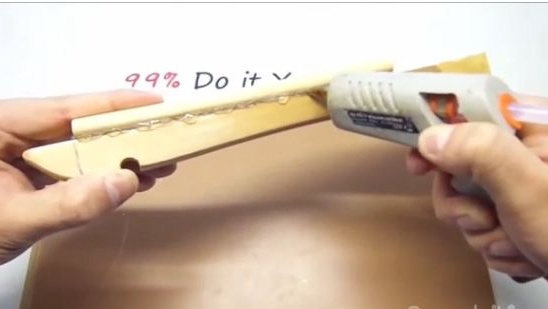
18- We saw off the part where we recently made a mark.
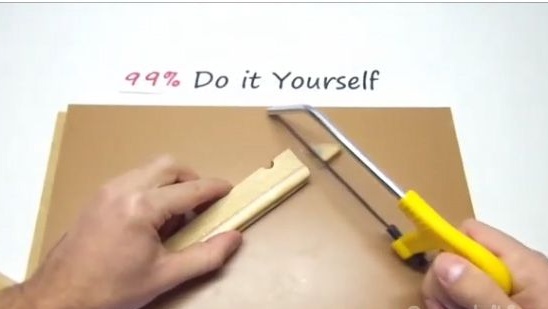
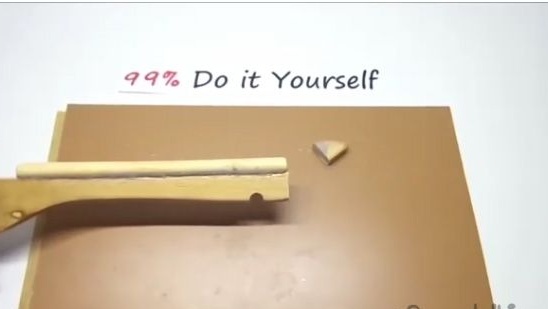
19- In the indicated place (see photo below) we drill holes with a diameter of 4 mm.

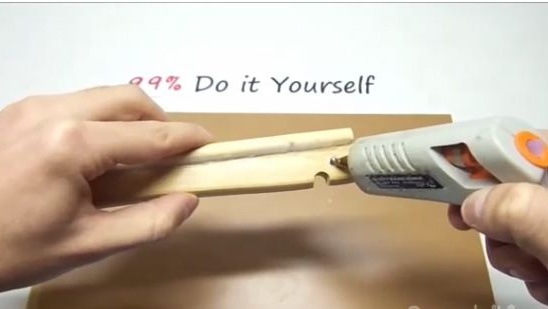
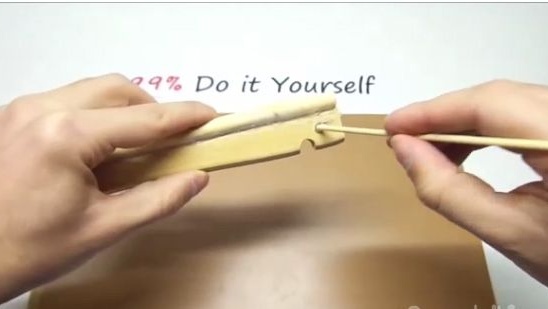
20- In the hole made in advance, pour well-warmed terma glue, and insert the skewer.
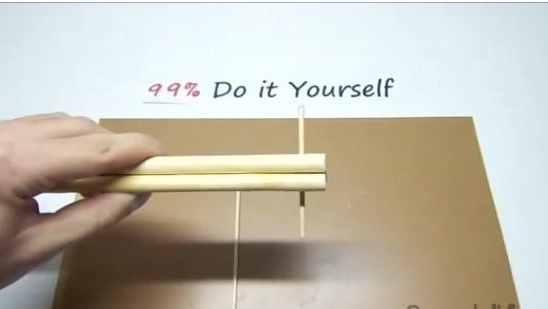
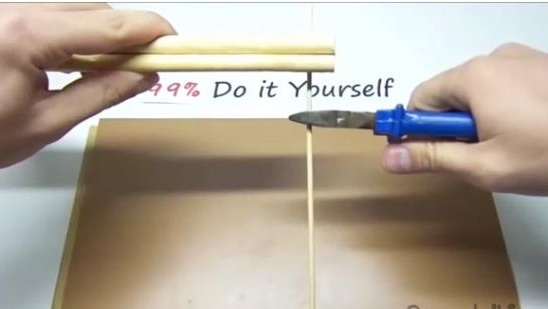
21- Using nippers, bite off the excess. So that it turns out as in the photo below.
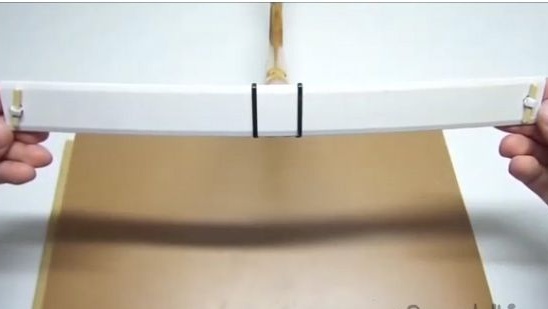
22- We will make the shoulders of crossbows from two similar plastic rulers about 20 centimeters long.
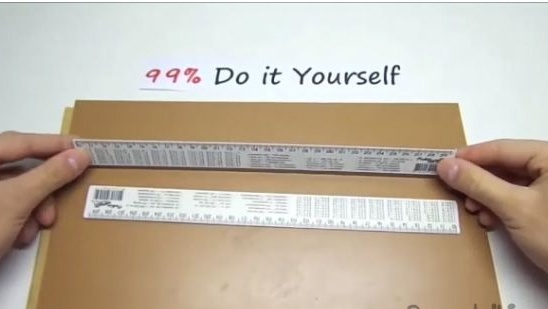
23- On one of the rulers we apply the term glue, in the middle. And glue.
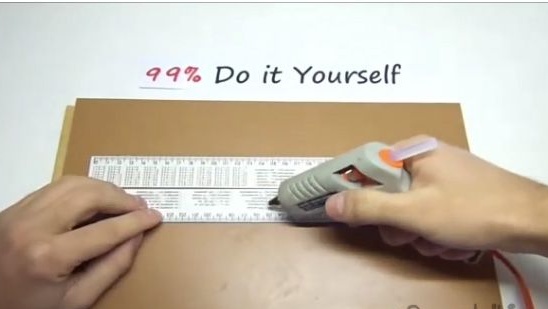
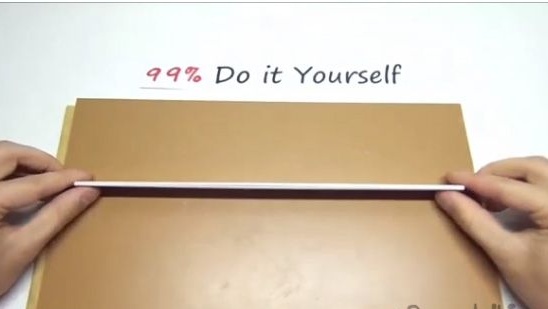
24- On the rulers we put marks, horizontally stepping back from the edge about one centimeter and vertically in the center.
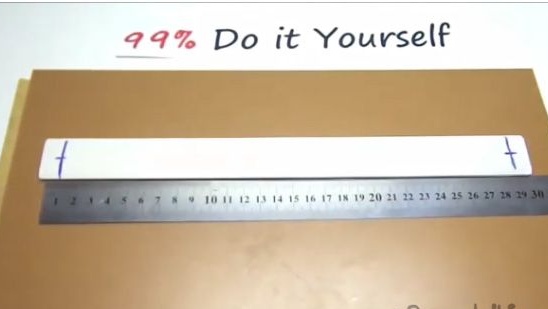
25- Drill a drill with a diameter of about 5 mm.
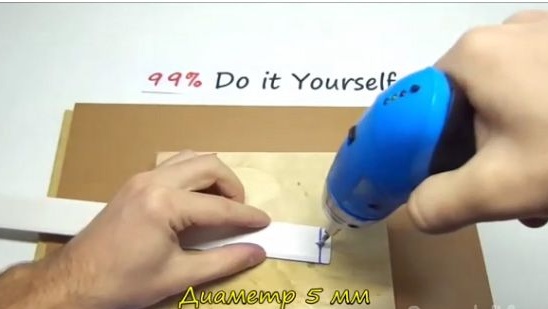
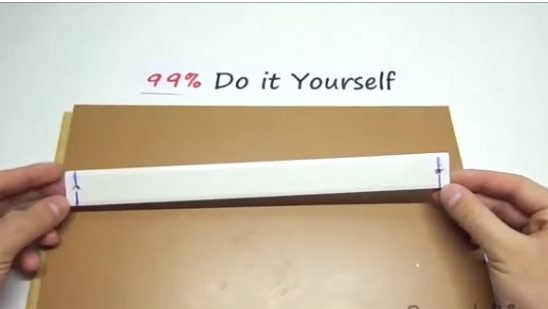
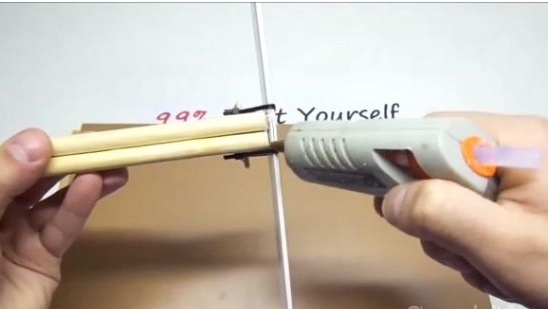
26- Next, glue the workpieces with the power of the glue term as in the photo below.
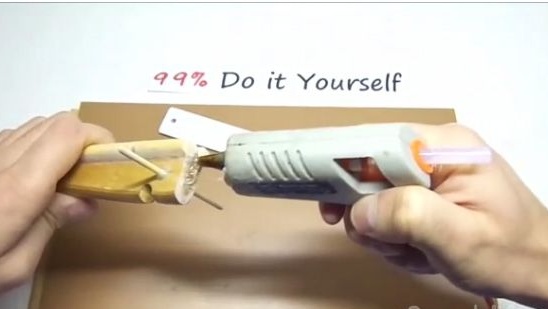
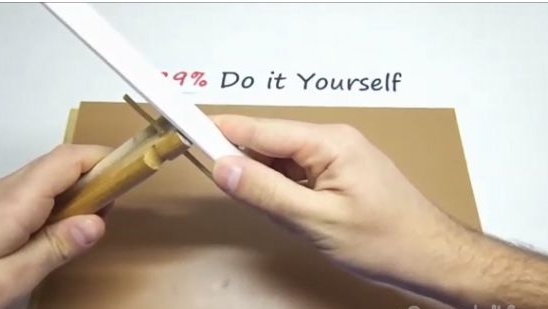
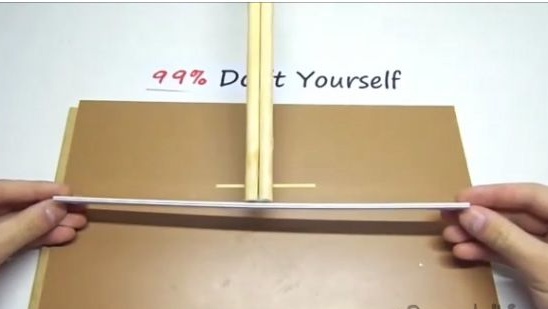
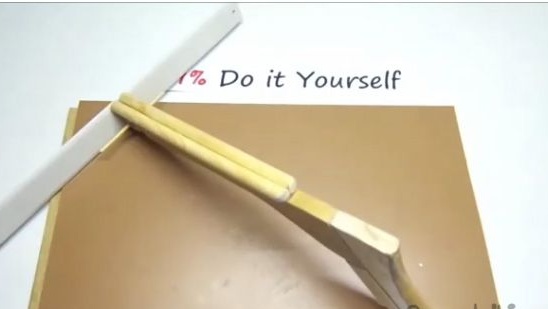
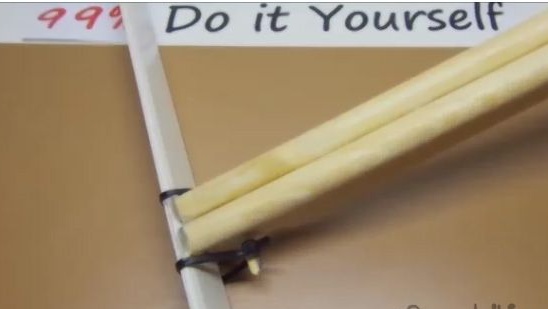
27- We reinforce the structure with plastic ties.
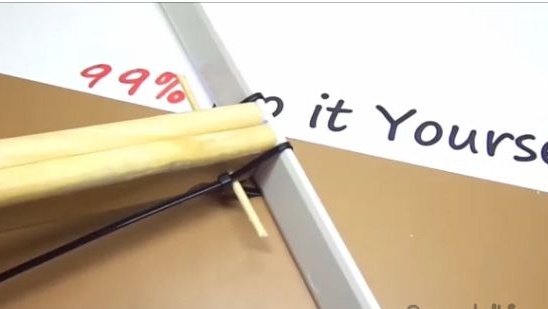
28- Bite off all the excess and glue the term with glue.
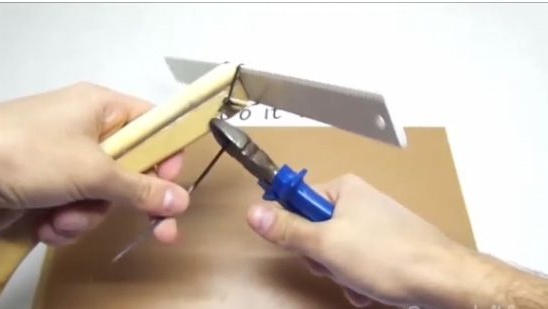
29- Then we will make a bowstring from a rope with a diameter of 5 mm.
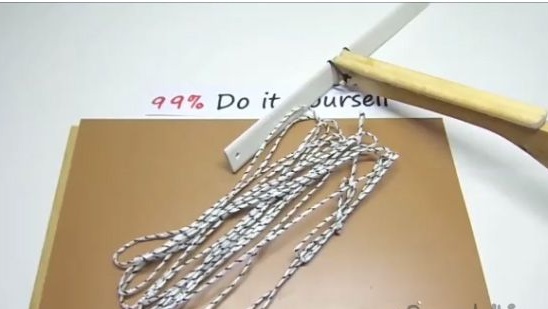
30- About the current of the bowstring should turn out. With small loops at the ends.
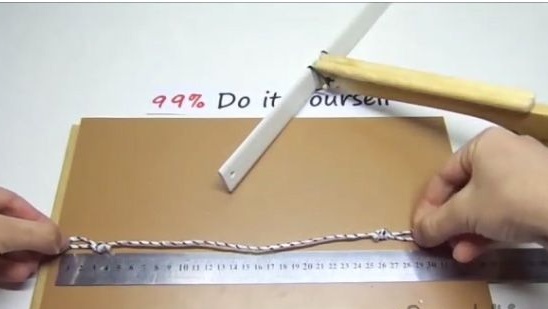
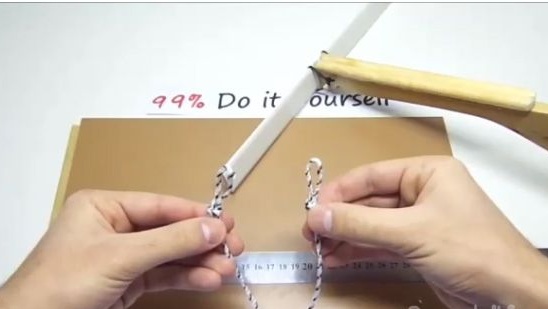
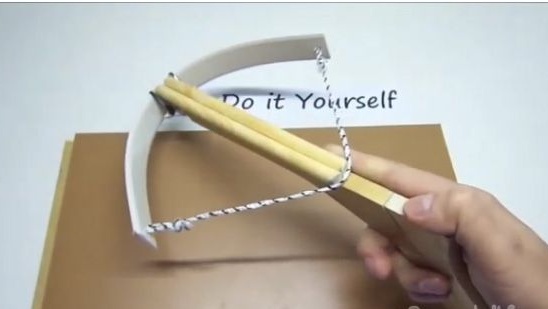
31- Install the bowstring in a similar way.
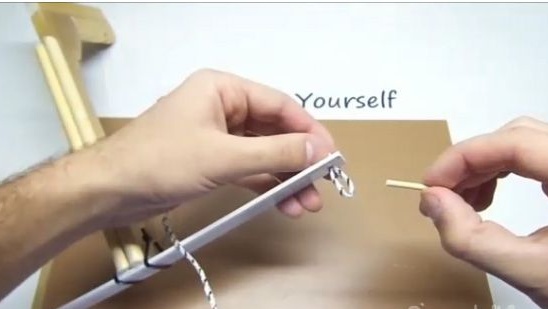
32- Then we will make the trigger. For this we need a wooden clothespin.
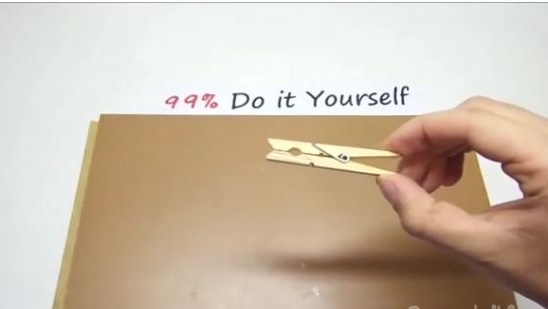
33- We mark and cut one of the parts.
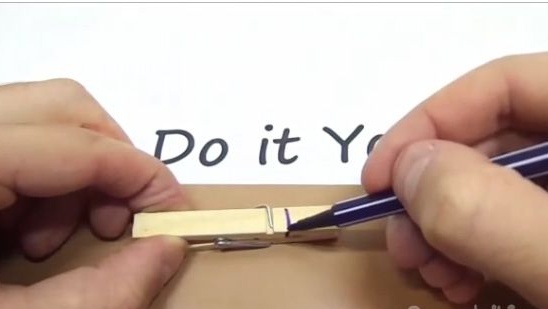
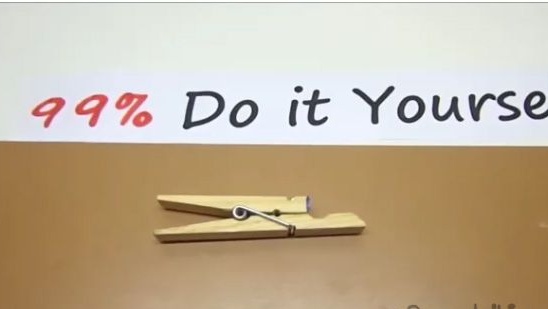
34- Then we disassemble the clothespin.
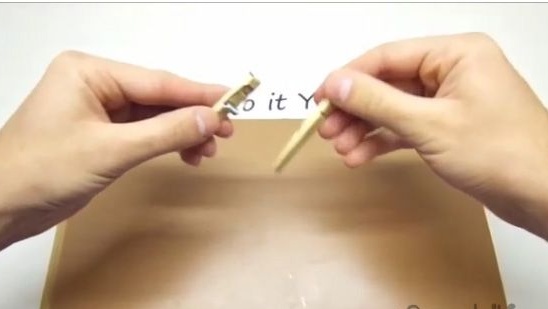
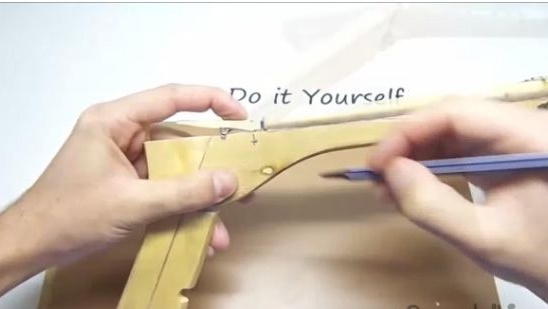
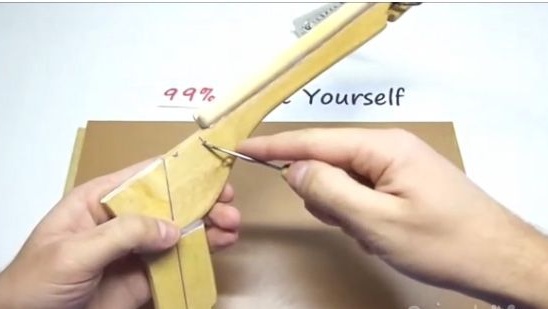
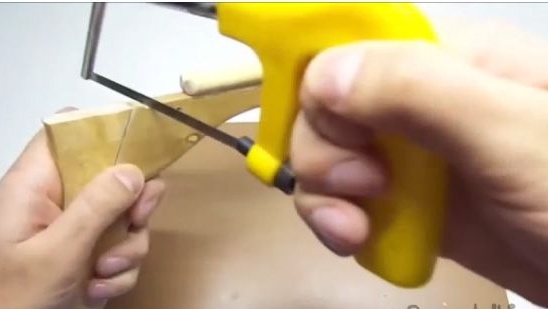
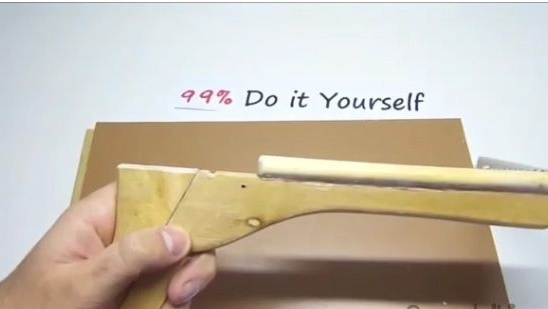
35- And then we do the following actions. Repeat step by step photo.
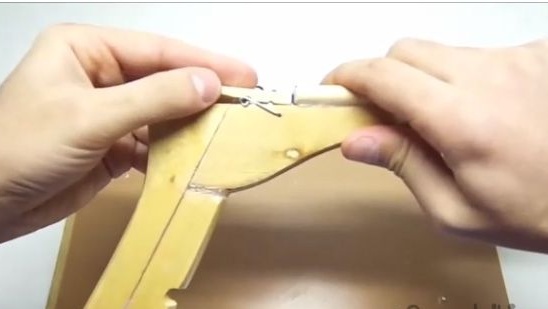
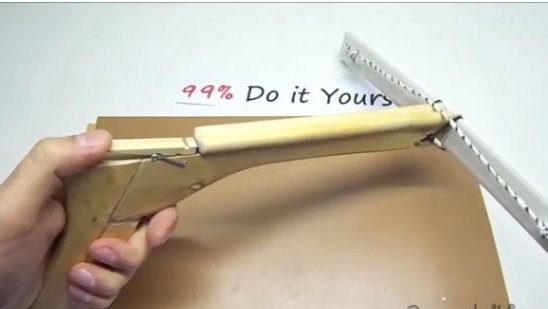
36- Next, from the second clothespin we will make the trigger.

37- We mark and cut off the excess.
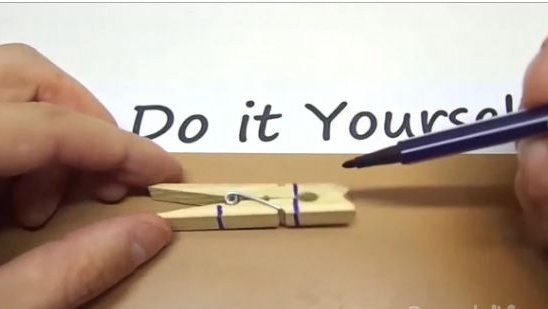
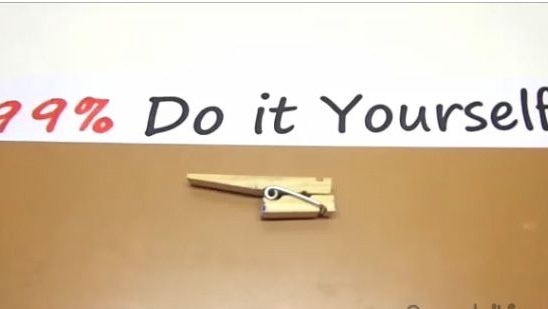
38- Then we cut off the excess part to set the trigger.
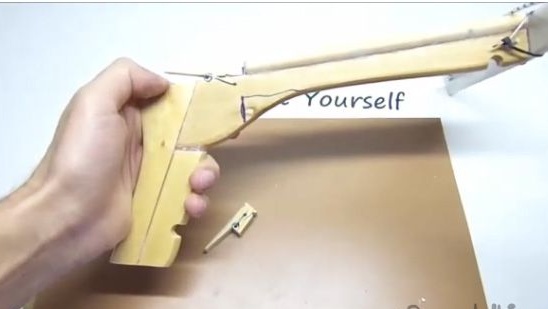
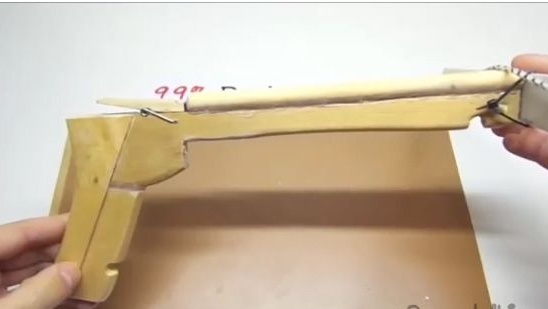
39- Glue the trigger to the crossbow.
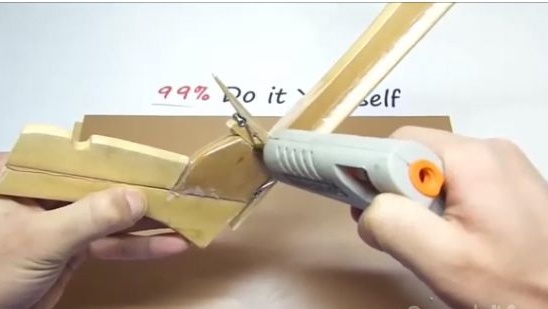
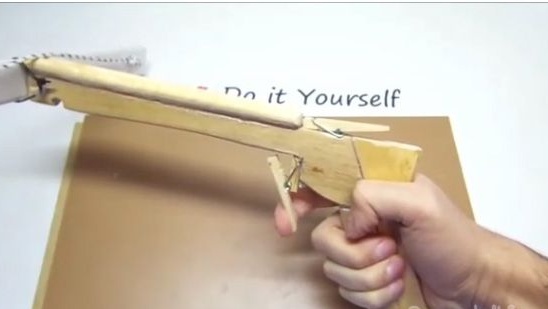
40- In the indicated place on both sides we insert the pushpin, leaving a gap of two millimeters.
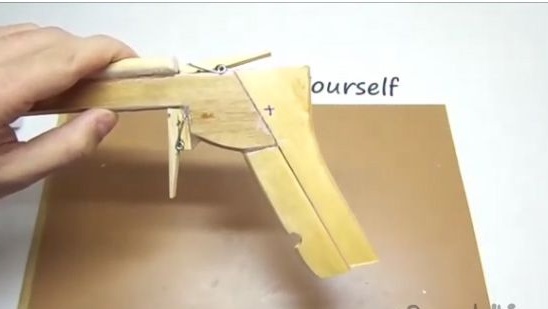
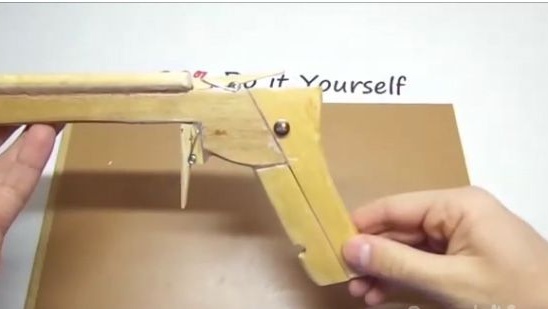
41- Then, with the help of a kapron thread, we connect the two clothes pegs in a similar way.
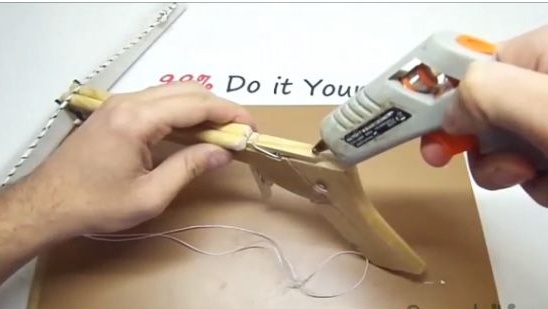
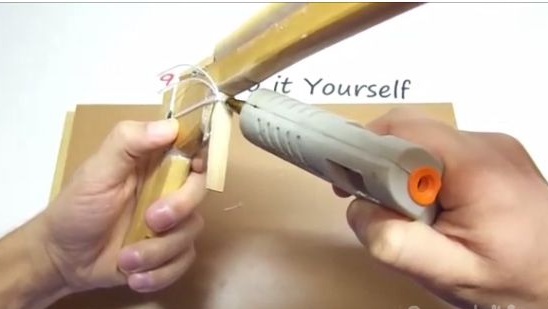
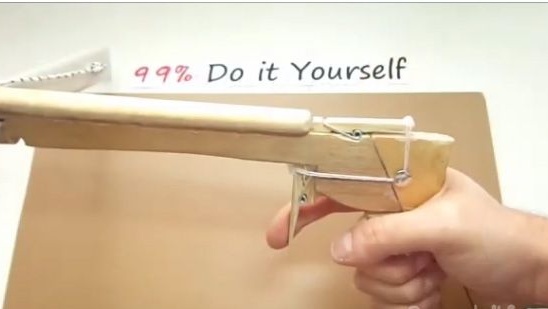
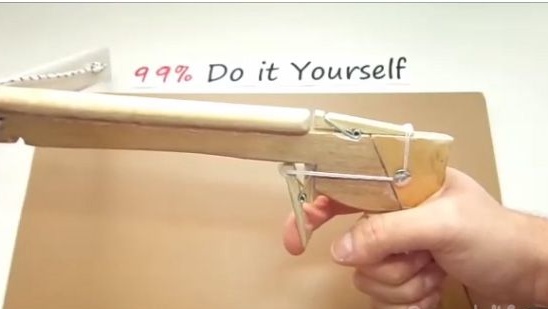
42- Next, from durable plastic, make a similar spring. It is needed to hold the arrows of the crossbow.
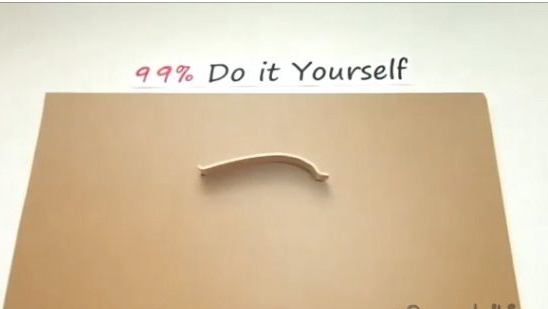
43- We glue it.
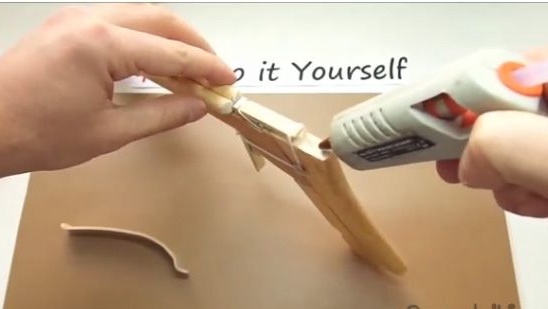
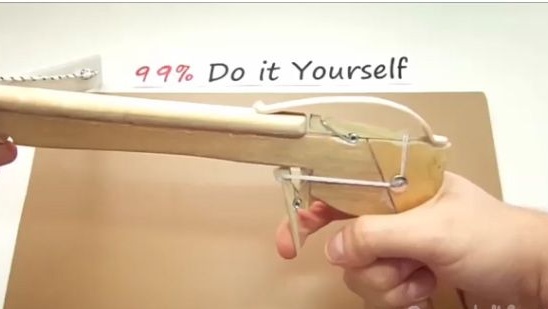
44- We paint.

Conclusion:
Thanks for attention. I hope this article has been helpful to you. You can also watch a video assembly of this homemade product.
[media = https: //www.youtube.com/watch? v = kEn-lzvG95Y]
