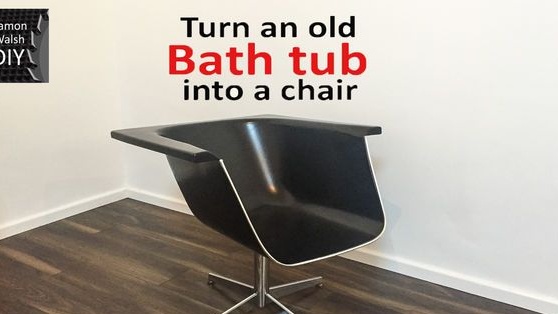
If you have an old bath, do not rush to throw it away. From it you can make a good chair, or even two. Everything is done quite simply, you need to apply the greatest amount of force to cut the bath and weld the support. Consider the manufacturing process in more detail.
Materials and tools for homemade:
- old bath;
- support from an old chair;
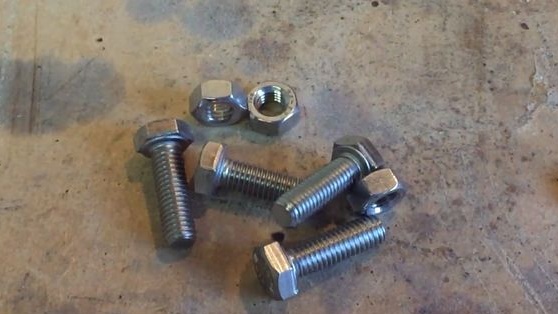
- bolts with nuts for fixing the support;
- paint;
- sandpaper for grinding the surface of the metal;
- grinder;
- welding;
- spanners;
- a piece of steel plate;
- LED strip (optional).
Chair manufacturing process:
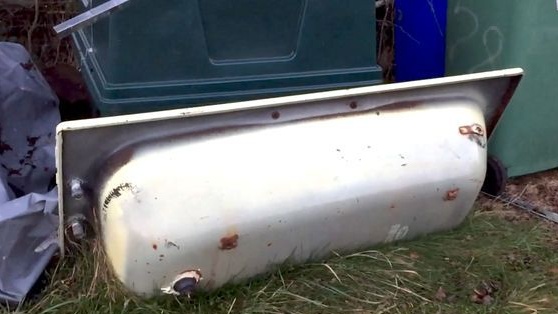
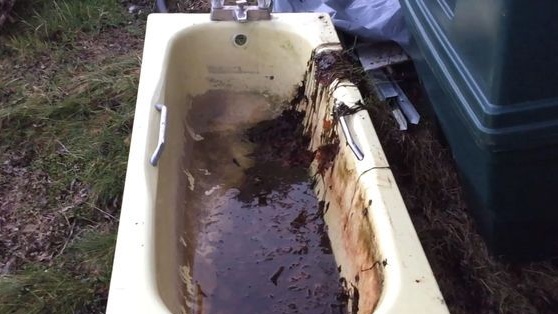
Step one. Preparing a bath
First you need to clean the bath of dirt. The author drank livestock from the bathtub, so there was quite a lot of dirt in it. We pour out the dirt, so that it is convenient to work with the material and not get smeared in the dirt.
The author’s bathtub was just steel, and not cast-iron, it is lighter, and this will also allow for welding work.
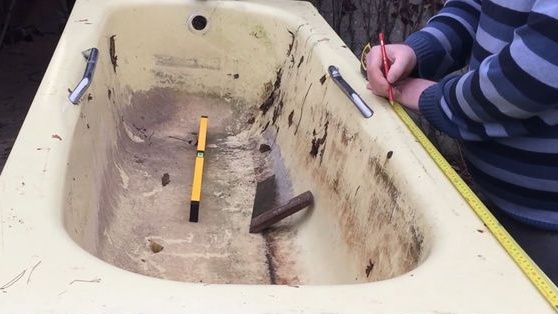
Step Two Mark the places of cuts
Take a pencil or marker and draw a line of the future cut. As for the size, then decide for yourself. The bath must be cut at an angle, as the author did.
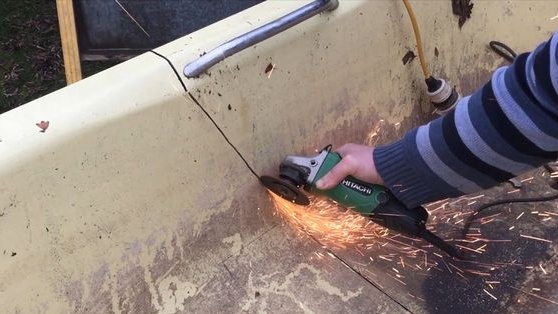
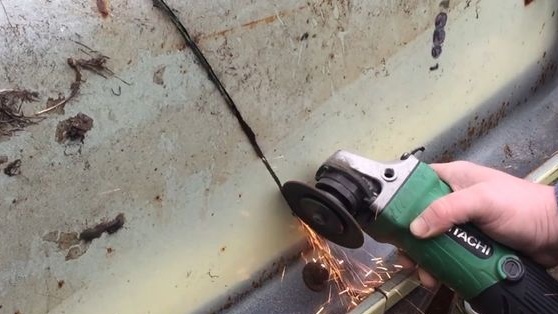
Step Three Cut the bath
We take a grinder with cutting discs and cut the bath. Hurry in this matter is not worth it, do the front, use safety glasses and gloves.

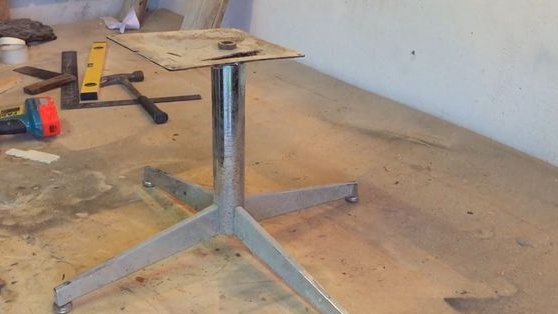
Step Four Chair base
As the basis for the chair, the author used the support from the old office chair. The chair is old, so the support is not made of plastic, like modern ones, but of metal. Cut off the excess and prepare a plate for attaching the chair.
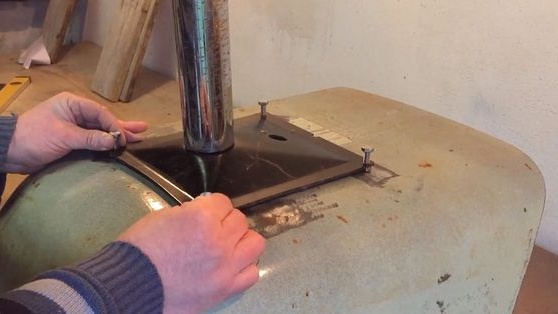
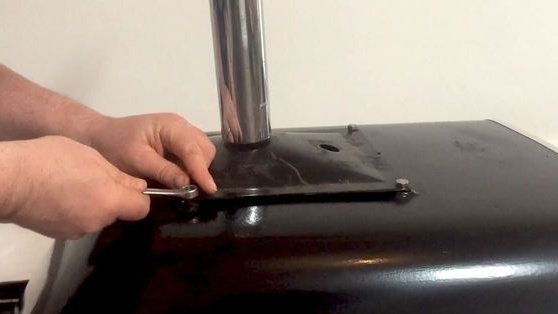
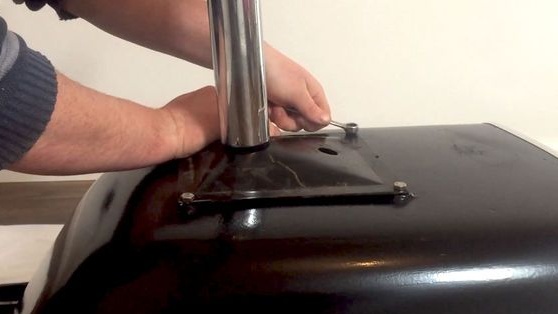
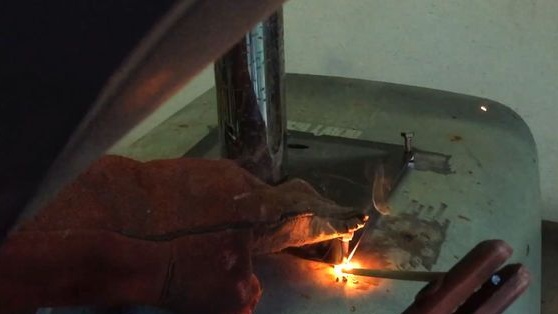
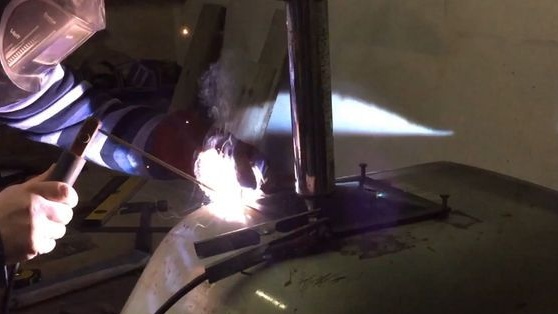
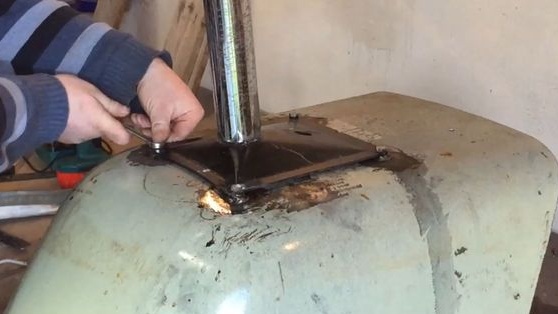
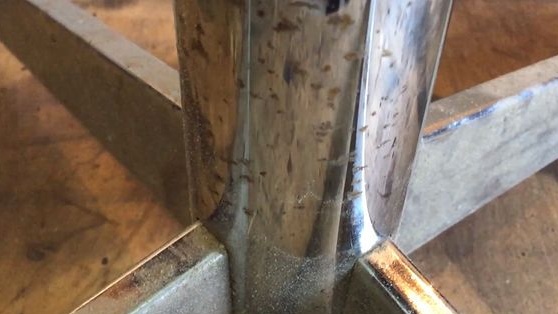
Step Five We fix the support to the seat
Weld the mounting nuts to the metal seat. Thanks to them, the support can be removed if necessary, that is, the chair is collapsible. Drill four holes in the metal plate of the support; bolts will be screwed into them.
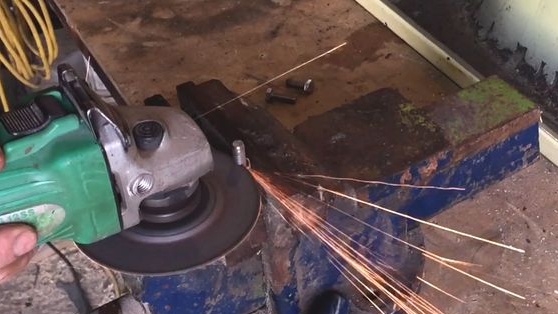
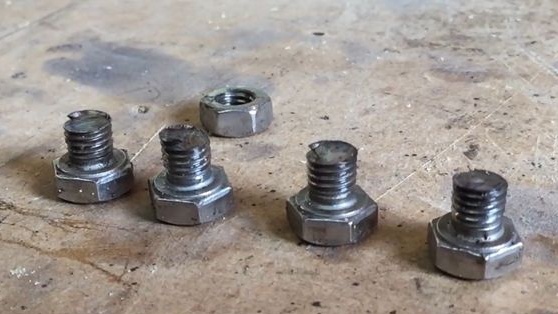
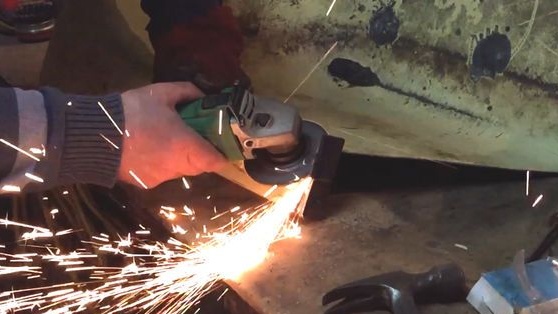
Step Six Cut off excess bolts
To bolt it was possible to fasten the support, they need to be shortened. We take the grinder, hold the bolt in a vise and cut off the excess.Align the cut edges so that the screws tighten easily into the nuts.
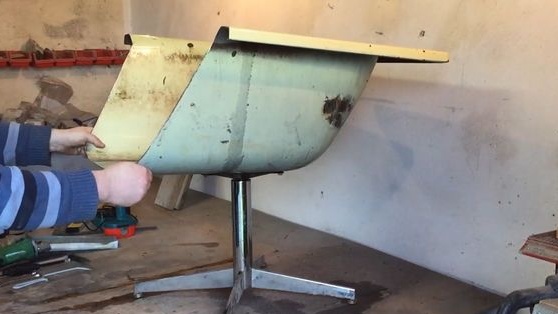
Seventh step. Trial assembly
At this step, you can already assemble the chair. You need to make sure that the chair is assembled smoothly and reliably.
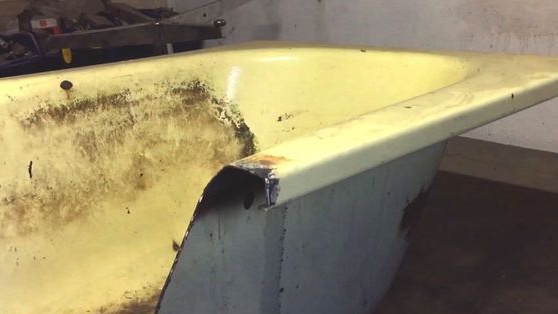
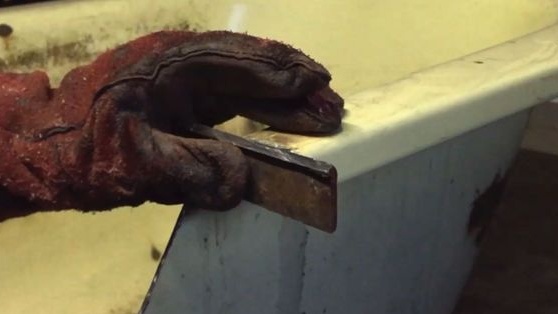
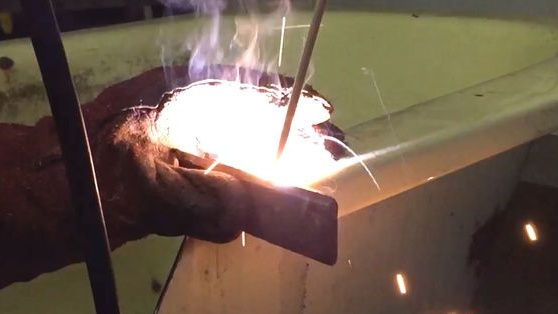
Step Eight. Align the bend of the bath
So that in this chair no one can see the bath, you can close up the bend. Take for these purposes two steel plates and weld them in the right places. First, weld, and then finally weld.
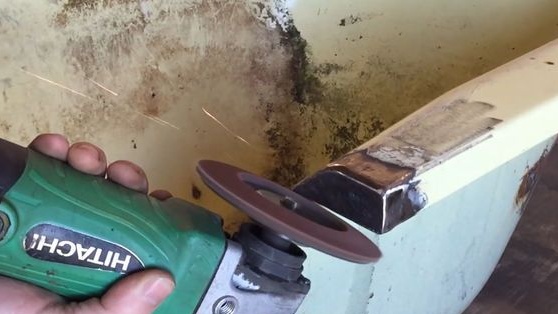
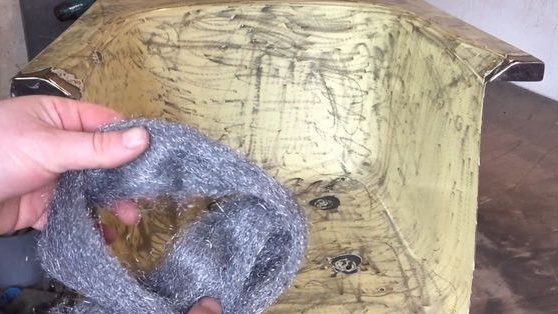
Step Nine. Preparation of metal for painting
To paint a bath is not so simple, because not every paint adheres to enamel. The essence of the preparation is to make the surface matte. This can be achieved using a grinder with a grinding disc. You can also work with sandpaper and other means. In conclusion, the entire surface was rubbed with steel wool.
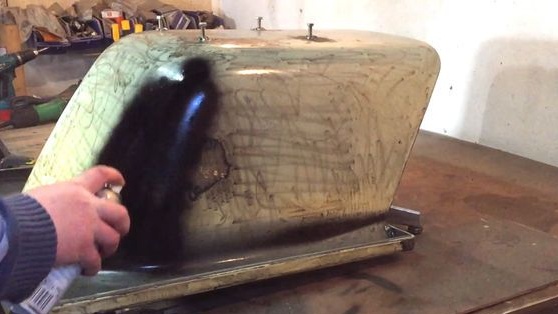
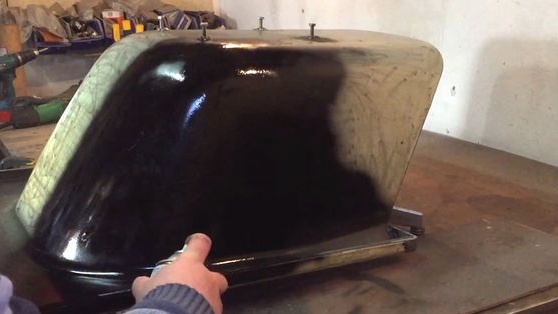
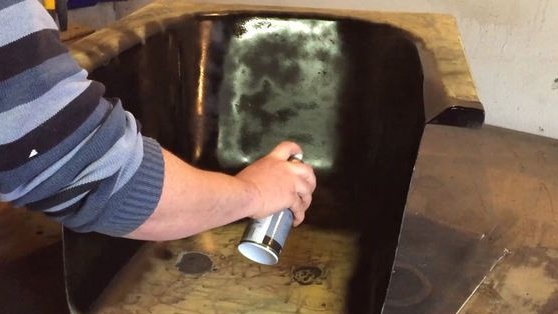
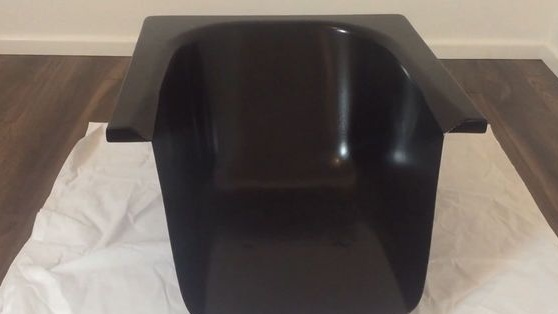
Step Ten Primer and painting
First of all, we apply a primer, the author has both paint and primer in spray cans. Well, then, when the primer dries, we apply two layers of acrylic paint to the surface. You can use gloss or matte paint.
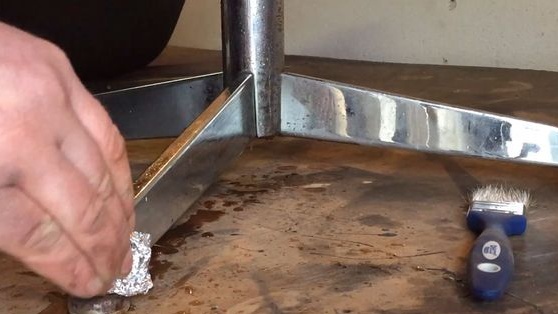
Step 11. We clean and polish the support
The author polishes the support from the old chair to shine.
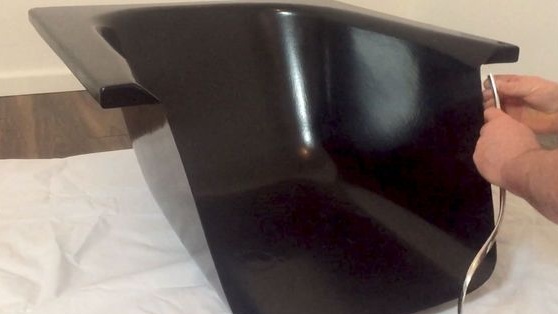
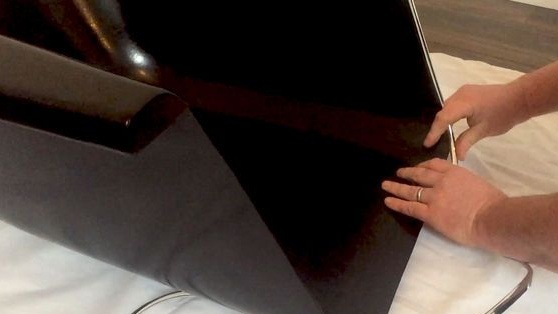
Step 12. Chair Edging
To prevent the chair from being cut and looking more solid, the author launches a border around the edge.
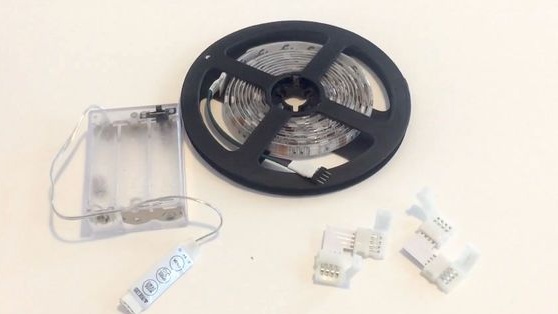
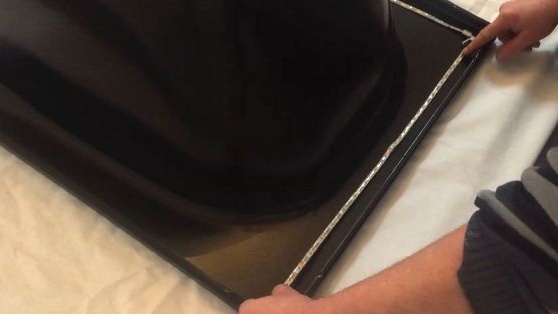
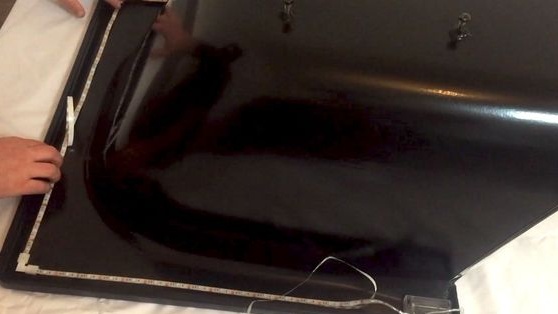
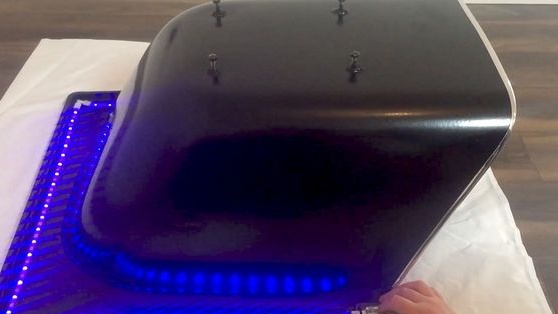
Step 13. LED Strip
Since the author made a chair for his son, who is interested in computer games, it was decided to equip it with LED backlight. The author used LED strips for such purposes. We glue it to the chair, and also connect the power source, which are the batteries.
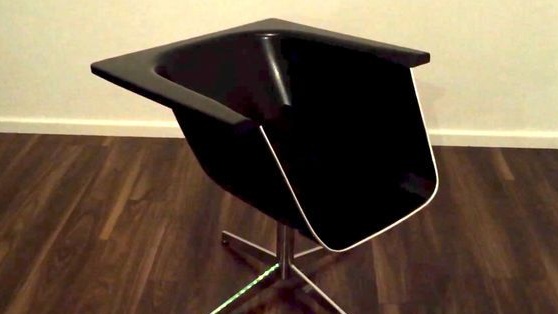
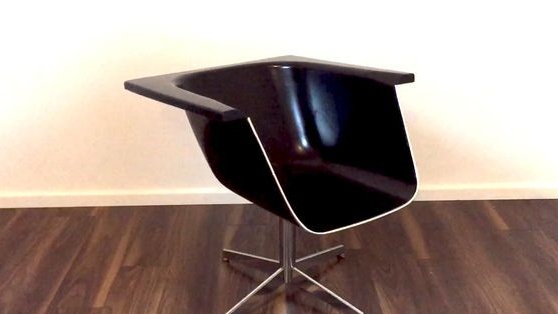
Step 14. Putting the chair together
We take a wrench and use the bolts to assemble the chair. That's all, the homemade product is ready.