
Hello friends. In this article, I will try to describe in detail the assembly of a home-made desktop cyclone vacuum cleaner. This vacuum cleaner is perfect for those who often like to do it themselves and leave behind small trash. This vacuum cleaner will do fine with small specks, well, or with larger scraps.
For a vacuum cleaner you will need:
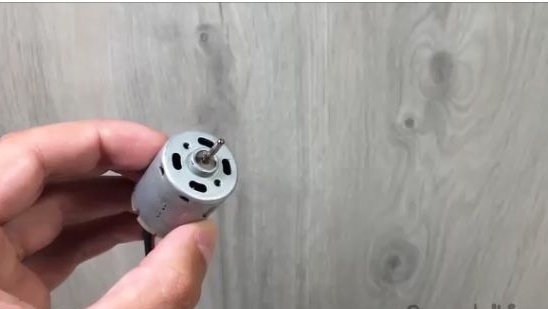
1- Electric motor.
2- Plastic bottle (as from milk).
3- Stationery knife.
4- Terma glue.
5- Scissors.
6- Hacksaw (for metal).
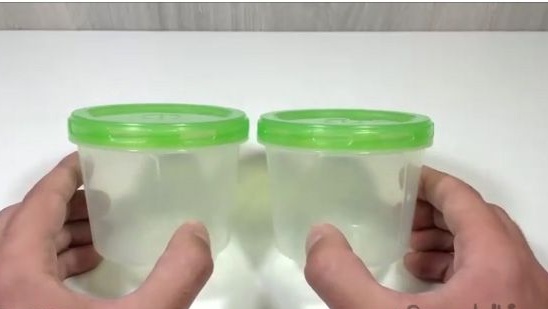
7- Two identical plastic jars with lids.
8- Two 20 ml medical syringes.
9- And one medical syringe with a centrally located cone.
10- DVD disc.
11- Super glue.
12- Soldering iron.
13- Sealed plastic food container.
14- Rubber hose (diameter equal to 20 ml syringe).
Manufacture:
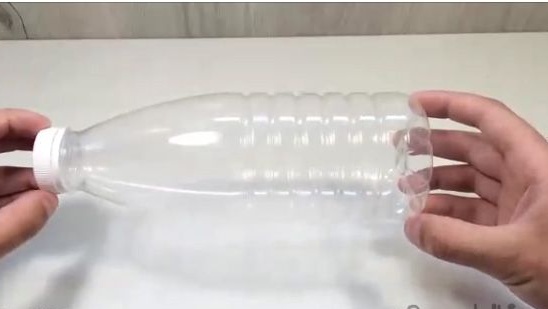
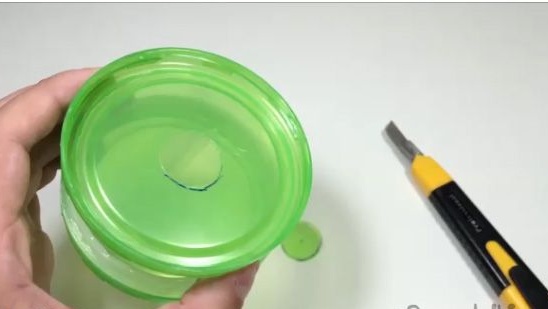
1- You will need a plastic bottle as in the photo below.
2- First of all, we denote the markup as shown below.
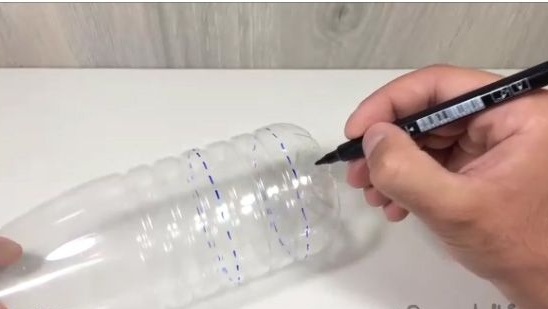
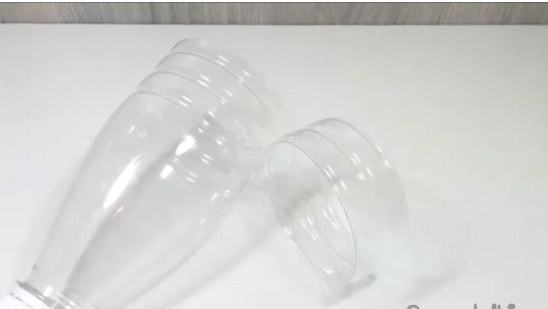
3- And we cut out the necessary blanks with the help of a clerical knife.
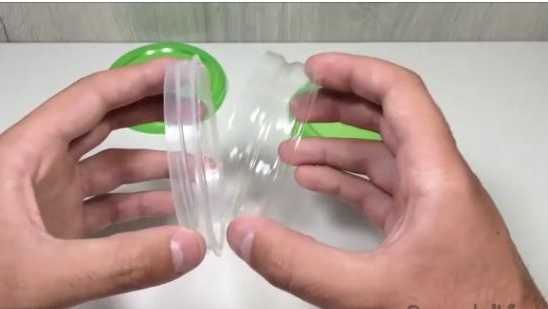
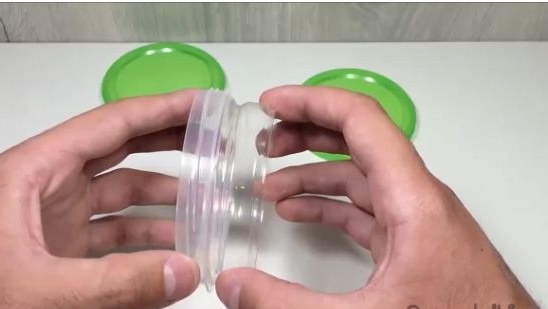
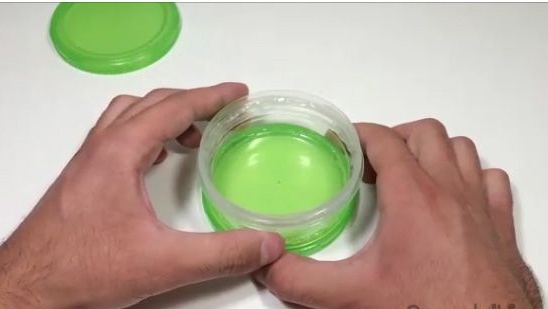
4- Then you need two identical plastic jars with lids.
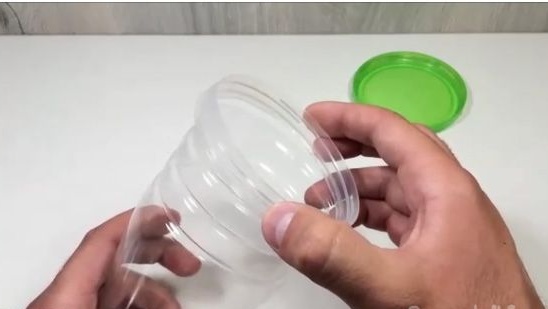
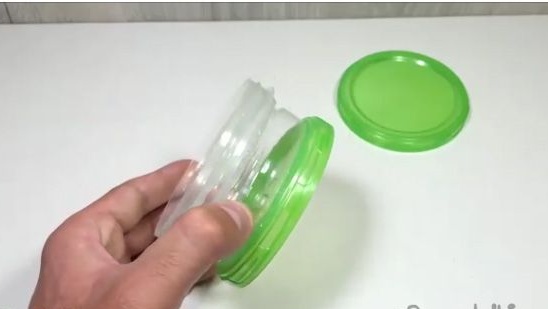
5- From the jars we cut off the upper parts with a thread.
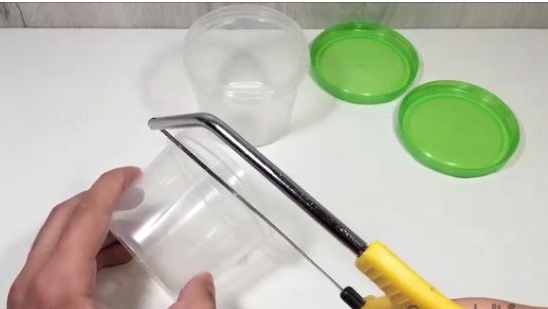
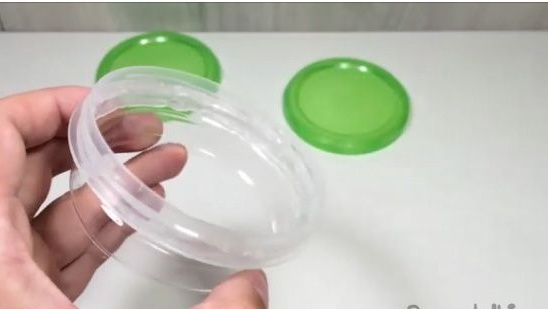
6- Approximately such blanks you should get.

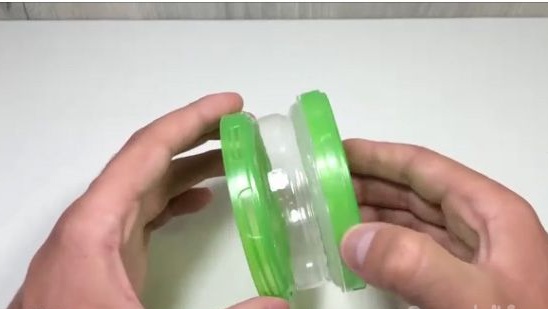
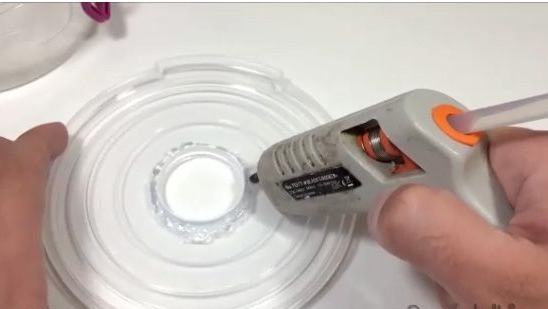
7- After which we glue the obtained blanks. We will glue the slightly heated terma glue so that the bottle does not pay and does not narrow.
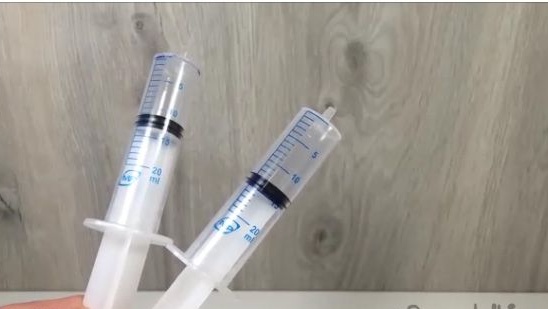
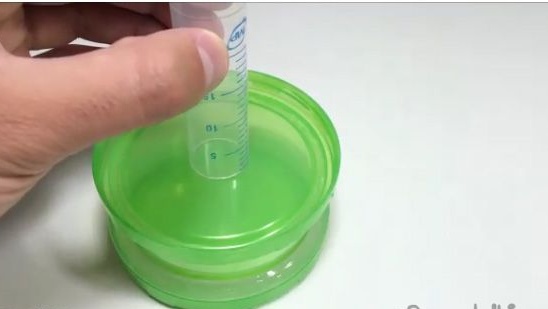
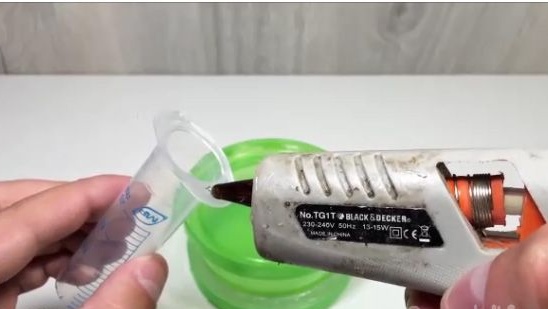
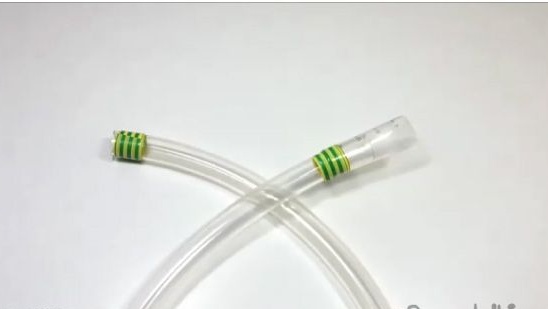
8- Next, you will need two 20 ml medical syringes (see photo below).
9- We remove the pistons and use a metal hacksaw to cut off the upper parts and one lower part.
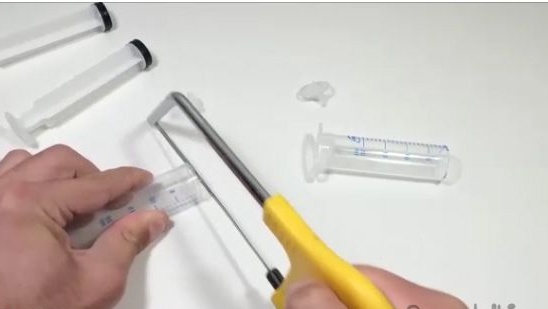
10- Such two blanks should work.

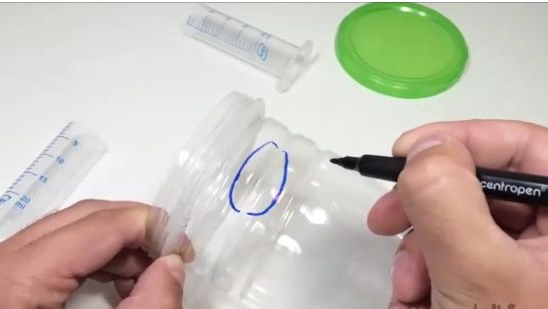
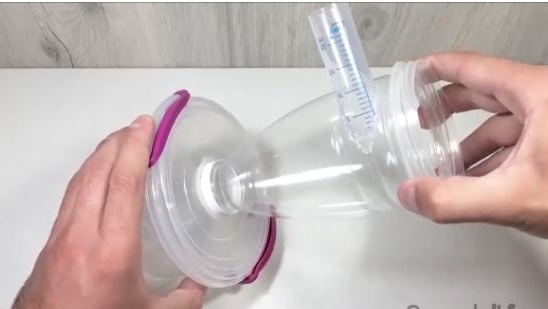
11- We attach one of the syringes (which is cut off from the top and bottom) to the bottle as discarded
in the photo below.
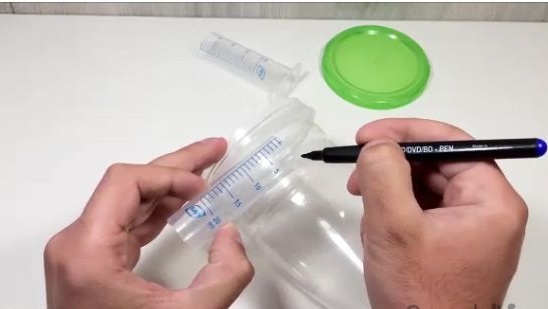
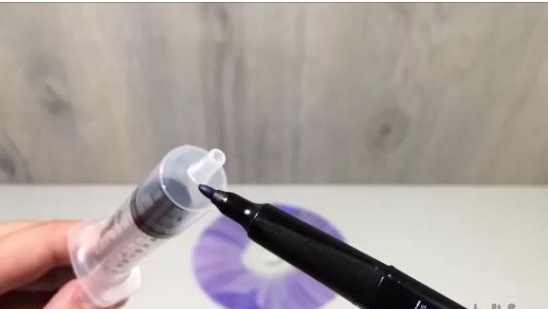
12- Marker leaves marks.
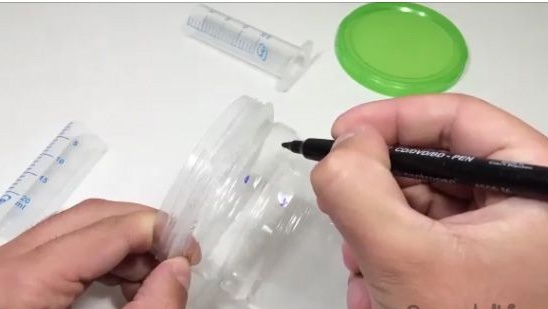
13- Next, draw a similar oval as in the photo below
14- Cut out.
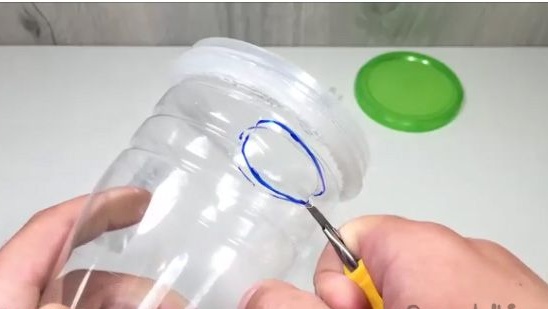
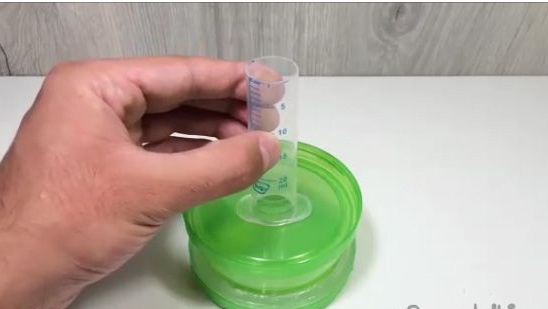
15- Insert the syringe there (see photo below). And make marks.

16- Cut out according to the mark made earlier.
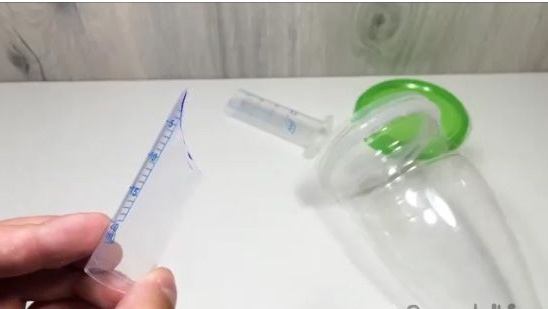
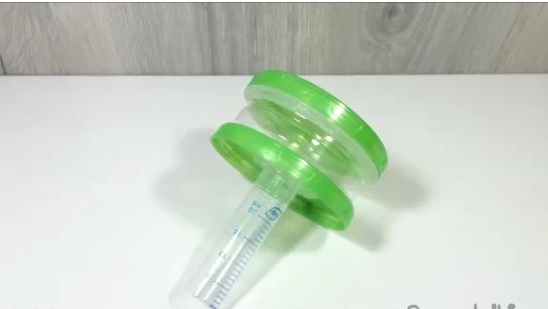
17- And glue two pieces. But it is very important that the terma glue was not very hot so as not to
to deform a plastic bottle.
18- And then we assemble the compressor housing. To do this, take a pre-prepared blank from a plastic bottle and glue it with cut threads. Also do not forget that terma glue should not be very hot.
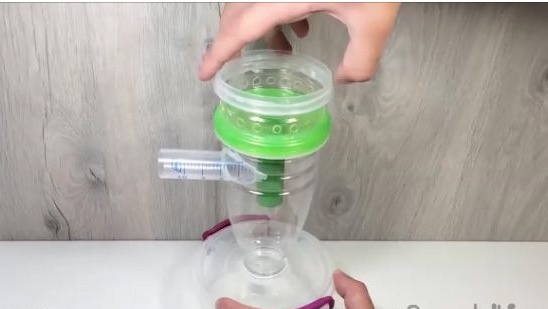
19- Next, glue the cap from the jar to the just-made blank (see photo below)
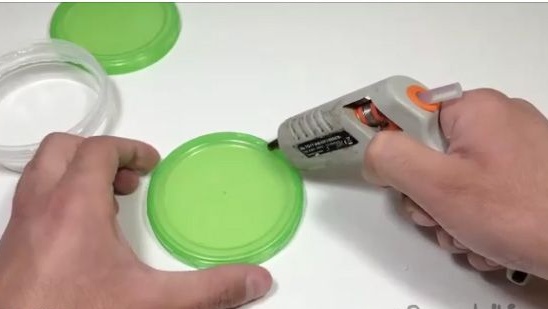
20- We’ll just twist the second cap.
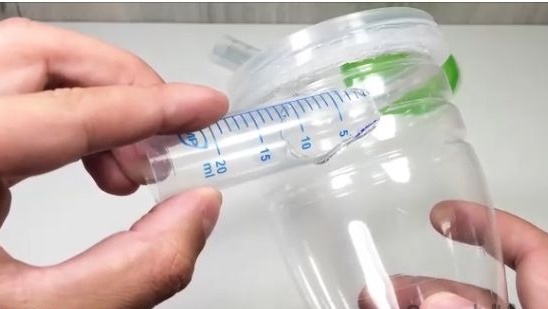
21- Apply the second syringe.
22- Notes in a circle.
23- Cut out.
24- Glue.
25- Something like this should work out for you.
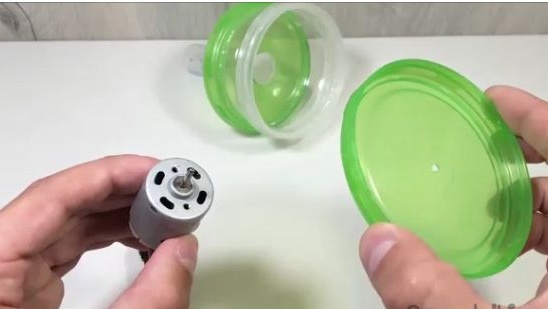
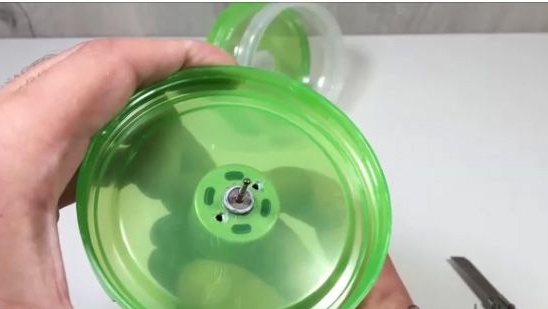
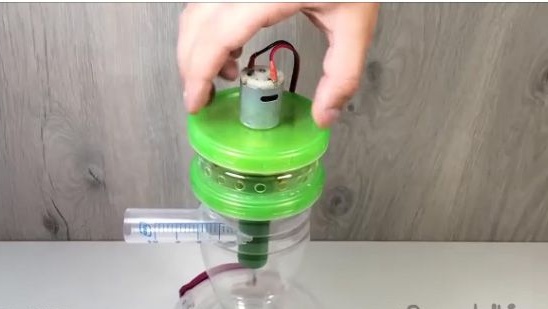
26- Next, you will need an electric motor, which we install on plastic seats
cover.
27- In the middle we make a hole along the motor shaft.
28- Mark the holes for the engine seats.
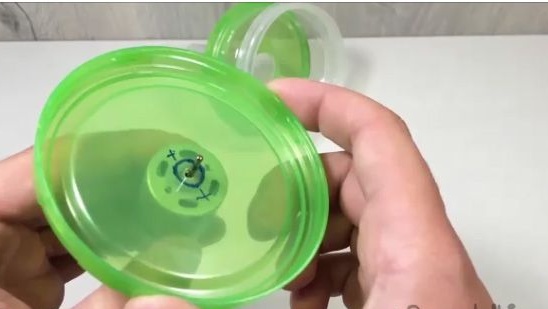
29- Approximately such holes should be obtained.
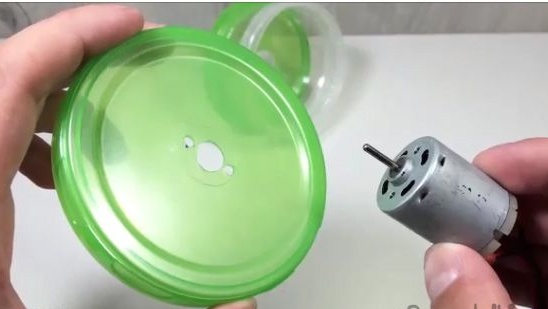
30- We fasten.

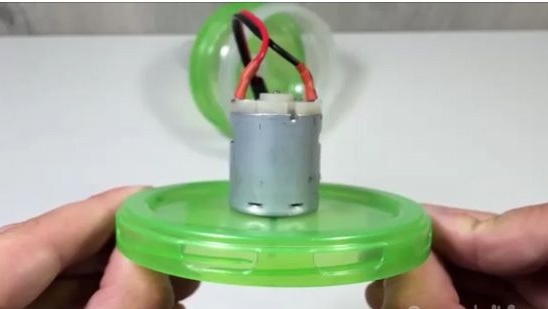
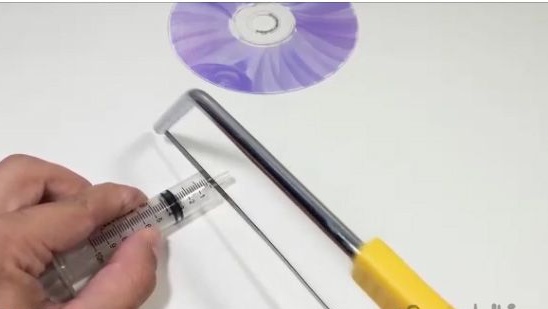
31- And then you need a DVD disc, which is divided into two parts.
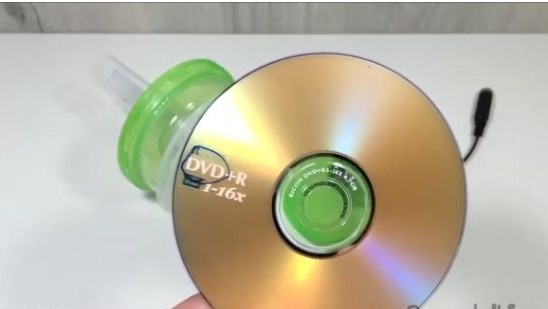
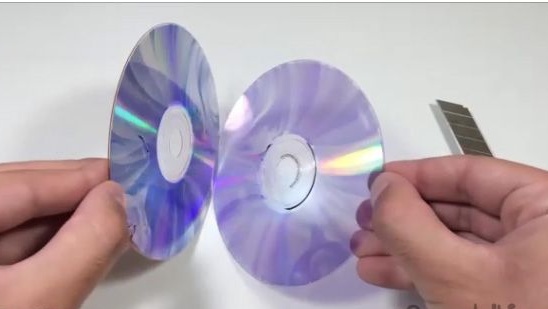
32- You will also need a syringe with a cone in the center.
33- We cut off the necessary part from it, which is then glued to half of the DVD disc.
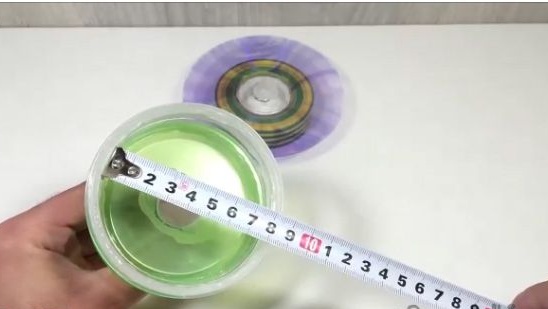
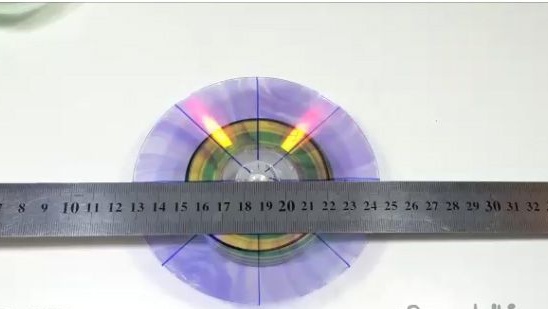
34- It is necessary to make an impeller for a vacuum cleaner compressor. We measure the diameter of the chamber for the impeller (see photo below).
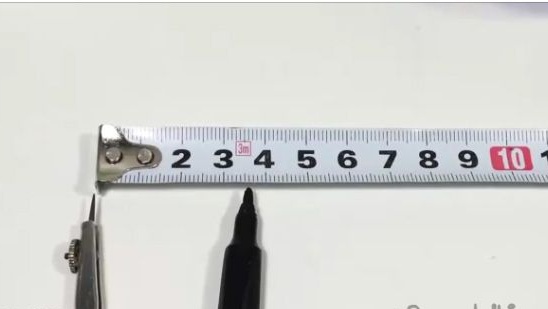
35- Next, we set the compass to a little less than half the diameter that we measured before.
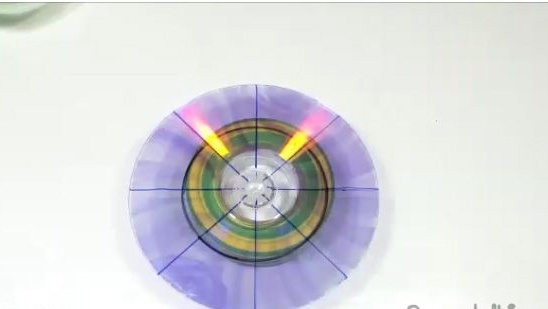
36- Next, we perform the following actions with a compass (see photo below).
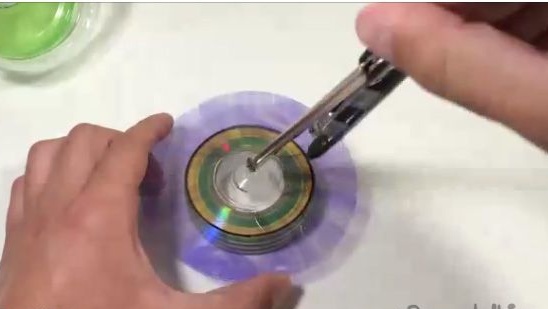
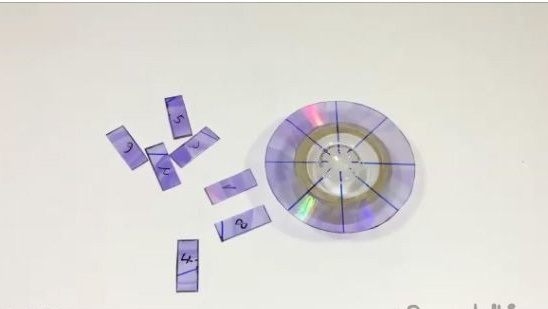
37- Then we divide the disk into eight equal parts (see photo below).
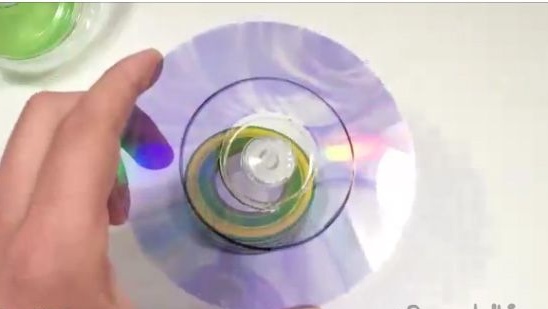
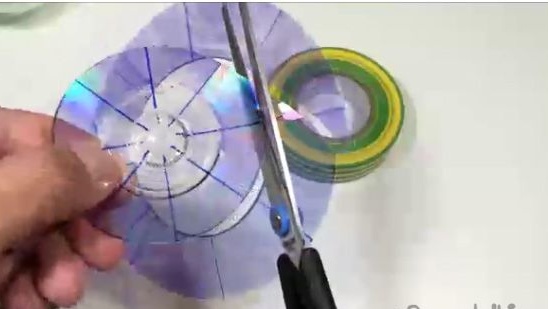
38- Next, we cut out in a circle that was made by the compasses earlier. We try to cut carefully and evenly.
39- We don’t throw away a piece of disk, now we need it. Divide the crop by eight equal
rectangles measuring 2 cm by 1 cm.
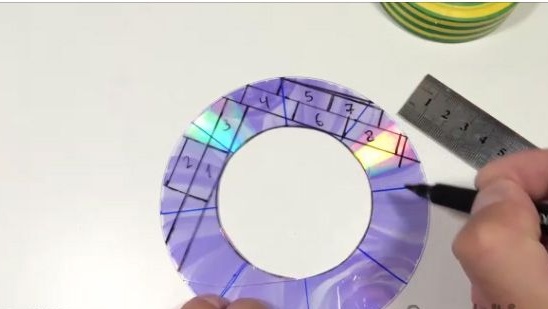
40- Cut out.
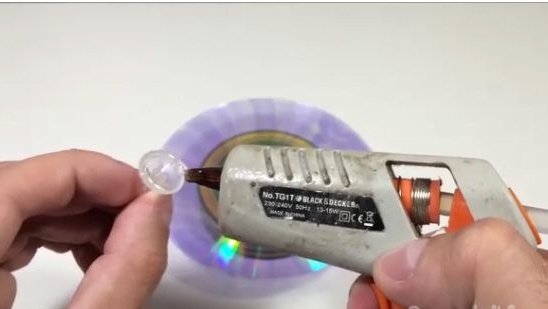
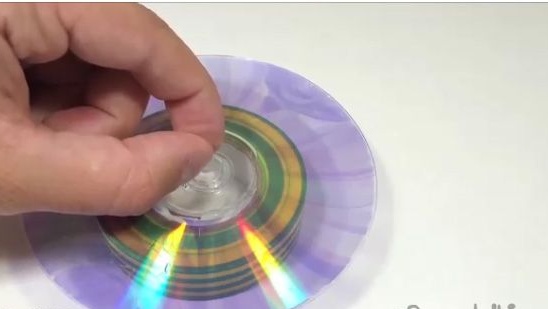
41- Next, gently glue the blades to the disk. Glue with superglue. First you need to apply super glue and wait 20-40 seconds, and only then glue exactly along the line. Be careful as possible at this point.
42- About this you should get.
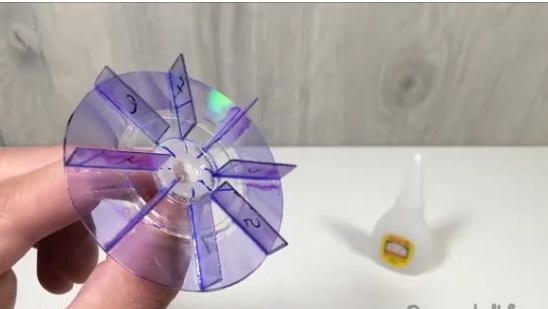
43- We paint (optional).

44- Connect the electric motor to the impeller.

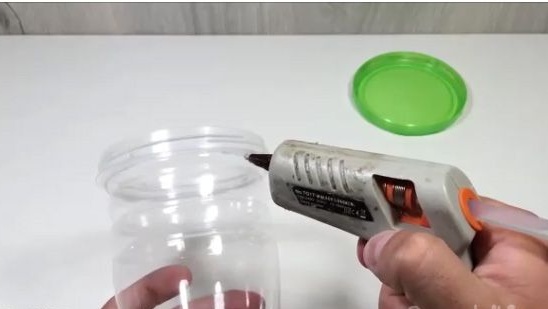
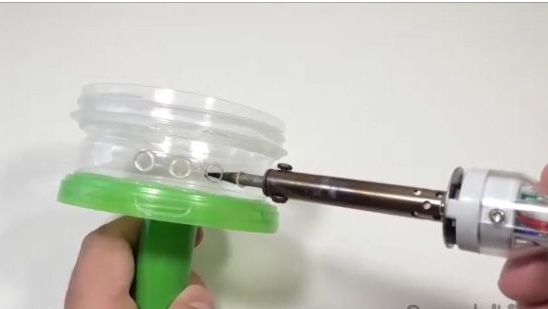
45- And then, in the compressor housing, we make holes for the exit of the air flow around the entire circumference. To make holes, we will use a well-heated pointed soldering iron.
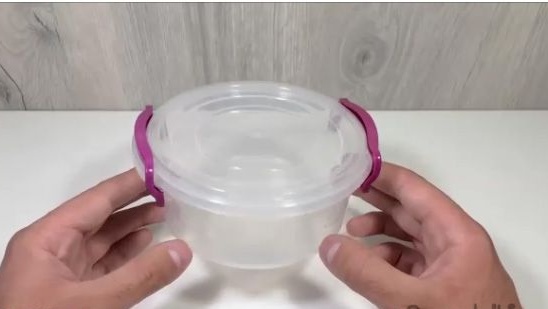
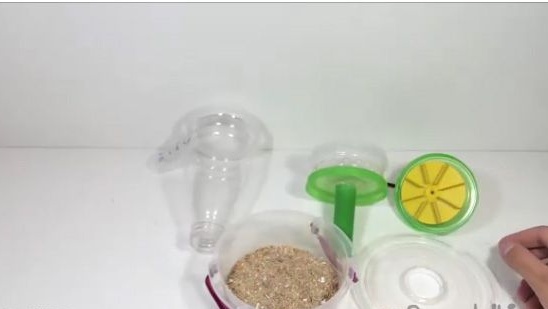
46- Next, you will need a similar plastic container (see photo below) for the manufacture of a vacuum cleaner dust collector.
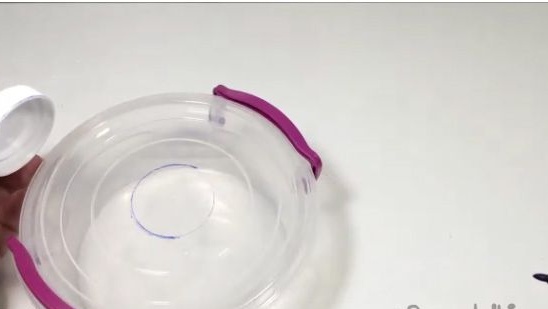
47- Take the cap from the plastic bottle from the first stage. Attach and circle this marker with a marker to the center of the cover of the taken container.

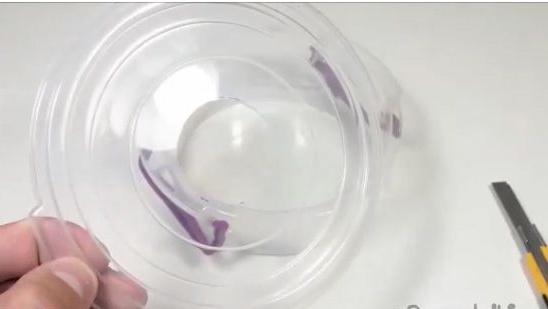
48- Cut out.
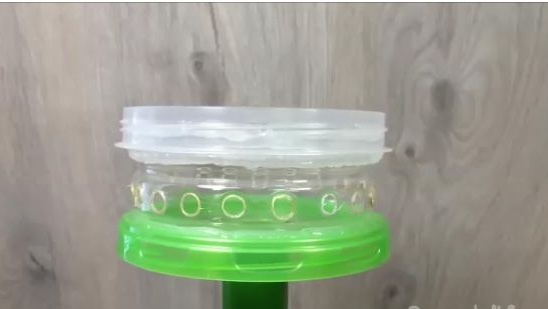
49- We cut the plastic cover so that one thread remains.
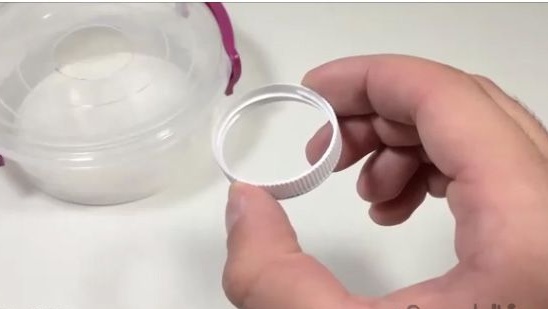
50- Glue this thread to the lid of the plastic container.
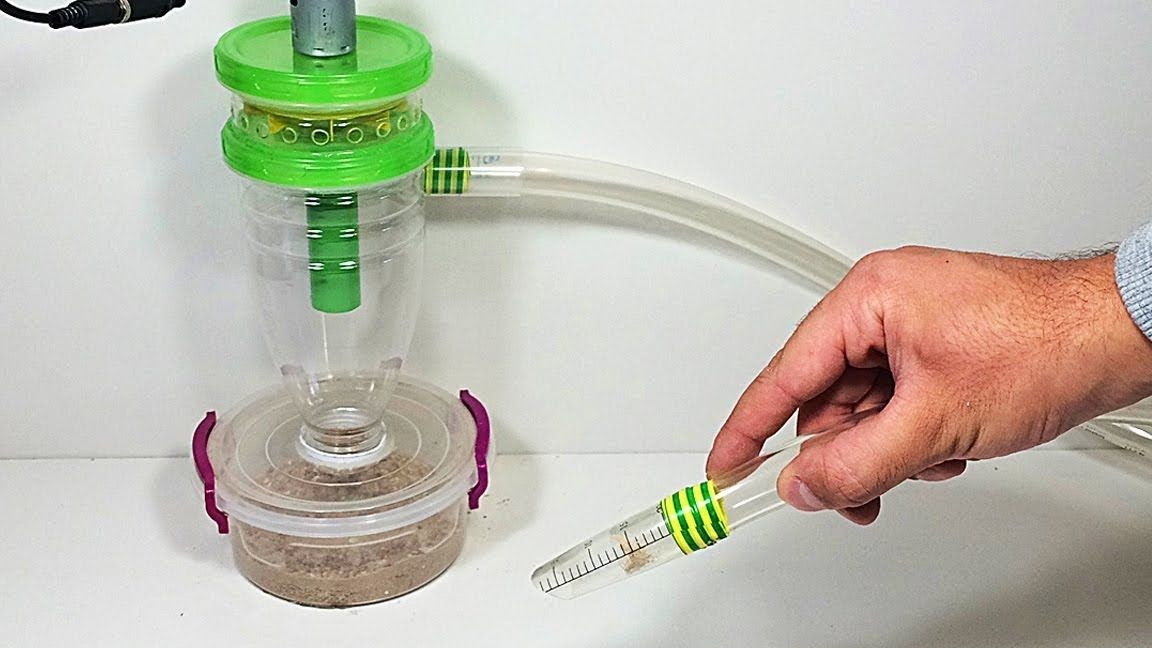
51- After which we collect the vacuum cleaner.
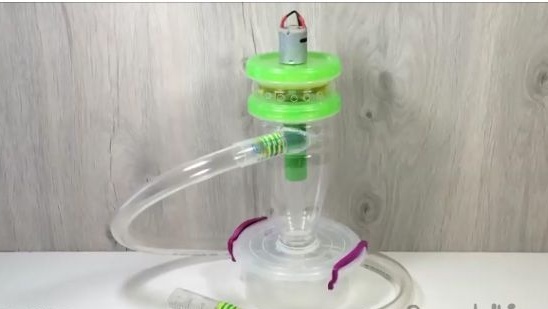
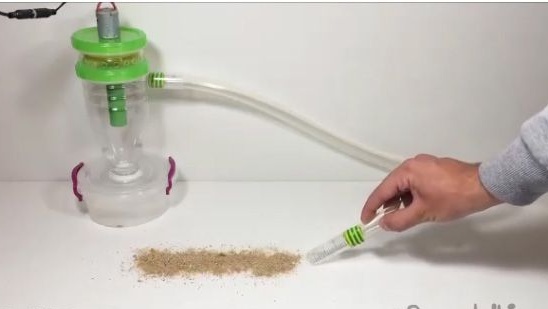
Test:

Conclusion:
The result was a fairly powerful vacuum cleaner, it copes with sawdust and groats. I think this homemade will simply not be replaceable for everyone.
Conclusion:
Thank you for your attention, I hope this article was useful to you, and you will like this homemade product. Also, you have the opportunity to watch a video assembly of this homemade product.