

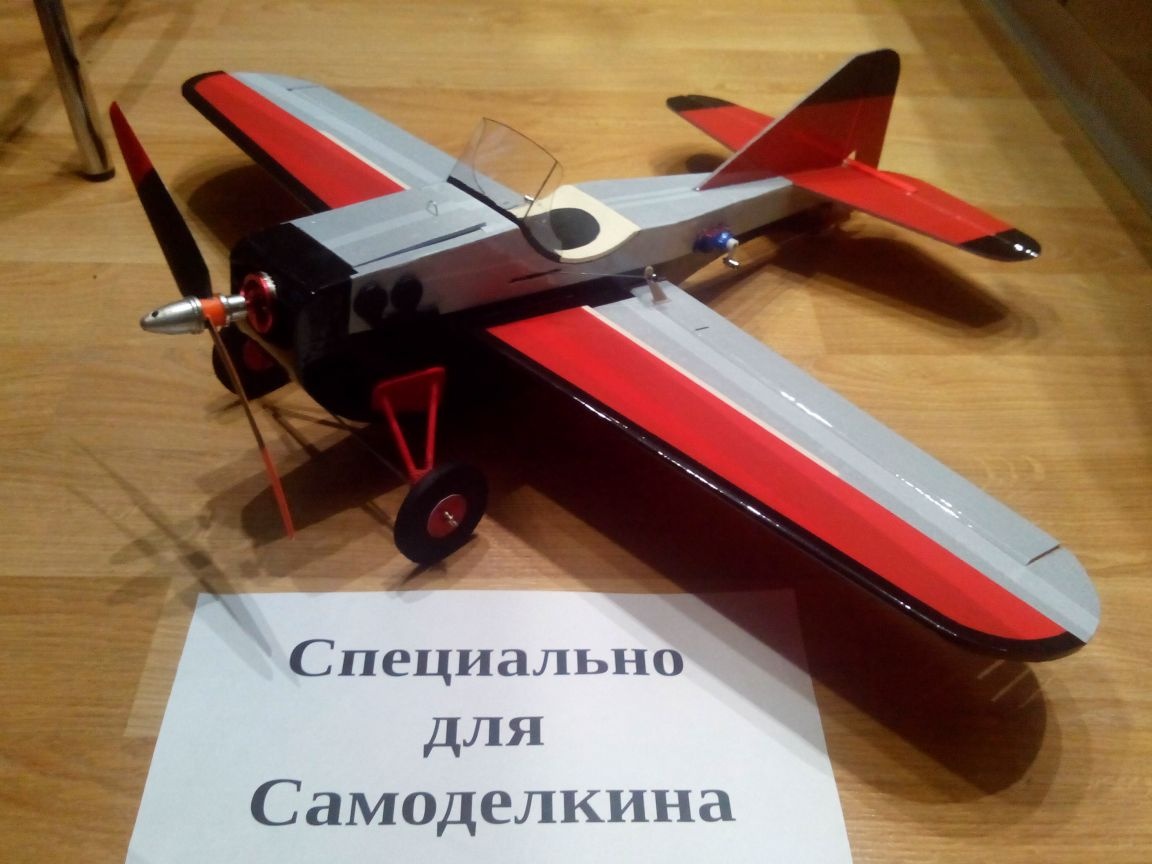
This article describes in detail the process of creating a LISA aircraft model.
This model very easy to manufacture, does not require large expenses, rare materials and serious skills. Well suited for both beginners and more experienced modelers. It is convenient to take the model with you in the field, since it does not need to be assembled and prepared for flight for a long time, which is especially convenient in winter. If you assemble this model in the evenings, you can handle it in a week.
Materials:
- depron
- plywood 3 mm
- multi-colored adhesive tape
- pine lath 3x5x450 mm
- ice cream stick
- paper clip
- bamboo sticks
- cycling needle
- foam rubber from packages
- packing tape
- a plastic card
- nuts, bolts
- badge magnet
- plastic bottle or clear plastic
- steel wire
- toothpick
- threads
Instruments:
- cutter
- jigsaw
- square, ruler
- scissors
- pencil, markers
- compass
- PVA, ceiling, epoxy and paper adhesives
- pliers
- screwdrivers
- screwdriver and drill
- awl
- sandpaper
- acrylic paints
- brush
- thermal gun
Electronics:
- motor - or
- regulator -
- servos - or or
- propellers - or
- traction locks -
- wild boars - or
- Collet clamp -
- batteries - or
- equipment -
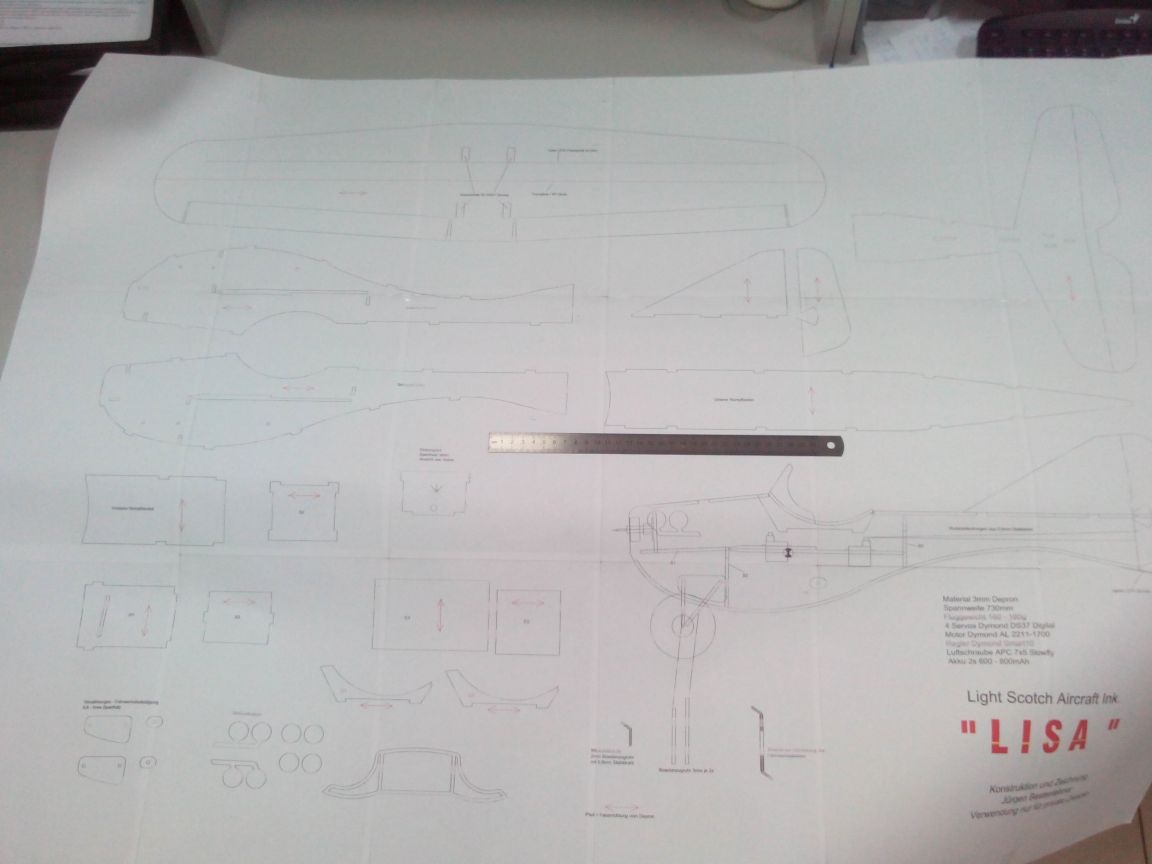
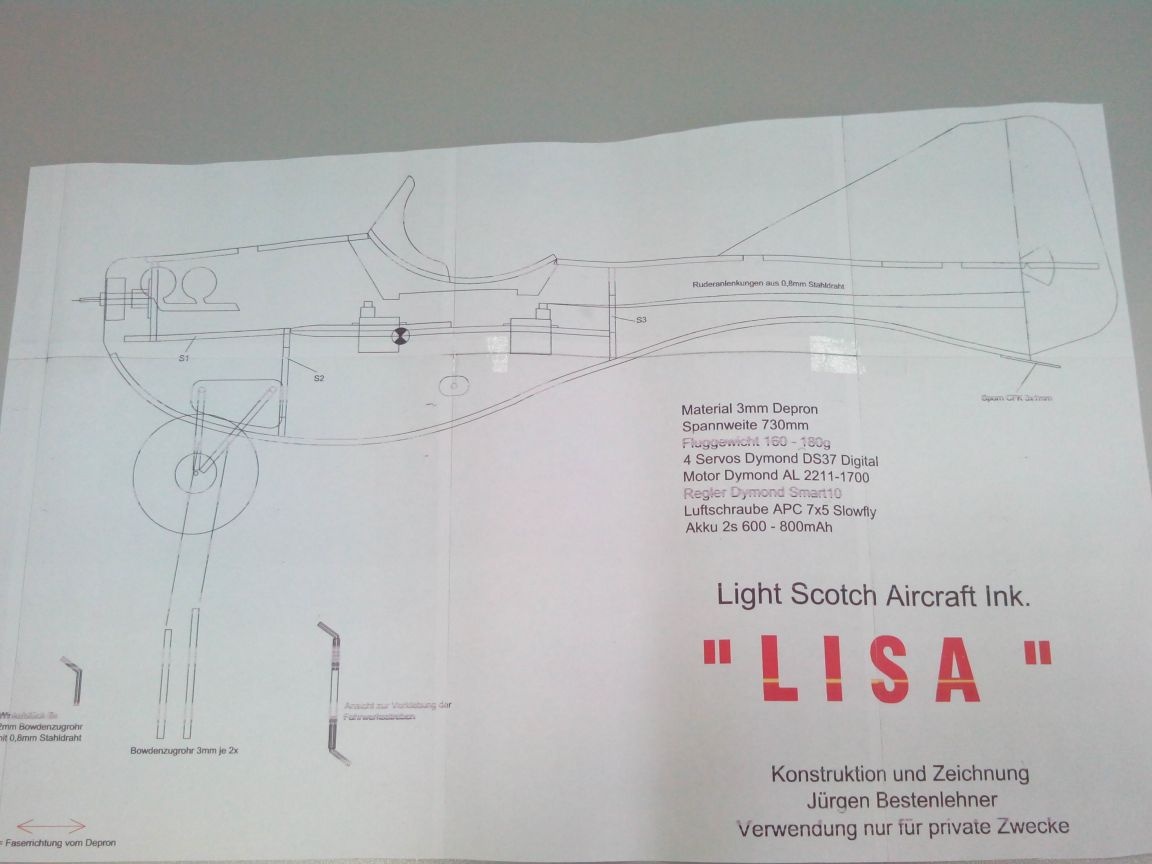
Drawings of the LISA aircraft model (taken) in PDF format.
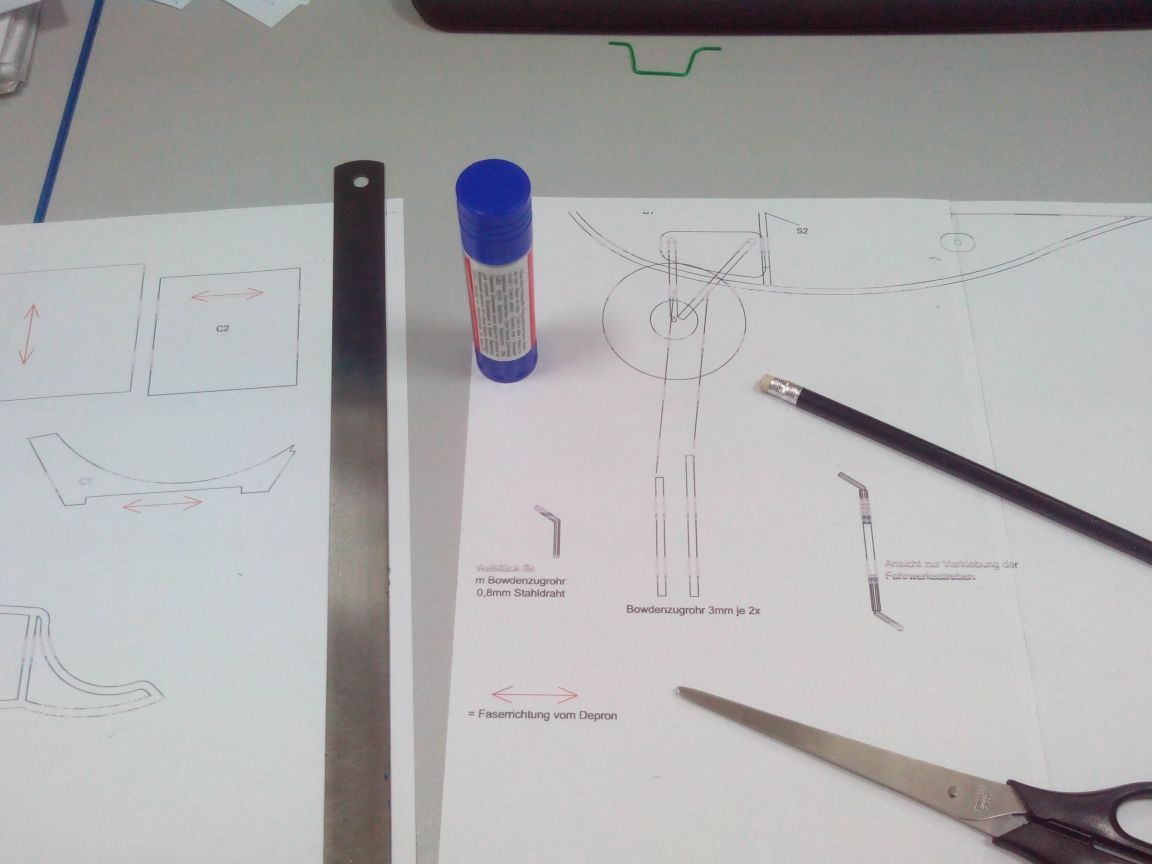
Step 1. Drawings and details.
We print the drawings and glue with ordinary glue for paper.
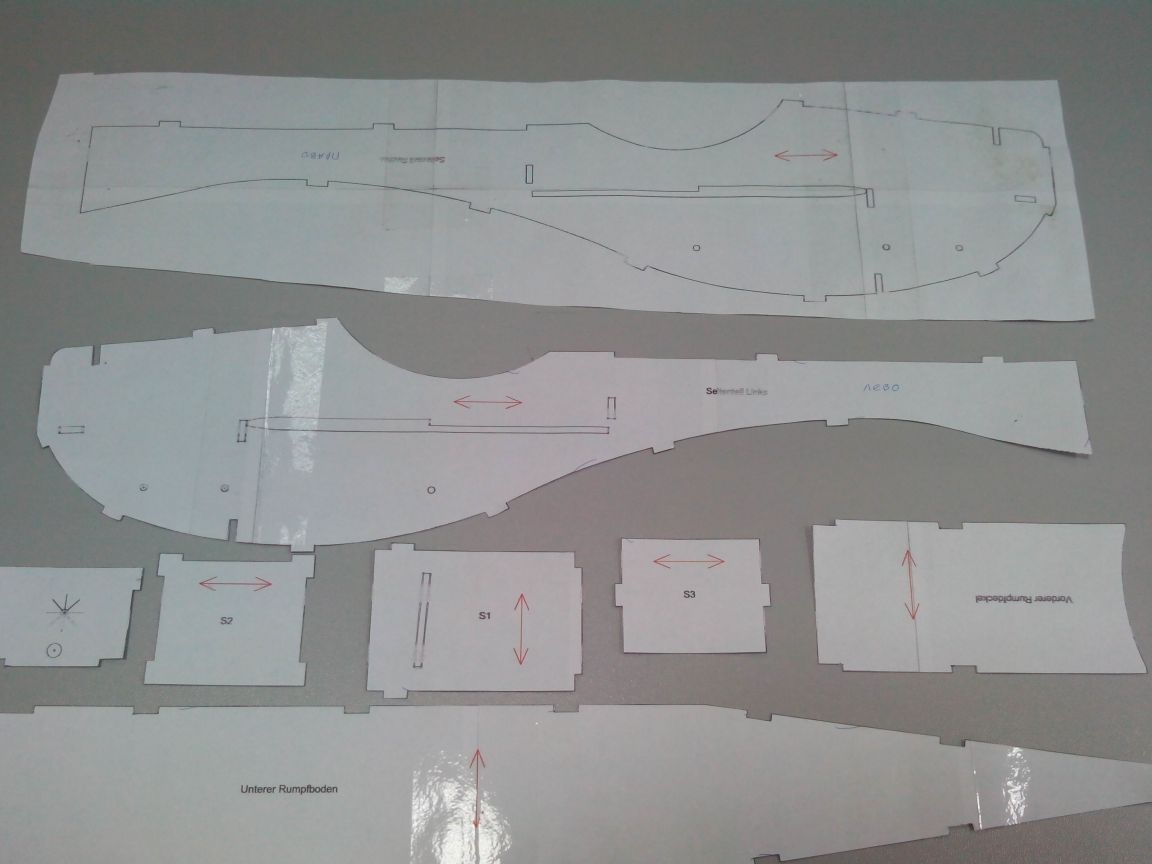
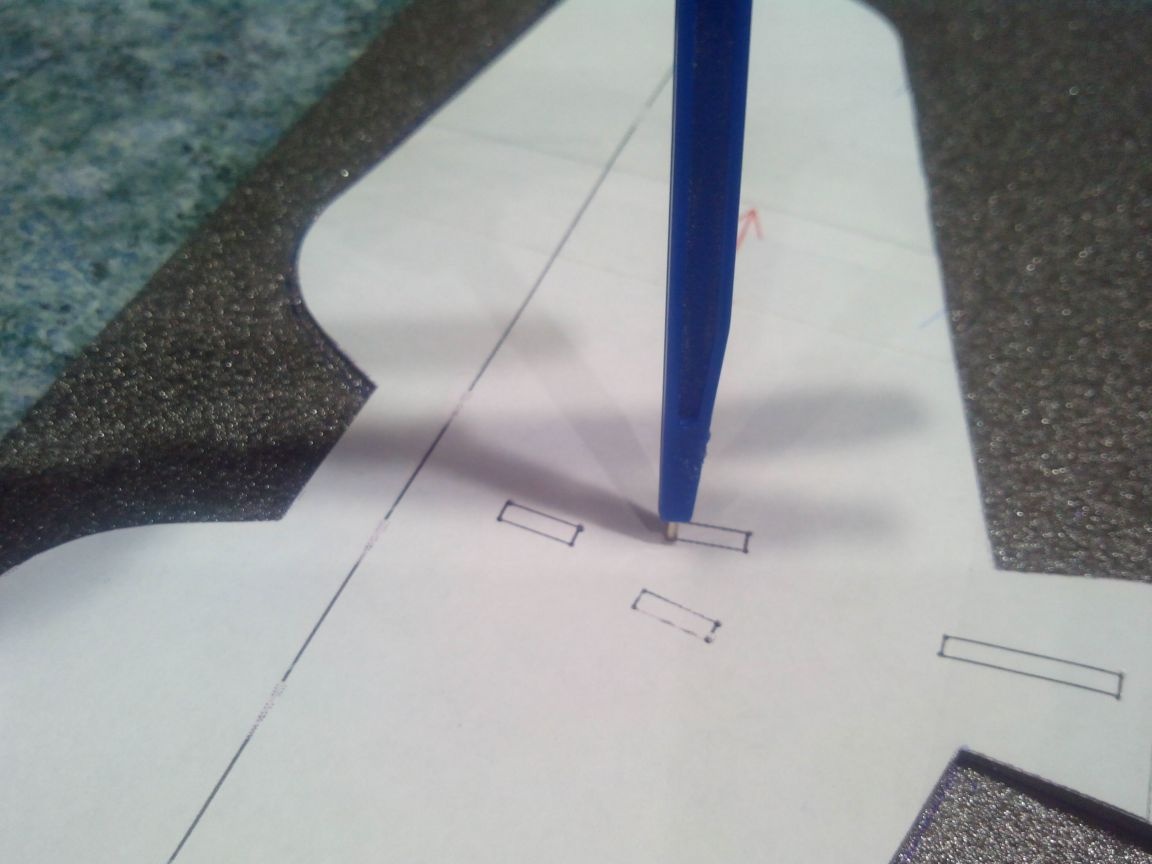
We cut out the patterns with scissors, leaving the internal holes intact (how to draw these holes is a little lower).
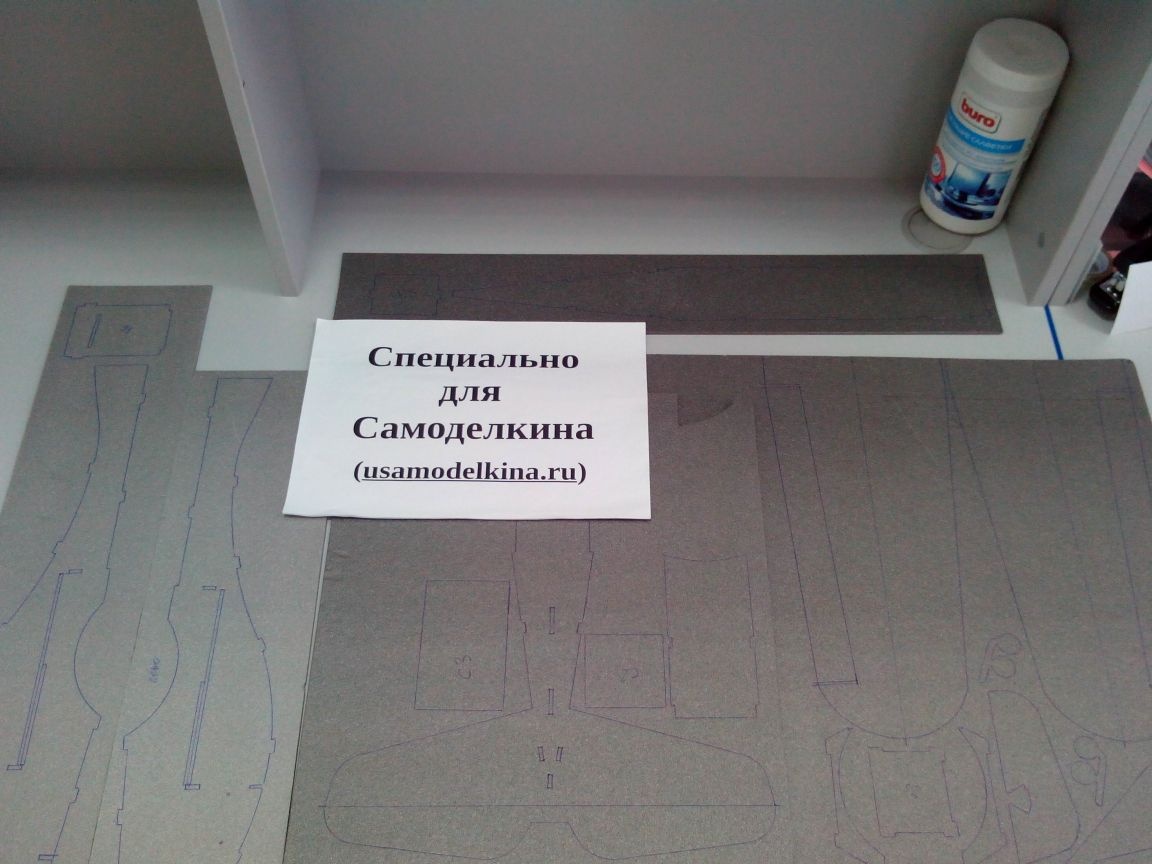
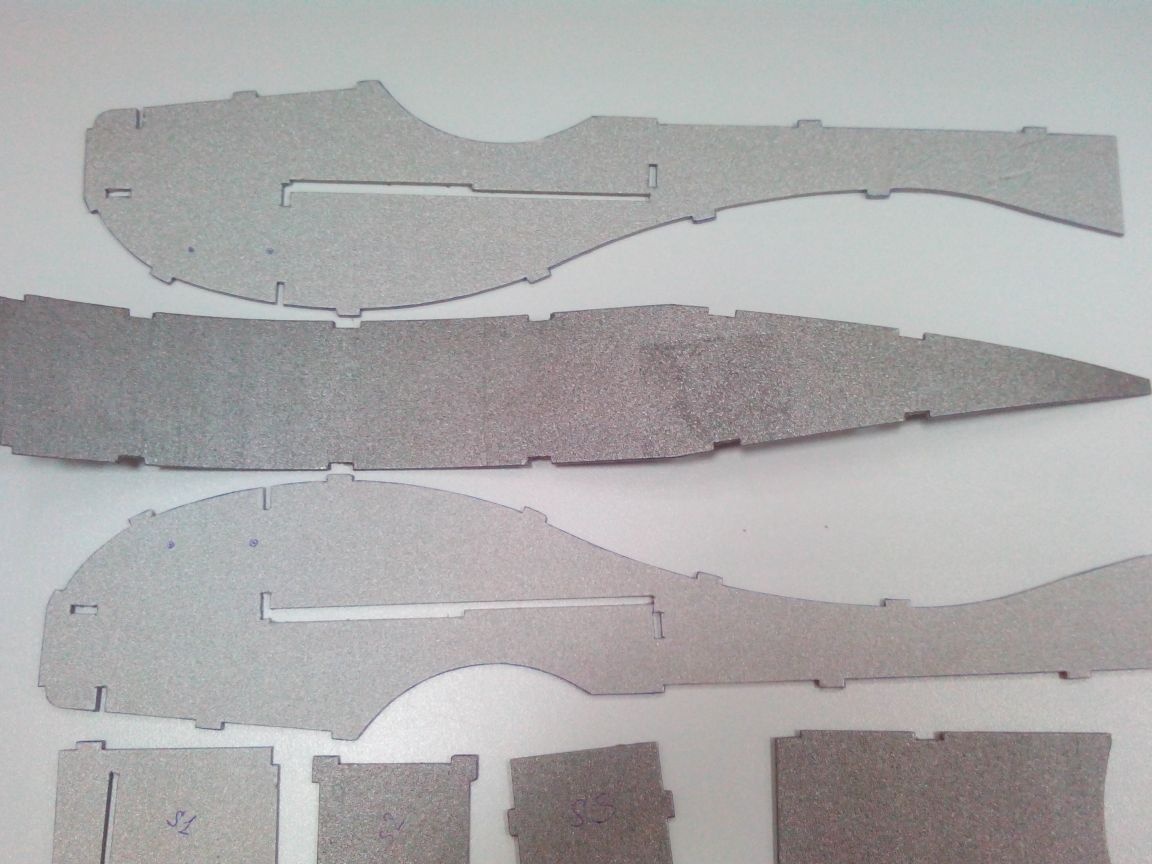
Fuselage Templates:
Plumage patterns:
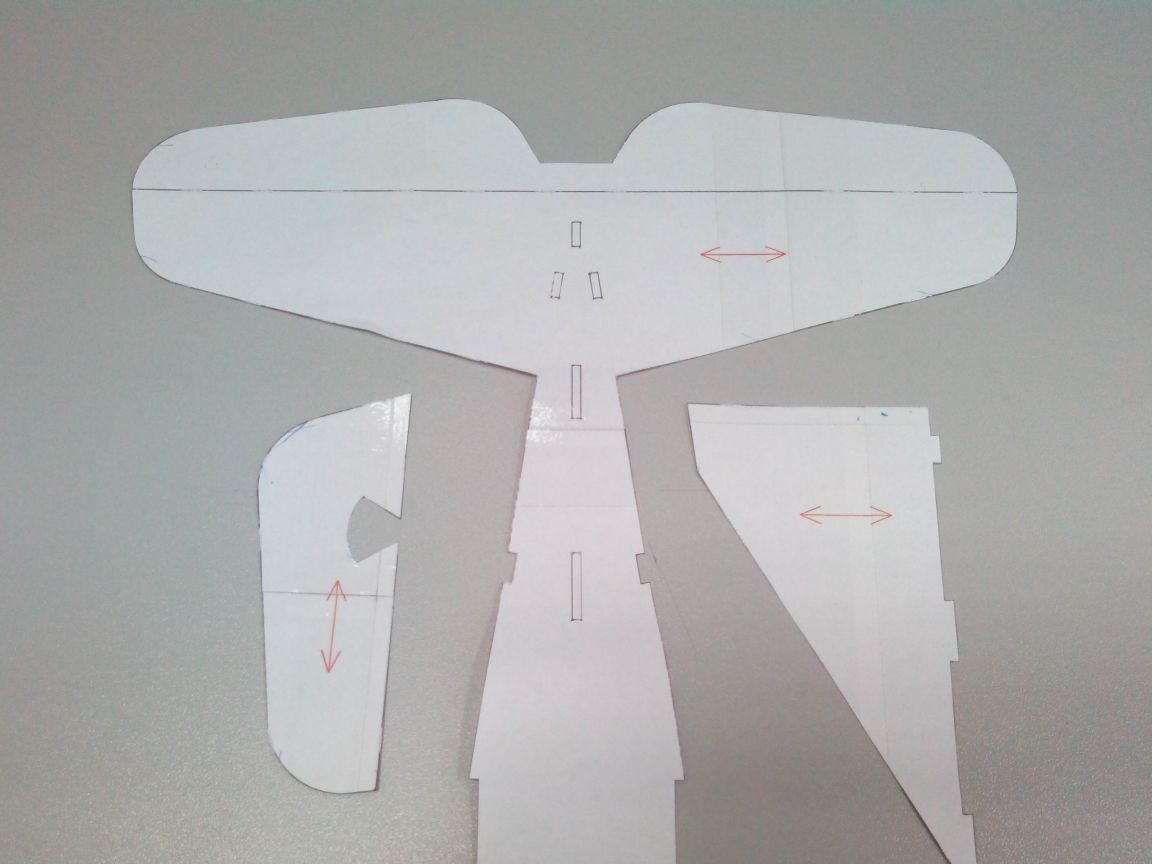
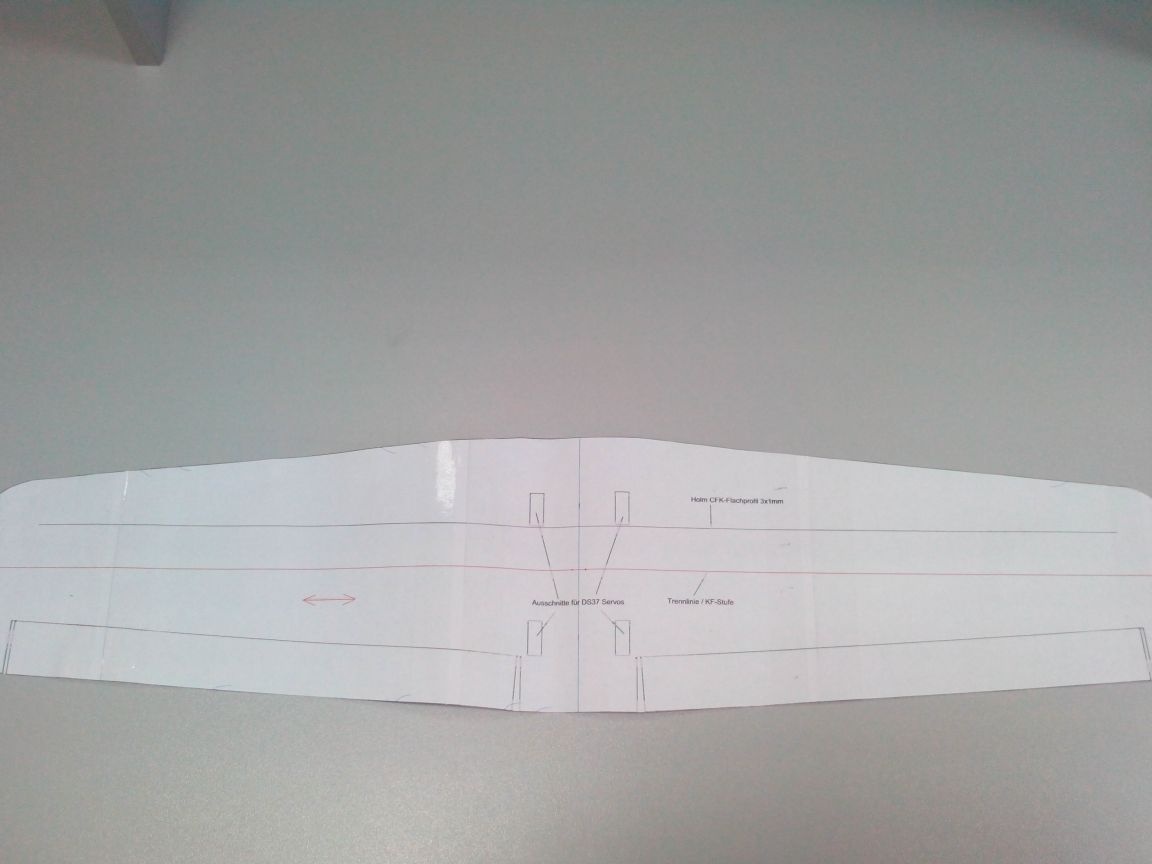
Aileron wing pattern:
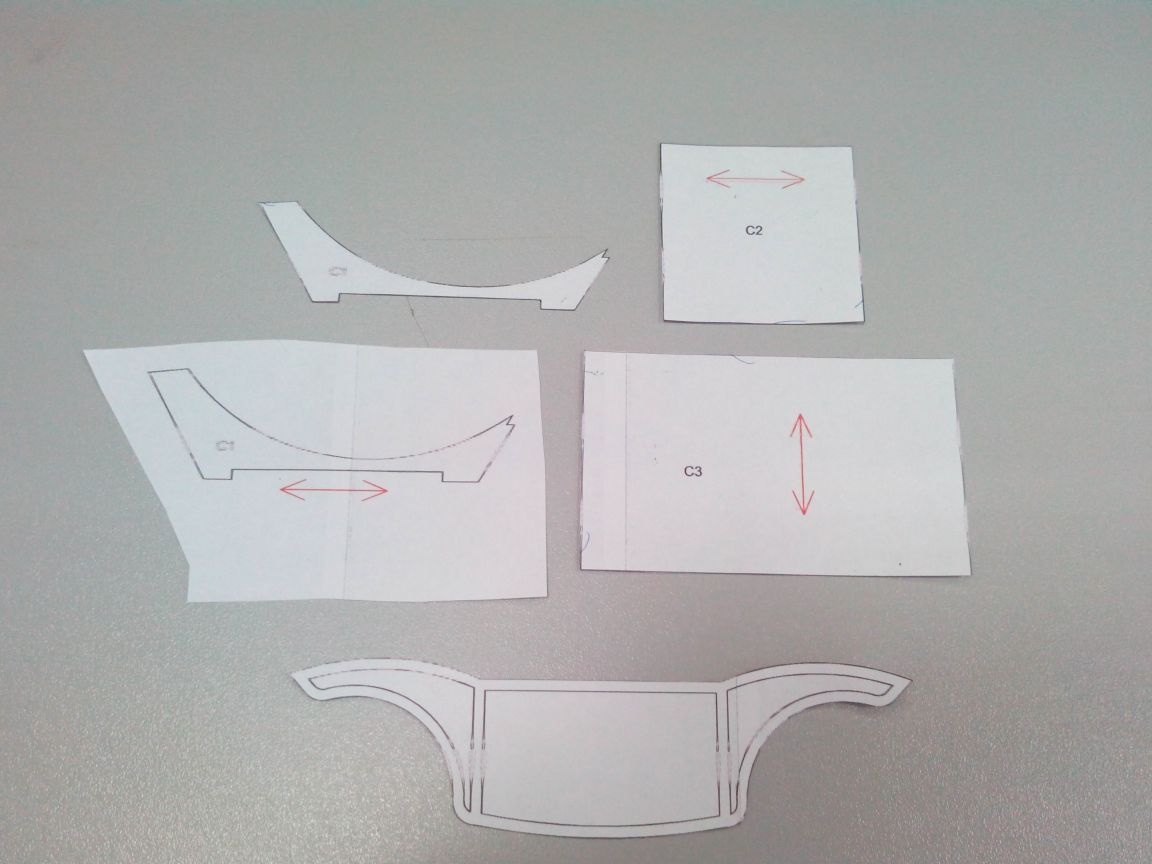
Cabin Cover Templates:
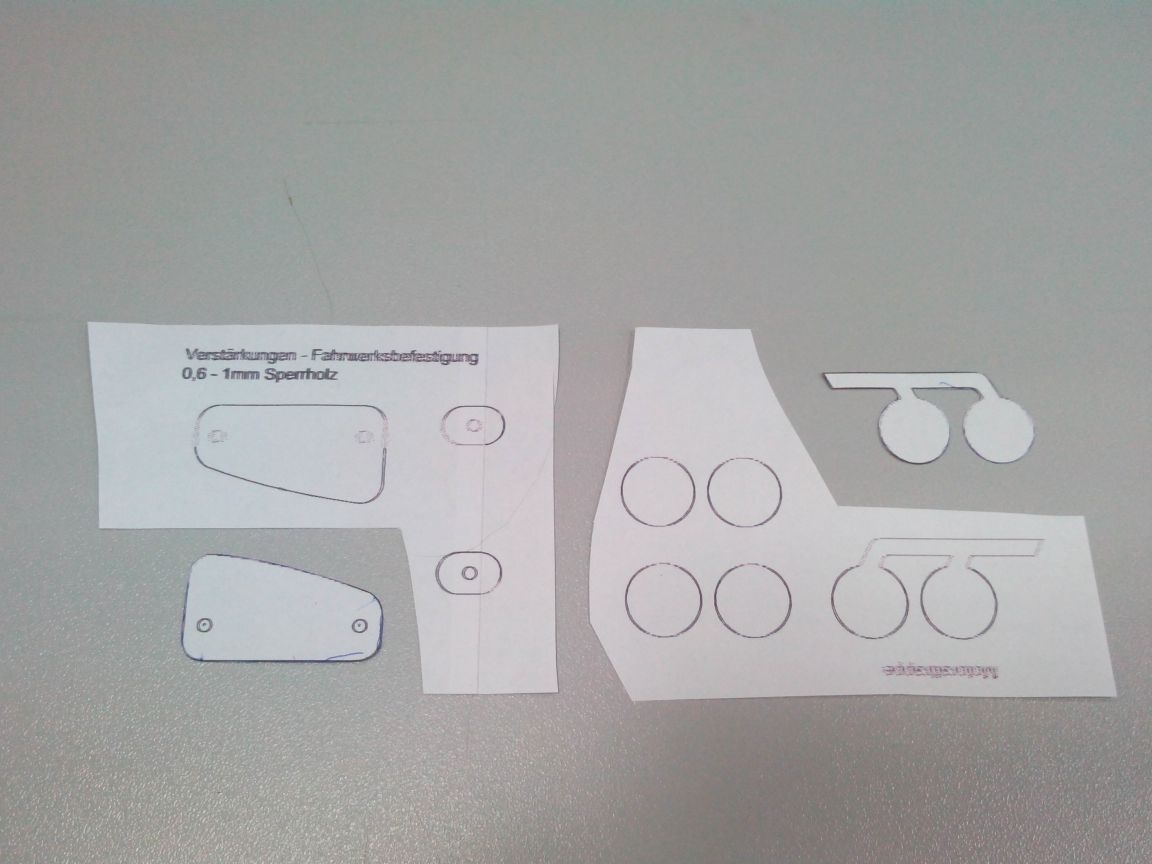
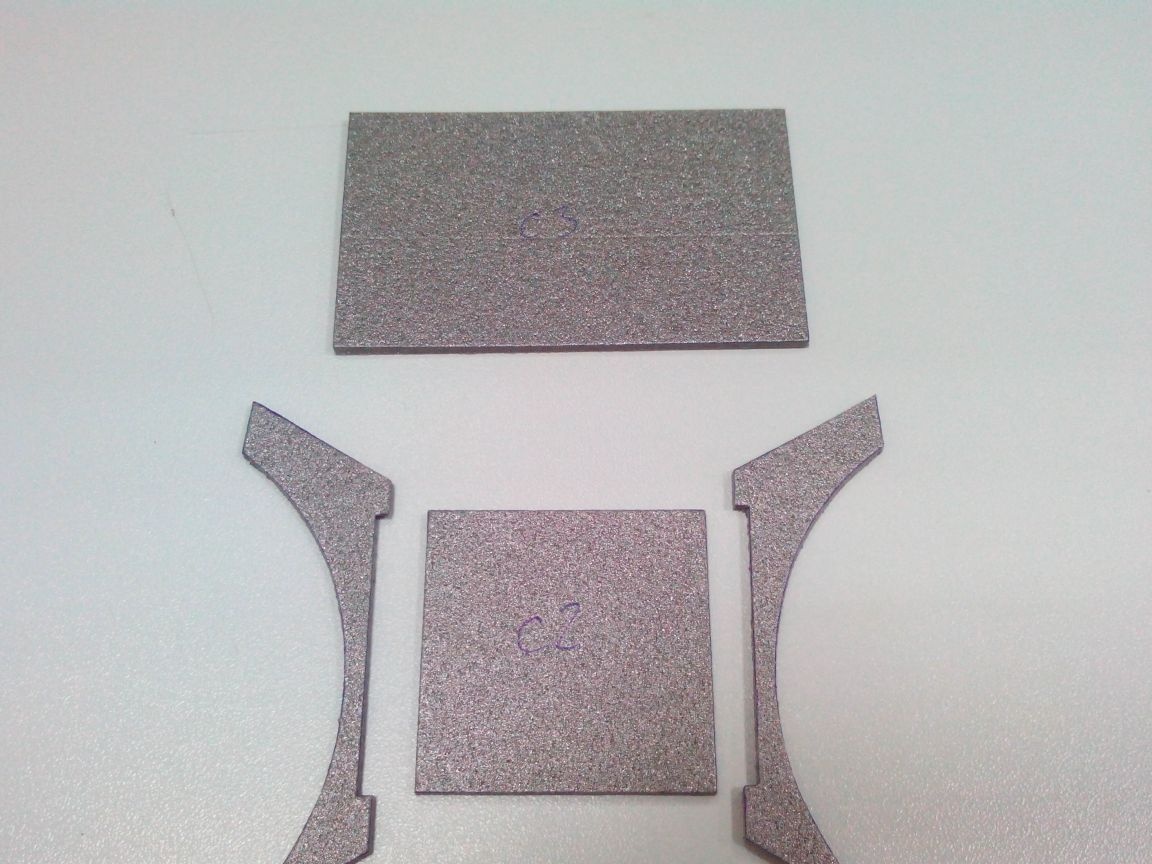
Amplification patterns for chassis racks and exhaust pipe simulations:
General assembly drawing:
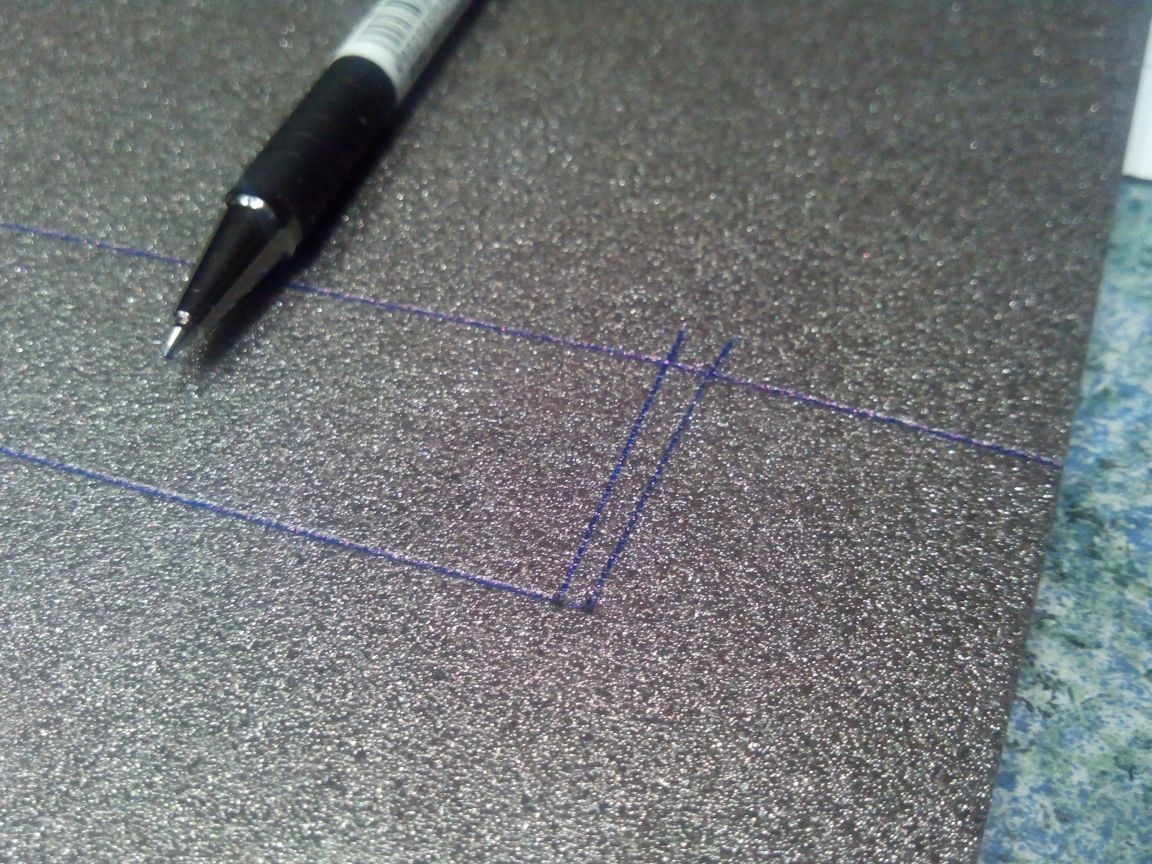
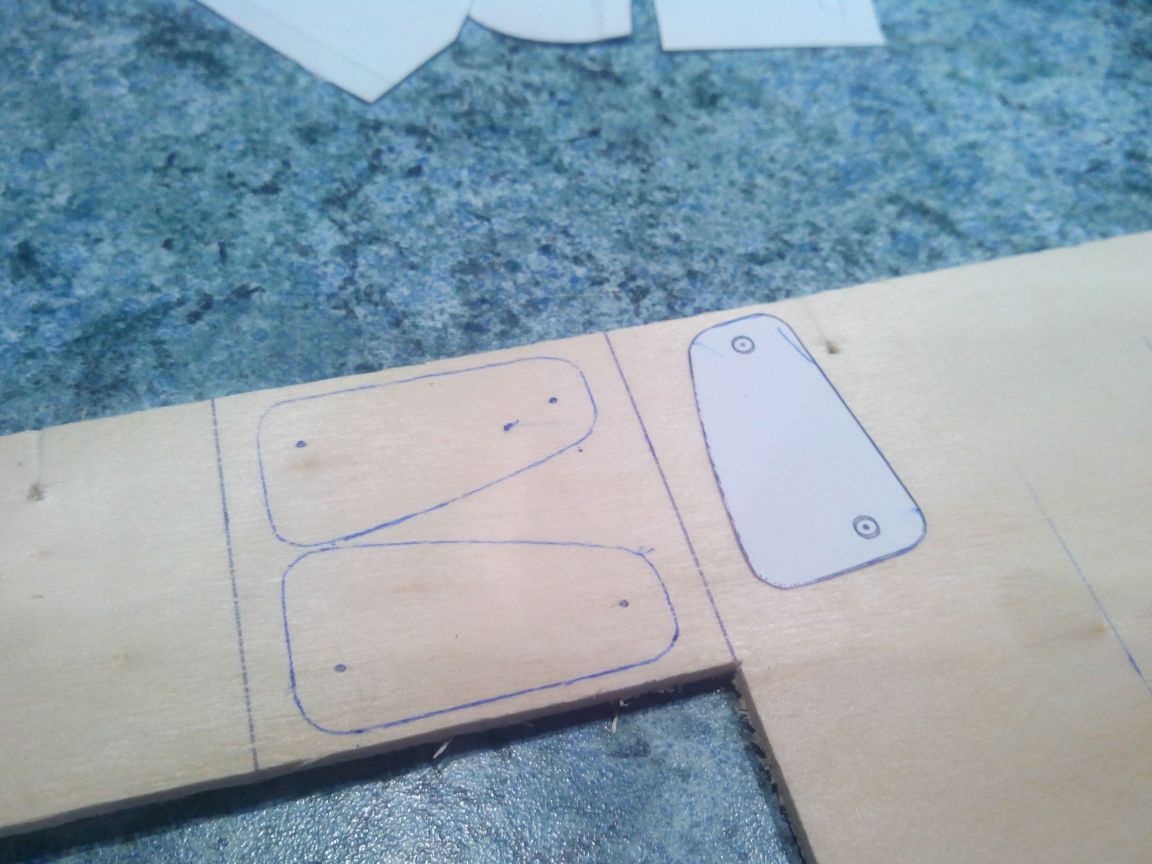
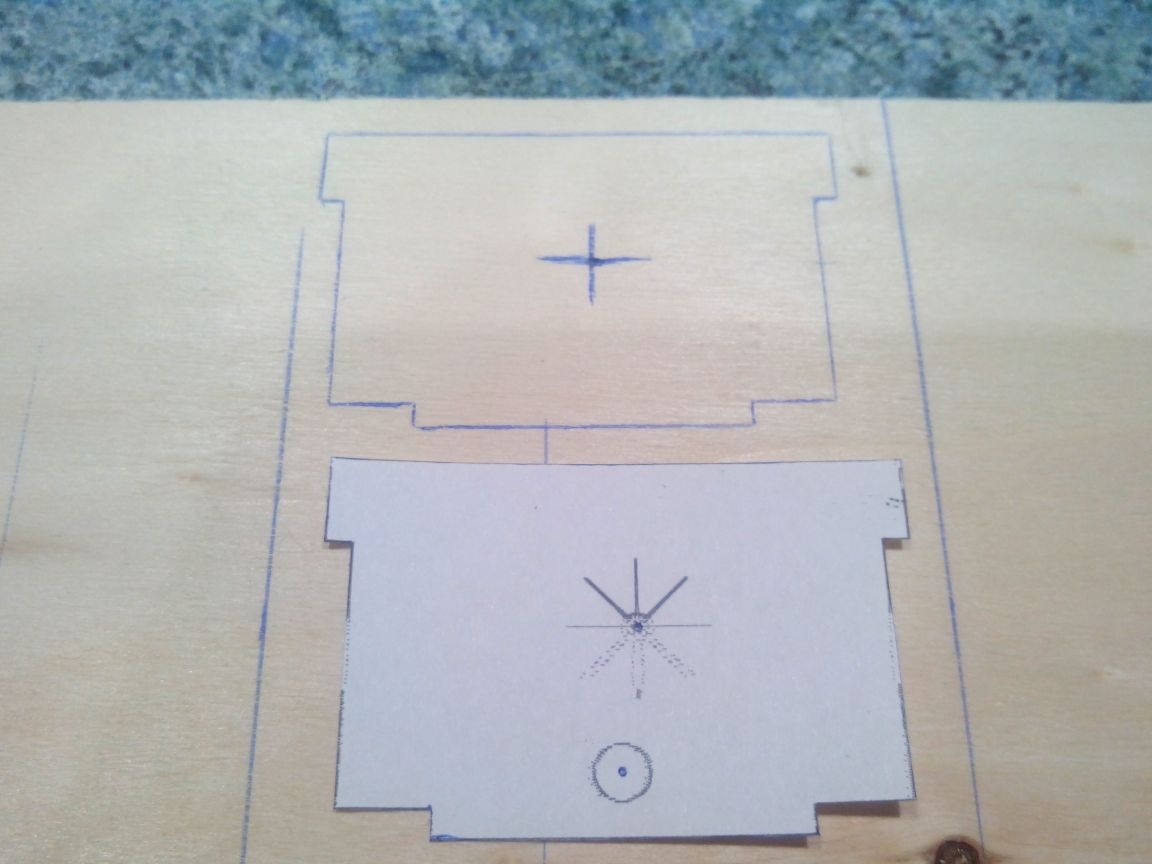
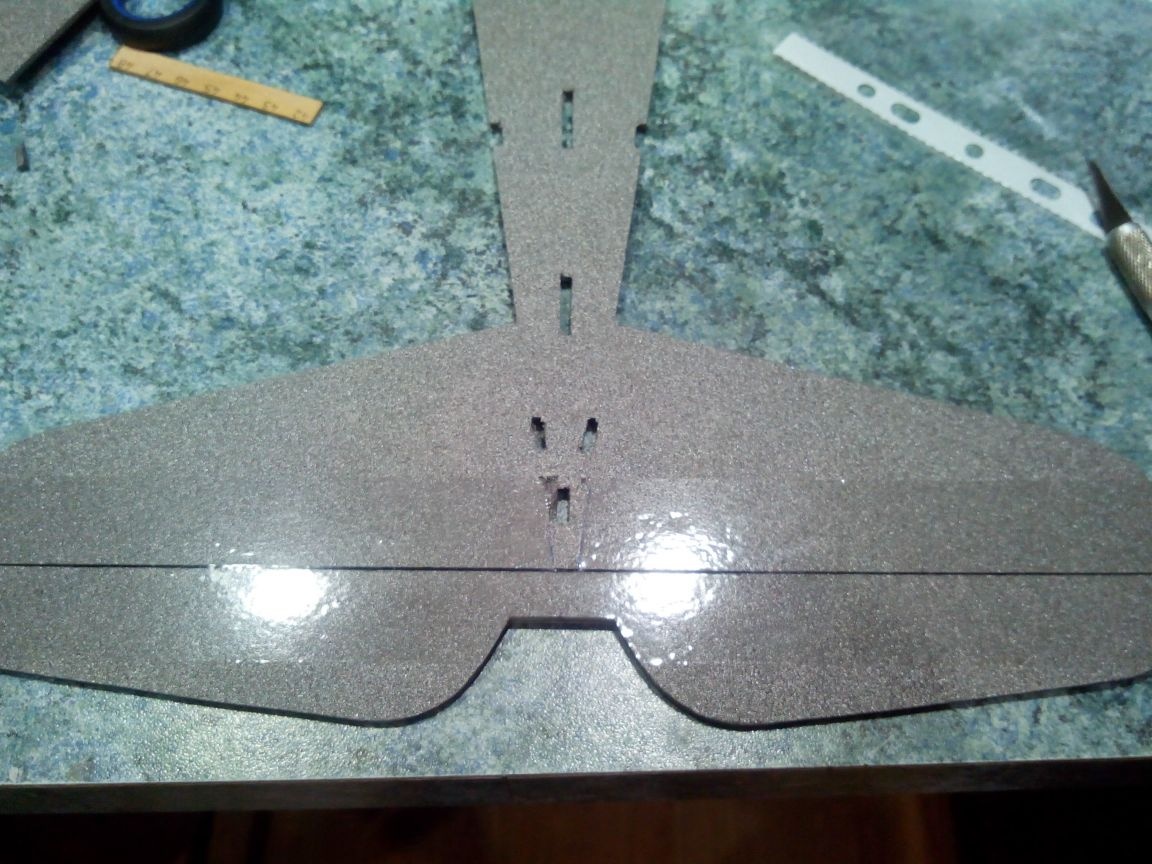
We attach the template to the depron sheet and gently outline the contour with a pen or marker for disks.
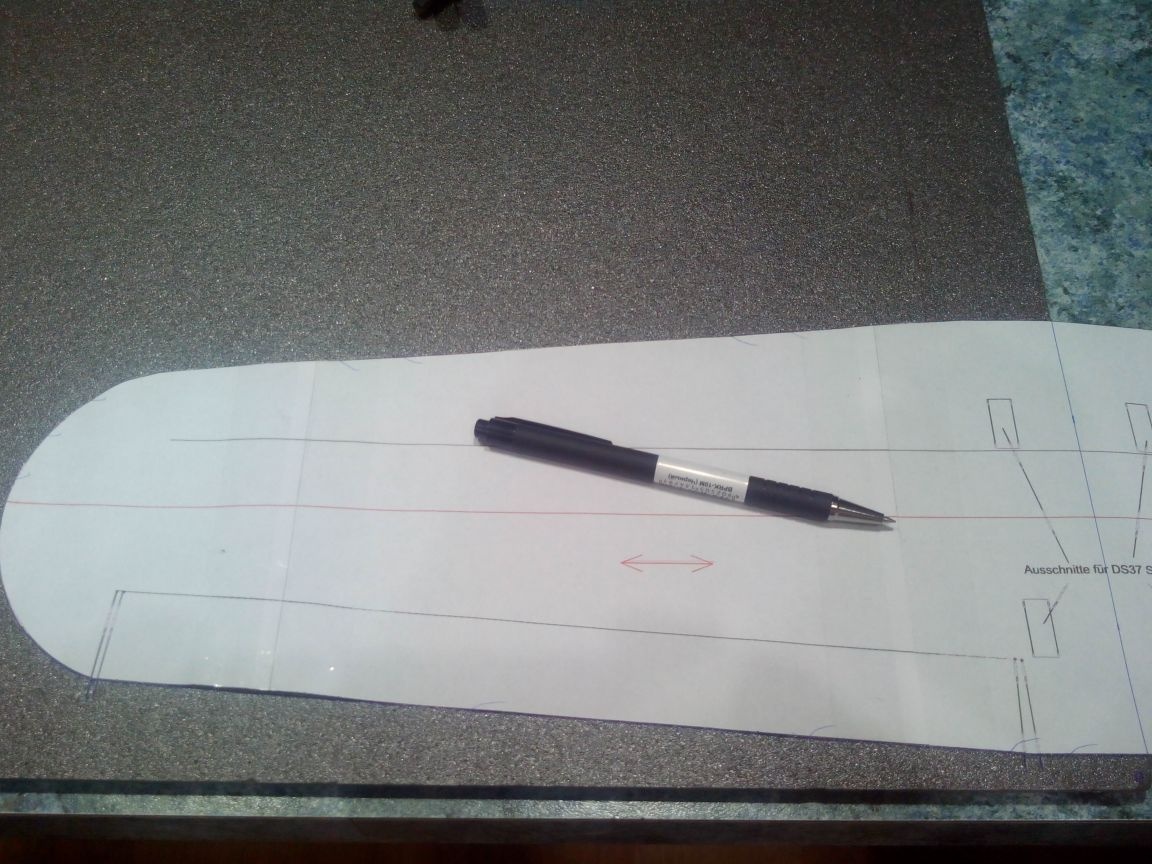
The location of the corners of the ailerons is pushed through the tip of a compass or thin awl through the drawing, and along the edge we make marks with a pen.
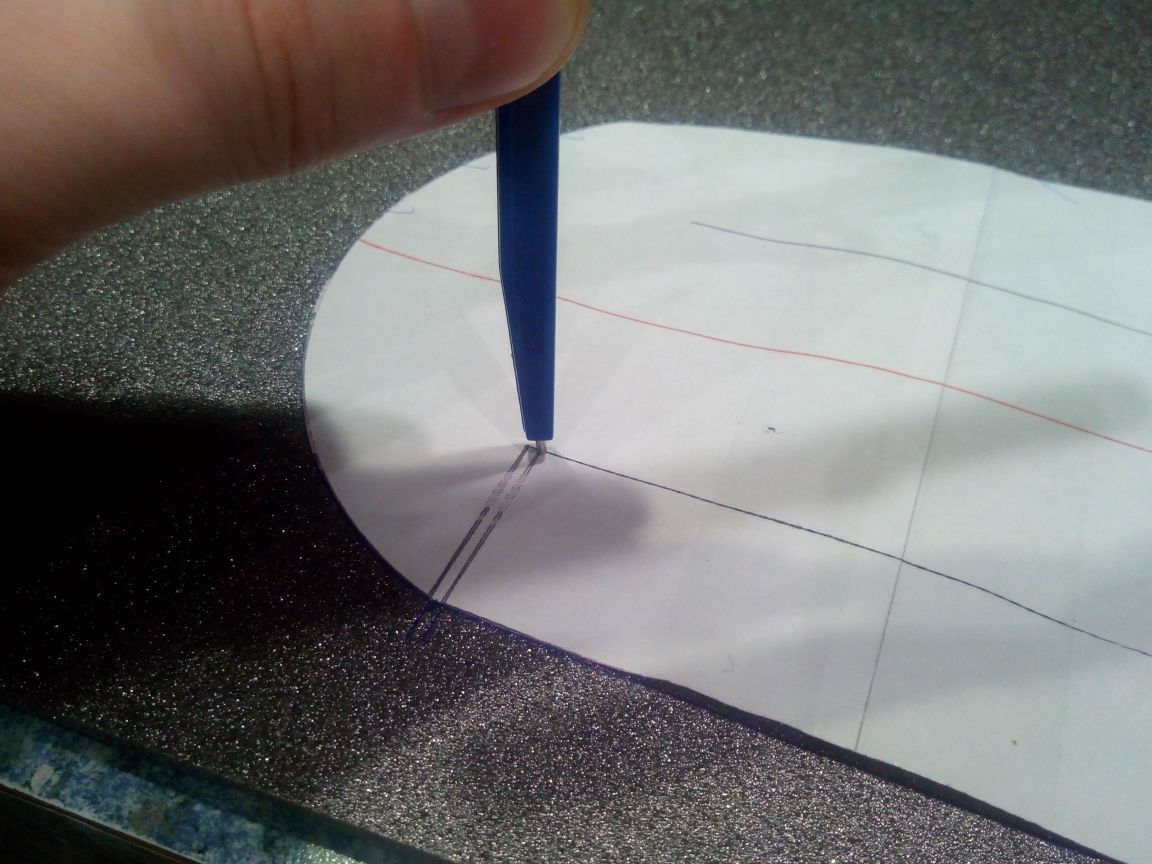
We remove the template and see the hole at an angle.
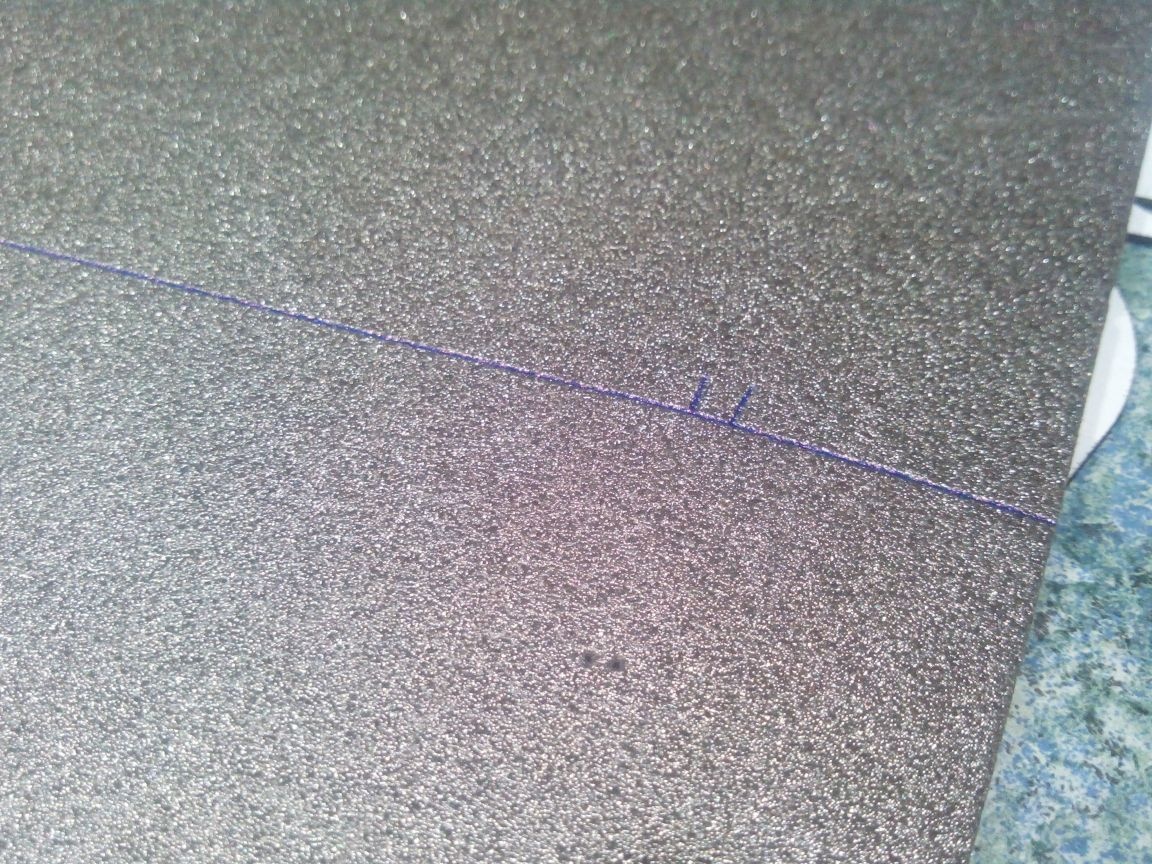
Connect the marks and holes together.
Similarly, we transfer to the depron the second wing console.
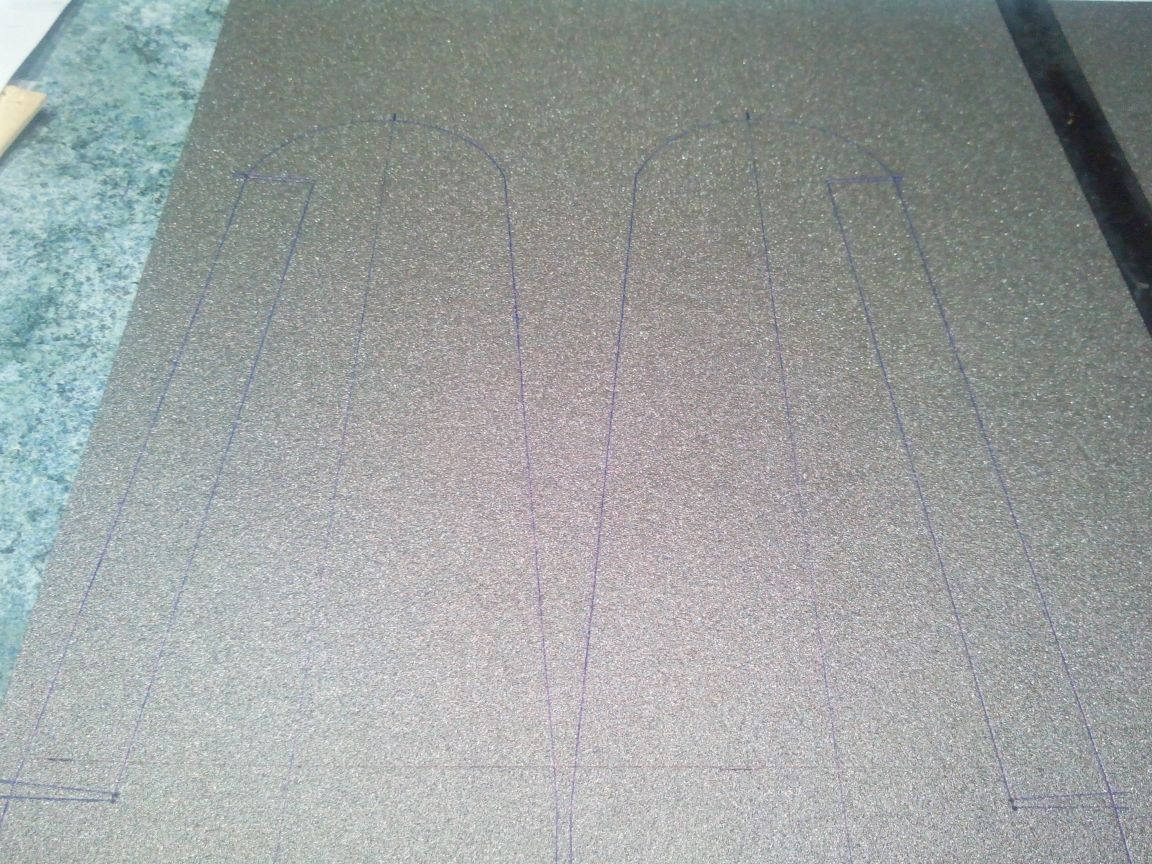
Similarly, using a compass, mark holes on other parts.
Everything, the details on the depot are drawn.
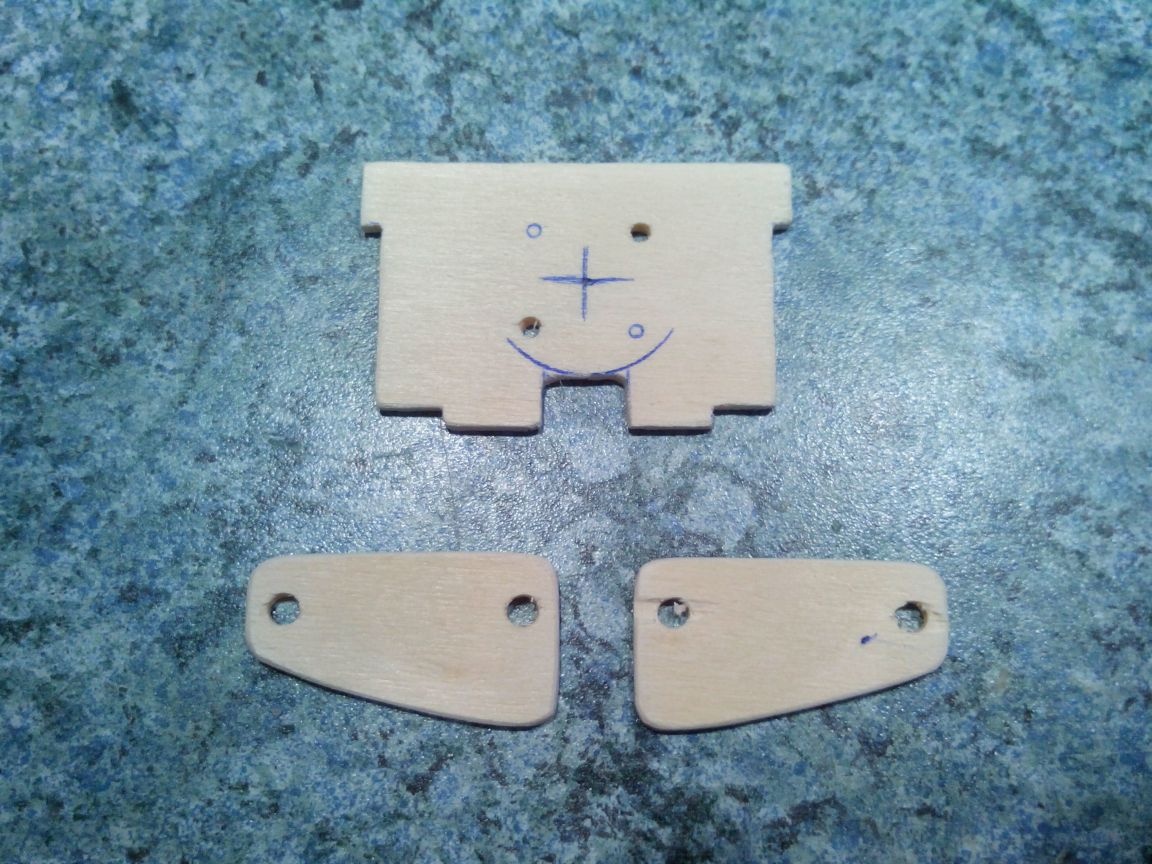
We reinforce the chassis and motor mount on 3 mm plywood.
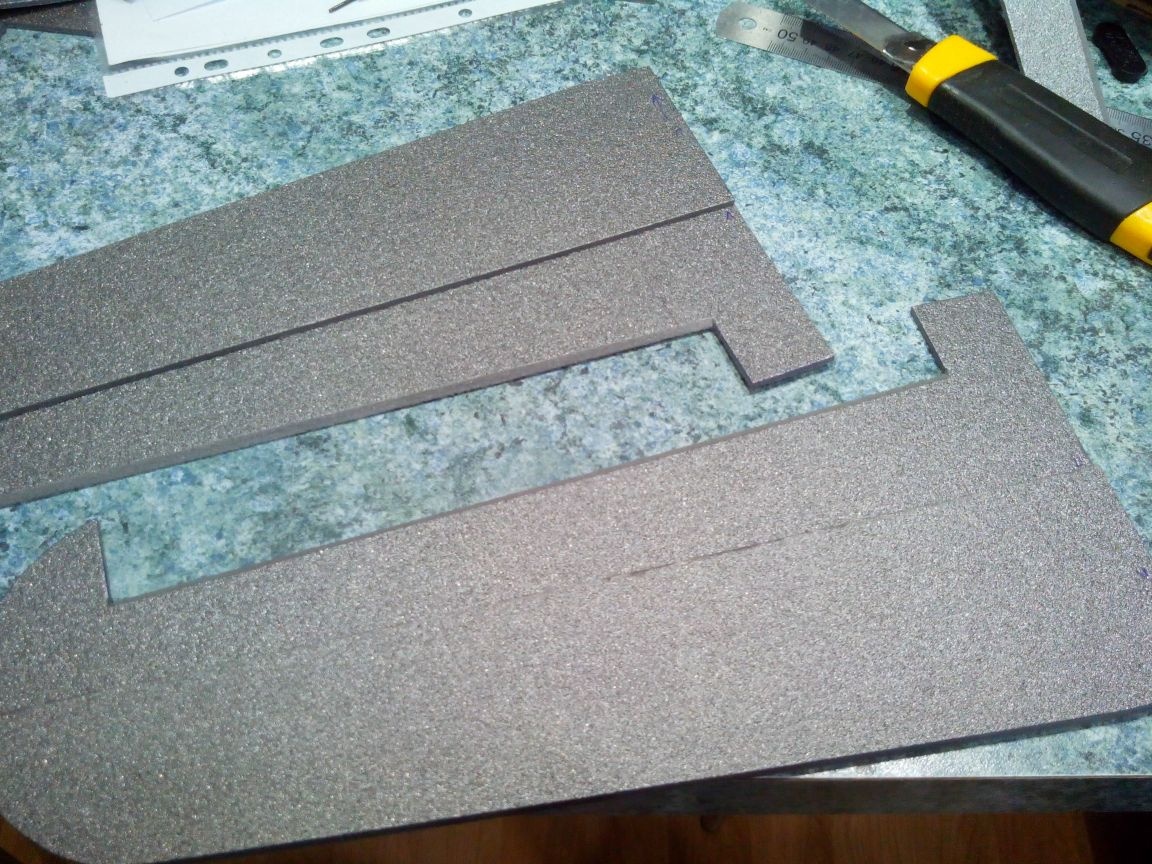
Cut out all the details from the depron with a cutter.
Wing:
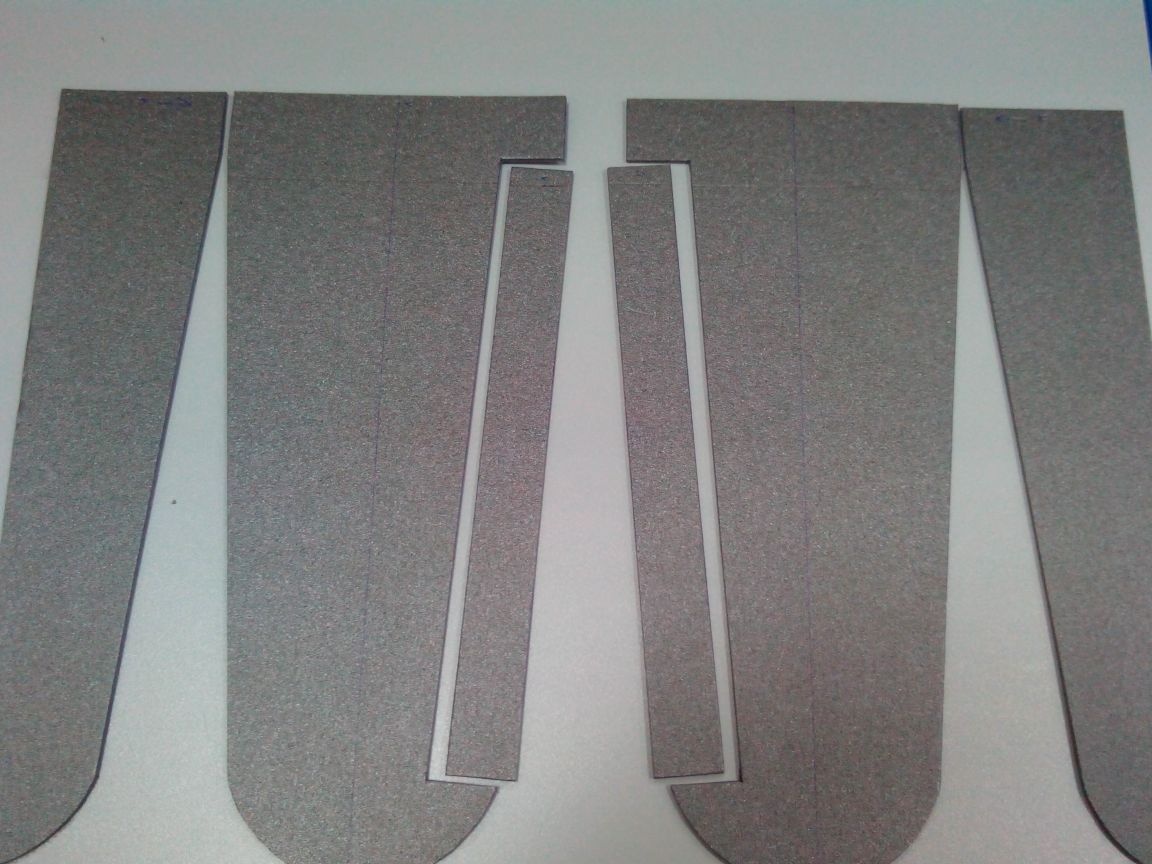
Tail:
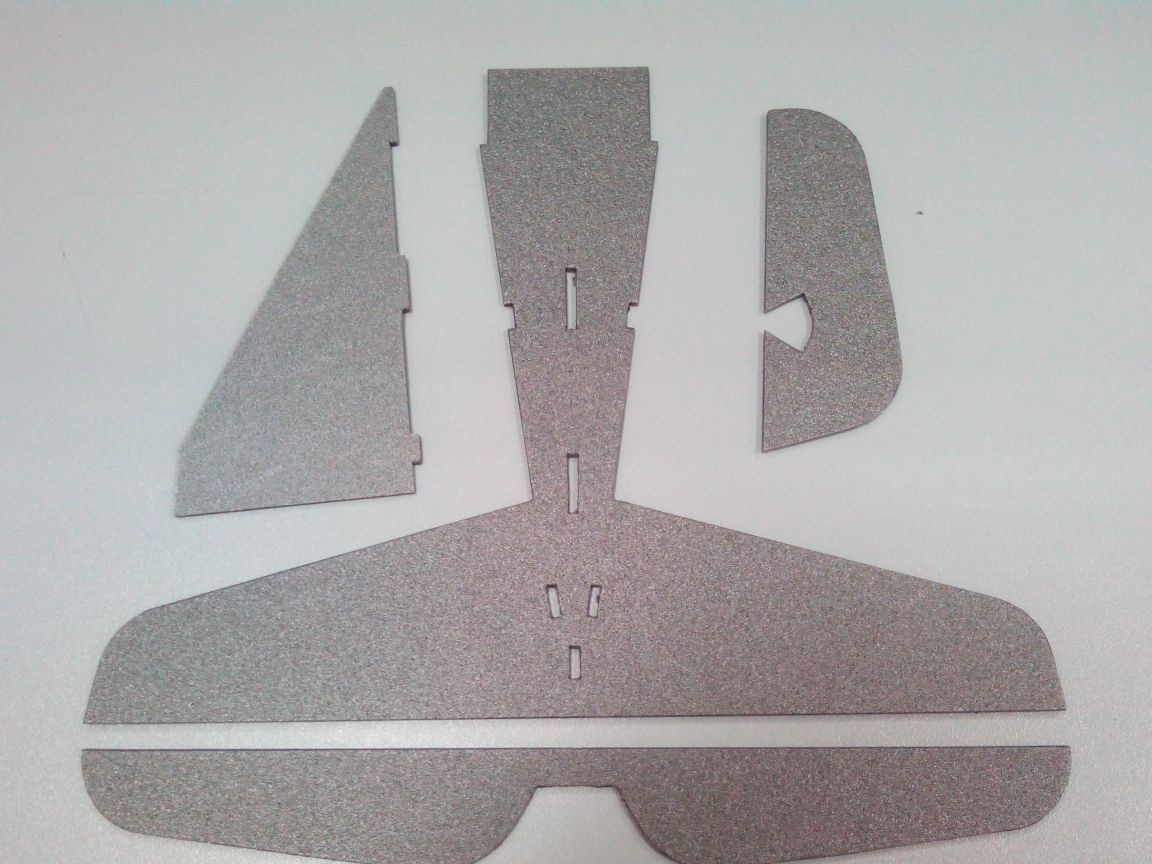
Fuselage:
Cabin Cover:
We cut out the motor mount and reinforcements under the chassis with a jigsaw and process the edges with sandpaper.
Step 2. Tail.
Since the tail is also part of the fuselage, we start with it.
We cut off the elevator and strengthen the halves with an ice cream stick.
We grind the edge of the elevator and the edge of the stabilizer at an angle of 45 degrees with a skin. Then we hang the elevator on the tape.
We glue the horizontal plumage with scotch tape in the desired color scheme (then this will make it more difficult).
The keel and rudder are sanded from two sides and we also hang the rudder on tape, pasting in the desired colors.

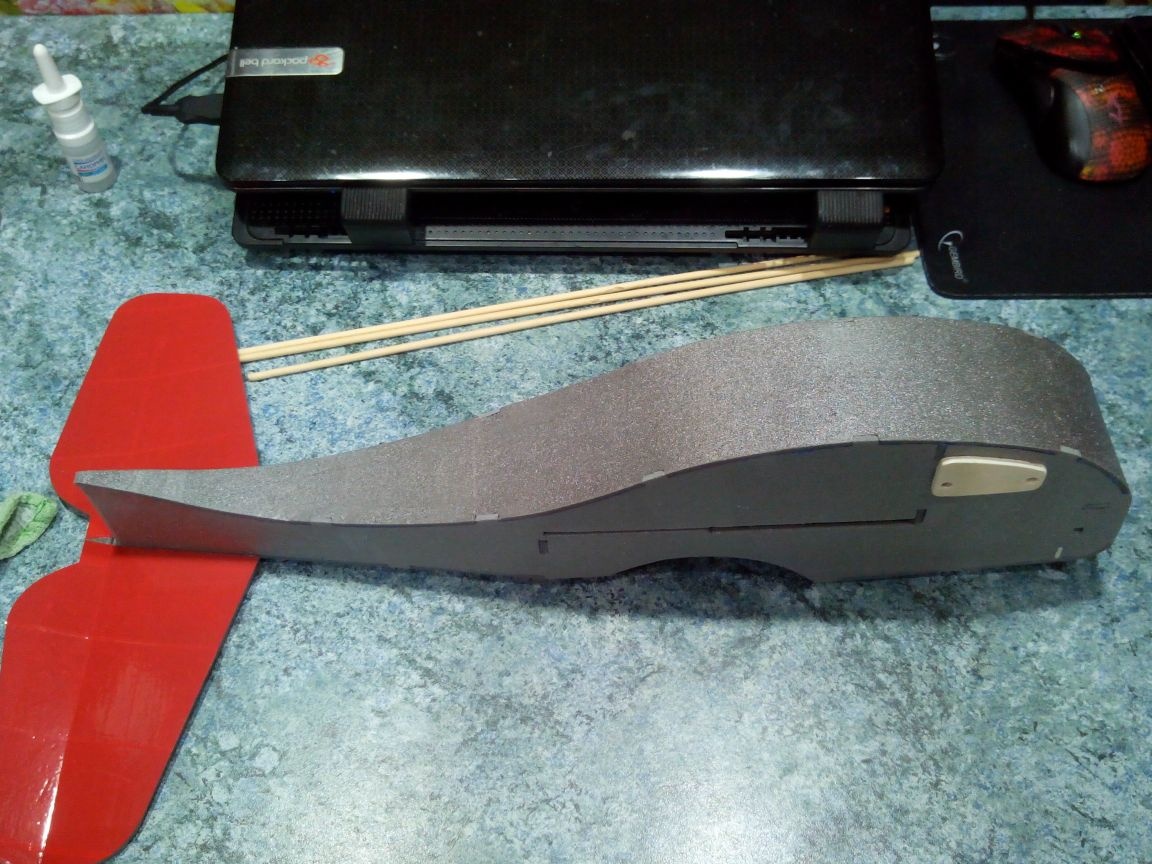
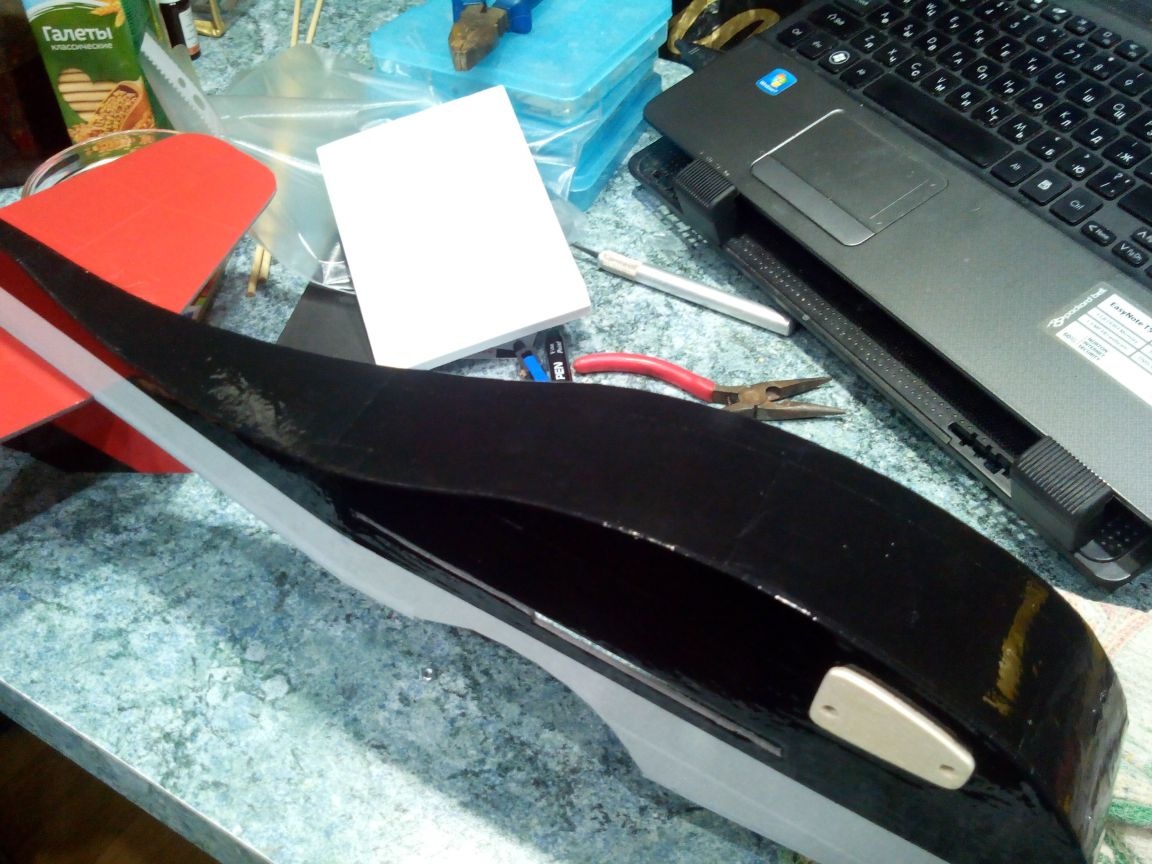
Step 3. The fuselage.
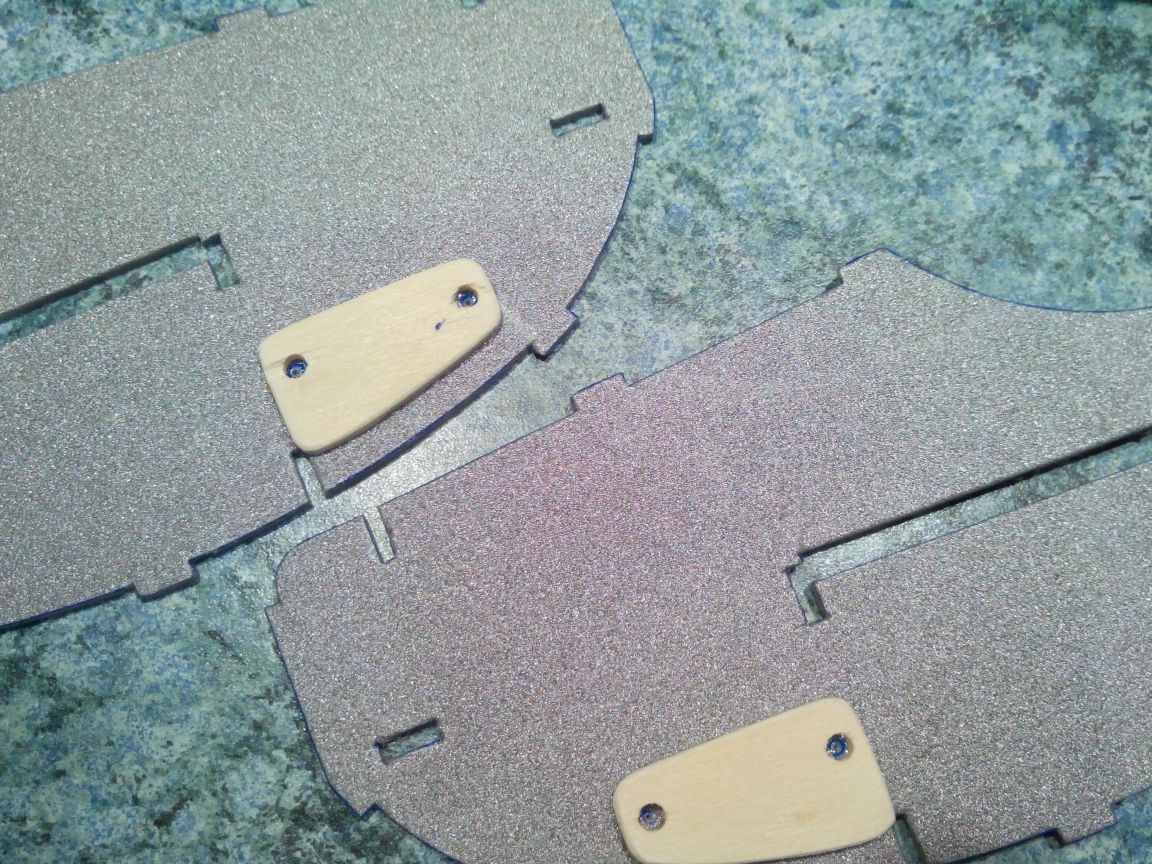
On the sides of the fuselage in the bow, glue ceiling plywood reinforcements under the landing gear.
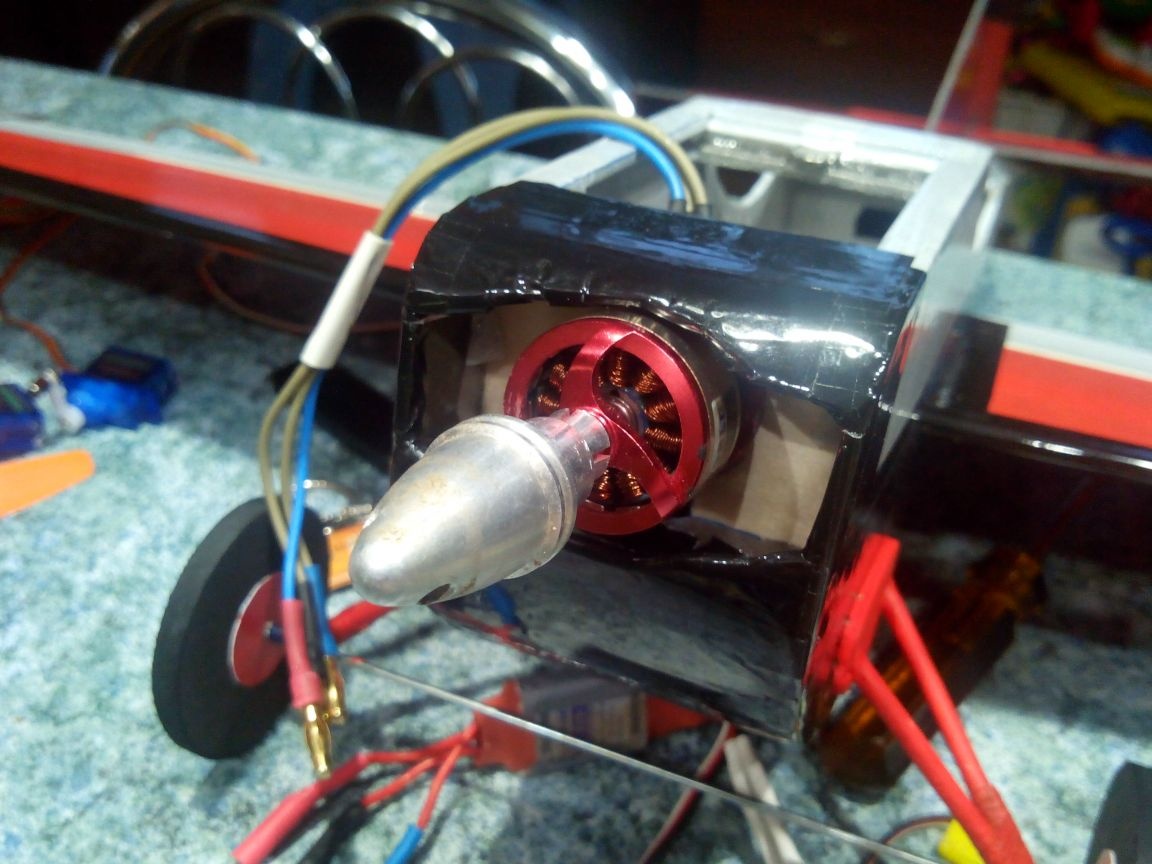
We fasten the engine base to the plywood engine mount.
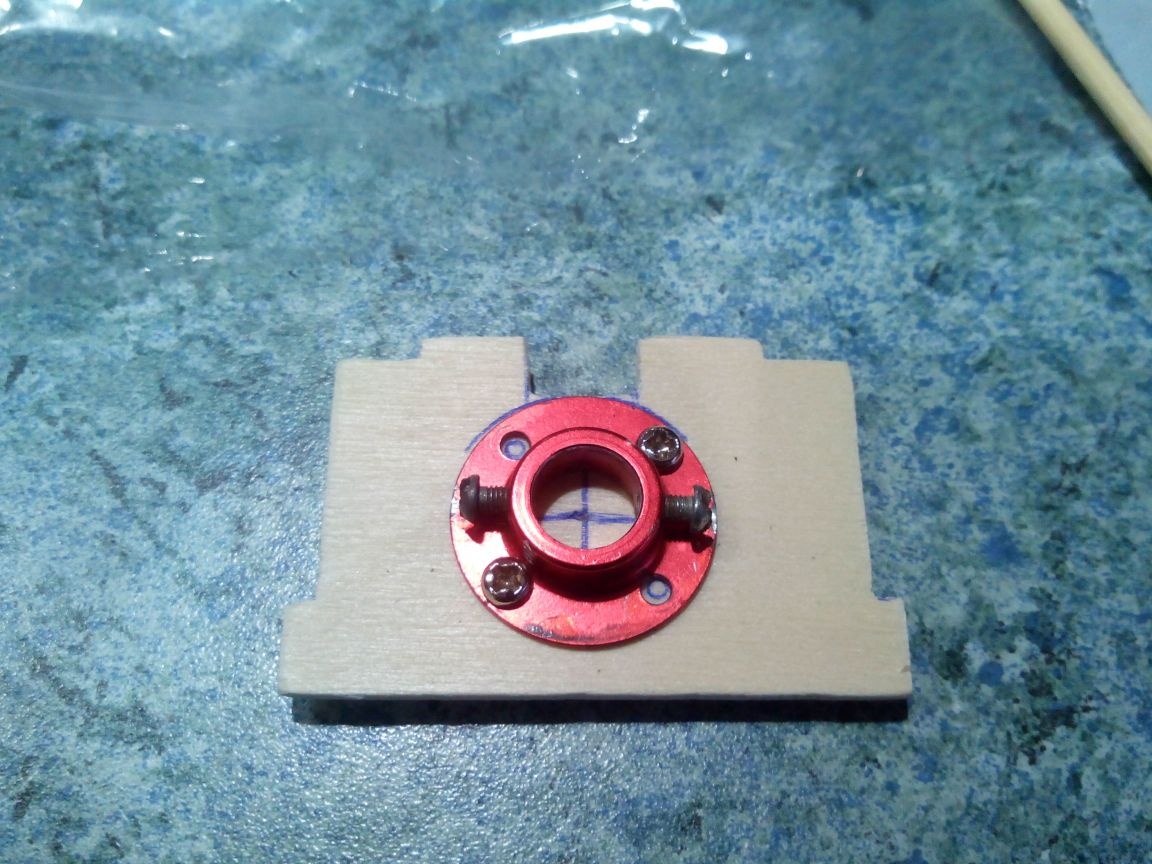
We attach motor frames and frames to one side of the fuselage. The engine mount must be at an angle so that the engine is mowed to the right.
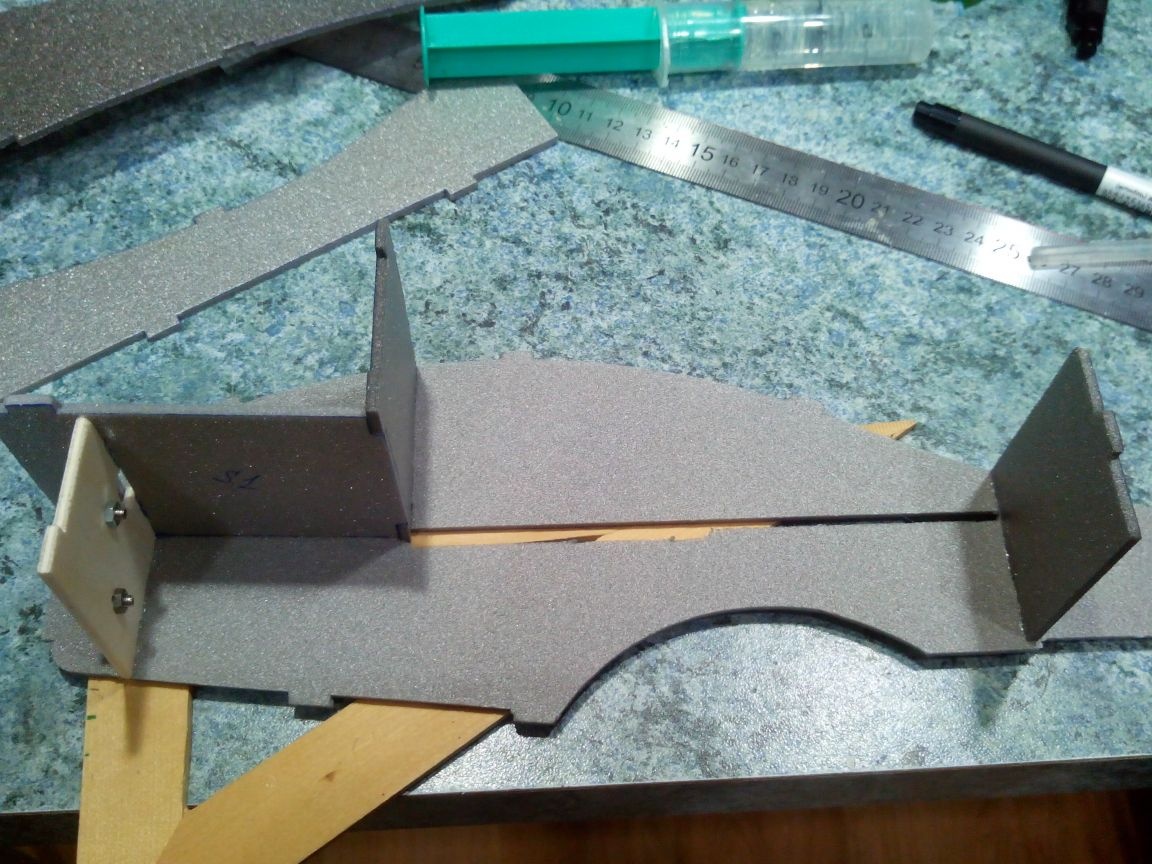
Glue the second side of the fuselage to the frames.
Glue the bottom of the fuselage and fix it with strips of tape. You can bend the bottom on the edge of the table or on the pipe.
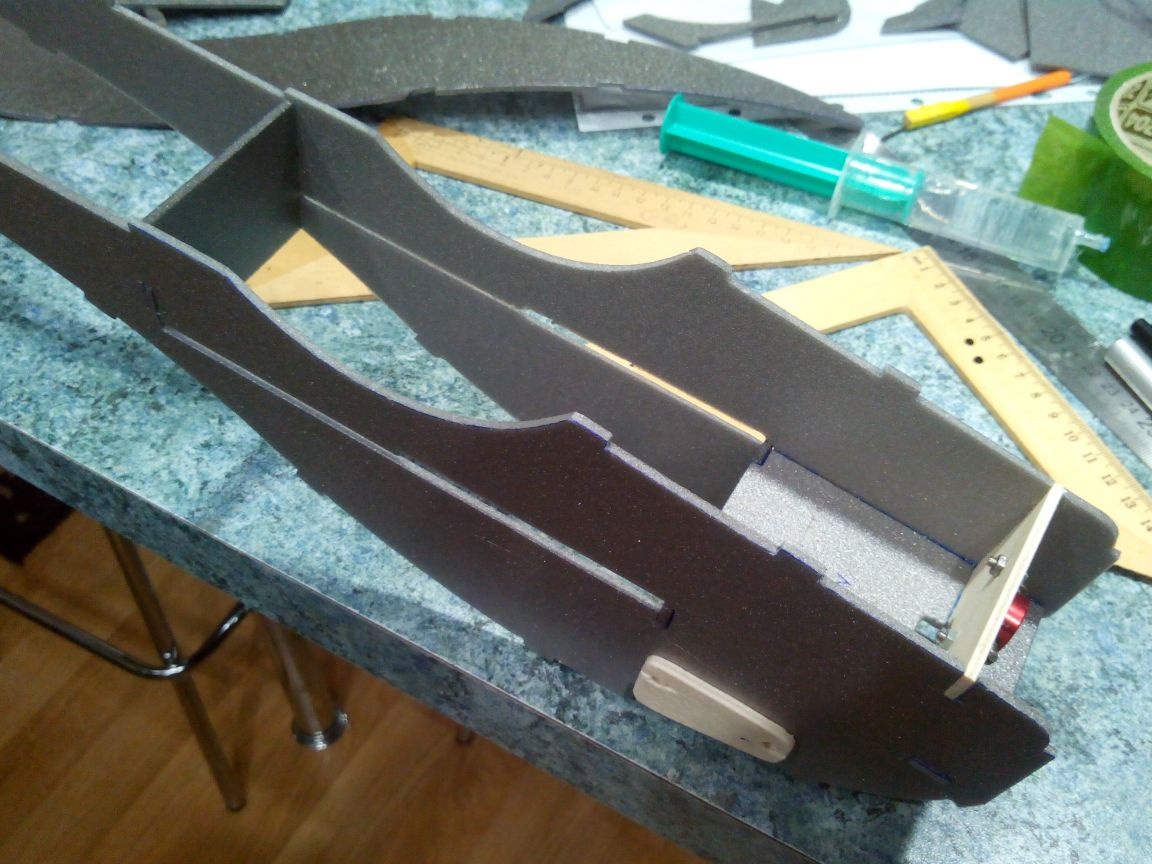
We glue the top of the bow and fix it with tape too.

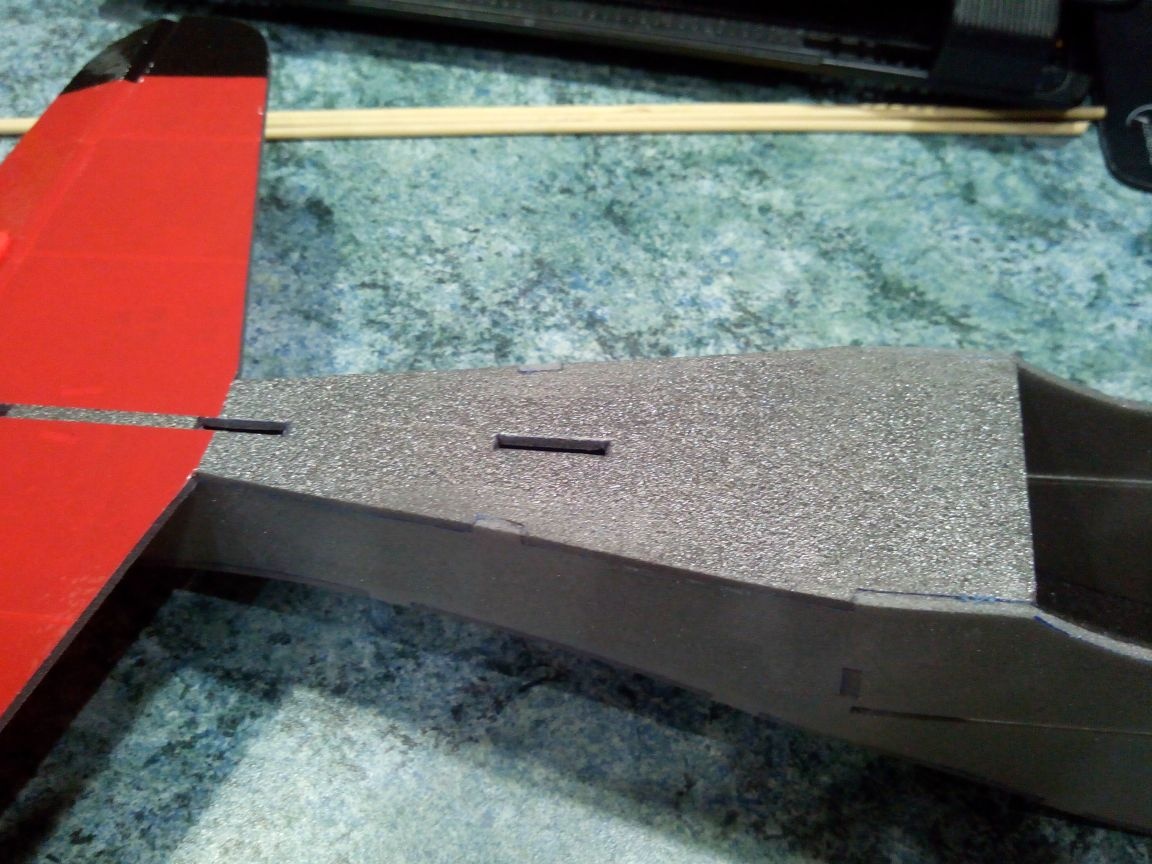
Glue the stabilizer (it is also part of the tail).
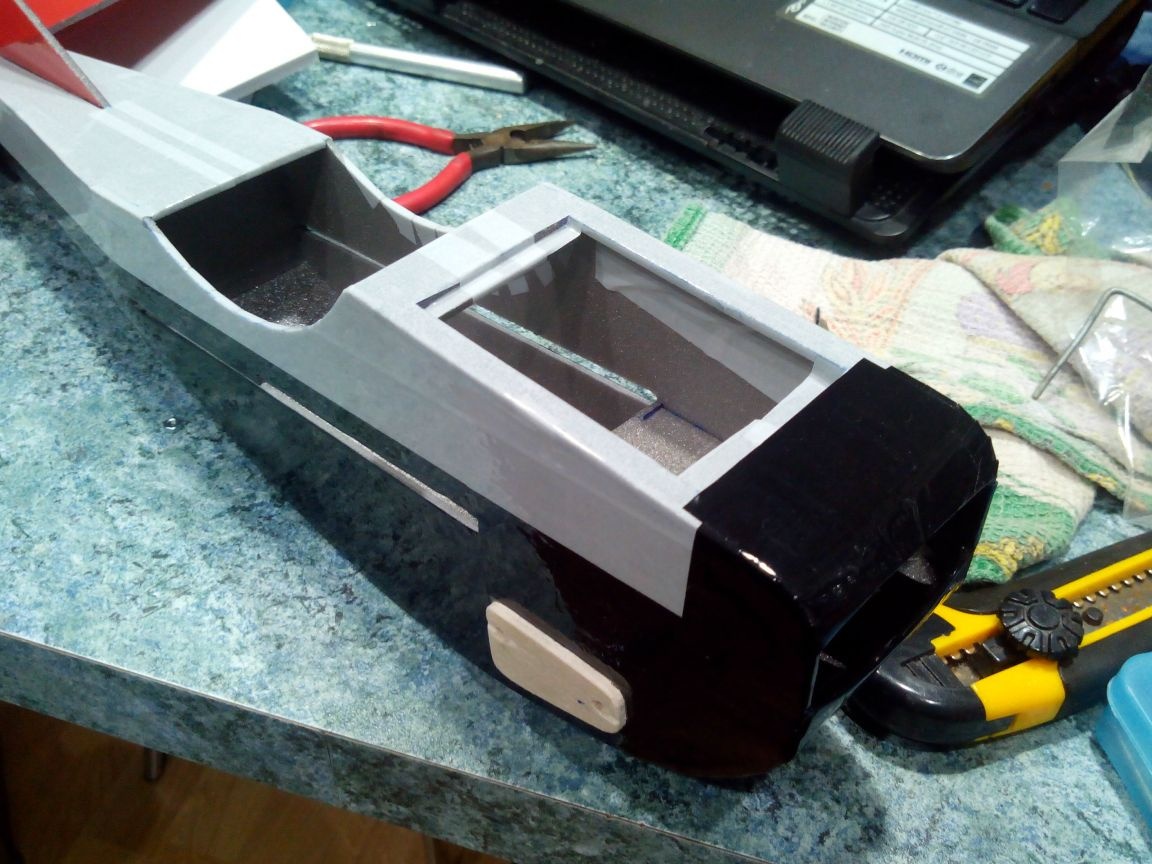
After the glue dries, remove the tape and sand off the protruding edges and spikes.
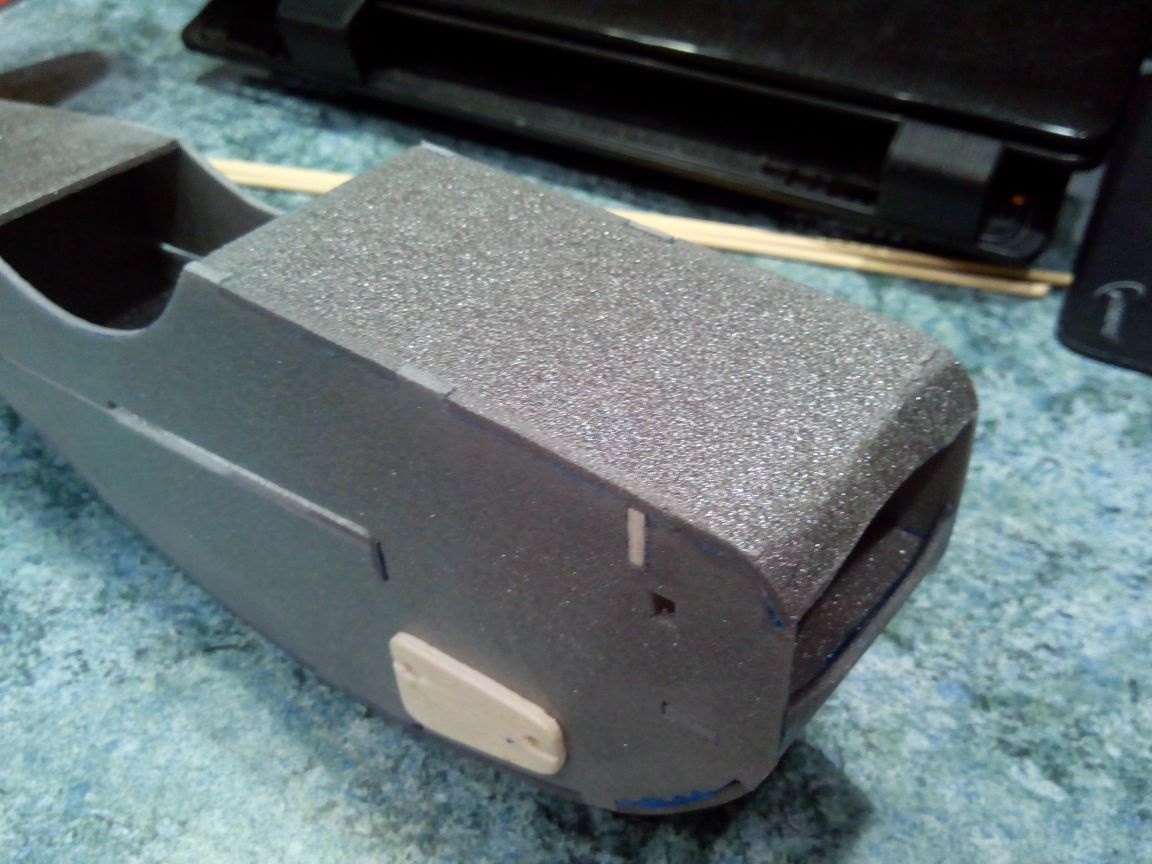
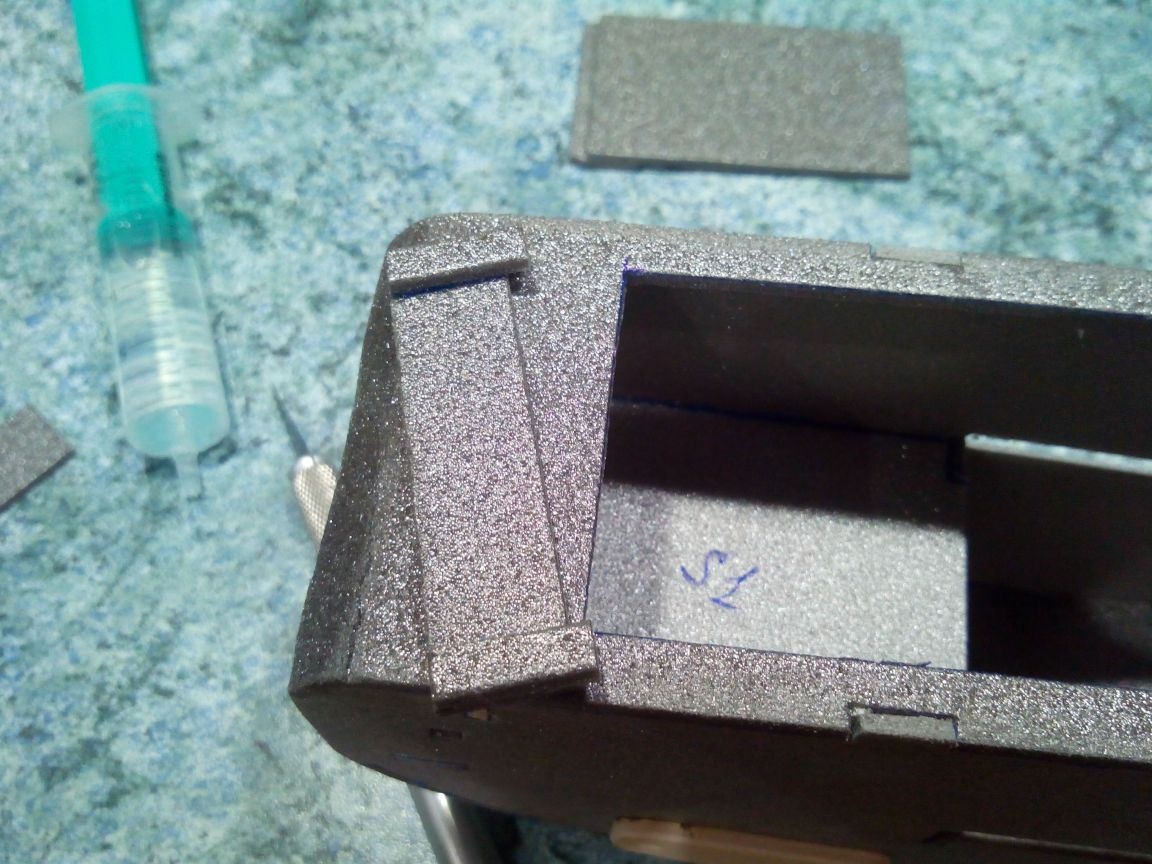
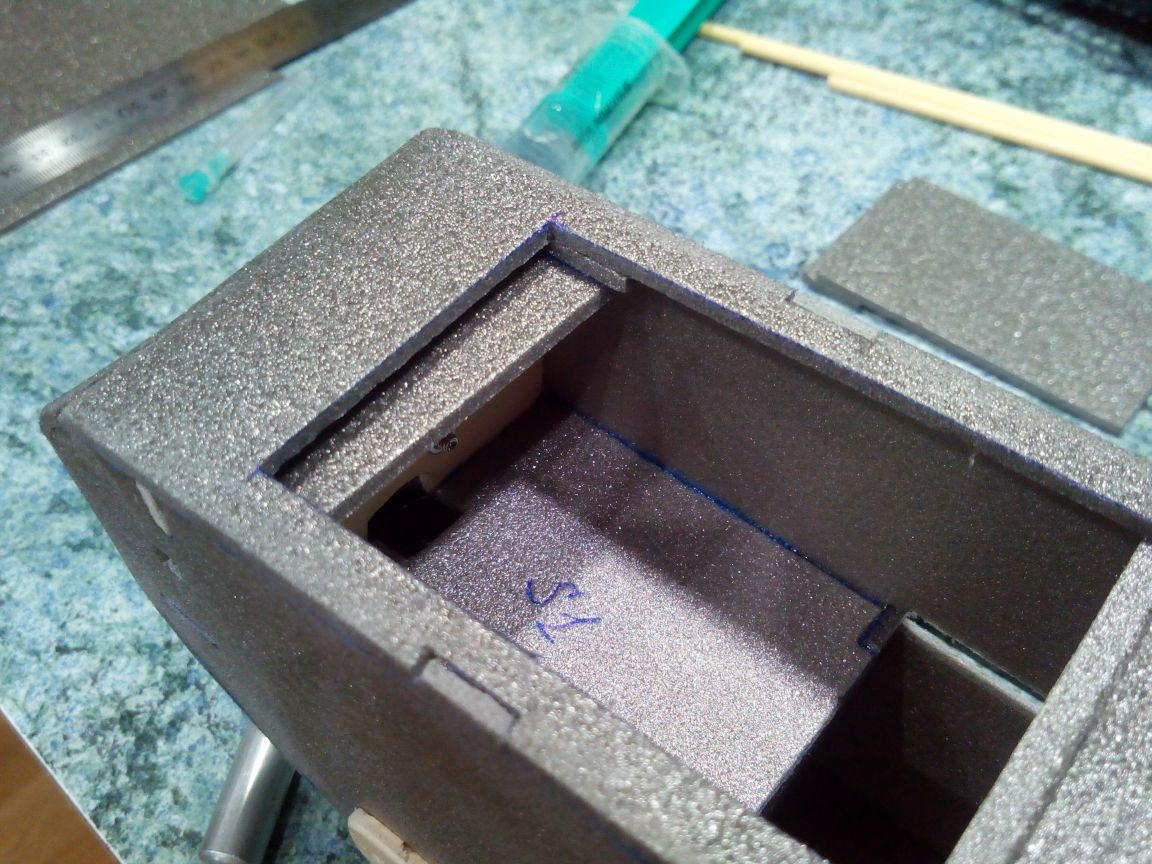
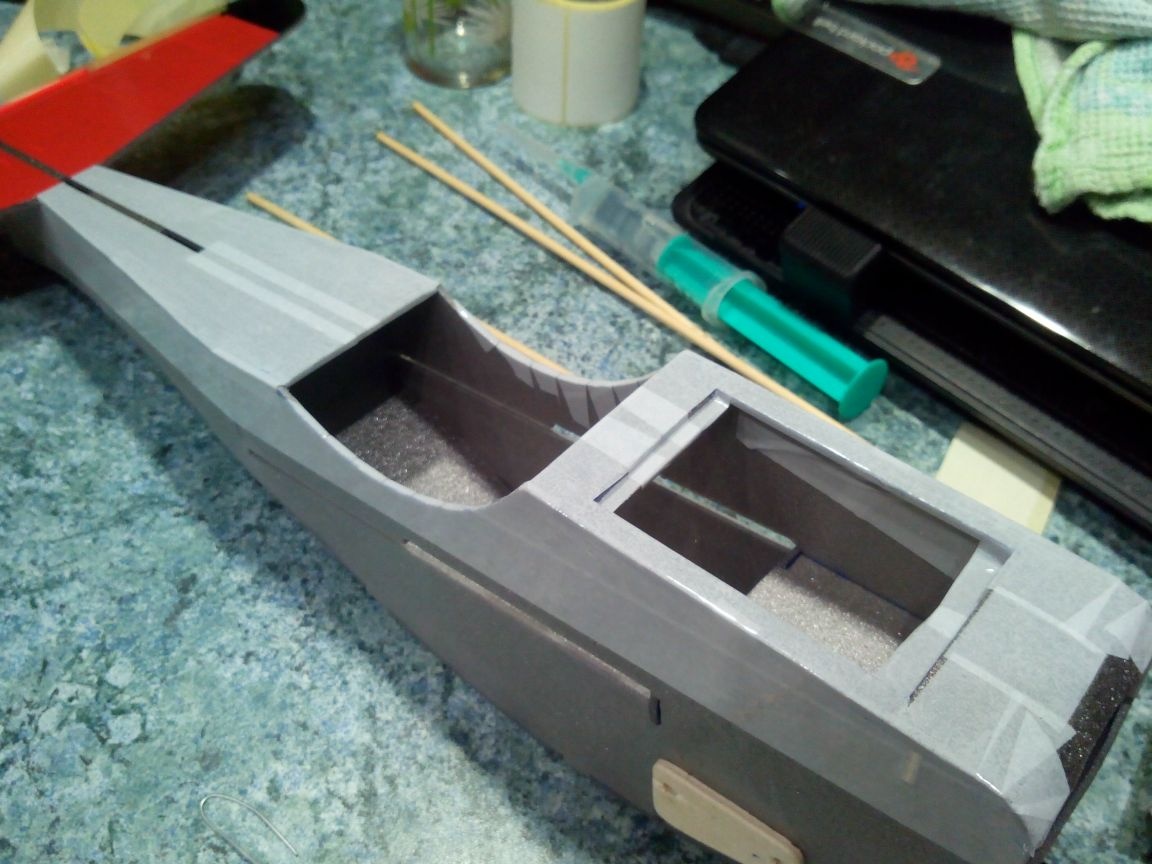
In the bow of the top cut the hatch for the battery.
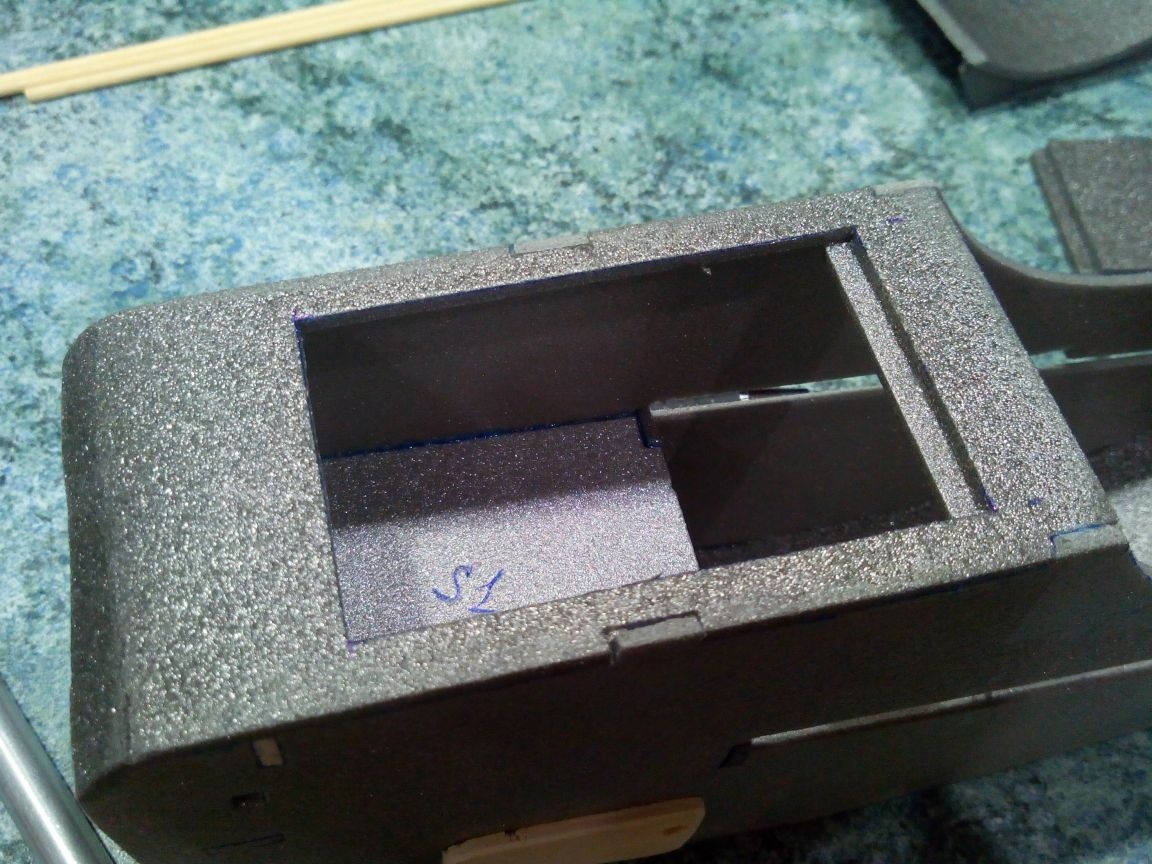
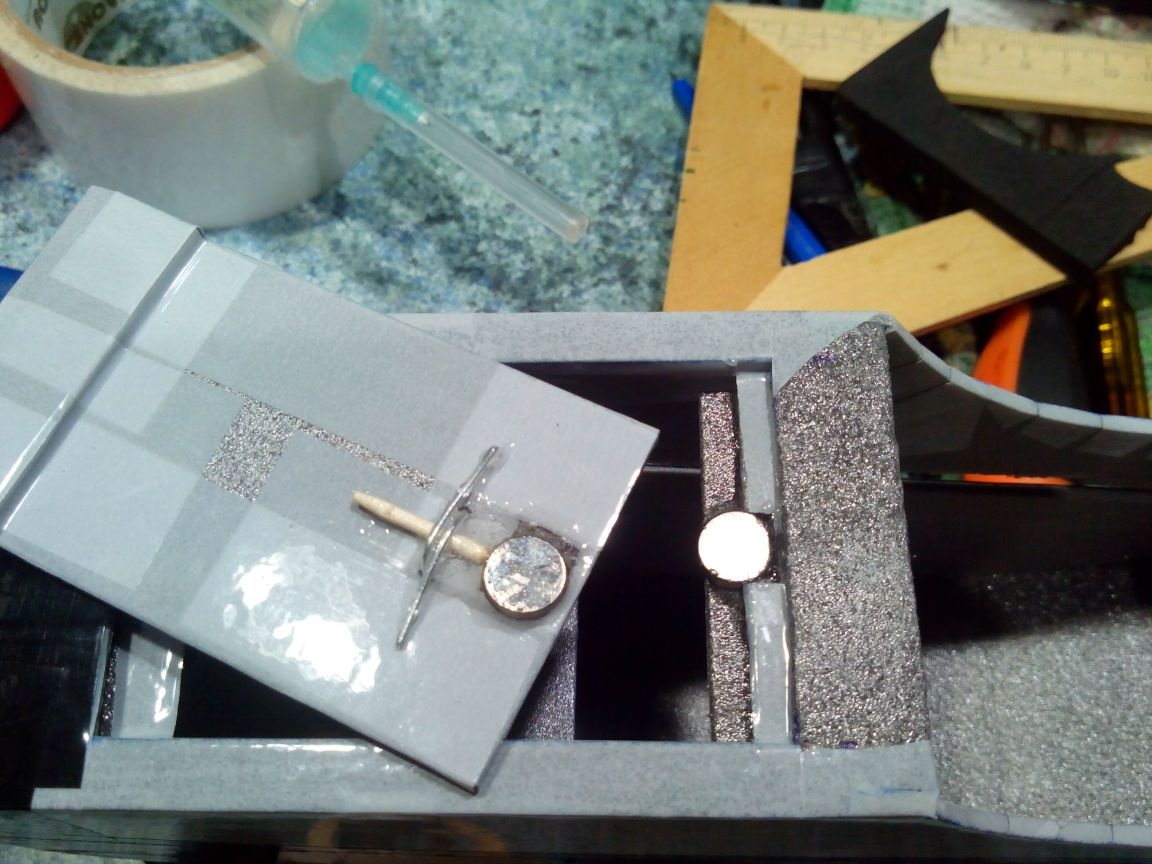
We glue the stop so that the manhole cover does not fall inward, and glue the “nose” from the inside of the lid.
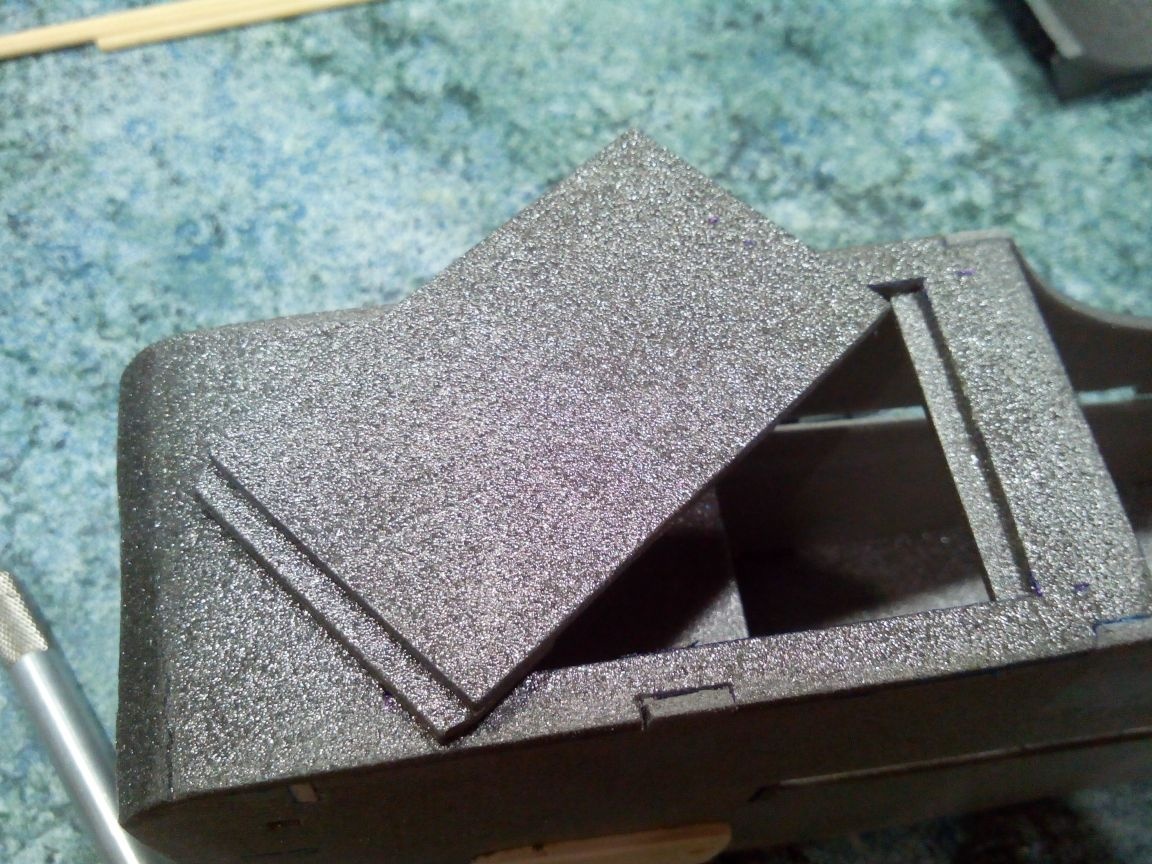
Inside, we glue the emphasis in the front part so that the “nose” on the cover enters it.
We glue the hatch cover with tape.
From a paper clip and a toothpick, we make a pen and fix it from the inside with hot glue.
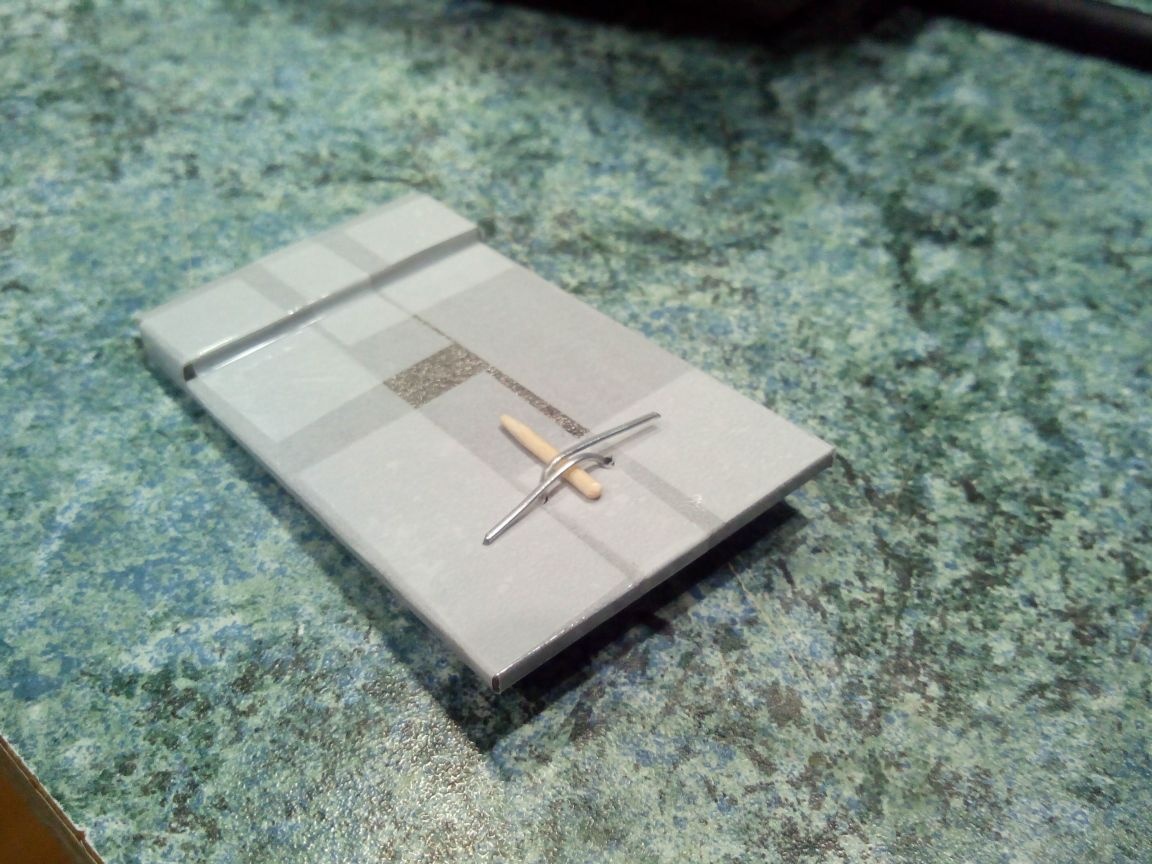
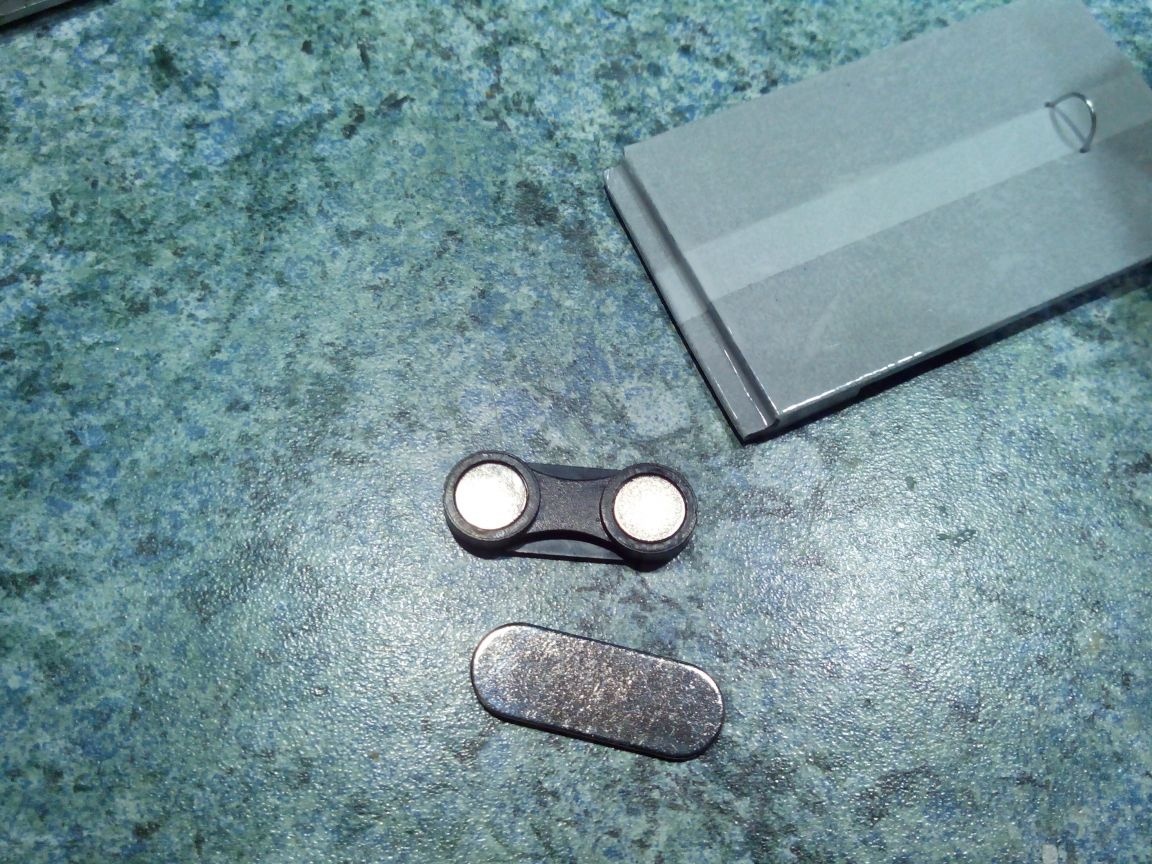
From the magnet from the badge we pick out the magnets themselves and glue them into the lid and into the fuselage with epoxy glue.
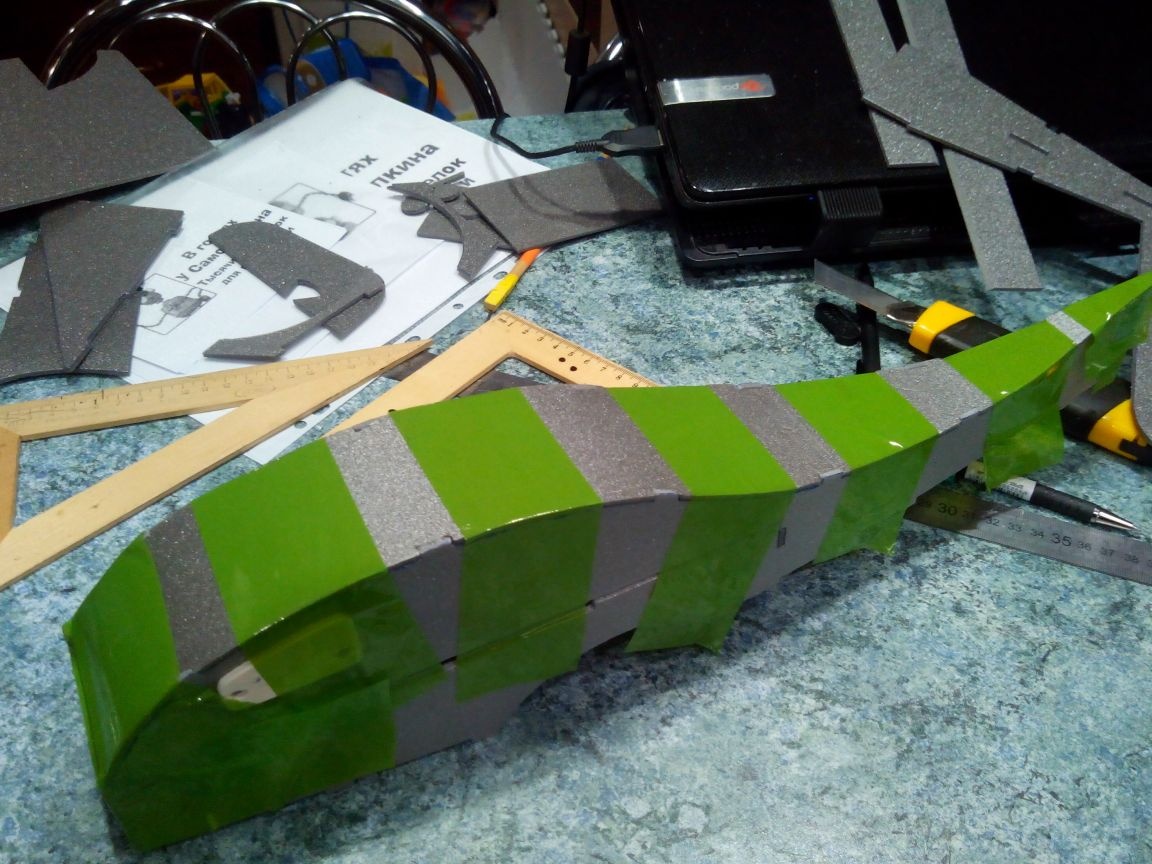
We glue the fuselage with colored tape on top.
From below.
And the bow.
Step 4. The wing.
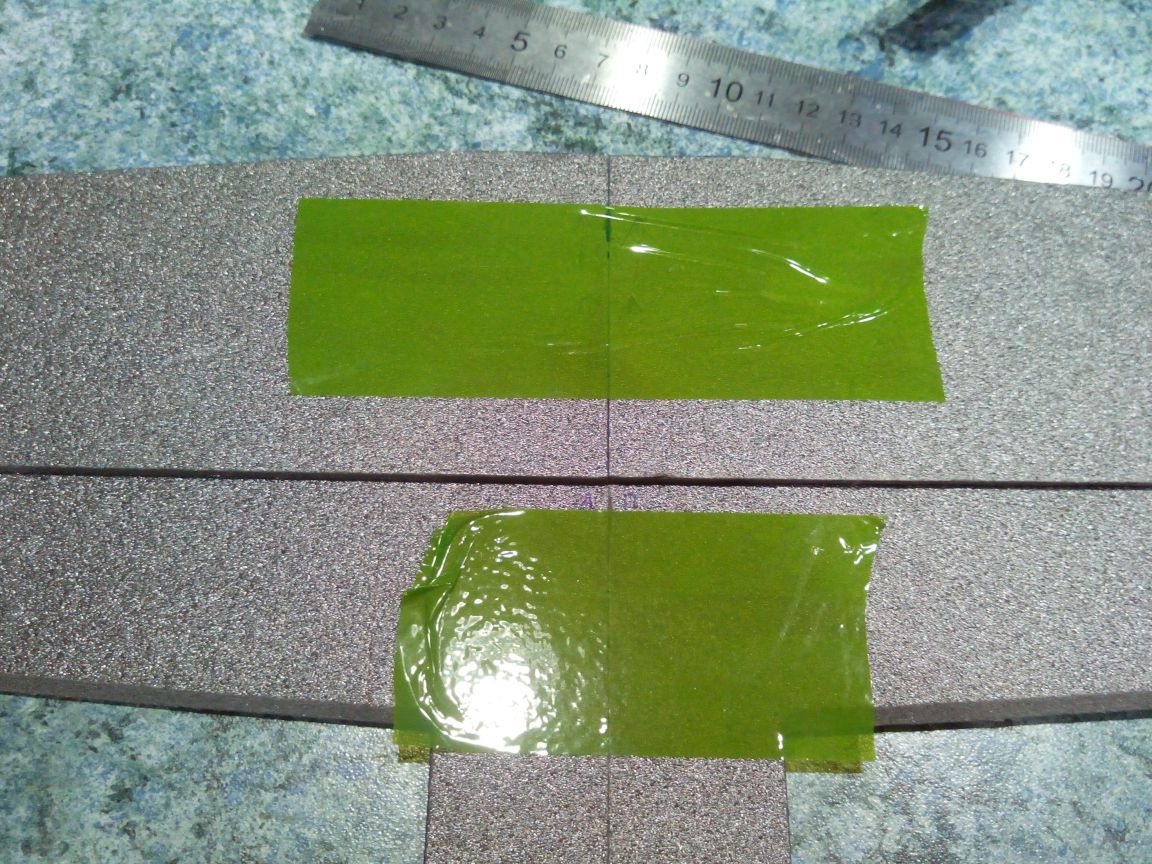
Glue the upper parts to the wing consoles, thereby making a stepped profile.
We glue the consoles together and fix with tape (on both sides, otherwise the wing bends and glues poorly).
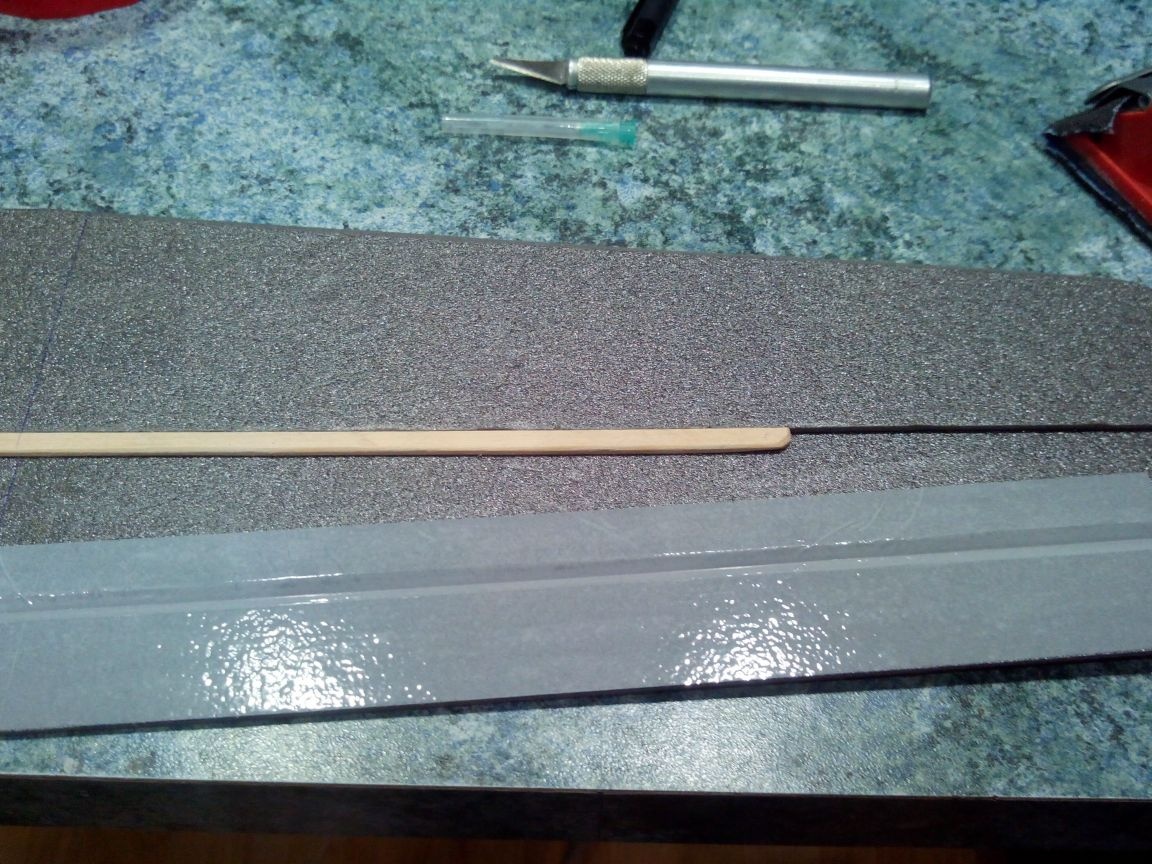
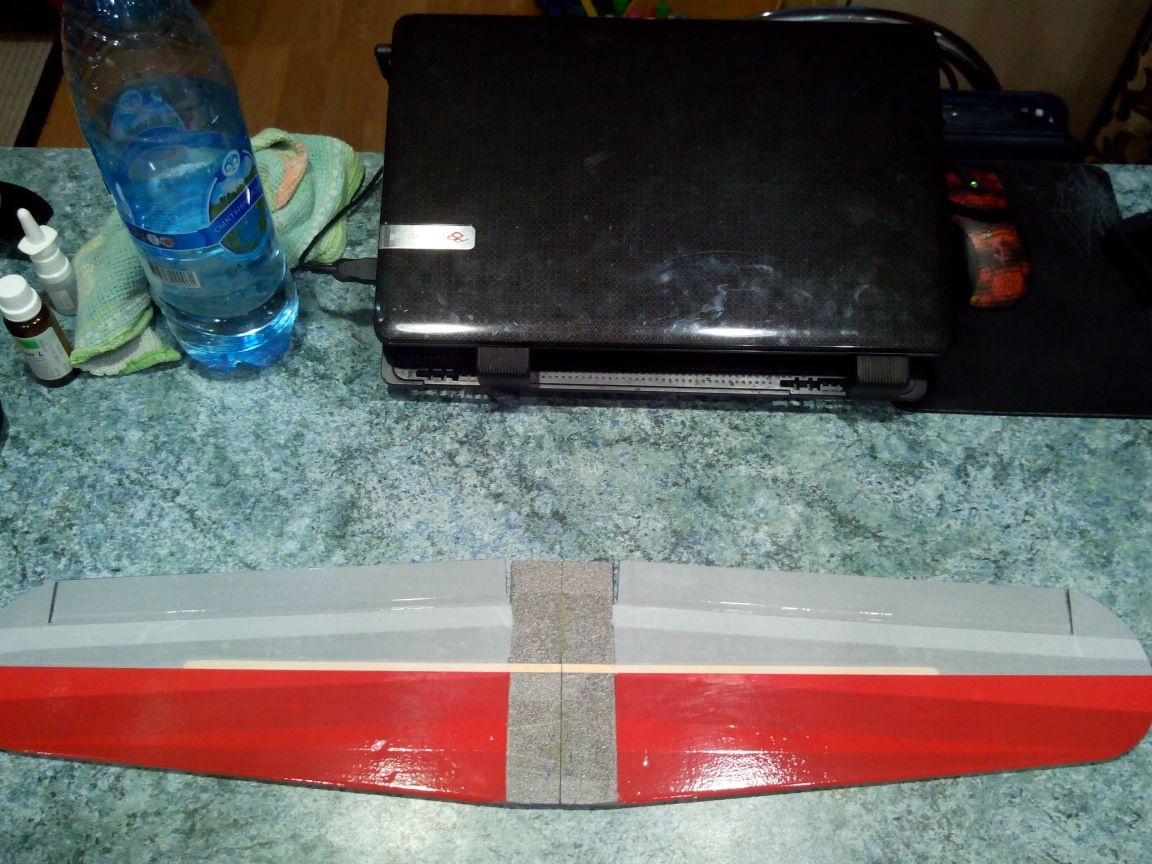
We glue the pine spar rail.
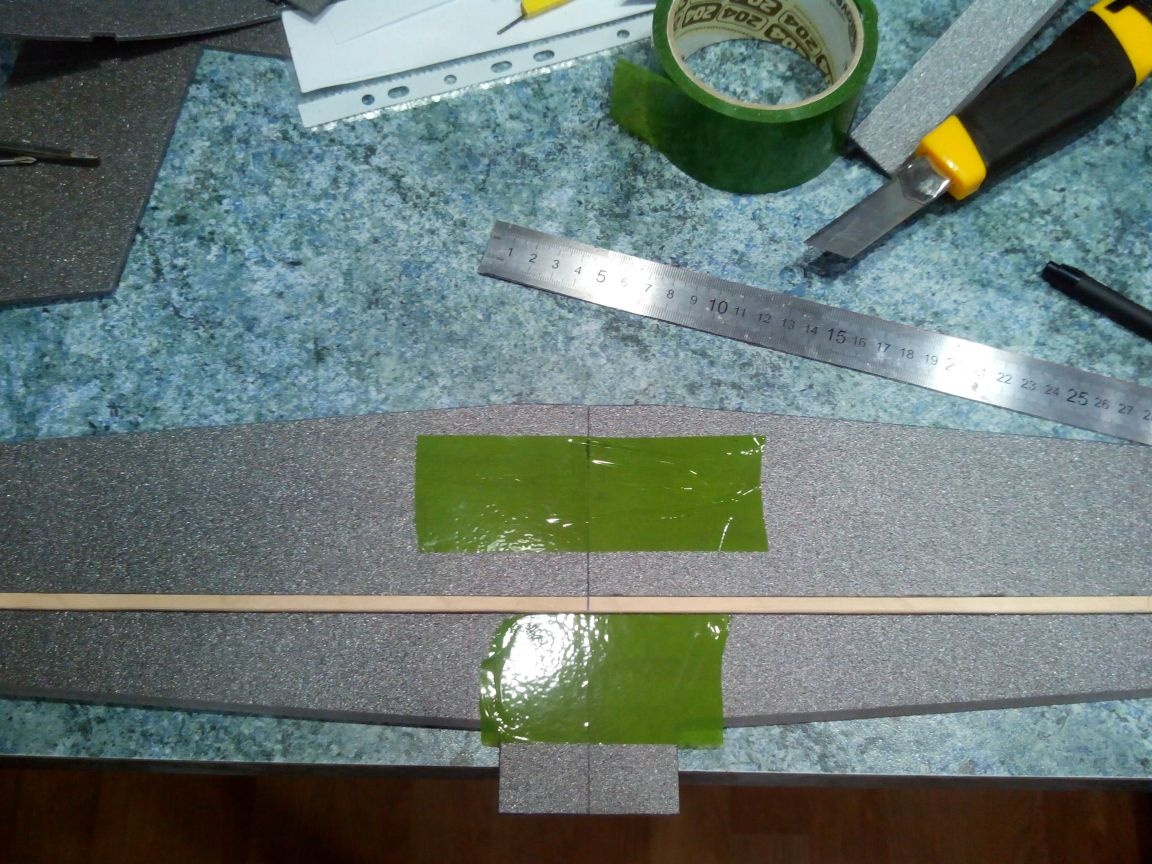
Ailerons and trailing edges of the wing are sanded at an angle of 45 degrees and we hang the ailerons on tape.
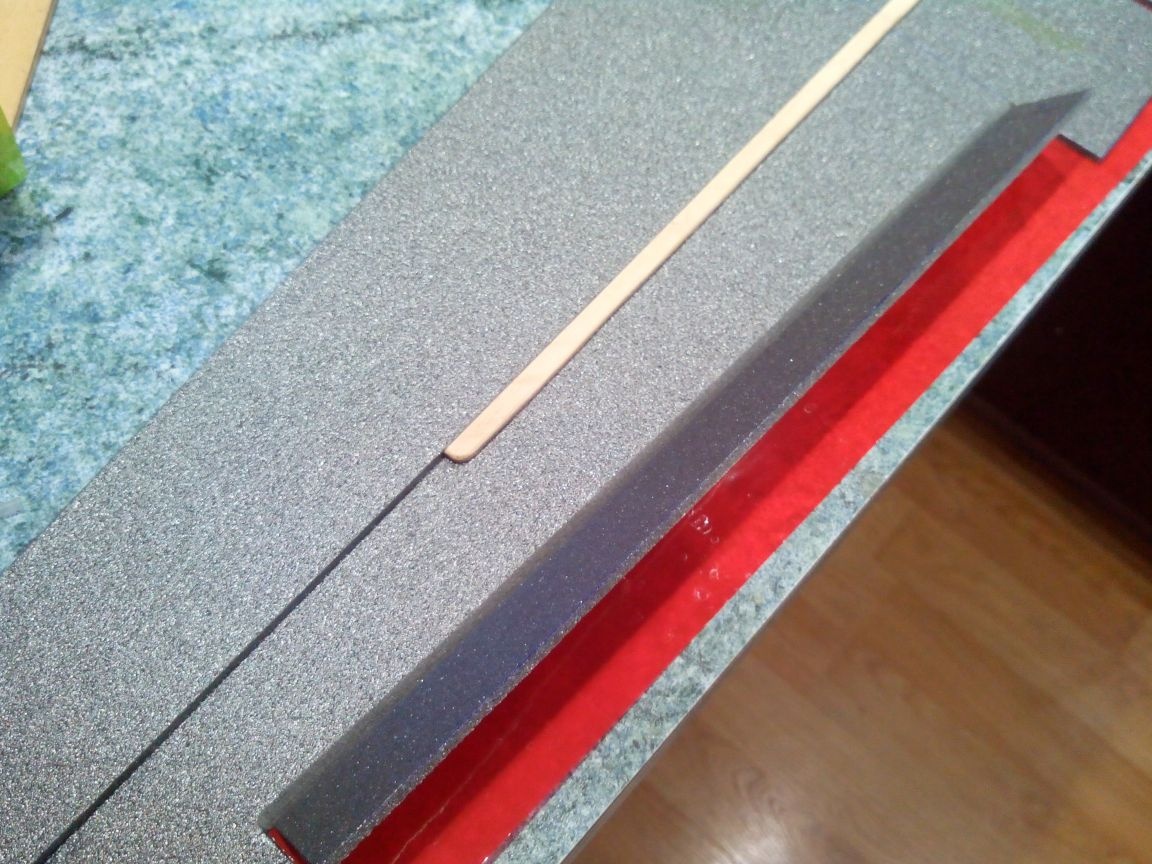
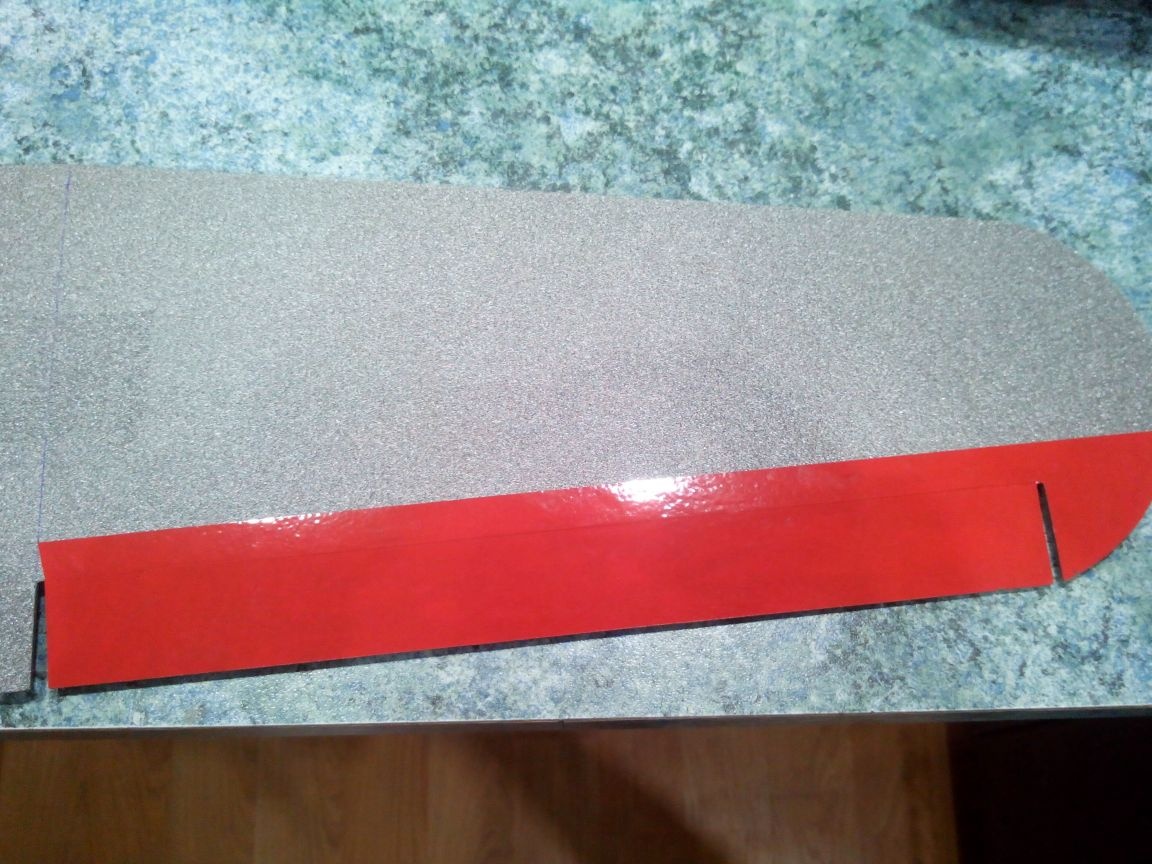
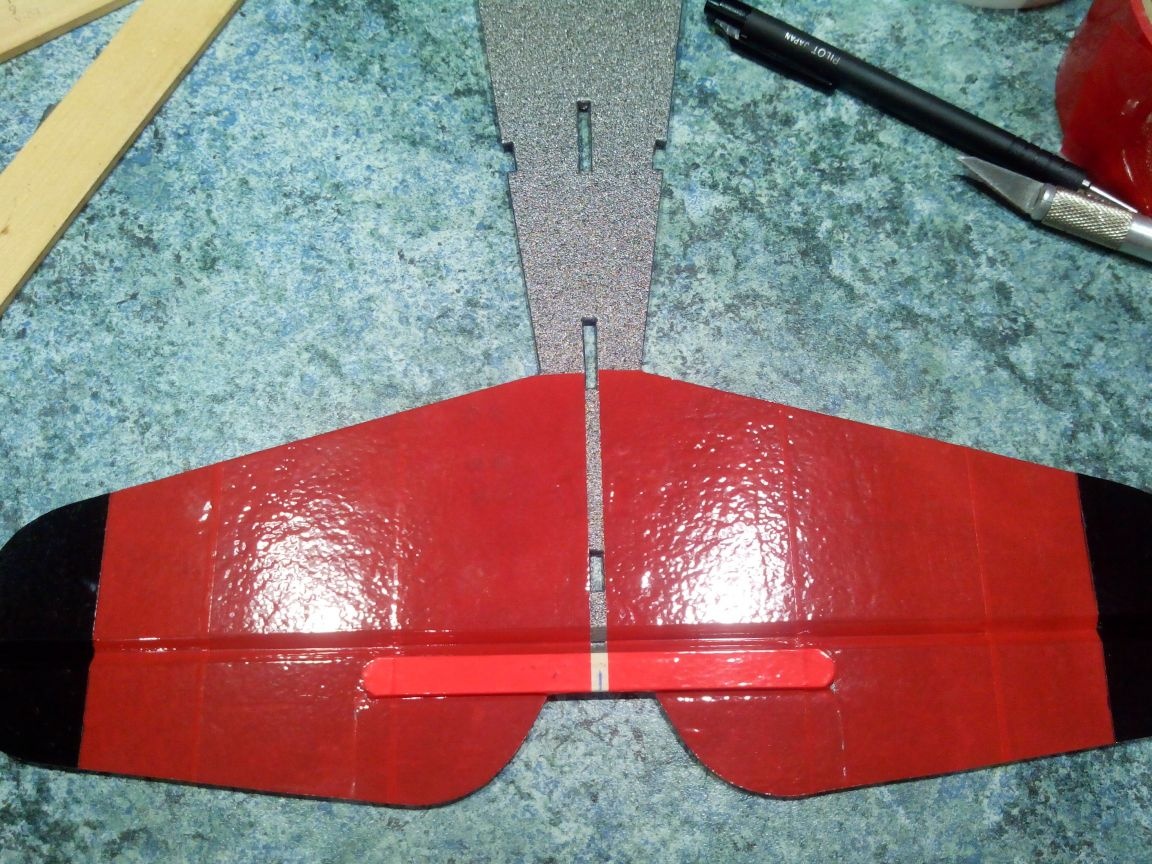
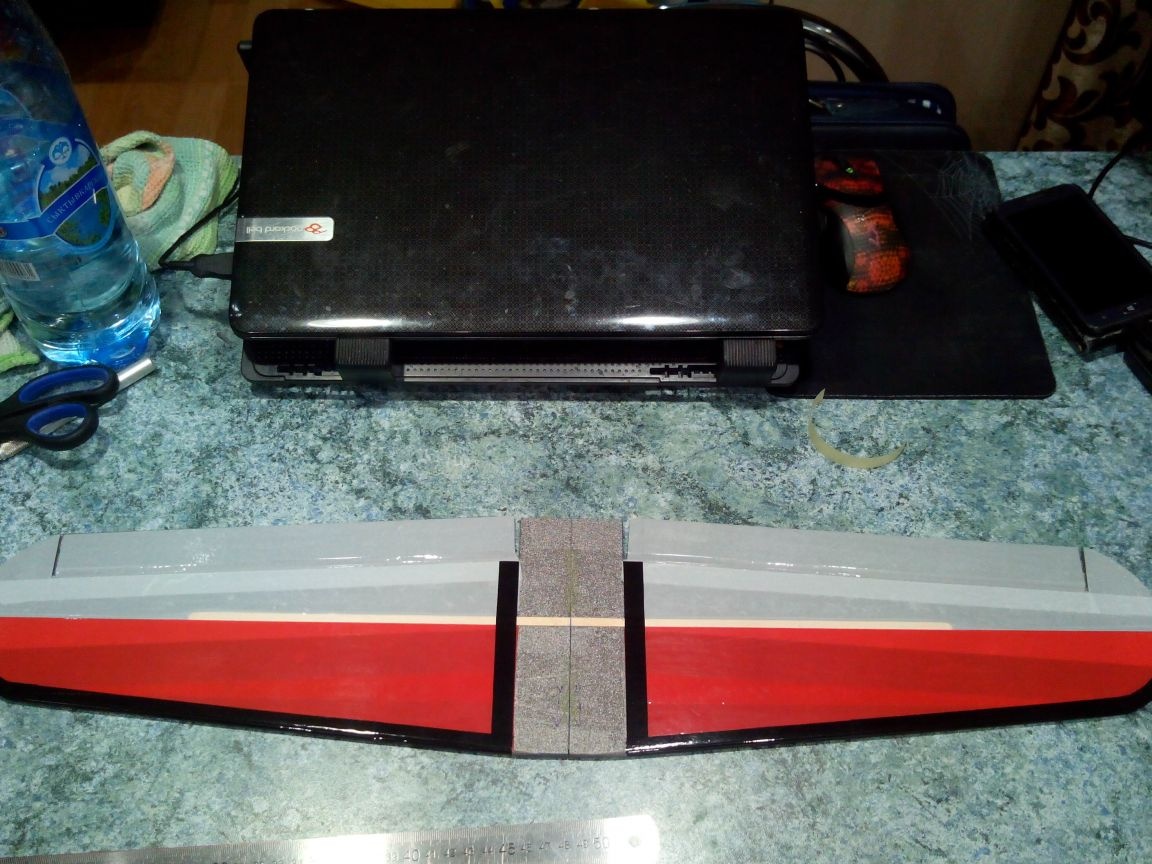
Round the front edge with sandpaper and glue the wing with colored tape from below.
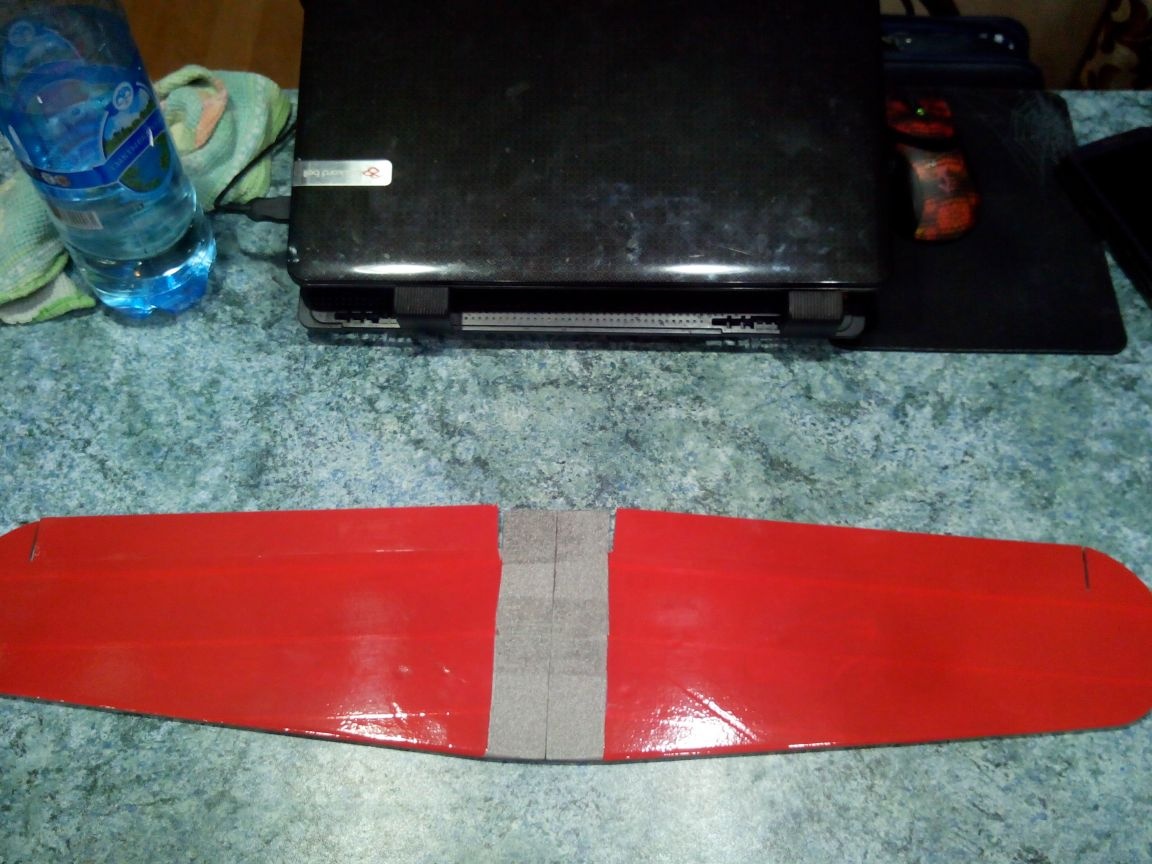
And on top.
Add strips of black tape along the contours (if necessary) and to the leading edge
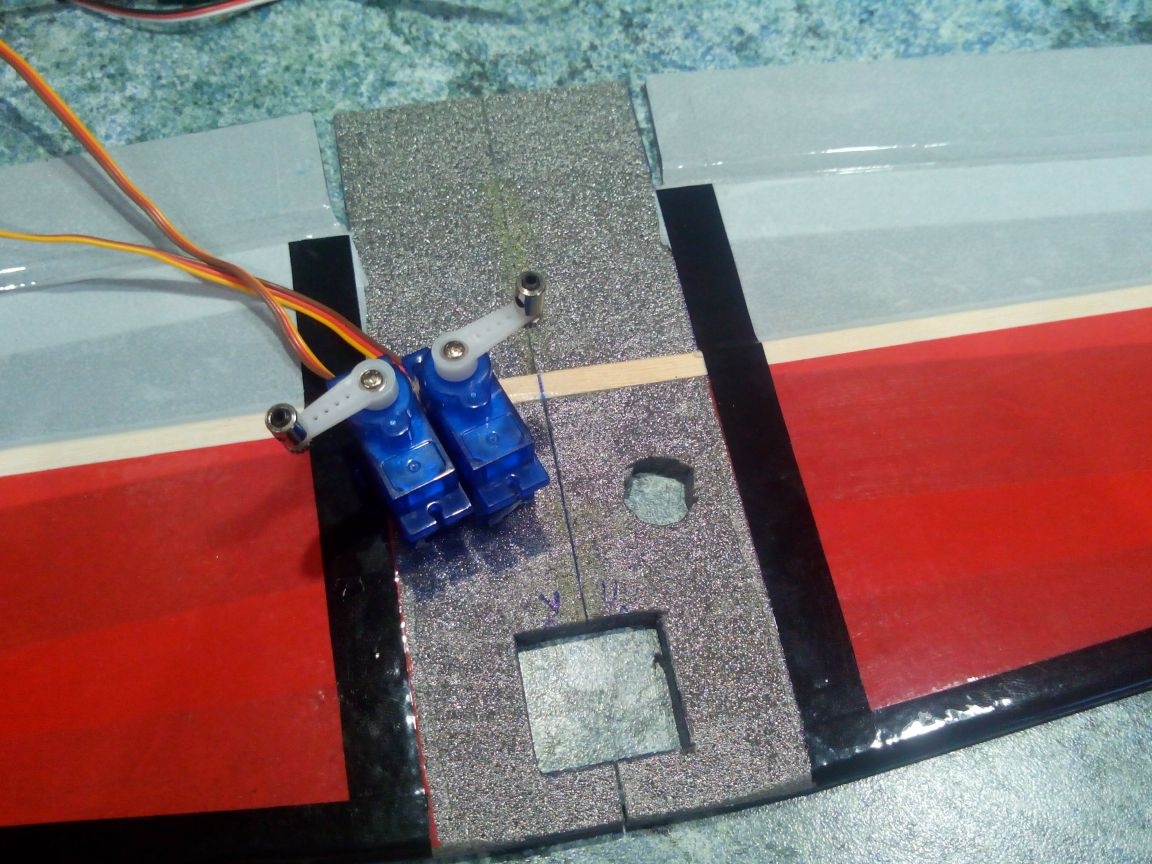
We make holes for the aileron servos and the Y-cable.
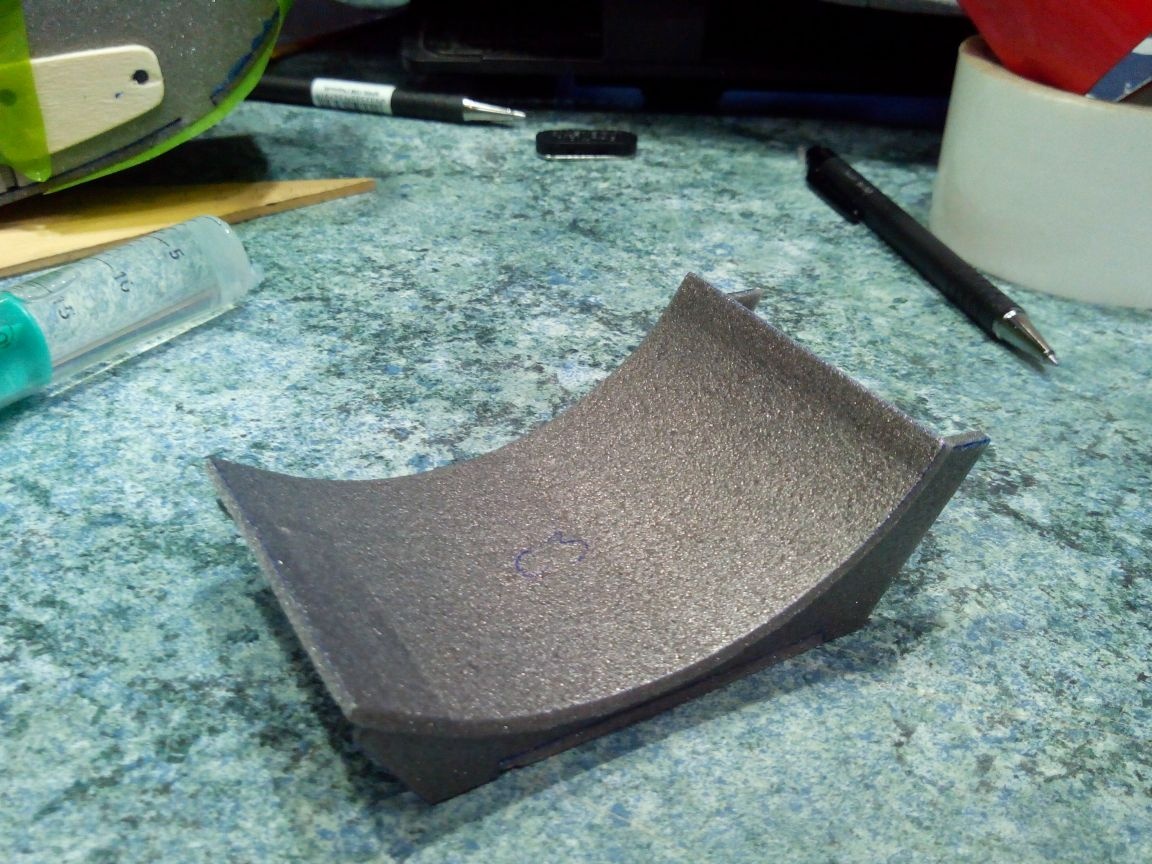
Step 5. Cabin cover.
Glue the frame of the cover.
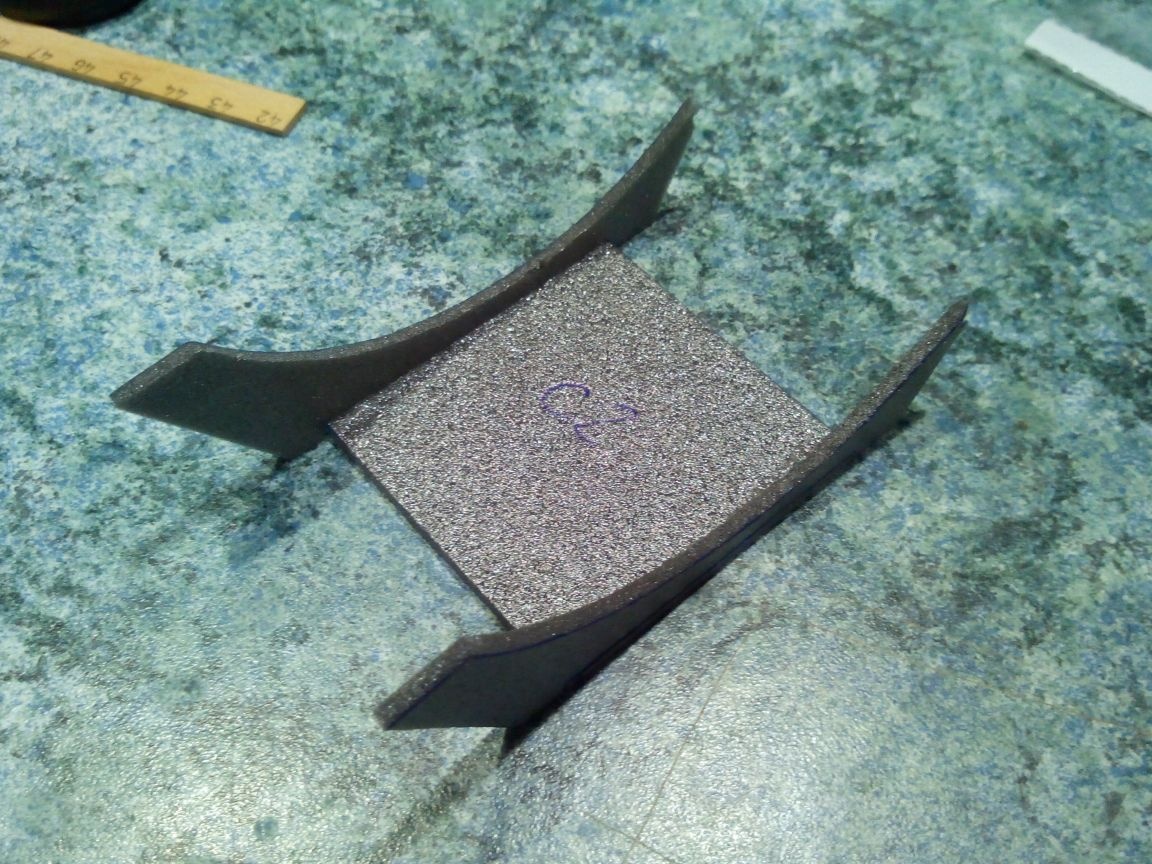
Glue the upper part to it. After the glue dries, put the cover in place and trim the edges with emery cloth.
We cut out the windshield from transparent plastic and erase the places where the glue will be with sandpaper.
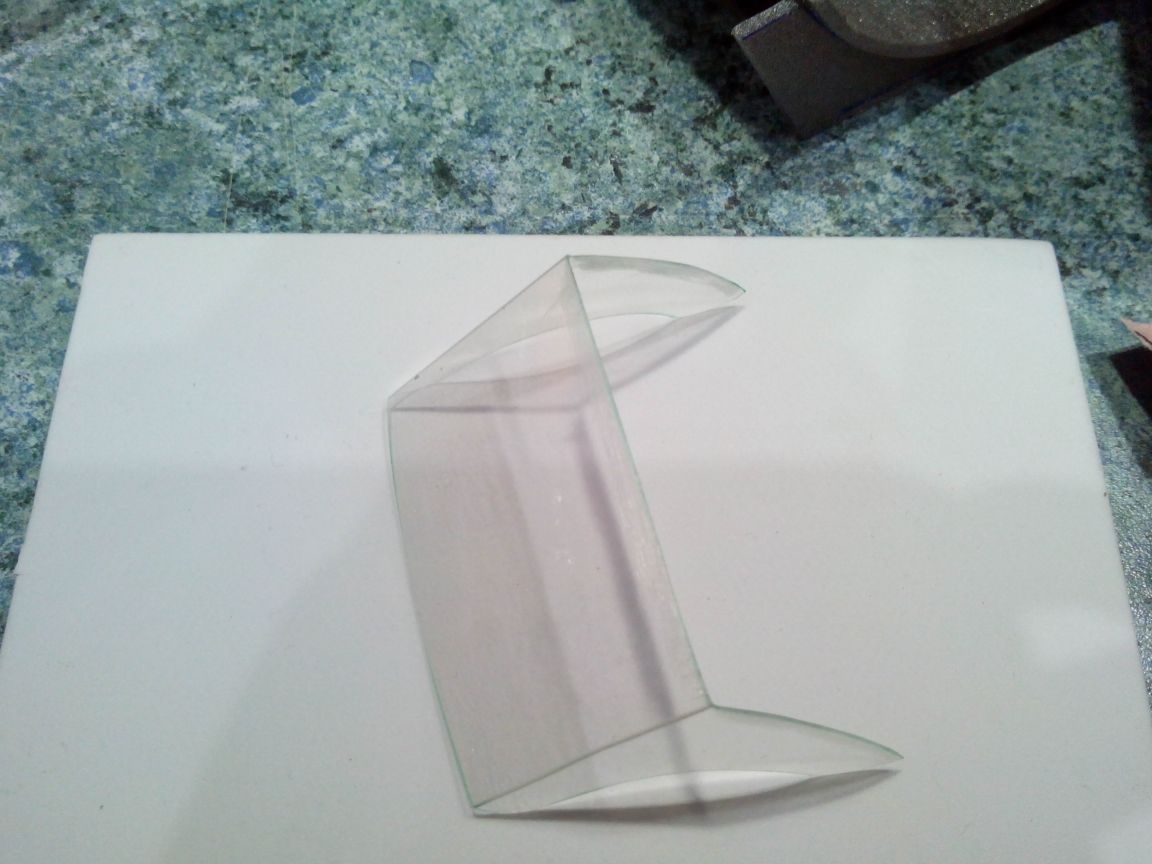
Glue the windshield to the cover with epoxy glue.
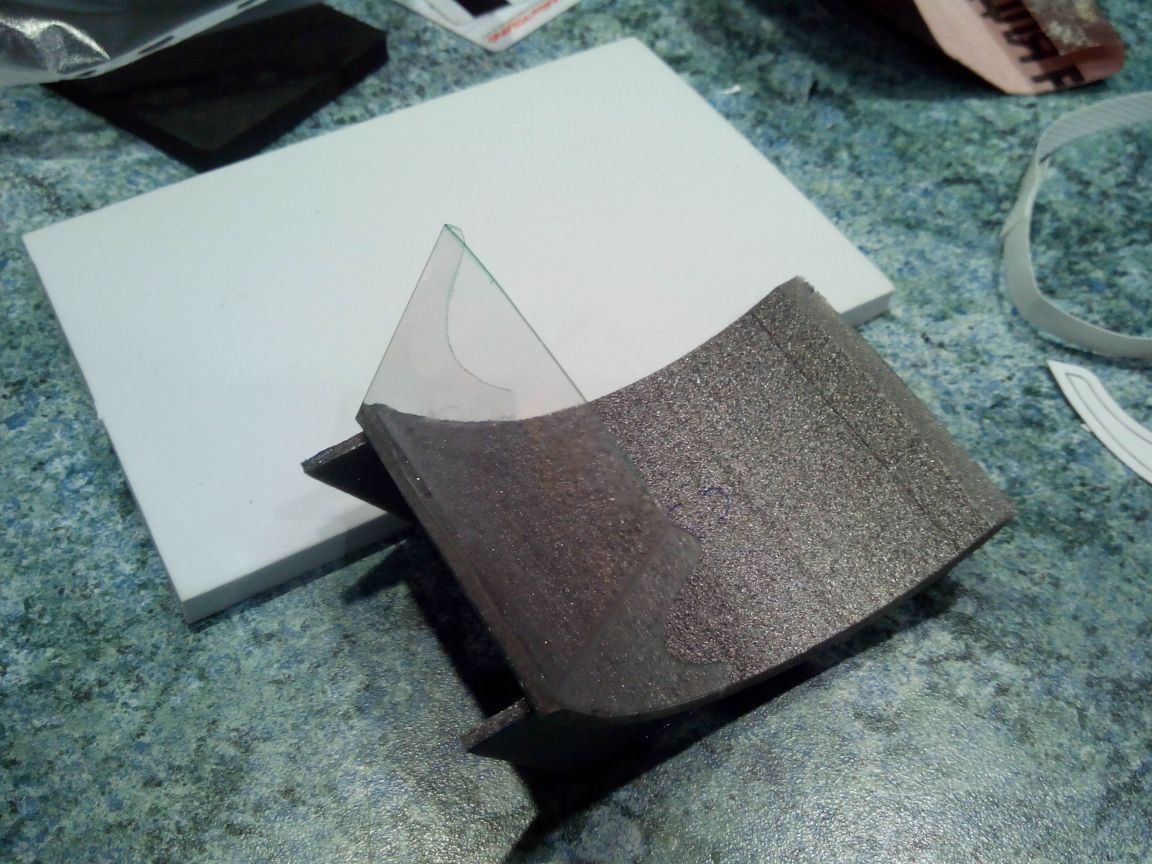
With a black marker we outline the contours of the windshield.
We cover the outside with acrylic paints.
The cover holds due to small ledges in the back, but after laying all the electronics, it can be additionally fixed with a couple of drops of ceiling glue.
Step 6. The chassis.
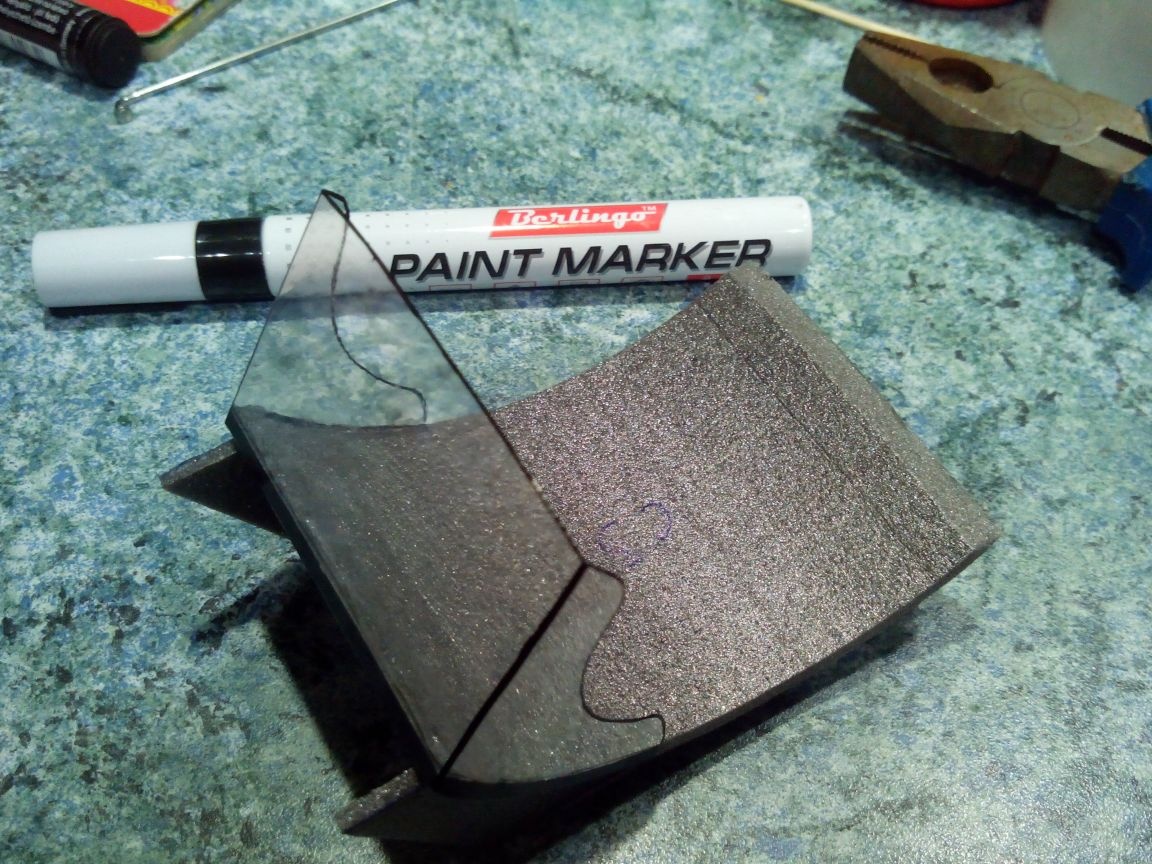
We take foam rubber from the packaging (for example, in a box from a tablet or even from a smartphone case).
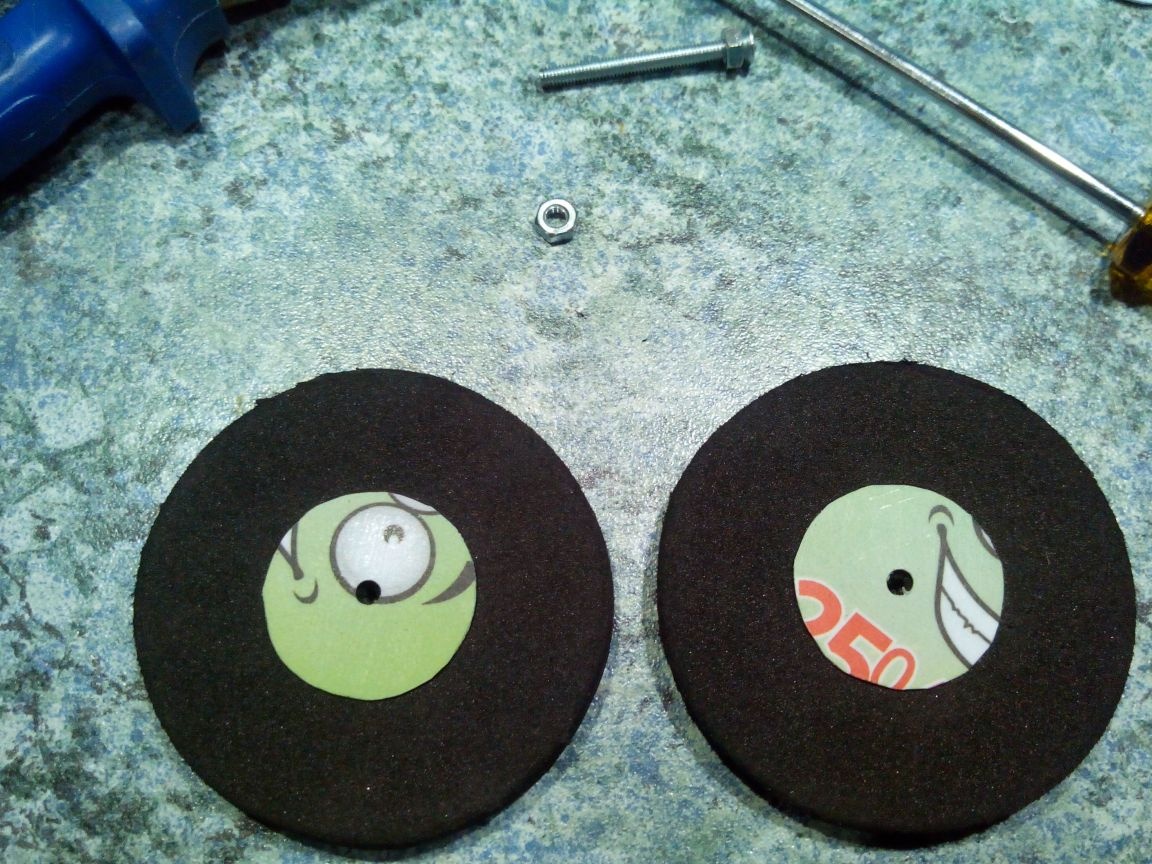
Draw a compass circle on the size of the wheel with the drawings.
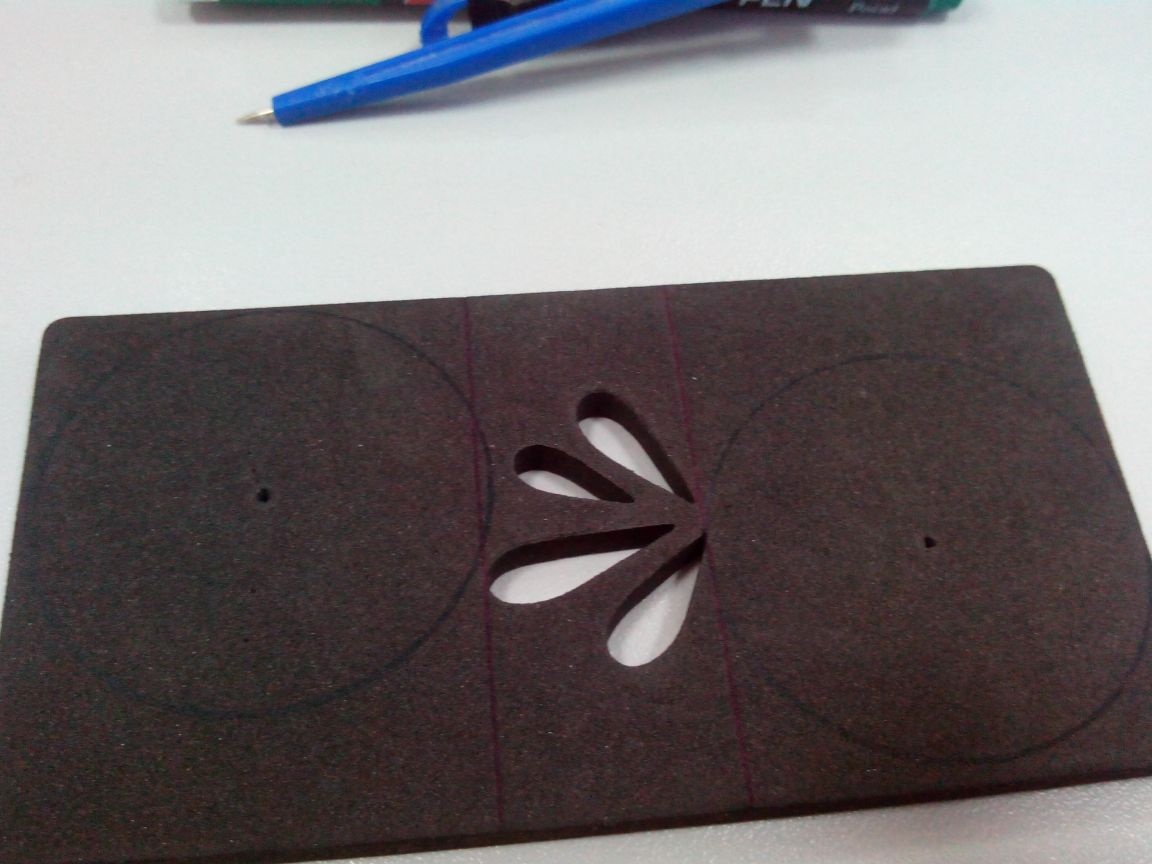
Cutter cut the wheel blanks.
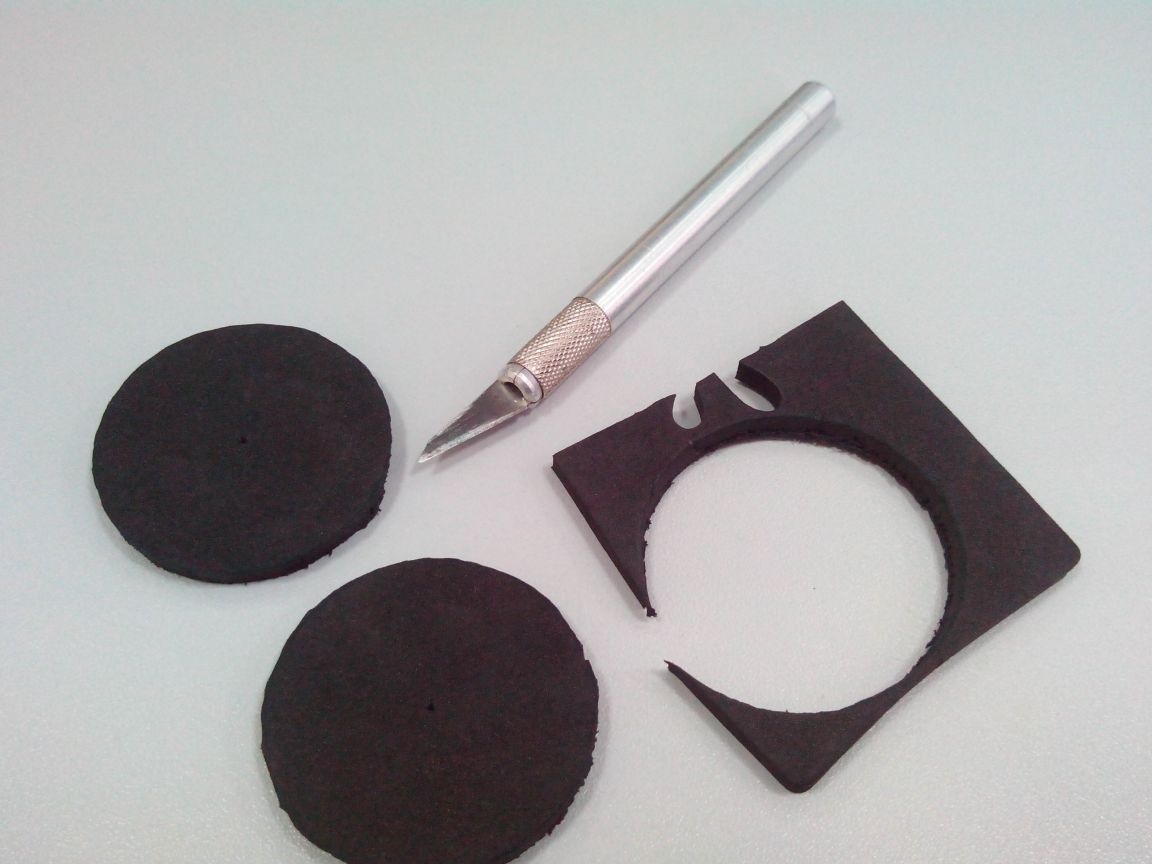
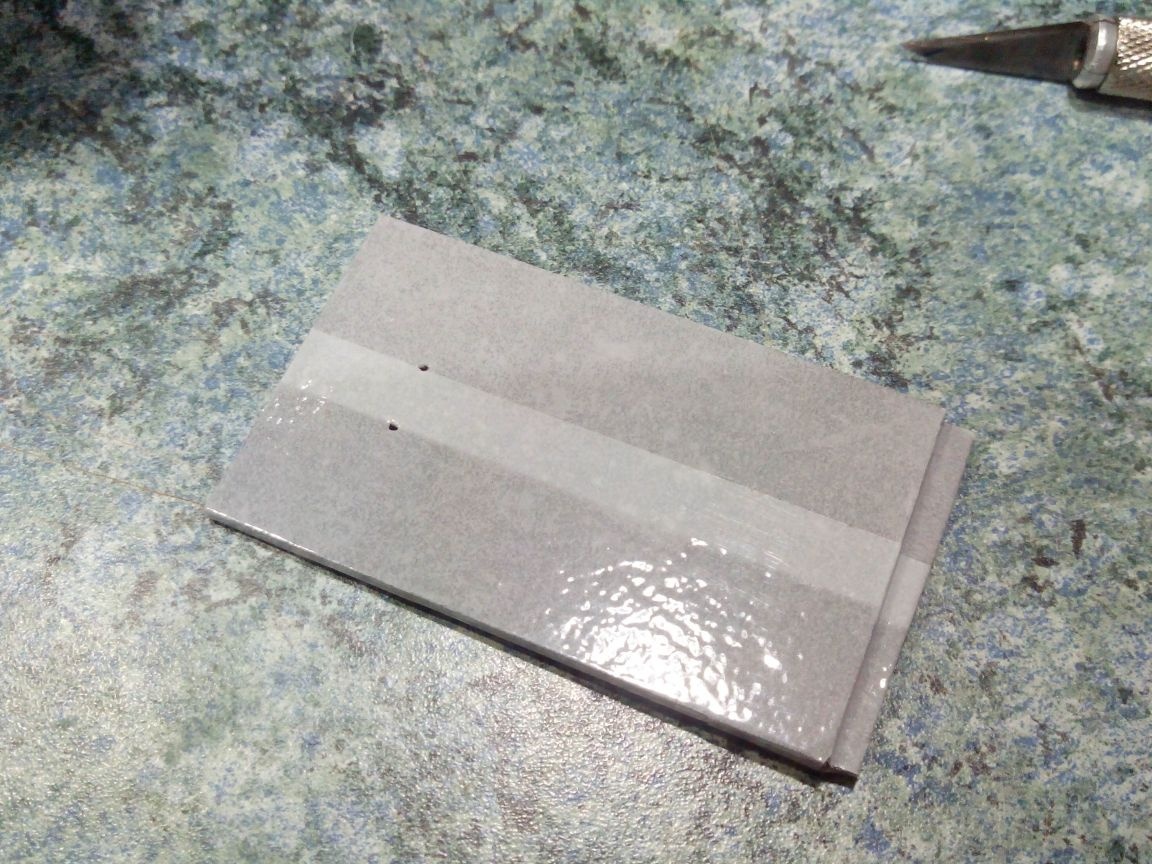
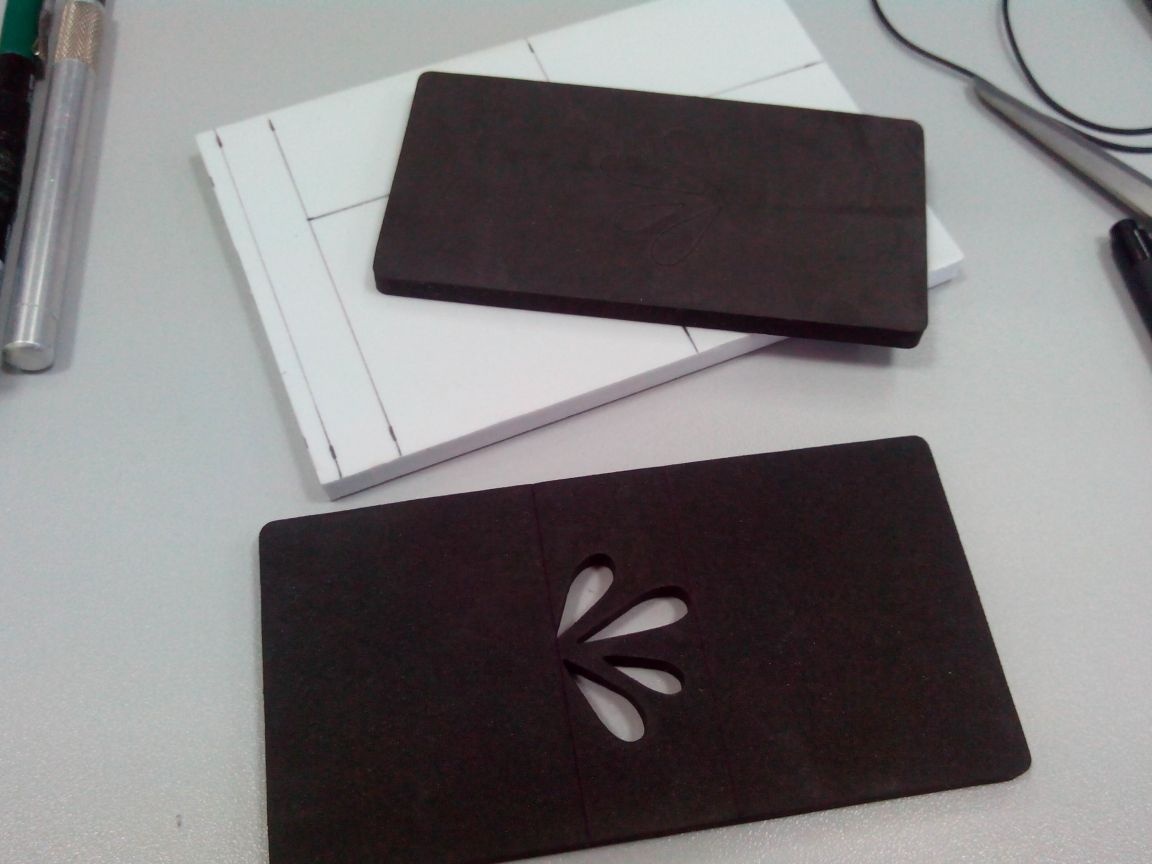
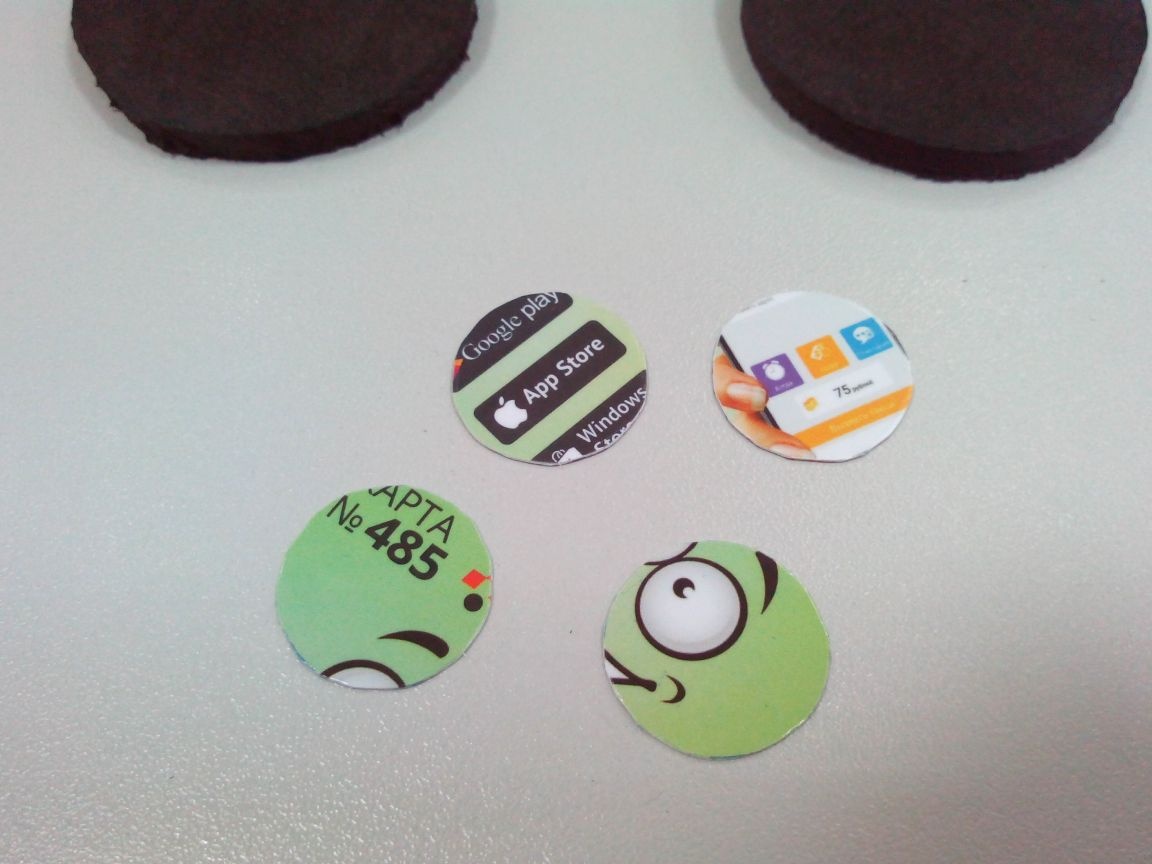
Four discs are cut out of a plastic card, we skin them on both sides and we make holes in them.
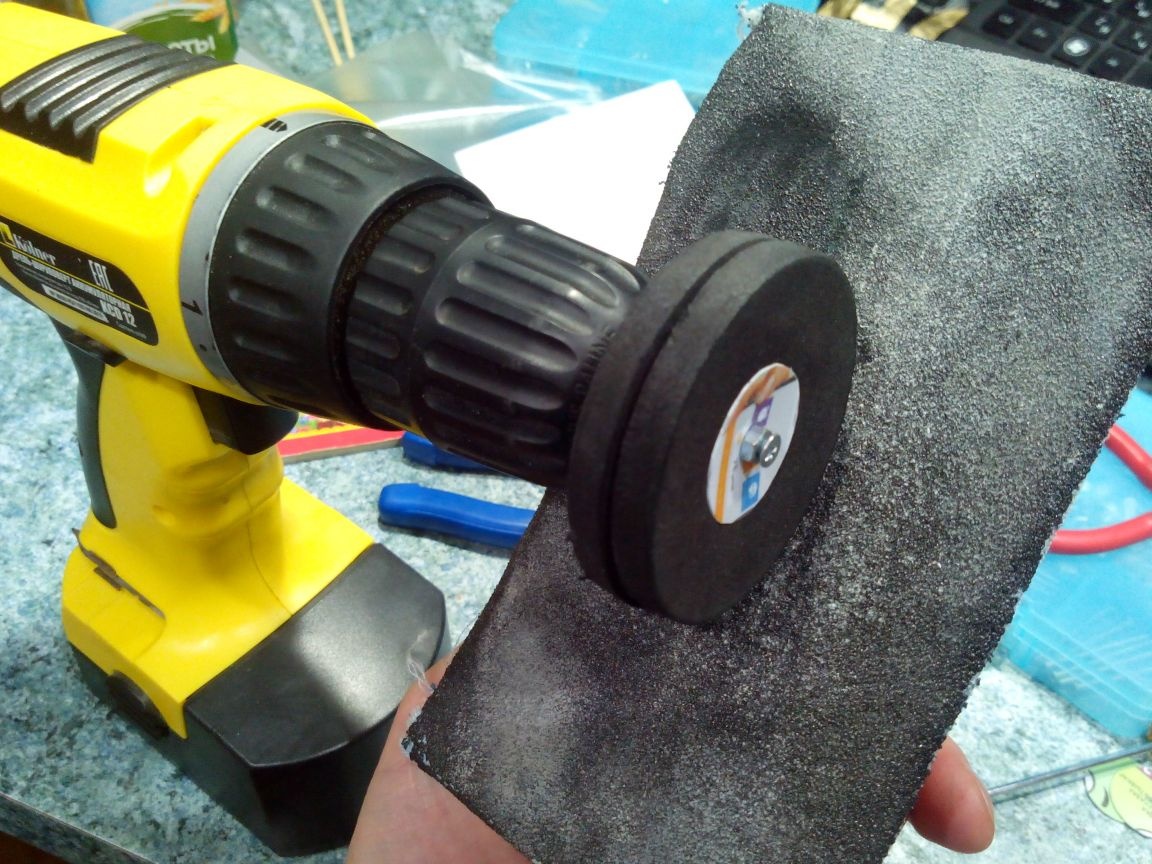
With a bolt and a nut, we pull together both the workpieces, clamp them into drills and process them with sandpaper until we get two even and identical circles.
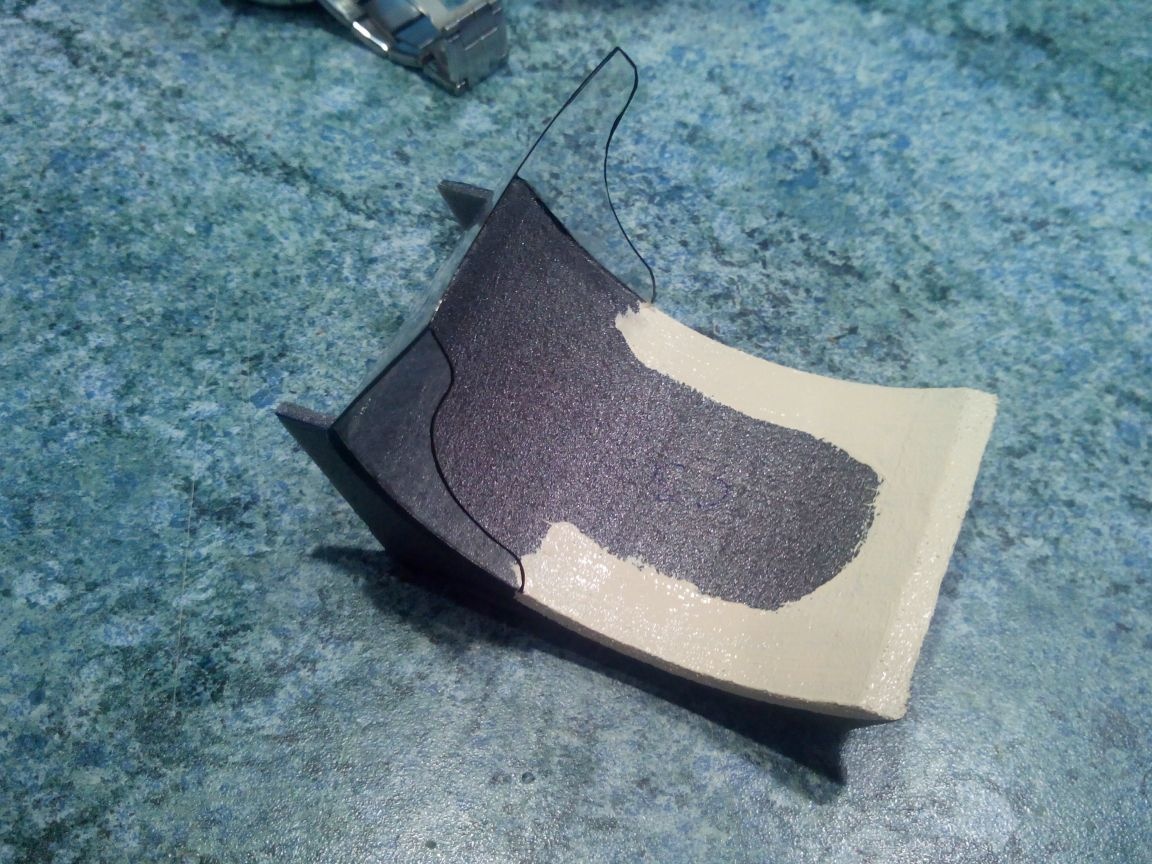
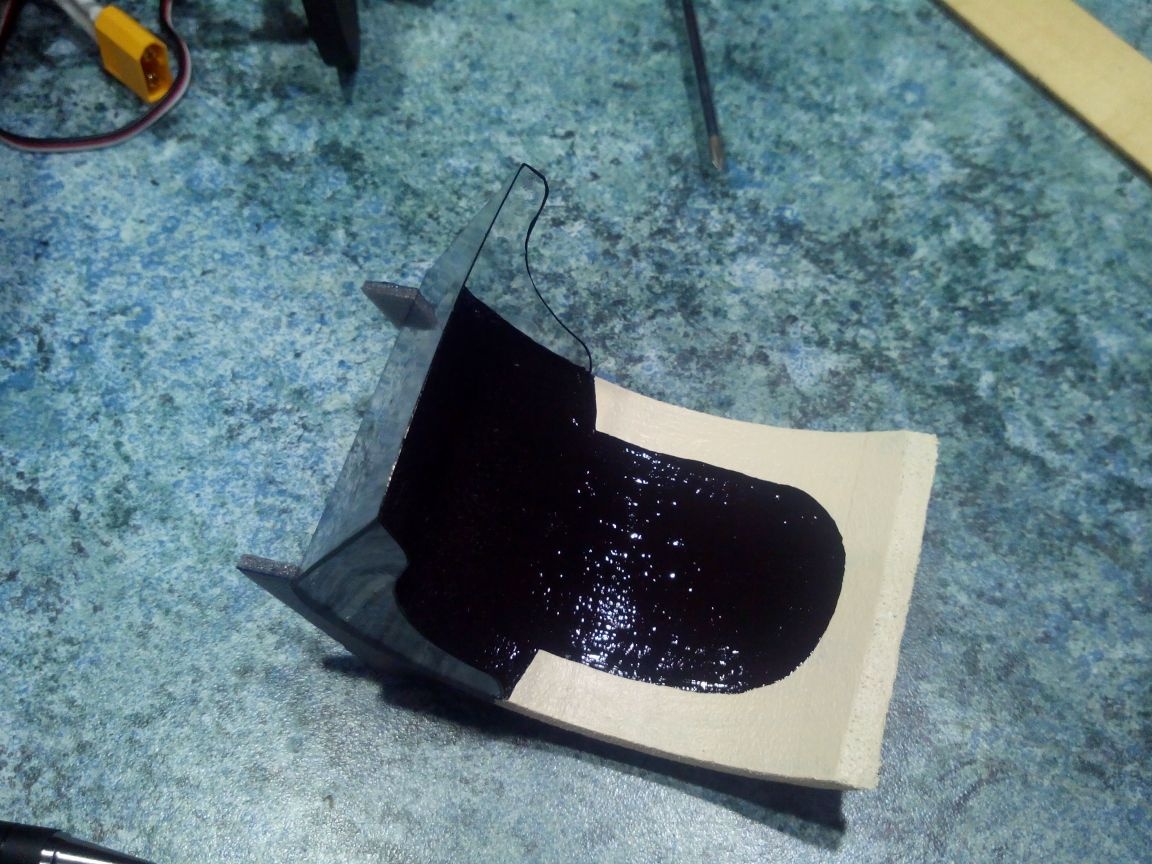
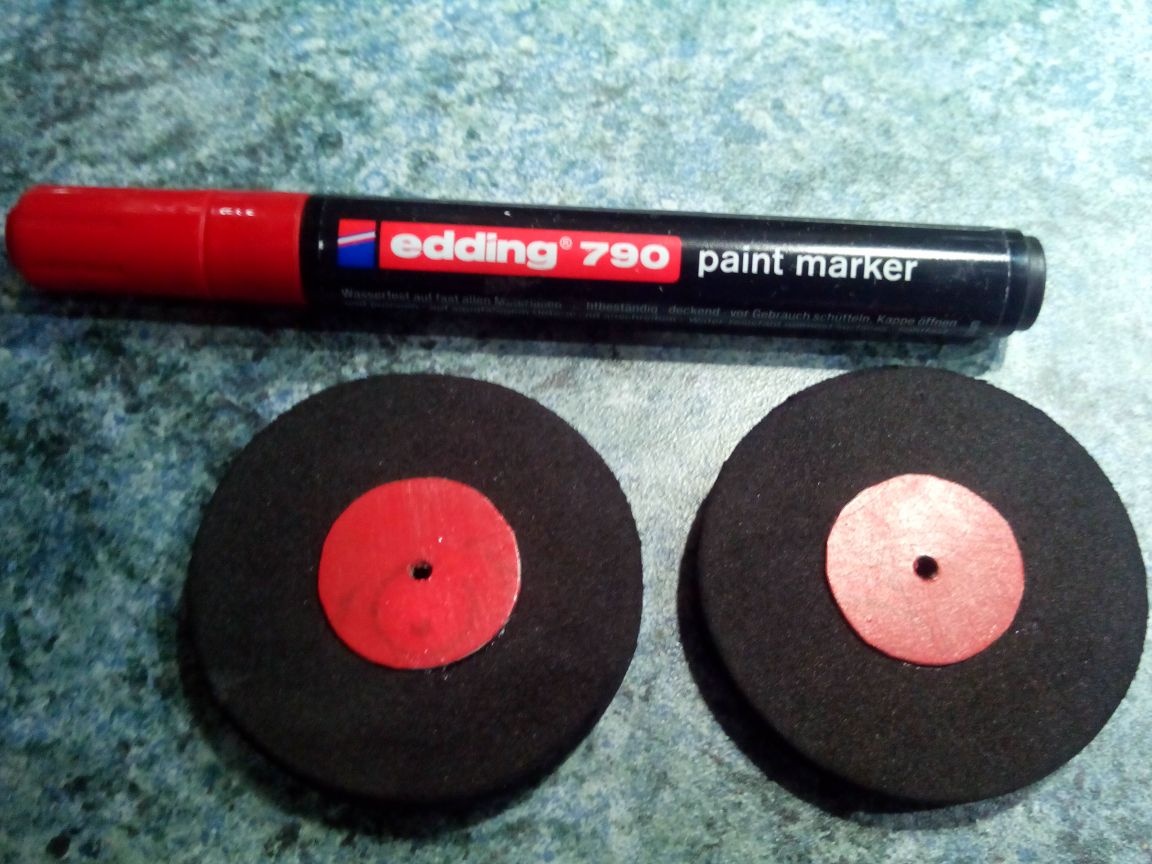
Glue plastic discs on both sides with epoxy glue.
Paint the wheels with a marker.
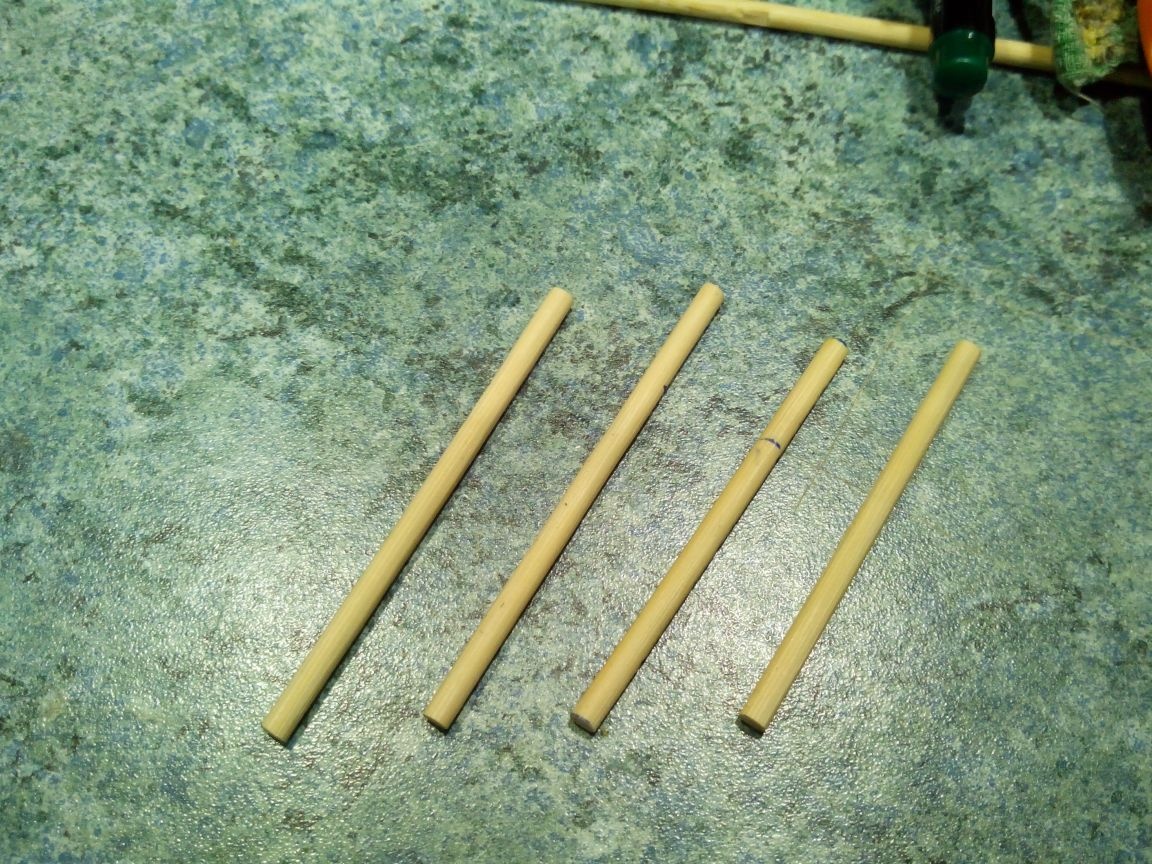
We make chassis racks from bamboo sticks.
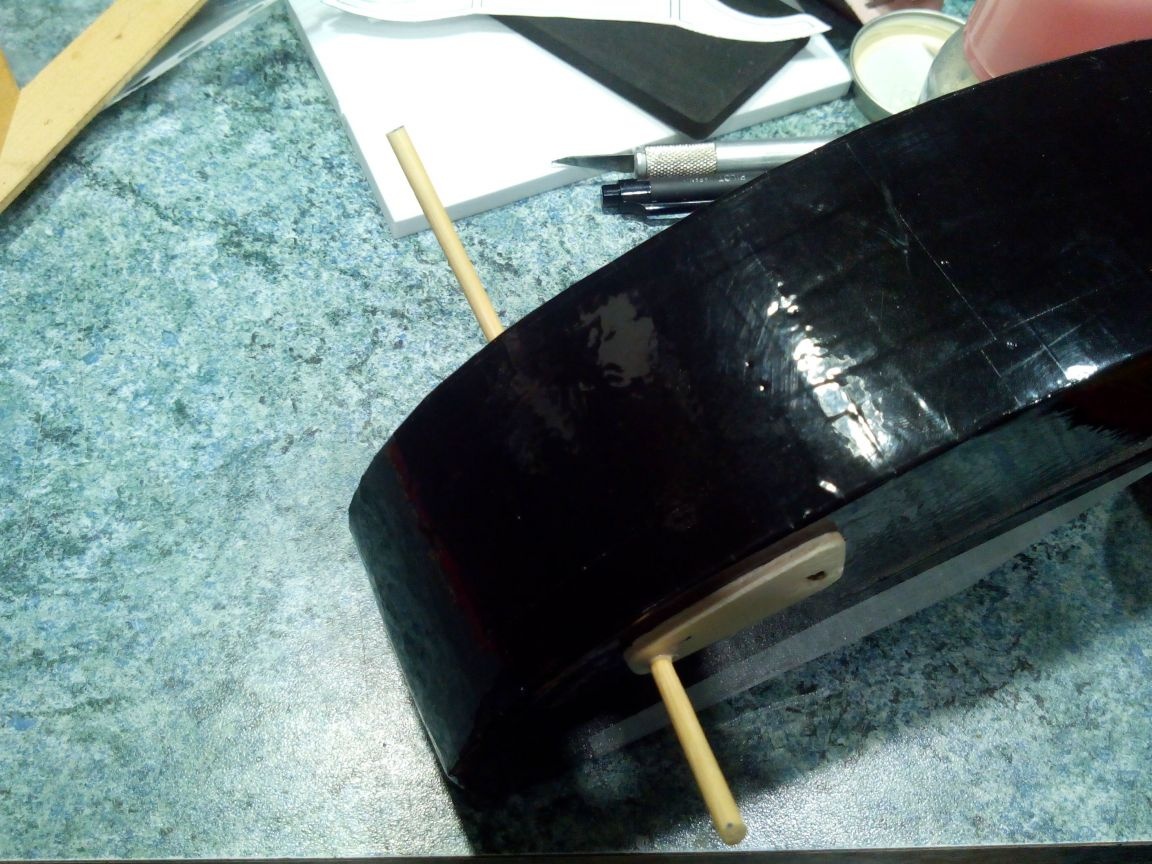
We immediately glue the front struts into plywood reinforcements with PVA glue, pre-drilled holes in them at the right angle, and leave them to dry completely.
We attach wire “ears” to the rear racks with glue and thread.
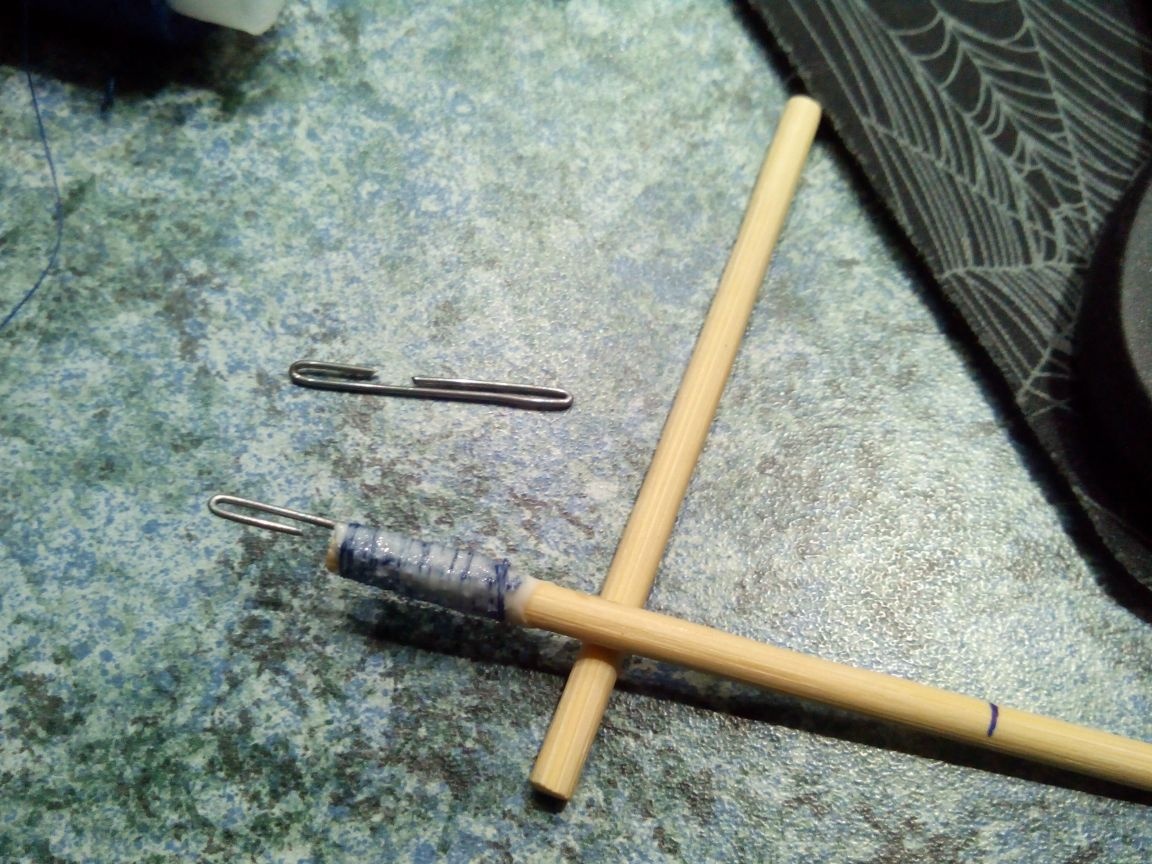
We glue the rear pillars and before the glue dries, we fix them with adhesive tape to the front pillars. Then, instead of scotch tape, we wrap the joints of the racks with thread with glue.
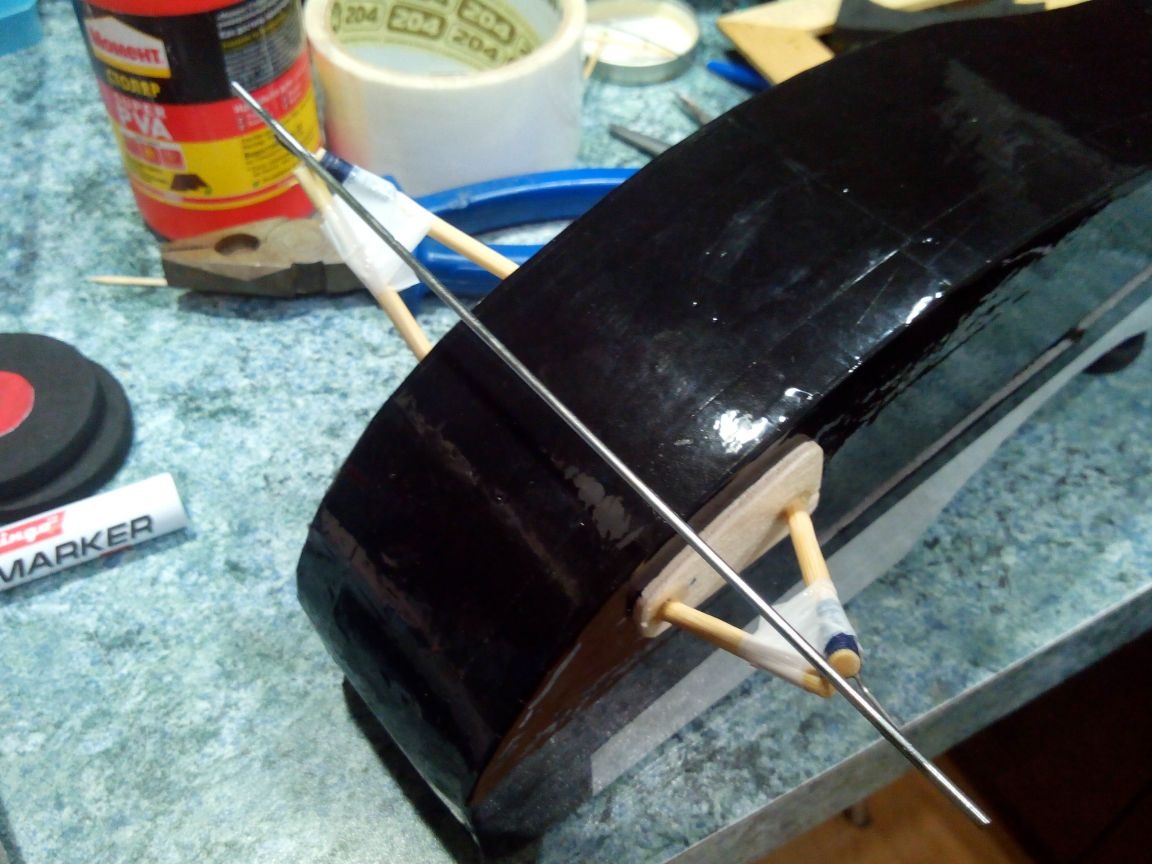
From a bicycle spoke we bite off a part of the required length and also we wind with threads with glue to the “ears”.
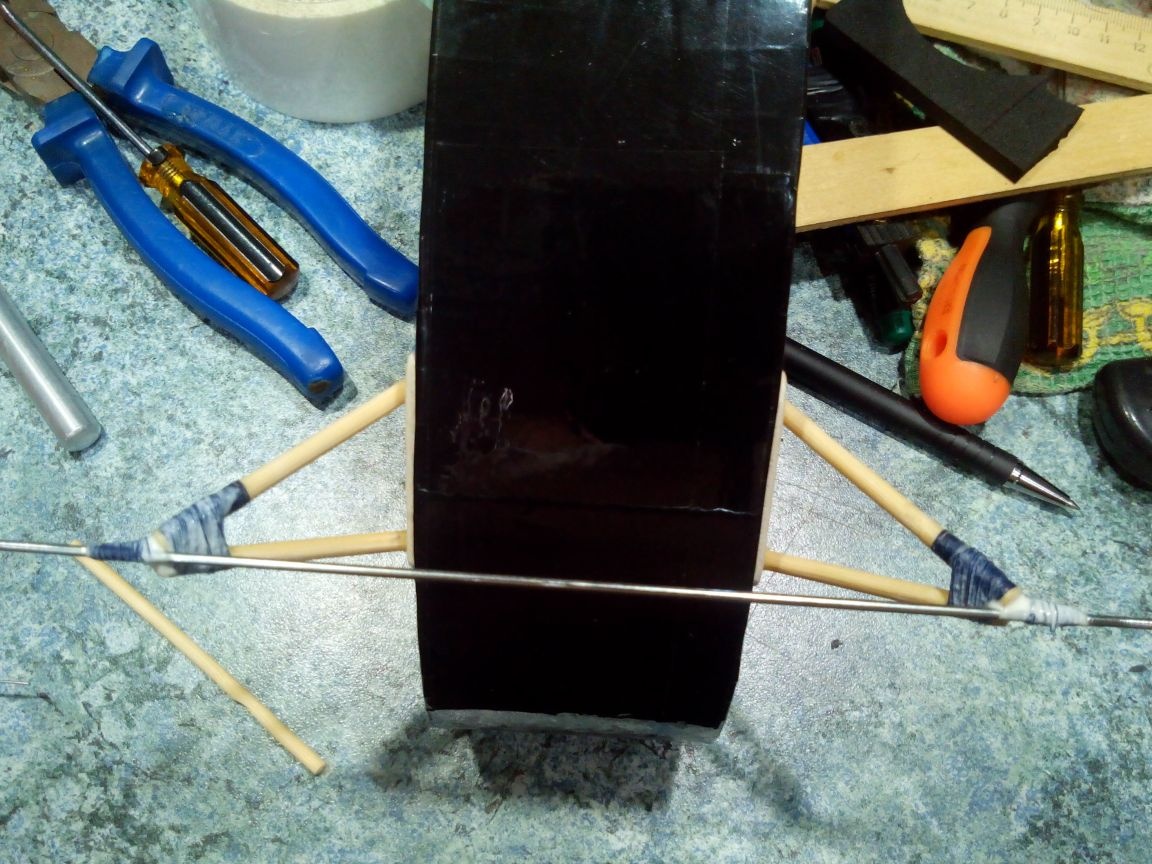
We fix the wheels with tie rods.
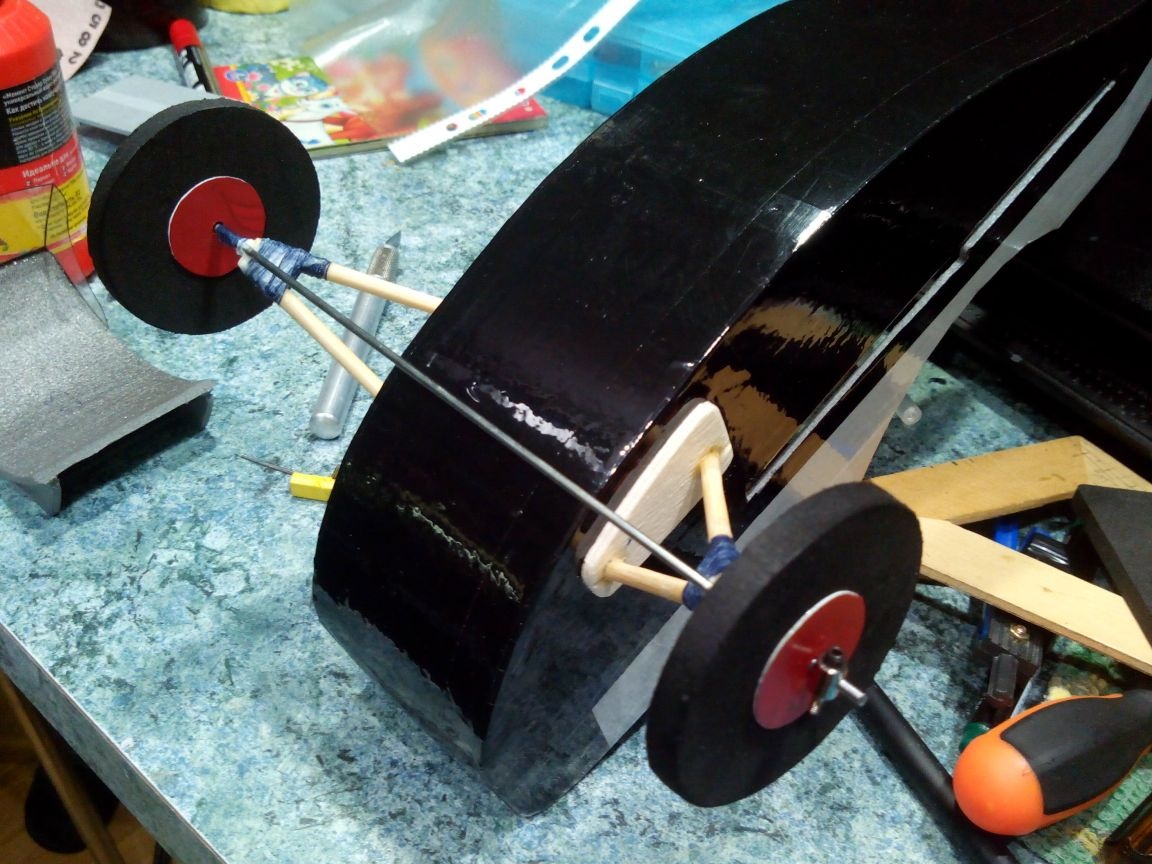
Racks and reinforcements are painted with acrylic paints.

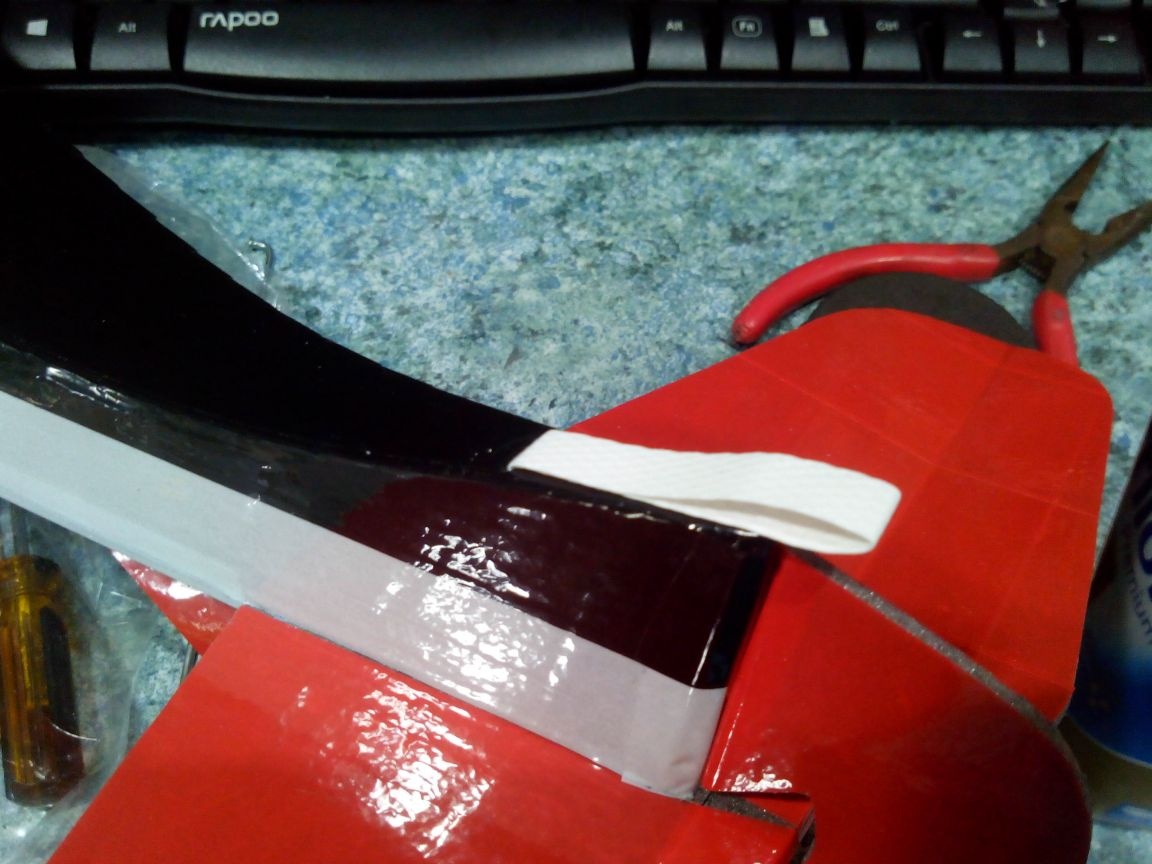
We make a back crutch from a packing tape folded in half.
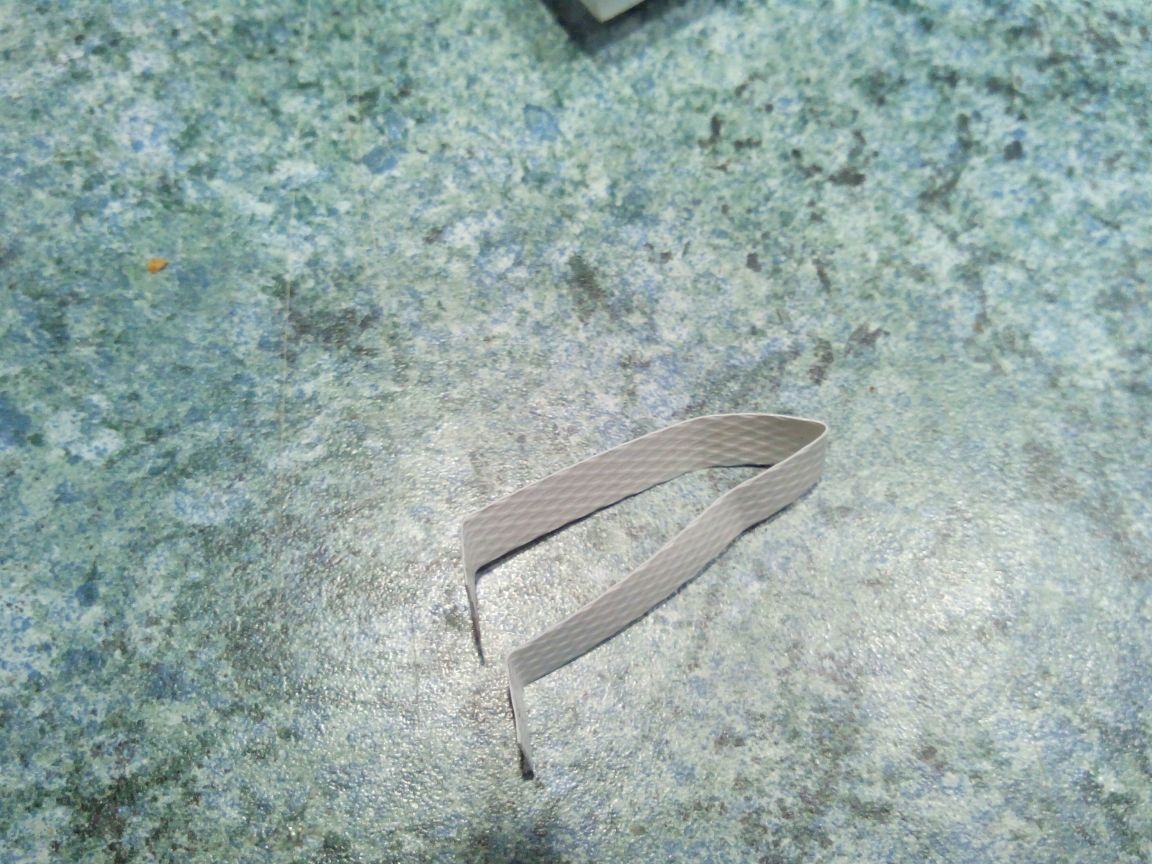
And glue it with epoxy glue in a pre-made incision in the tail.
Step 7. Assembly and installation of electronics.
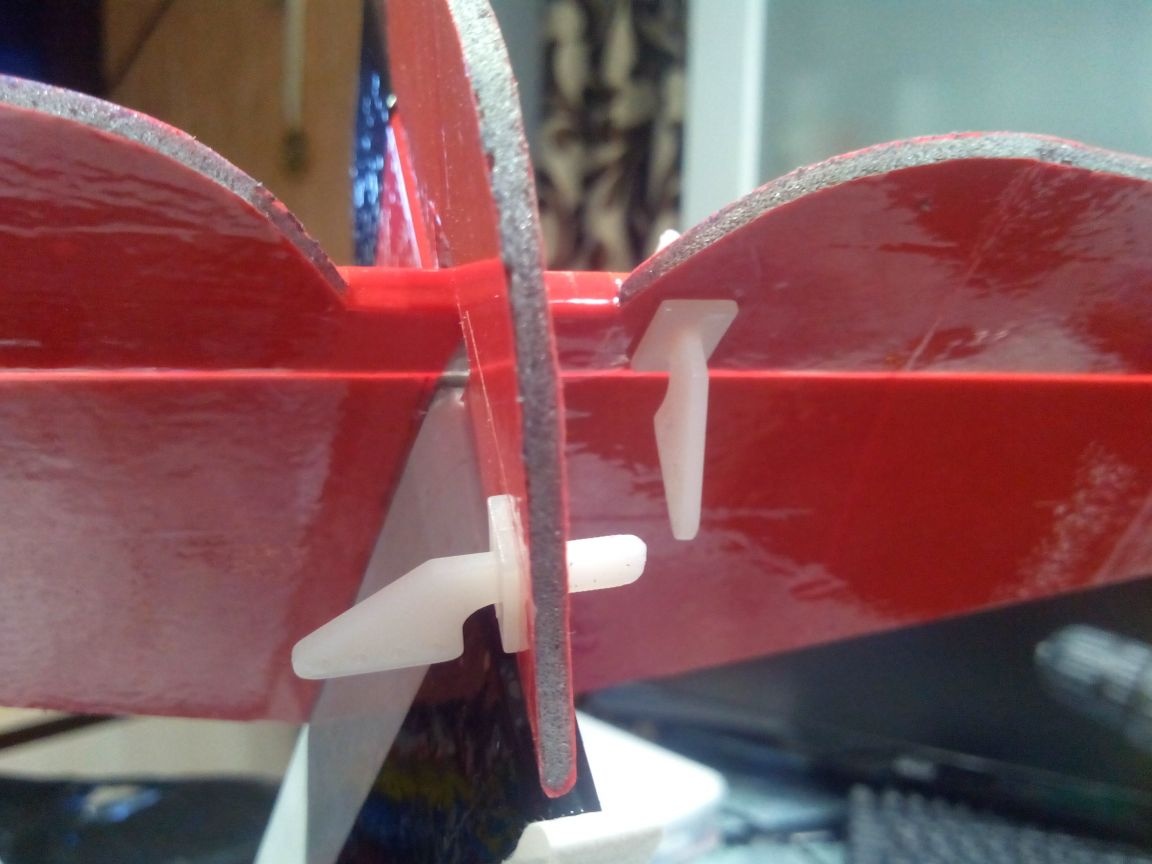
Glue the keel into the tail. In the lower part of the rudder, add a couple of strips of tape as loops.
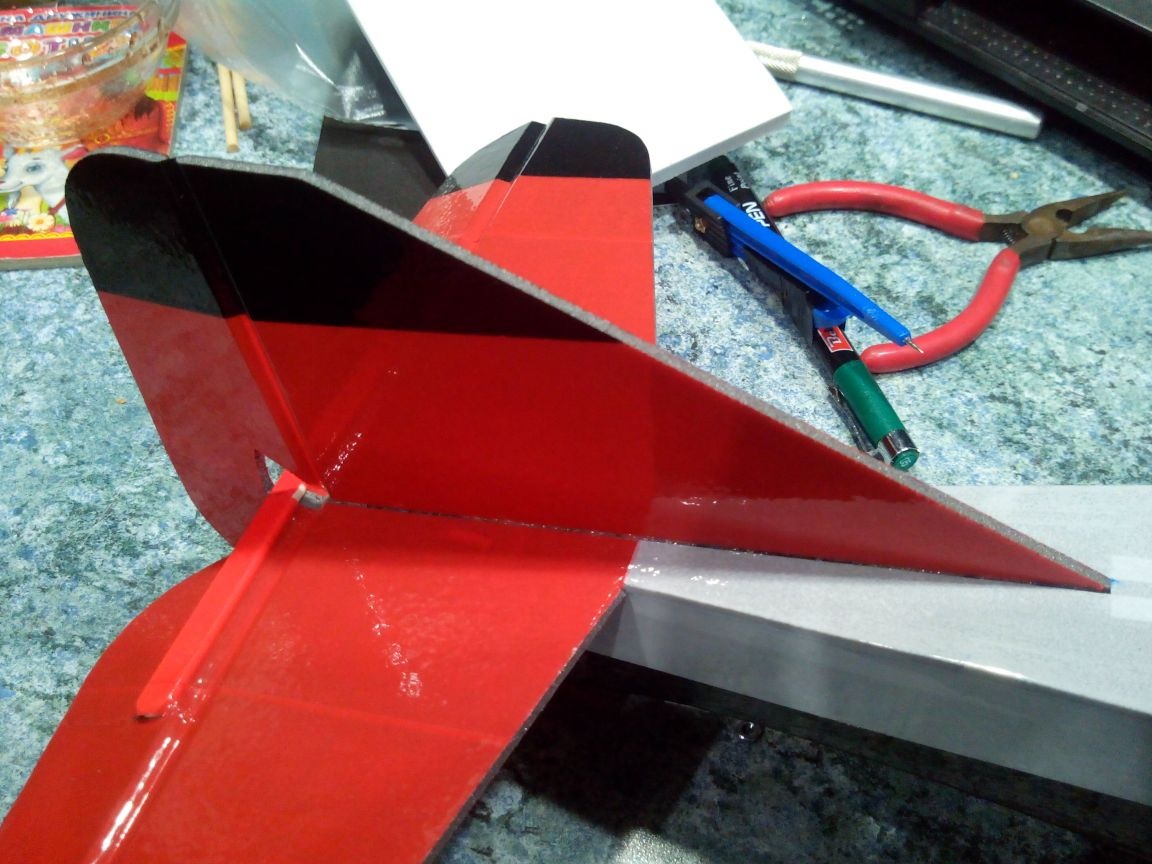
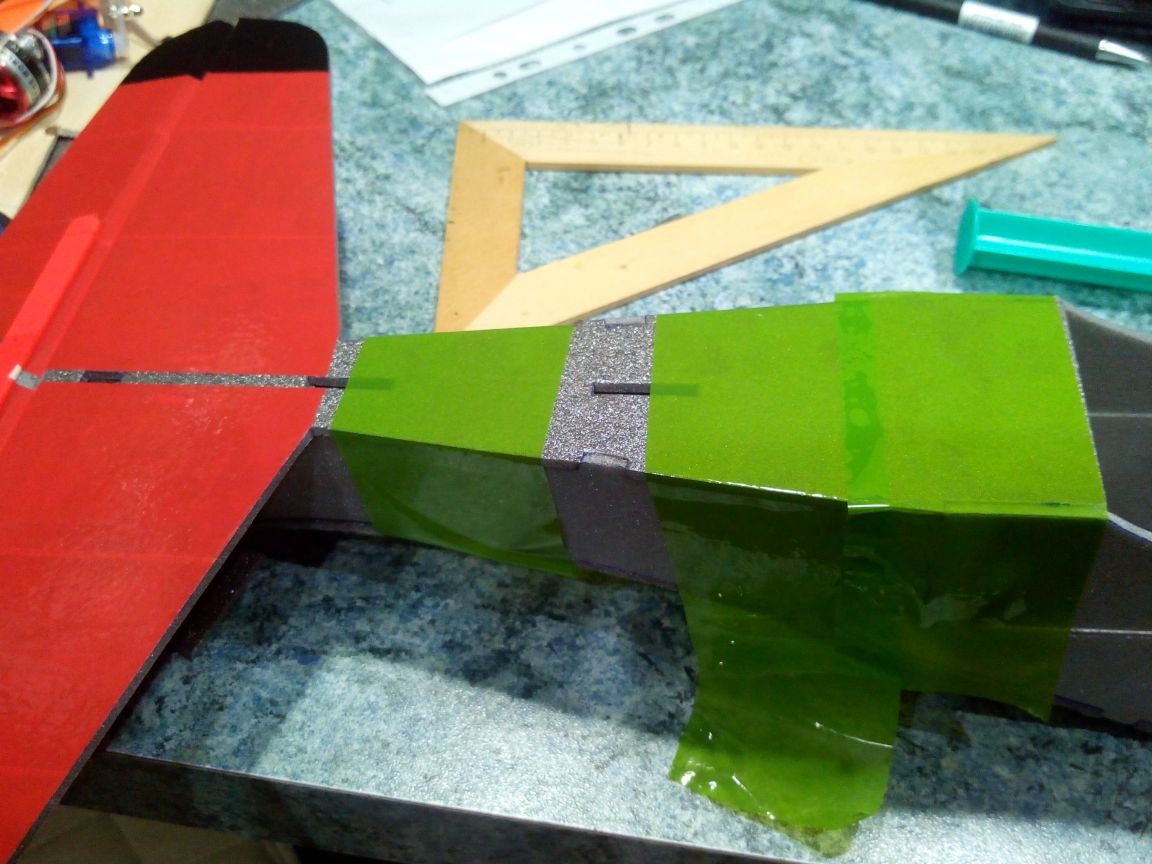
Glue the wing.
We fasten the motor, and seal the holes for the screwdriver on the sides of the fuselage with pieces of tape.
We glue the tail servos.
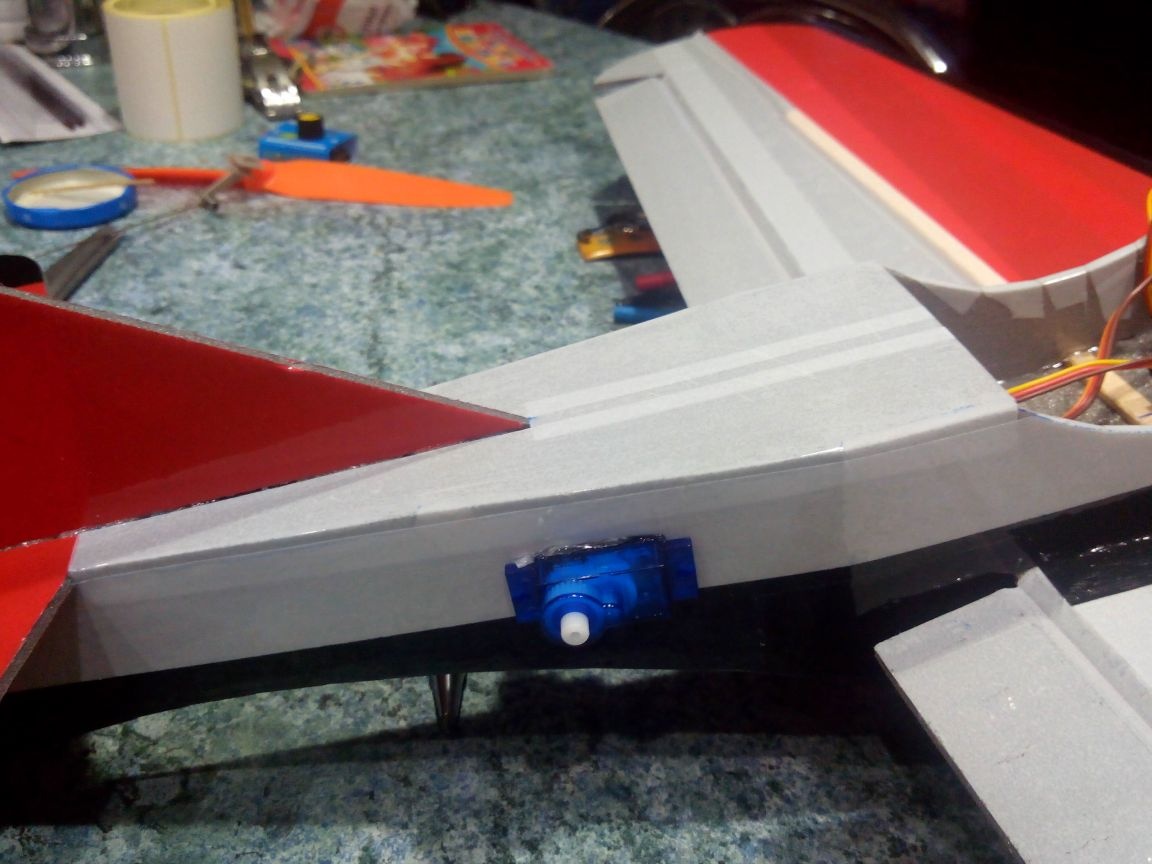
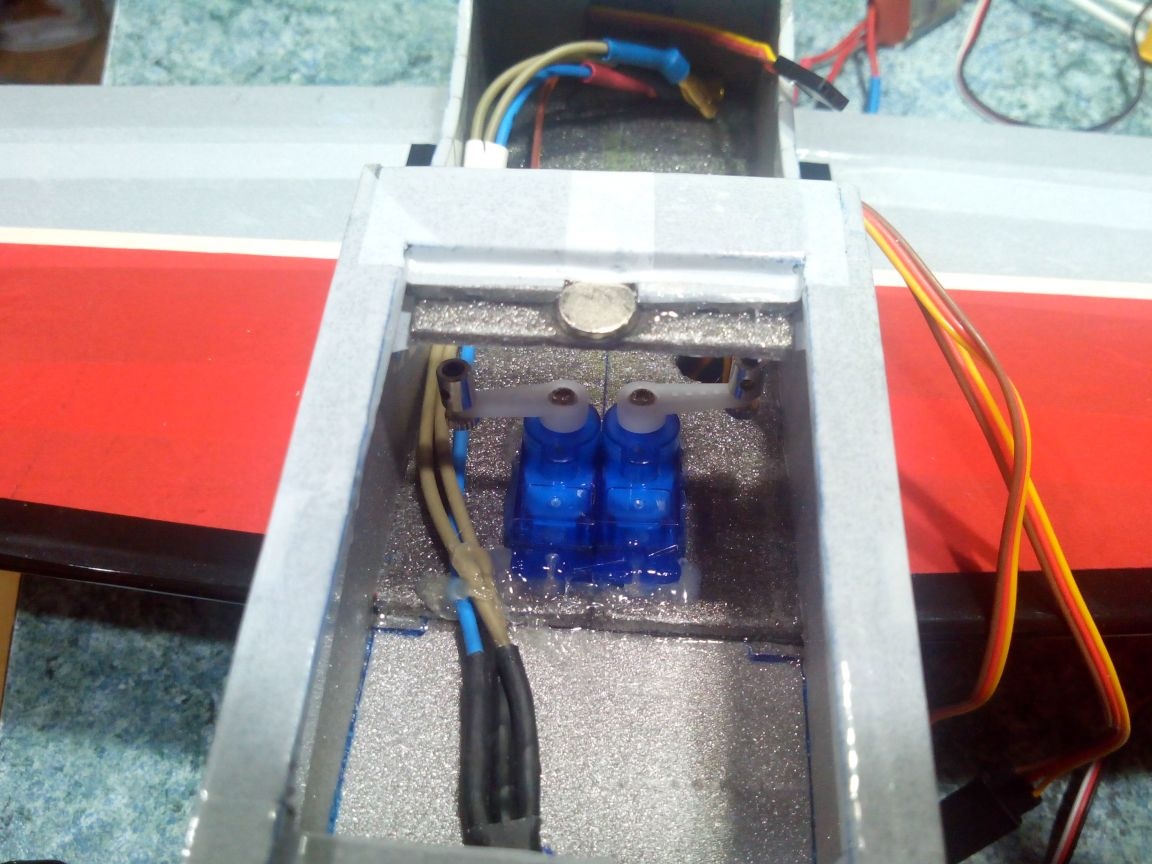
We glue the aileron servos.
We glue the boars into the rudder and elevator.
We fix the tail of the tail.
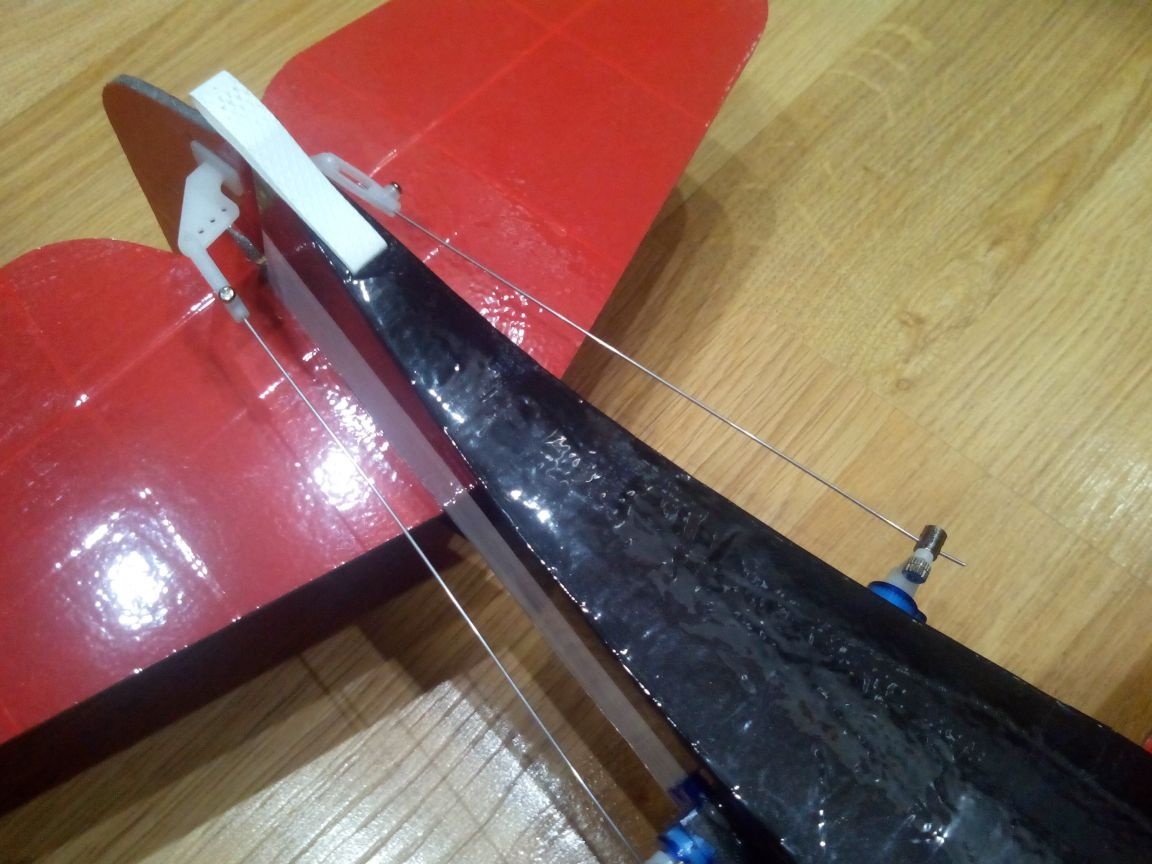
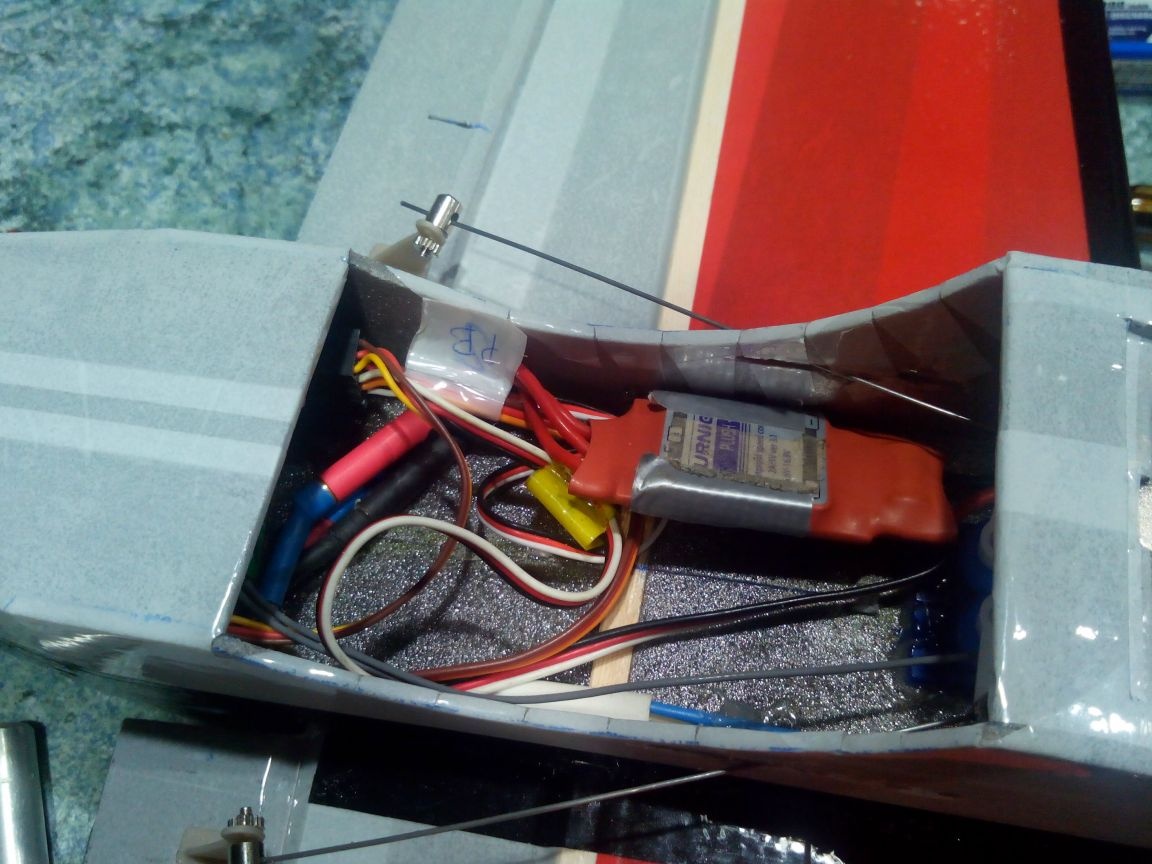
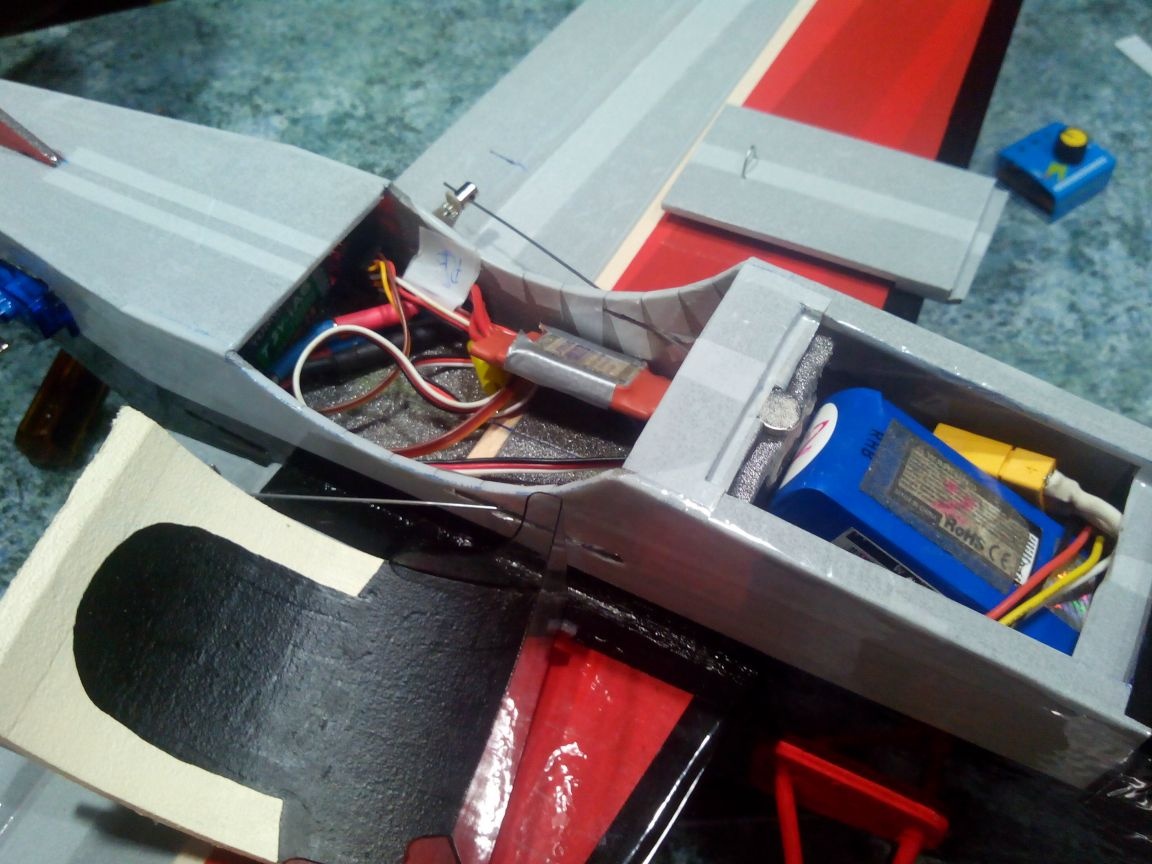
We glue the boars into the ailerons and through the slots cut out in the sides of the fuselage, we carry out traction to the rockers of the servos. We set the speed regulator and the receiver.
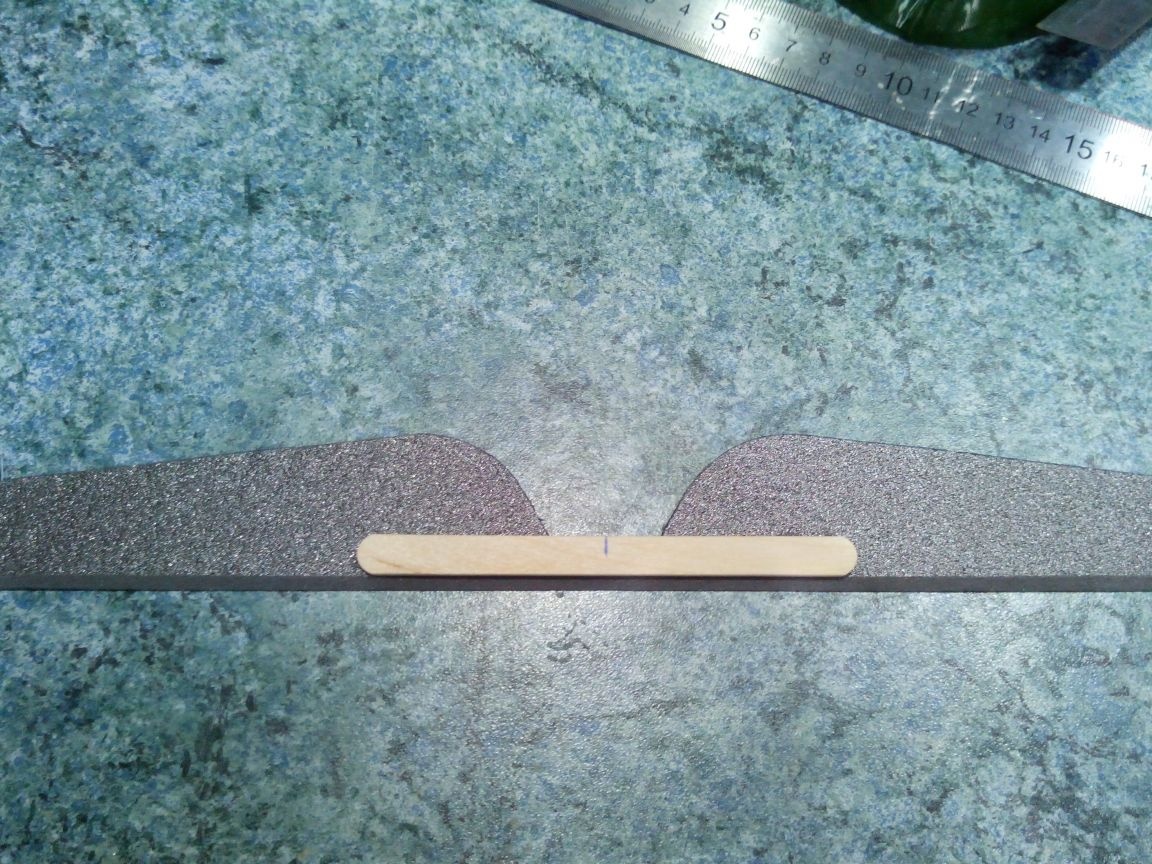
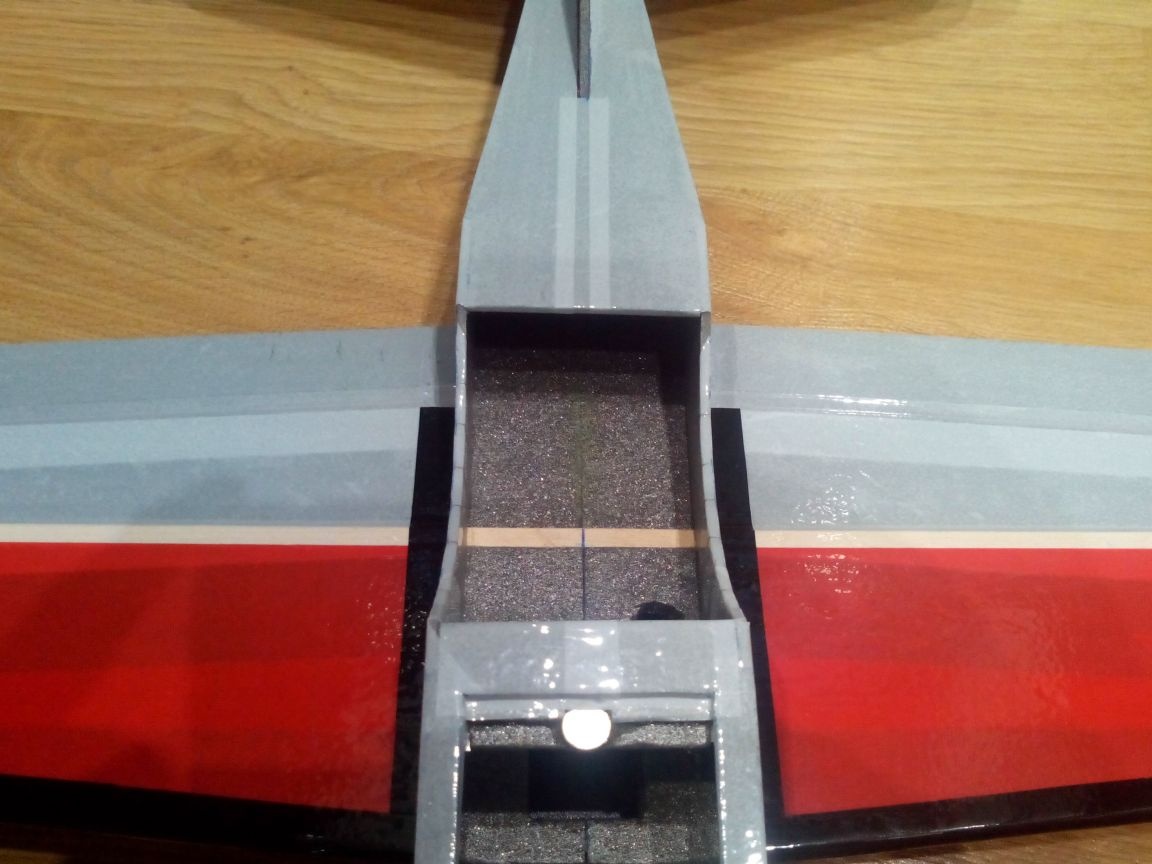
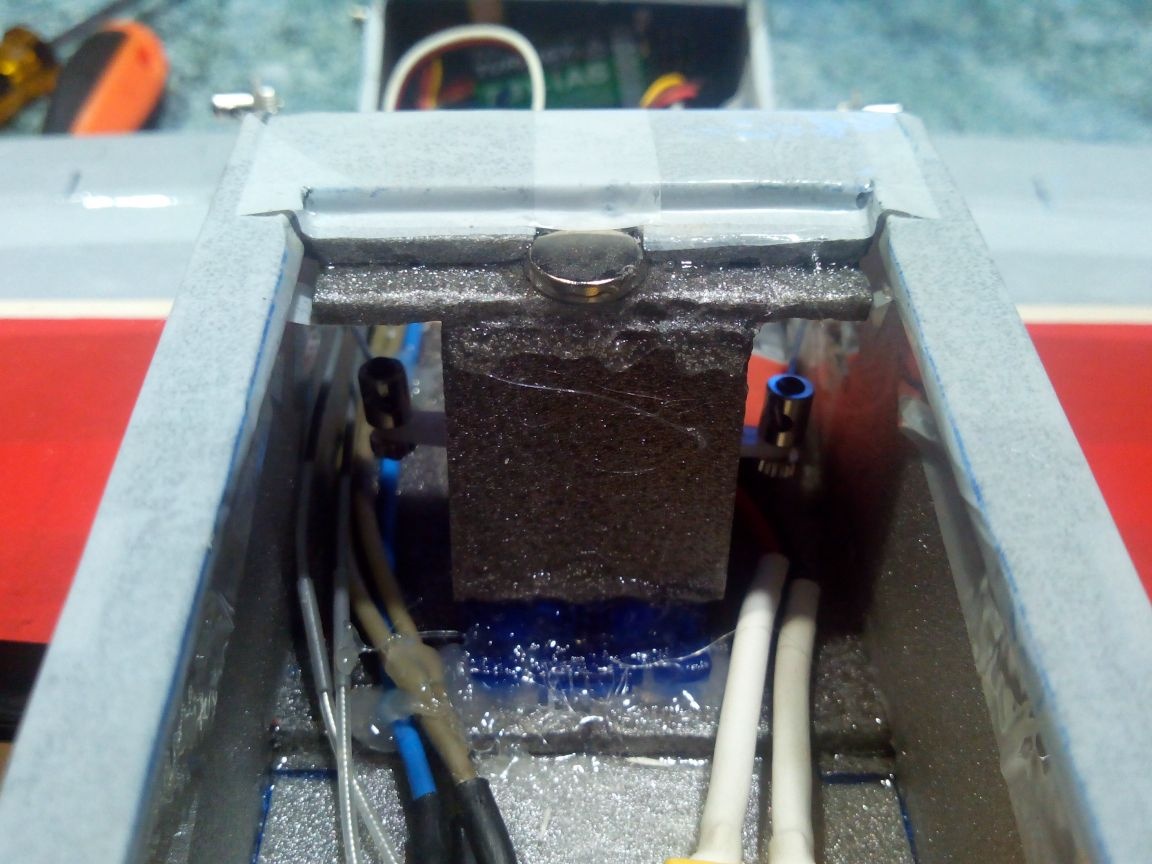
We glue the partition from two layers of the depron in front of the servo drives of the ailerons. It is necessary so that the battery does not interfere with the movements of the rocking servos. In addition, a sufficiently thin jumper in which a magnet is glued will amplify.
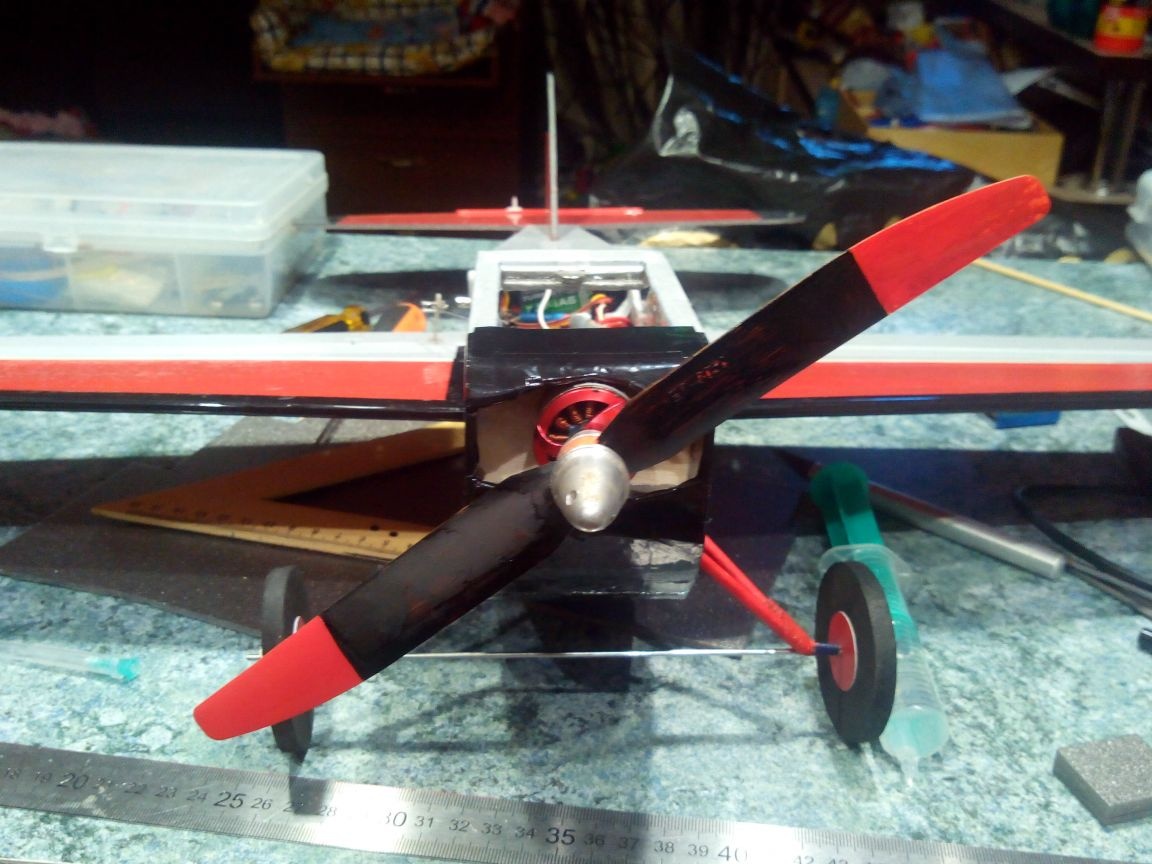
We fasten the screw, which can be pre-painted with markers in the desired colors.
We put the battery inside.
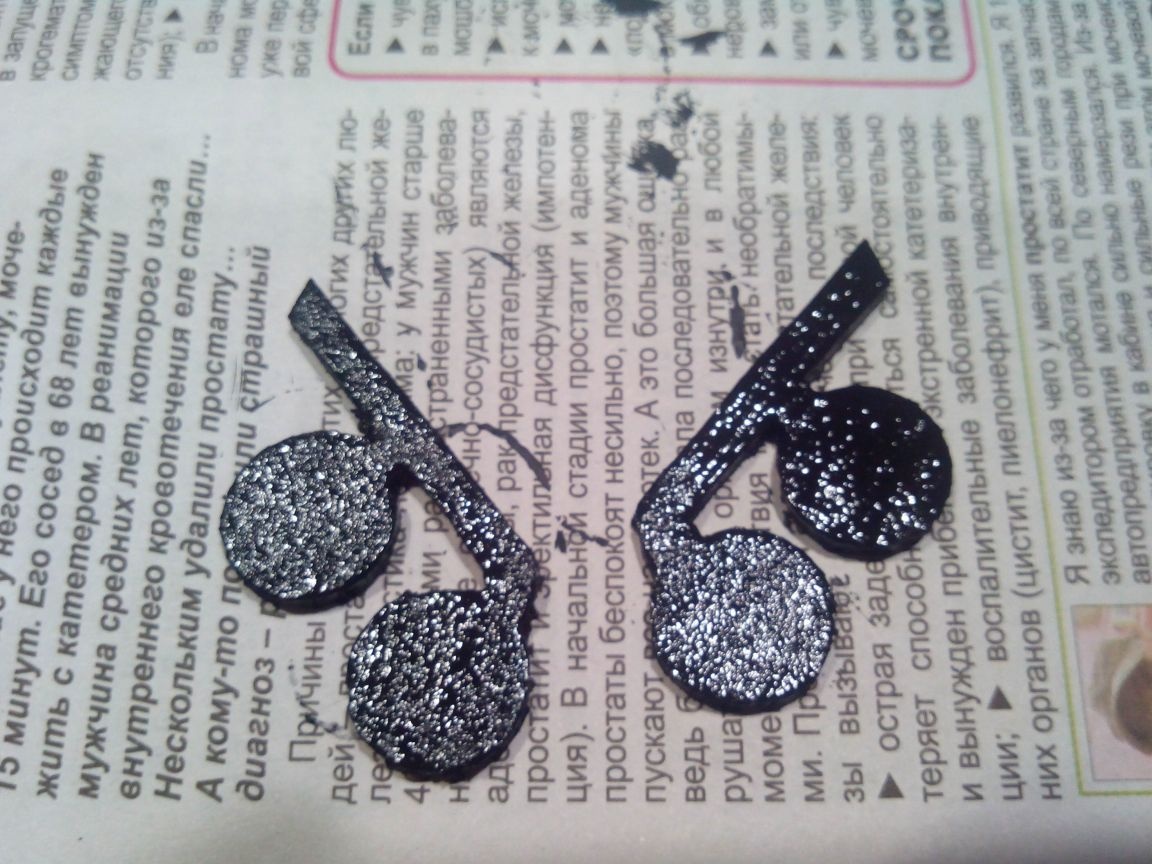
From the depron we cut out simulations of the exhaust pipes and paint them with acrylic paint.
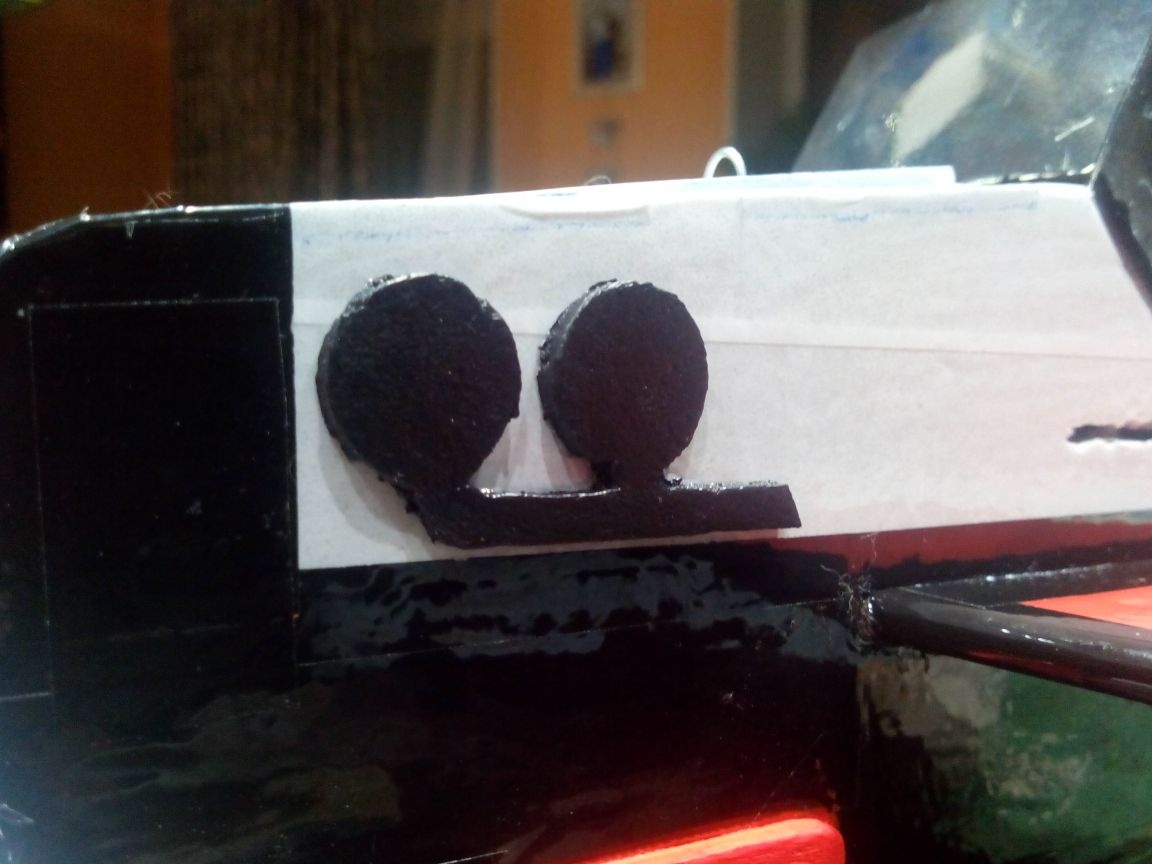
Glue the simulated exhaust pipes in the nose with epoxy glue.
Weigh the model in a complete set.
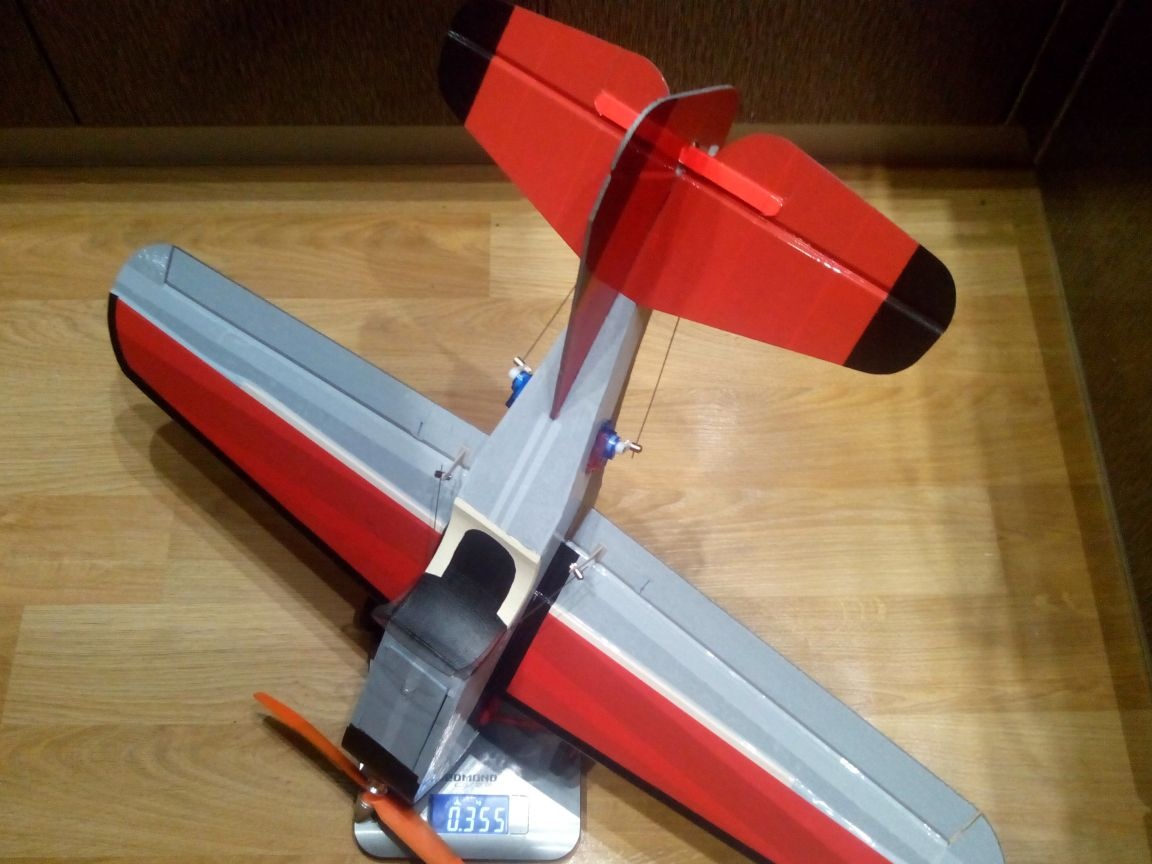
View from below.
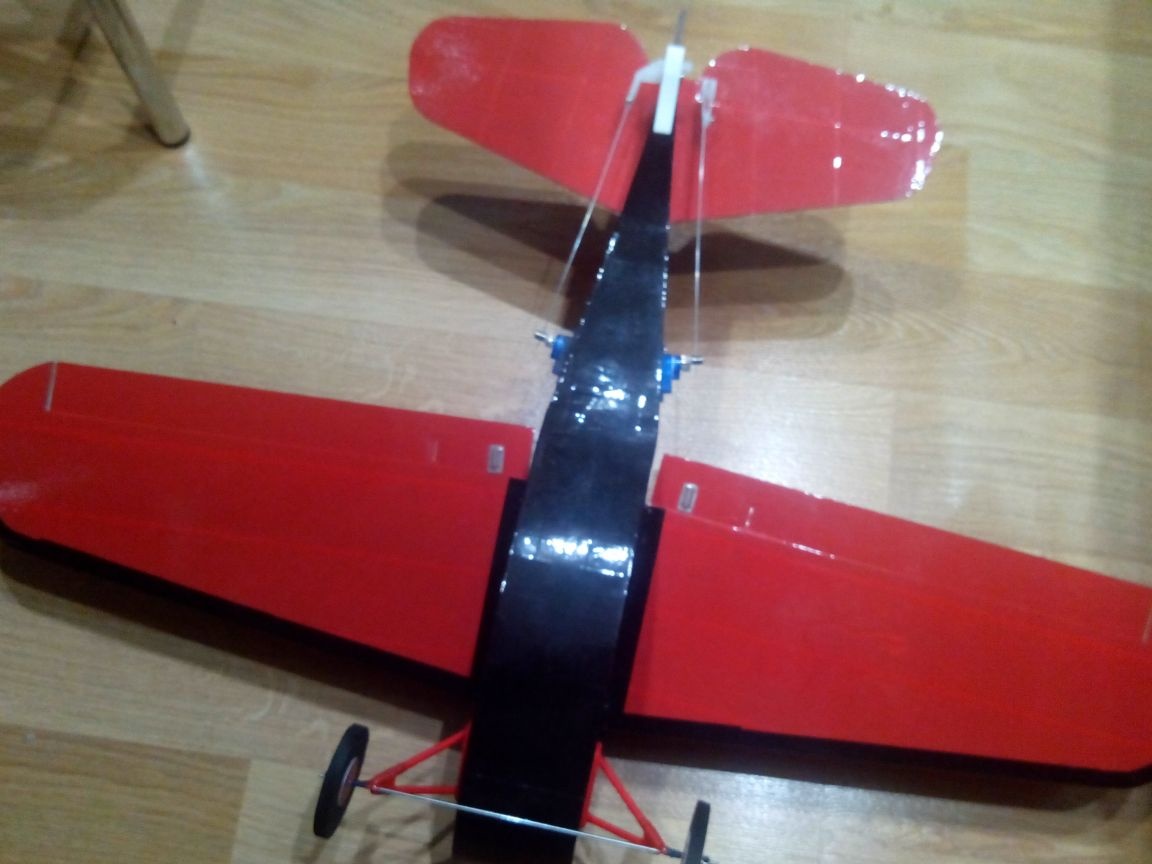
The model is ready for the first flights!
TTX models:
Wingspan - 730 mm
Flight weight - 355 grams
Video of the first flights: