
Usually we don’t notice how many interesting and free materials for making homemade. For example, you can make such an interesting lamp. As the main material, the author used old rotten boards, which are no longer needed by anyone and, as a rule, are not suitable for anything.
Homemade assembly is easy, it is desirable to have a miter saw. However, you can do everything with a hacksaw, though it will be longer.
Materials and tools for a homemade lamp:
- rotten boards (can be found on old fences, doors, and so on);
- a tool with which to cut boards;
- sandpaper;
- glue gun;
- glue for wood;
- a cable with a bulb holder;
- plywood;
- Miter saw;
- marker, ruler and more.
The manufacturing process of the lamp:
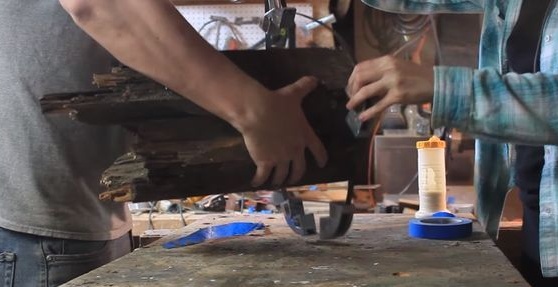
Step one. Cutting workpieces
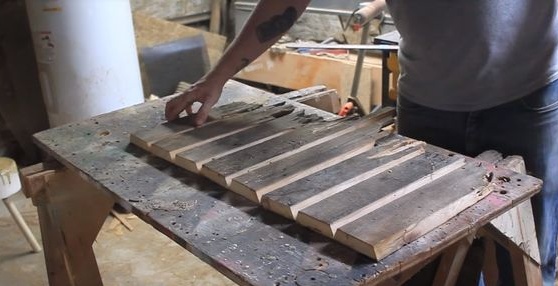
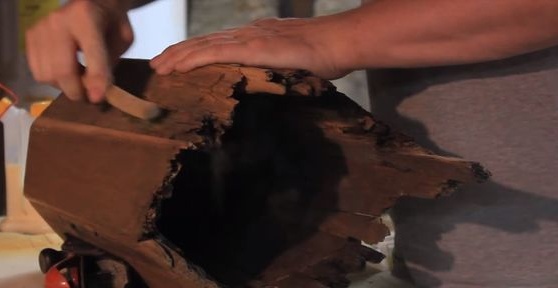
First of all, you will need to find the right boards. They must be such that their bottom edge is rotten. Typically, such destruction of wood occurs on fences, doors and other similar products. The main part of the board must be intact so that the lamp is durable and can be assembled at all. Clean the boards and dry them.
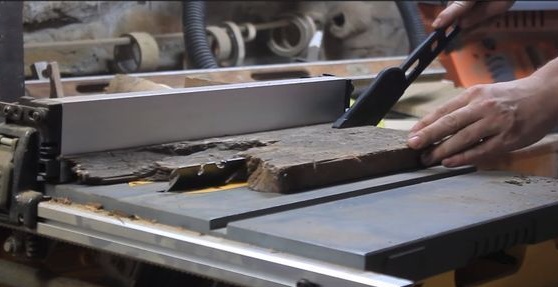
Now you can start cutting blanks. You will need only 8 boards for the assembly of the lamp, but there may be another quantity. If your boards are wide, they can be cut along the miter saw. They must be the same width in order to assemble the lamp. As for the length, it can be different, the boards do not have to be the same length.
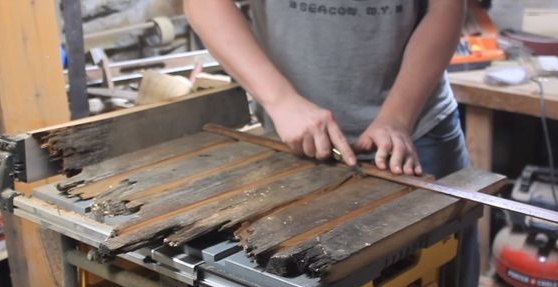
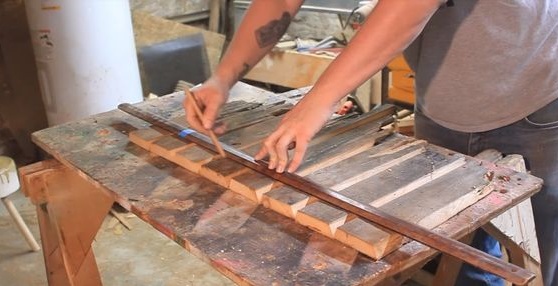
Step Two Align one side of the boards
Having decided on the length of all the boards, you now need to align them on one edge. We apply a ruler and draw a straight line. Next, you need to cut off the excess at a right angle, the author does this with a miter saw.
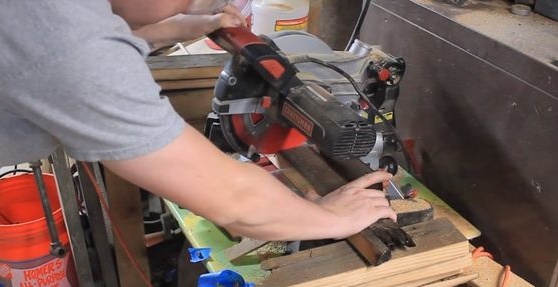
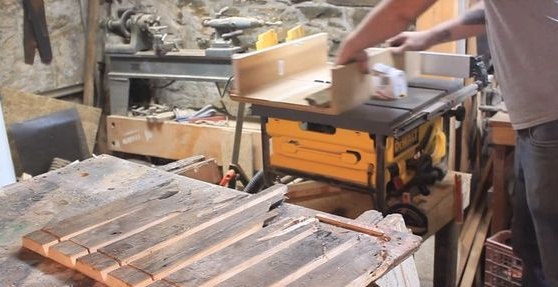
Step Three We form the necessary angles
So that you can assemble a cylinder from all of these boards, that is, the body of the future lamp, you will need to correctly cut the corners on the boards. This angle will depend on the number of boards and their width. Having previously marked and calculated everything, we cut out the necessary angles on the boards. We try to assemble it, if the lamp is assembled without problems, go to the next step.
Step Four Cut a groove under the upper insert
At the top of the lamp there is a special insert that combines all the boards, and also holds the cartridge with the lamp. This insert is made of plywood.To install the insert, you will need to make a groove under the upper part of the boards. Mark the line with a ruler and cut out the groove of the desired width.
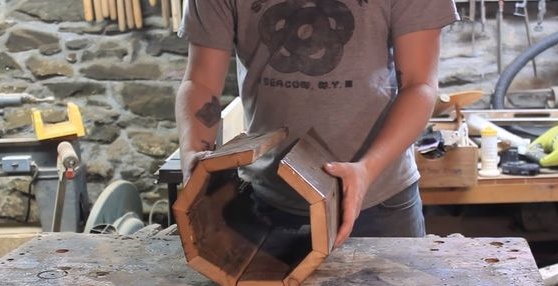
Step Five Trial assembly
Now you can try to assemble the lamp to make sure that everything is done correctly. For trial assembly use tape. We glue all the boards and assemble the cylinder. We will also need this trial assembly for the next step.
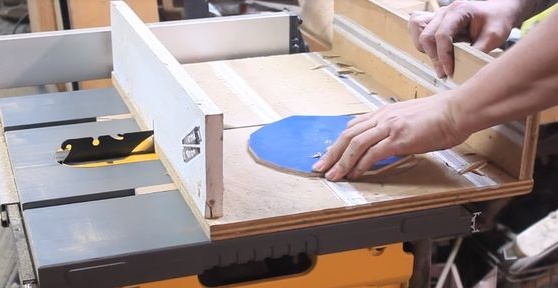
Step Six We make and install the top insert
The top insert is made of plywood. The most difficult thing is to precisely cut the polygon you need in size. In order not to suffer from calculations, just put the lamp on a sheet of paper and circle the cylinder with a pen around the circle. As a result, we have a polygon of exactly the same shape as required. But it will be small for installation in the groove, so you will need to add a couple more millimeters, that is, the depth of your groove.
Well, now this figure is carefully cut out of plywood. We remove the notches with sandpaper so that the sheet fits into the grooves well.

That's all, the lamp can be assembled. Here you will need glue for wood. Lubricate the grooves well and assemble the lamp housing. You need to wait until the glue is completely dry. After assembly, it is advisable to tighten the lamp so that the glue sticks together well, you can use a belt or the same tape.
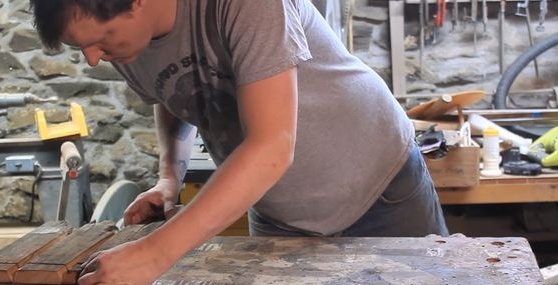
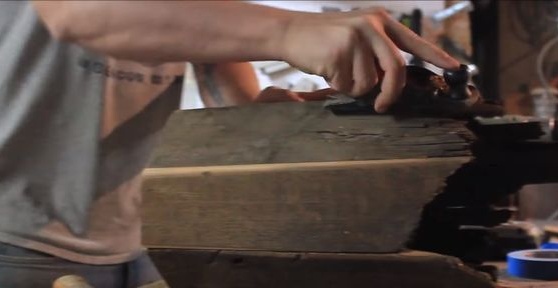
Seventh step. We process the lamp
As you already understood, the wood used is old, which means that a lot of dirt will be present on it. We take sandpaper and thoroughly sand the surface of the boards. Your task will be to make them smooth, to remove all dirt and other defects.
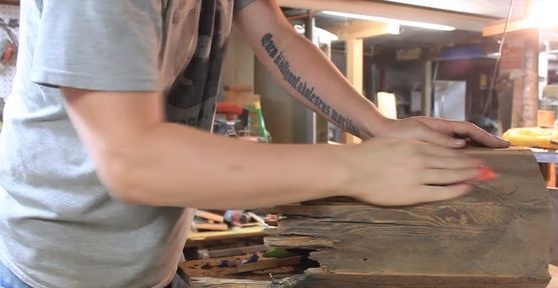
After grinding and gluing, you will notice that there may be gaps at the joints of the boards. Take the glue on the wood and, mixing it with sawdust, cover these cracks. As a result, your body should become homogeneous, solid. Well, after drying, sand the lamp housing again, bringing it to the ideal. Sealing the joints will also further strengthen the lamp housing.
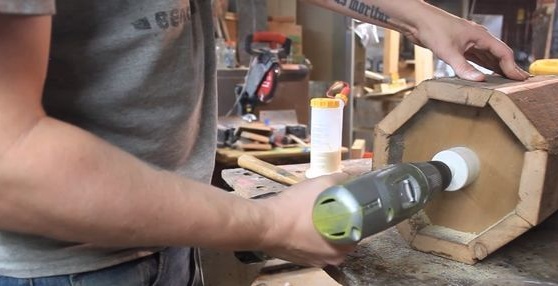
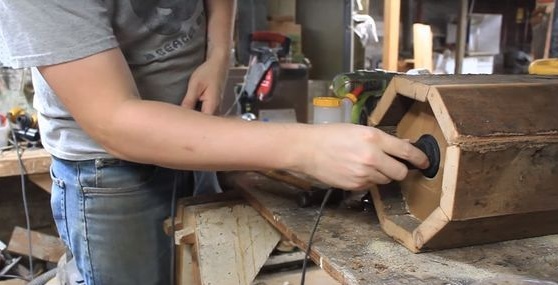
Step Eight. Install the lamp holder
How to install the lamp holder, decide for yourself. It can be mounted directly into the top cover, or you can drill a hole only under the cable, and the cartridge itself must be separately secured inside. It should be noted that for such a lamp it is best to use LED or other lamps that do not heat up during operation. Using an incandescent lamp may cause the lamp to catch fire.
After preparing the installation site, remove the cartridge, we still need to paint the wood.
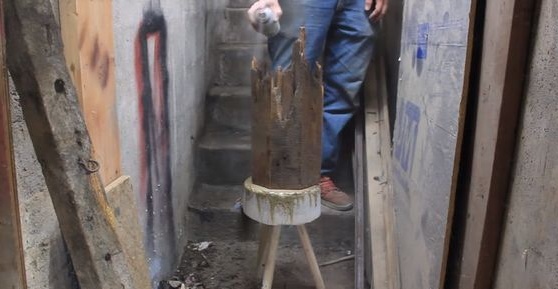
Step Nine. We cover the lamp with varnish
You can paint the lamp or varnish it, as the author did. Varnish will reliably protect dilapidated wood, and the appearance of the lamp will significantly emphasize. It is most convenient to apply varnish or paint using a spray gun. You can use a compressor or well-known spray cans. Leave the lamp to dry.
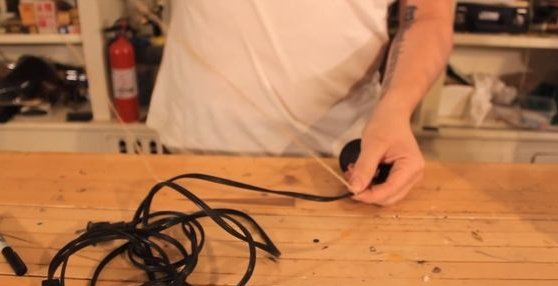
Step Ten Cable decoration
Since the lamp we have made is antique, the outgoing and modern cable, would not look very aesthetically pleasing. To solve this problem, you will need a glue gun, as well as twine. Near the cartridge itself, we attach the end of the twine to the wire or cartridge and then wrap around the wire. Now our cable resembles some kind of ancient rope or cable. At the end, we also fasten the rope with hot glue.

That's all, the lamp is completely ready, install a light bulb in it, and connect the wire through the switch to the network. Homemade is assembled from waste materials, and it is done simply. The luminaire looks interesting, at least precisely unique.