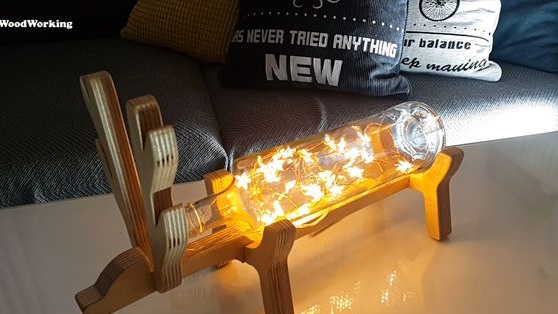
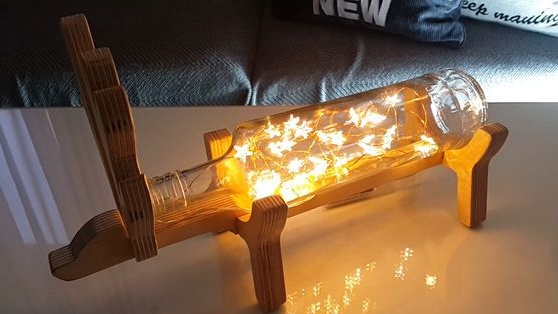
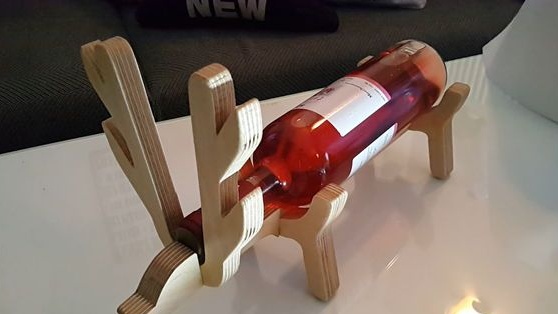
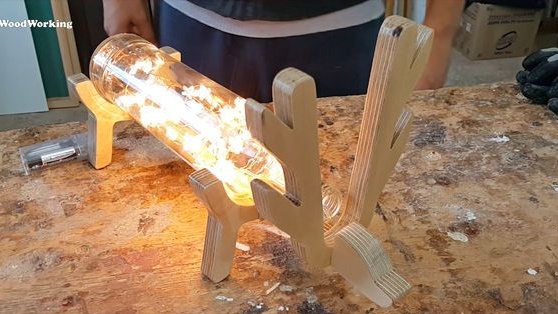
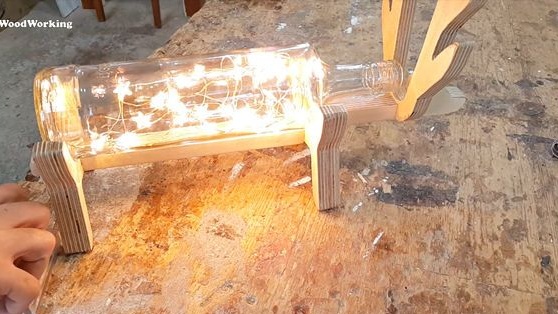
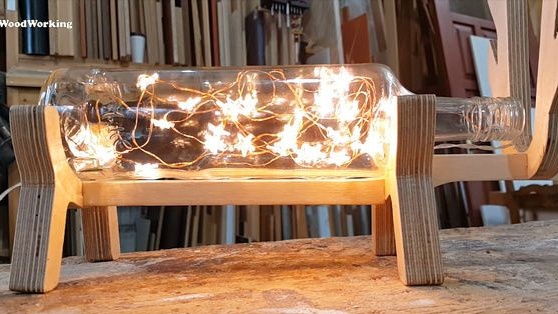
If on the eve of Christmas you want to make some interesting lamp, you can take a closer look at this project. The lamp looks beautiful, but it is easy to assemble, unless of course you have all the necessary tools. The body of the lamp is made of plywood, it is a figure in the form of a deer. If you get tired of the lamp, you can use the base as a stand for a bottle of wine, which is important for the holidays.
Materials and tools for homemade:
- 20 mm plywood for the manufacture of legs of the body
- plywood 6 mm thick (Antlers);
- band saw (or jigsaw);
- clear nail polish;
- glue for wood;
- an empty bottle (the author has a transparent one);
- lights.
The manufacturing process of the lamp:
Step one. Cut the legs
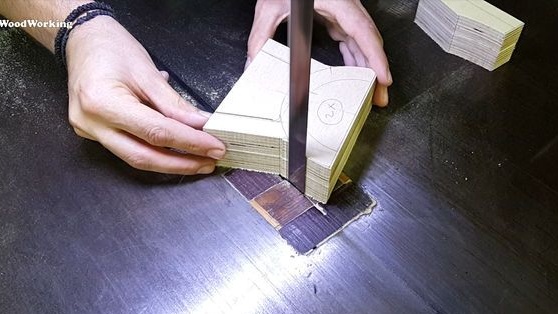
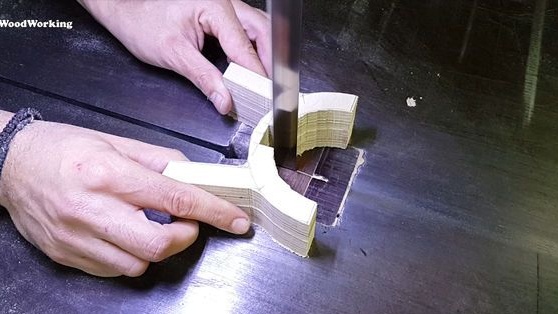
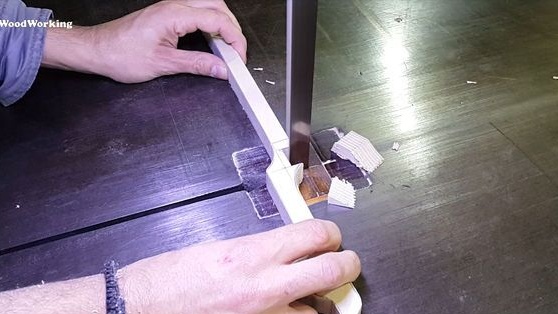
For this step, you will need a jigsaw or band saw. Transfer the drawing from paper to plywood, and then cut two pieces. As a result, you get the legs of the future lamp. For the manufacture of these products, the author used plywood 20 mm thick.
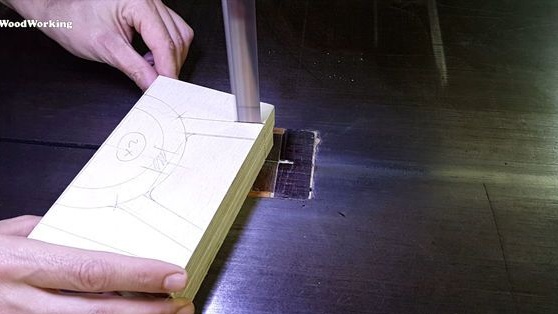
Step Two Cut the body of a deer
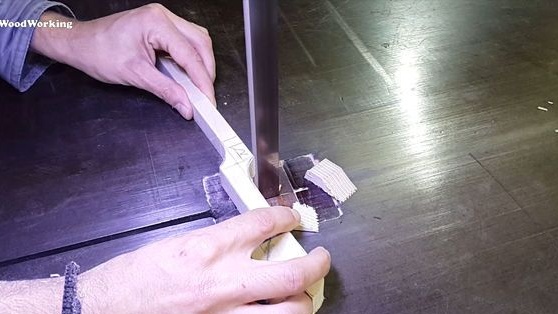
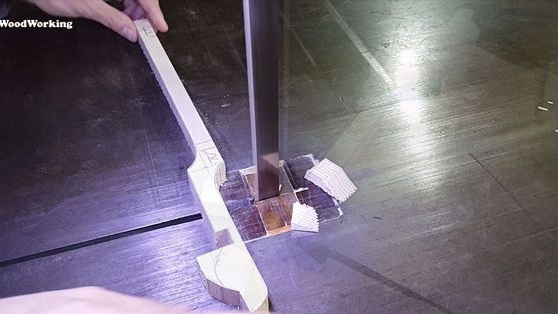
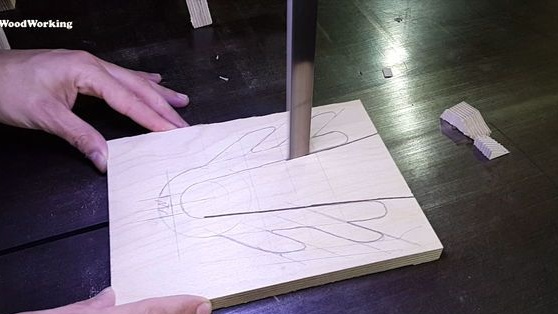
As in the first case, we transfer the template to plywood and cut it out. Here, plywood 20 mm thick is also used.
Step Three Cut the horns
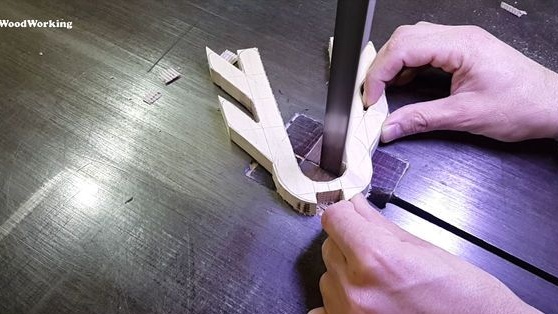
We pass to the final stage of hard work. We have to cut deer horns. Transfer the template to plywood and cut it out with a jigsaw or a band saw. The thickness of the plywood for the horn is 16 mm. Next, we have to polish the parts well and assemble the homemade product.
Step Four Grinding
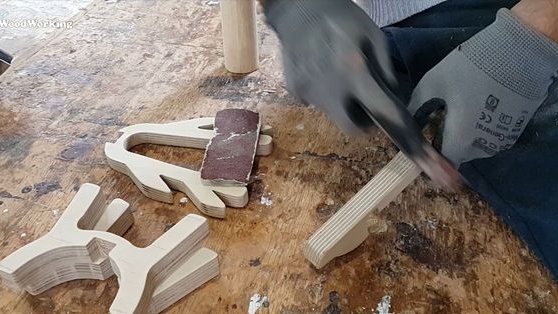
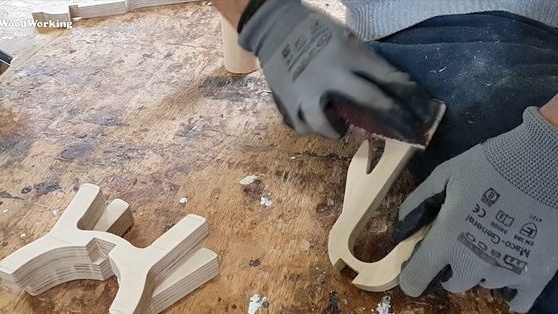
We arm ourselves with sandpaper of different grain sizes and bring all the details to a perfectly smooth state. It is useful to have a grinding machine, but in general there is little work, you can handle it manually. For hard-to-reach spots, the author winds up sandpaper on the dowel and polishes it.
Step Five Glue the deer
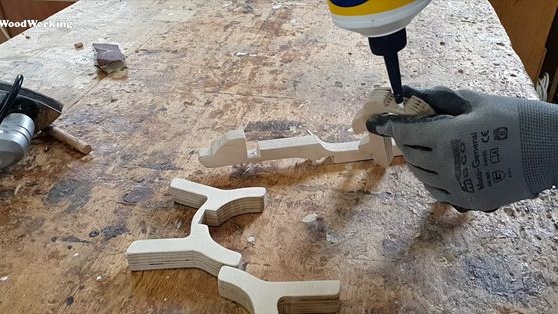
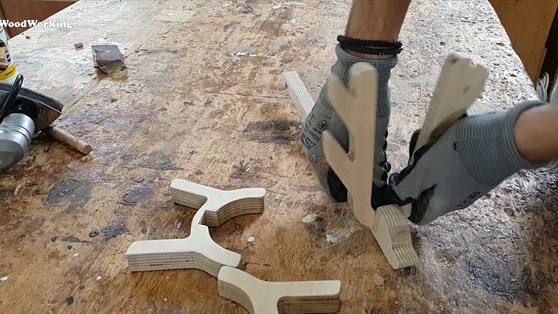
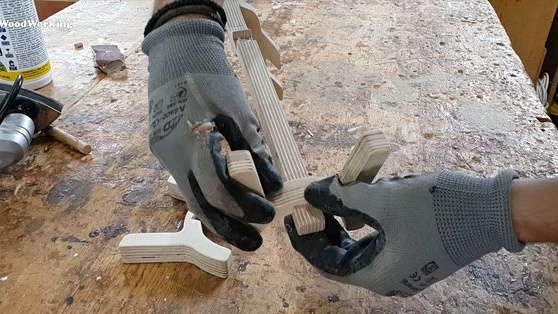
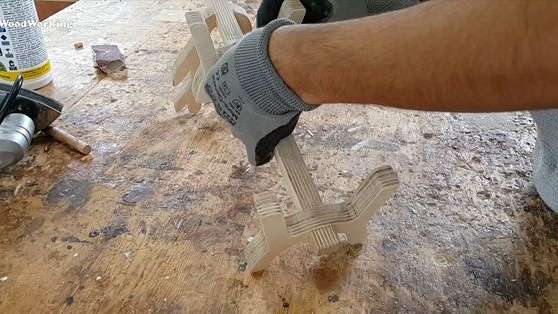
After grinding, you can proceed to gluing the base of the lamp. We take glue for wood and connect all the details as seen in the photo. We wait until the glue is completely dry.
Step Six Varnish
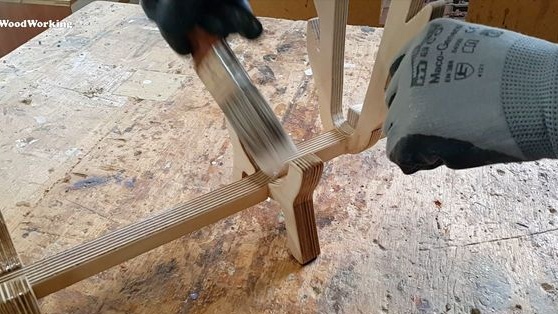
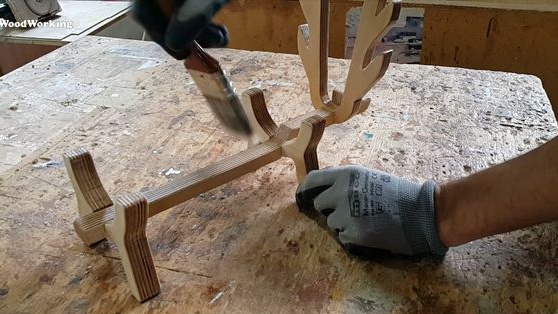
To emphasize the appearance of the lamp, cover it with a clear varnish or paint. In addition, it will protect the wood.
Seventh step. Set the bottle with lights
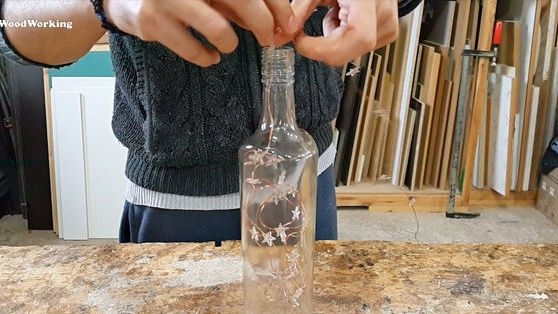
Take a glass bottle, the author used a transparent one, but you can experiment with multi-colored ones. We put the lights inside and set the bottle on the deer. That's all, the homemade product is ready, it remains to connect the lights to the network.
All necessary drawings
View online file:
View online file:
View online file:
