Such a cheap dynamo-lantern from a Chinese remake was lying around at home. Inside were two small batteries that were charged by a dynamo, but they were completely dead. Constantly crushing with your hand in order to get a dim light is boring, but you don’t want to buy new batteries. There are good ultra-bright LEDs in the flashlight, do not throw it away? I decided to make this flashlight rechargeable, especially since there are old batteries from mobile ones. While I have been using the lantern for a week now, in the cold and in the rain, everything is still shining brightly.
The flashlight is rechargeable, though it needs to be charged more often, since the lithium battery is afraid of deep discharges.
Materials and tools for homemade:
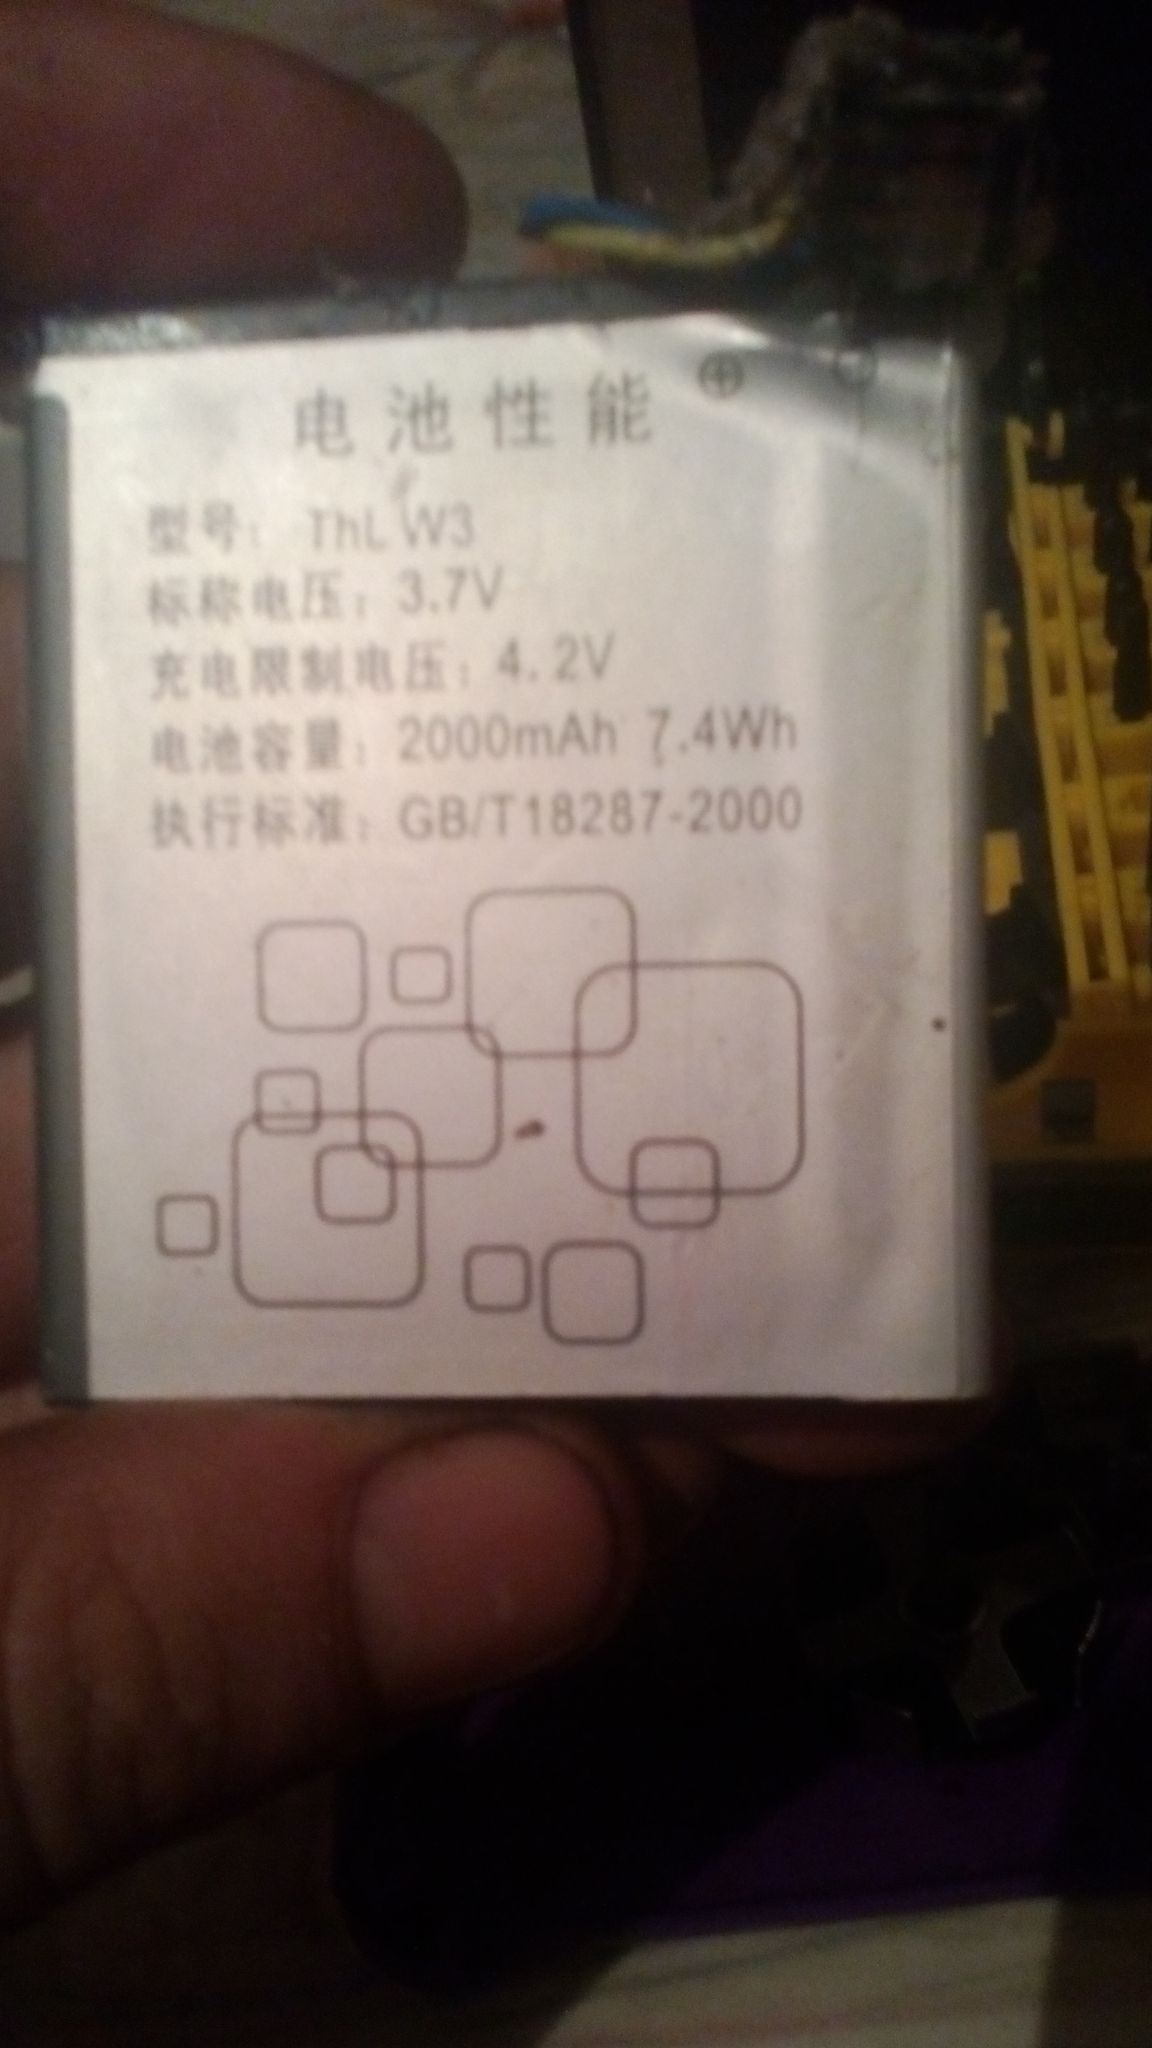
- battery from a mobile (I have a 2000 mAh 3.7V);
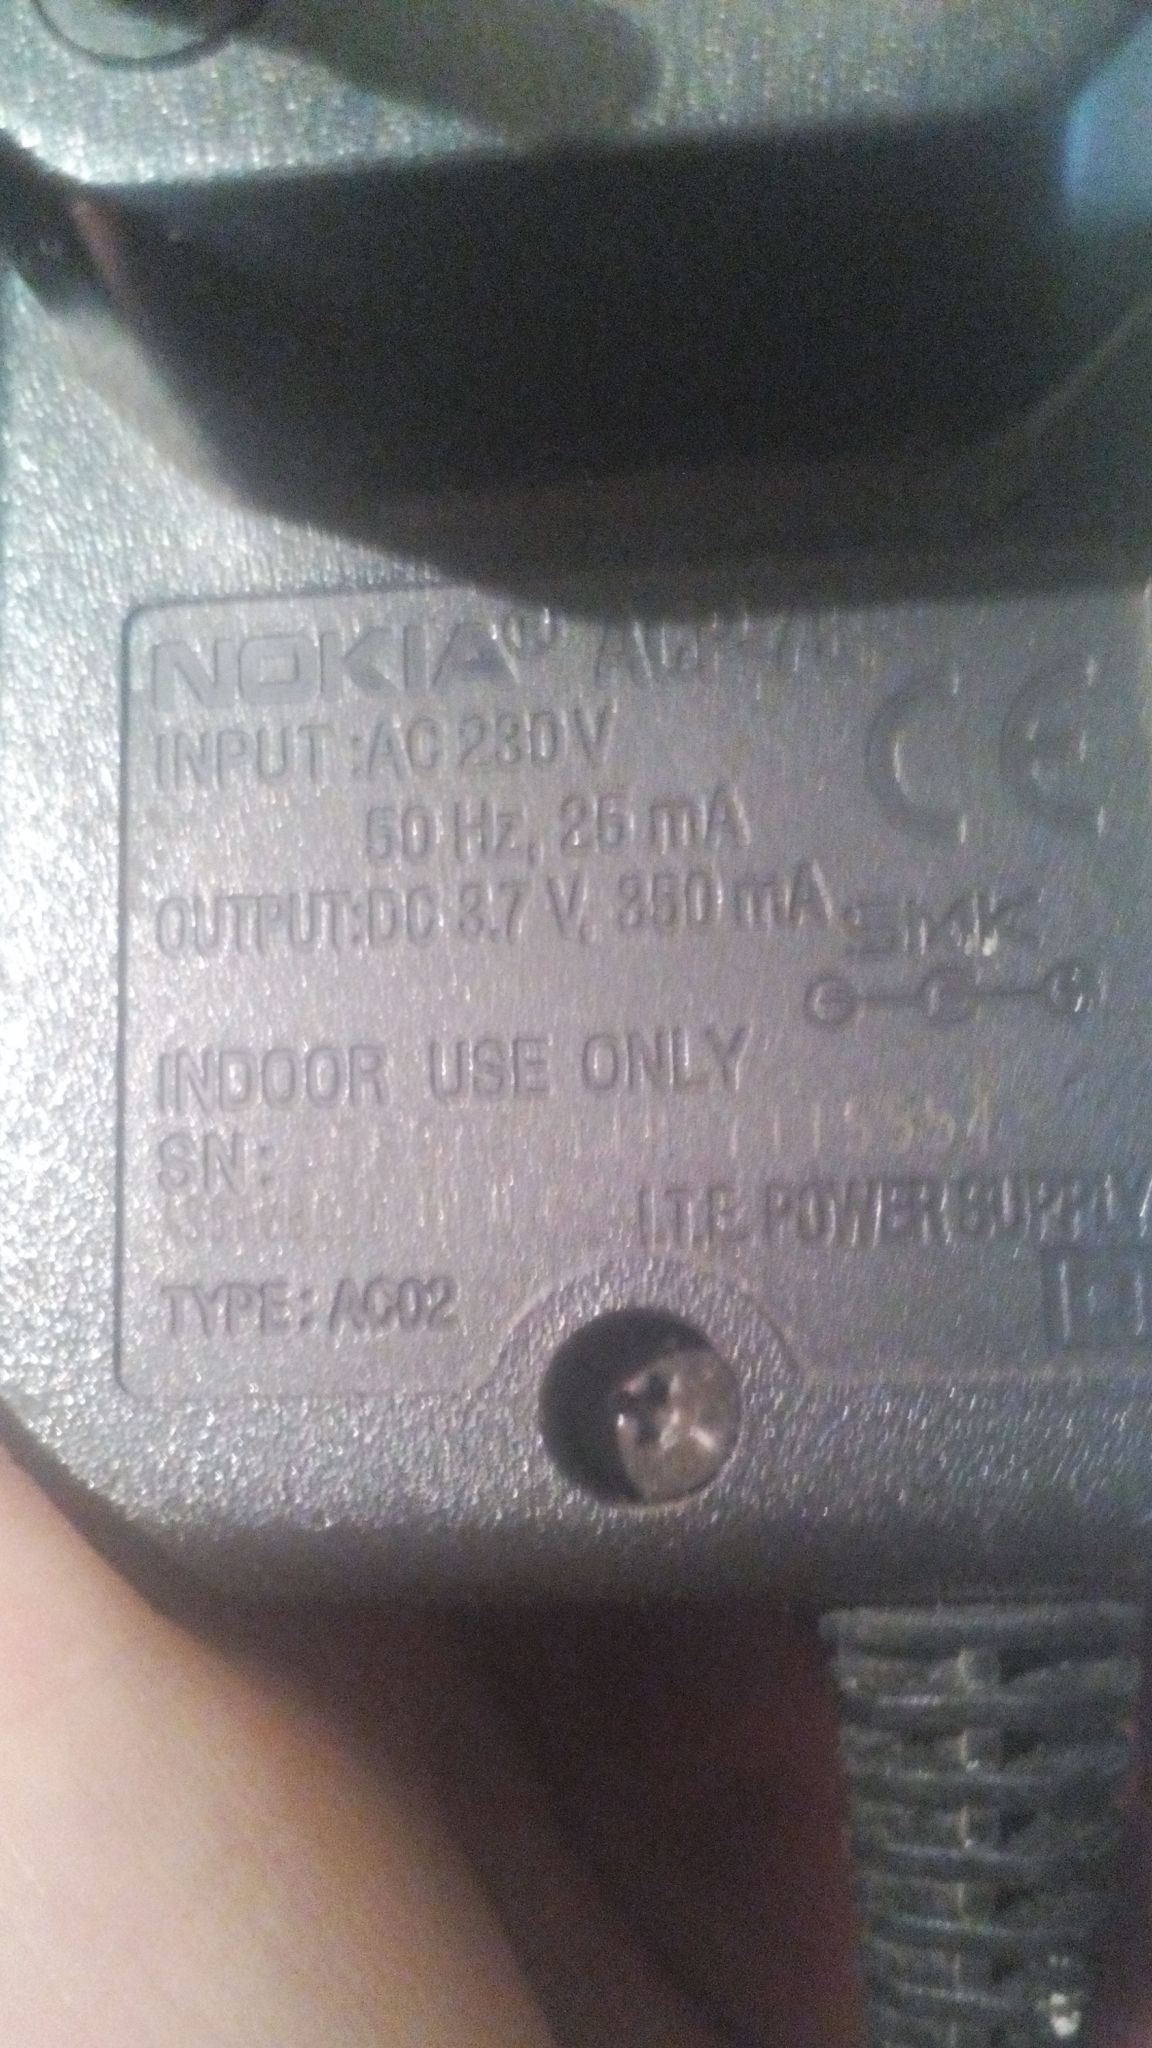
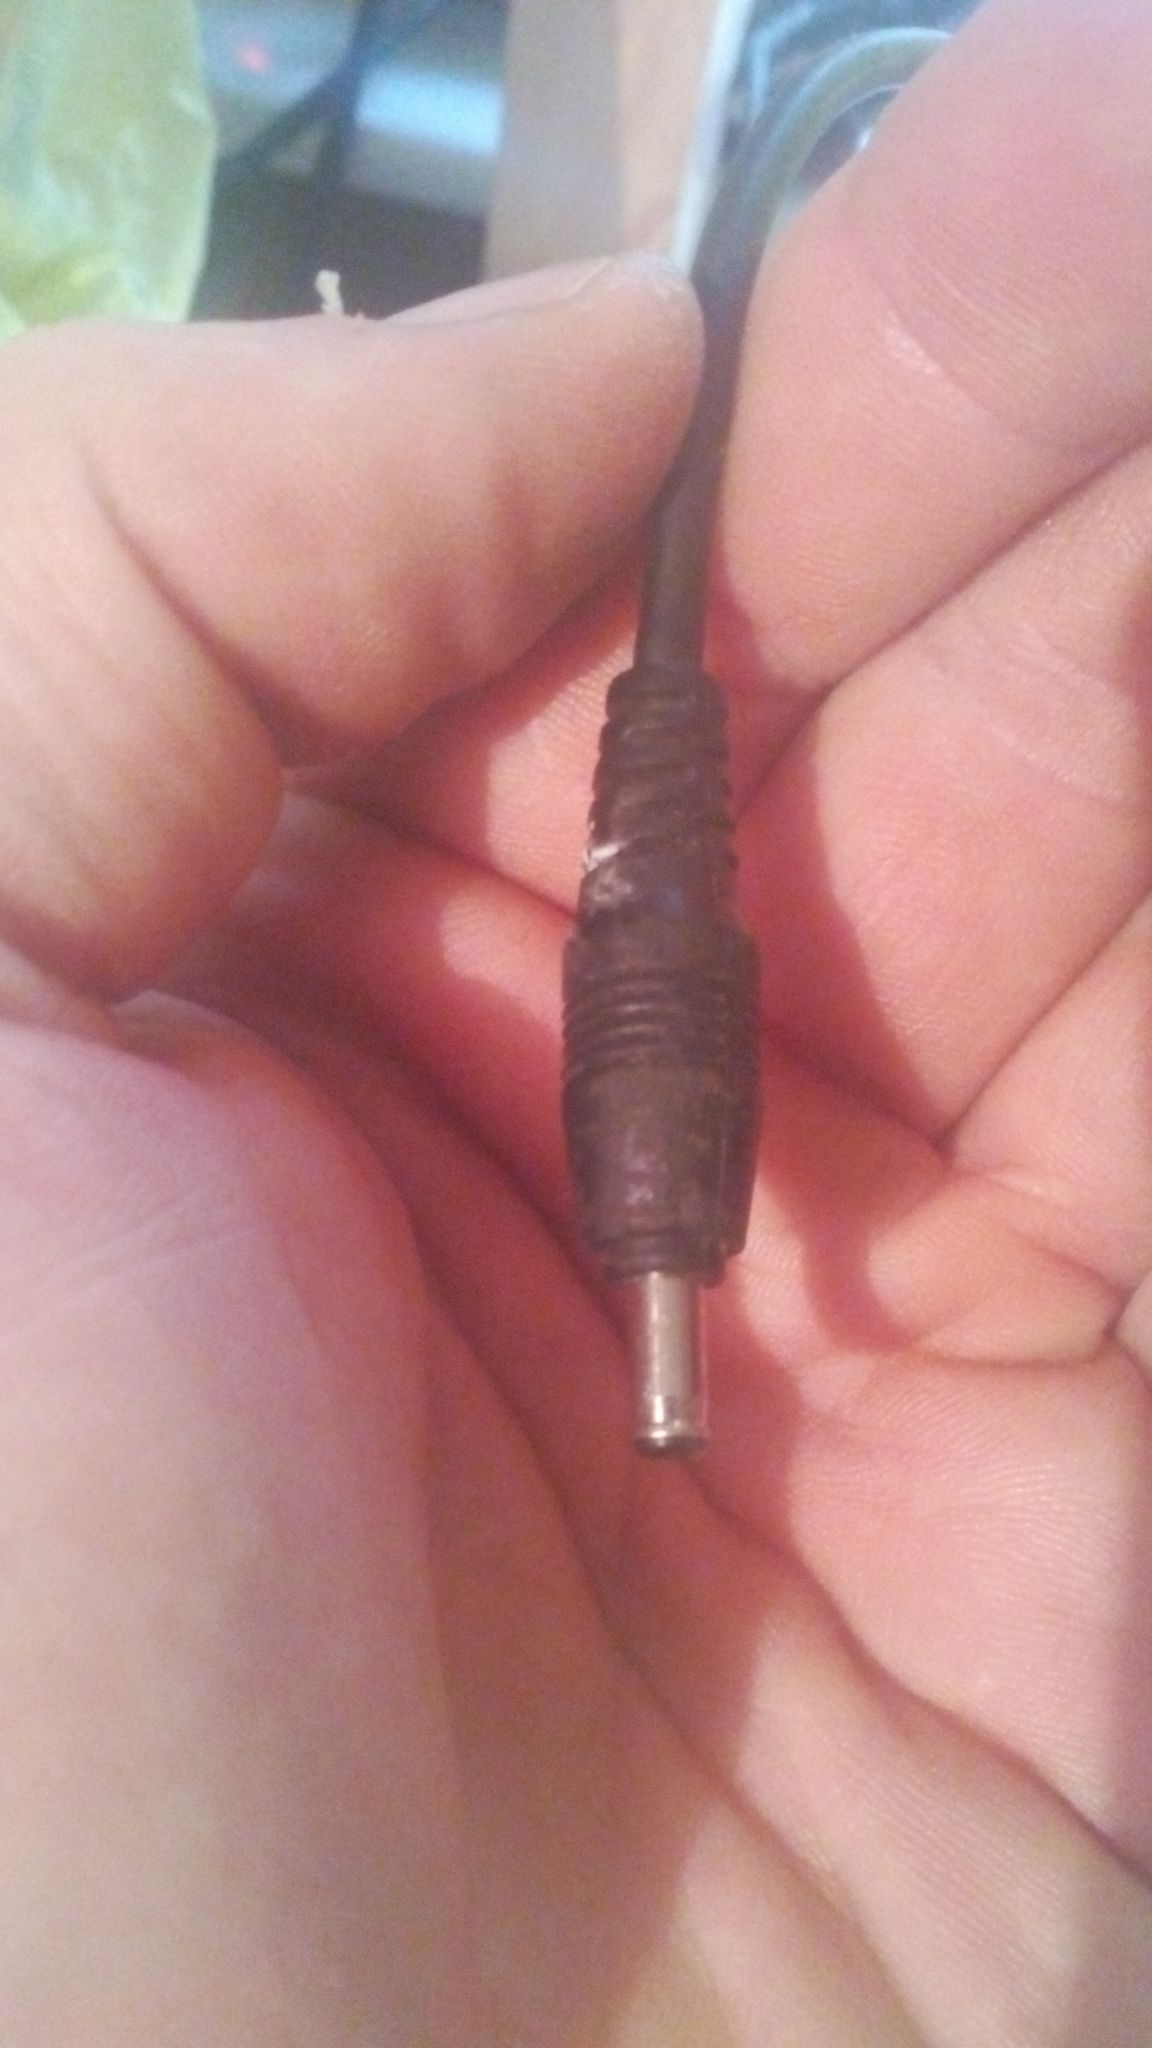
- A connector for charging the battery (also can be pulled out of the old mobile);
- hot glue;
- a pair of wires;
- soldering iron with solder;
- screwdriver;
- pliers;
- Charger for mobile.
Flashlight conversion process:
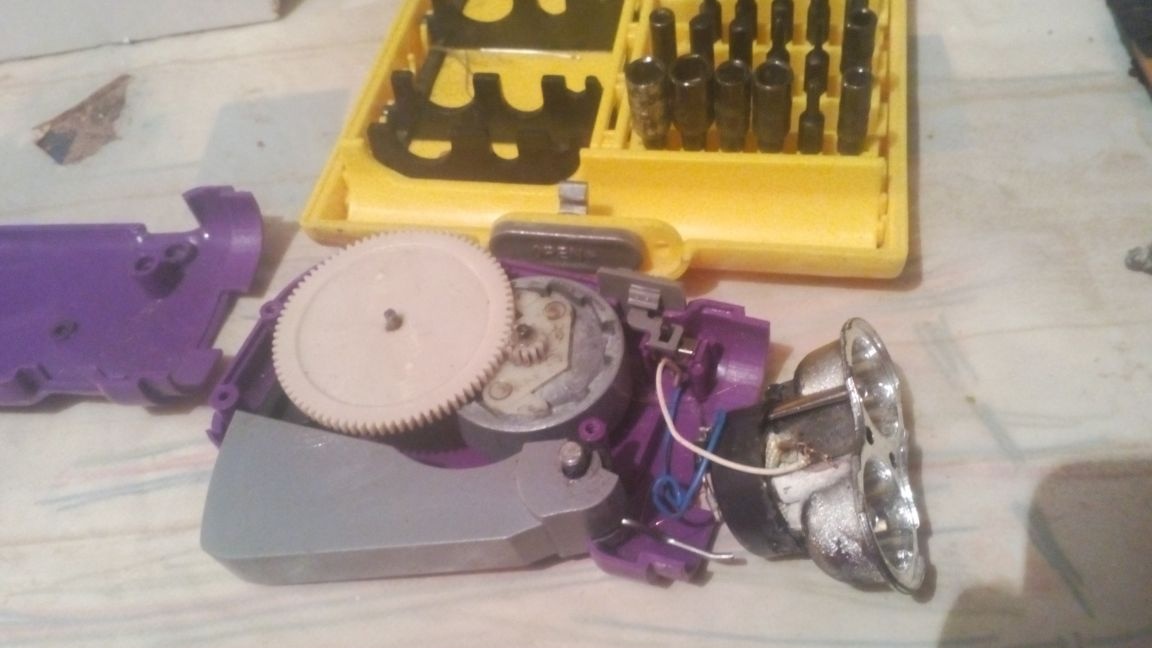
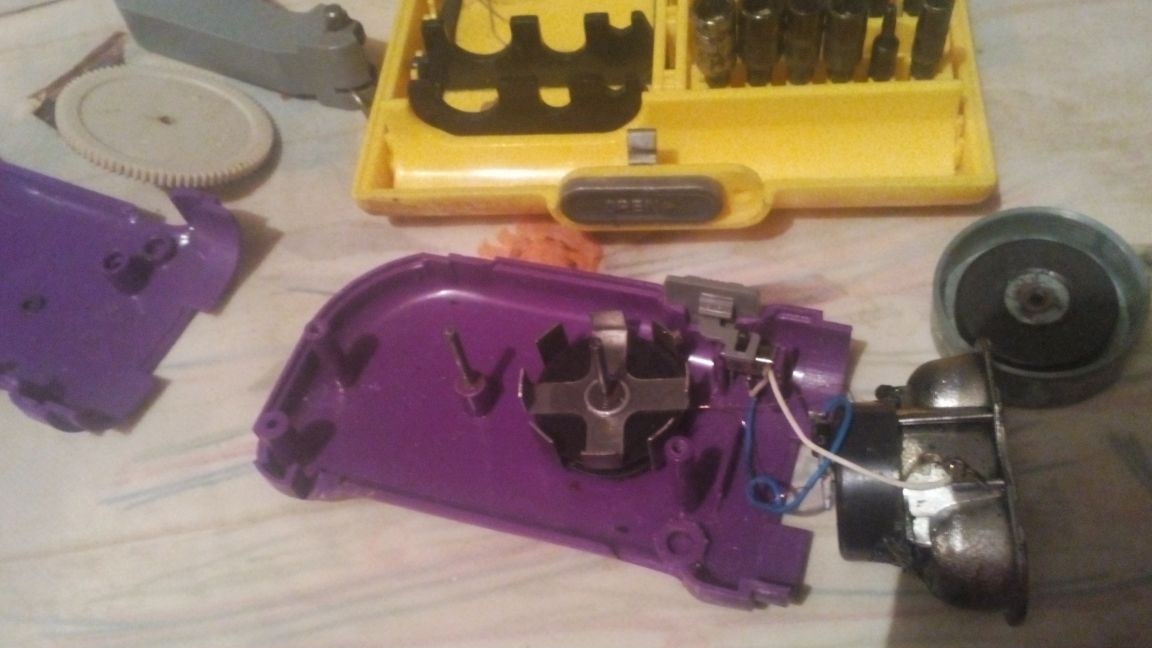
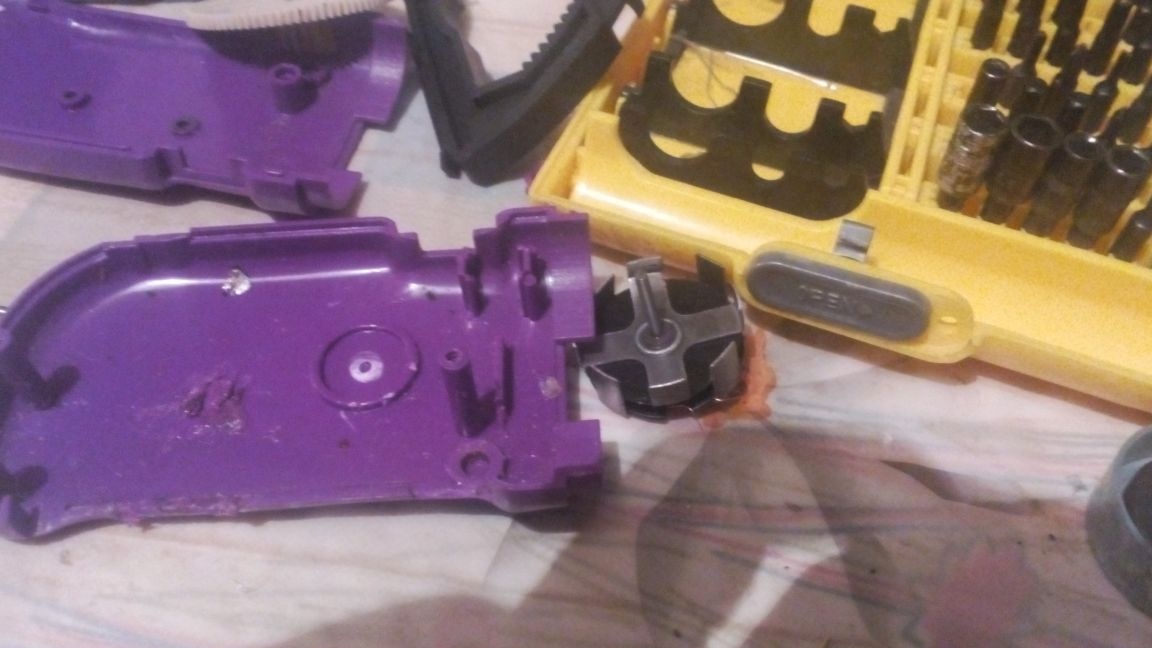
Step one. We disassemble and discard all unnecessary
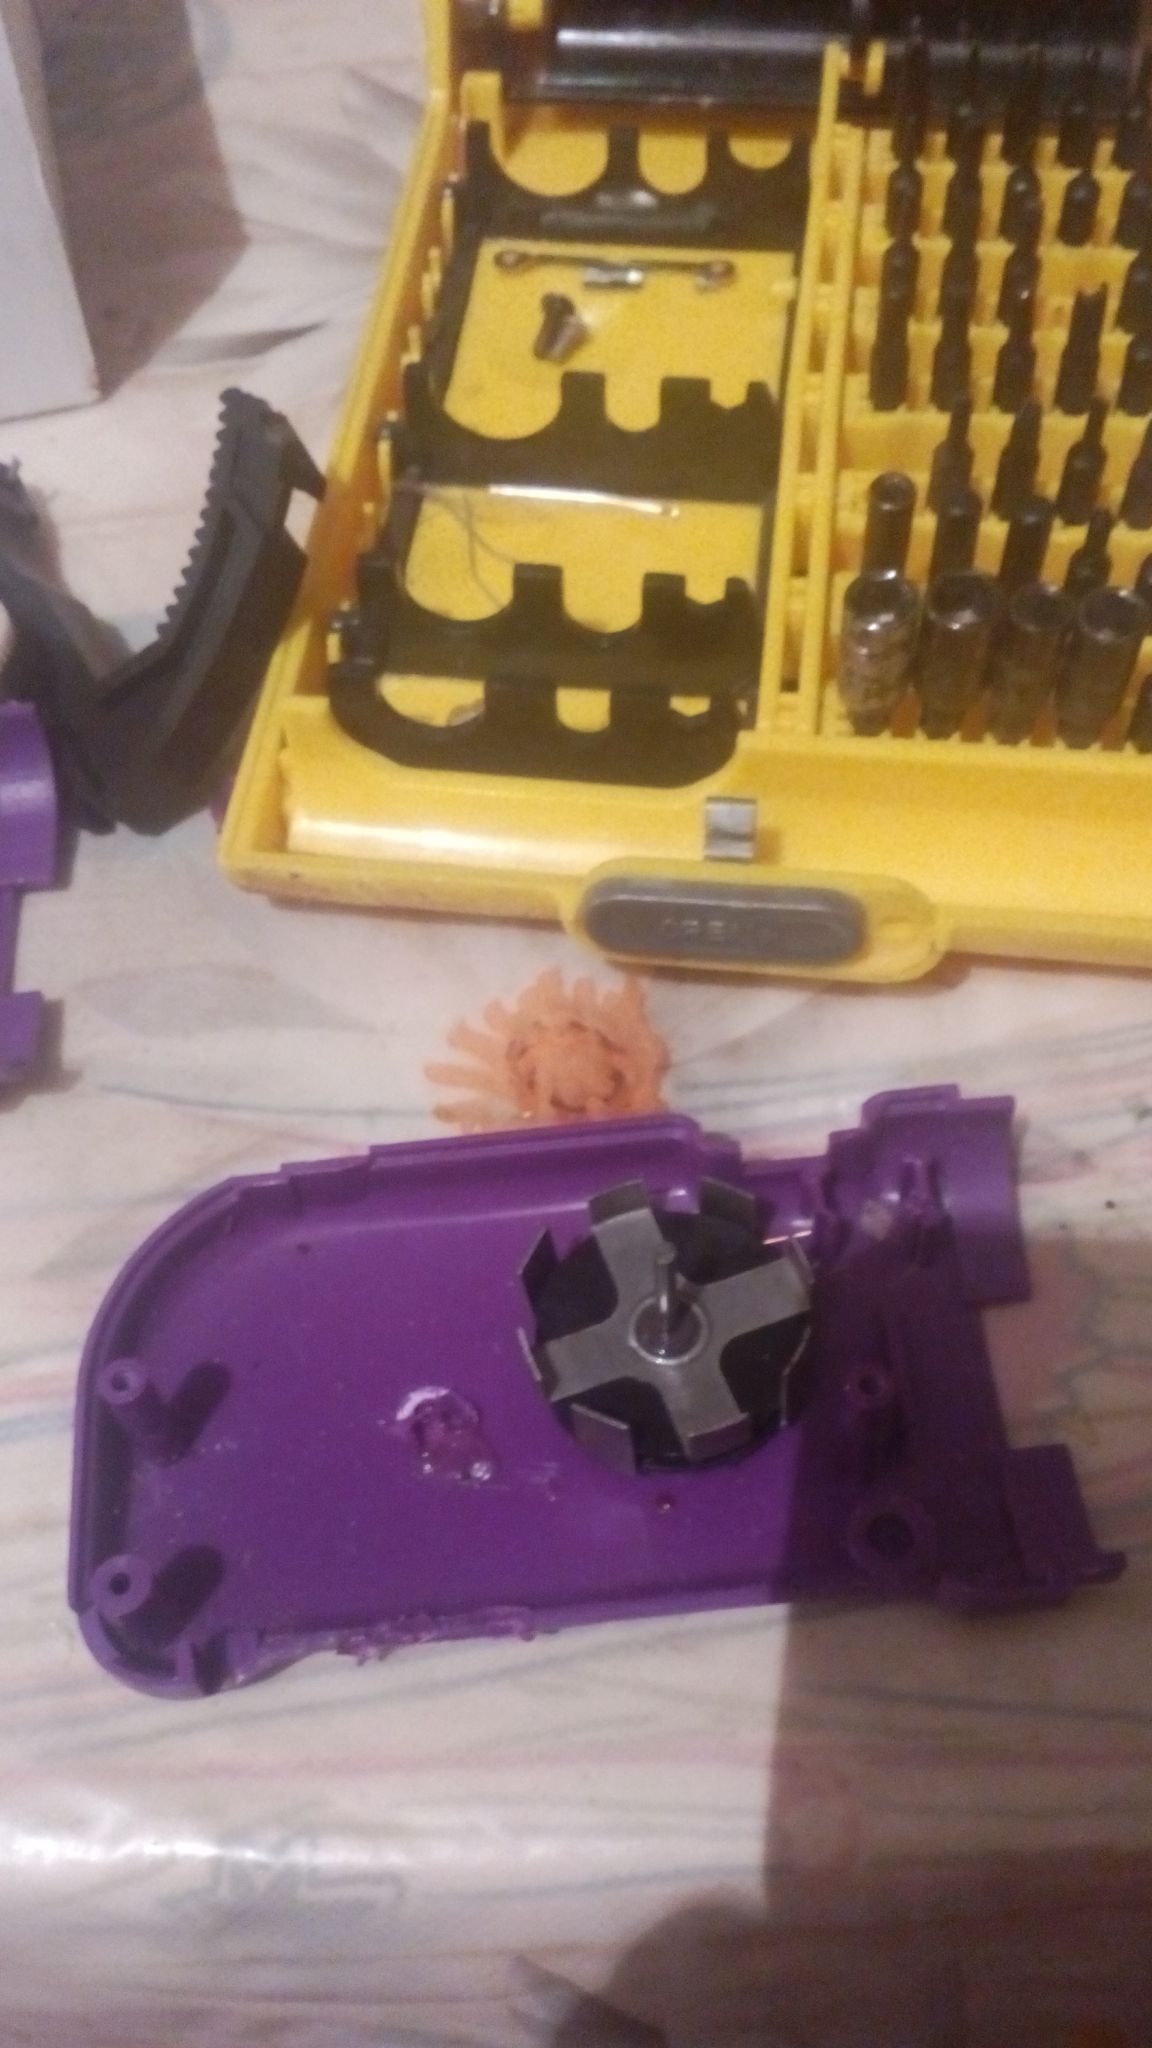
To put the battery from the mobile inside, you need to clean everything inside. We remove the generator, gears, and also the pedal. My battery is quite wide, I wanted to initially install it so that it was hidden under the pedal, but did not fit. But I have a good capacity. The axis of the generator is broken off with pliers.
There are two batteries directly under the LEDs, they also need to be removed.

Step Two Install the battery and solder the circuit
Put the battery in the case as you wish. If the battery is small, it should fit into the space under the pedal. If not, it’s okay, you can fill the gaps with hot glue.
We take a pair of wires and solder to the extreme contacts of the battery, choose different colors so as not to confuse the plus and minus.
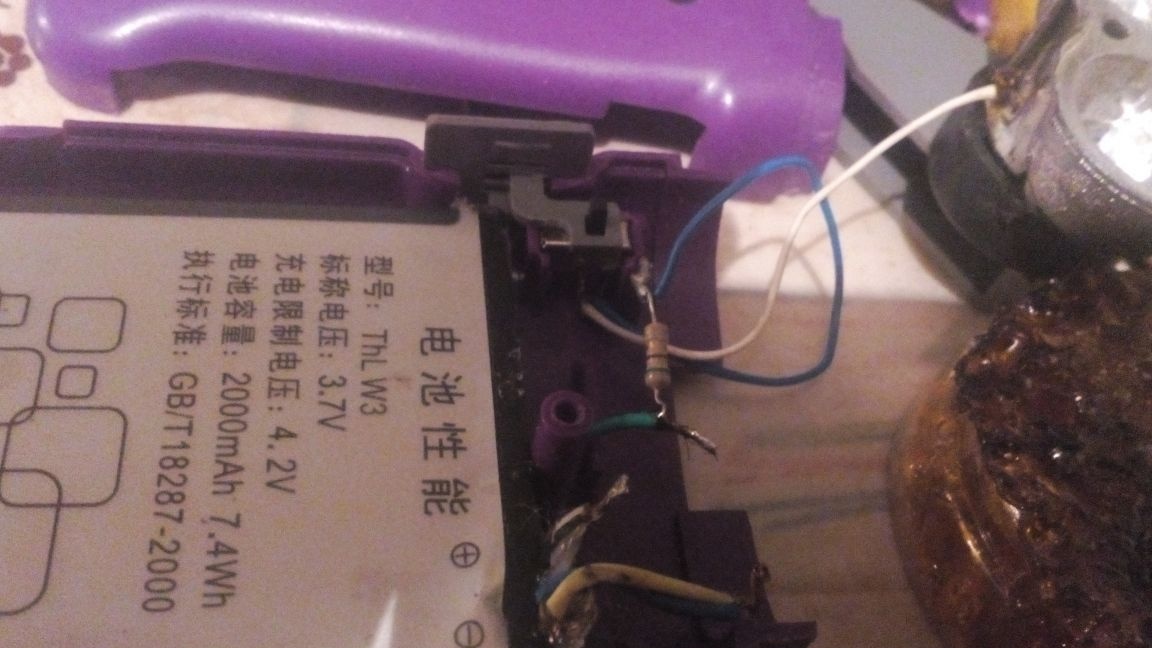
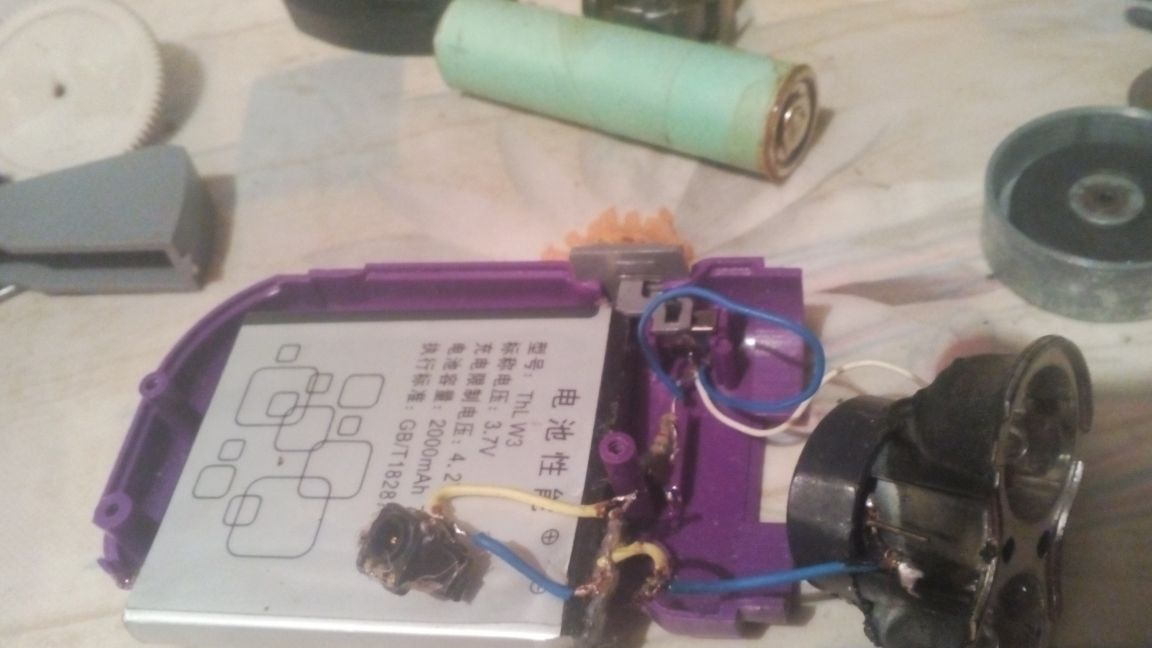
The wires through the gap with the switch connect the LEDs, they are connected in series. There is already a resistor in the lamp, connect the LEDs through it. You also need to solder the charging socket to the battery terminals.The central pin is a plus and the side minus. The socket can be connected through a resistor just in case, but I'm directly. We fix the battery inside with hot glue, as well as wires, so that they hold tight.
Step Three We collect everything
We assemble the lamp housing with the help of screws. Then outside we fix the charging socket with hot glue, by the way you can place it inside the flashlight body by drilling a hole in the wall. Also, with the help of hot glue, fill all the cracks so that water goes into the lantern. You can fill the joints with superglue. True, water can pass through the switch, but this is not so critical. I also poured glue on the battery contacts so that it would not be short of moisture.
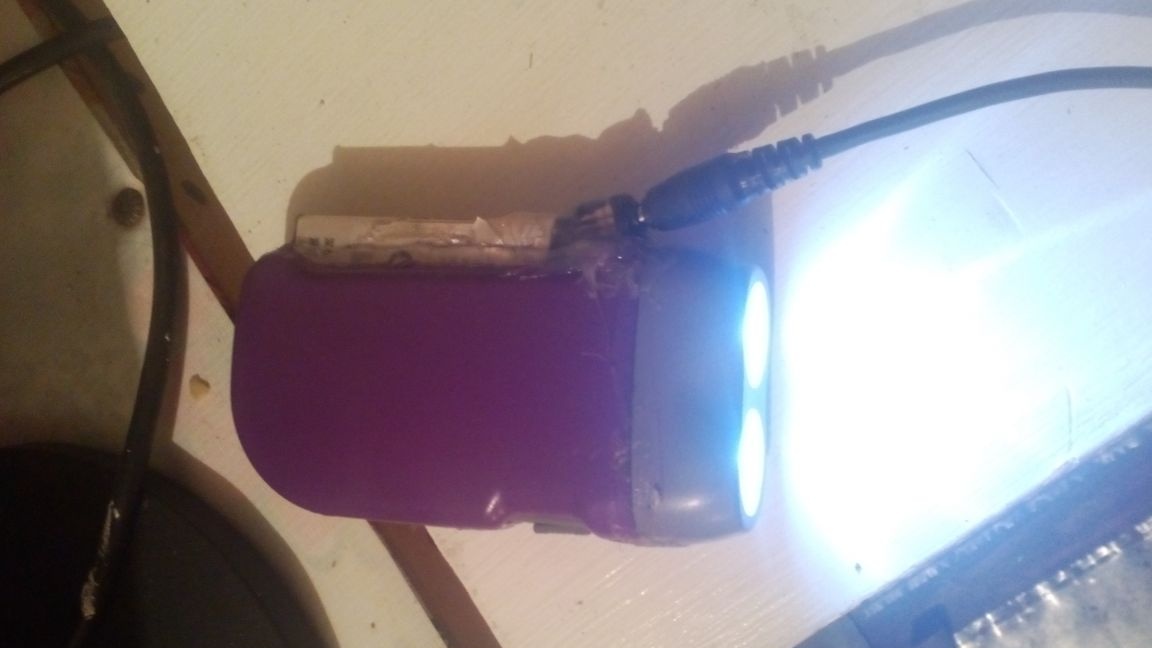
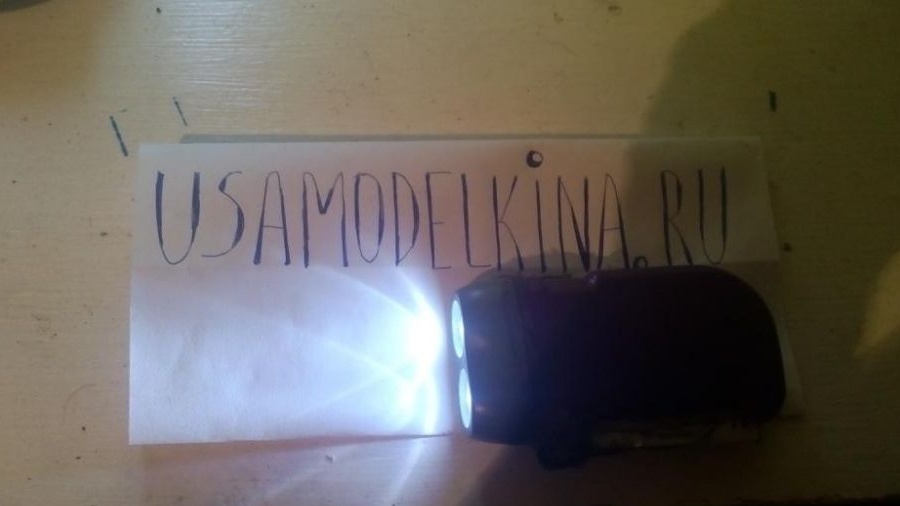
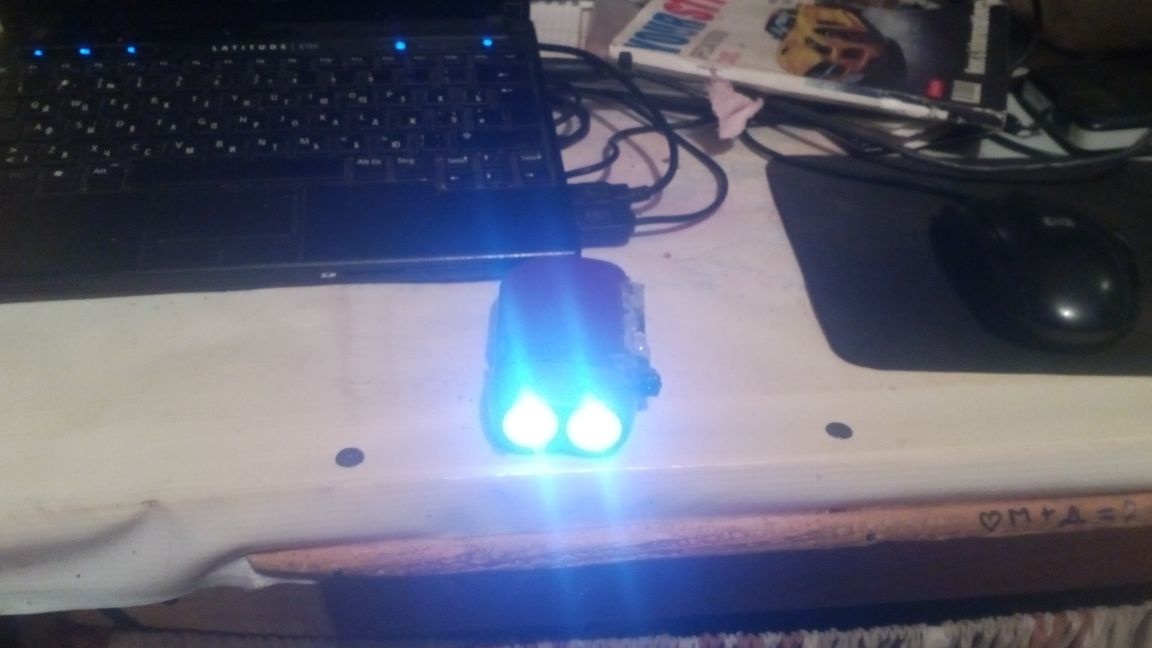
That's all, the flashlight is ready. It shines quite brightly, of course, not a spotlight, but it illuminates the road perfectly. Easy to carry in your pocket, not scary to drop, just charging. For charging, I use the charger of the old mobile. The battery itself already has a controller, so you don’t have to worry about recharging.