Hello. Today I want to talk about the magnetic square for welding, which I recently made. I will soon have to make several gates and an entrance gate, so I decided this winter to make several magnetic squares. They will save me a lot of time and effort when welding rectangular structures from shaped pipes.
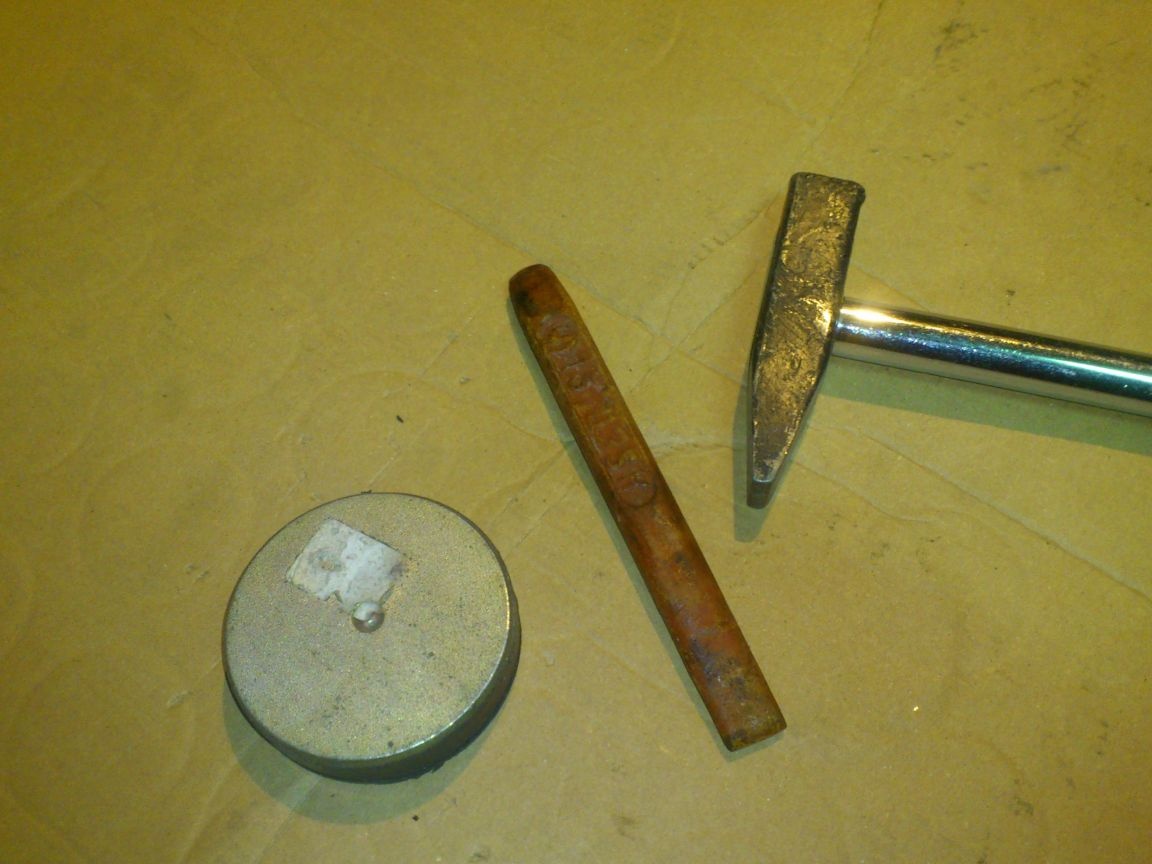
Here is what I needed for this:
1. The old speaker from the car stereo.
2. "Magnetic" sheet metal (steel) 1 mm thick
3. Strip made of thin aluminum.
4. Extraction rivets.
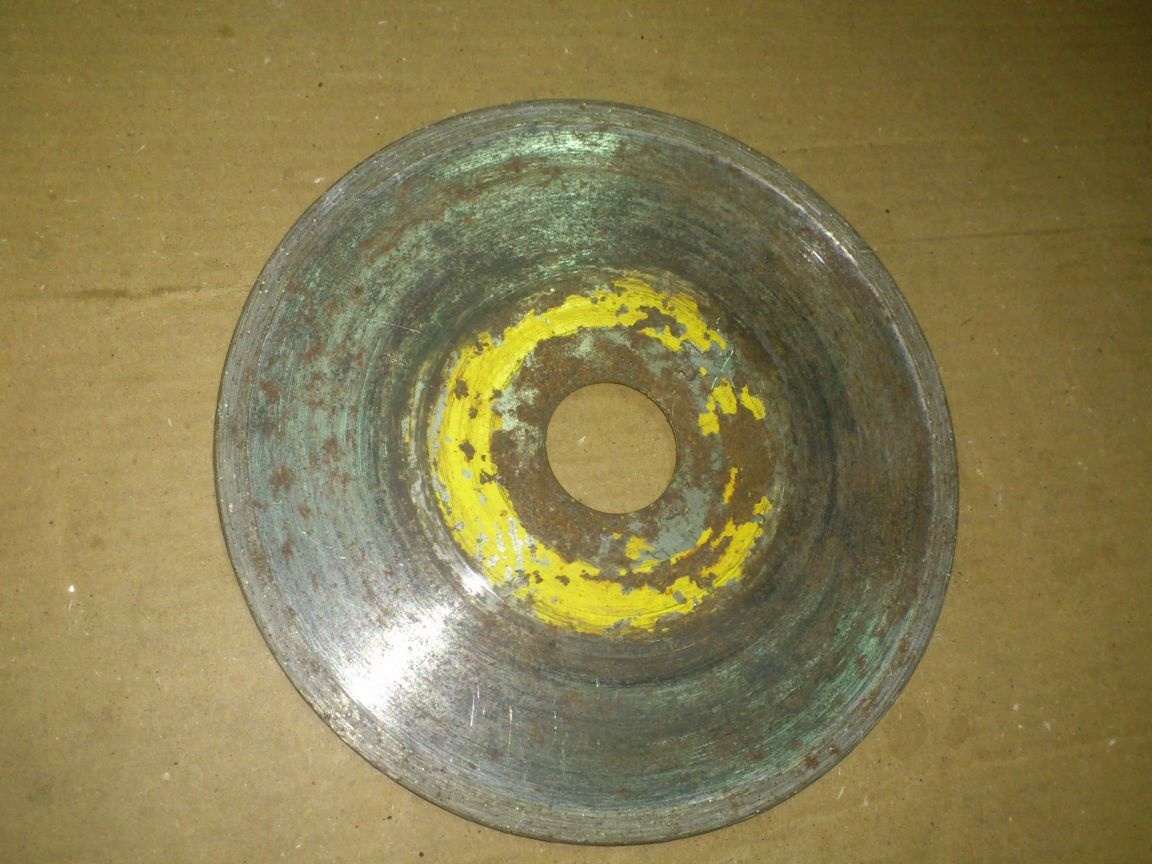
As you know, in the speakers there are quite powerful ferrite magnets.
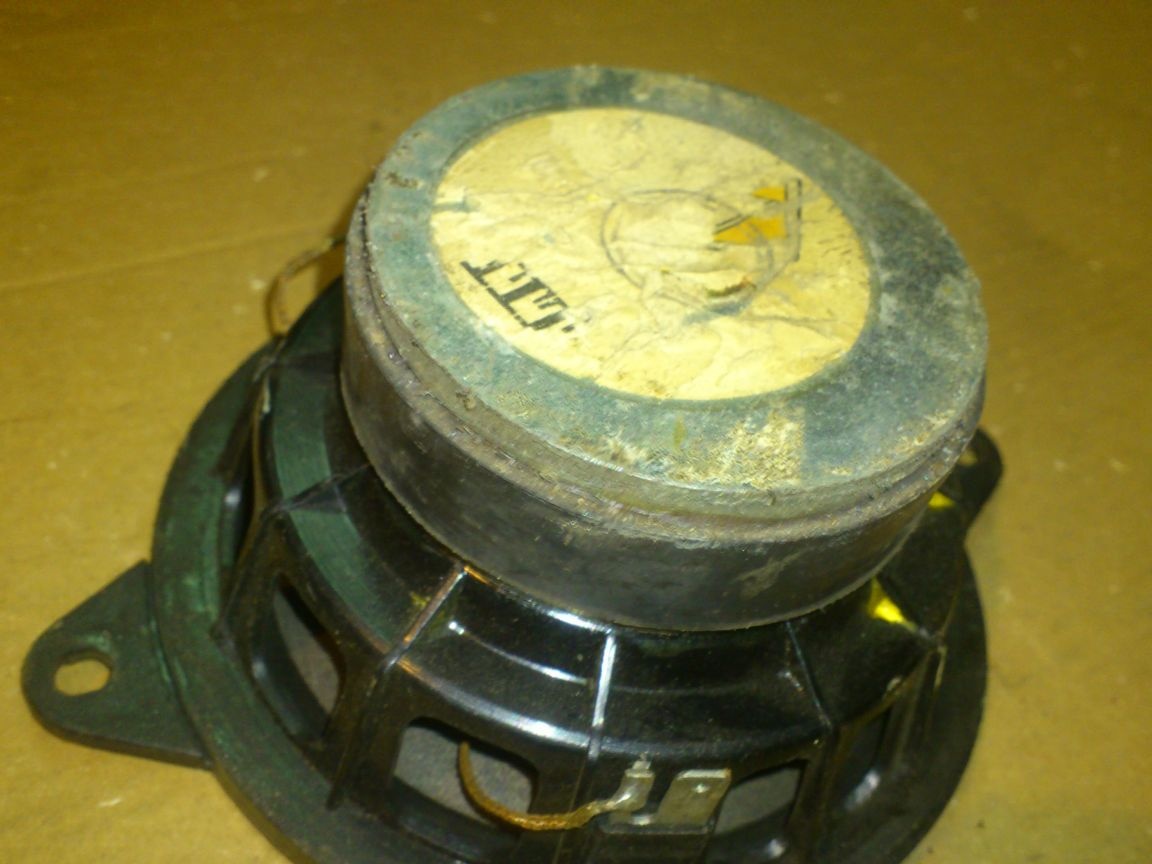
With the help of a hammer and a chisel, I separated the "magnetic part" of the speaker. (It is mounted on four rivets).
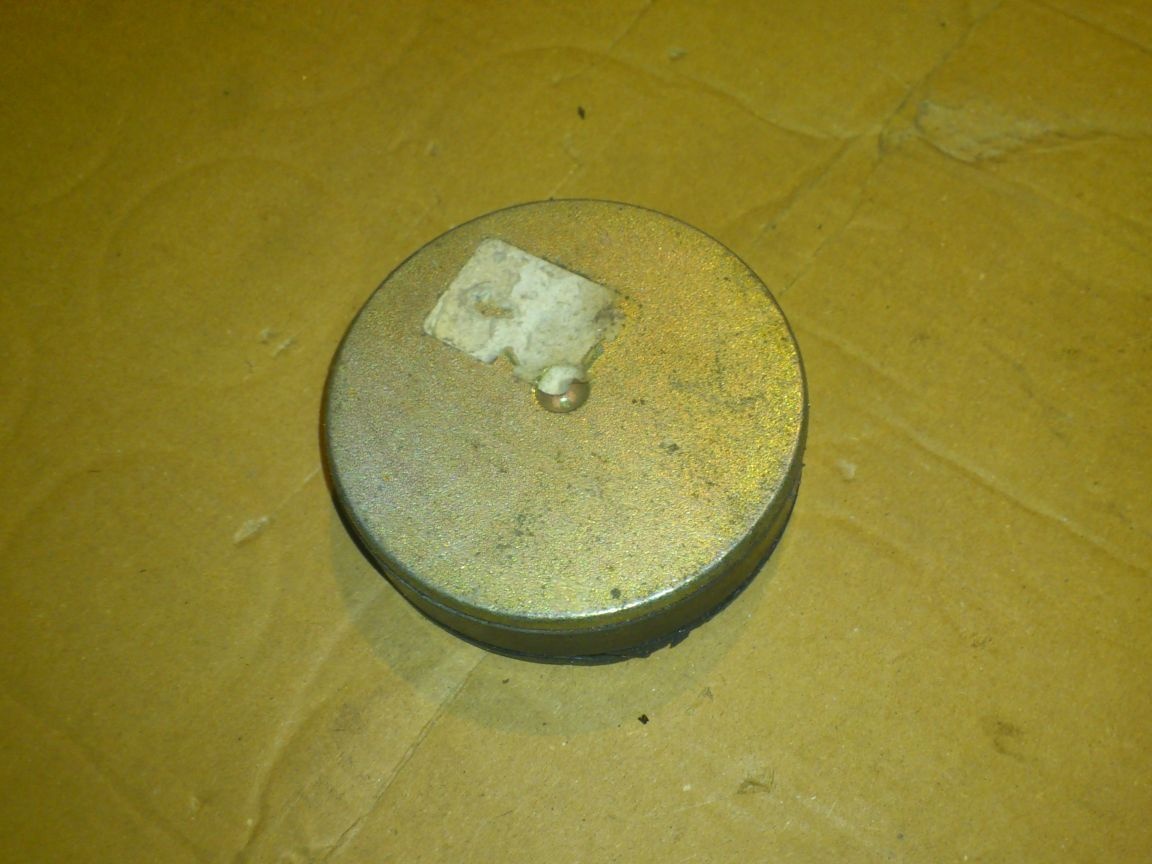

After that, it remains to remove the magnet. It is located between two steel plates and fixed with glue. It was necessary to lower it for some time in acetone, or in the 646th solvent ... But I just took a knife, which is not a pity
 , inserted between the plate and the magnet, and, with light strokes of the hammer, separated the plates.
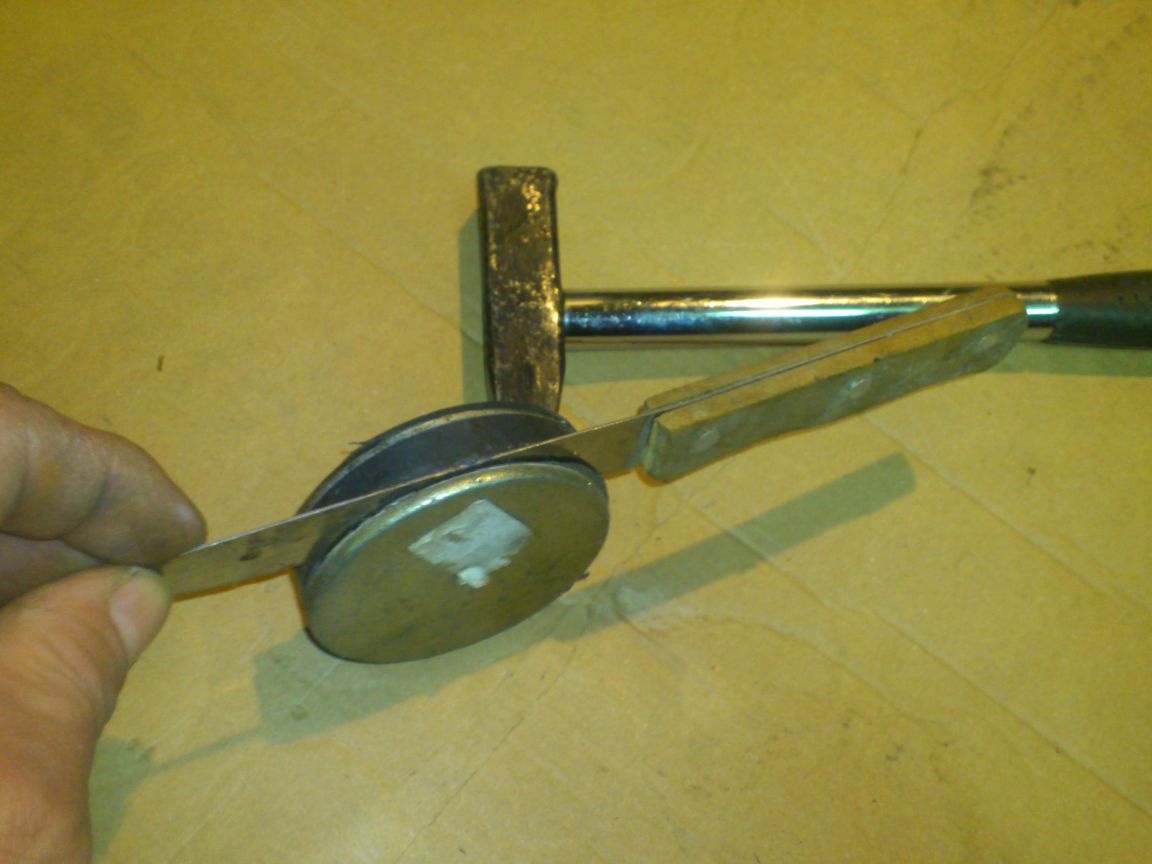
I used to do it "cleanly", but this time the ferrite magnet cracked a little ... Well, okay ... I’ll grind it on a diamond cup.
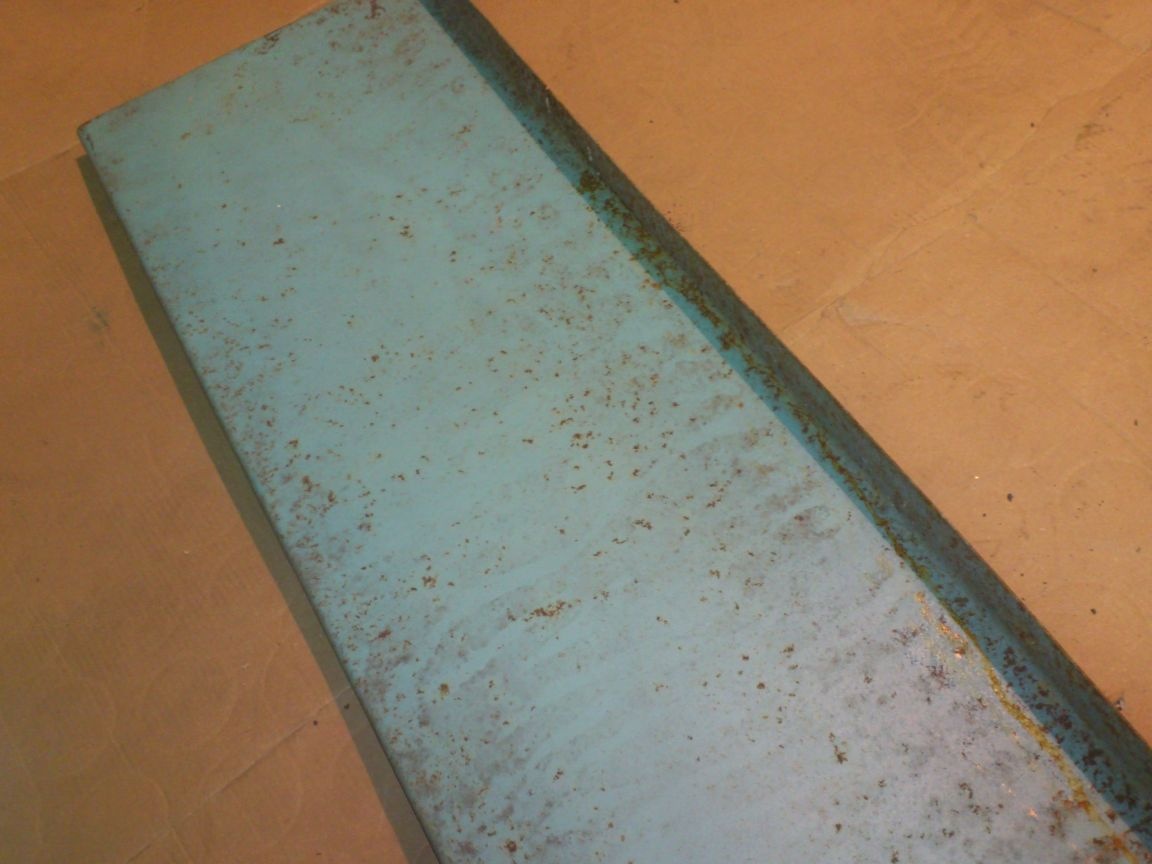
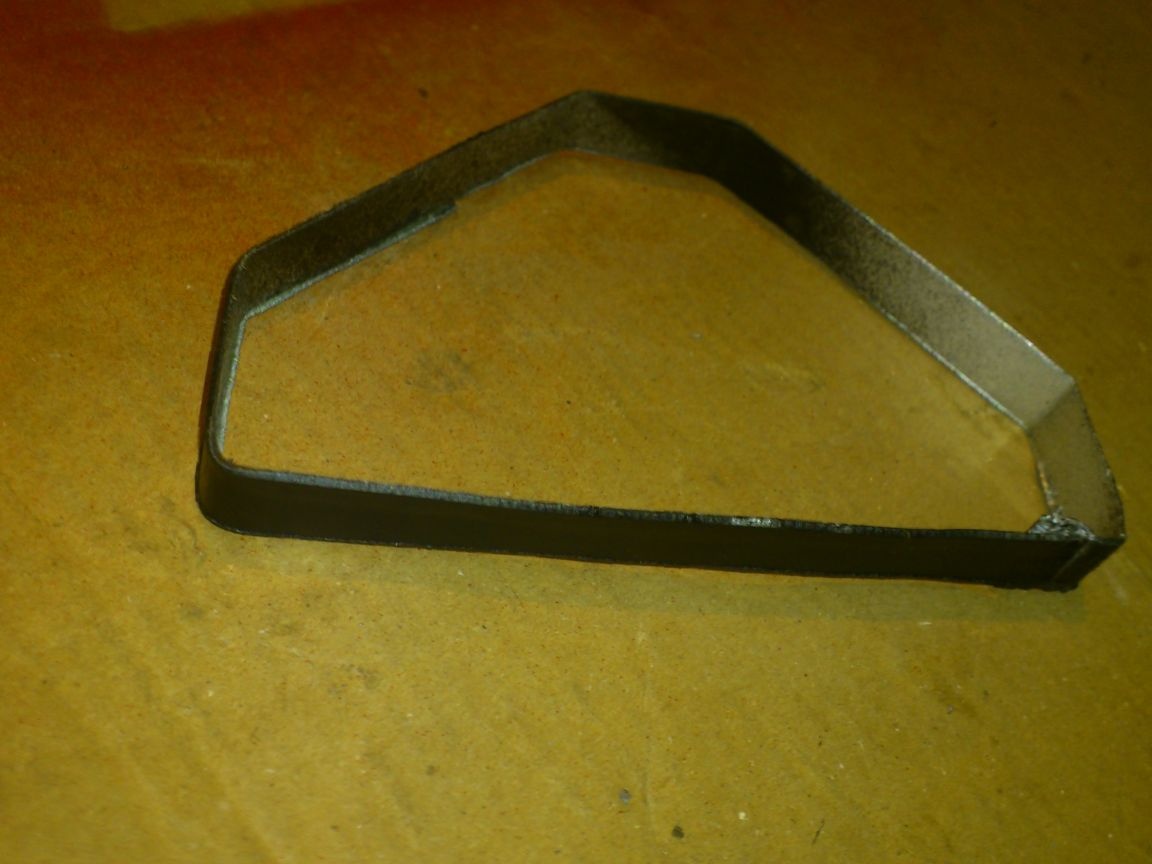
Next, I began to manufacture plates. I cut them out of an old window tint. (I myself am surprised, but it was made of "black" not galvanized iron, 1 mm thick!). The metal is very well magnetized, which I needed in the first place.
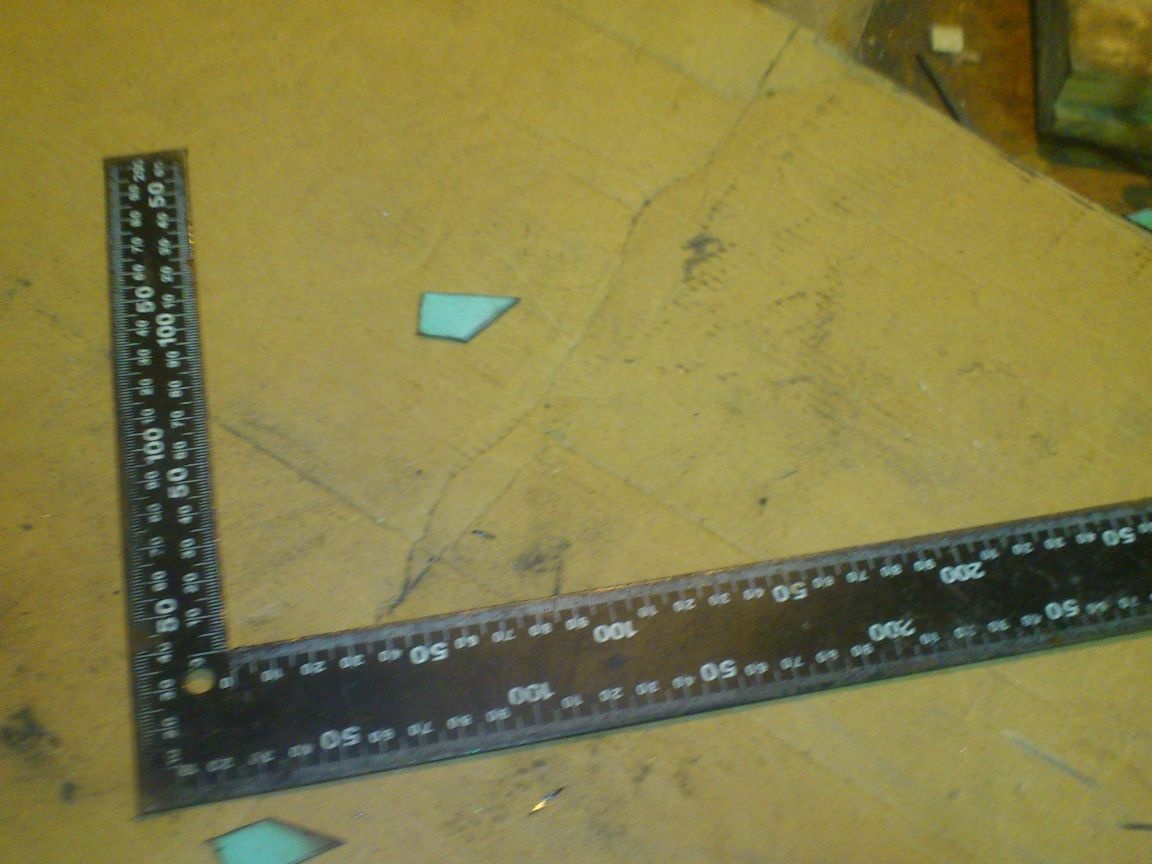
Using a plumbing square, applying it and the resulting magnet to the workpiece, I determined the dimensions of my future product, drew it and cut it out with a grinder:

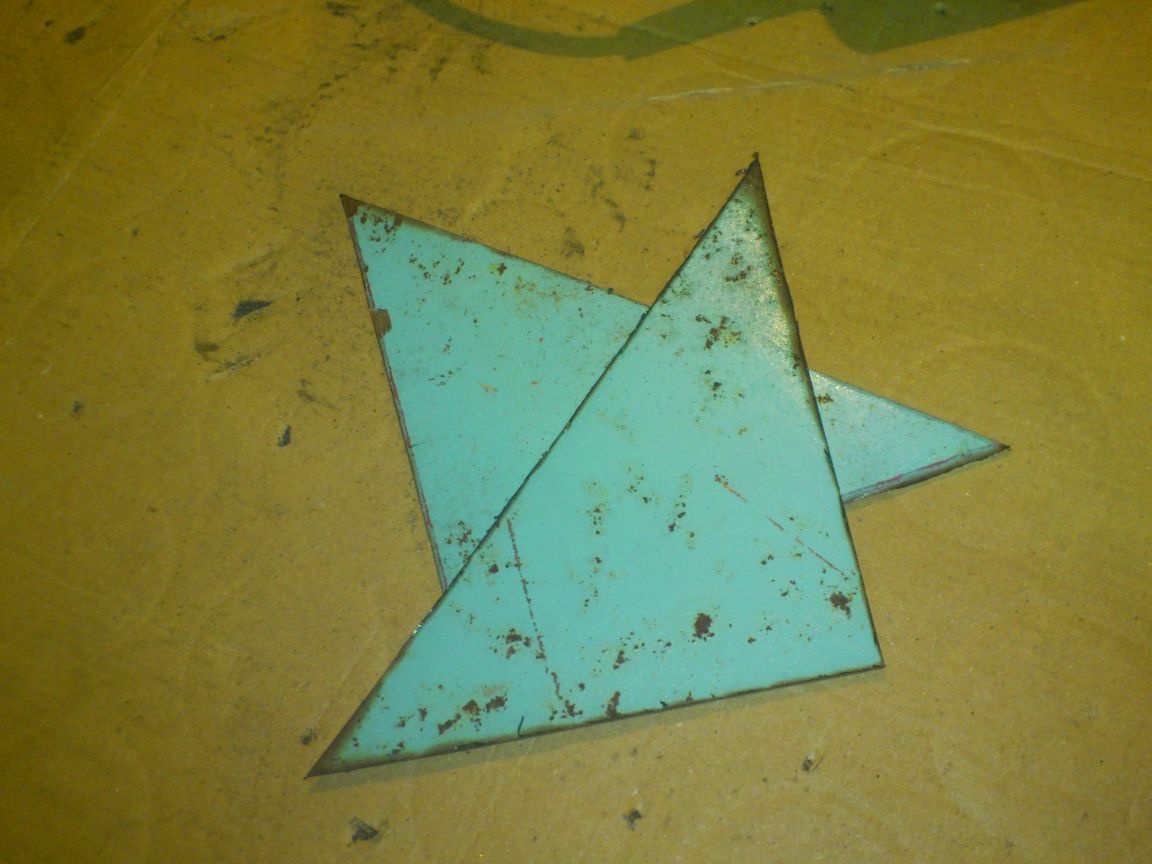
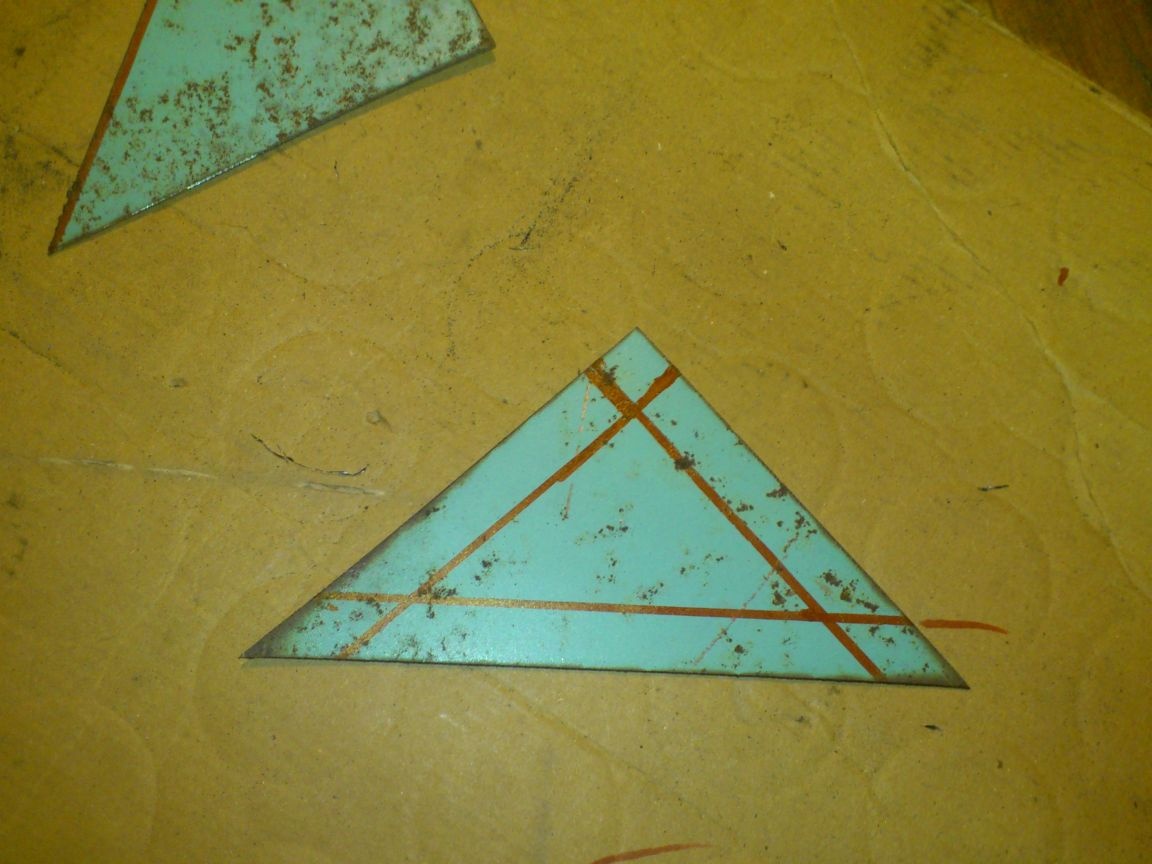
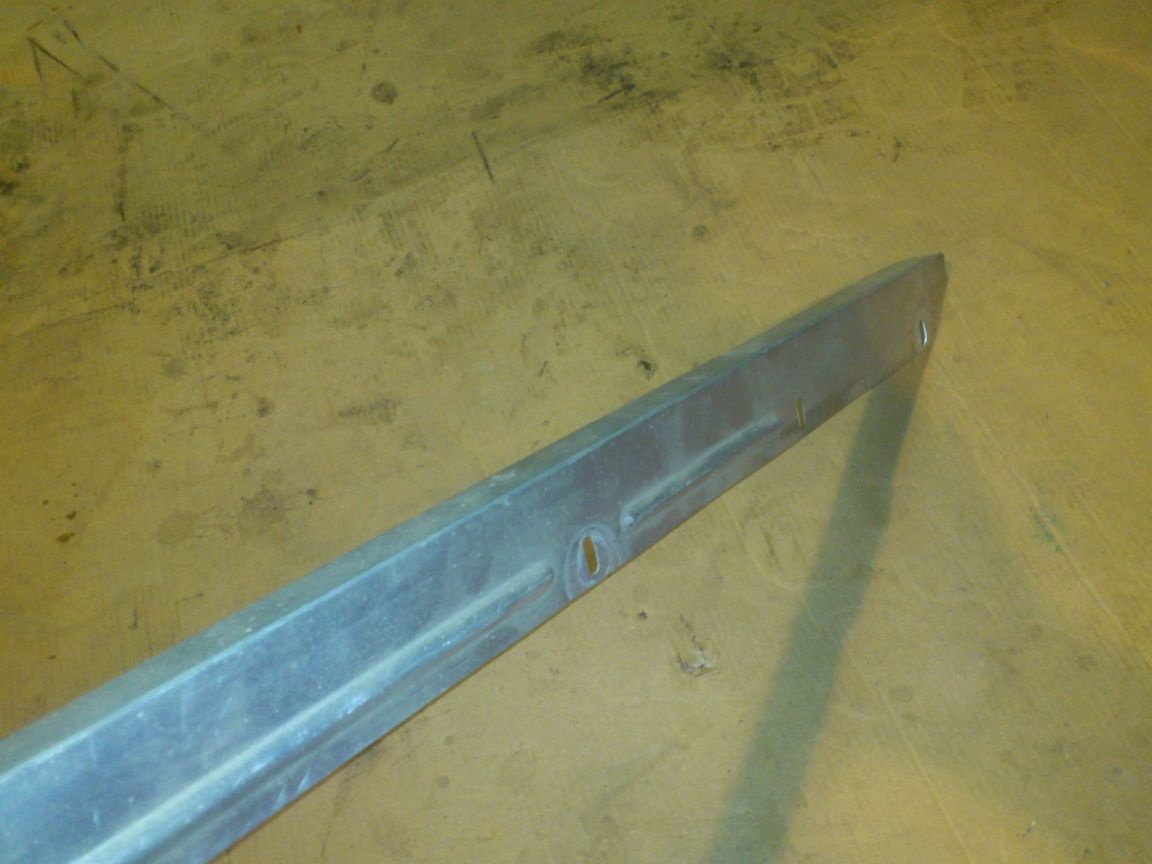
Next, I marked and cut the corners. Corners need to be cut for several reasons:
Firstly, when cutting a profile pipe (and especially with a thick circle on, there are burrs on the edge. When welding, they will easily melt and will not hinder. But the square will run into them. (But even a half millimeter will greatly change the angle in this case). Therefore, after the pipes are cut to size, you will have to clean these burrs, and lose time on this.
Secondly, if there is no large gap in the corner, you can accidentally weld the square itself to the workpiece !!!
So I cut them out like this:
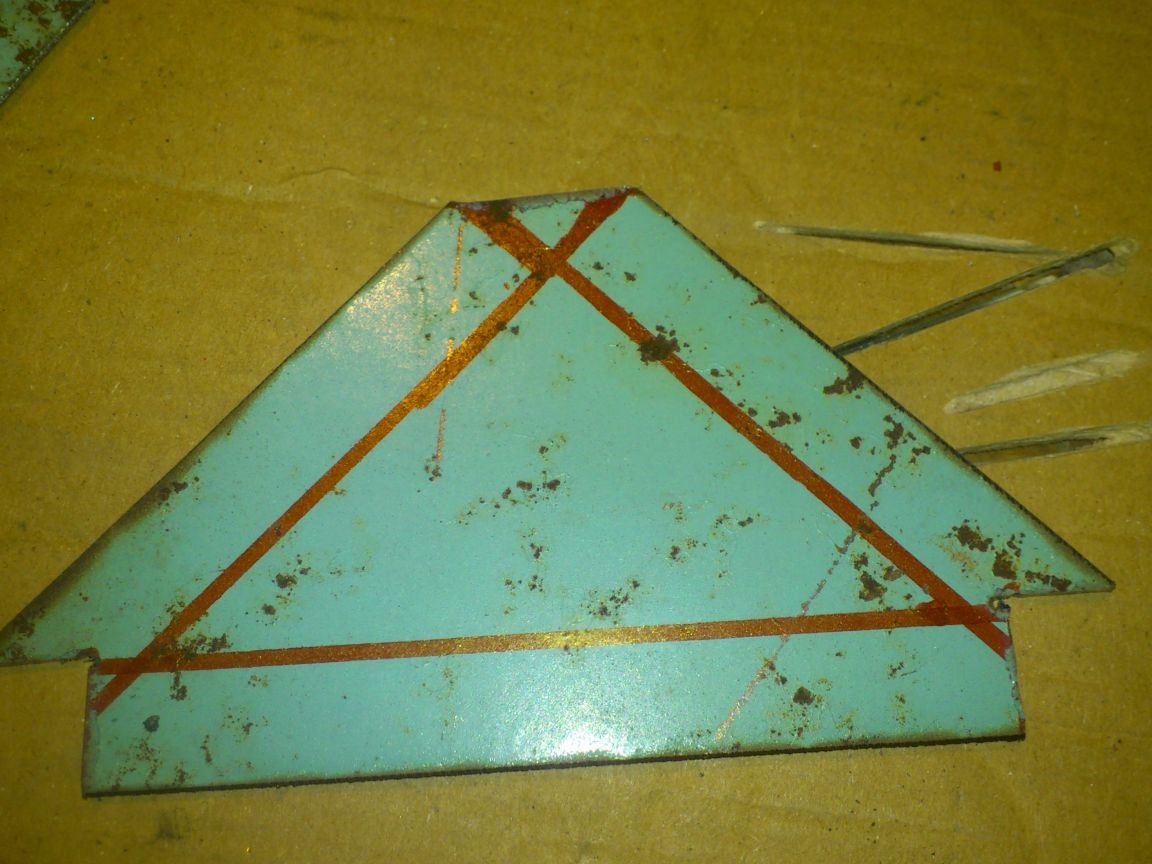
I did not mark the second plate. Just attached the first one to it (already with cutouts) and, according to this template, noted and also cut out:
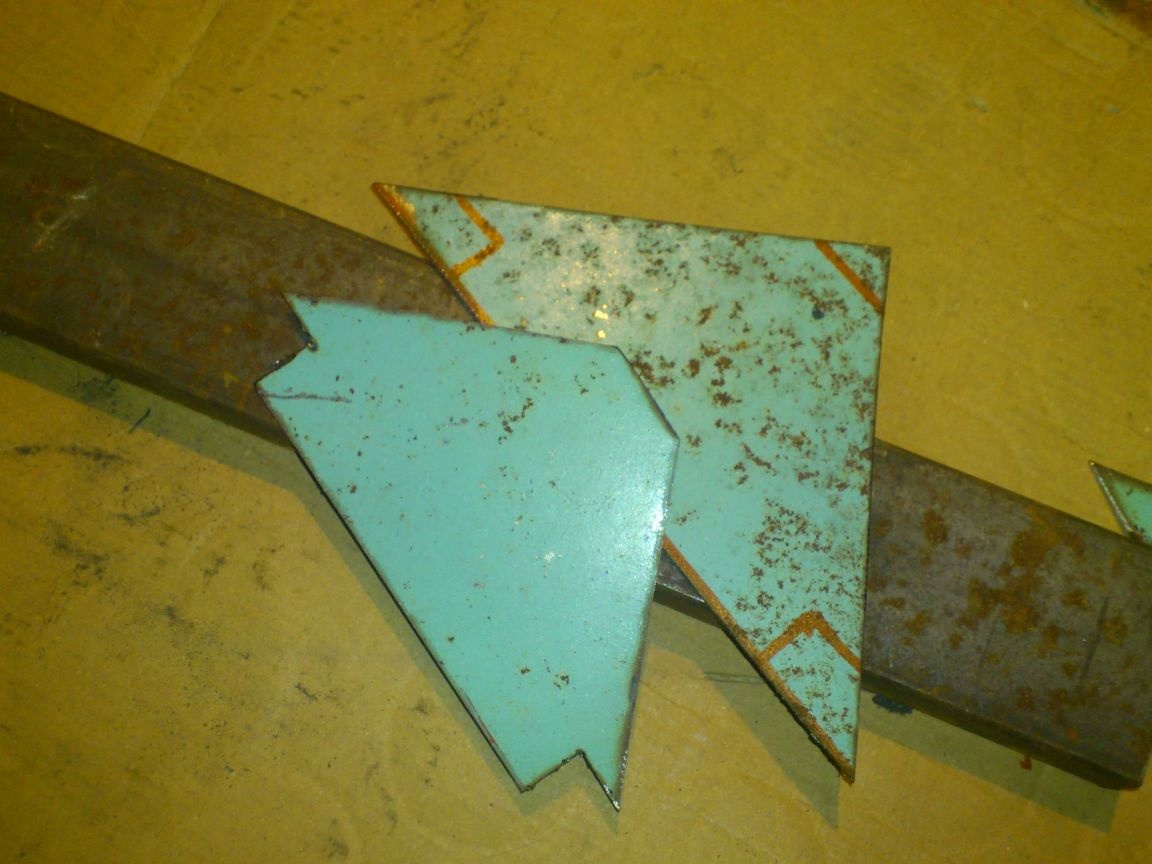
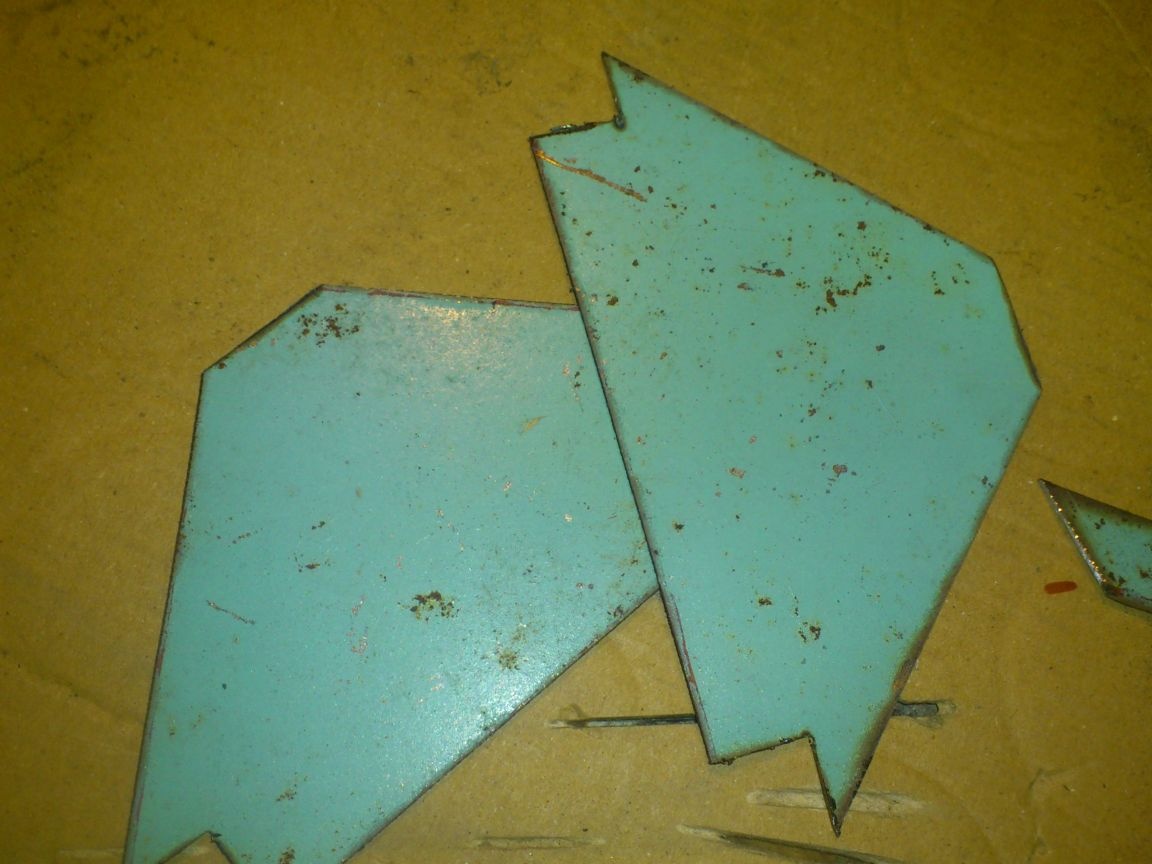
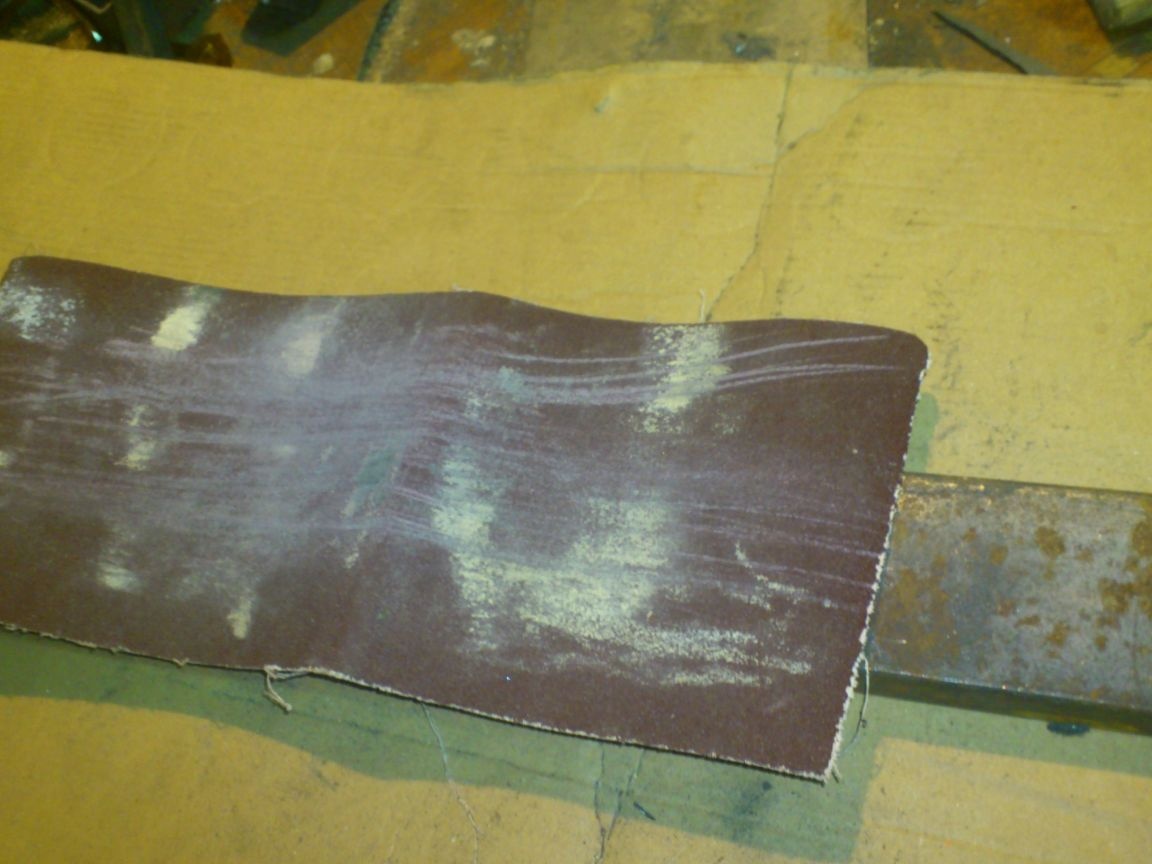
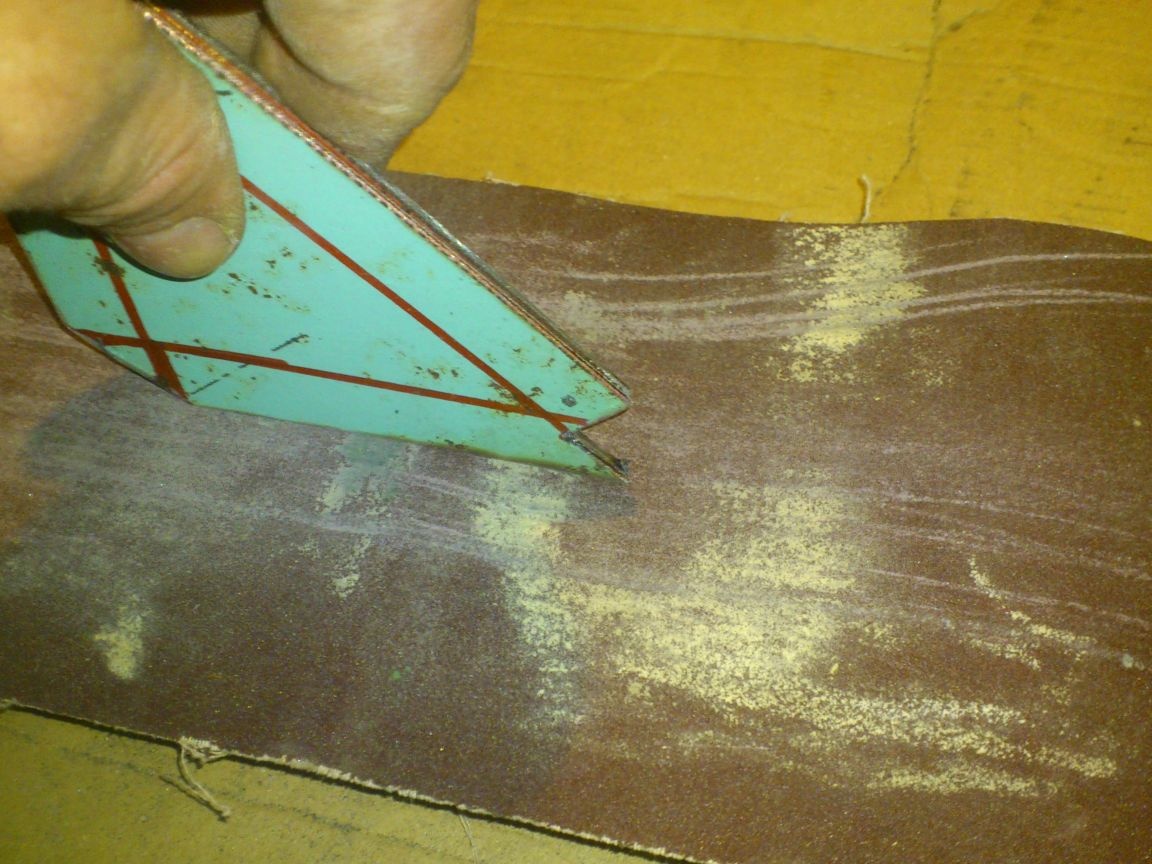
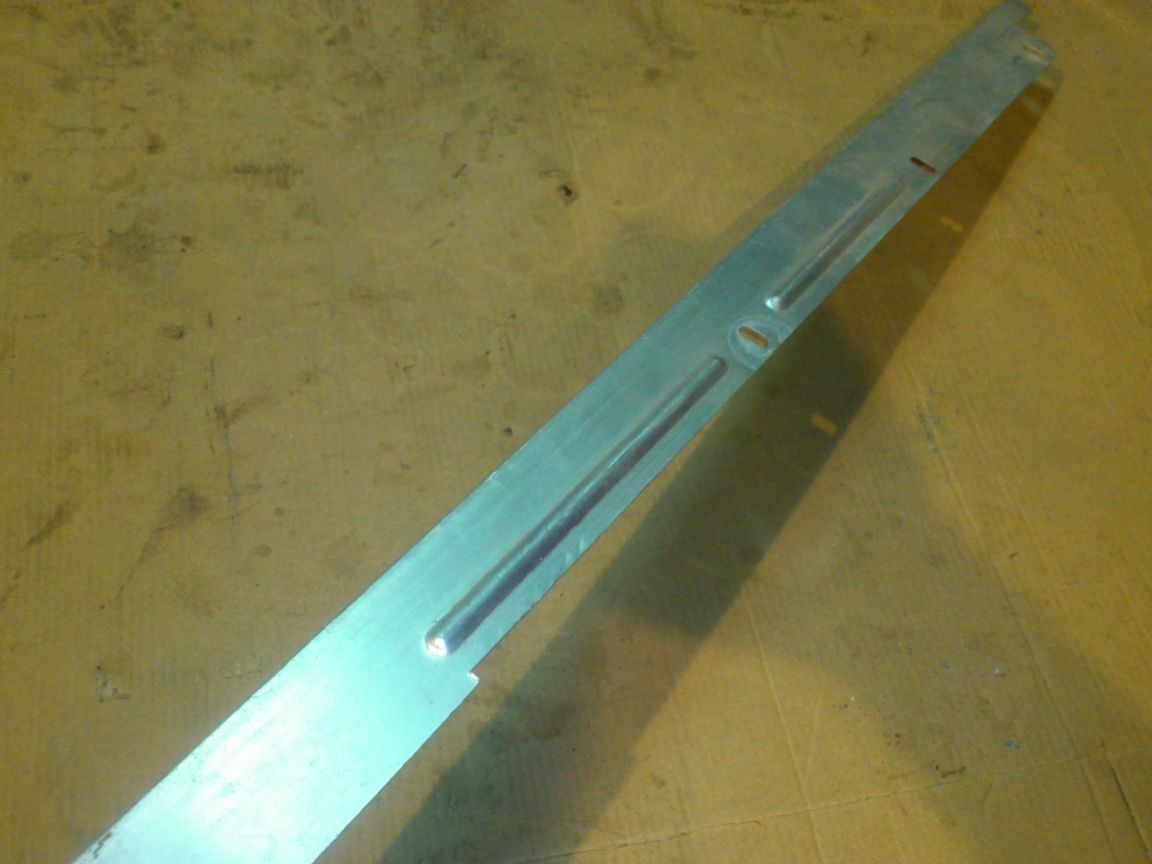
Next, I took up the “slim fit”.After all, it is not possible to cut out with a grinder very precisely, and accuracy is needed up to fractions of a millimeter. Therefore, I had to finish it manually. I took a segment of a wide profile pipe, spread a strip of emery cloth on it, and manually, on it I grind the sides of my metal triangles, periodically putting them into a metal square and checking "for clearance"
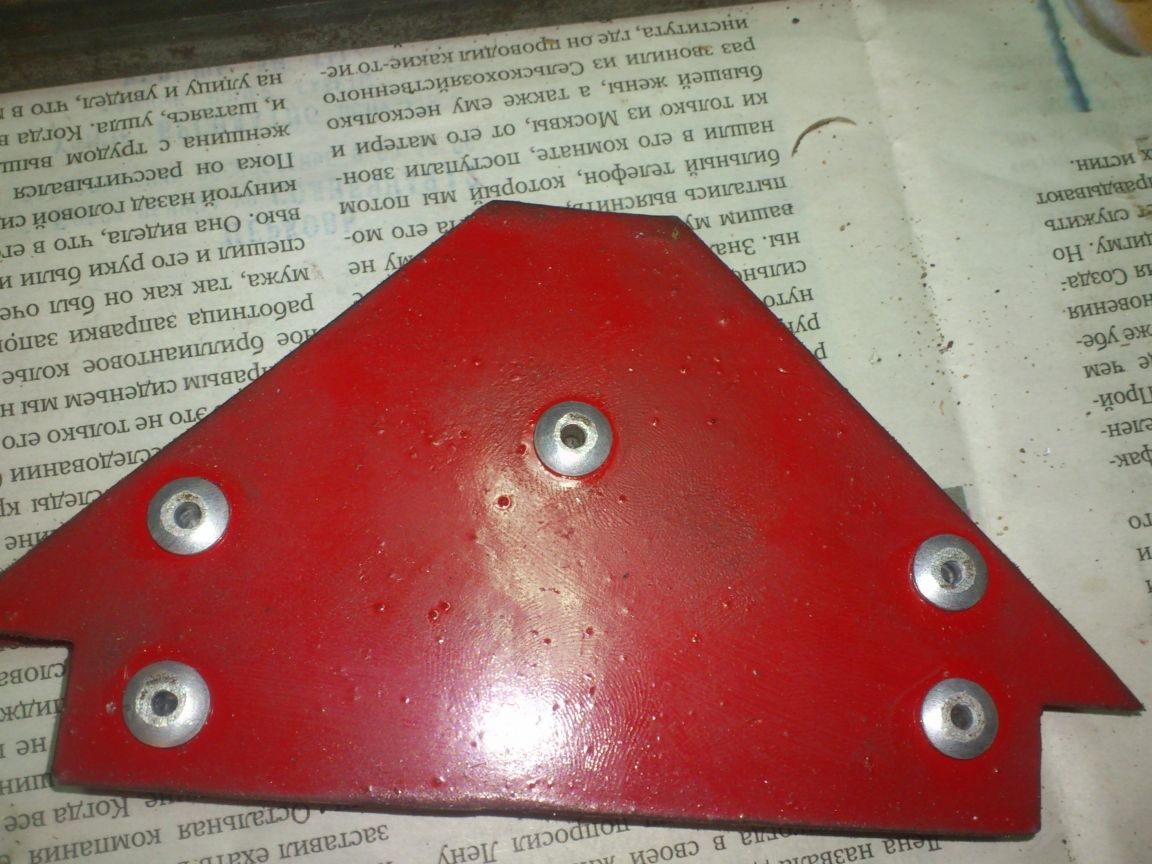
After that, having folded the blanks evenly and squeezed them in a vice, I drilled holes for rivets in them. (This process forgot to take a picture). And after that, just in case, having pulled them through the holes with the M5 screws, once again “finished” it on the sandpaper, already two together.
Next, I want to focus on a common mistake in the manufacture of homemade squares. Many friends make them "open." That is, they don’t close the butt! It is unacceptable. Because when working with metal, there are many sawdust, frozen spray of scale, small scraps and other magnetic debris. Since all this garbage is very light, it adheres abundantly to the magnet. Here, for example, is a photo of a weak (!!!) magnet, which I specially “crawled” on a workbench after I cut and finished my blanks:
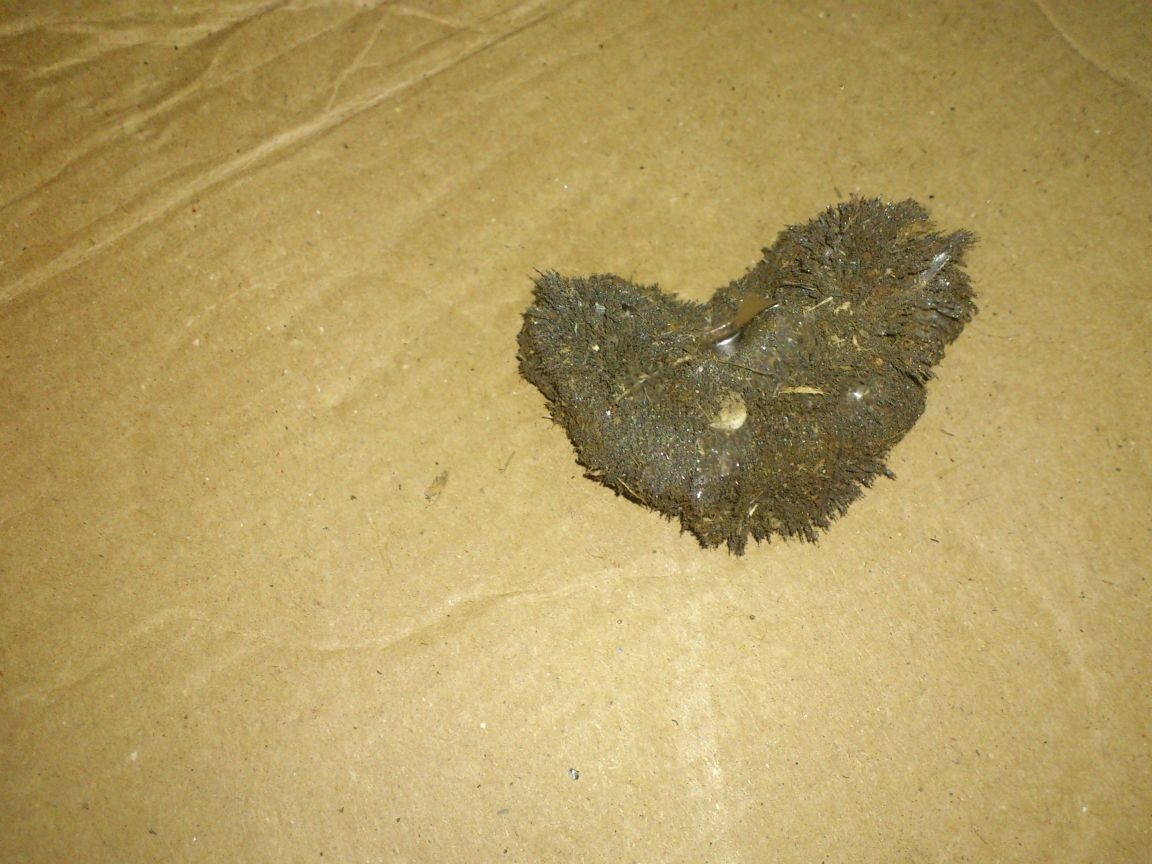
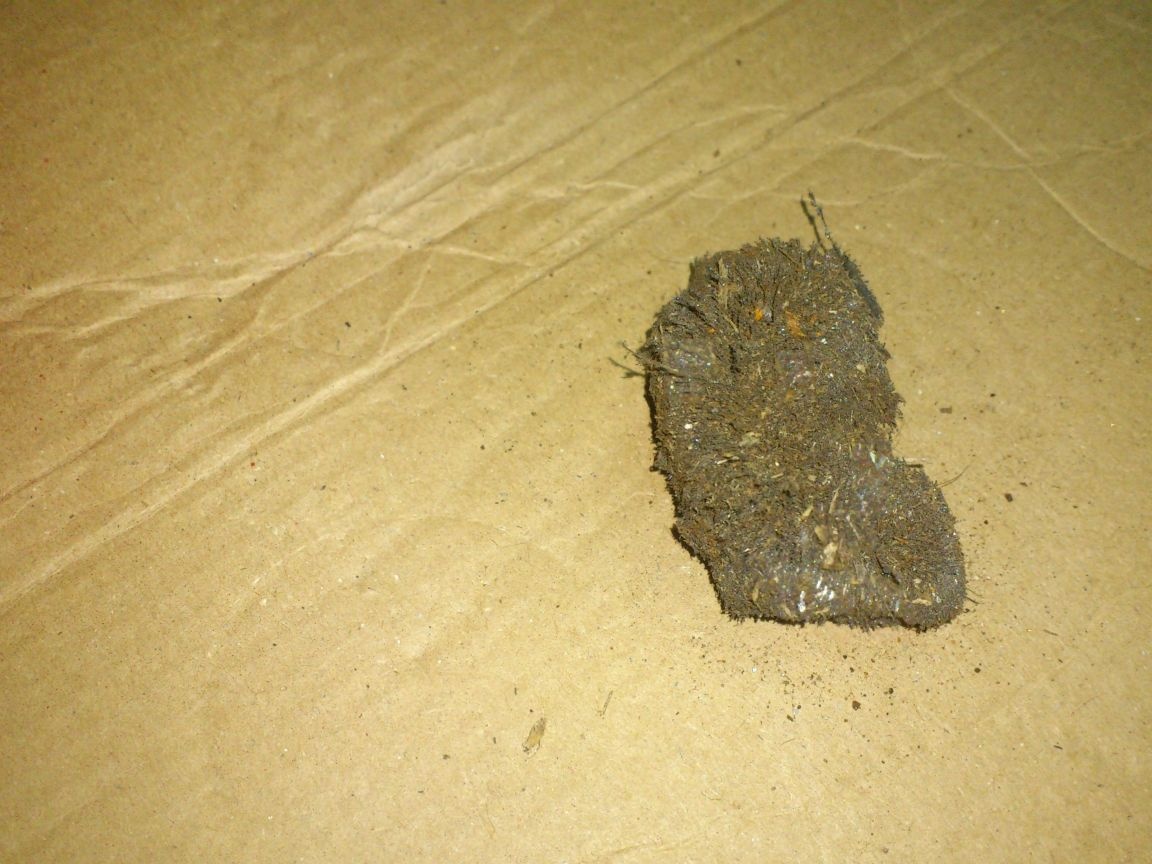
See how much he collected? !!! The magnet itself is not even visible behind the trash !!! So it will also collect garbage and a magnetic square. And even stronger, because his magnetic properties are more powerful !!!
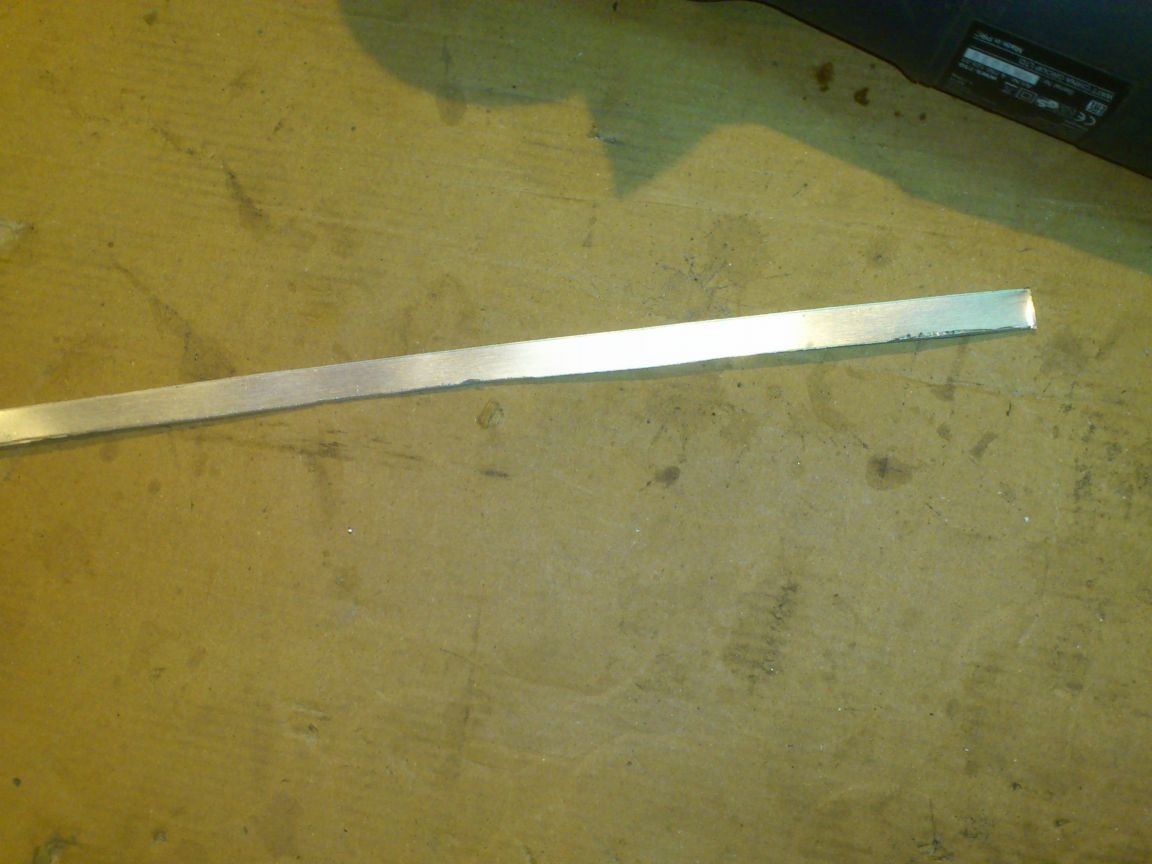
That is why its shape must be such that it can be easily cleaned !!! That is, its ends should represent smooth planes. I made them from a thin aluminum plate. Some kind of edging from the shelf of an old refrigerator fell under my arm.
From it I cut a strip, the width equal to the thickness of the magnet:
And from it I curved the frame around the perimeter of the plates. It will be nested between them, and tightly clamped with rivets. The ends of the square will be tightly closed, magnetic dirt will not get inside, and it will be easy to remove it from the surface of the plates.
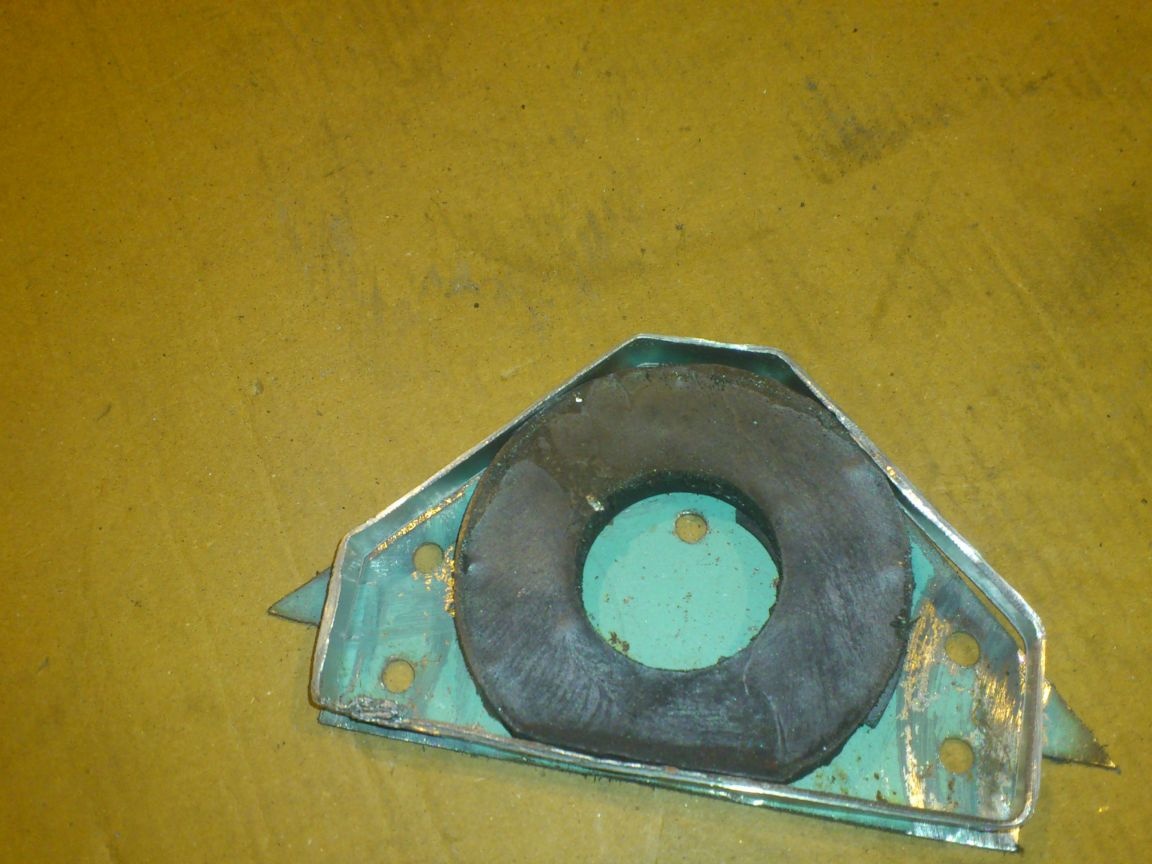
By the way, pay attention: at the bottom of the magnet I had to cut a little. This is my mistake - estimating the size of the plates, I did not take the correction for the thickness of the aluminum plate, and then the magnet did not fit into it ....
So, I will focus on another point. A ferrite magnet is easily cut with a grinder. But, unlike metal cutting, do not use an abrasive wheel and try !!! It will slide and you will simply overheat the magnet. (By the way, if anyone does not know, permanent magnets lose their properties from overheating.). You need to cut with a diamond wheel. A wet cutting diamond wheel, popularly called a "tiled" wheel, is best suited. It has a continuous cutting surface and does not jitter the place of the cut:
And when cutting, the magnet needs to be cooled with water.
Further, I want to explain why I made the ends exactly from aluminum, and at the same time focus on another common mistake. As you know, any magnet has two poles, conventionally called "north" and "south". Both poles are equally well attracted to metal. For magnets of this shape, the poles are on the planes. That is, when we apply metal plates to the planes, then these plates are already the poles of the magnet. And it is with them that our square will “stick”, and not at all with the plane between them.
But, most importantly, the poles of a magnet cannot be "shorted" with magnetic material! This reduces its properties, and, in addition, contributes to the fact that the magnet, albeit slowly but demagnetized! And another mistake is that many connect the plates with steel (!!!) screws. This, of course, is already a trifle, but if there is an opportunity, then it is better to exclude it. And this is how I did it ...
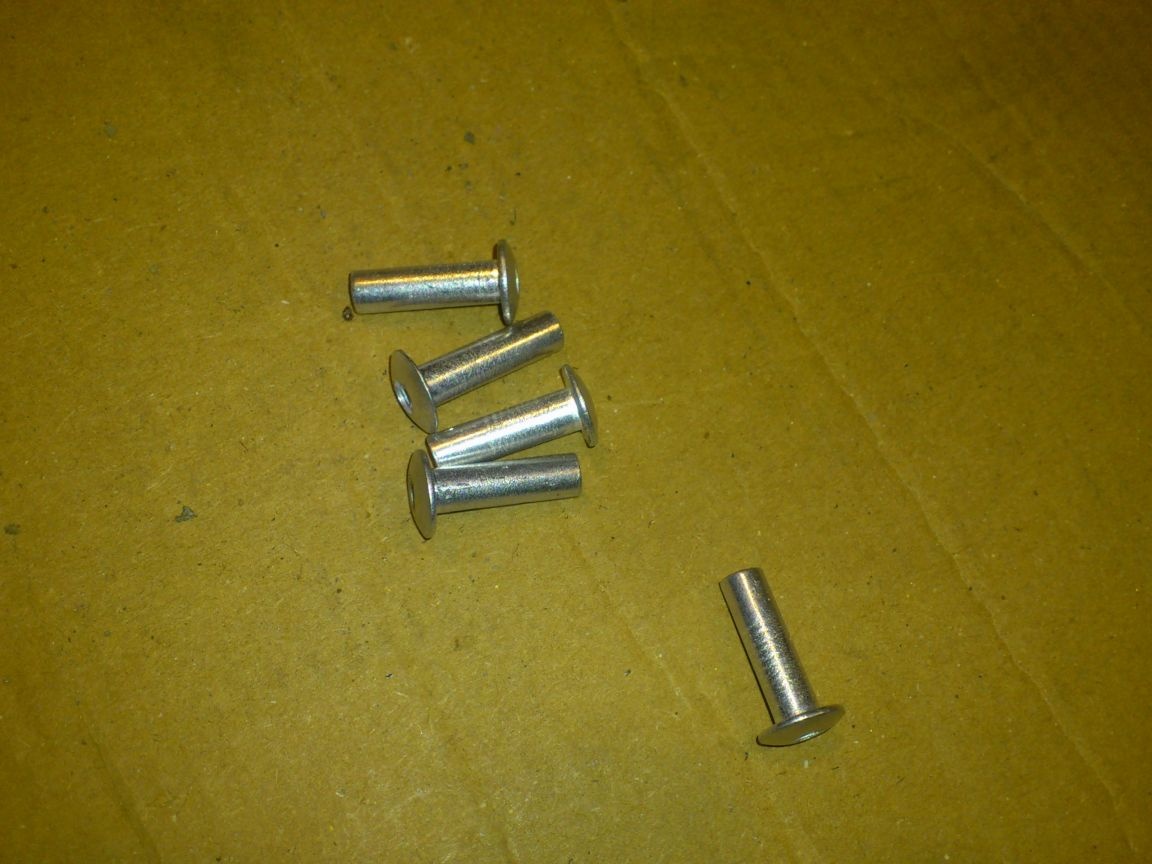
I decided to connect the plates with rivets:
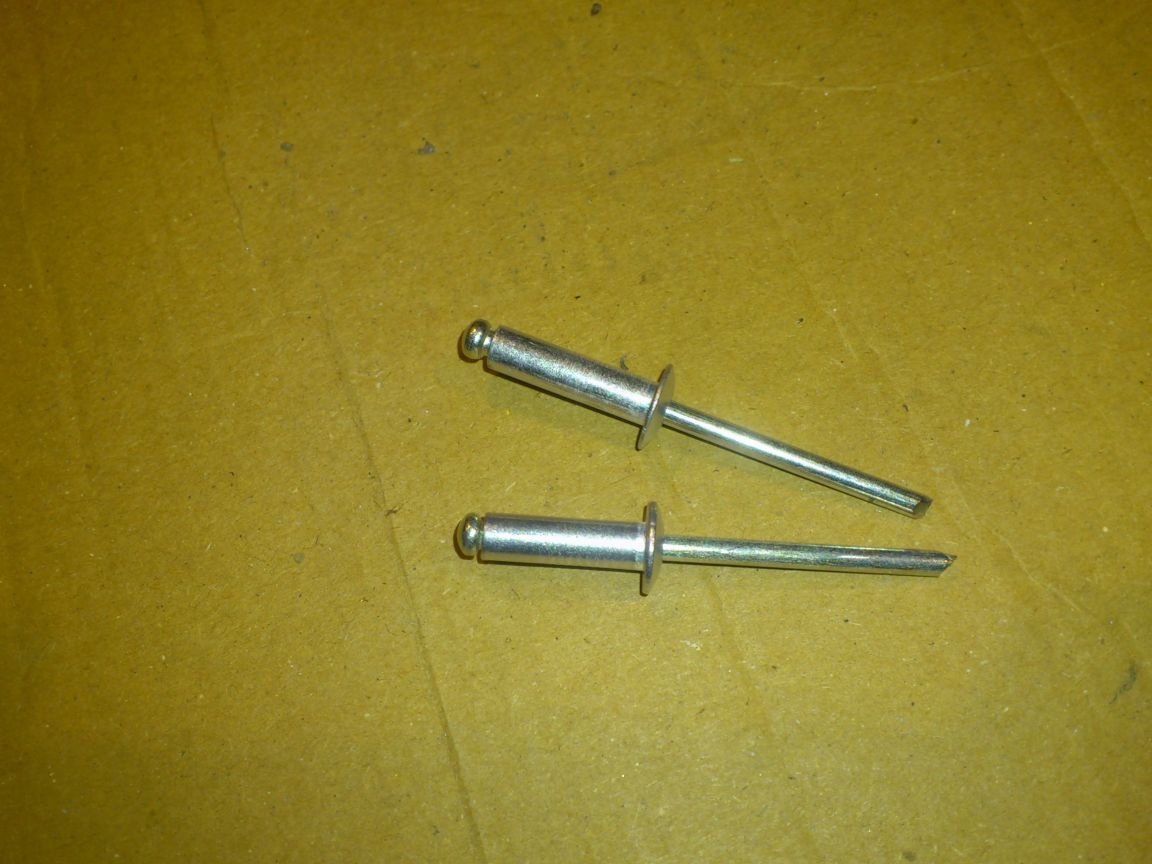
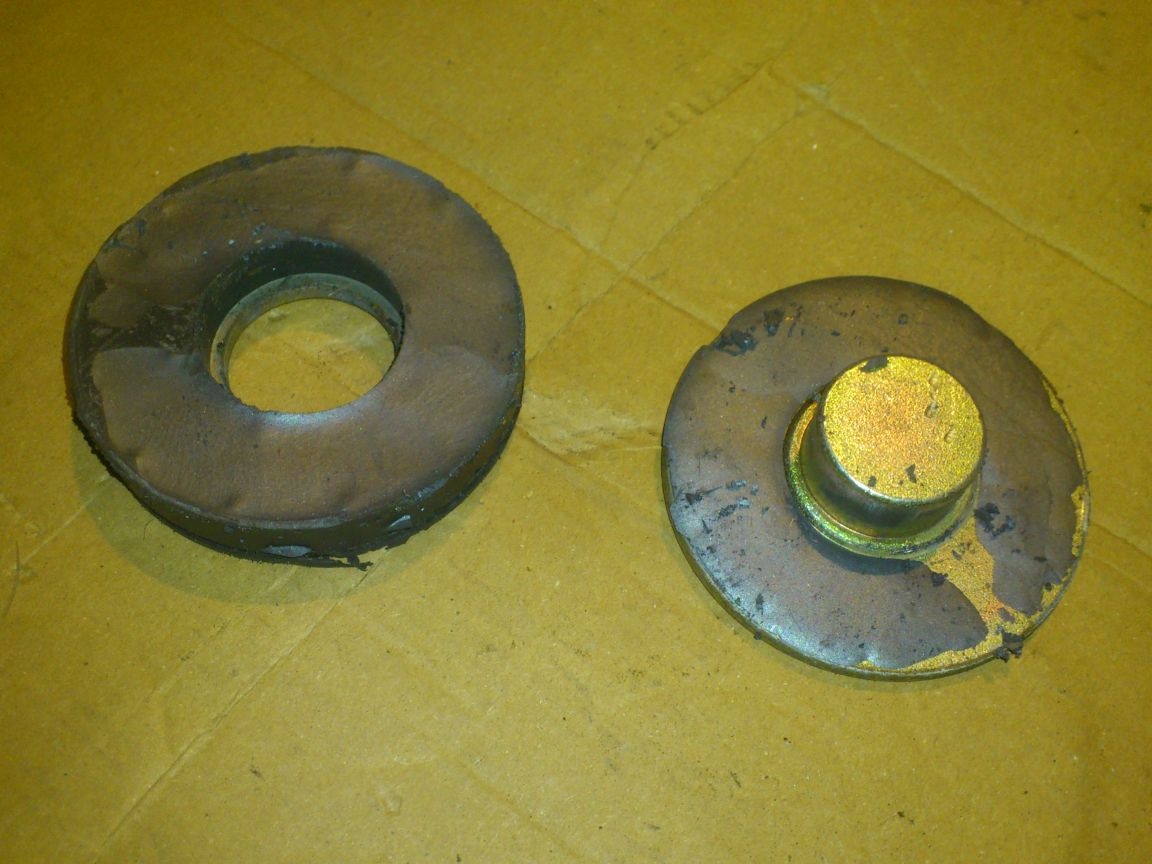
But they also have steel - the core itself, with which the rivet is wedged. Therefore, I disassembled them - just knocked out the page:
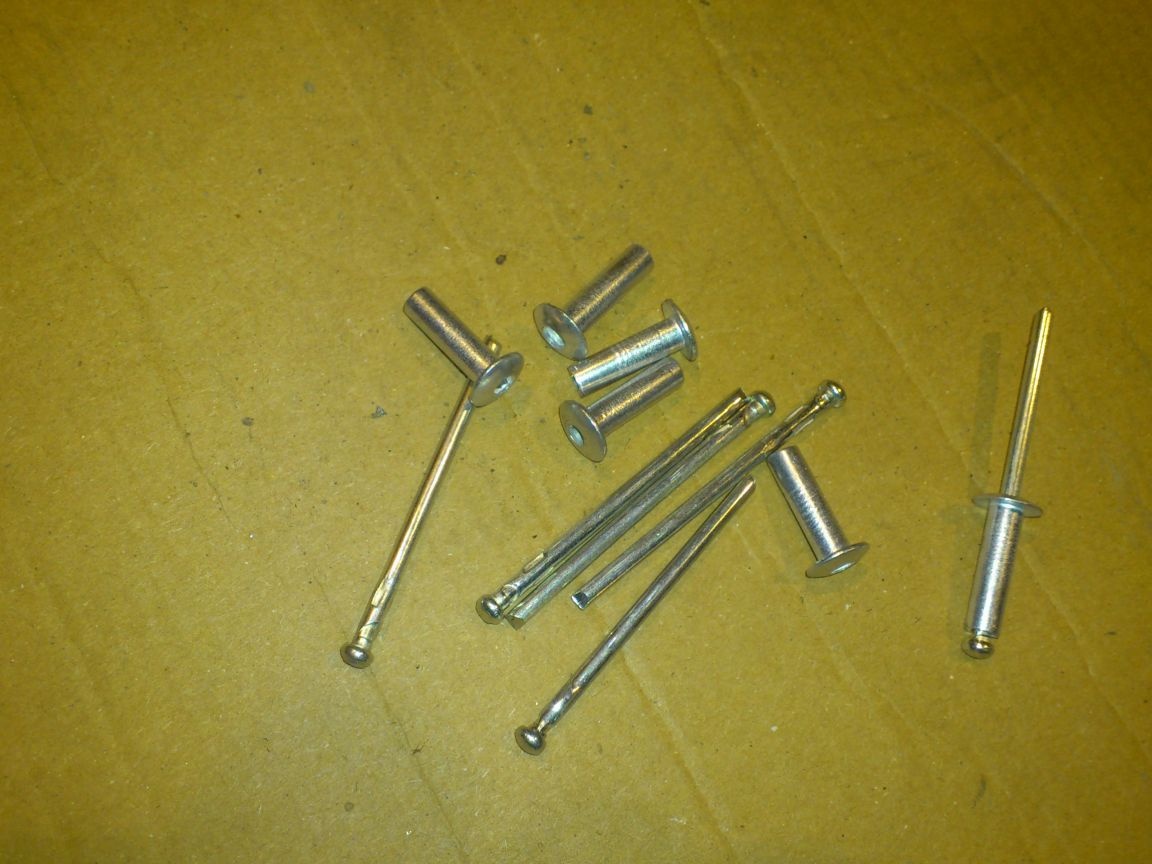
I will use only aluminum parts:
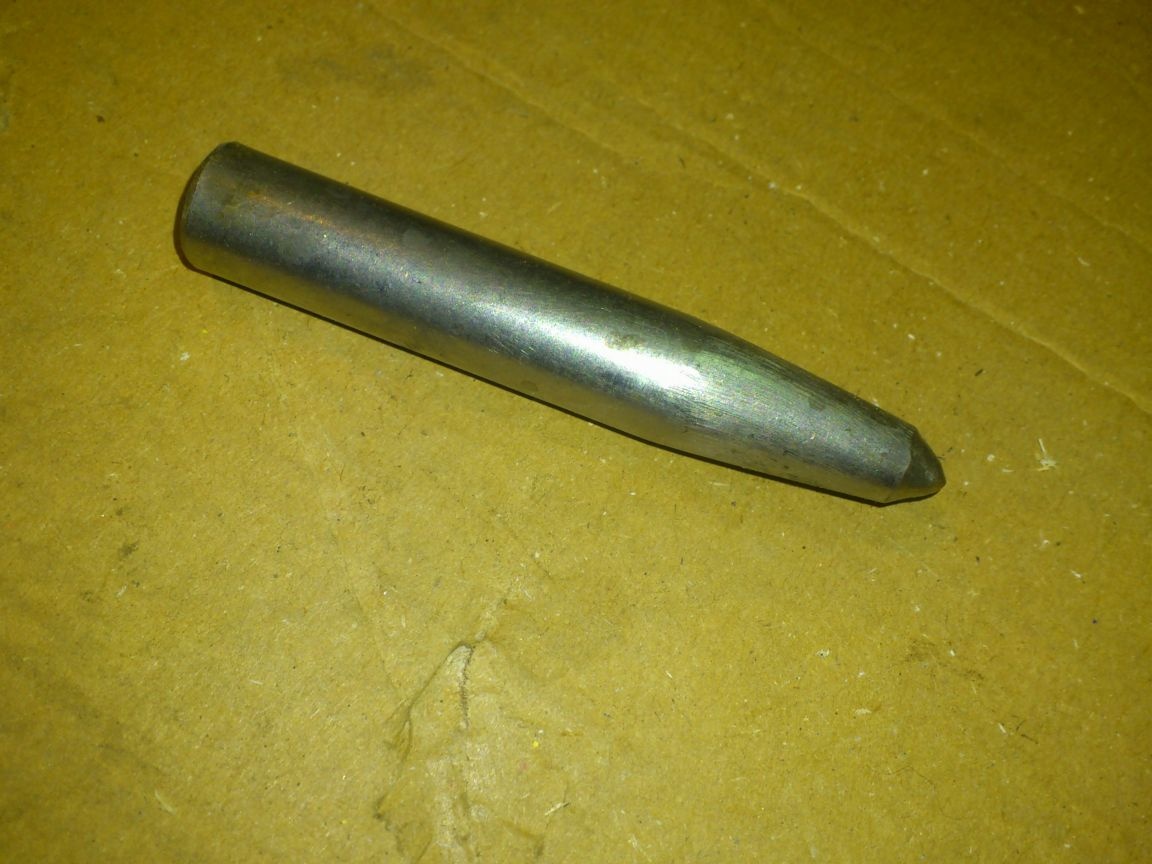
After inserting a rivet, I just flare it from the back with such a core made once from a car valve:
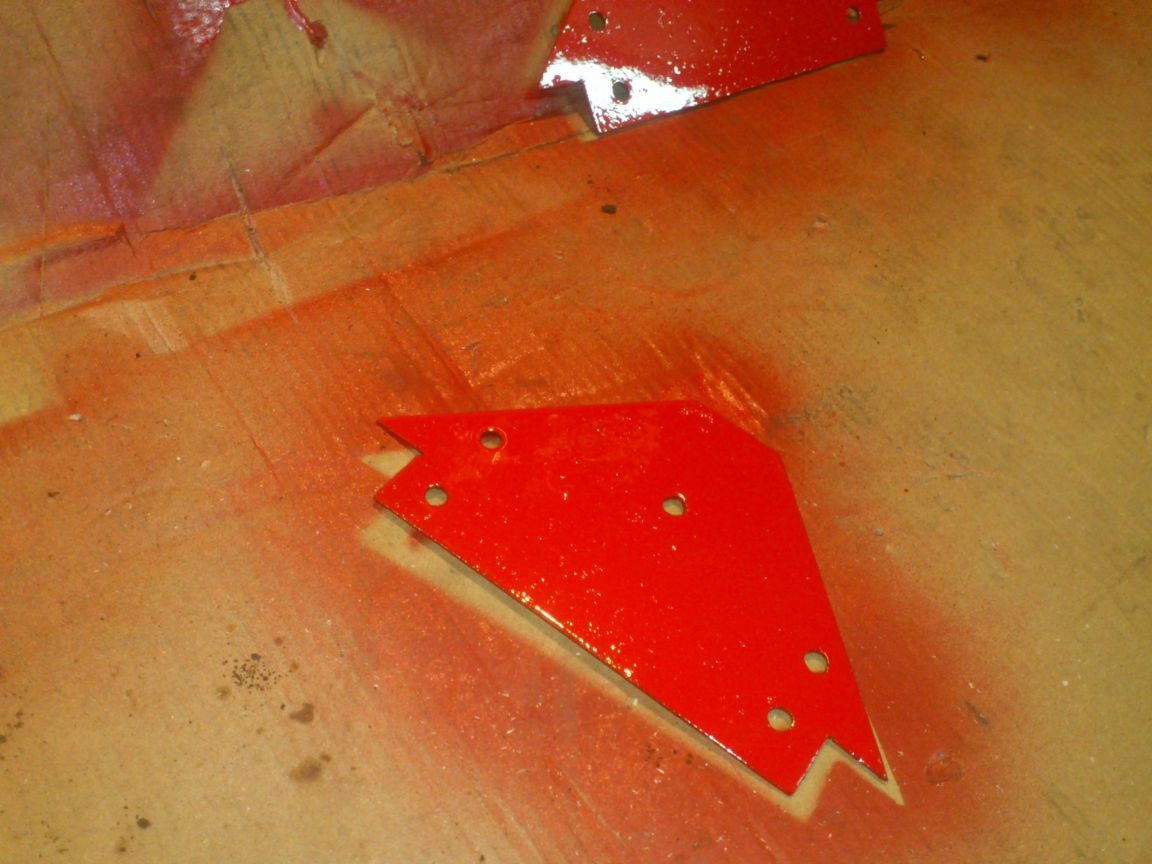
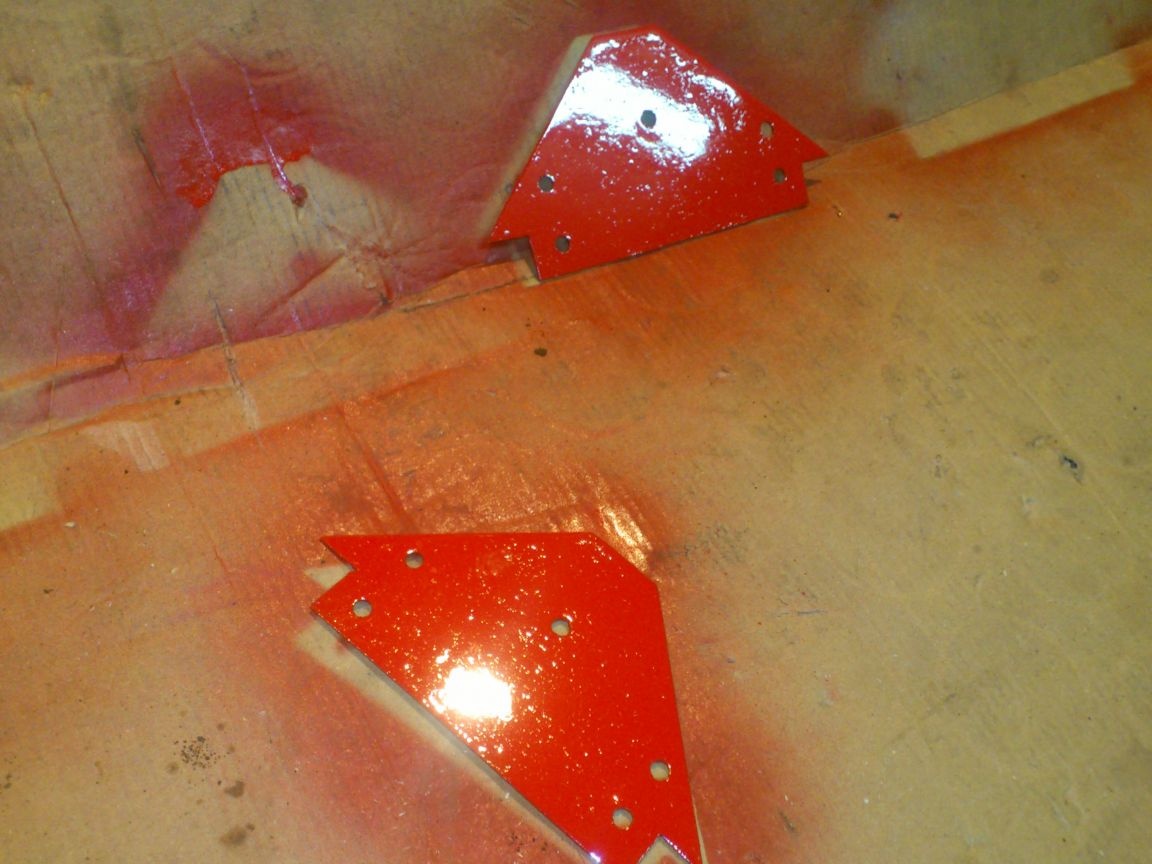
But, before that you need to paint. I just sprayed enamel from a red spray can. (Why I chose a bright red color, I think, no need to explain))))):
I painted the aluminum frame in black:
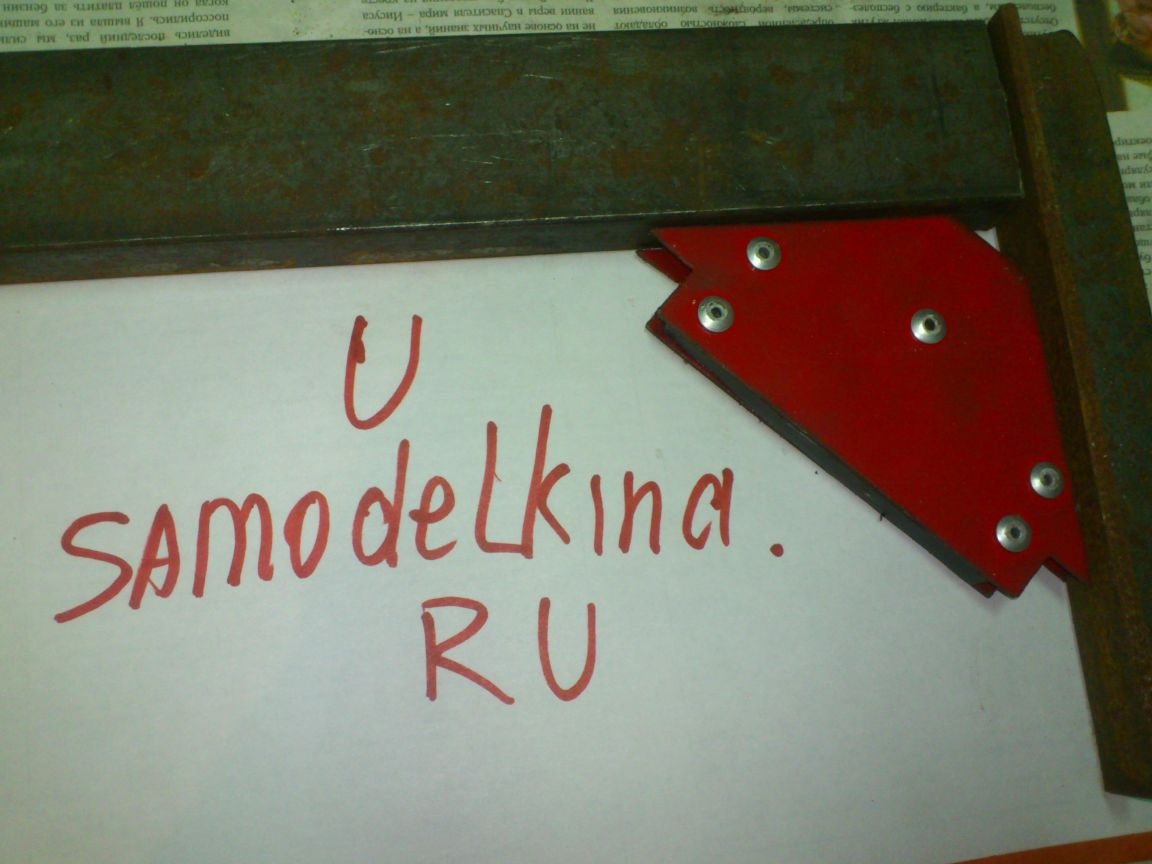
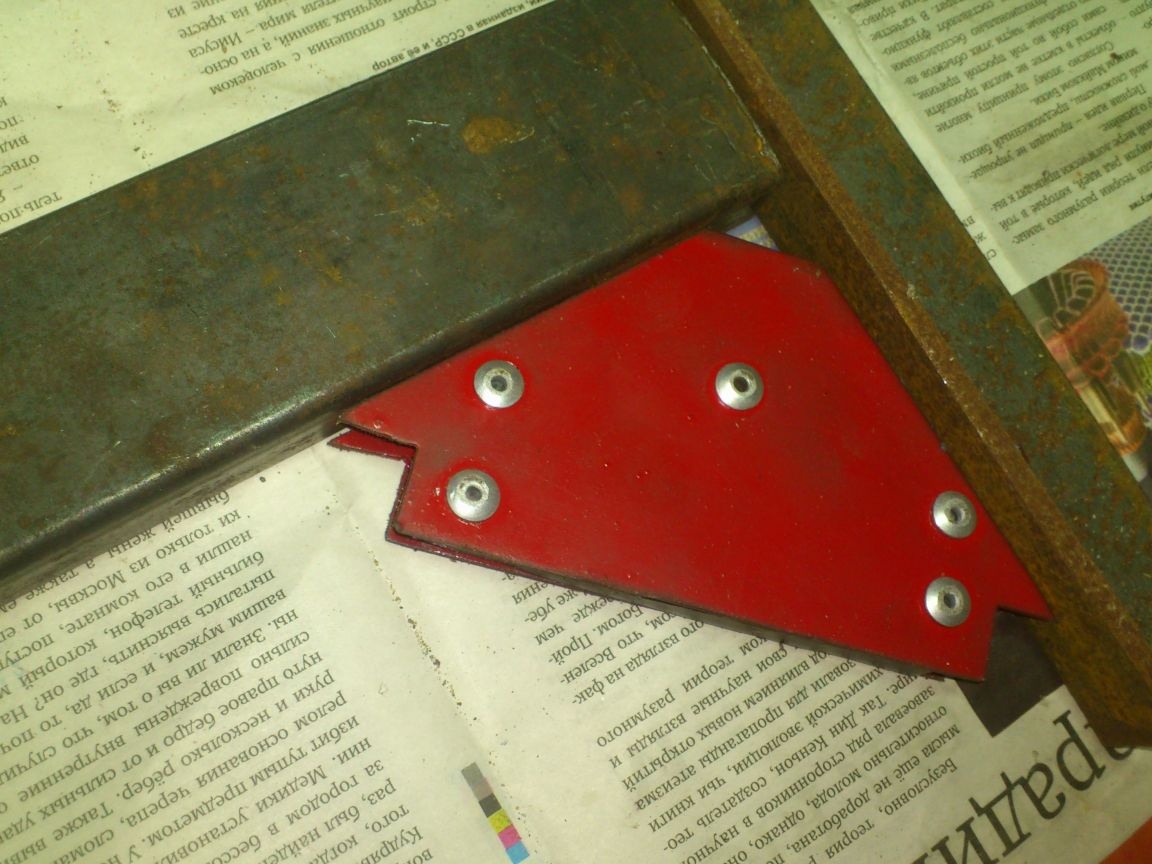
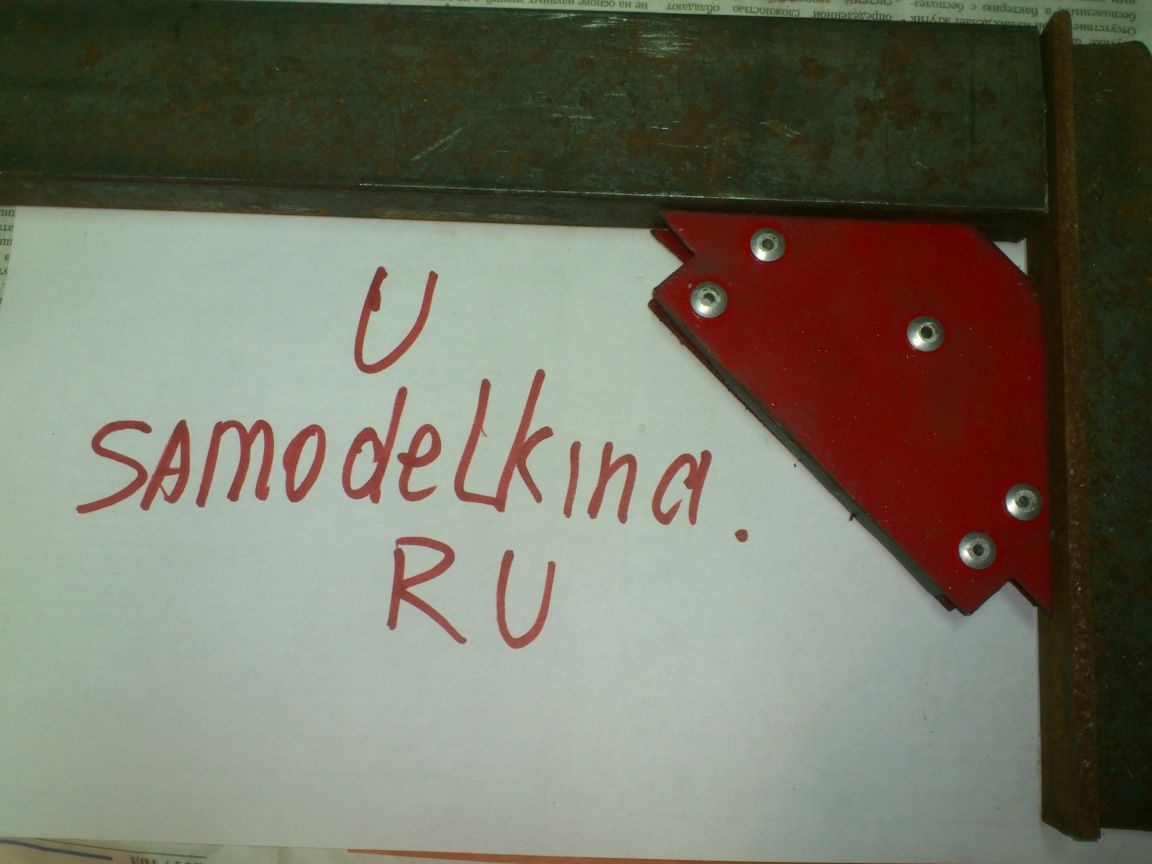
The next day I collected a square:
That's all! Of particular strength, he does not differ, of course. On the weight of the workpiece will not hold. But it will even help to weld a rectangular frame from profile pipes: