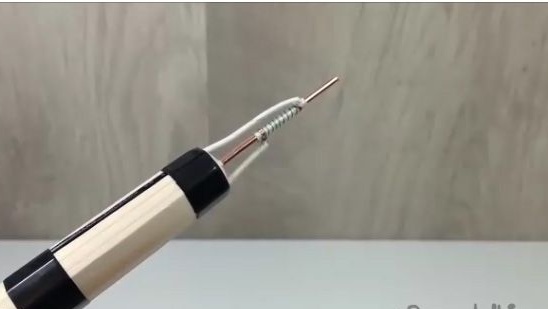
Hi the inhabitants of our site. Today I will try to describe you as much as possible the assembly of a homemade soldering iron. You can talk about the usefulness of a soldering iron forever, and probably it is in every house and the garage. But I think this article will be useful for everyone, since your soldering iron may fail and you will have a spare soldering iron.
For a homemade soldering iron we need:
1- A wooden blank that will comfortably lie in your hand.
2- Marker.
3- Drill.
4- Stationery knife.
5- Wires with a connector for the power supply.
6- A section of a thick copper button.
7- Alabaster (gypsum).
8- Water.
9- Thin nichrome wire.
10- Power supply DC 12v 1A.
11- Glass cloth insulation for wires.
12- Insulating tape.
13- Copper wire.
14- Terma resistant insulation.
Making a soldering iron.
1- It will take not a large wooden blank, which will easily lie in your hand.
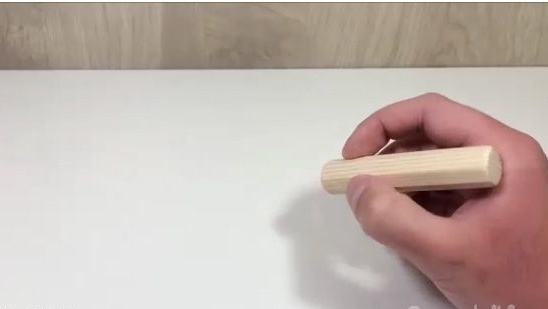
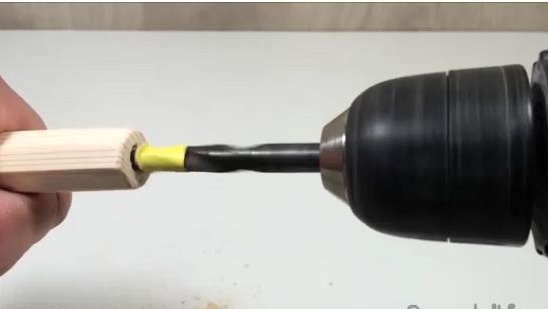
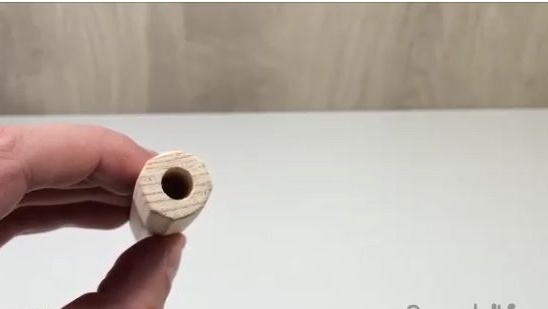
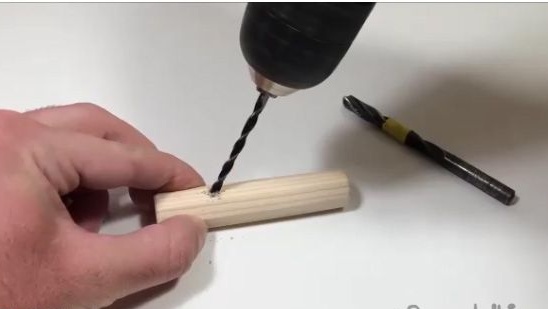
2- First of all, drill holes in the ends of the workpiece. A certain depth (see photo below).
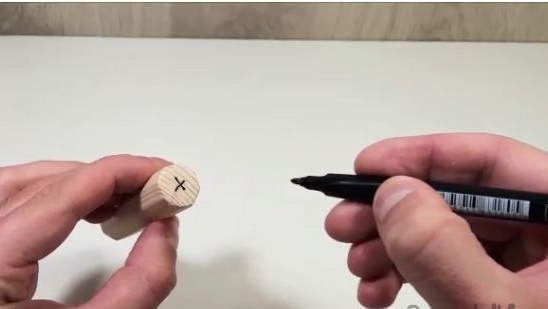
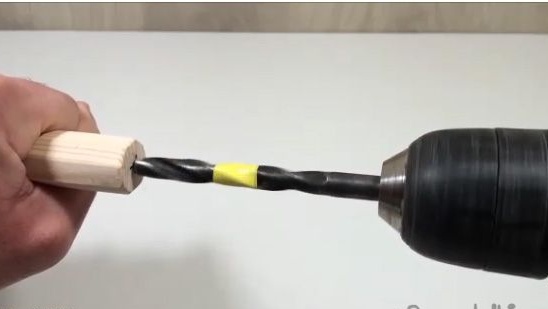
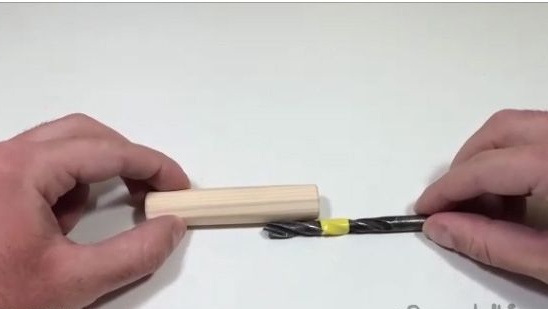
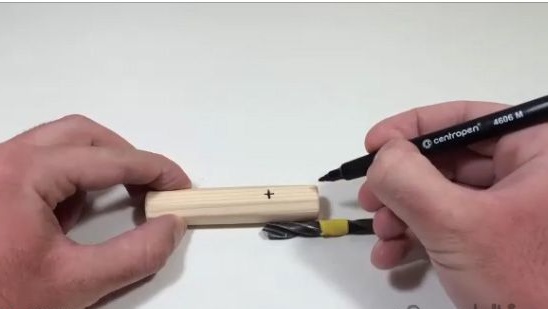
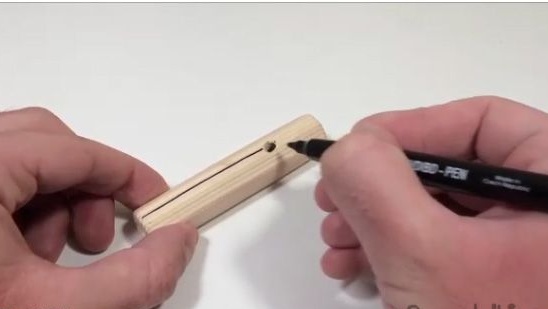
3- Then we put two marks on opposite sides of the workpiece and about where the hole ends (see photo below).
4- The holes themselves need to be drilled under a slight inclination of approximately, under such an inclination as shown in the photo below.
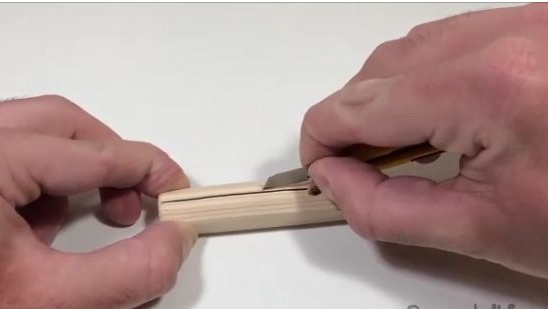
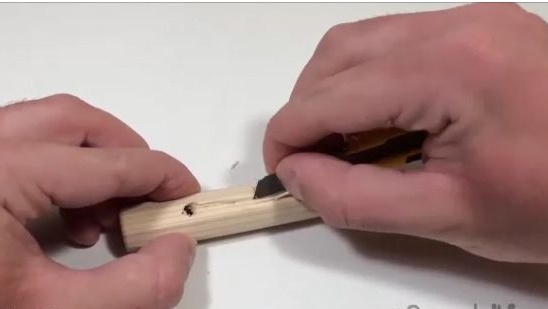
5- Then we cut the grooves along the base. We will cut using a clerical knife.
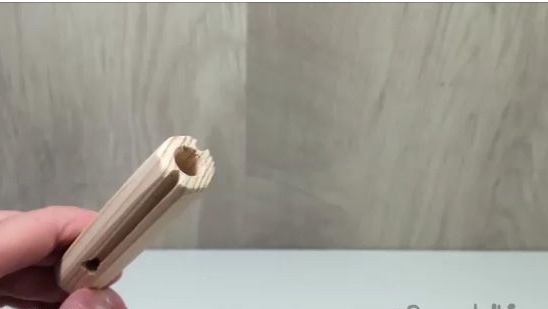
6- Next, you will need wires with a connector for the power supply.
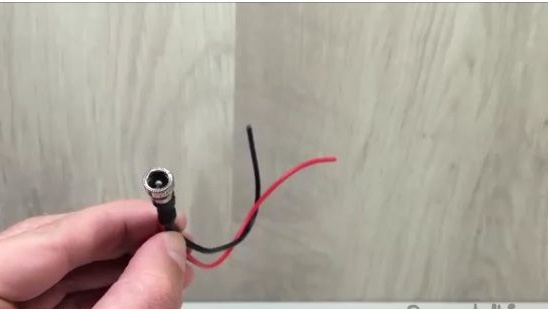
7- Wires with a connector are installed in the housing as follows.
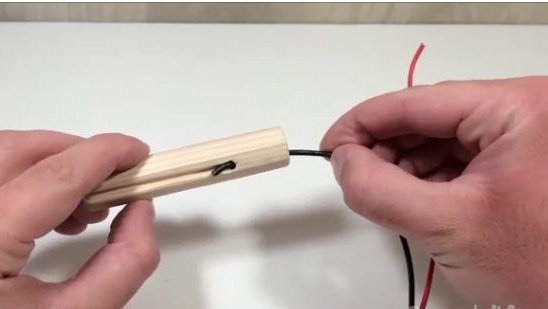
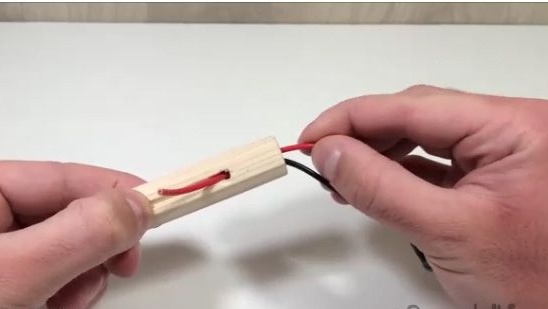
8- The connector itself for the power supply is glued to the body of the soldering iron using thermal glue.
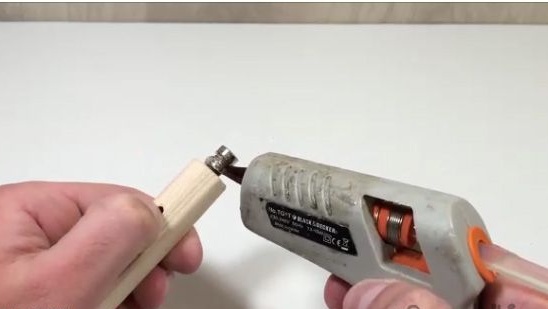
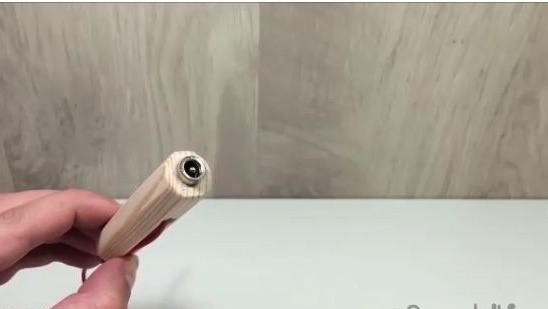
9- And then from a piece of thick copper wire we make a soldering iron tip.
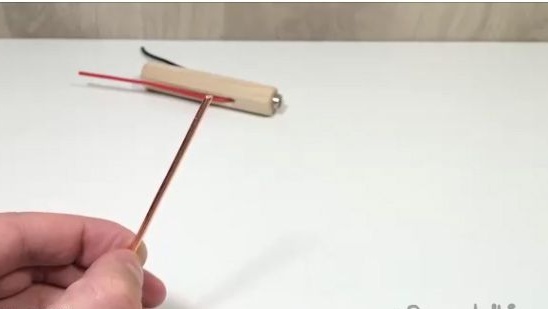
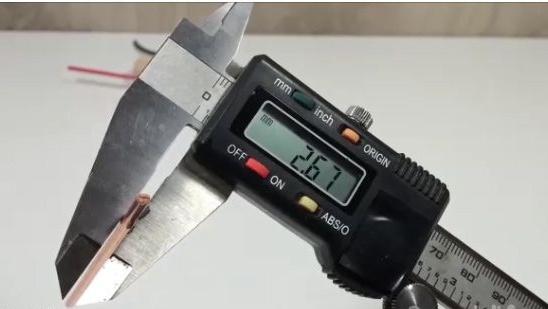
10- To do this, install the sting in the hole made.
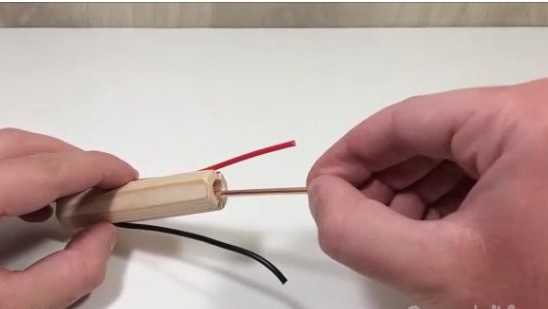
11- We fill the excess space with building gypsum (alabaster) which will provide a very reliable fastening and heat protection for the soldering iron body.
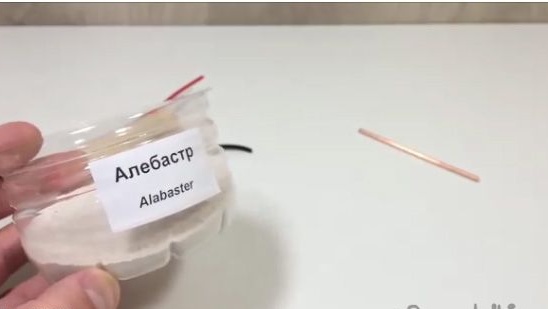
12- We breed alabaster. And with the help of a skewer we put the alabaster into the hole.
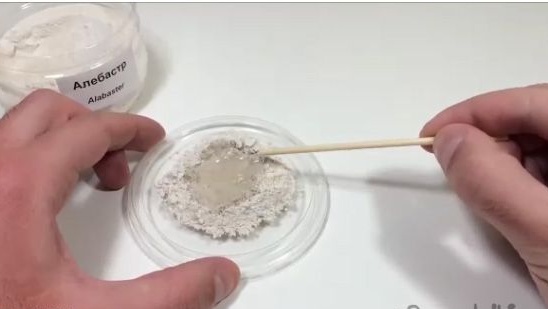
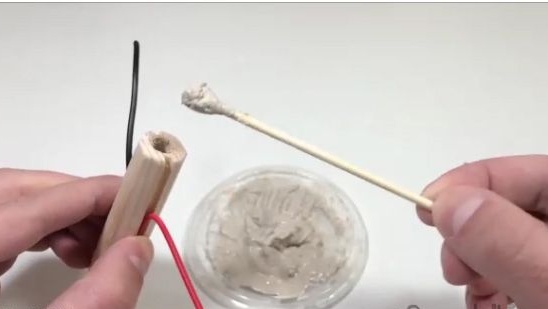
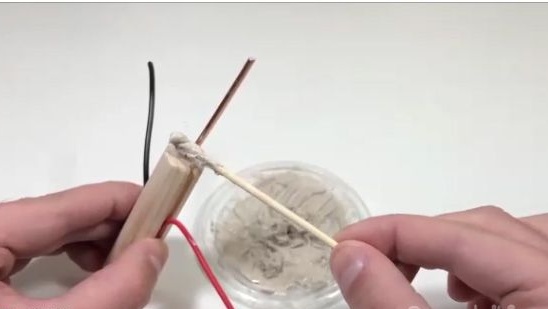
13- Next, insert the soldering iron tip into the housing.
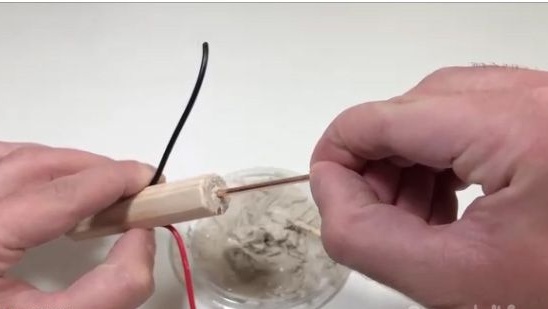
14- And we strengthen the fastening with alabaster.
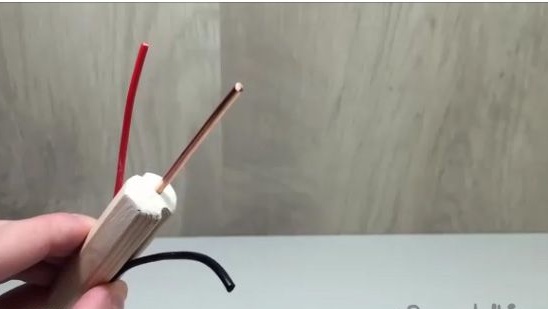
15- We look forward to the complete drying of alabaster.

16- And then you need a thin nichrome wire, from which we will make a heating element, as well as a DC 12V 1A power supply.
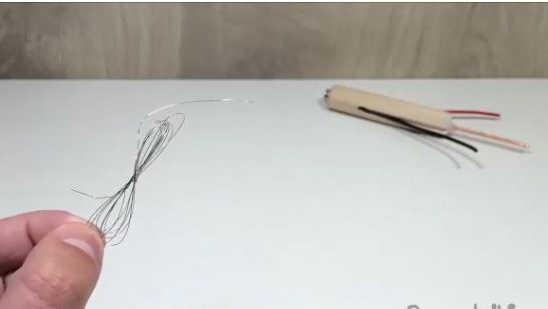
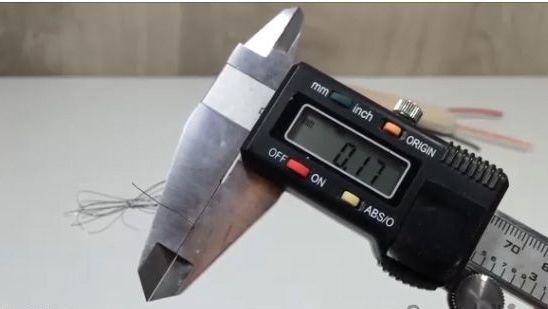
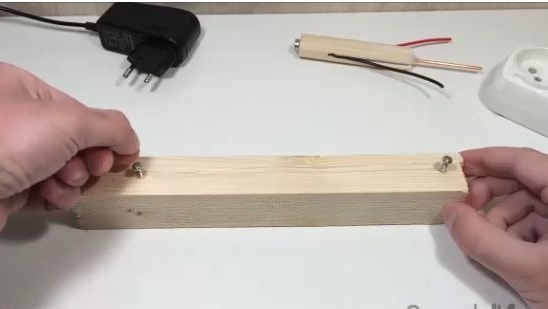
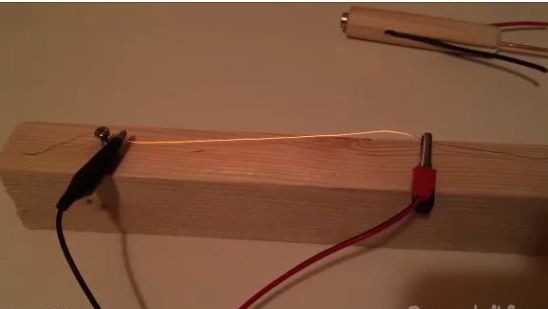
17- But to begin with, we experimentally determine the length of the nichrome wire. Let's make a design from a plank and two self-tapping screws.
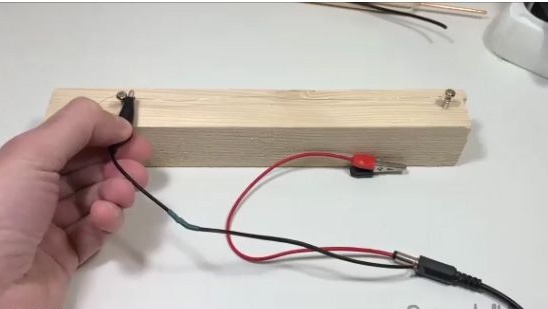
18- We fix the nichrome wire on the experimental stand and connect the power supply. And then we move one of the contacts until the wire warms up to red. And so we define
wire length.
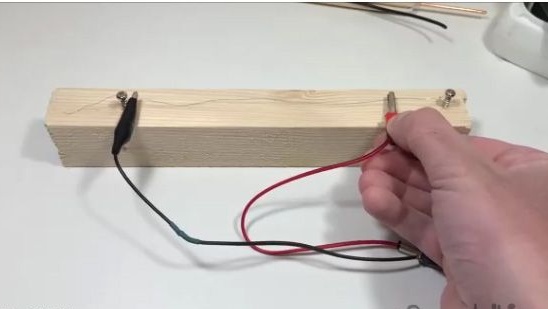
19- We cut the nichrome wire (see photo below).
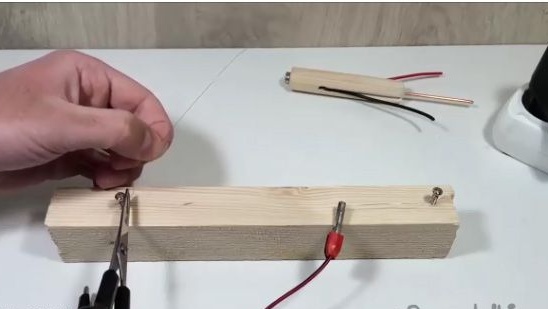
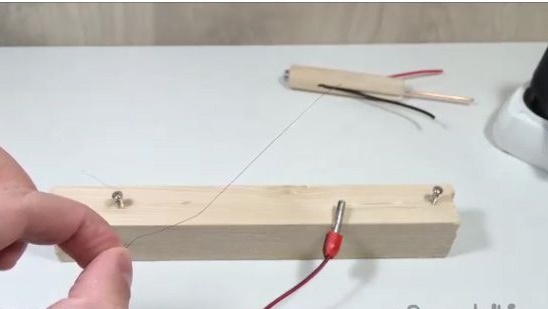
20- After which you will need a piece of fiberglass cloth for insulation of wires.

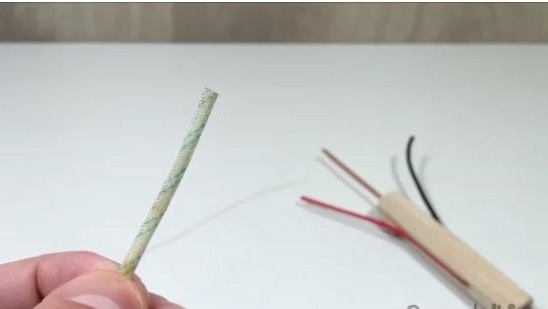
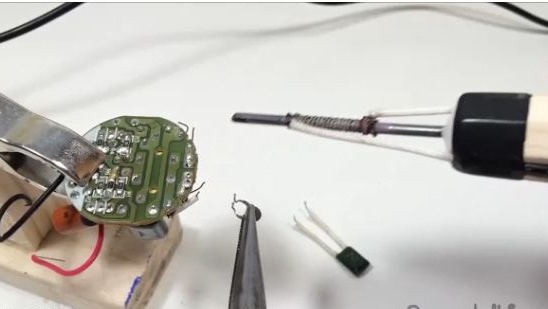
21- We put the fiberglass nibbler on the soldering iron tip.

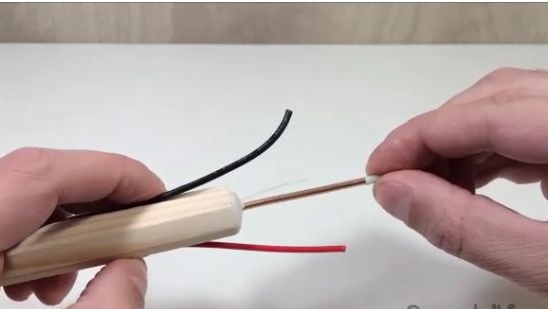
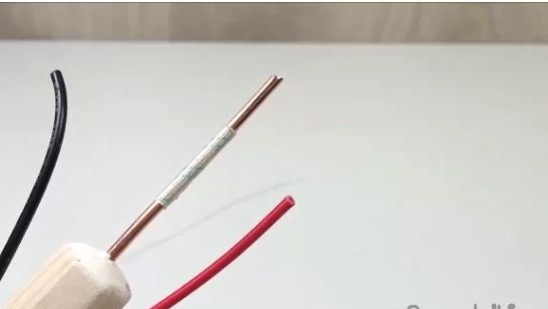
22- And we fix the insulation with copper wire.
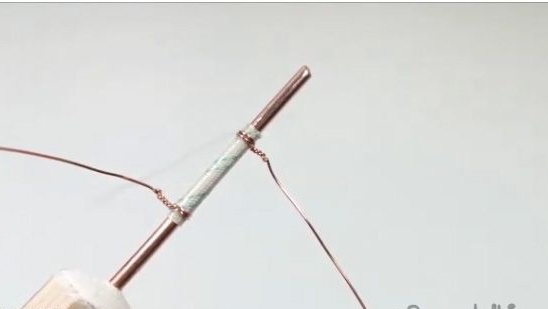 [/ center]
23- And then we wind a nichrome wire on fiberglass insulation.
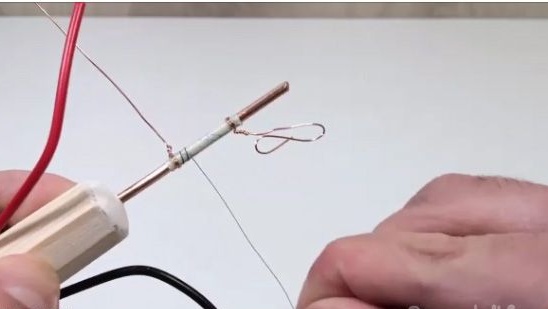
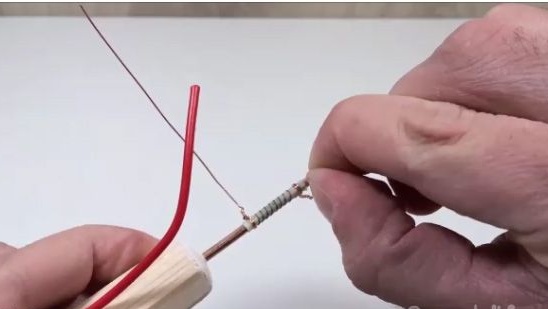
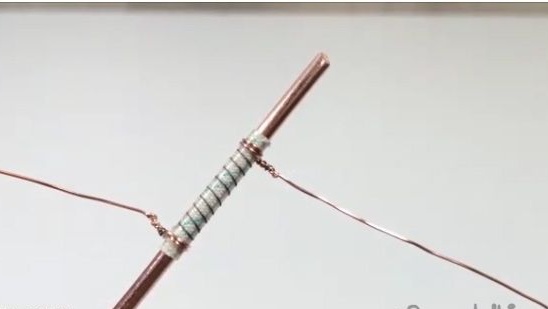
24- After which we put pieces of terma resistant insulation onto the ends of the copper wire.
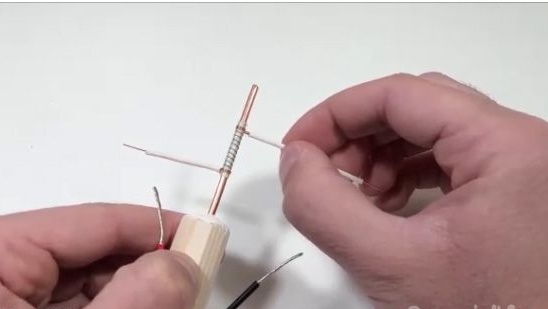
25- And connect to the wires from the power supply connector.
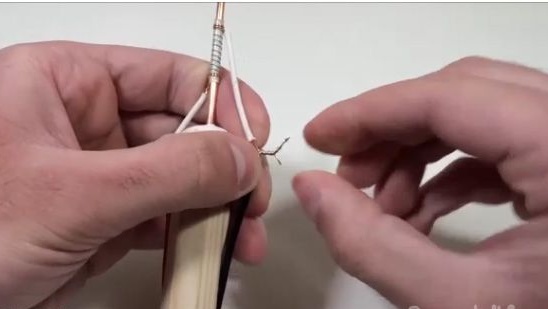
26- We wind the electrical tape on these places.
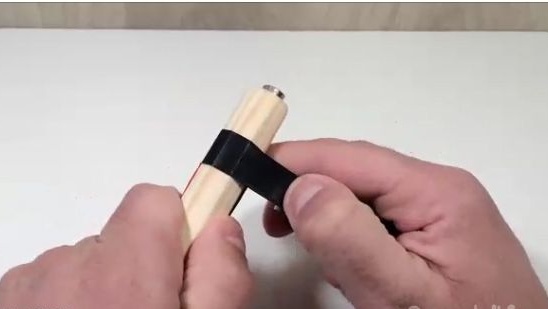
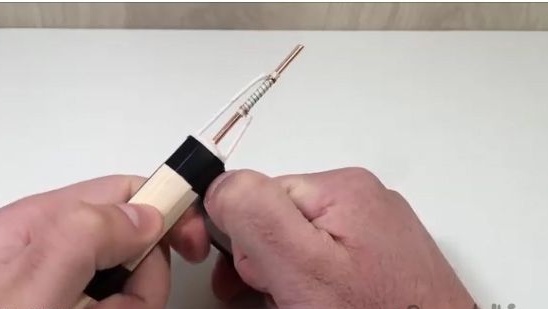
27- Done

Test:
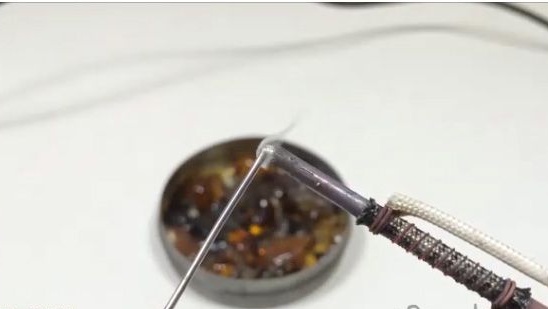
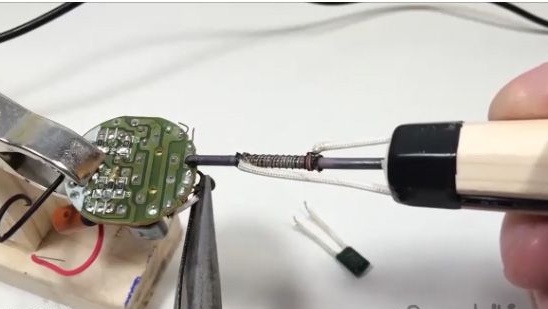
Conclusion:
The soldering iron turned out to be very powerful, this soldering iron can even replace any other factory soldering iron. He has a warm-up time of approximately, such as that of the cheapest soldering irons from the radio market, and his power is much greater. As a result, we got a pretty good soldering iron. Thank you for your attention, I hope this article was useful to you, and also you have a unique opportunity to see the assembly of this homemade product.
