
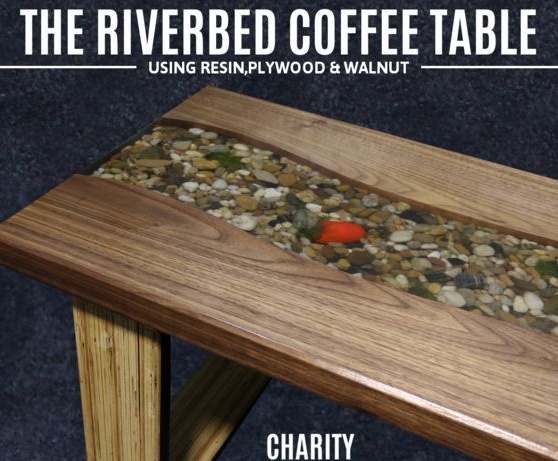
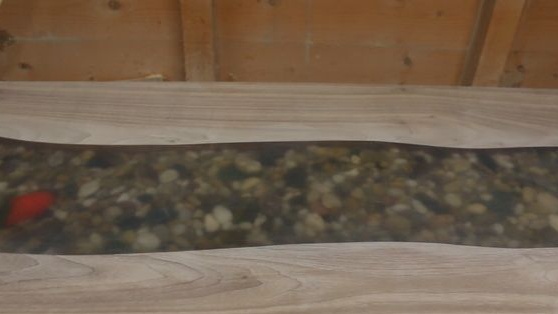
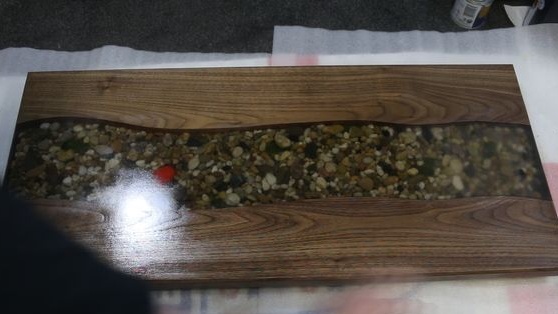
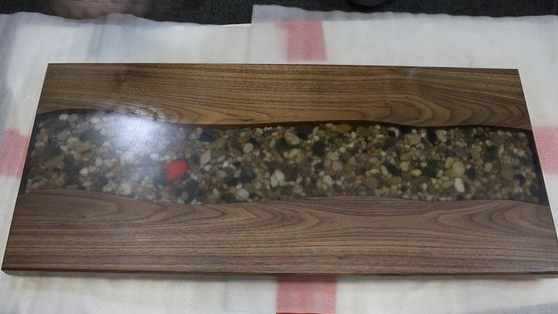
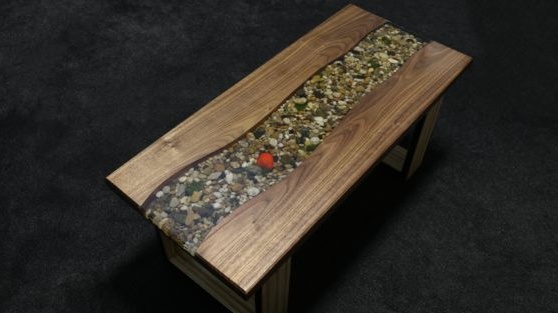
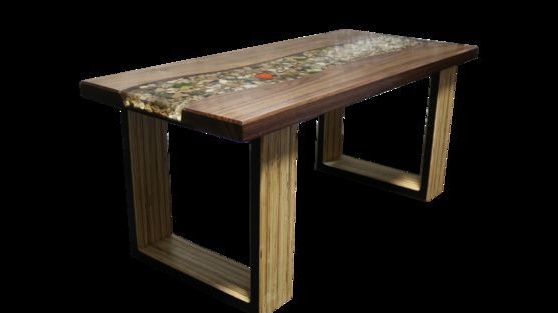
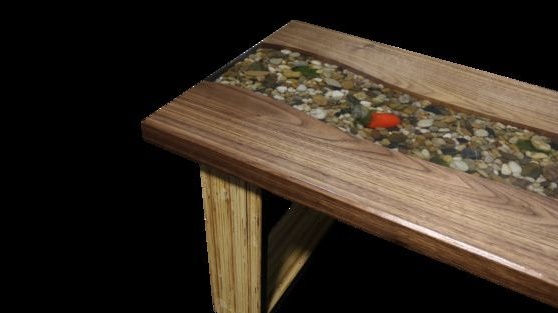
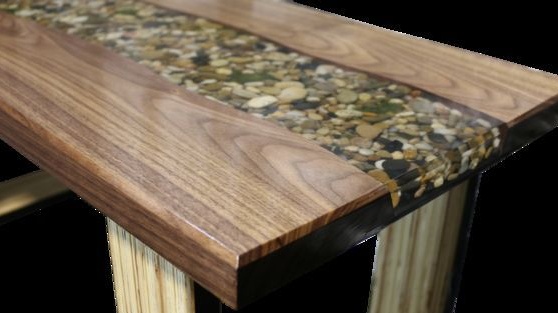
If you want to make yourself a unique table, you can take a look at this homemade. The author made a cool coffee table with a stream in the middle. Of course, the stream is not real, it is emulated by pebbles drenched in epoxy. Such the furniture You will definitely surprise your guests. By the way, if you wish, you can make a highlight for the central part of the table.
The author used the following materials and tools:
- American black walnut;
- plywood 18 mm thick;
- pebbles from the river or other pebbles;
- spray with polyurethane;
- Spray Laquer;
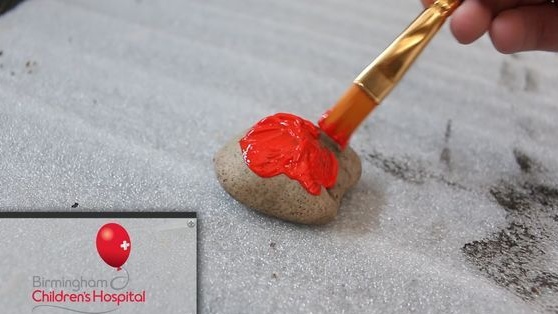
- paint black and red;
- hot glue;
- melamine;
- M6 screws;
- screwdriver;
- Grinder;
- clamps;
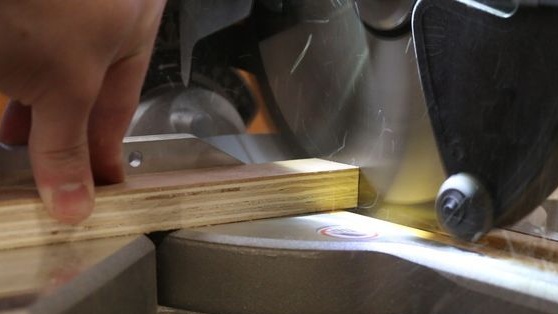
- mitral saw and another.
Table making process:
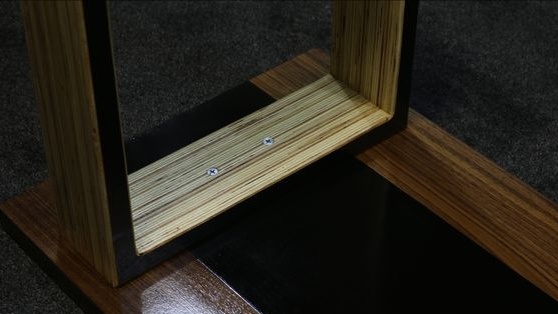
Step one. Making legs
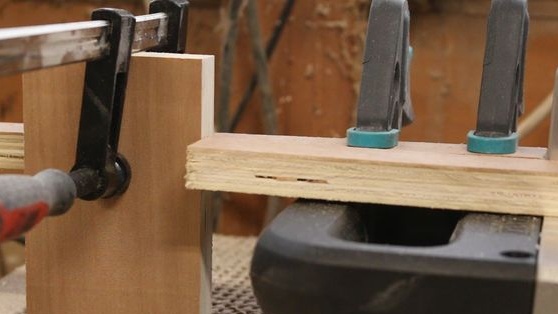
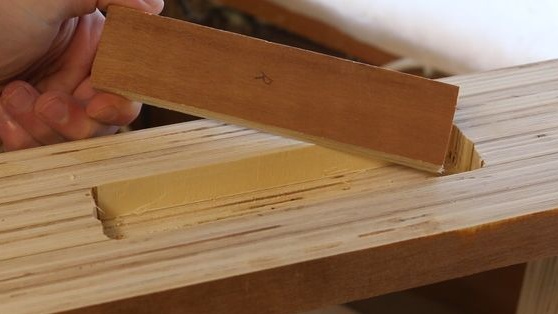
The author makes the legs for the table out of plywood. Since it is quite thin, it will be necessary to glue several layers. As a result, the author's one leg consists of 6 layers of plywood. We thoroughly coat the workpieces with glue, clamp with clamps and let dry. The length of the legs is 35 cm.
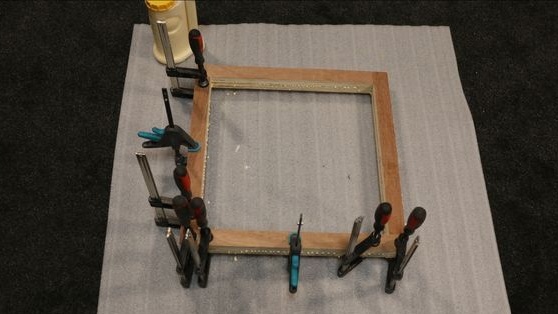
On each side are 4 blanks, which are then glued into a square. It is on such two squares that the table stands.

Step Two We prepare the countertop
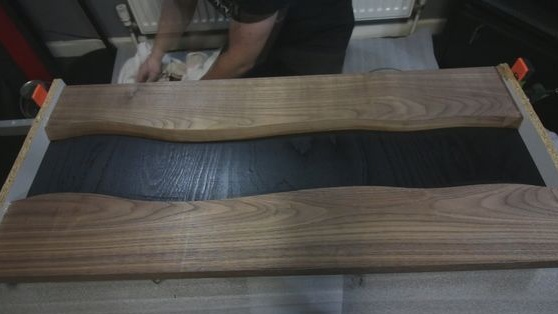
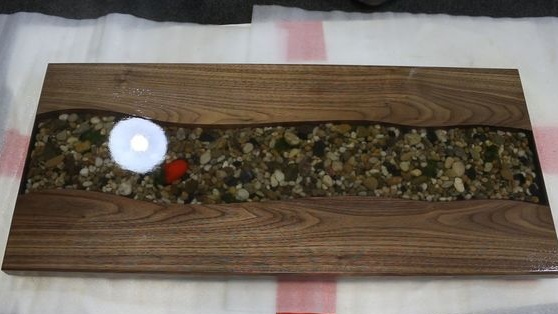
Making countertops is the most painstaking undertaking. The author used American black walnut as the basis. Just take a wide board or glued wood shield and draw two curved lines through the center, which will mean the banks of your river. If you wish, you can make lakes on your countertop, river flows and so on, it all depends on your imagination.
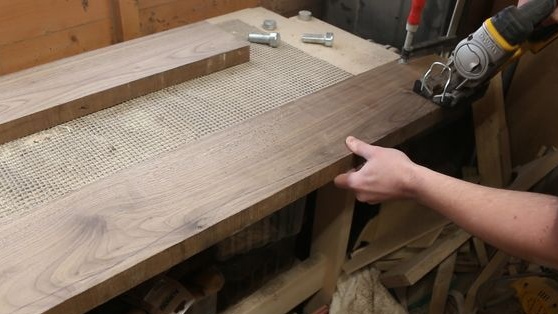
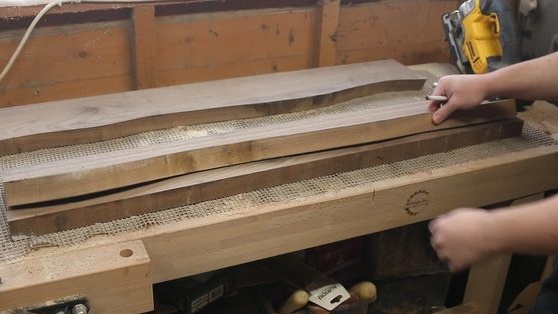
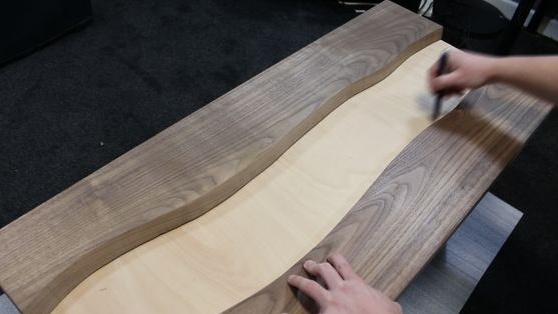

Then using a jigsaw or other fixtures we cut out that part of the wood where the river will be.
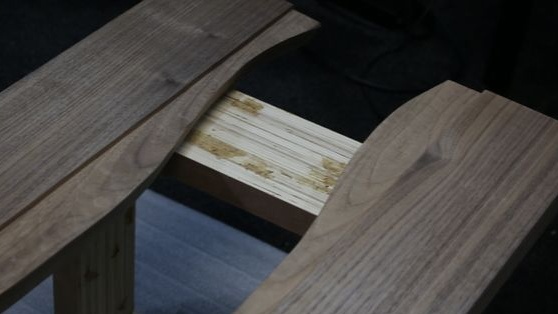
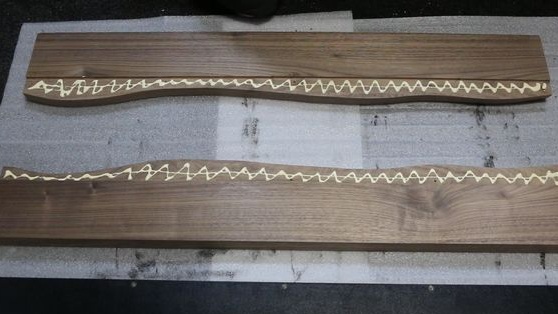
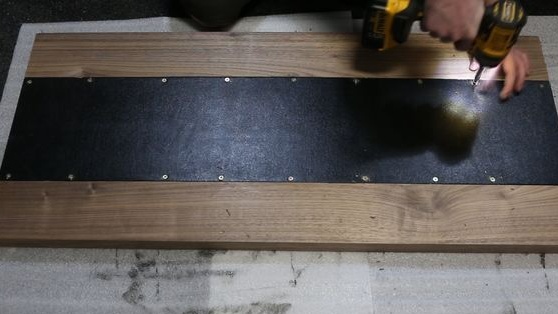
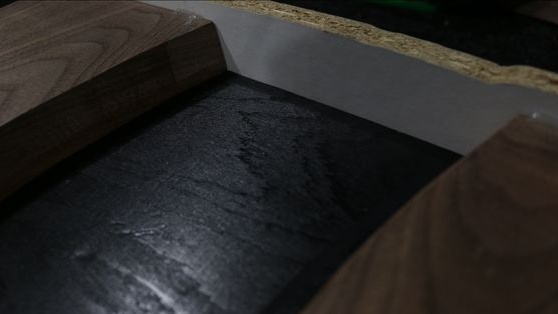
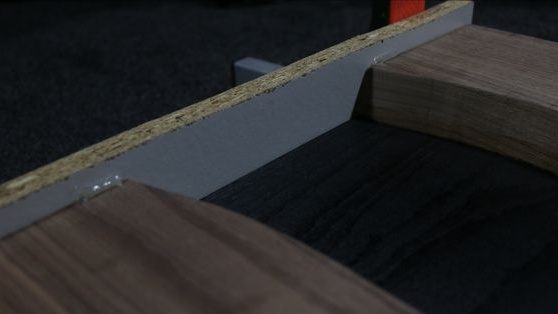
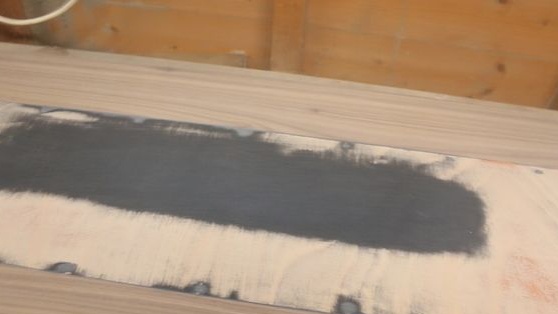
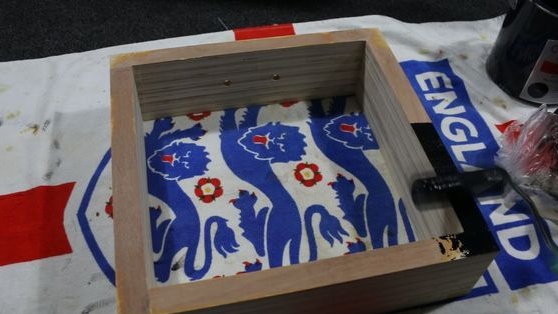
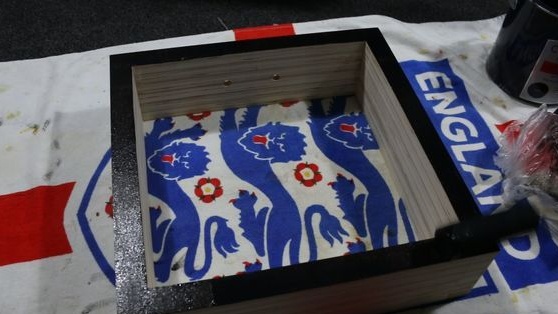
Further, on the other hand, the author makes a groove along the “coastline” in which a sheet of thin plywood is installed. The bottom can be glued, it is necessary so that the resin does not leak when pouring. When the glue dries, the bottom can be painted black so that it does not stand out at the bottom of the river.
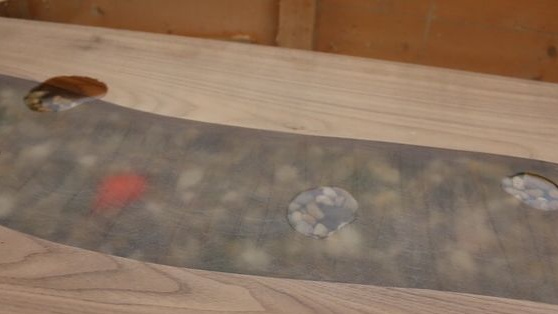
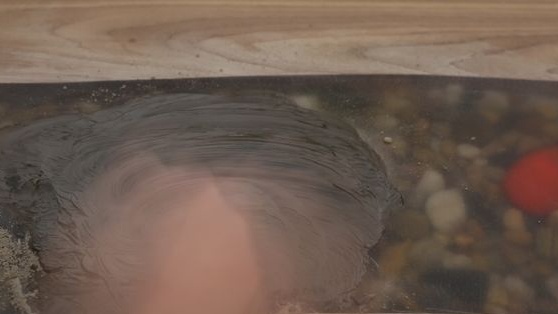
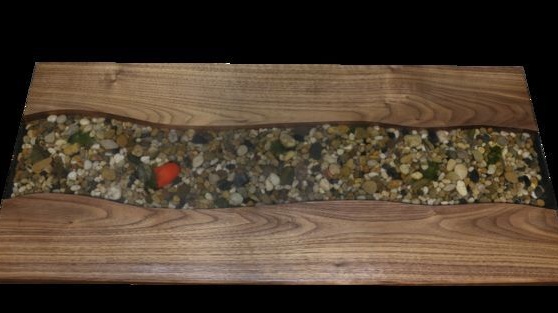
Step Three We lay the pebbles and fill the "river"
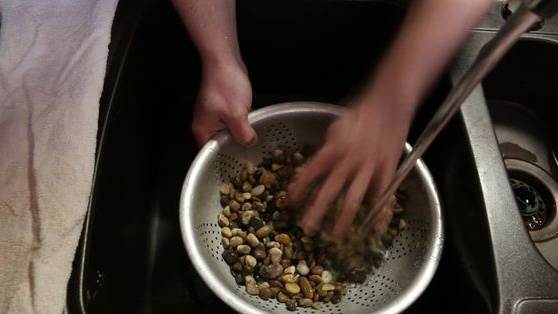
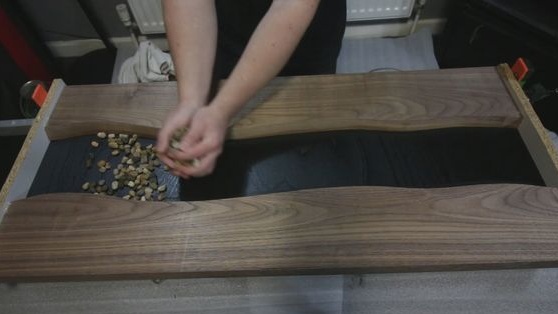
First, prepare the pebbles that will lie at the bottom of the "river." If you cannot find them anywhere, you can purchase them at a pet store. Rinse them thoroughly with water and dry to prevent small particles from entering the resin and making it cloudy.
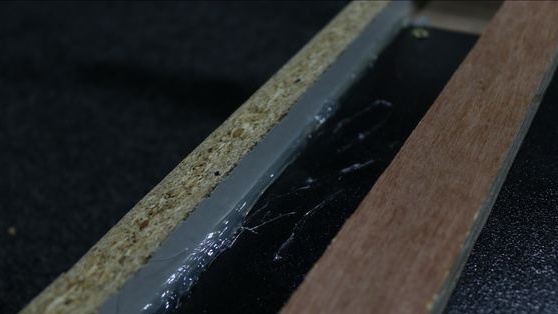
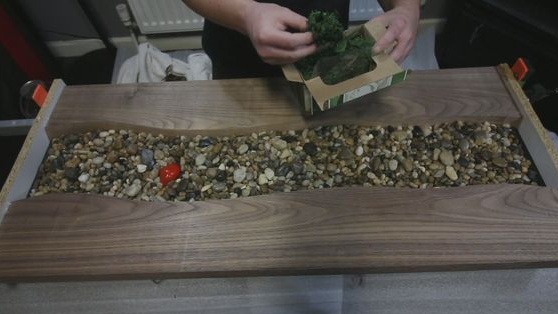
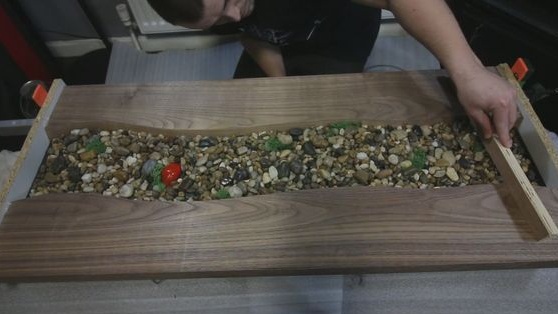
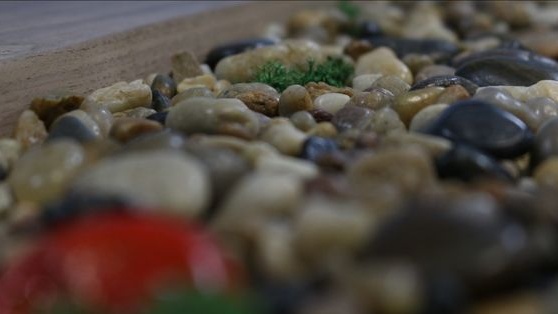
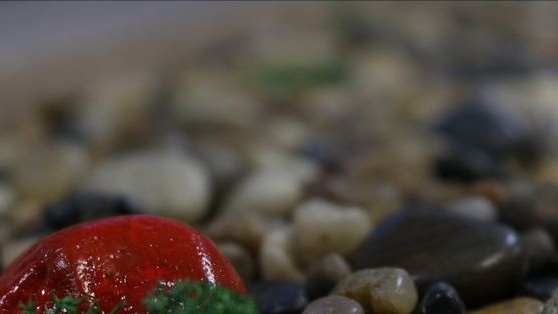
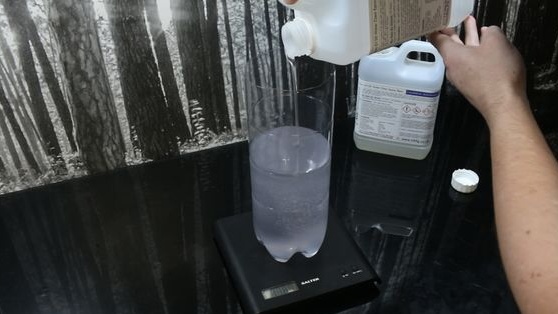

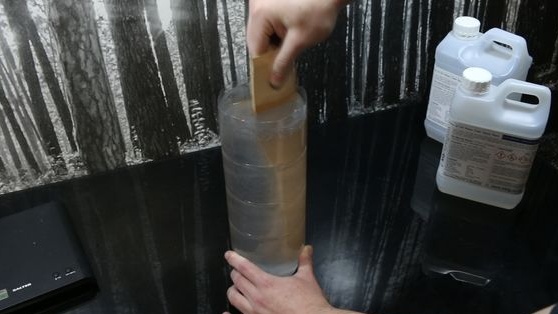
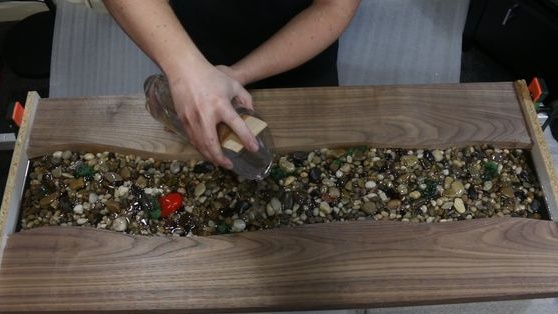
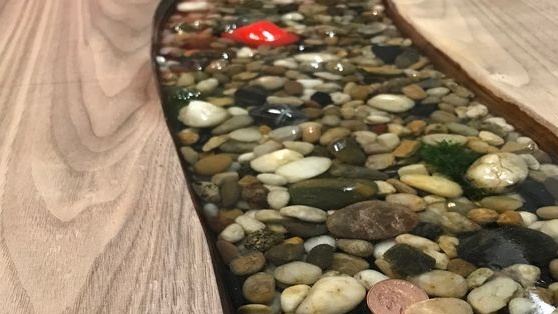
Before pouring, you must carefully close all cracks so that the resin does not leak. To fix the pebbles and close the cracks, the author used hot glue.You can also add imagination and add shells and other details to the stones. That's all, you can fill it, for these purposes you can use a transparent epoxy resin of good quality. Other types of substances are also suitable. The most important thing is to try not to create air bubbles when casting.
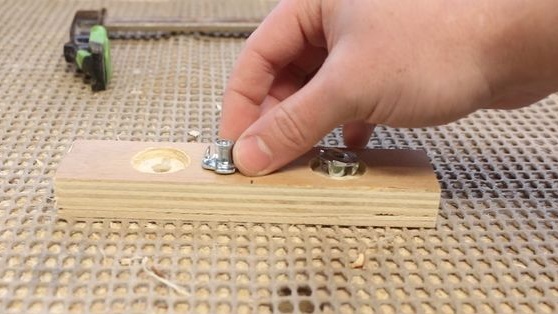
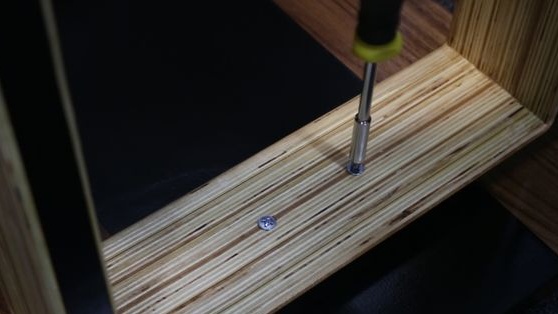
Step Four Foot fixing
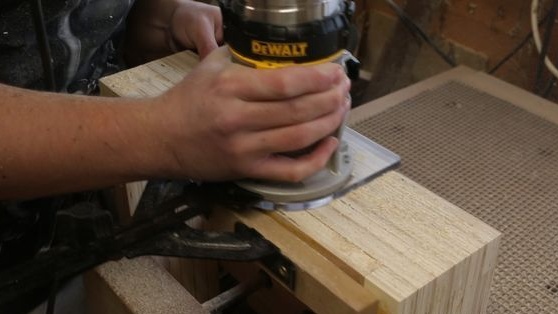
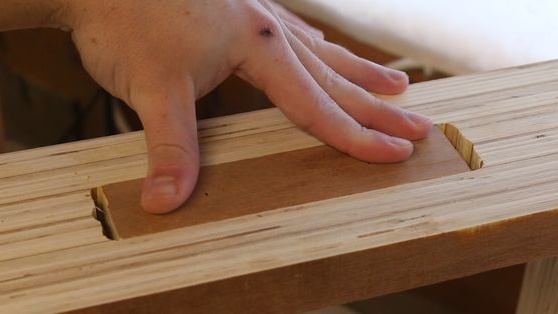
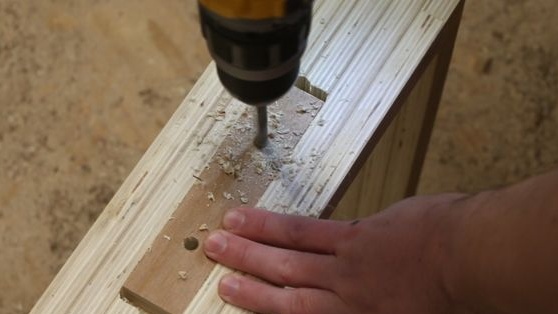
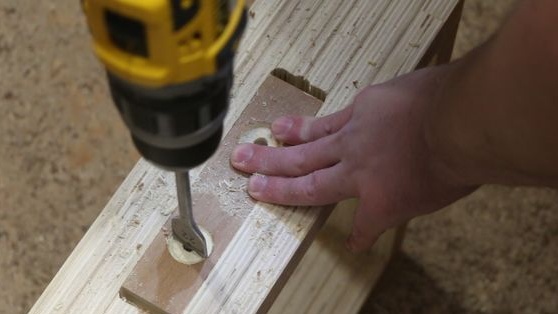
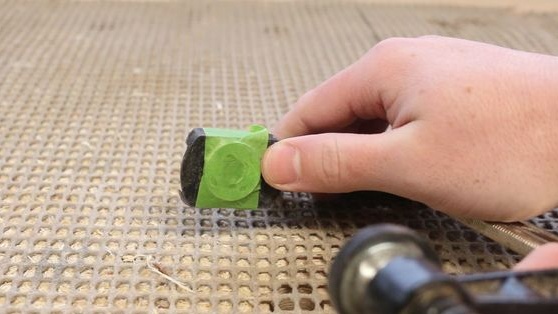
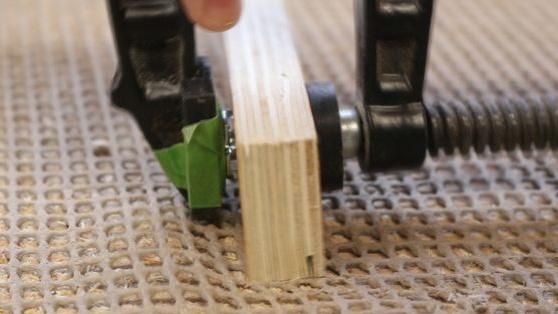
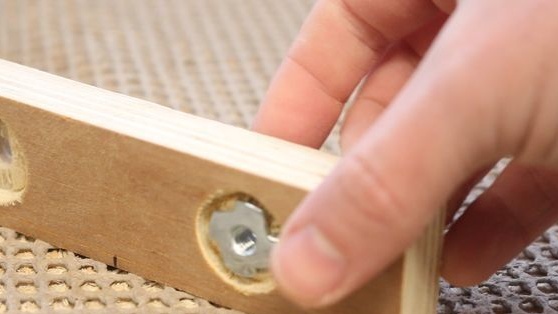
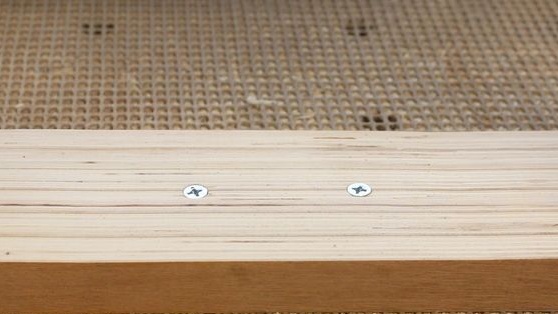
Due to the fact that the nut is constantly expanding and narrowing, depending on the temperature, the legs cannot be glued with glue, as they will quickly fall off. In this regard, the author decided to make the legs removable. To do this, cut out the quadrangles in the legs, and then install the nuts in the cut fragment (or similar from another tree). Further, this quadrangle with nuts is glued to the countertop. As a result, the quadrangle enters the groove cut in the leg and the leg is attracted by screws.
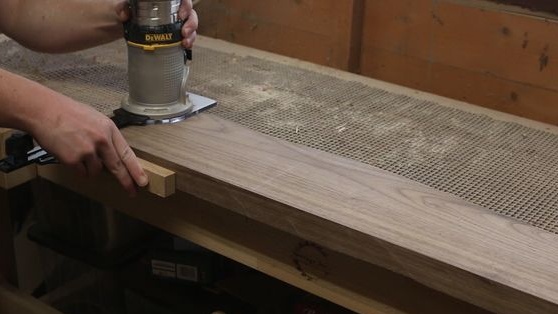
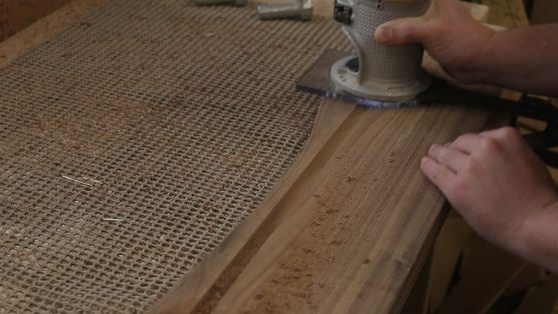
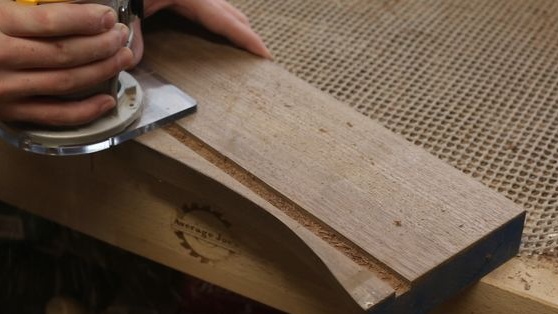
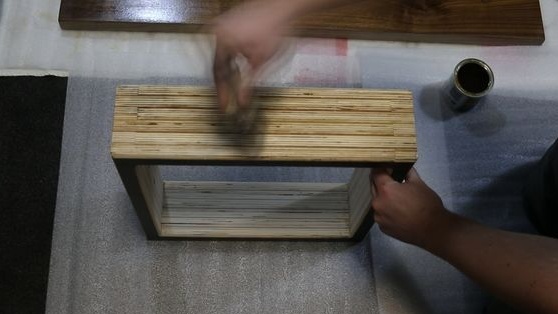
Step Five Table grinding
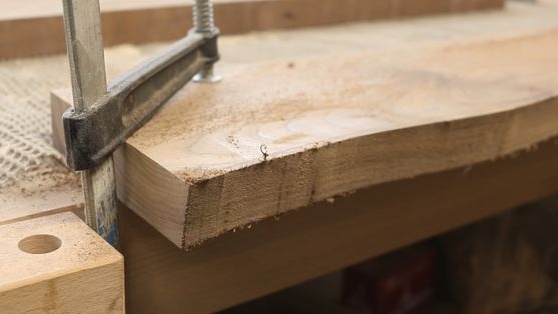
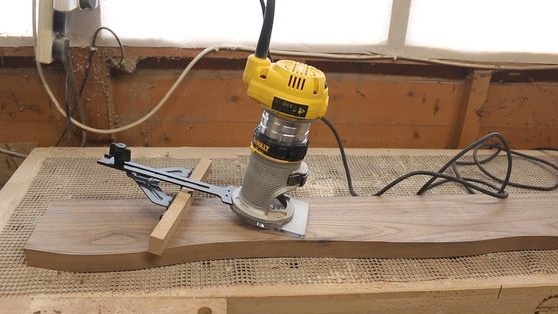
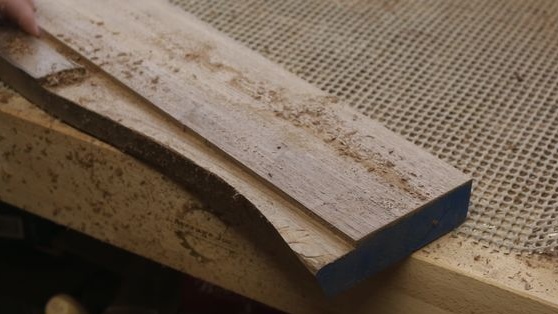
We prepare the table for grinding. To do this, we need to remove the “formwork”, as well as smoothly cut the edges to align them.
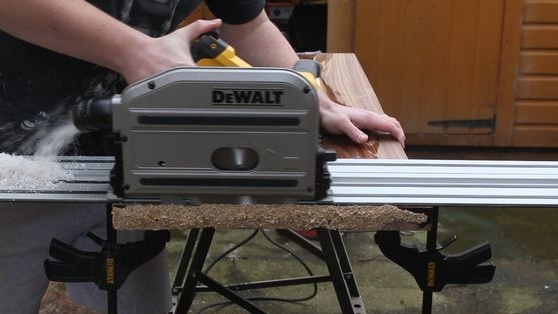
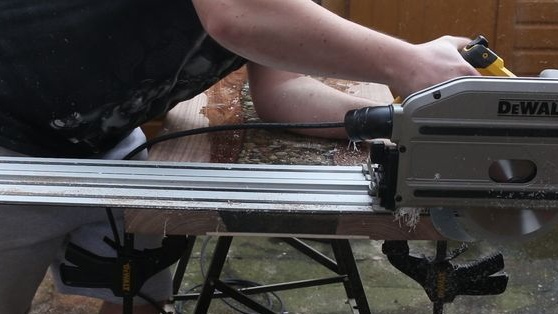


At this step, we arm ourselves with grinding tools and grind the surface of the table. We need to align everything, to make the surface perfectly smooth. To complete this work faster, the author tried to work with a planer, however, this led to chipping off large pieces of resin. In this regard, the chips had to be filled with resin and then sanded again.
The author began polishing with 80 grit sandpaper, then switched to grain at 240, and then at 1200 units.
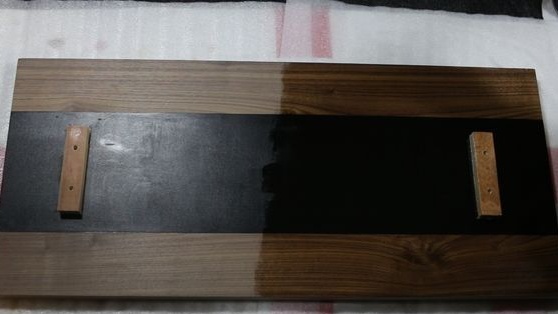
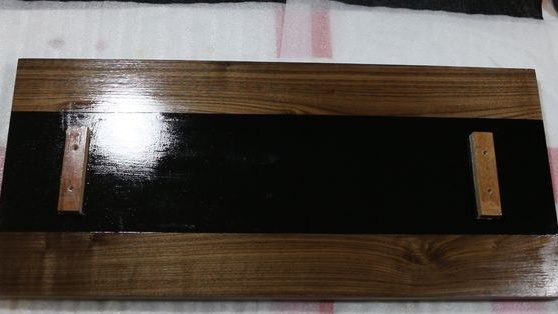
Step Six Painting and fixing of connecting parts
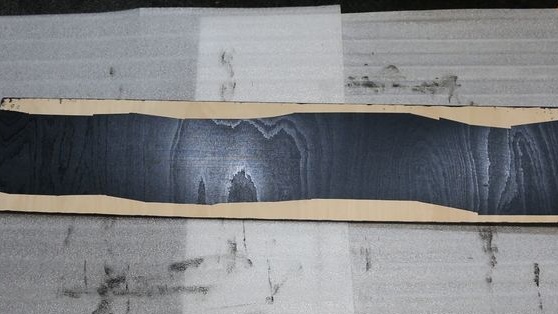
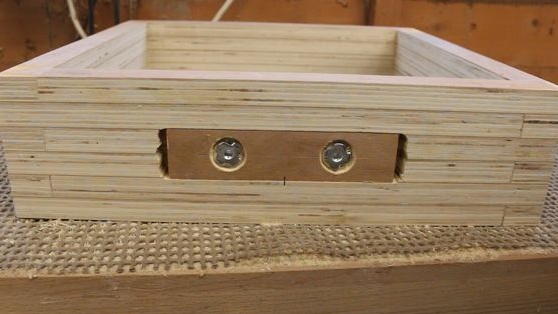
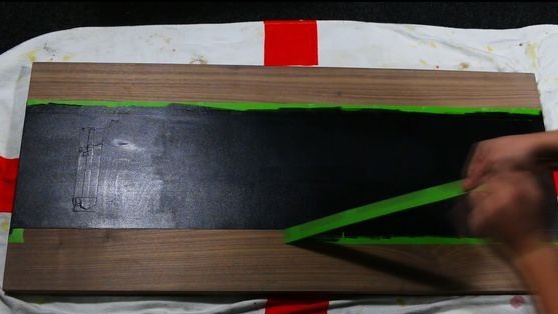
The author paints the back side of the table in the middle black. This will hide the plywood and also make the appearance tidier. To paint the area evenly, we limit the areas with masking tape. Do not paint over the areas where the connecting quadrangles will be.
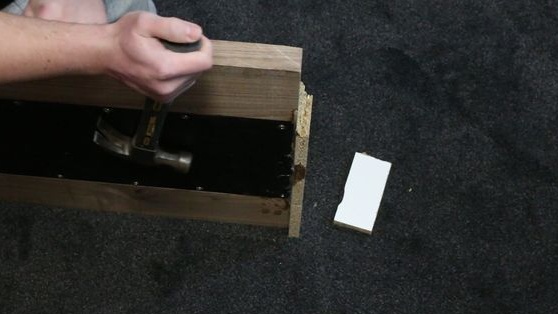
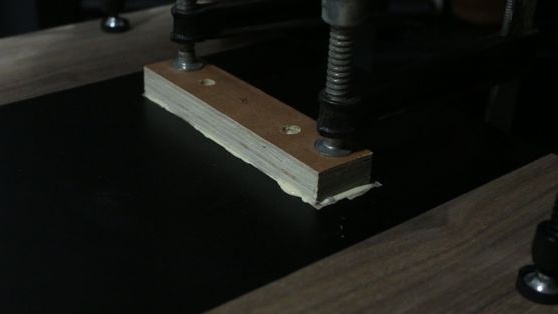
We glue the parts for attaching the legs to their places and carefully press. We wait until the glue is completely dry.
The author also paints the “sides” of the legs in black for beauty. If desired, you can also varnish the legs.
Seventh step. Final grinding of the table
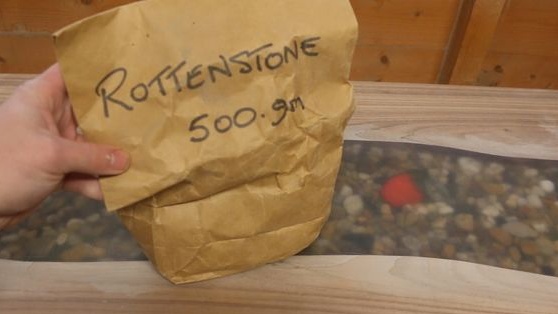
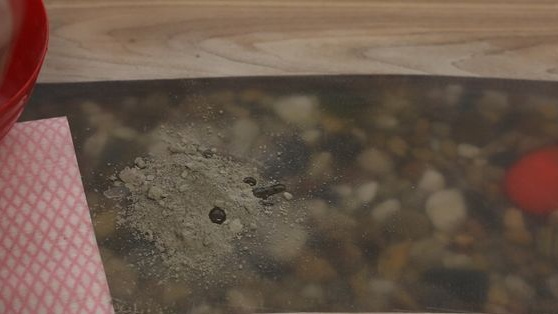
After polishing the table with 1200 grit paper, the author decided to bring the plane to perfection. A special polishing powder was used. It is mixed with water and then, using a cloth, the surface is brought to perfect smoothness.
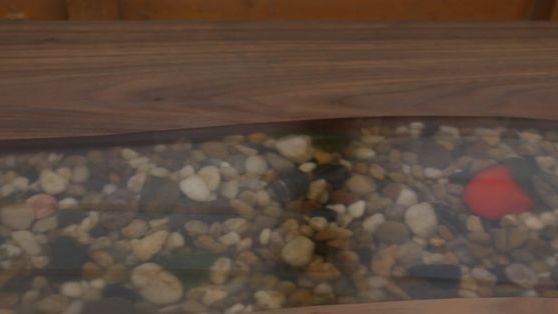
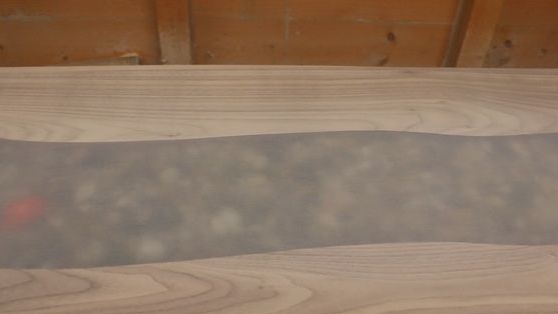
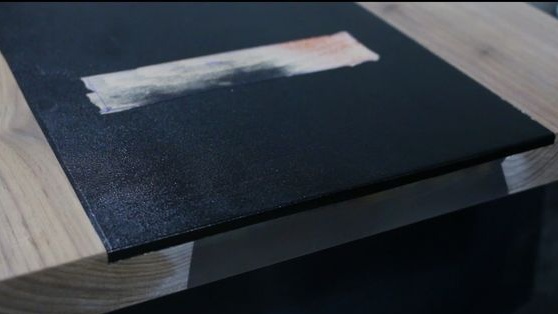
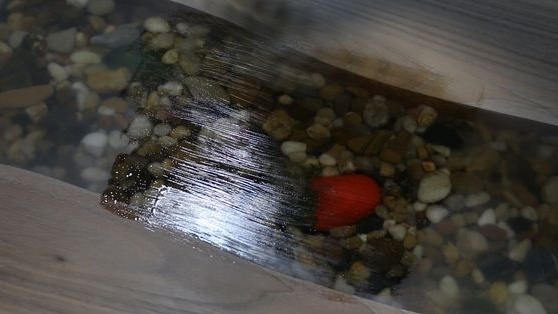
Step Eight. Table cover
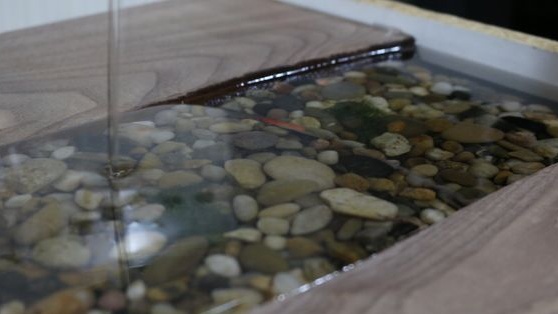
To protect the table, as well as to make the water “transparent,” the author needed to make considerable efforts. First, the author applied satin polyurethane with a brush. After that, the table looked good, the river became transparent, but brush marks were clearly visible on the table. As a result, after drying the coating, it was re-sanded. Further, the author used polyurethane from a spray, but this did not give the desired result, and the coating was again polished. In the end, another layer of polyurethane was applied and the work was over.


Step Nine. Putting the table together
Assemble your table at the end. It's simple, you just need to screw the legs. Use screws for these purposes. Wrap them in the installed nuts with a screwdriver and you're done.

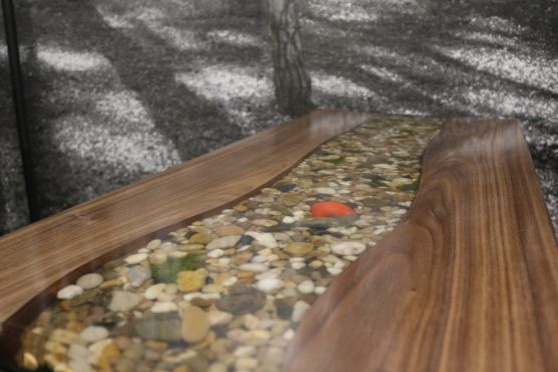
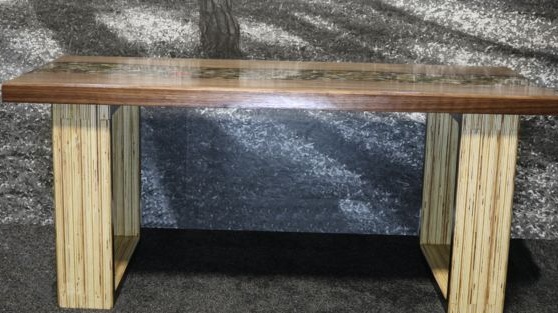
That's all, the table is ready. As you might guess, the most difficult thing here is to get a transparent coating. It largely depends on the materials used.