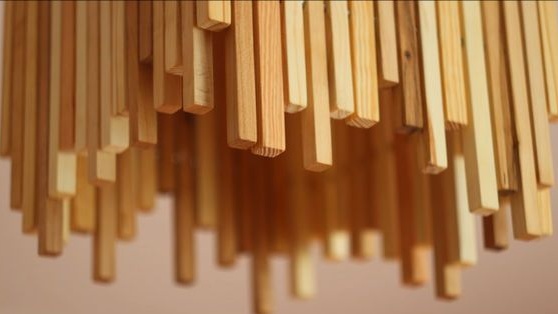
If you have pallets, you can make such lamps out of them. The most important thing that you will need is a tool with which you could cut the boards of pallets into such thin bricks. Well, then some patience, a little effort and the lamp is ready.
The author used such materials and tools for the manufacture of the lamp:
Tool List:
- mitral saw;
- planing machine;
- orbital or other grinding machine;
- drill.
Material List:
- wooden pallets;
- thin plywood 25 cm x 25 cm;
- a tube with a diameter of 10 mm from aluminum;
- drills, drill, drill bits;
- sandpaper, grinding disk;
- glue for wood;
- set Tap & Dye;
- nut and washer for aluminum tube;
- cartridge, paw and wire.
The manufacturing process of the lamp:
Step one. Blank preparation
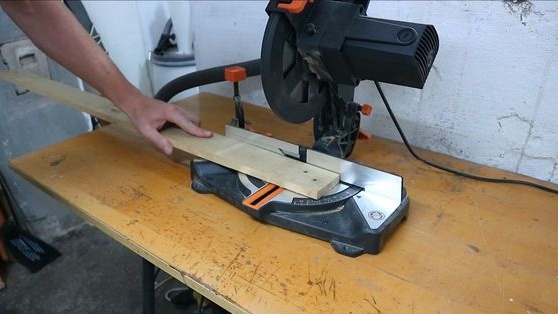
First of all, you have to disassemble the pallets on the board. Remove the nails from the boards so that they do not interfere with the work. Well, then the author cuts off the parts with holes where the boards were from the boards, you also need to cut off all those areas where rot has already formed and so on.
Align all assembled boards along one edge and cut too long. As for the thickness of the boards, it can be different, this is not critical, so the lamp will get its own unique shape.
Step Two We cut boards into strips
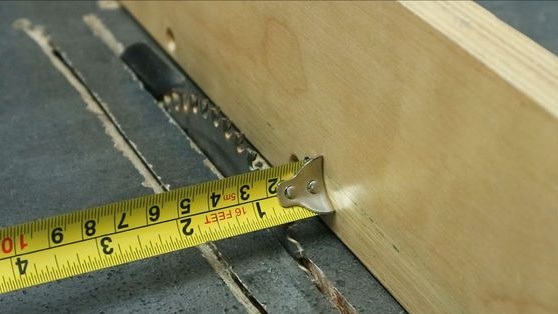
Further, the author using a circular saw cuts the boards into strips. Their number is selected depending on the size of the lamp. The author has a strip thickness of 12 mm. As soon as you chop the number of strips you need, grind them.
Step Three Lampshade assembly
All these parts of the lampshade have different lengths, regardless of whether it is top or bottom. We select the amount of cut material and drill holes in it. The holes should be of such a diameter that they can insert an aluminum tube, well, or another base. T
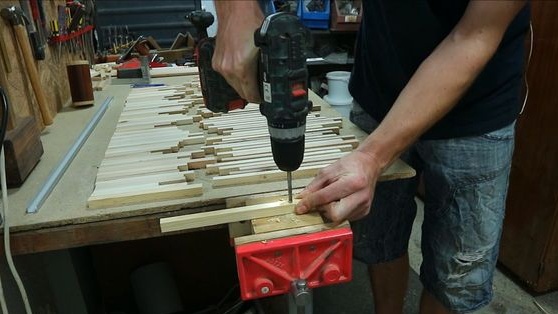
Next, a plywood square is attached to the top of the lampshade. It fastens all the parts together, and it also contains a cartridge with a light bulb. Plywood itself is installed in the grooves made in the elements of the lampshade, well, the whole thing is glued together. The size of the square of plywood by the author is 25X25 cm.
Step Four Base assembly
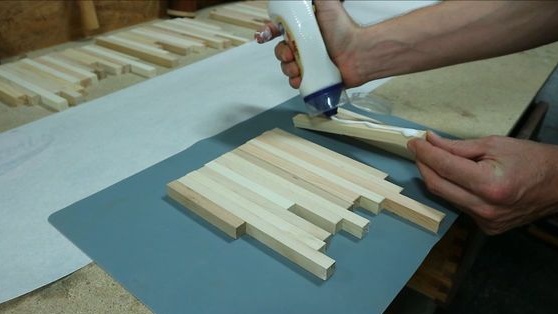
The base, i.e. the upper part of the lamp, is attached directly to the ceiling. She is going to glue. We take the required number of blanks, align them on one edge and glue. As a result, you should get four plates, which are then glued into a square.Before gluing the plates, the author aligns the edges with a circular.
A square of plywood is also glued to the base, do not forget to drill a hole in it in the center for an aluminum tube that will hold both parts together.
Step Five Putting the lamp
To connect both parts, you will need an aluminum tube. Cut it to such a length that the lampshade hangs at the desired distance from the base. At both ends of the tube, the author cuts a thread. A cable is passed through the center of the tube.
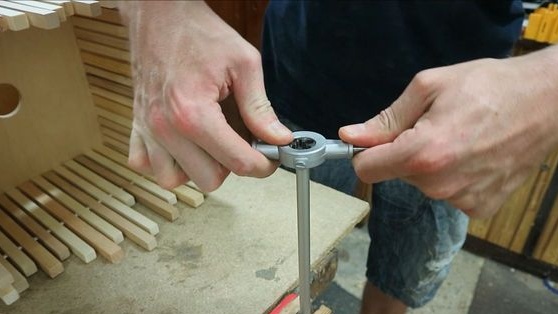
One side of the tube goes into the hole in the base, and on the other side a washer is put on the tube and the nut is tightened.
The other side of the tube goes into the hole made in the plywood of the lampshade, and then the cartridge is then screwed onto it directly. It is important that the internal thread of the cartridge matches the diameter of the tube. We connect the wires of the cartridge and screw the bulb. The lamp is almost ready, the final stage of work remains.
Step Six The final stage of work
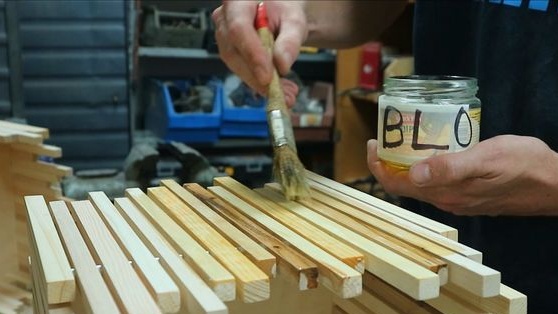
To give the lamp a complete look, the author impregnates it with linseed oil. Thanks to the oil, the wood begins to look beautiful. After the oil has dried, a layer of polyurethane is applied to the wood. Thanks to this coating, the lamp becomes very easy to wash and dirt does not stick to it.
That's all, the lamp is ready. See the video above for more detailed manufacturing nuances.
