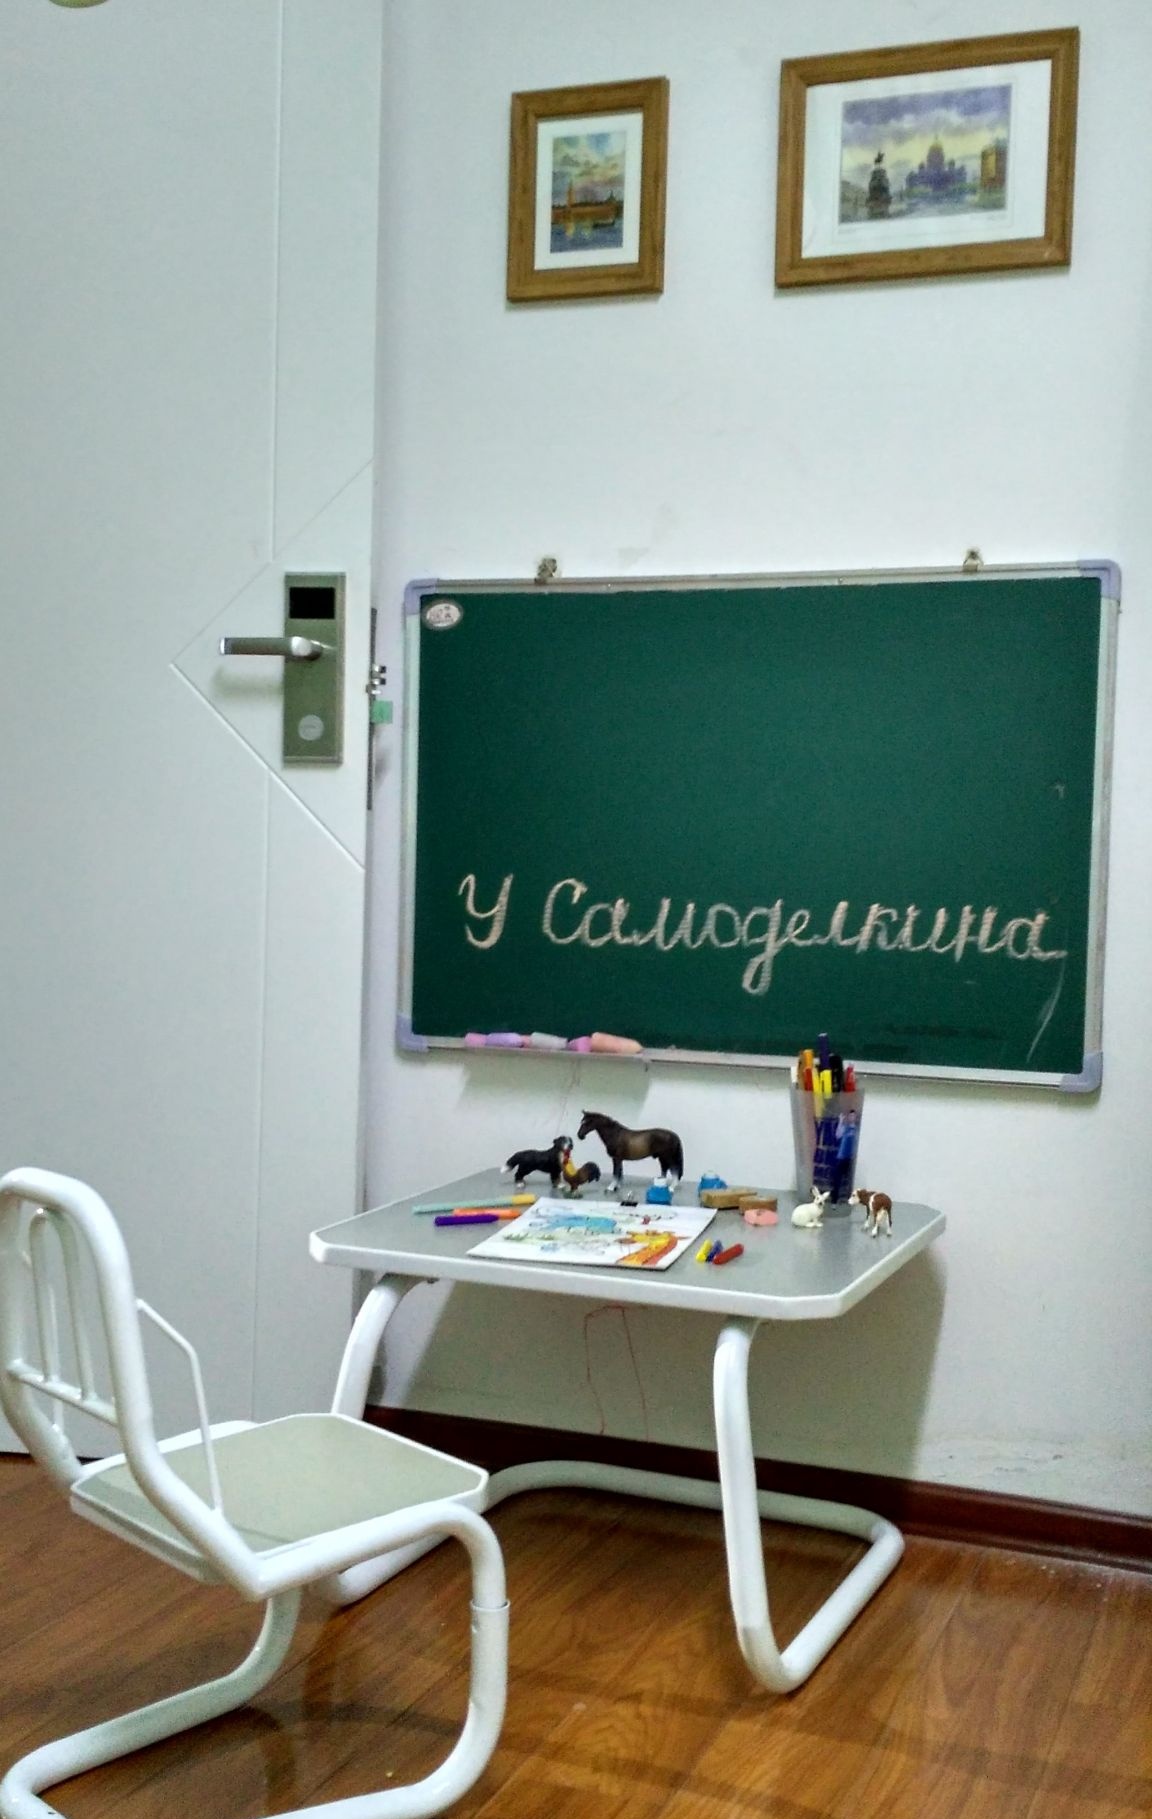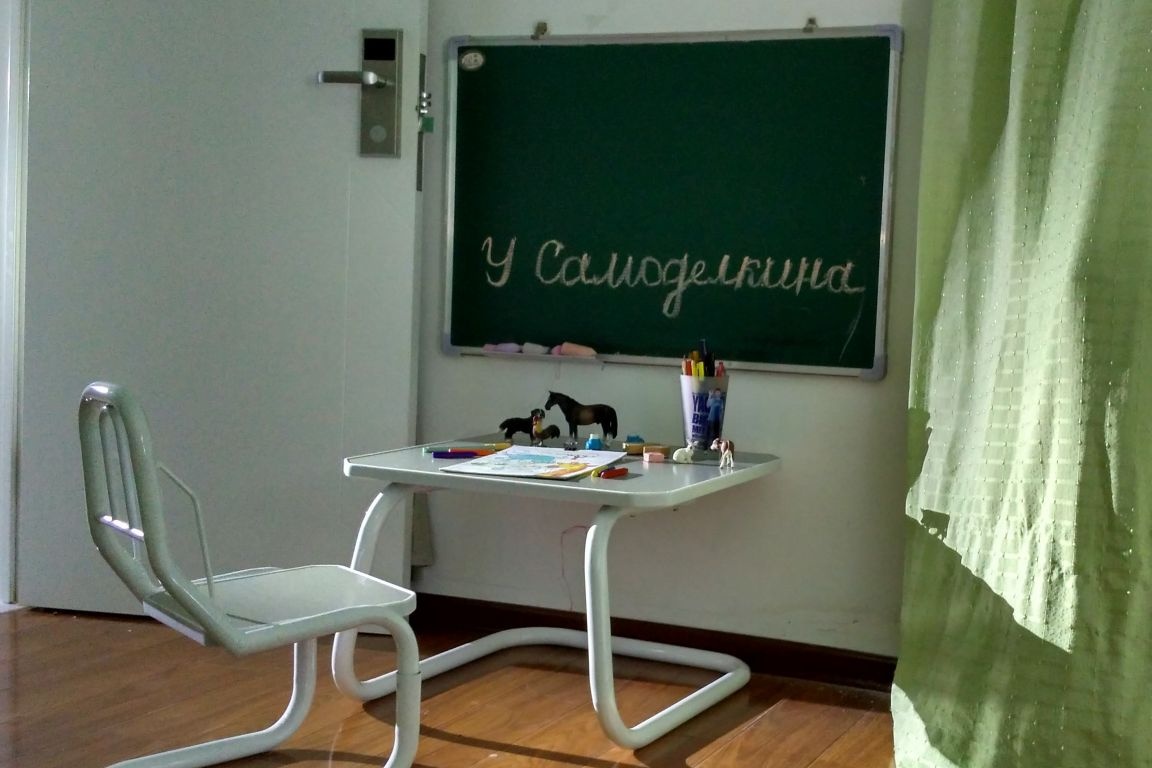
general description homemade
When choosing materials for their homemade products, everyone is guided by their preferences, capabilities and needs. The choice of material for this homemade product began with the need to make a table for the child. As the legs for him, the base pipe from the old armchair was chosen, and this homemade work began with it. Later, when I decided to make a chair as a set for the table, my arm came under the protective arcs from the motorcycle, which had long been unattended at home under the table and openly interfered.
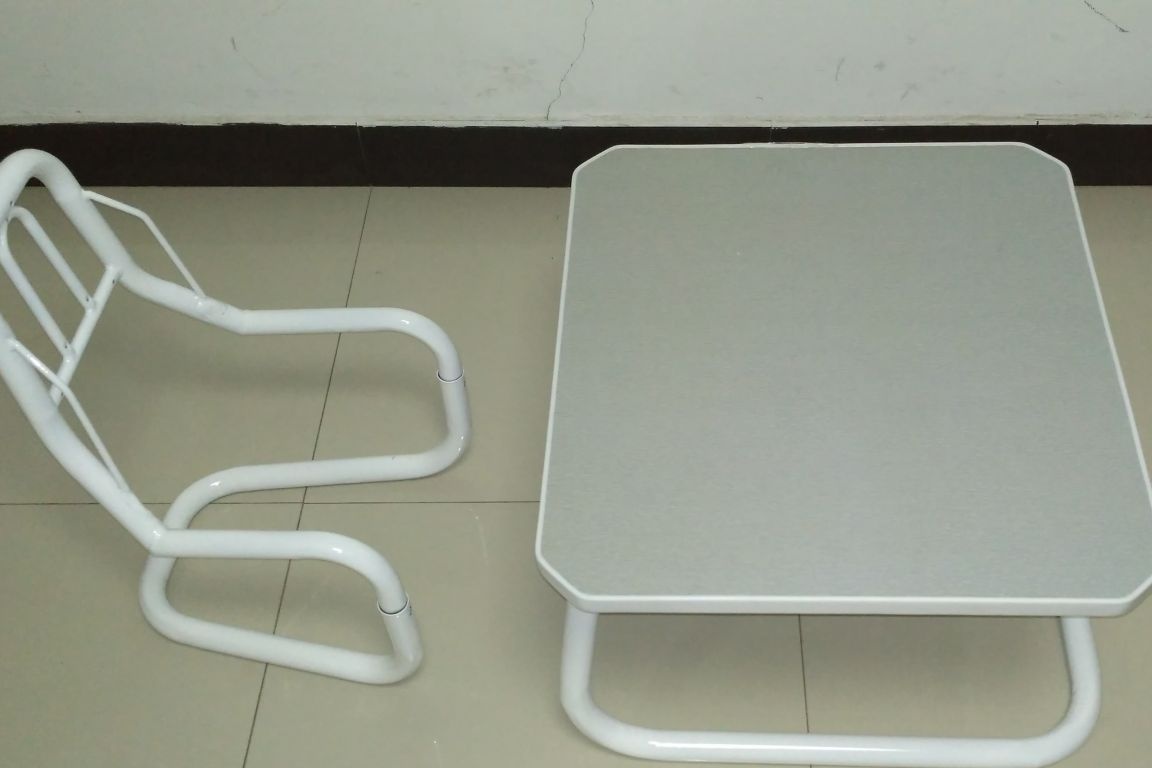
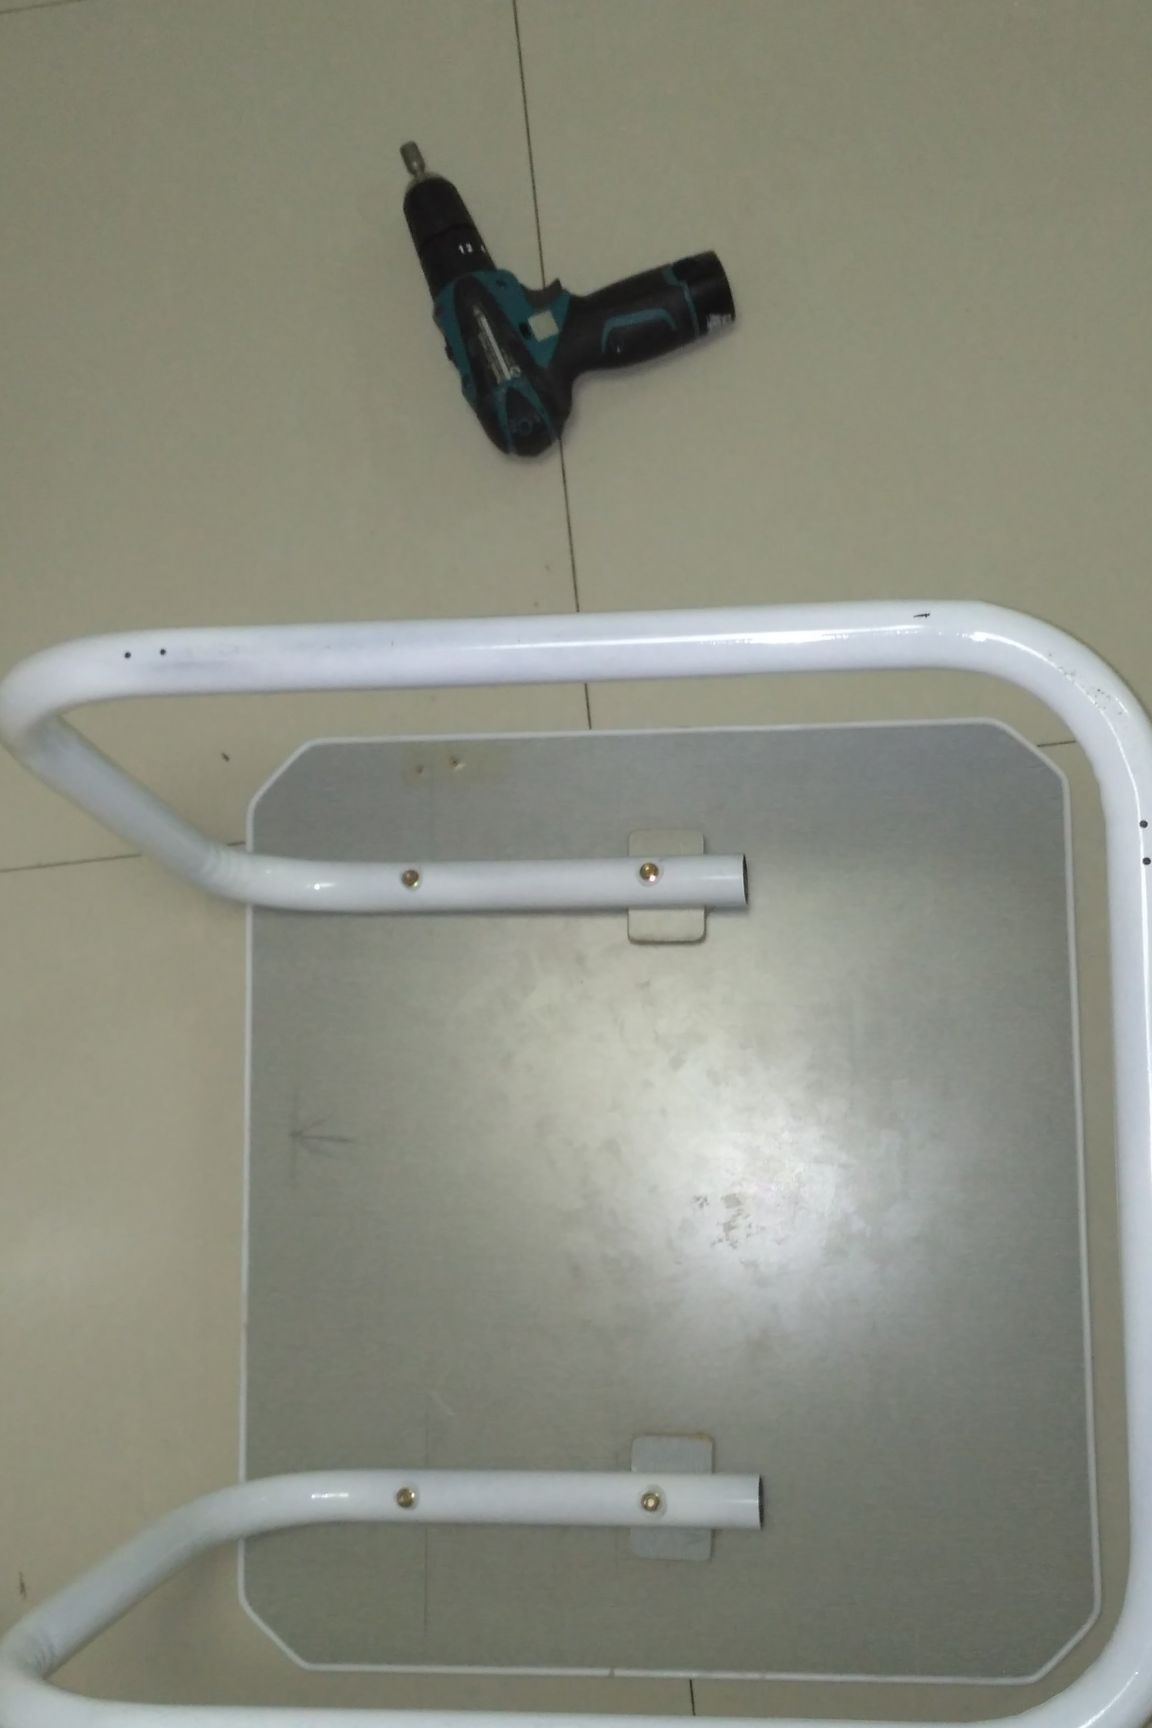
The “leg” made of a single pipe significantly simplified the design of the table, or rather made it as simple as possible: a tabletop, a leg and four fixing bolts - there is simply nowhere simpler.
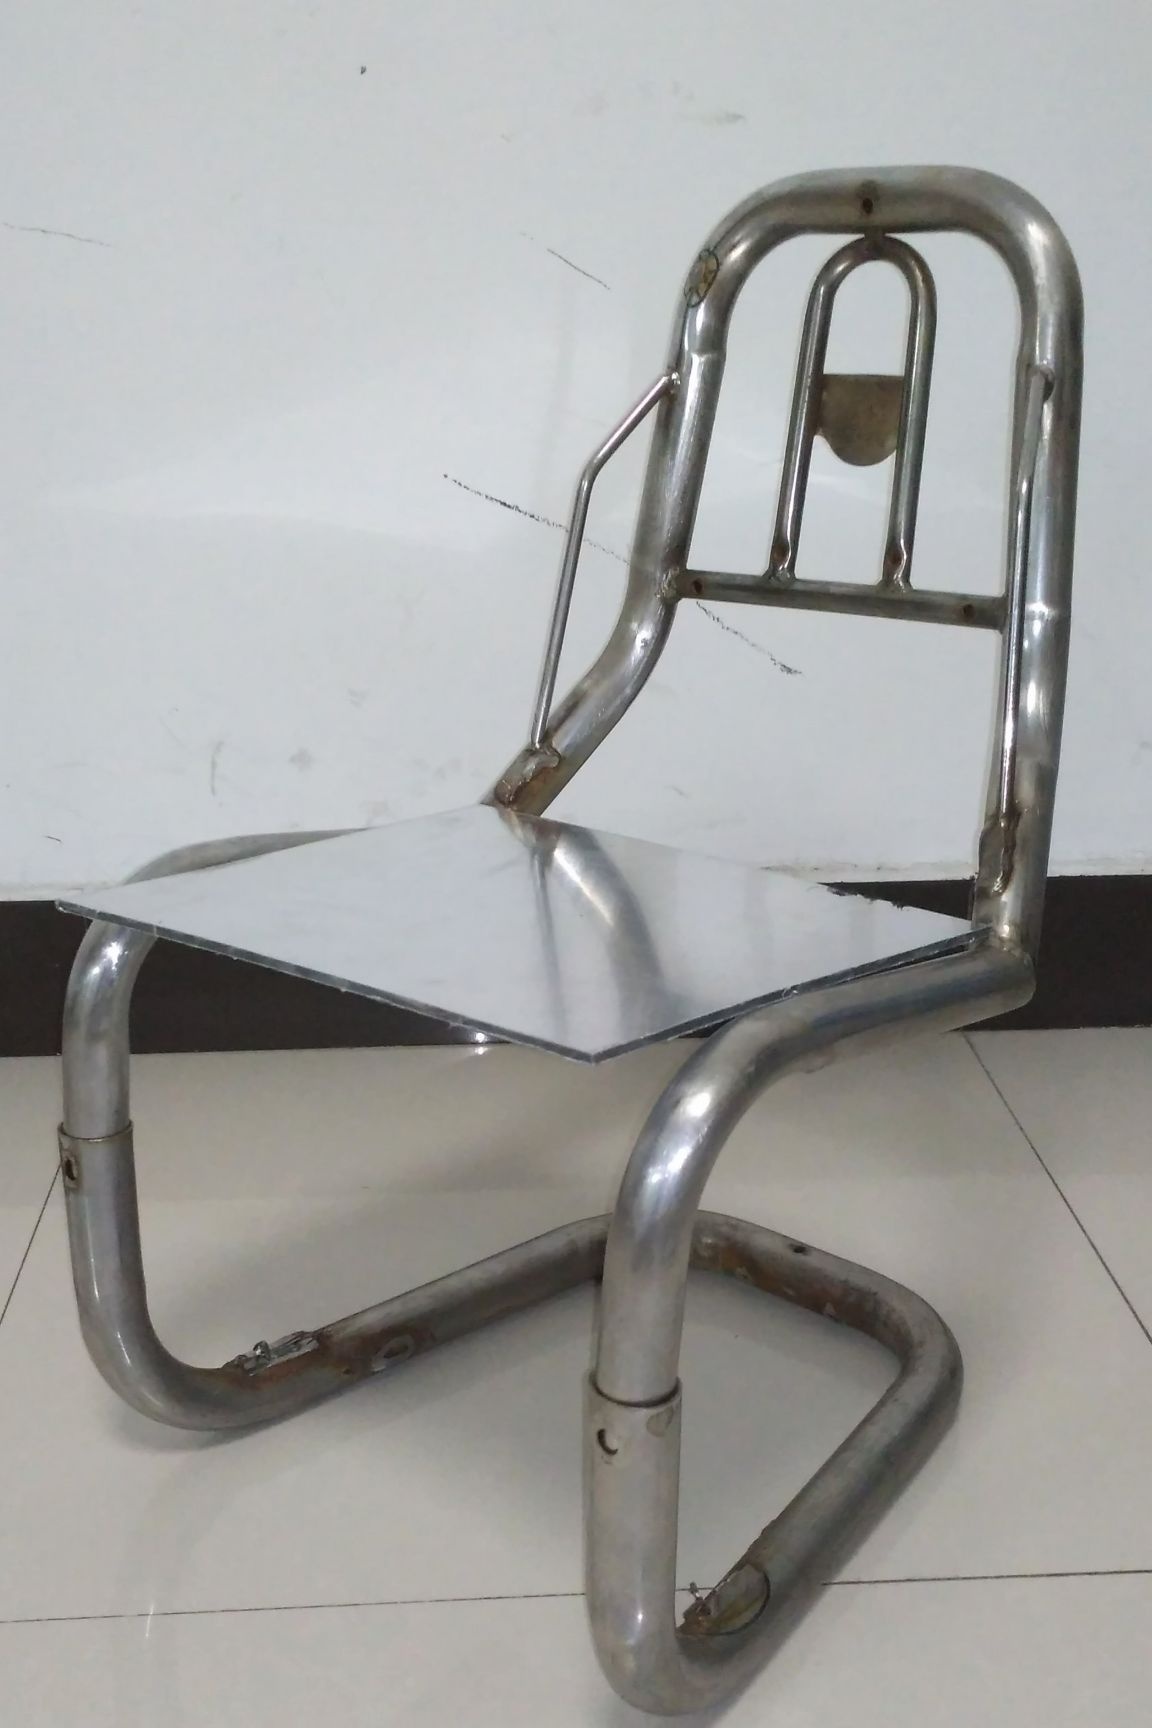
The chair in our set is a more complex thing both in design and in the manufacturing process. It consists of four metal parts from a pipe, a wooden (chipboard) seat, and fasteners by itself. I chose this material for the chair, starting from the design of the table, using the pipe we get the table and chair in the same style, and the seat is the same in color and texture with the countertop makes the set complete. You can, of course, not pay attention to such trifles as style and all that jazz, but if this homemade product will be at your place, often used and caught your eye, then such a thing should look aesthetically pleasing and, among other things, be safe for the child.
Materials and tools:
1. Metal pipes
2. A piece of chipboard
3. Screws \ bolts
4. White paint spray Sanol
5. Varnish aerosol Sanol
6. Rubber piping
7. Rubber glue (Moment)
8. Sandpaper of different grain size (150, 400)
9. Figured hole punch
10. Self-adhesive film
11. Adhesive tape
12. Hacksaw for wood
13. Pliers
14. Screwdriver
15. Files (flat and semicircular)
16. Metal drill
17. The pencil is simple
18. Ruler
19. Permanent marker
20. Roulette
21. Welding machine
22. Angle grinder (grinder)
23. Screwdriver
Step 1:
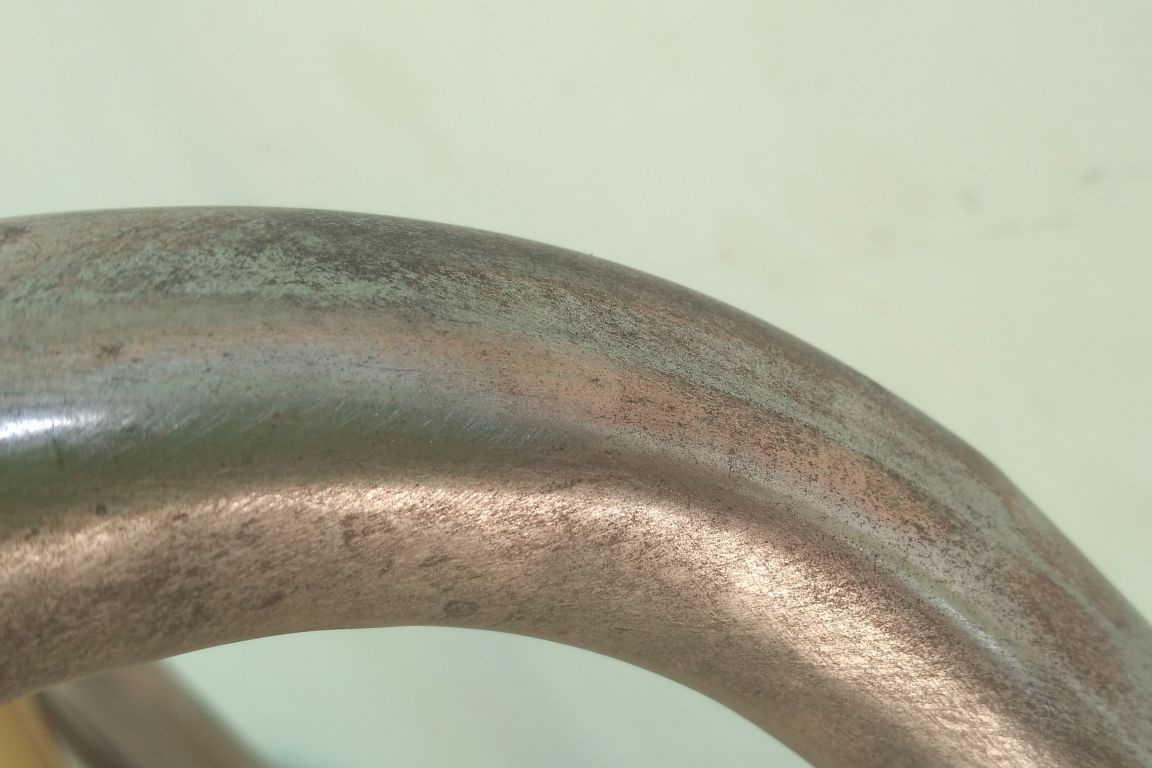
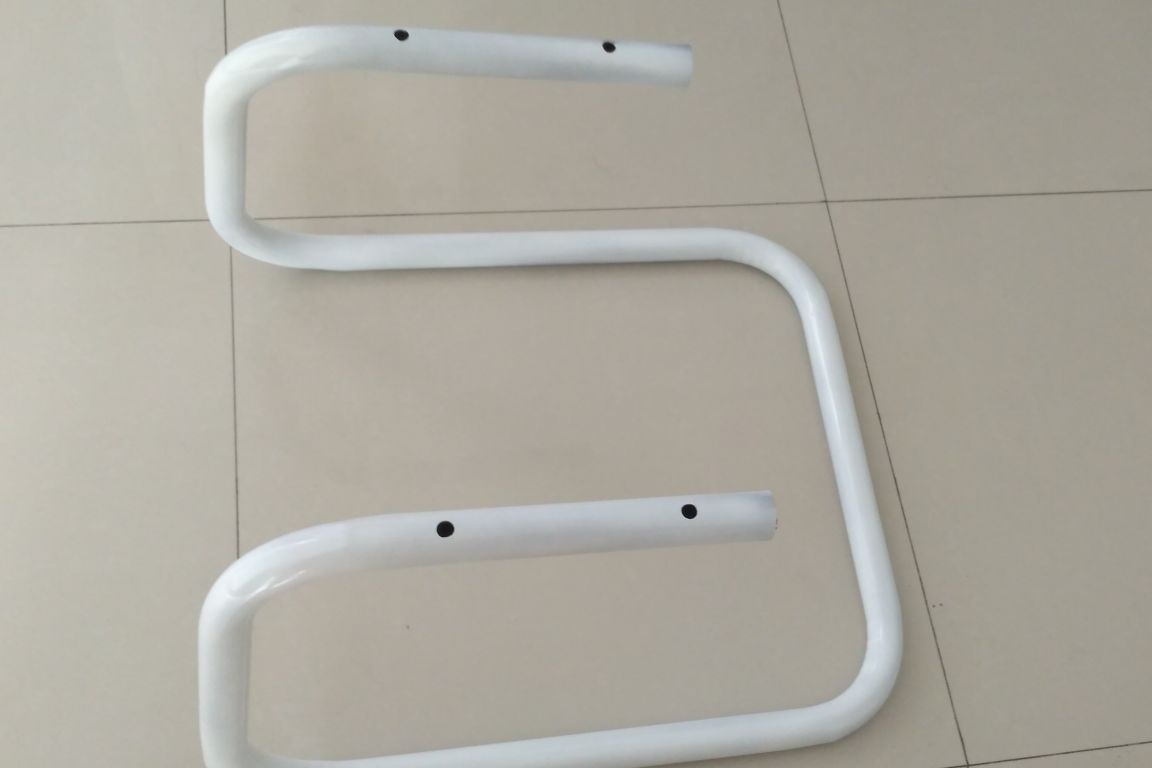
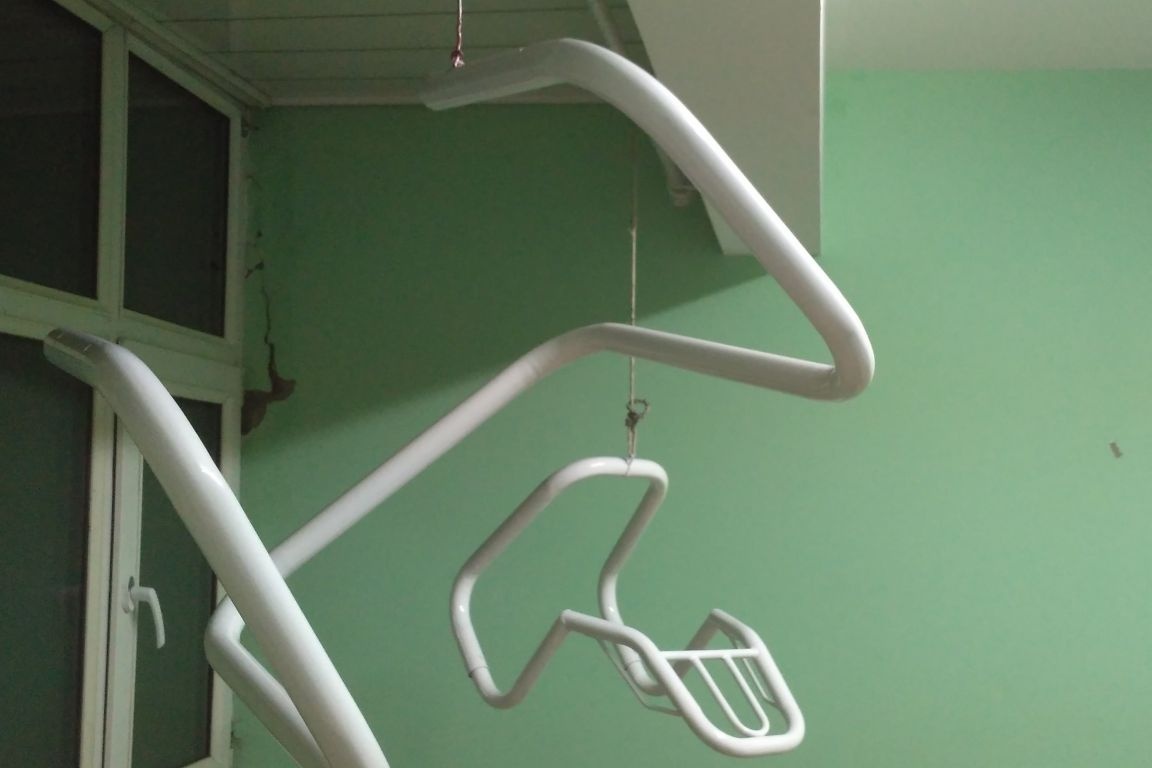
We take a curved pipe, which we will act as legs, or rather legs, tables. I unscrewed it from the old chair in advance, as I expected in it the potential for future homemade products. She was in good condition, except for a small rust coating, without dents and other misunderstandings, which cannot be said about the pipe chosen for the high chair, but more on that later.
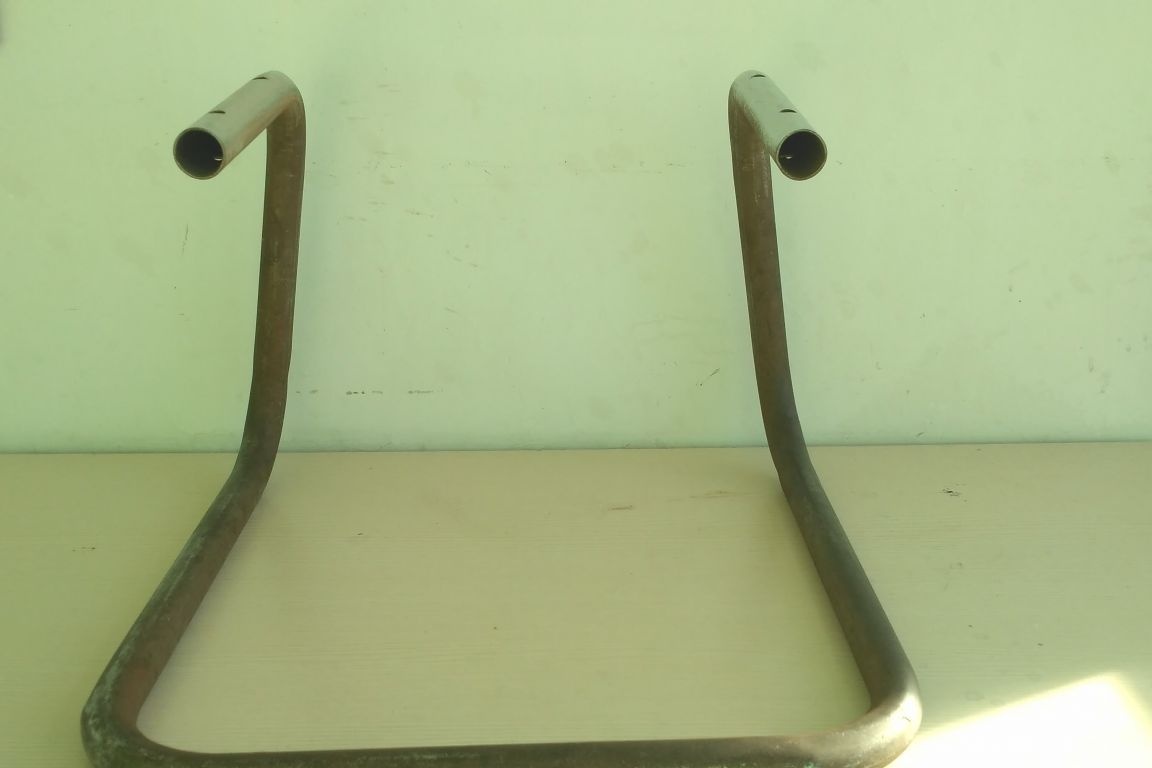
Skinning this pipe is not a time-consuming and fast process, due to the lack of hard-to-reach spots, simple geometry and smooth bends, by the way this business can be entrusted to the child, it will even be interesting to him to participate in the process of making his own of furniture.
Step 2
After skinning, we should wipe our “product” with a dry rag from dust. Just in case, it will not be superfluous to wipe the pipe with alcohol to degrease it and prevent possible peeling of the paint, if for example you work without gloves and hold it with your bare hands. I would advise doing such things exclusively with work gloves.
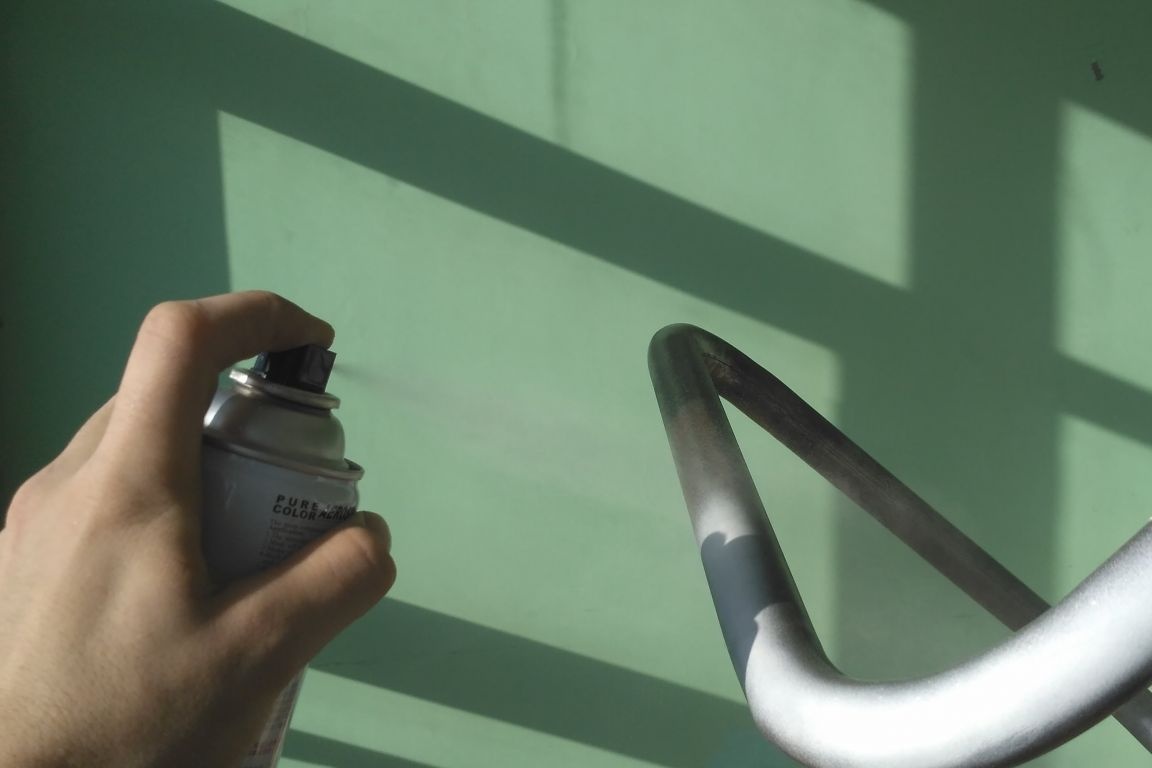
We begin to paint. We will apply three layers of white paint at intervals of 15-20 minutes. I will not describe the staining technology in detail, but in general terms I will remind you of the main points. The first layer should not immediately hide the entire pipe, the surface should turn out with gaps of metal, otherwise we risk getting smudges. The spray can should be kept 10-15 cm from the surface to be painted, slightly at an angle, so that the stream of paint falls on the surface as if tangentially. Each layer should be allowed to dry. You can check with your finger in an inconspicuous place - when the finger stops sticking, then you can apply the next layer.
After applying three layers, and in some of the most important places that will then be visible in four, we leave the part to dry. In my case, two days were enough for the paint to dry completely. After applying all the layers, it is better to dry better, so that you do not have to redo it later.
Step 3:
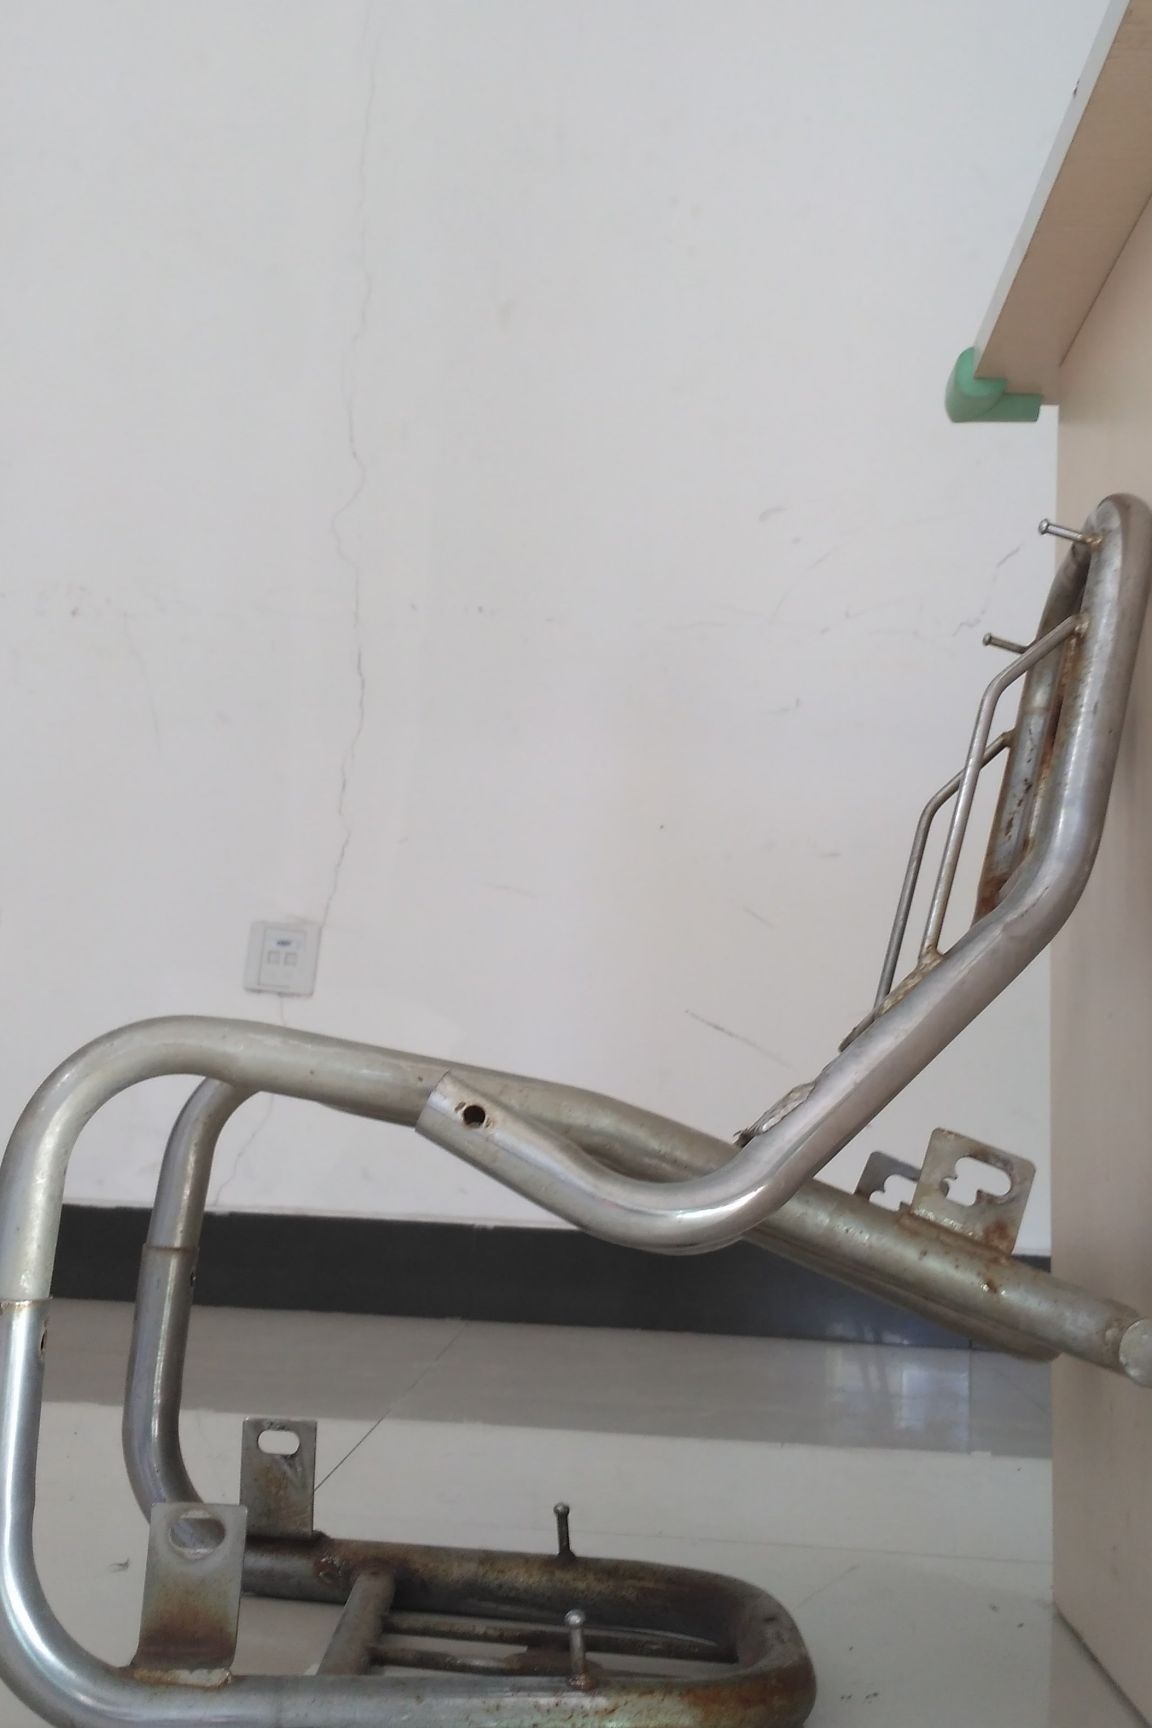
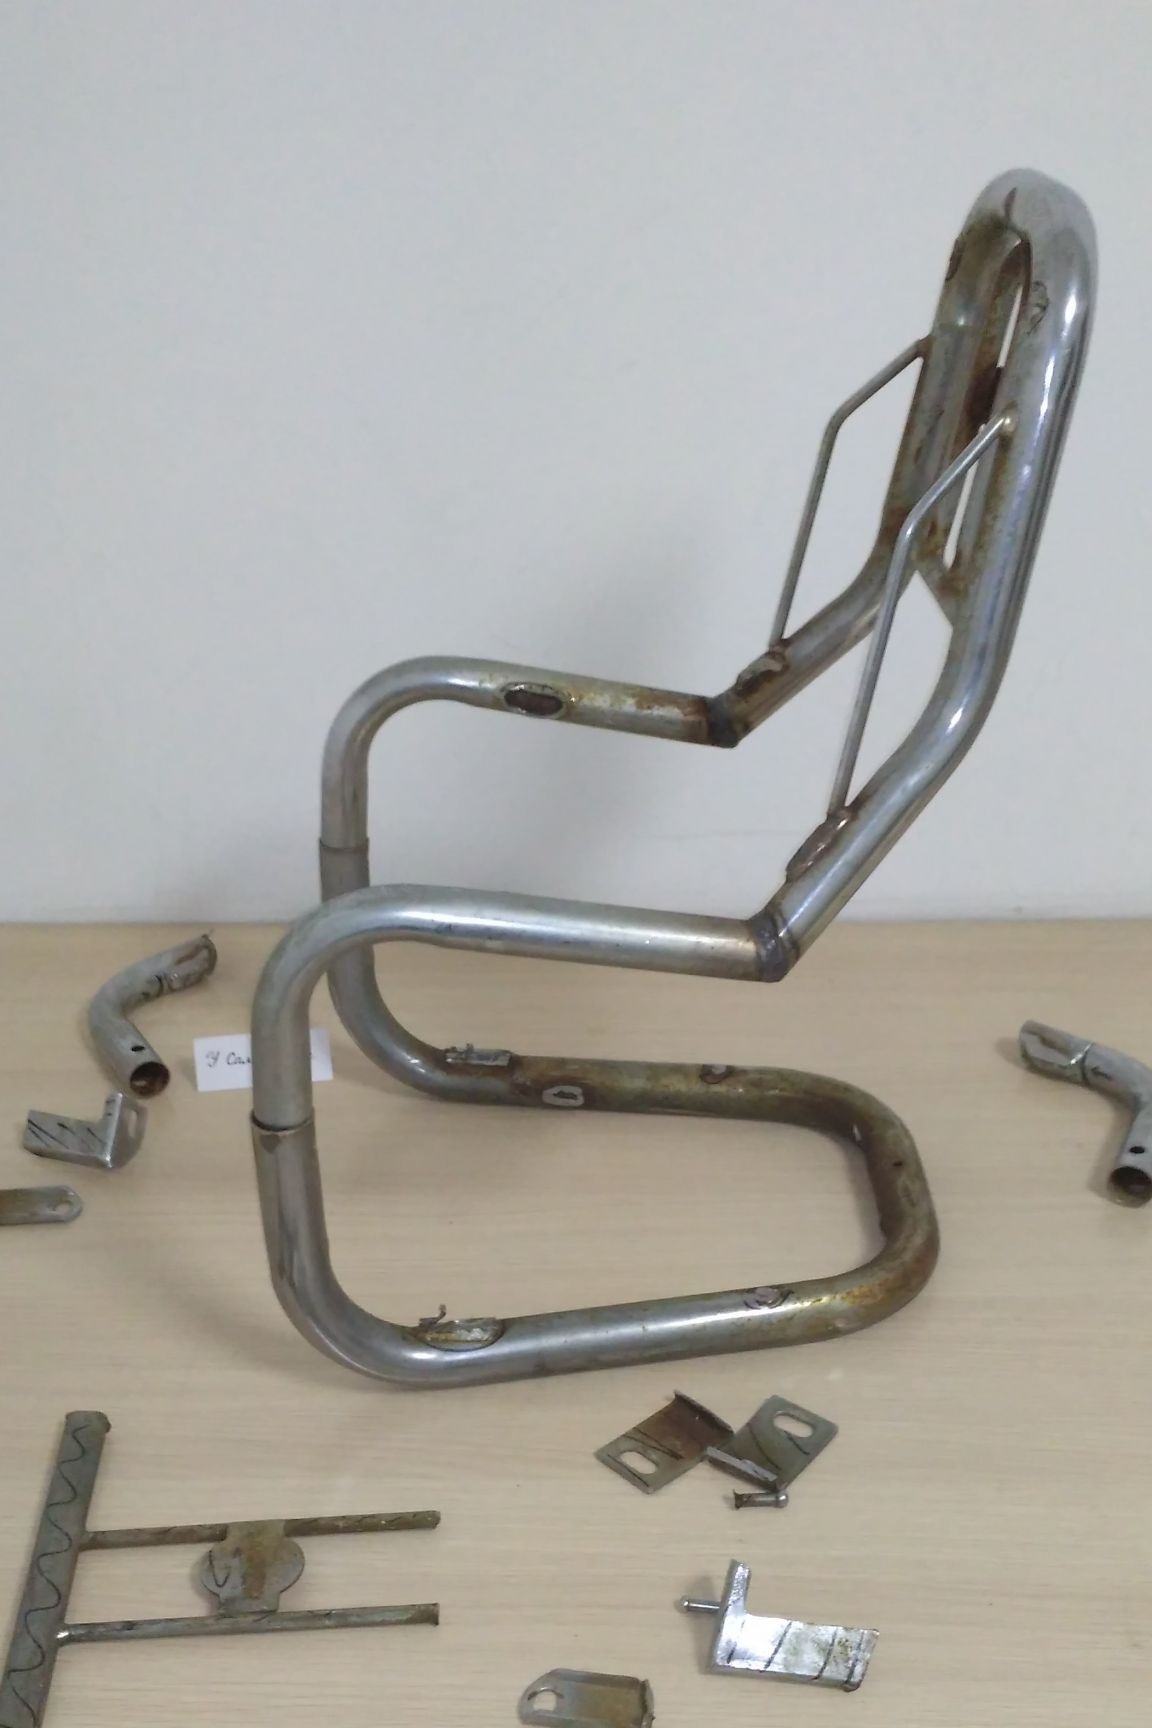
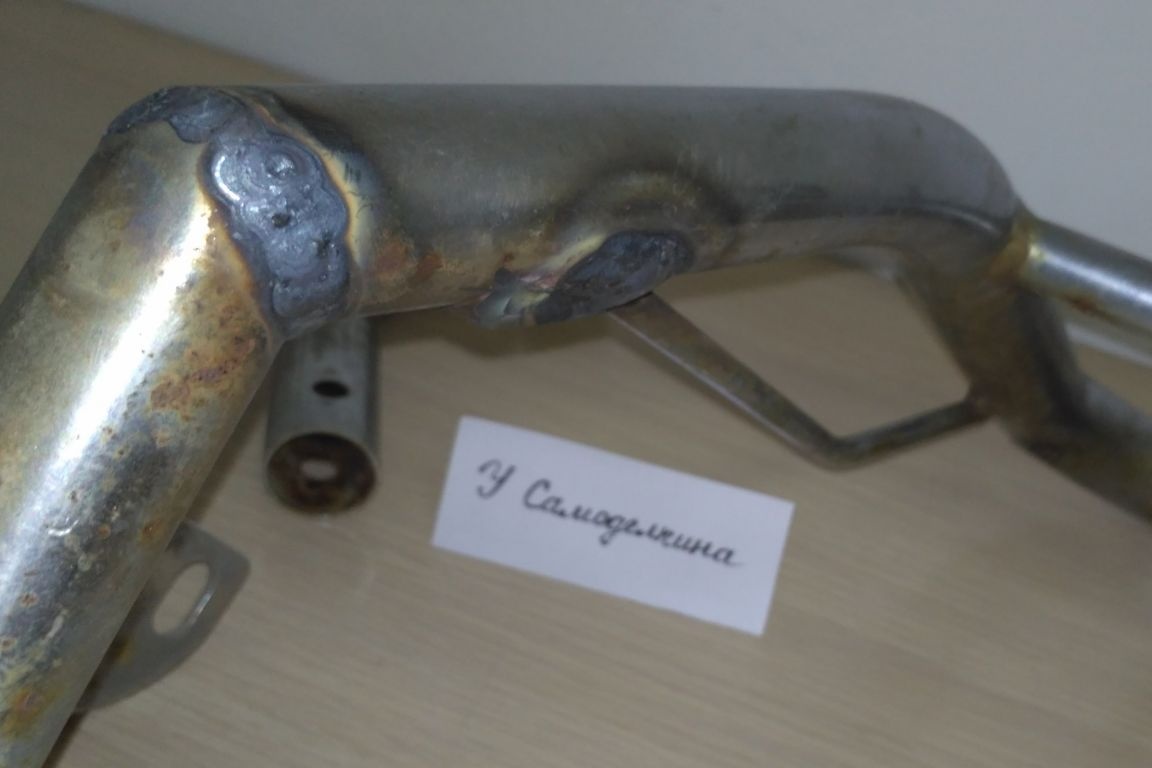
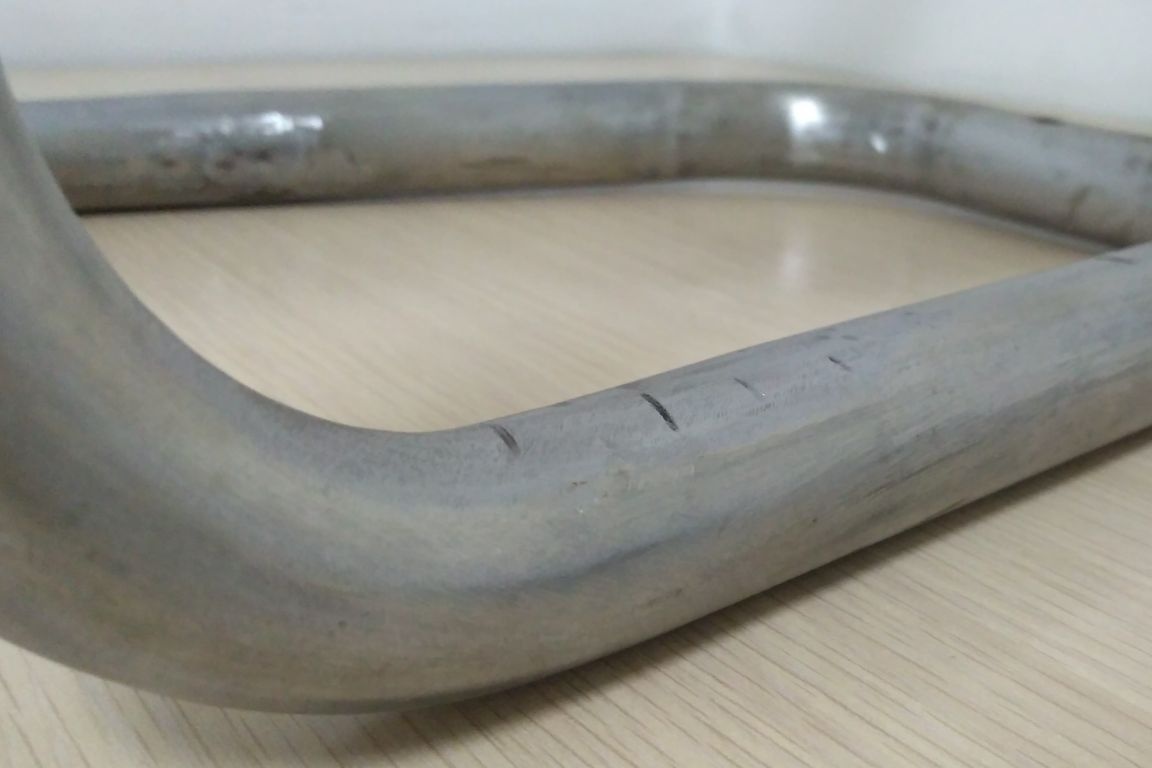
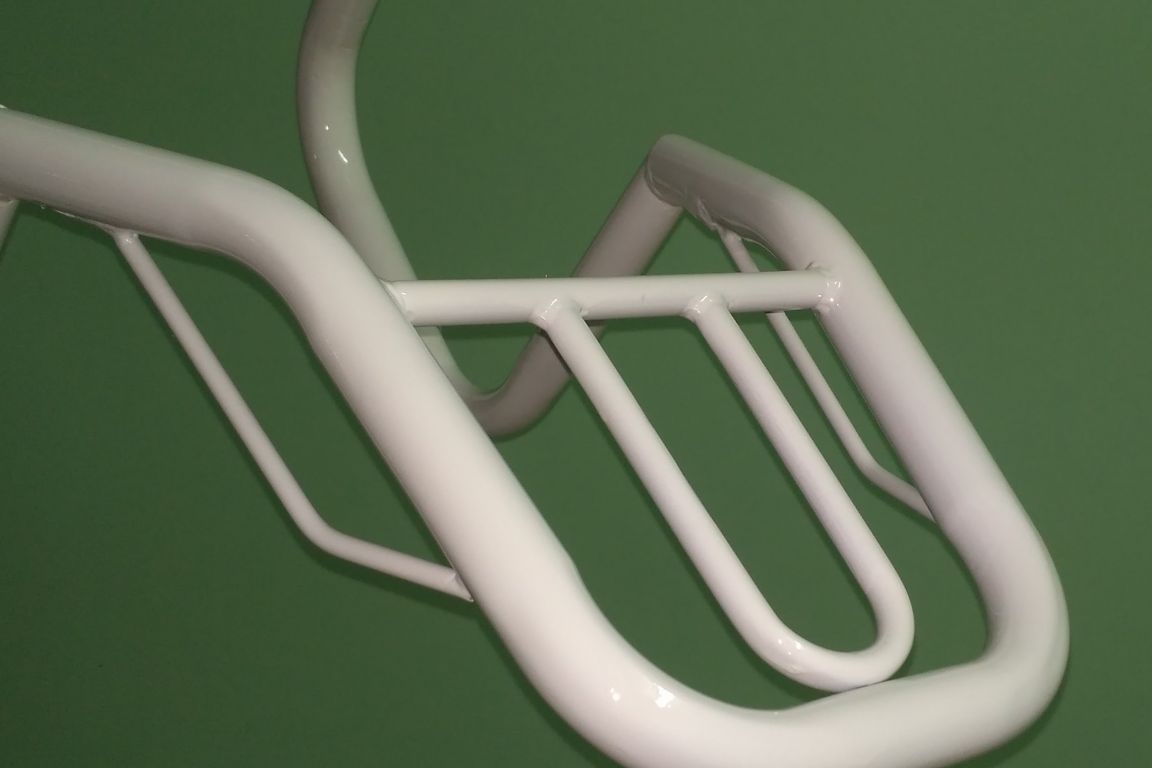
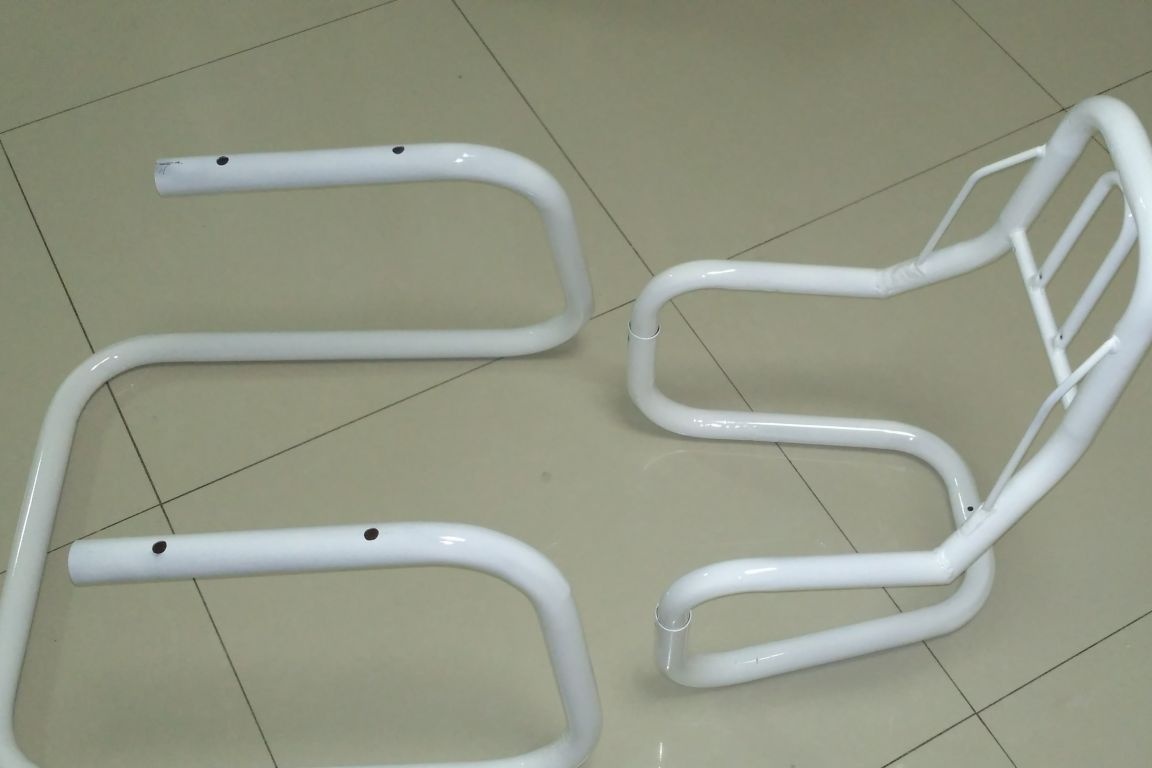
In the meantime, while the leg of the table dries, I started looking for material for making a chair and soon found the old protective arcs from the motorcycle, which were removed as unnecessary and waited a long time. They attracted attention because, like the table leg, they are made of a round profile pipe and if you cut off everything superfluous from them, then the table and chair designs will look very harmonious and together present a single set of furniture for the nursery.
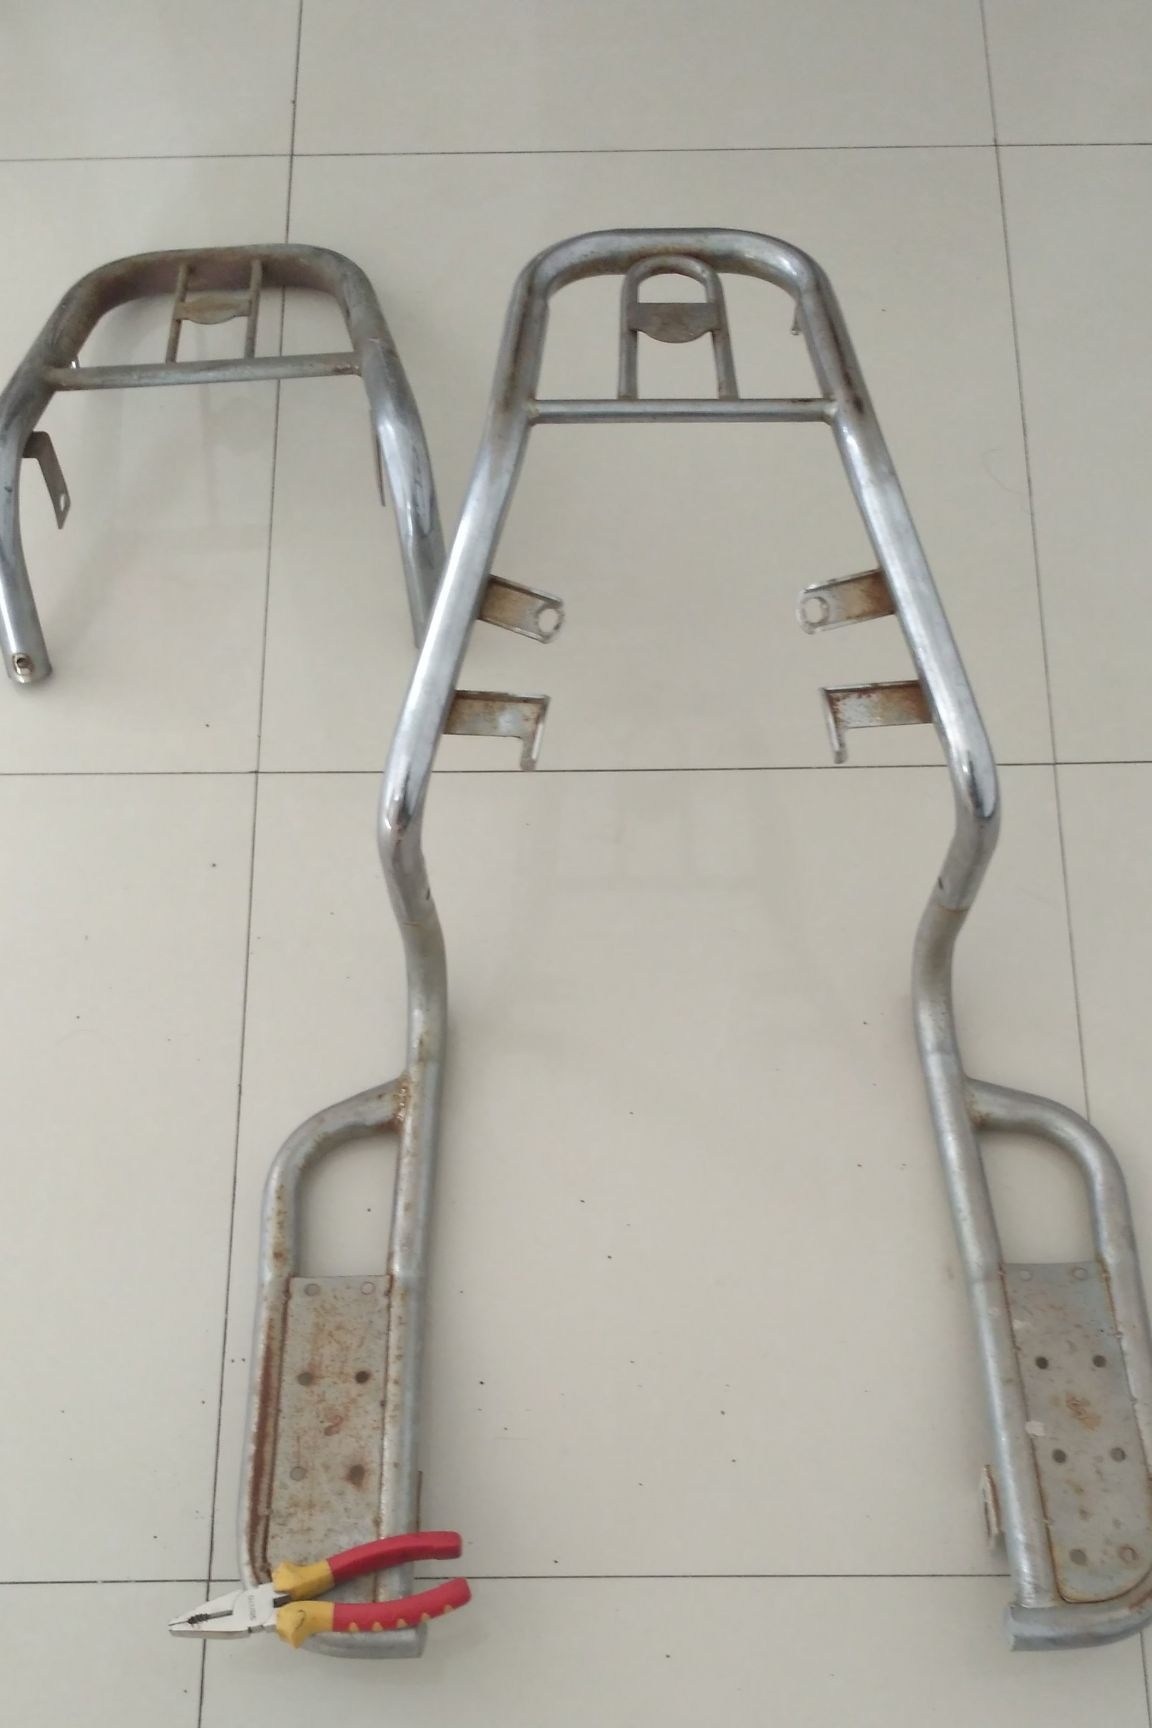
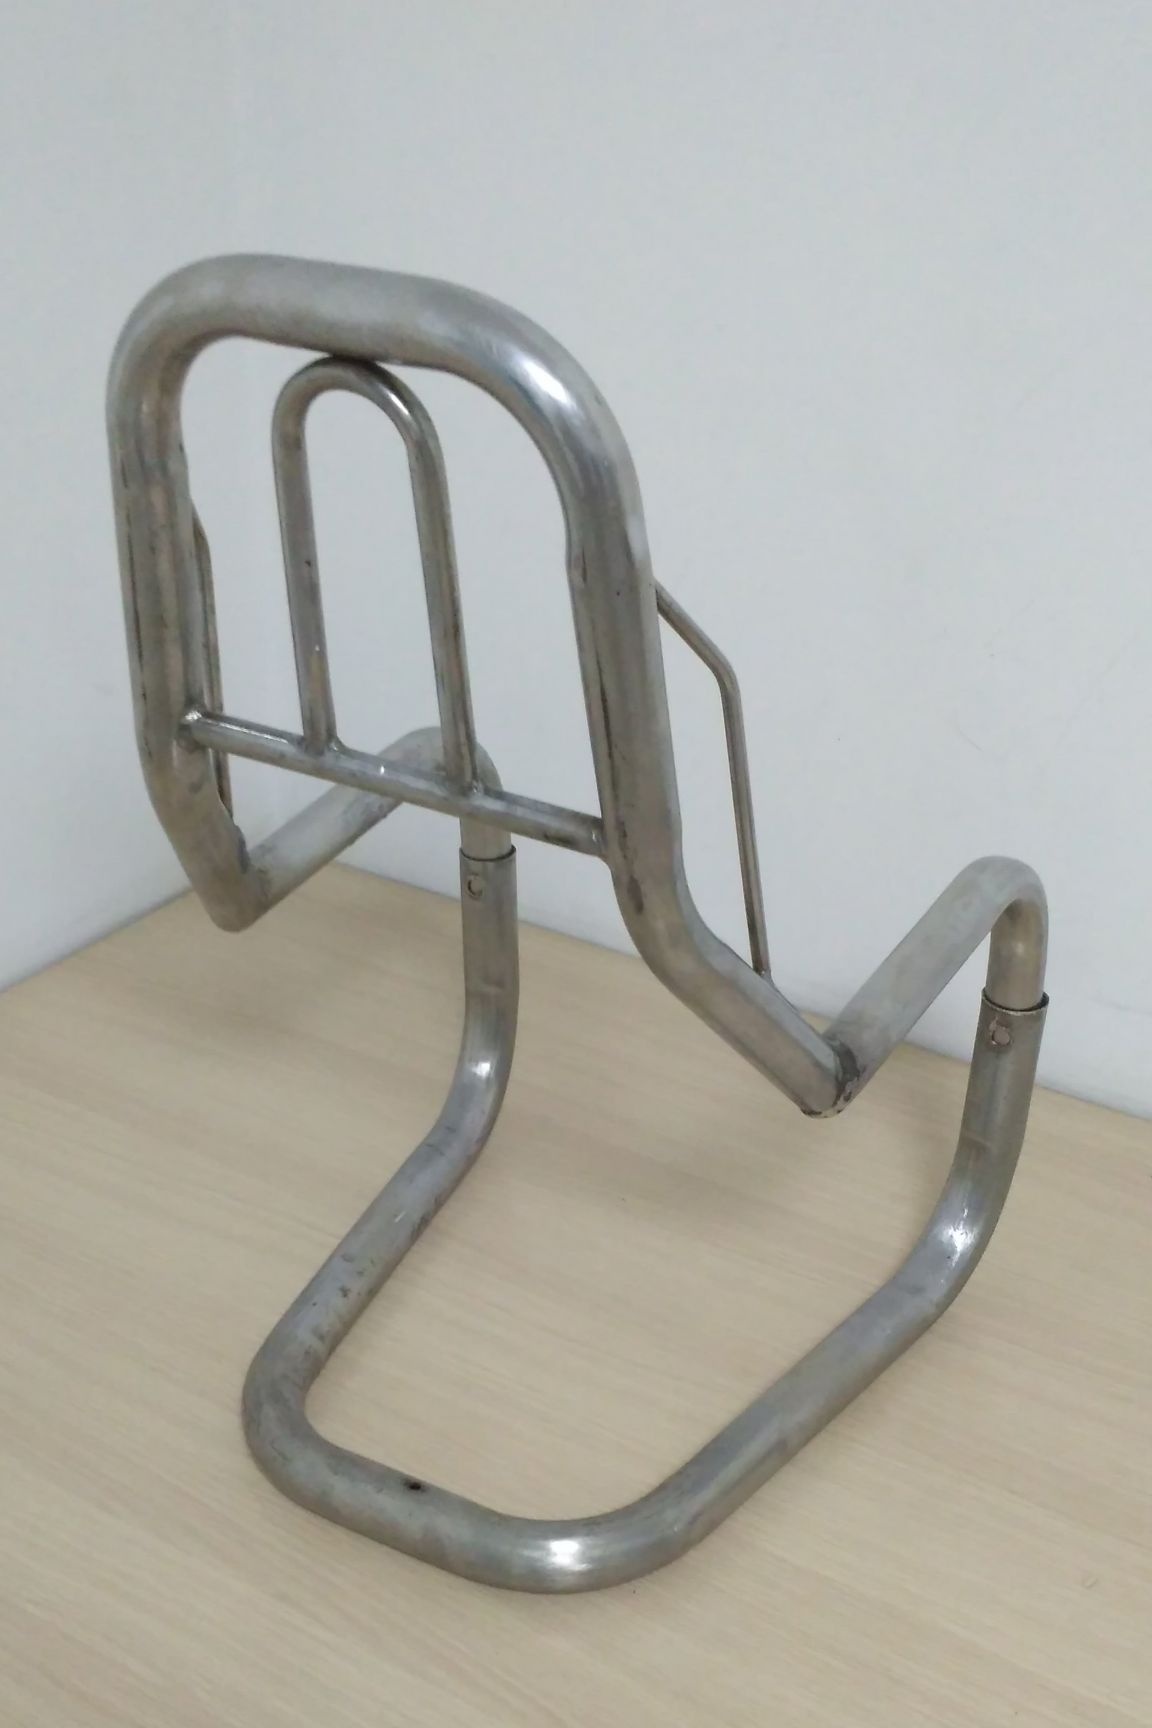
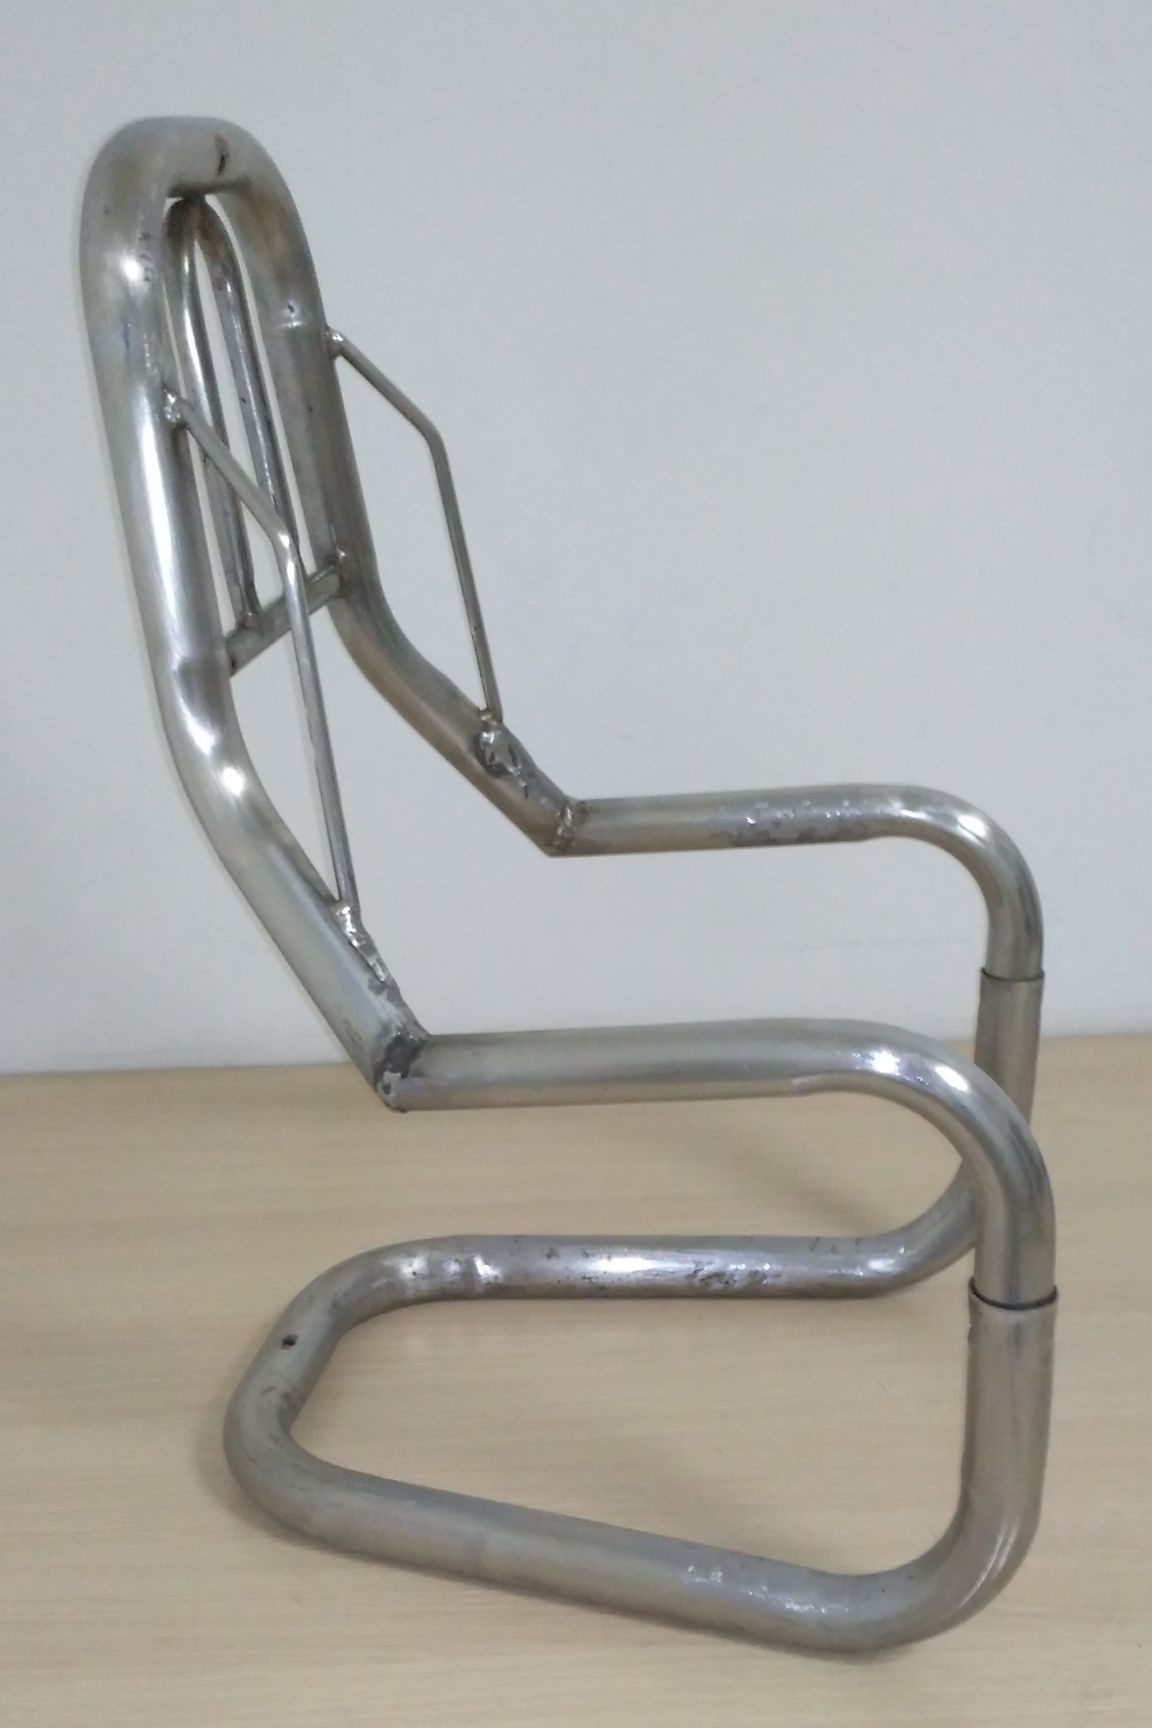
We estimate, so far by sight, the future design of the chair. We try on all the elements together and see if the height, width and other parameters correspond to our requirements. In my case, already at this stage the design looked very similar to a chair.
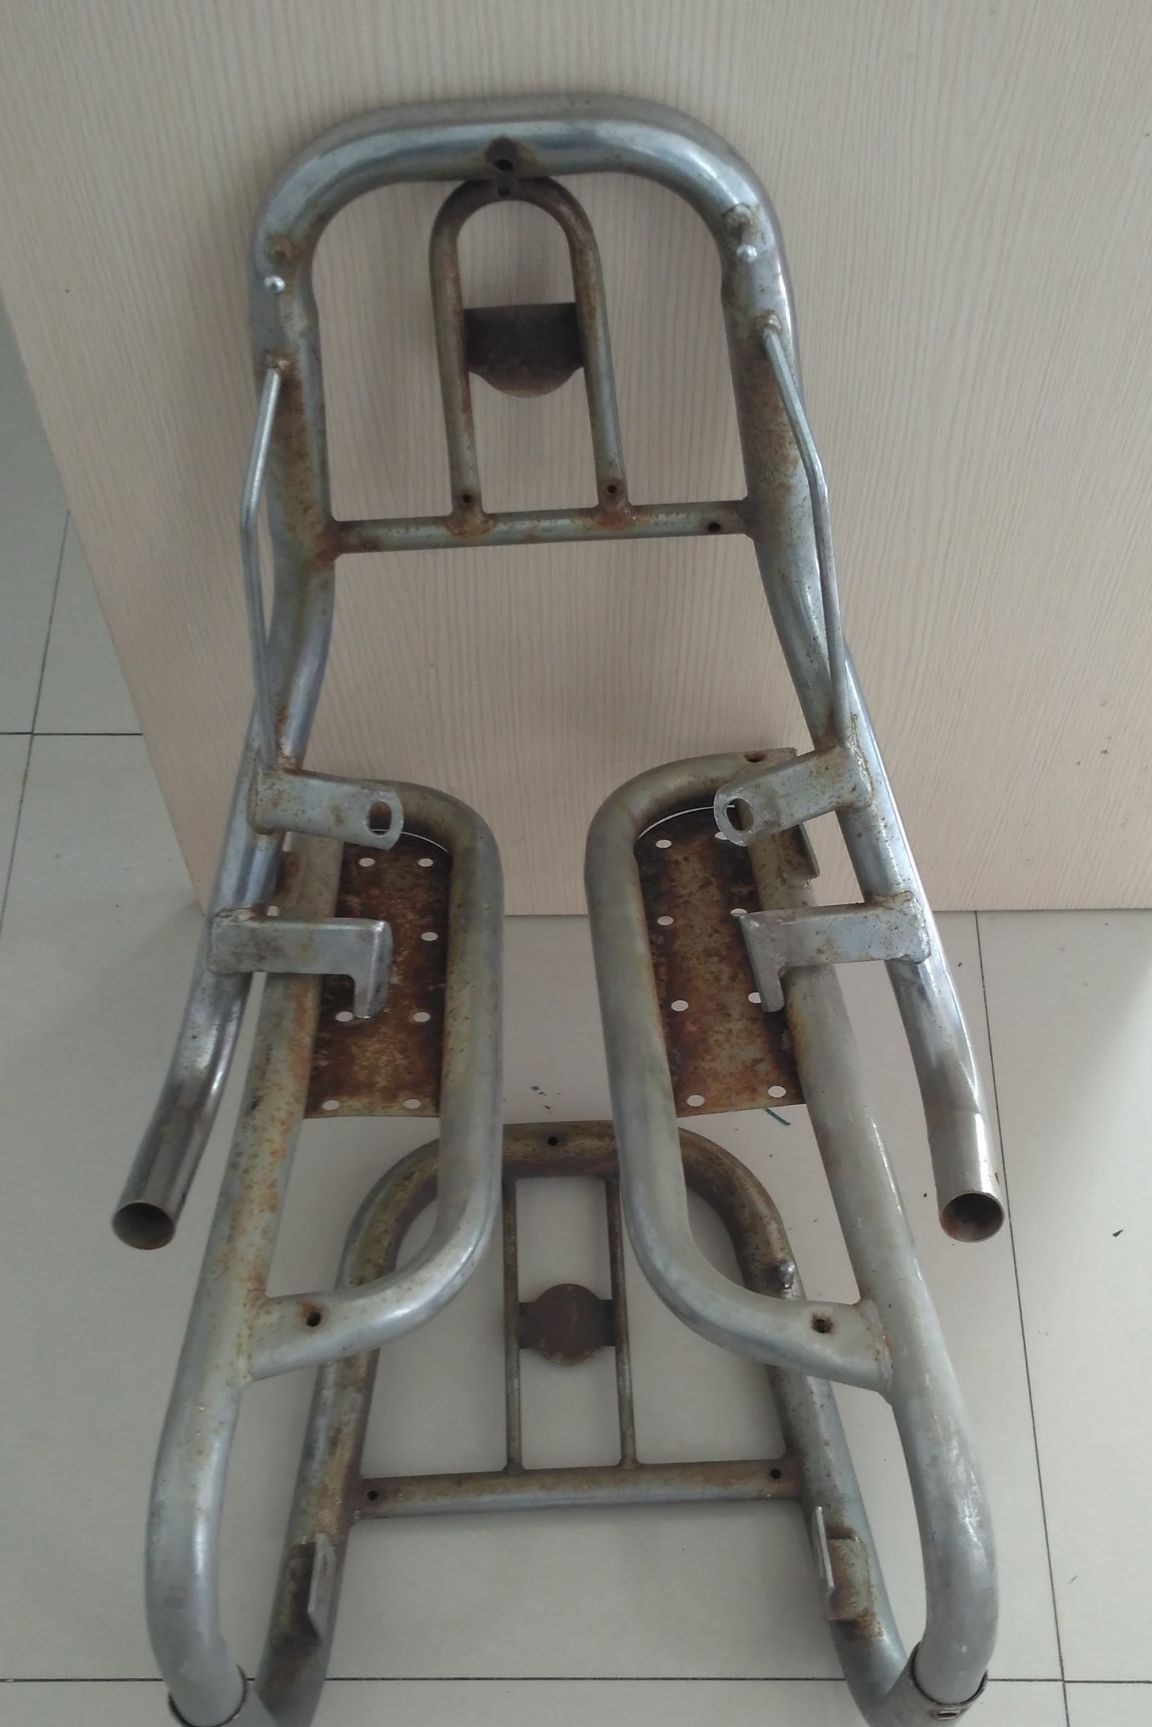
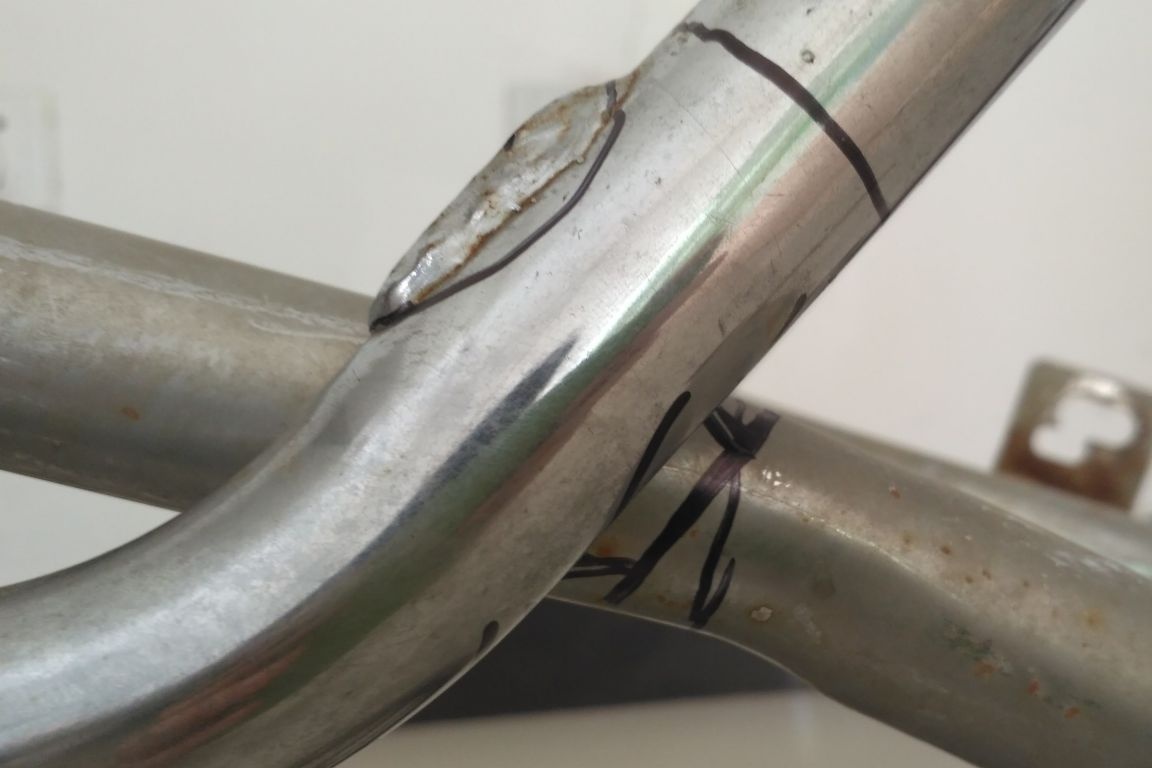
We mark with a marker or pencil the connection points and the lines along which we will saw the pipe. I got four elements - a leg, a back and two central parts where the seat is attached. My legs and two central parts came from pipes of different diameters, as they were from different sets of motorcycle arcs. Therefore, they could simply be inserted into each other and they were tightly fixed, and when I hammered them deeper with a hammer, then no additional fasteners were needed. And I decided to weld the back with an inverter.
Step 4:
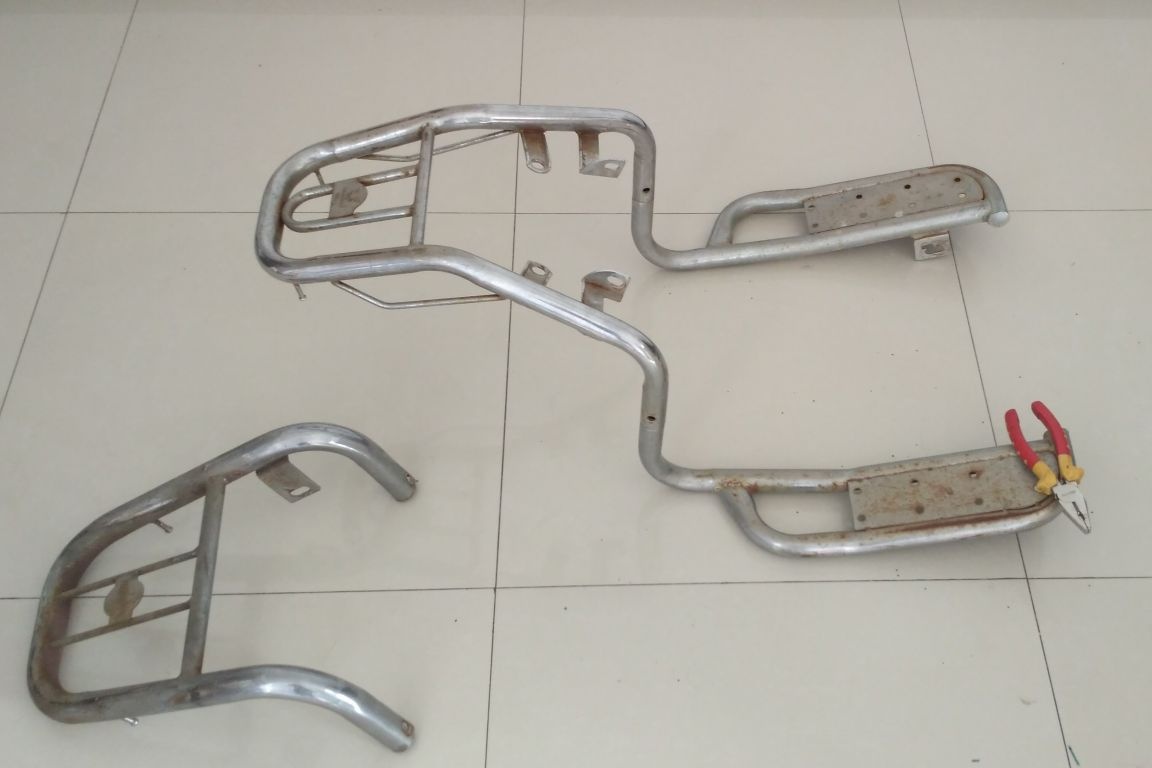
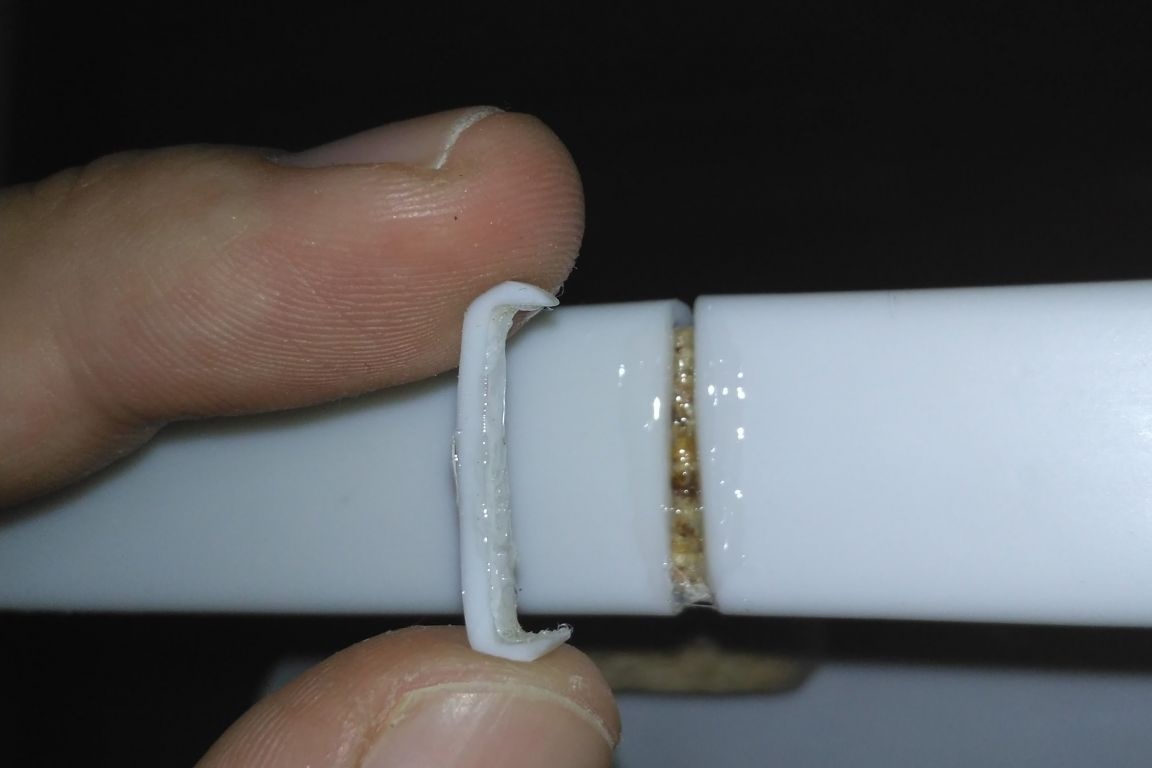
We cut off all the excess from the pipe and customize all the elements of the design of the stool. Since I do not have a grinder, I turned to a local car service and they allowed me to use the tool in their box. There was no time to take pictures, and somehow it was not with my hands.

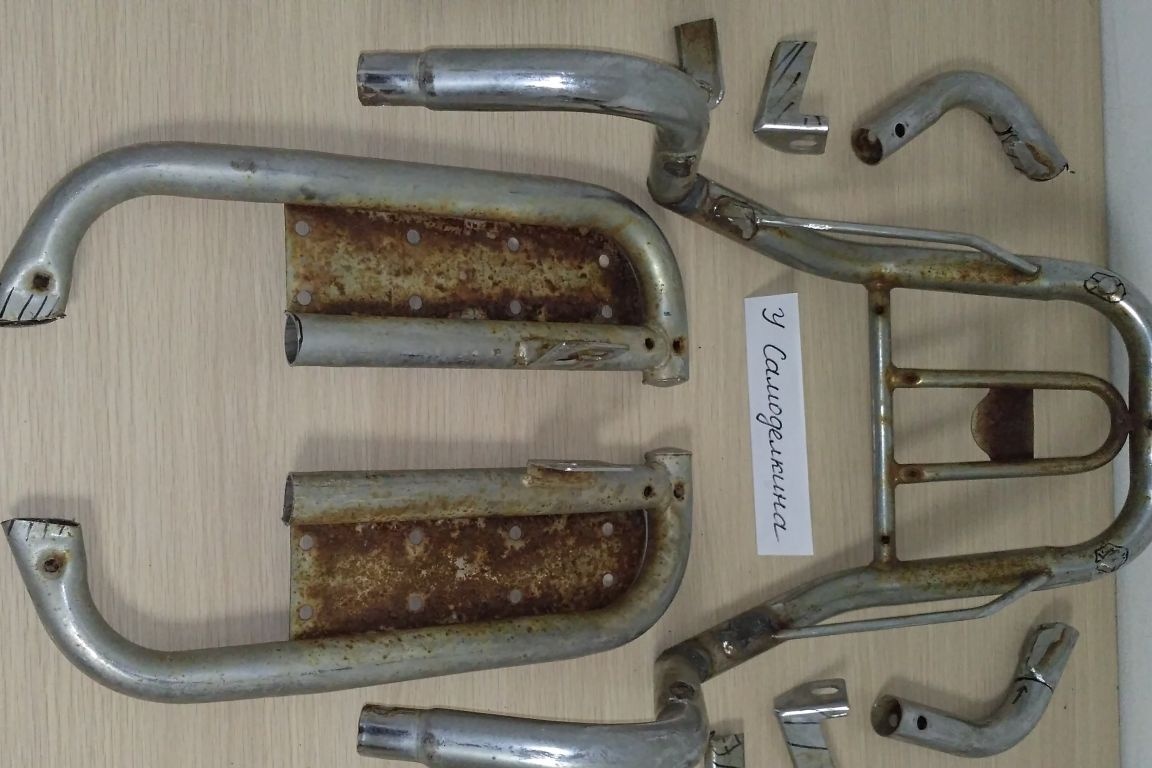
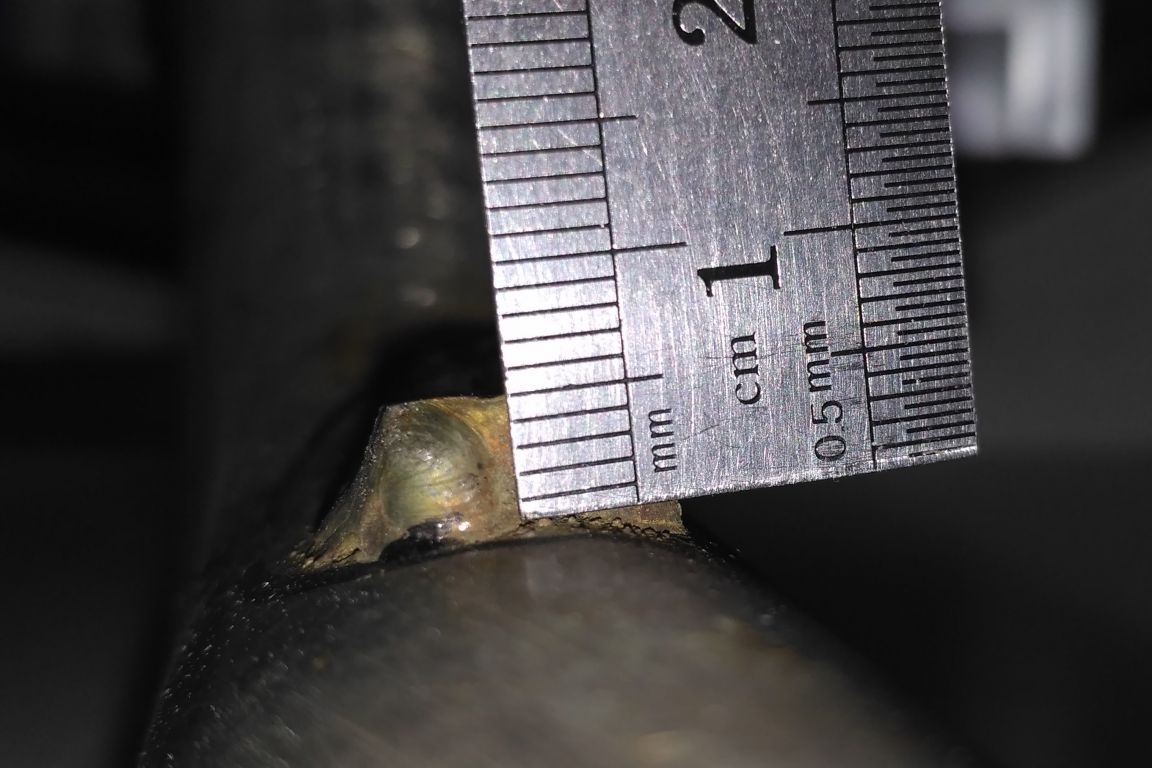
I expected that I would cut off the most “criminal” parts, and I would modify the file at home. And already at home it turned out that it was almost impossible to stitch pieces of metal up to 5 mm thick with a file, and even without yews and holding the pipes only with your hands, or take ten hours, no less.
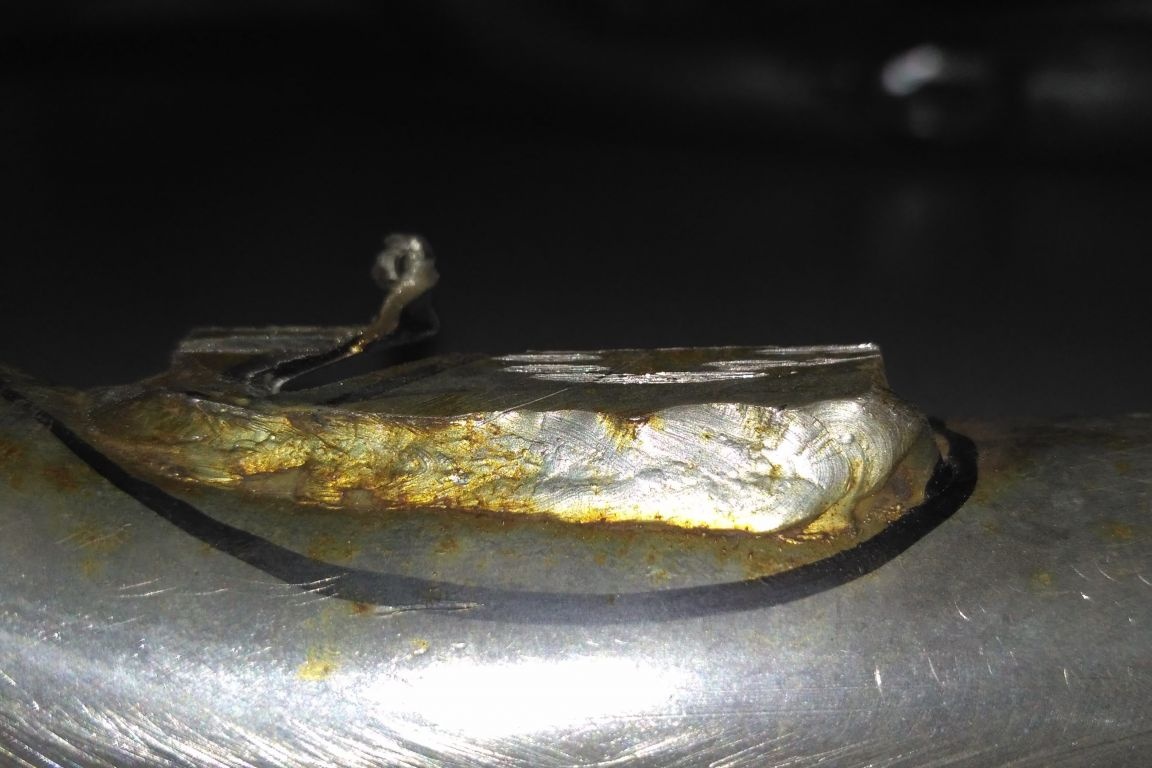
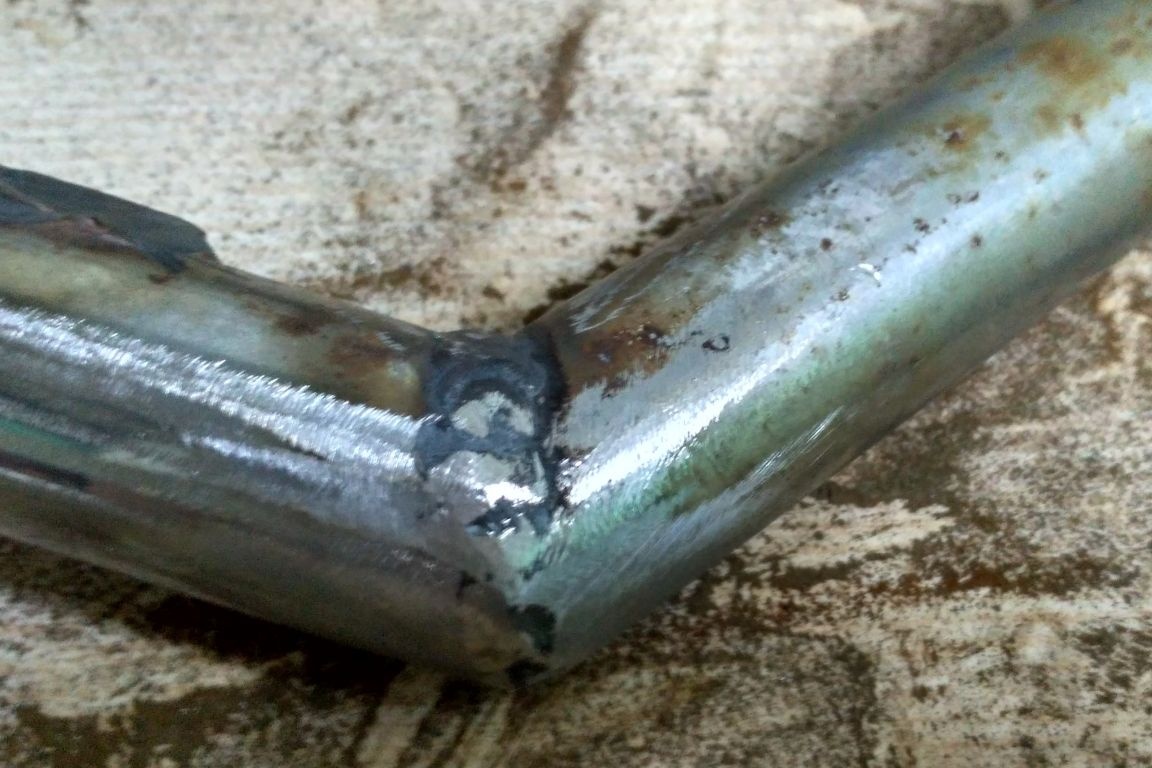
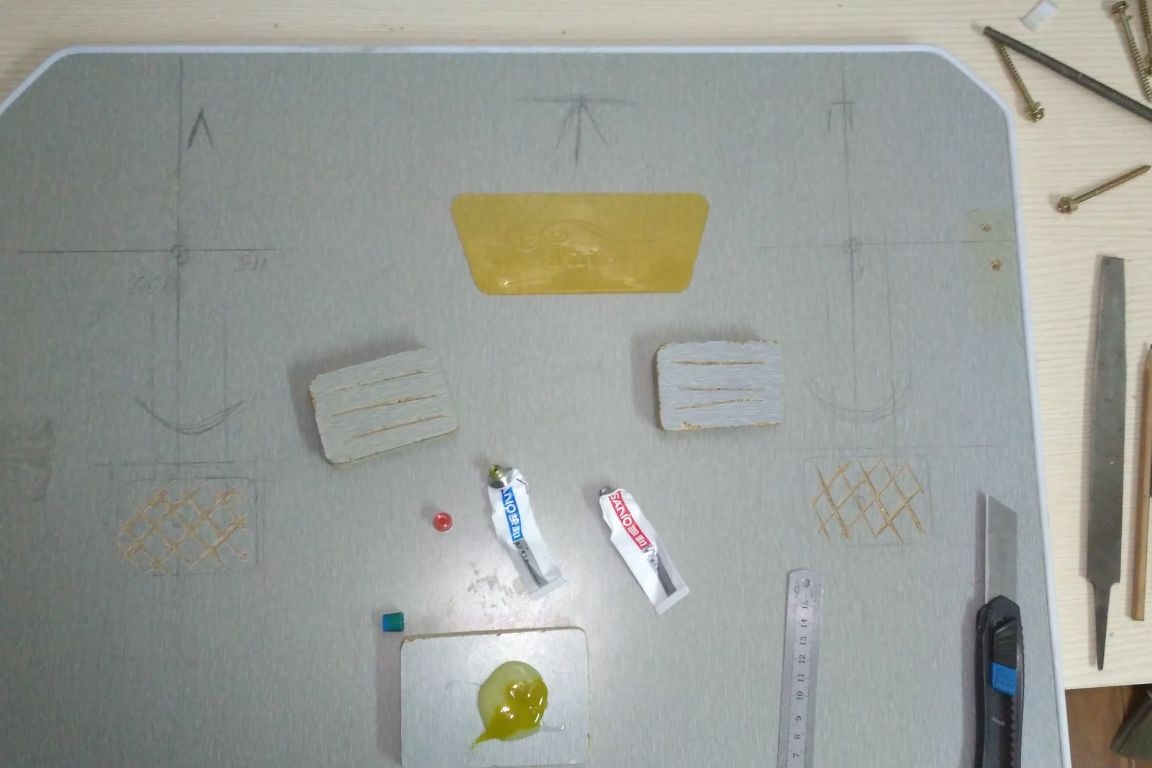
I started vigorously, but after a few hours I sewed only a few of the simplest places and brought these sites to the required state. In the photo, on the right is the finished plot, on the left has not yet begun.
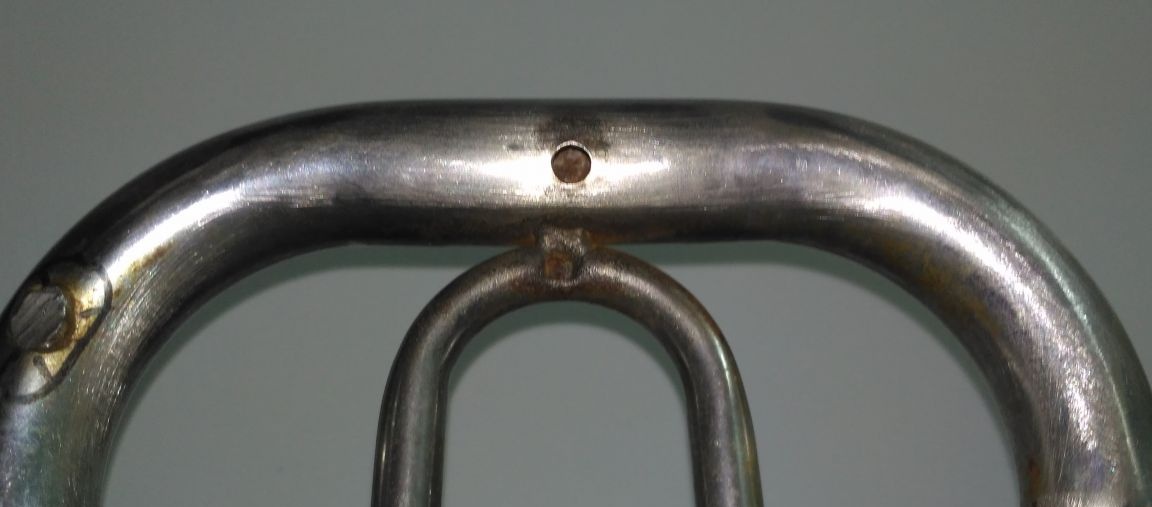
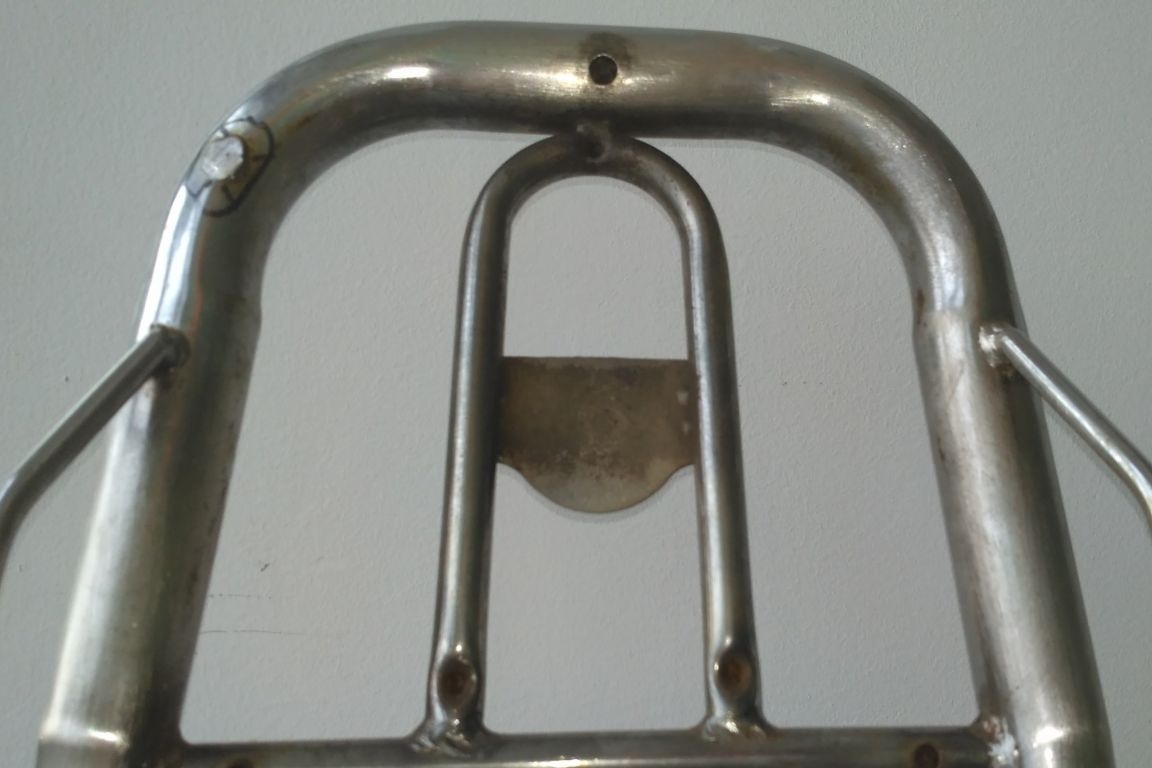
In parallel, he came up with what to make a chair seat and what to do with a backrest, in which there were several extra holes. I even thought to fix a soft insert there, which will hide most of the holes, later the truth I decided not to be wise and leave it as it is. Not such a big problem.

He did welding work in a small workshop near his home (they took 300 rubles), in the same place he asked them for a grinder and polished the most difficult places that he could not grind with a file. And in the process he polished the whole structure in general, which saved a lot of time and effort.
Step 5:
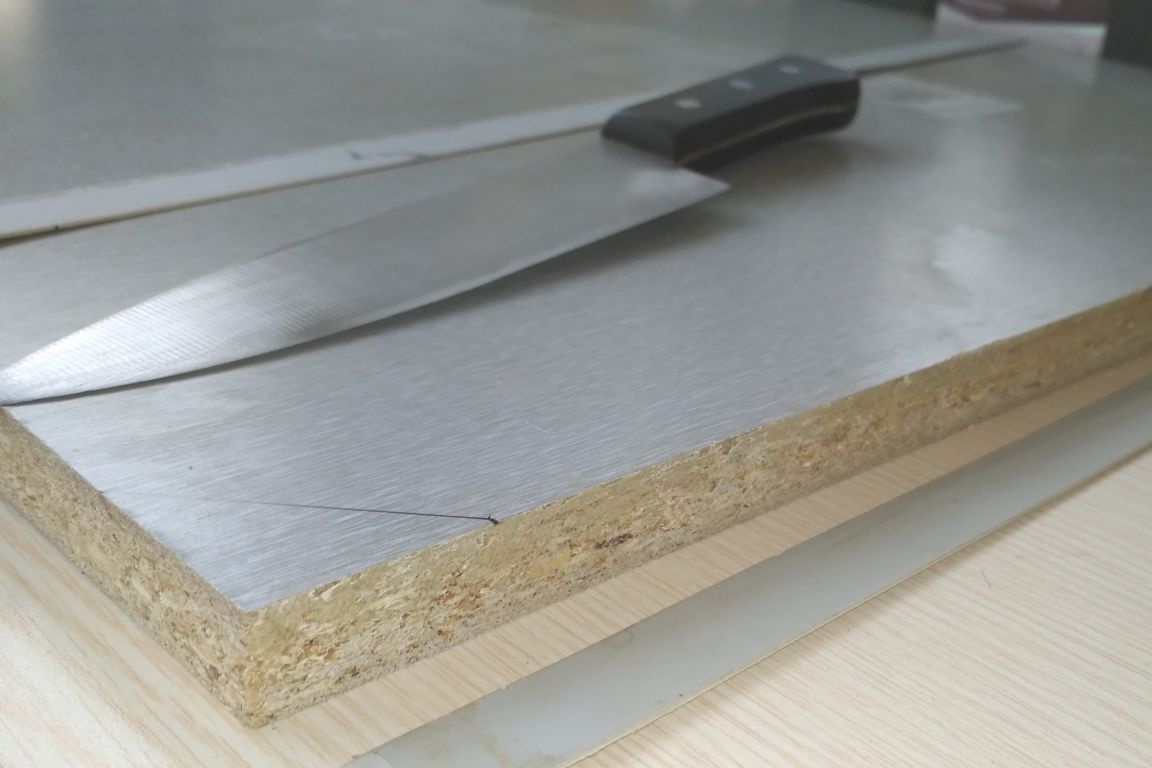
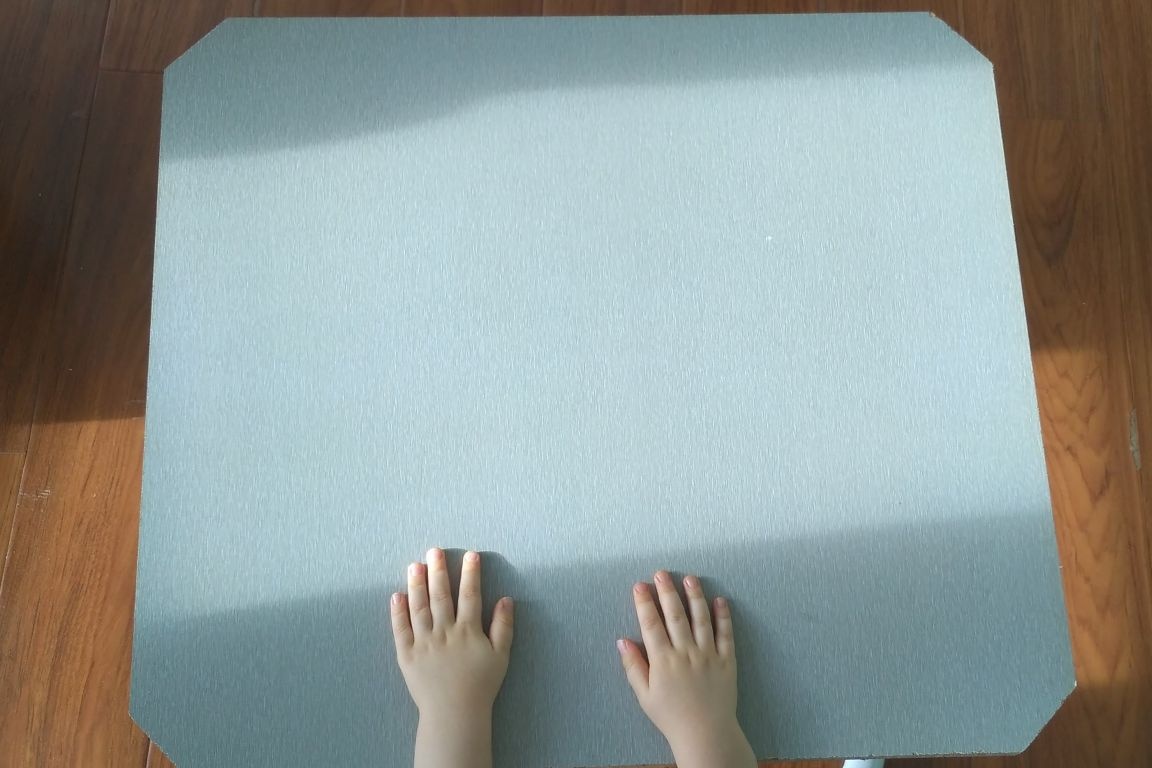
We make a countertop.We take a piece of chipboard and put it on the leg, select the size and saw off the desired piece, this was done with a hacksaw. For safety, we cut off sharp corners and process the entire countertop along the perimeter with a file. At the two ends of my board was a plastic edging, which I just cut with a kitchen knife.
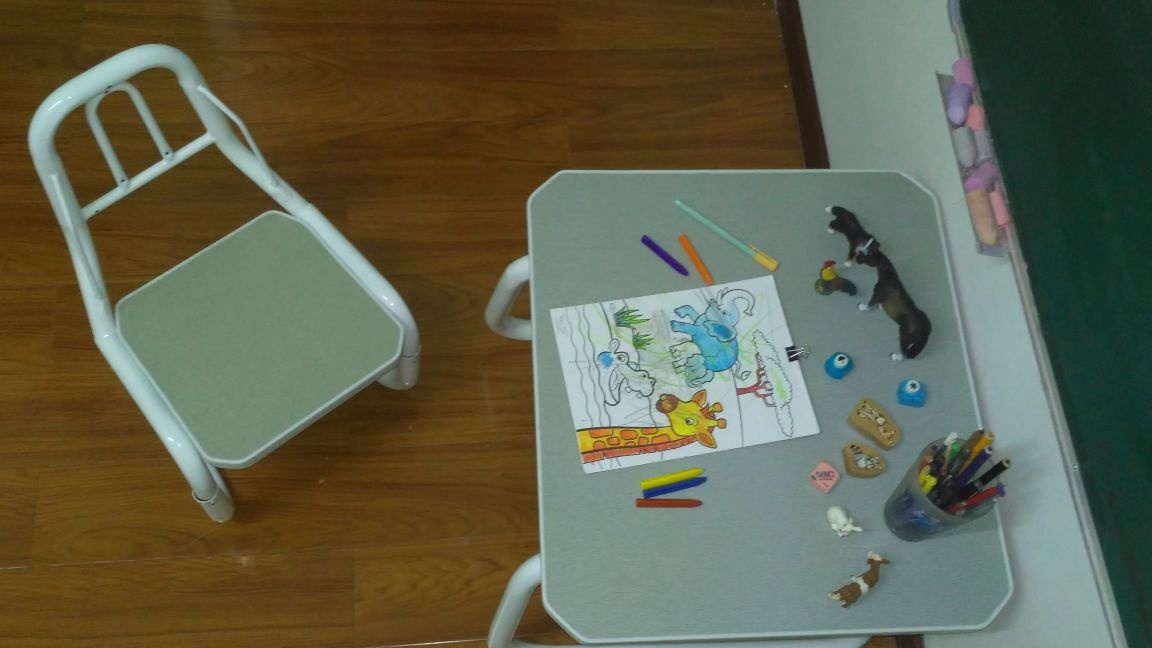
The geometry and dimensions of the table "tested on children" - the children liked it)))
Step 6:
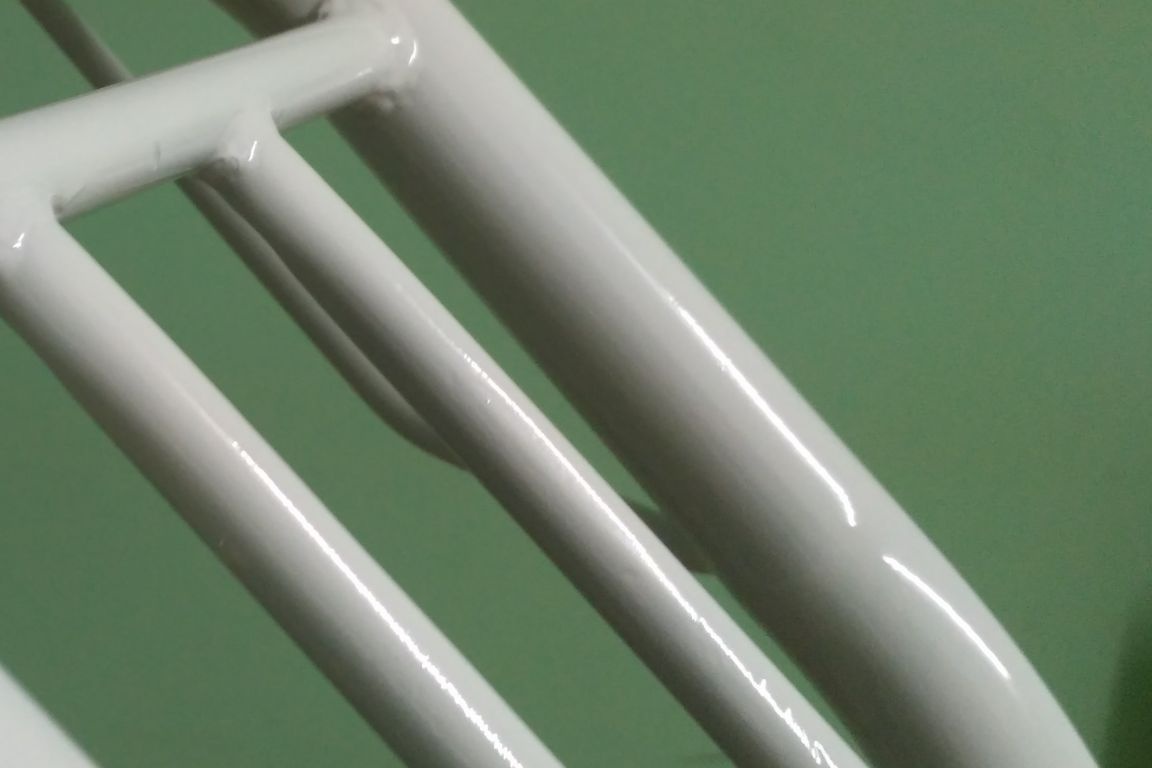
Sand the stool to a shine, finish off all the irregularities with a file, double-check everything, wipe it with a dry cloth, degrease and break to painting the stool. The paint was also applied in three or four layers, until the coating became evenly white without dark spots.
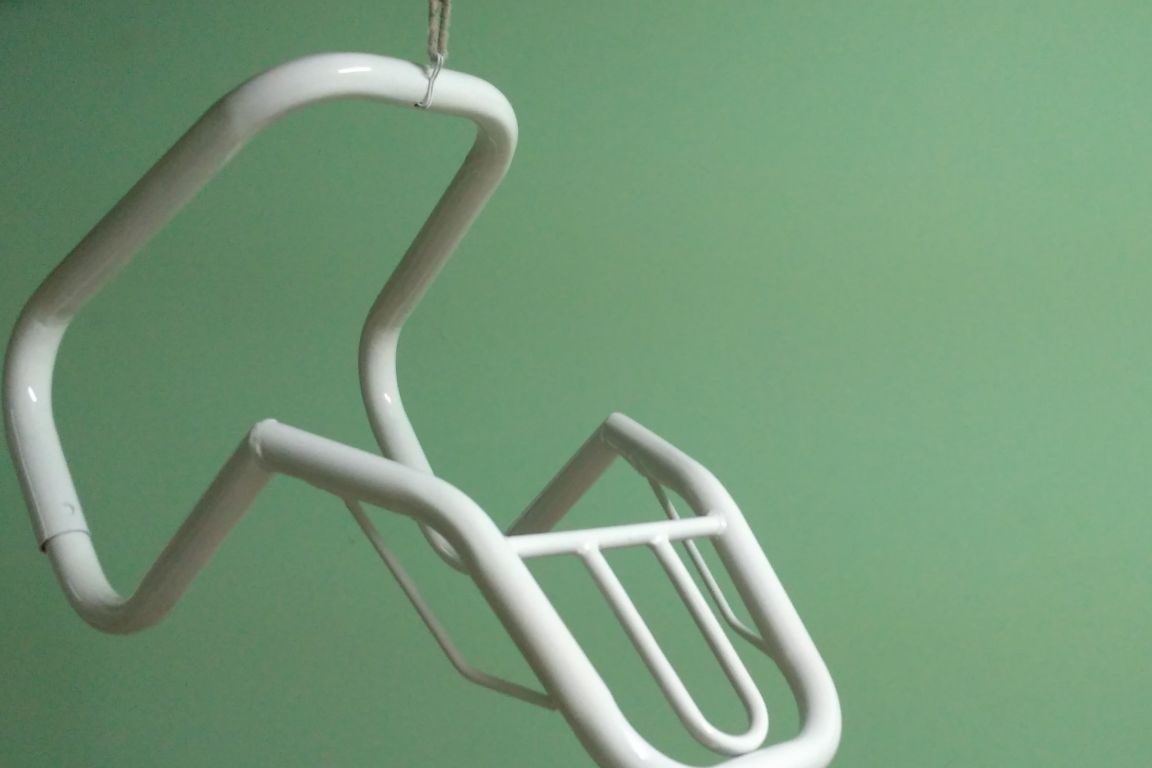
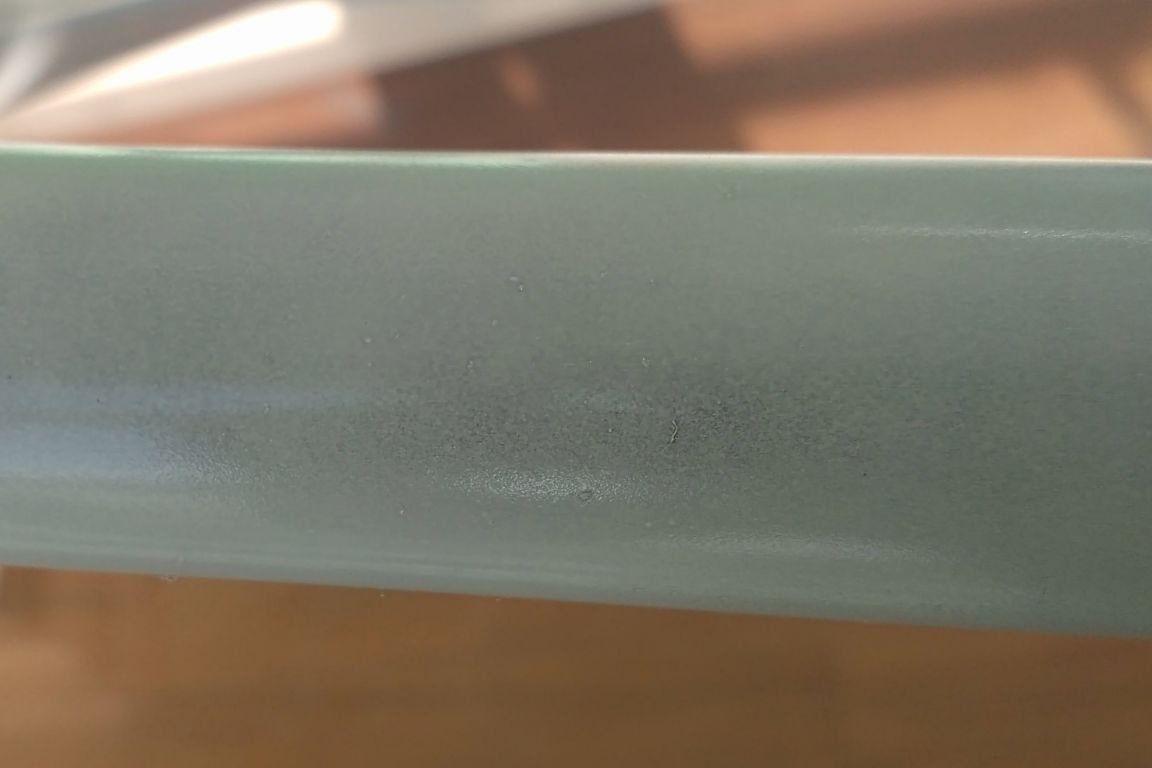
When the “frame” of the stool dried out, applied two layers of varnish to make the paint shine. He covered both the chair and the table leg at the same time. It would also be easier to paint both elements at once, but we are not looking for easy ways!
And to be honest, I started painting with the simplest element because I wanted to test the paint - once I had to wait half a year until it dries, and I did not want to make such a mistake again. But this time the paint dried quickly, probably at that time I just applied it with too thick a layer.
Step 7:
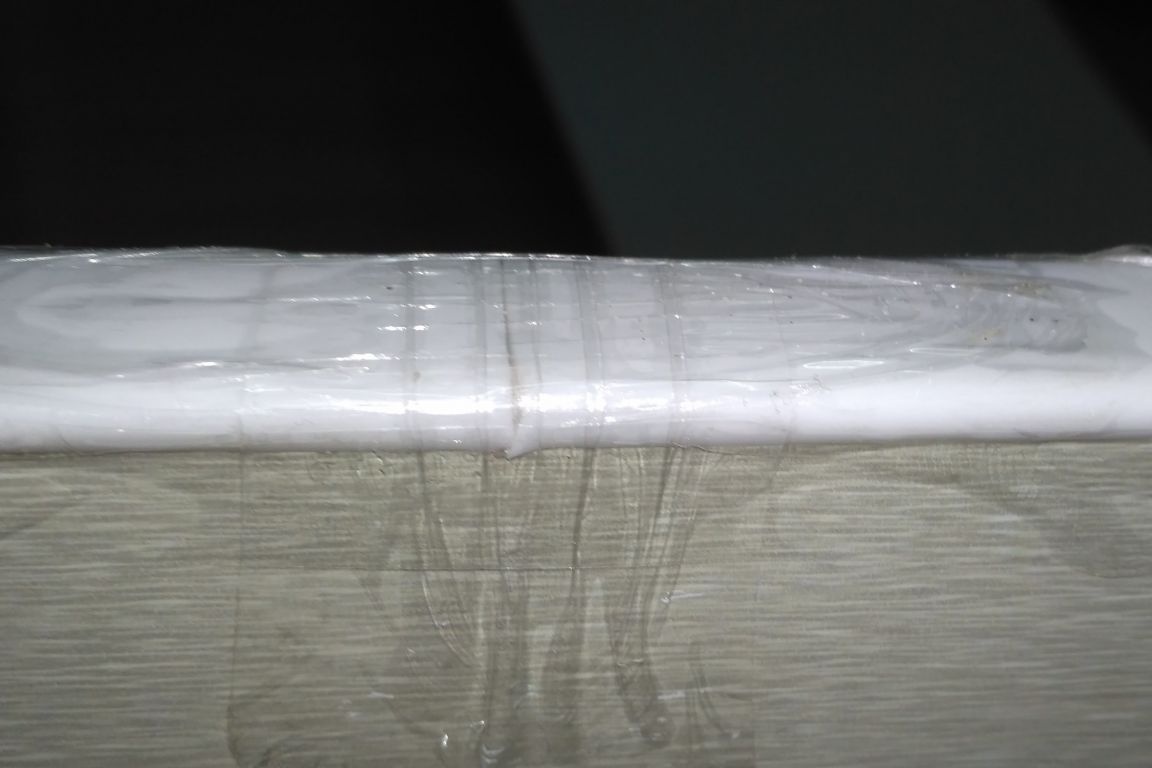
We glue the tabletop around the perimeter with a rubber trim. Until this gum was bought, I tested the putty diluted on PVA glue, which I applied with a spatula to the ends of the chipboard, but this turned out to be inconvenient, and such a fringing is very prickly and falls off in pieces when struck. A rubber band is also not the best option, but still better.
We glue the rubber strip and the ends of the countertops with glue, give the glue to dry for 15 minutes and put the chipboard in the rubber trim.
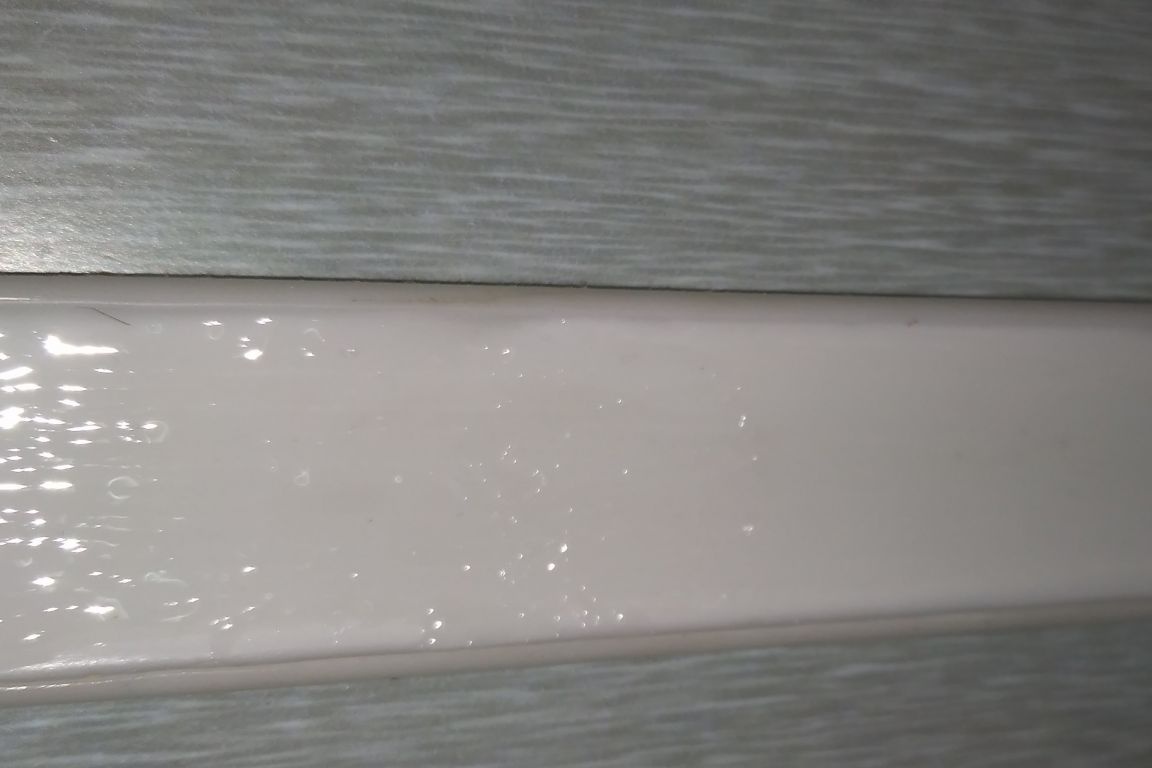
So that there are no wrinkles and irregularities at the corners, I slightly pulled the tape and later this affected the result. While the glue was drying, the edges of the rubber strip parted by three millimeters. When I glued the trim on the seat of the chair, I already took into account this nuance and everything stuck there without gaps. And on the countertop I had to glue a piece of the edging into the formed lumen.
- rubber edging
Step 8:
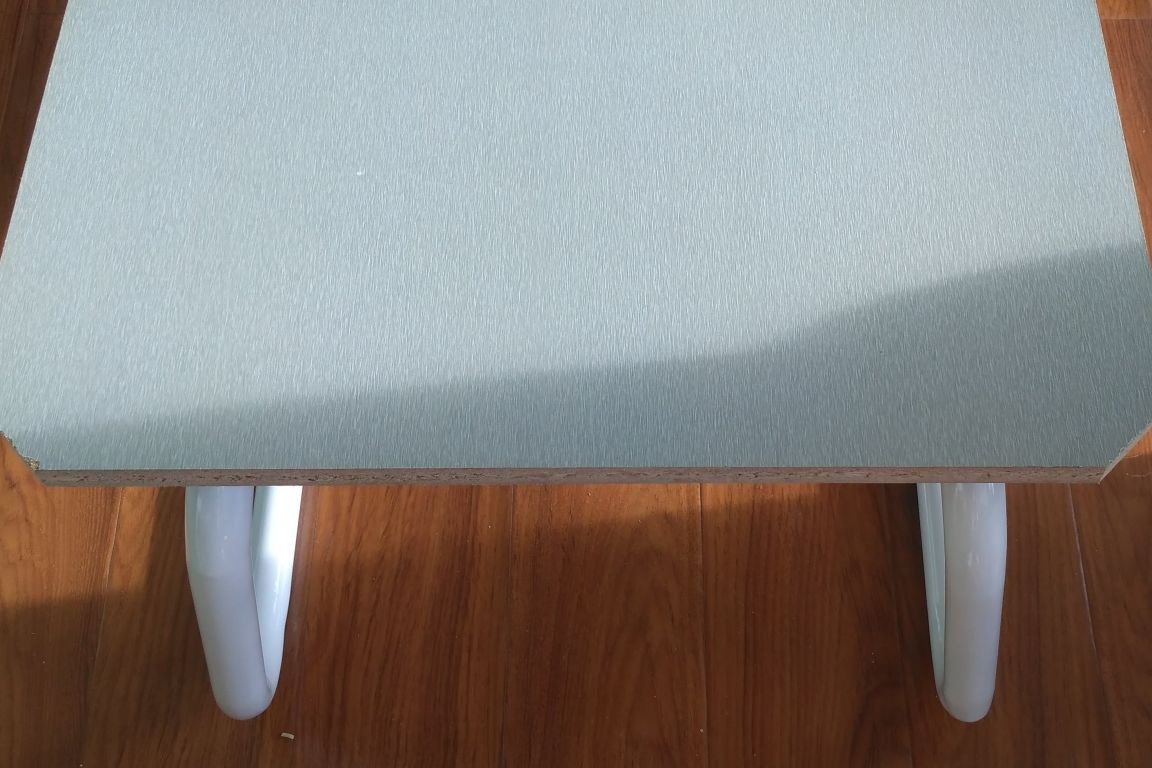
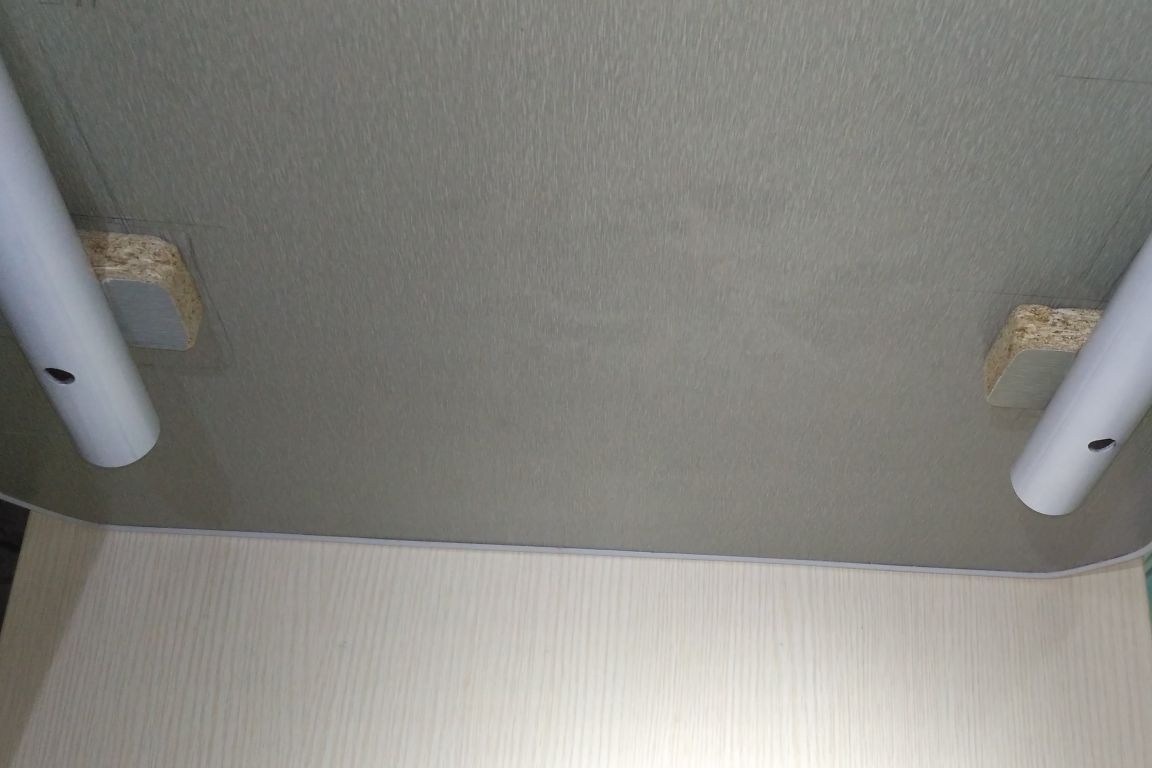
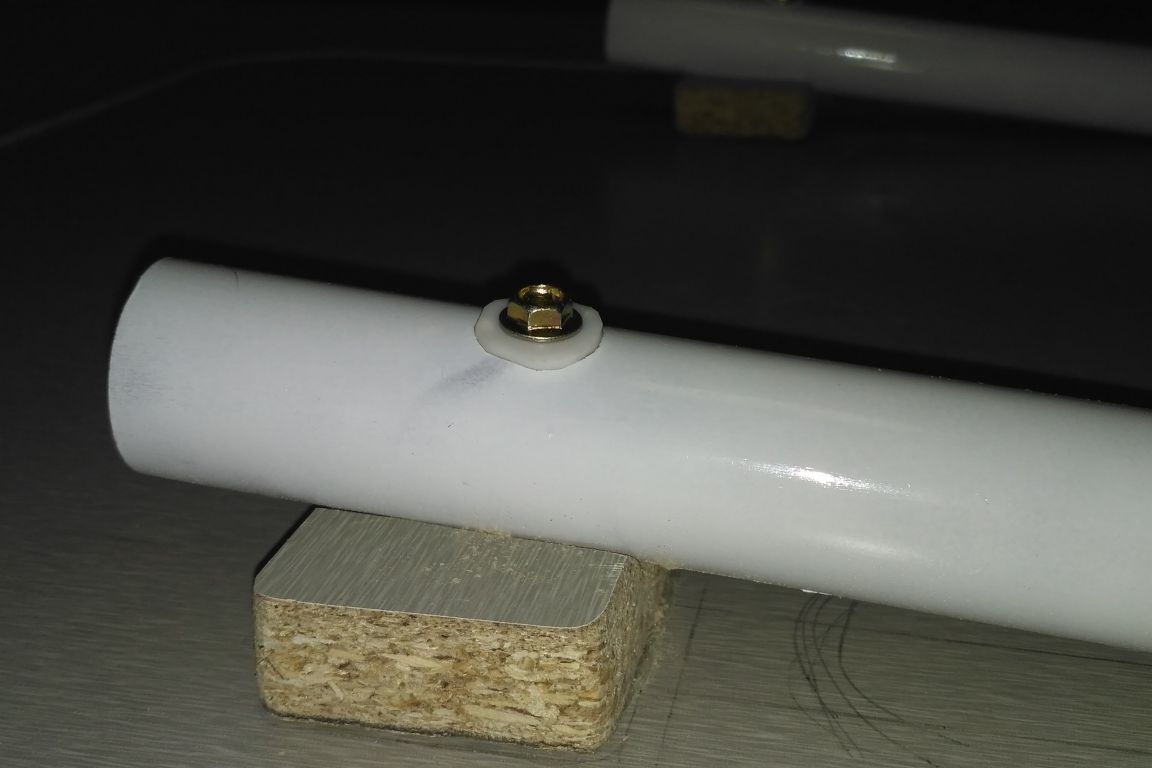
The varnish is dry - the fingers do not stick, when pressed - the fingerprint does not remain, continue on. Mark the tabletop under the legs. In order for the countertop to be horizontal without tilting, I made two "pillows", and grooves were grooved into them for an even fit to the countertop and to the pipe.
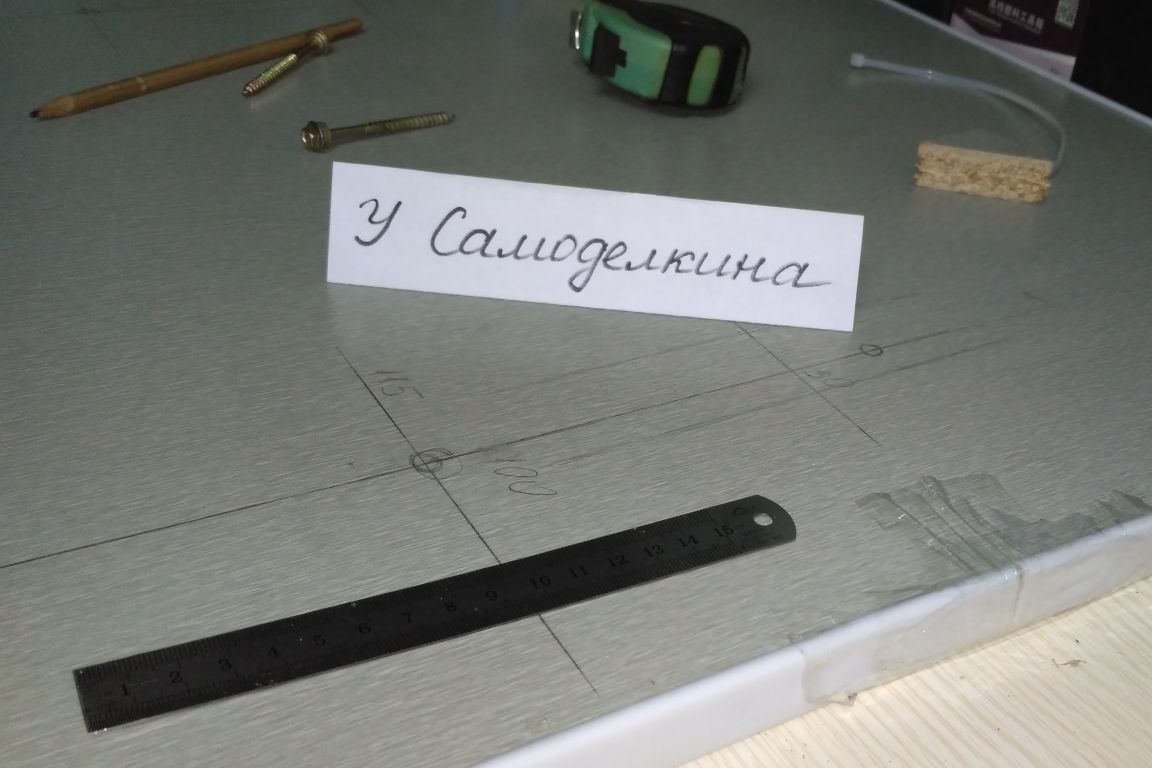
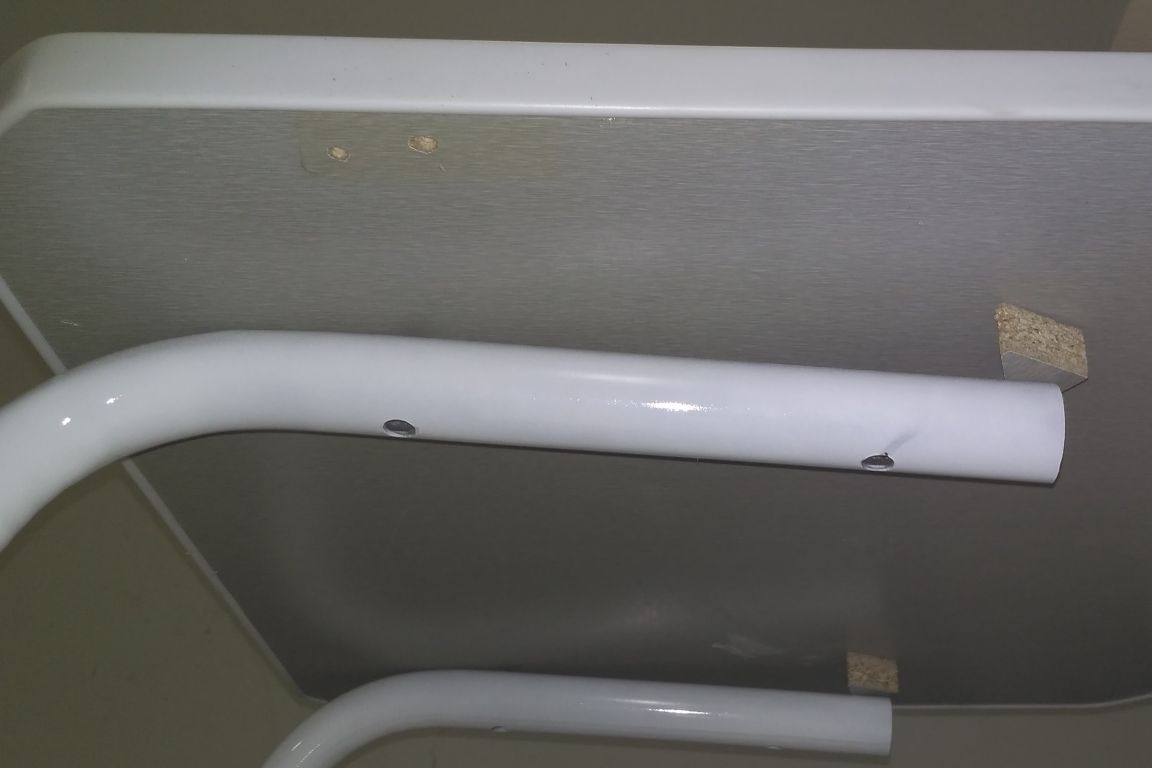
First, we cut two lines with a hacksaw at the desired slope, this will facilitate and speed up the process. And then with the help of a chisel and a file (I used a flat screwdriver and an office knife), we round the resulting groove.
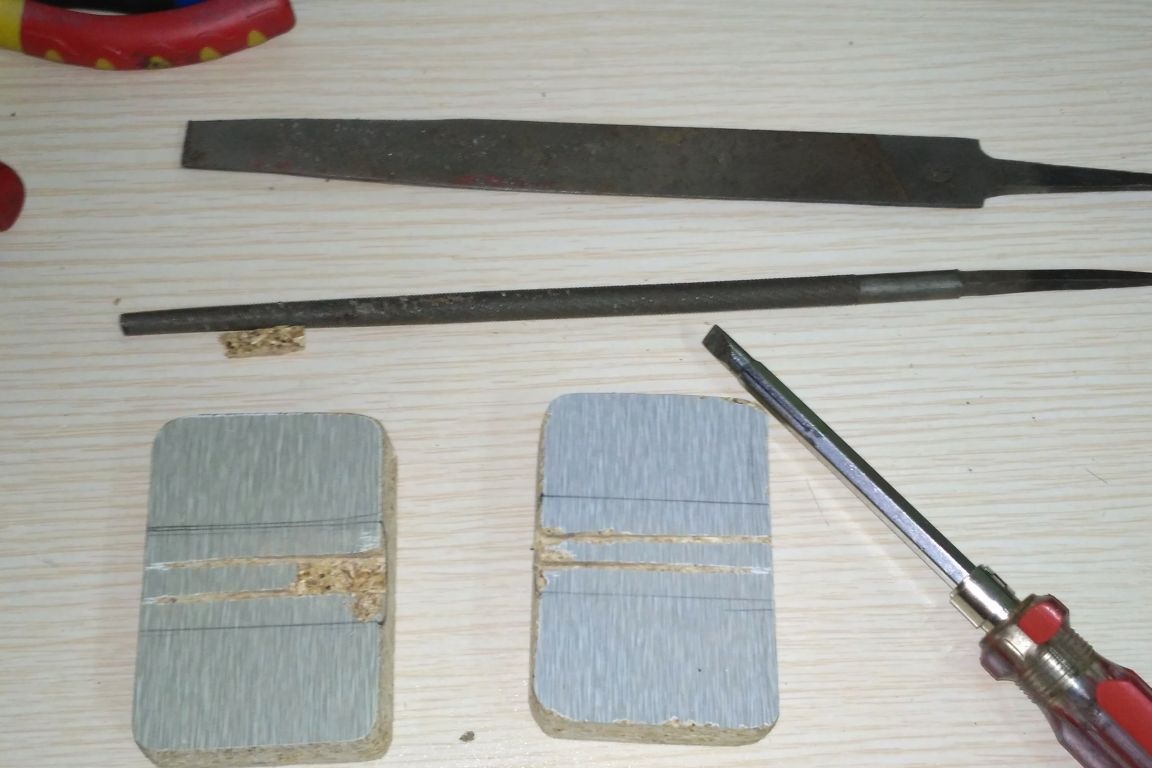
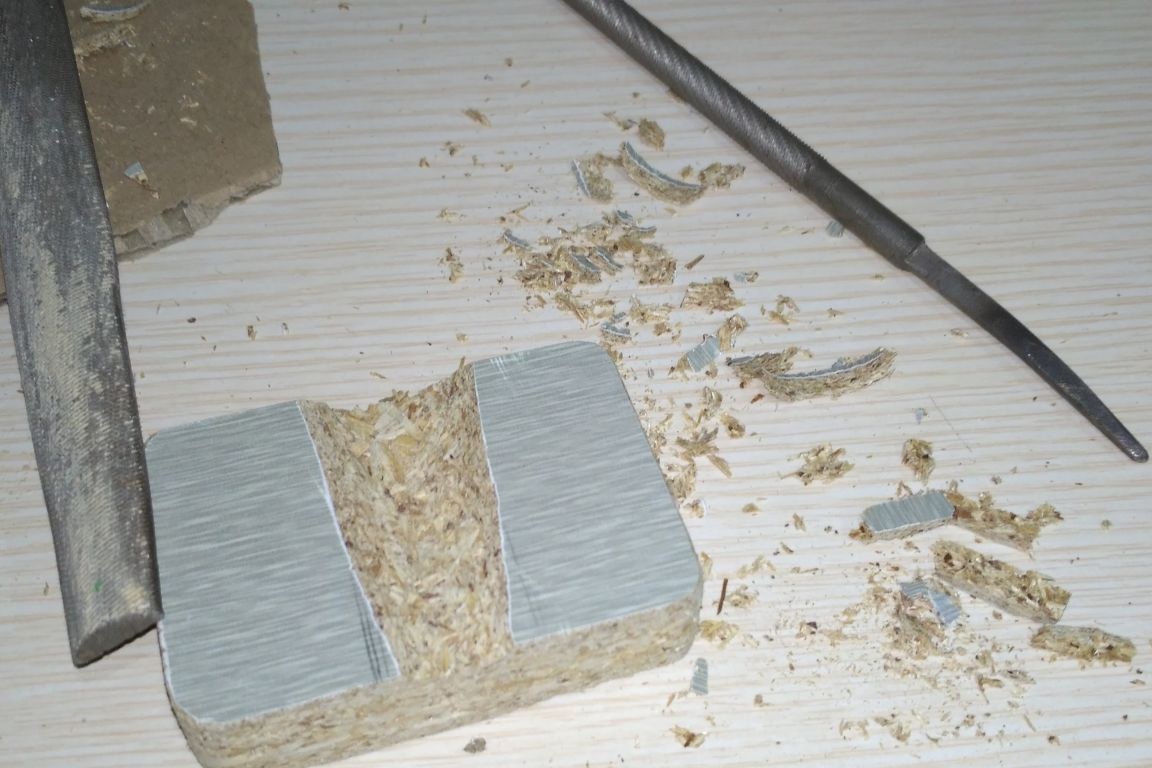
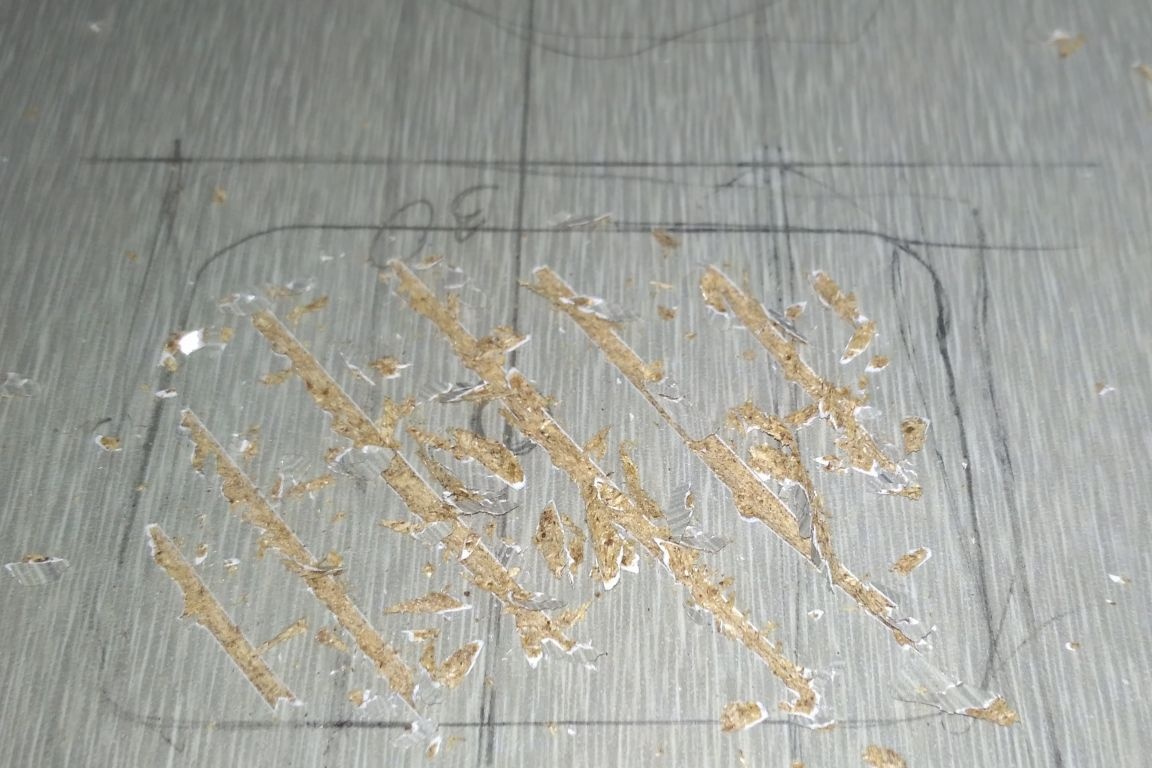
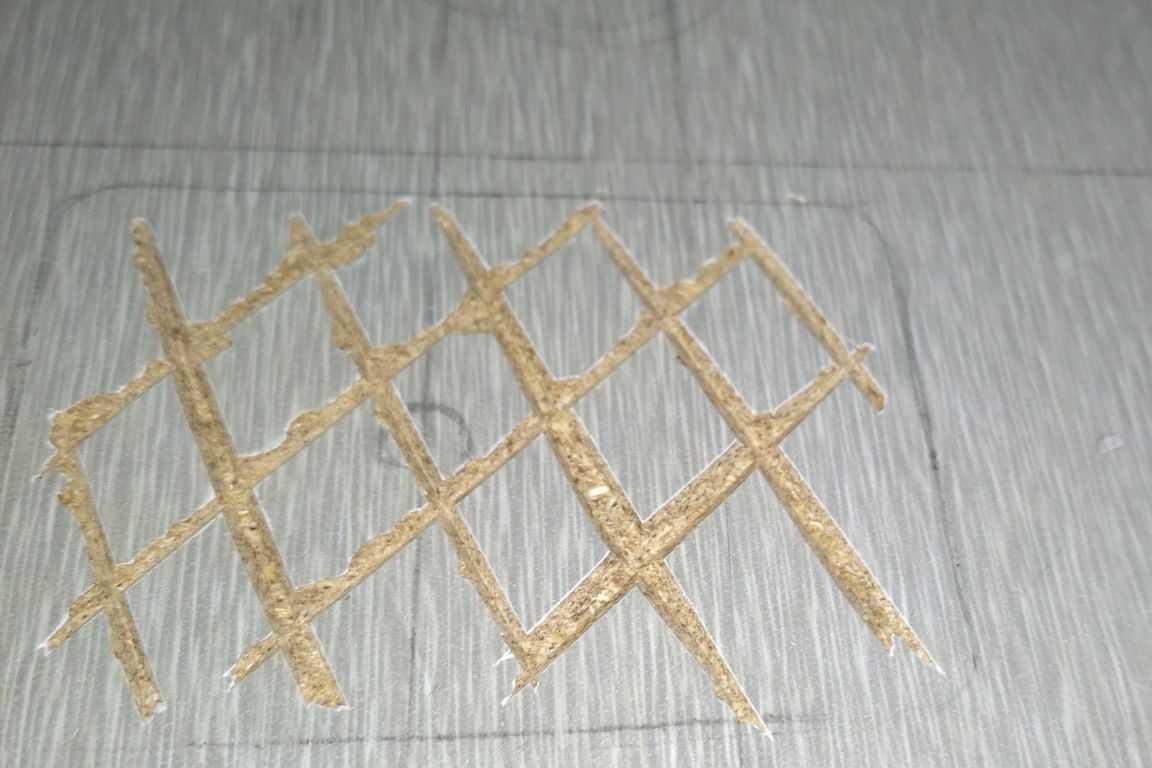
I glued the pillows to the countertop on epoxy, having previously made a notch for better grip, because a bolt fastening the entire structure will pass through these pillows. In addition to the leveling function, these spacers will also be a thickening of the countertop for reliable fixation of the countertop to the metal leg.
After sticking the pillows and the final assembly of the table, we again switch to the high chair. It’s even convenient when you make two products at the same time at different speeds, so there is the possibility of not making some mistakes and in general this makes the whole process a little more meaningful.
Step 9:
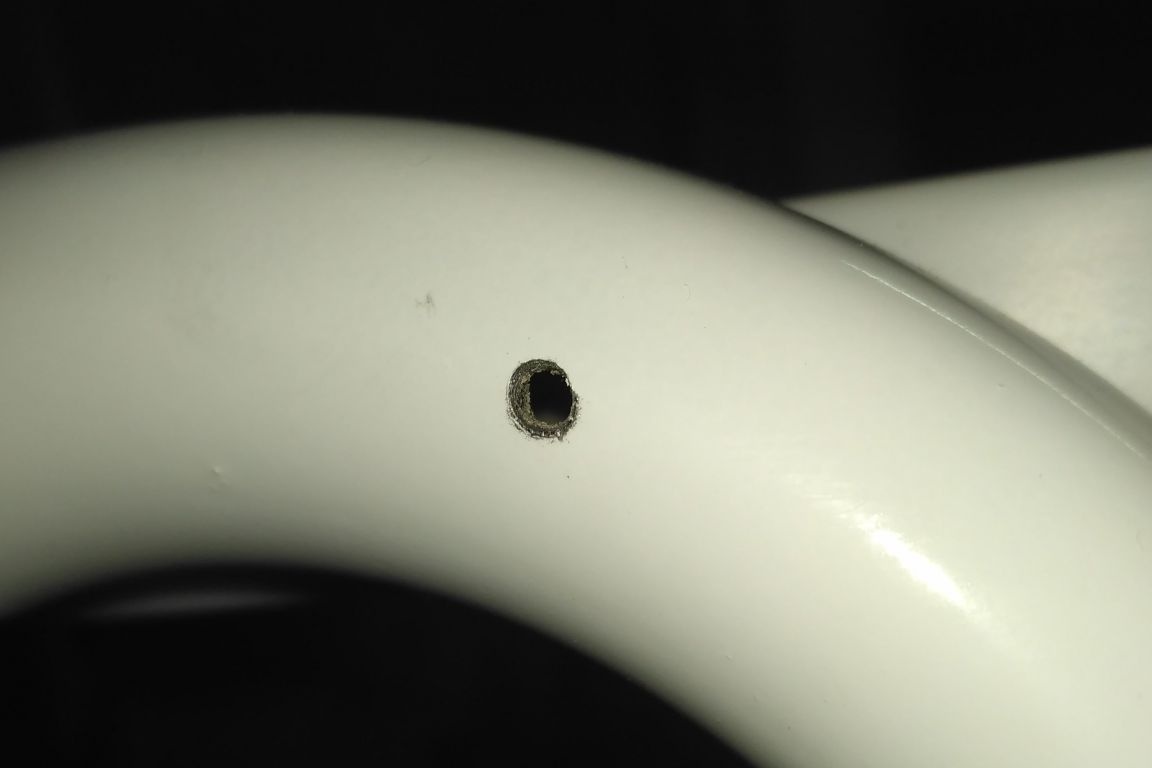
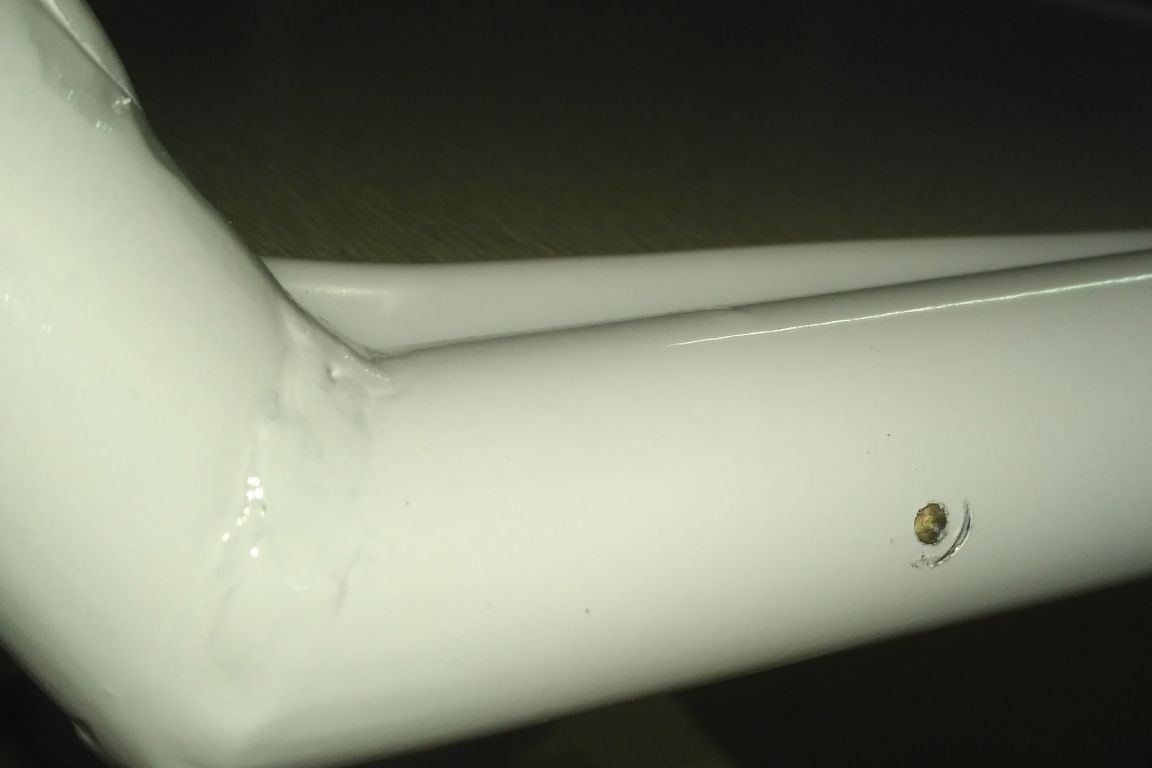
We cut out a wooden seat (chipboard), saw off sharp corners, glue it with a rubber trim - everything is just like with a countertop. At this stage, I did not take into account the thickness of the rubber edging. The planed seat should be between the pipes, and not on top like on a table. Therefore, I had to drive her into place with effort, wedging the legs of the chair, but she sat down as tightly as possible, you could not even make fastenings on the sides. But for reliability and safety, fastening I still need to do. Having drilled four holes, I planned to screw in screws or hammer in nails, but the screws would have had hats outside - not very aesthetically pleasing, and the nails did not fit the diameter of the holes (I had only 2.5mm drills). And I treacherously drove a drill into each hole, forgive me the inhabitants of our site.


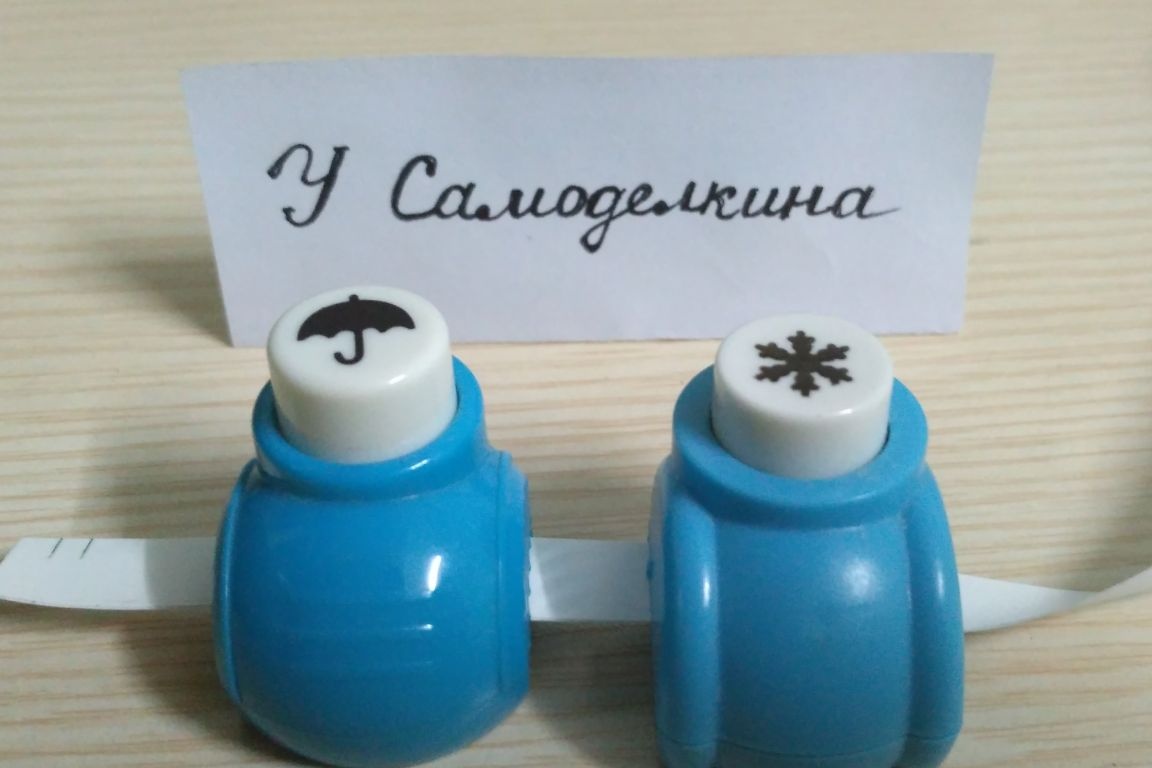
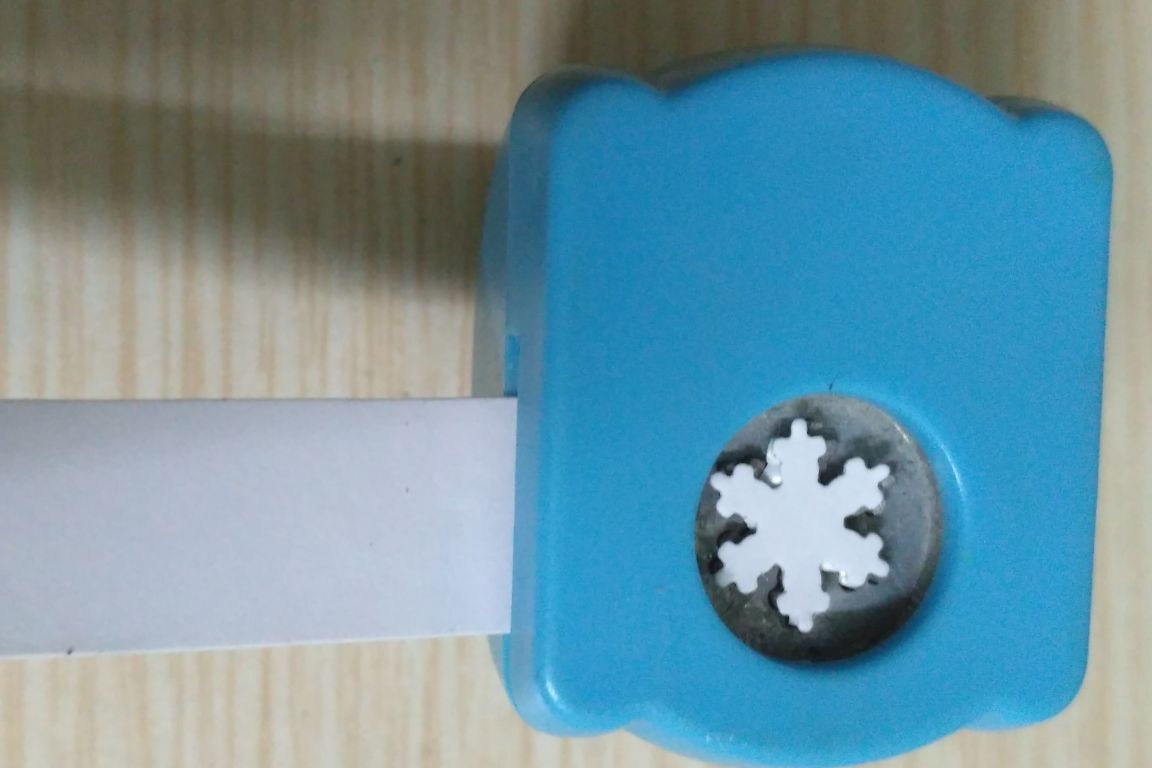
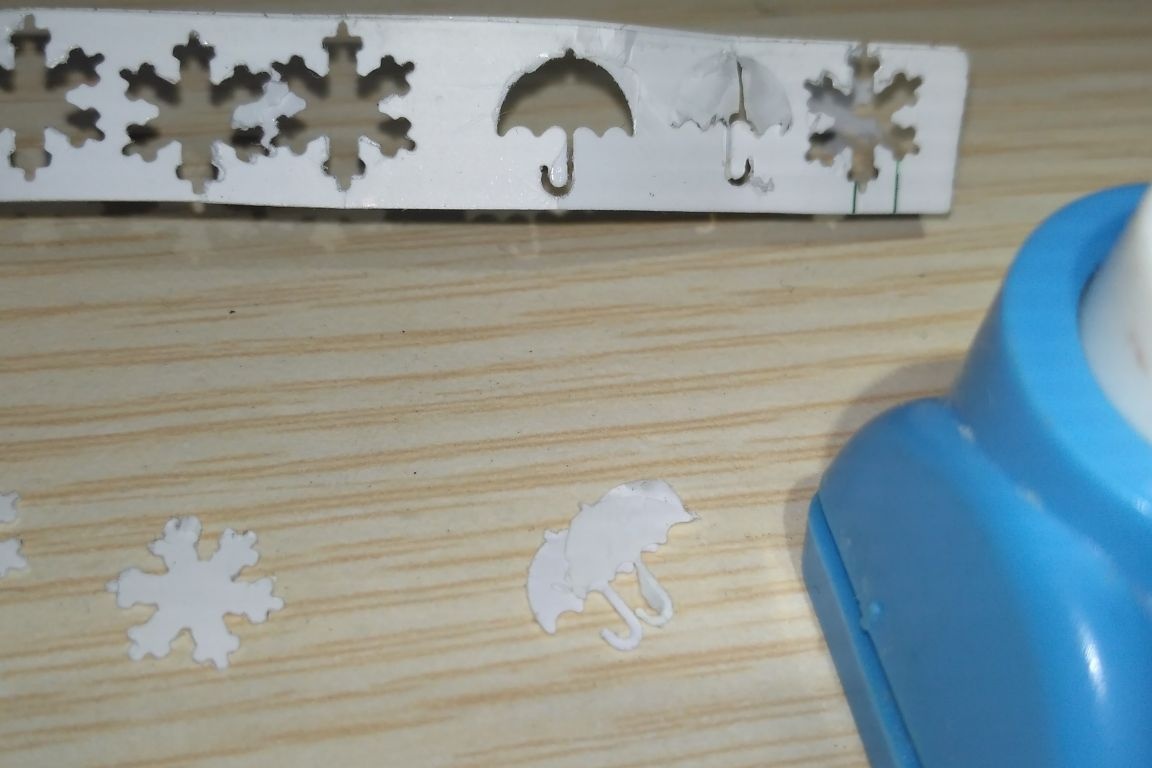
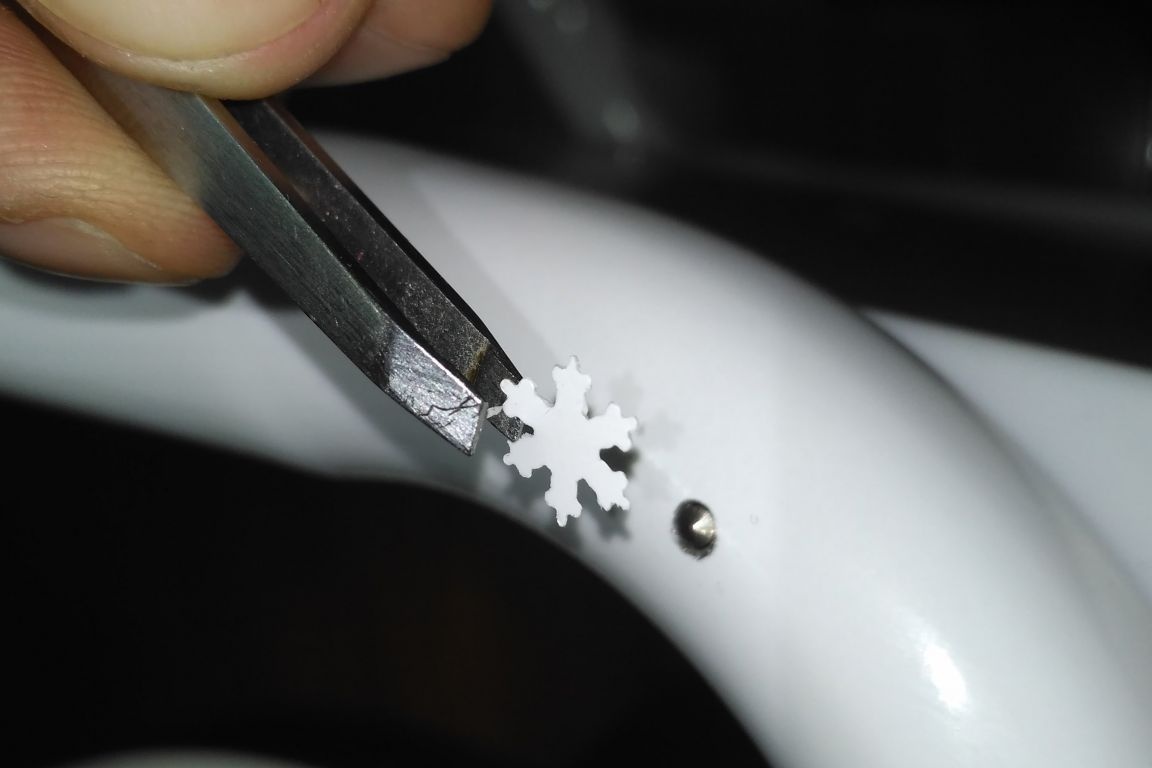
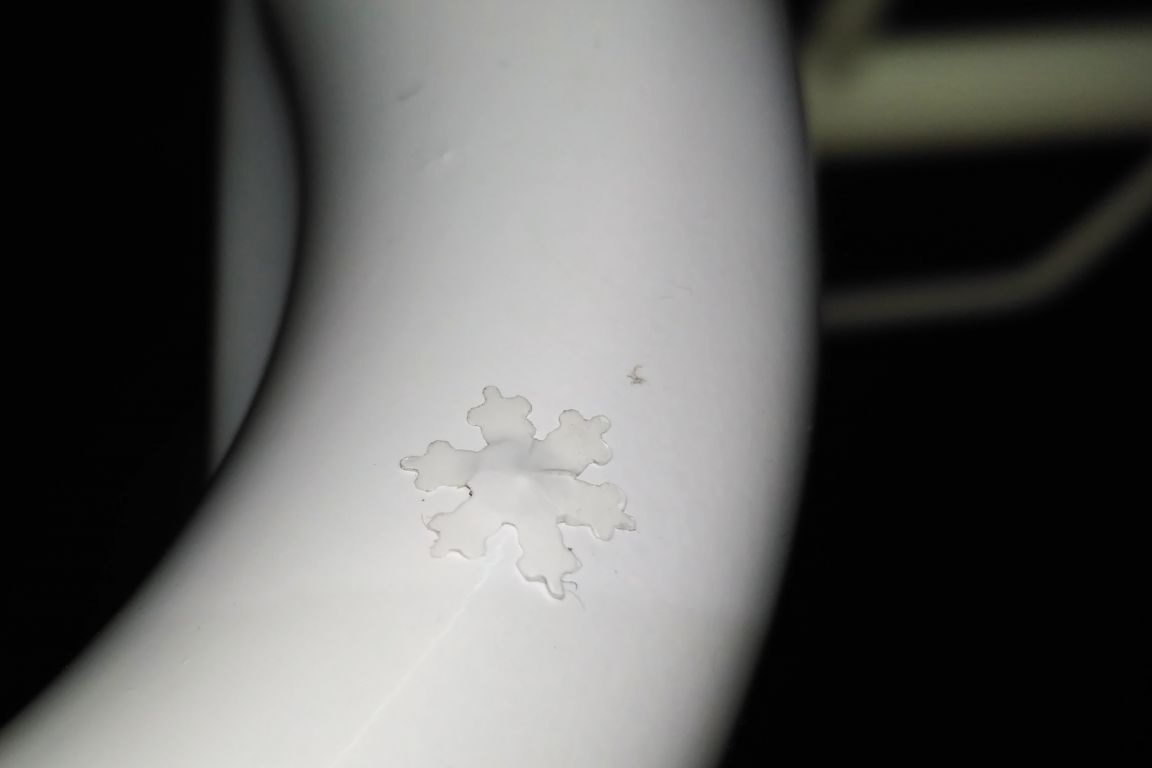
And to hide the attachment points, I used a children's snowflake hole punch and made stickers from a strip of white self-adhesive film.I tried to glue the holes in the back of the chair in the same way, but it turned out ugly. During the project, it was not decided to make a soft back or not. Time will tell...
Conclusion
About 500 rubles were spent on this homemade product, 300 of which could have been saved if I had a welding machine, the remaining expenses are two spray cans of white paint, a spray can of transparent varnish and a rubber edging, instead I would recommend using plastic, since the rubber is not slippery and friction may result in seizure of the hem.
Drilling holes for seat fasteners is best before painting, so as not to damage the paintwork later, but this is done according to the project and not along the way, as is usually the case with the settlers on our sites. And if you still have to drill after painting, you can either provide for the length of the drill so as not to scratch the paint with a cartridge as I did, or drill through a gasket, such as cardboard or plastic.
A screwdriver with a set of nozzles and other accessories for it, greatly facilitates and accelerates the work, especially if you have to assemble and disassemble the product several times.
Someone claims that giving a man a drill or a pair of pliers for holidays is not comme il faut, and I am not overjoyed with the screwdriver my wife gave me for my birthday.
Thanks for attention!