
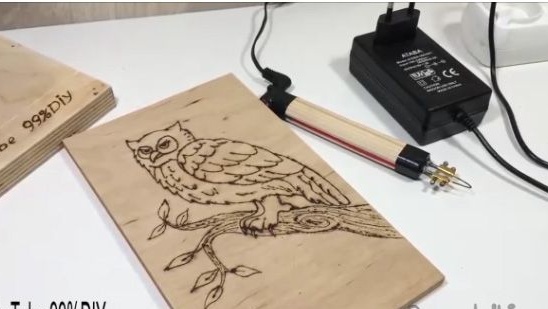
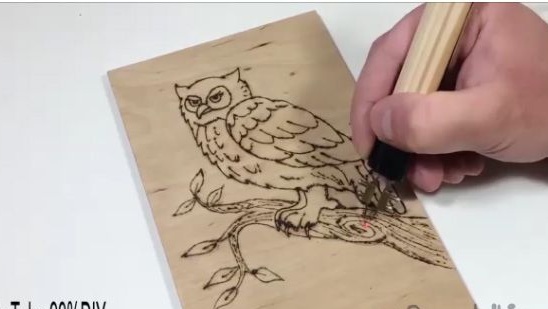
Hello friends the inhabitants of our site. Today I will try to describe in detail the assembly of a wood burner. Using a wood burner, you can create numerous paintings or wooden handles or key rings with a variety of patterns and text. Craftsmade with the help of a burner will not be ashamed to present to relatives, friends or acquaintances. So a wood burner will be useful to have in every home. This article will be useful to those who also want to take up such a hobby and do not want to spend money on buying a factory wood burner.


For a wood burner you will need:
1- A small wooden blank.
2- Two nails.
3- Hammer.
4- Pliers.
5- Stationery knife.
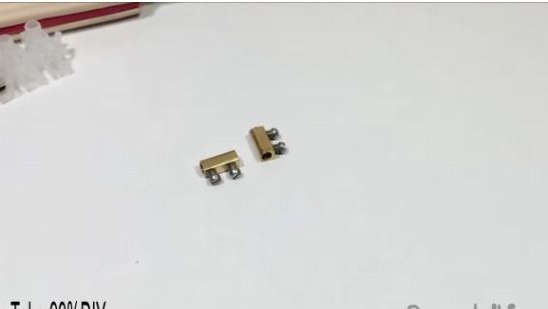
6- Connector for power supply with wires.
7- Terma glue.
8- Insulating tape.
9- Soldering iron and solder.
10- Connection terminals for wires.
11- Screwdriver.
12- Medical syringe.
13- Round-nose pliers.
14- Power supply for 5V 3A.
Making a wood burner.
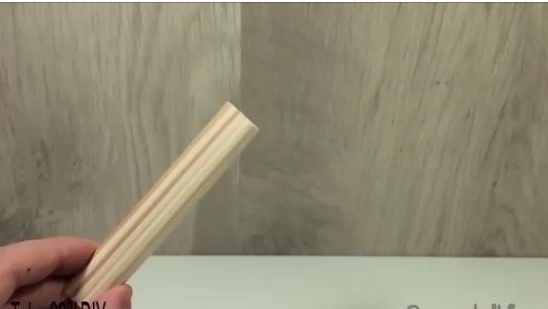
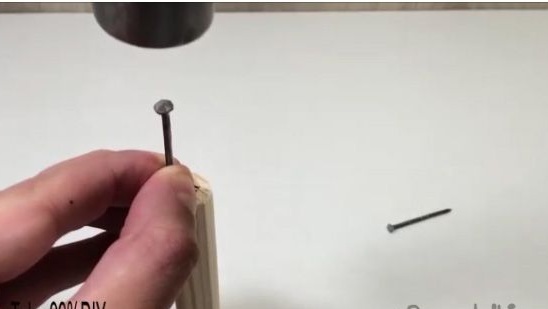
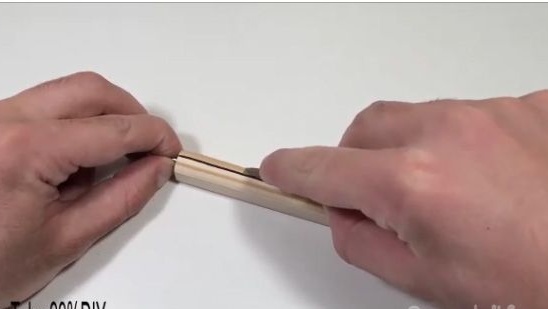
1- First, take a wooden blank, which will be convenient to hold in your hand.
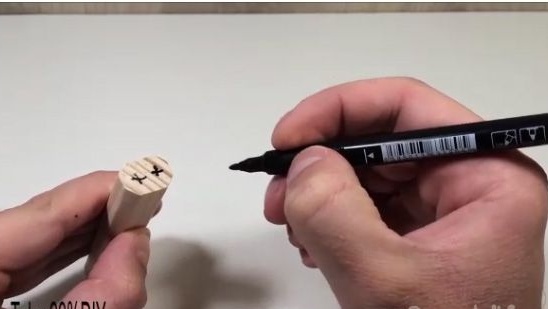
2- On the selected wooden blank with a marker, we leave two marks parallel to each other (see photo below).
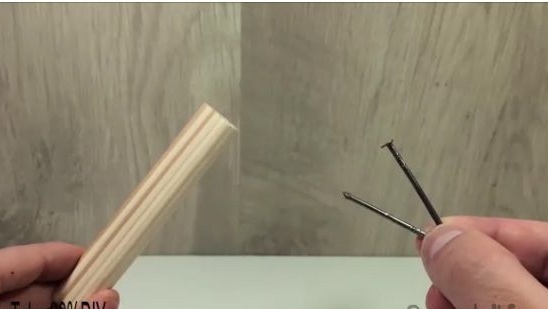
3- Next, you need two nails of not large size. Nails should be taken approximately, such as those depicted in the photo below.
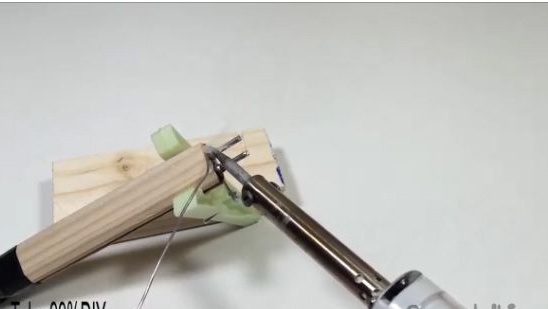
4- Drive nails into a wooden blank. We hammer on the marks that we did earlier. You should not hammer in completely, not more than 2 cm, since the workpiece may burst, but you should understand a hundred nails that must sit firmly and not fly out (see photo below).
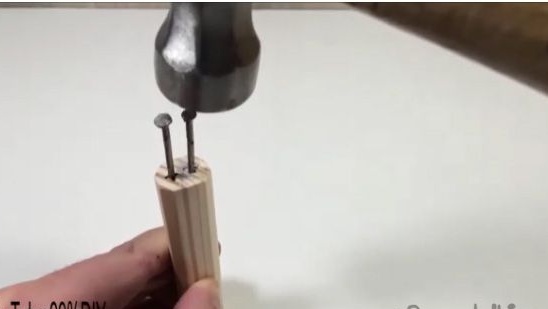
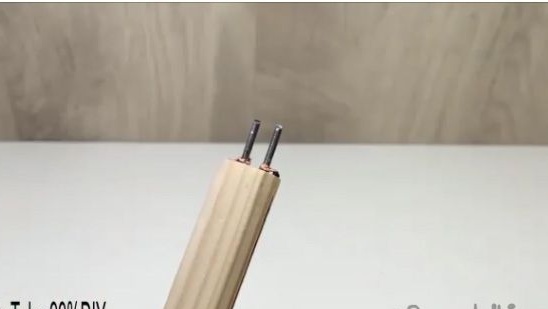
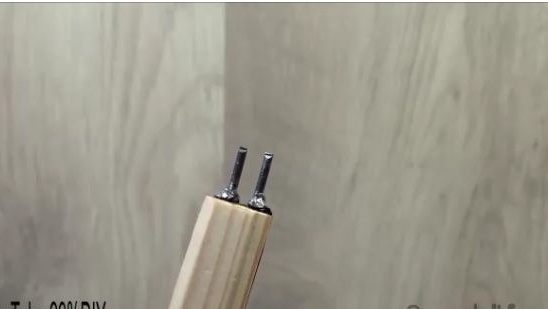
5- After which, using nippers (pliers), bite off the hats from the nails.
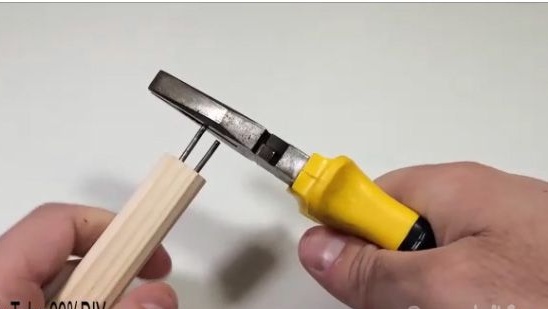
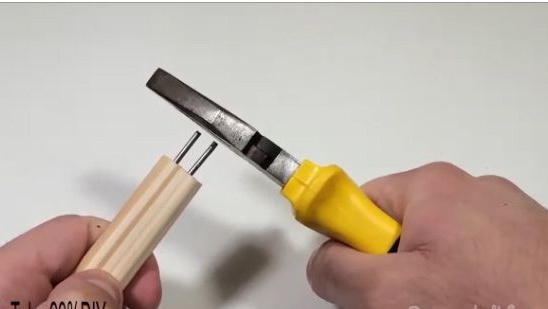
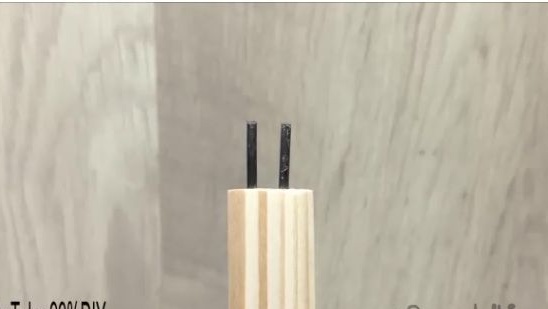
6- In the end, you should get approximately, as it is shown in the photo below (see photo below).
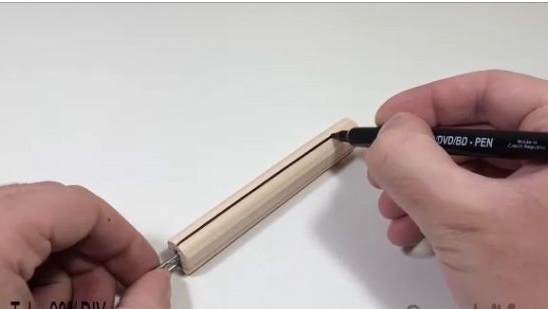
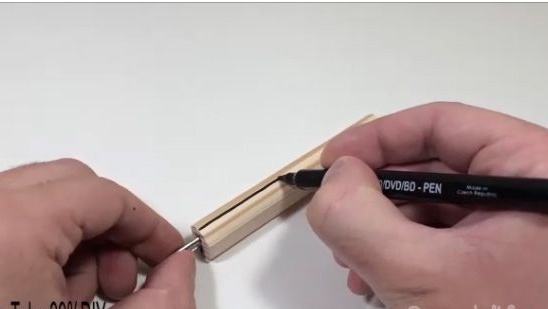
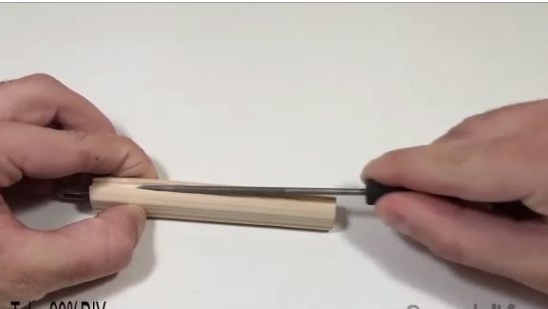
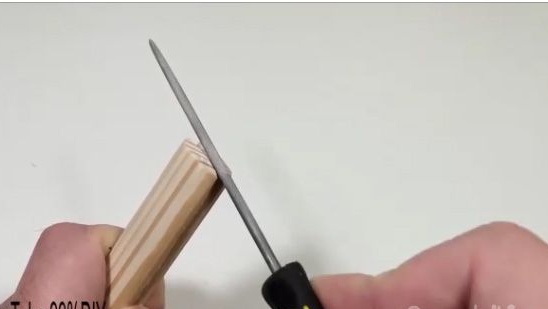
7- Then, using a marker on a wooden blank, mark the lines on both sides, along the entire blank (see photo below).
8- Next, you will need a clerical knife.
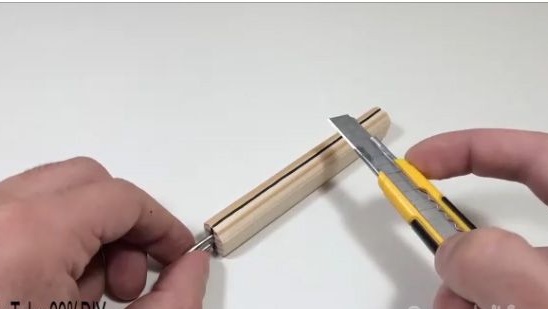
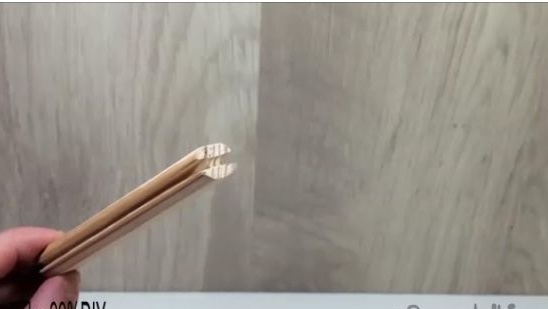
9- Using a clerical knife, cut the grooves according to the marks just made. And with the help of the file we increase the grooves. The grooves themselves must be such that wires from the power supply connector can fit into them, this is about two or three millimeters.
10- You should get something like this, as it is shown in the photo below.
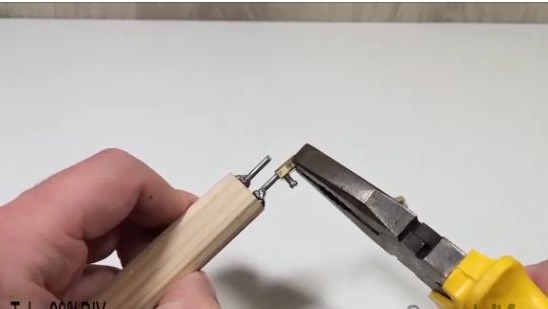
11- After which we take the connector for the power supply. Earlier wires were soldered to the connector.
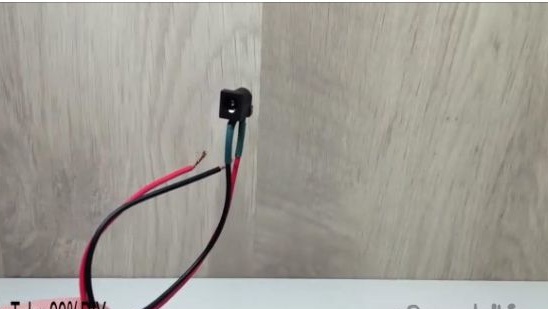

12- We install the connector for the power supply to the place where it is shown in the photo below.

13- Insert the wires from the power supply connector into the previously made grooves.
14- And with the help of a well-heated term of glue we glue the connector for the power supply.
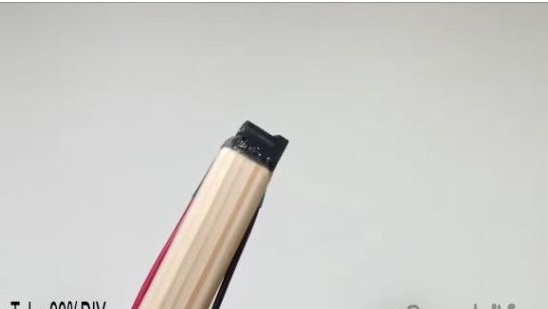
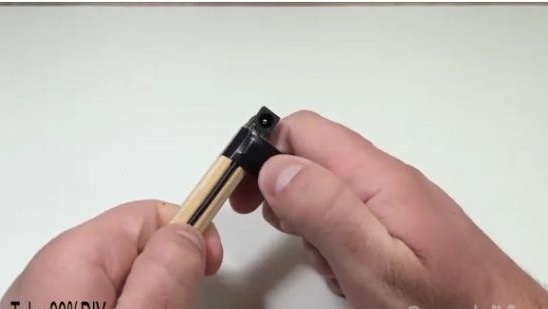
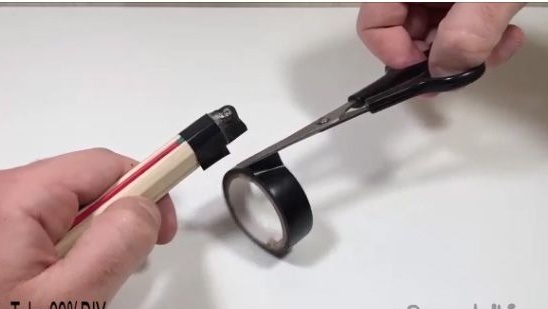
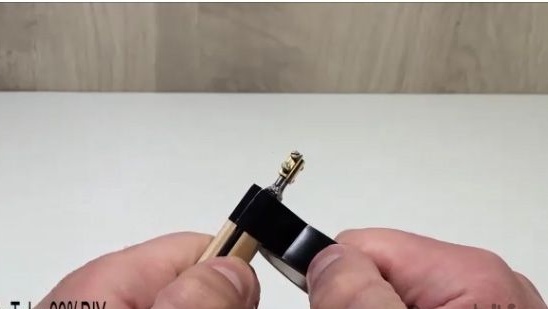
15- In that place as in the photo below, for aesthetics, we wind a black electrical tape.
16- After which, using nippers (pliers), bite off the extra length of wires from the power supply connector.
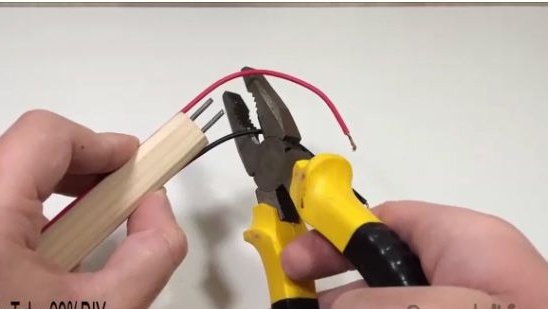
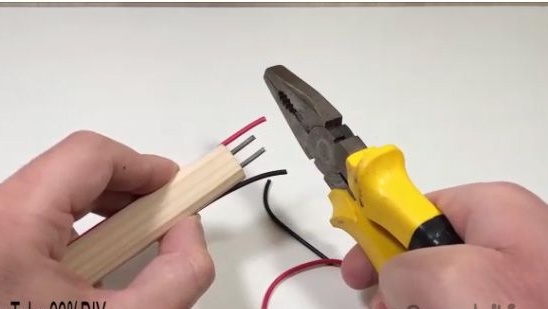
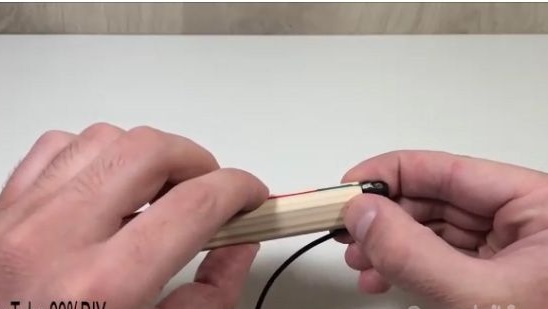
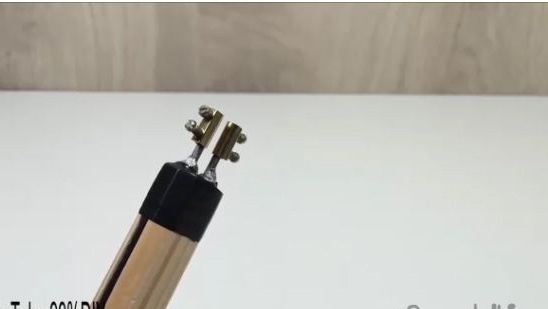
17- From the wires coming from the power supply, remove the insulation, as it is shown in the photo below.
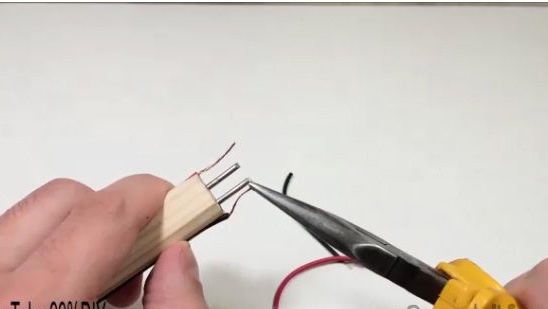
18- We wind the ends of the wires going from the connector for the power supply to the nails.
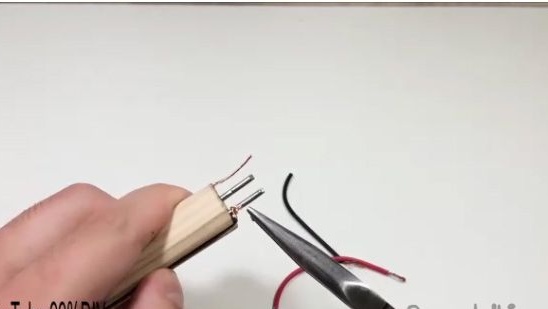
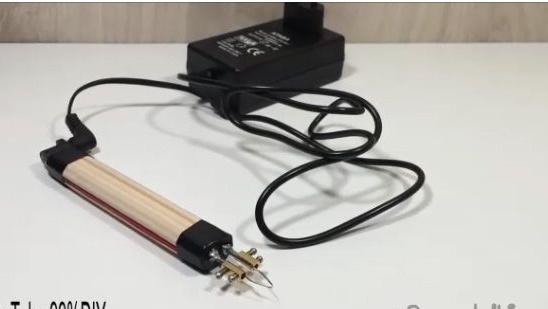
19- Something like this should turn out for you (see photo below).
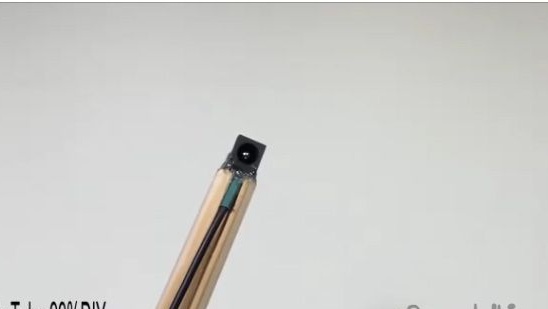
20- Then, using a soldering iron and solder, solder the ends of the wires and nails.
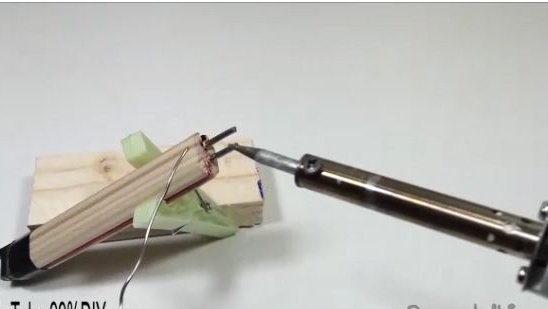
21- So you should succeed (see photo below).
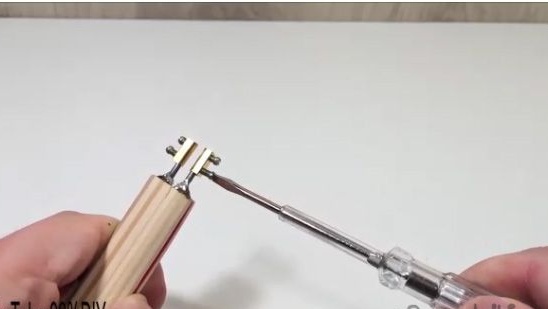
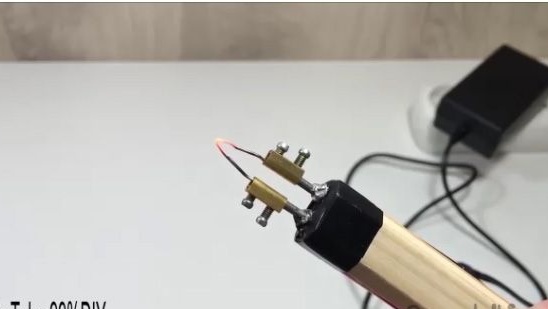
22- Then you need the clamping terminals for the wires.
23- Which we install as follows (see photo below).
24- Tighten their lower screws with a screwdriver (see photo below).
25- Also for aesthetics in the same place as in the photo we wind a black electrical tape.
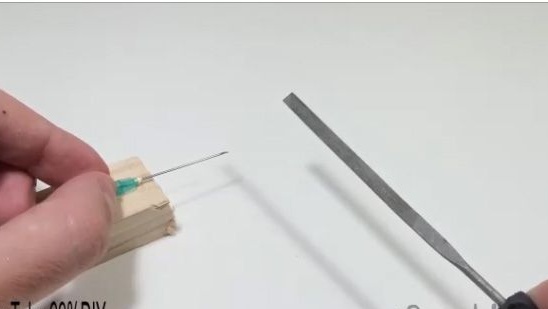
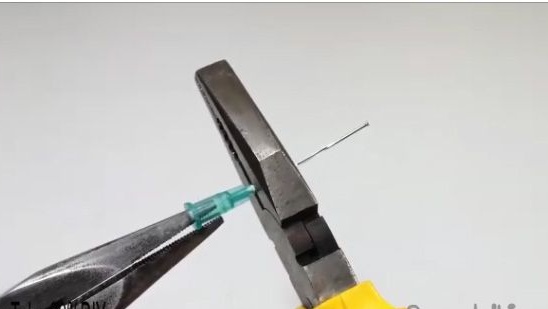
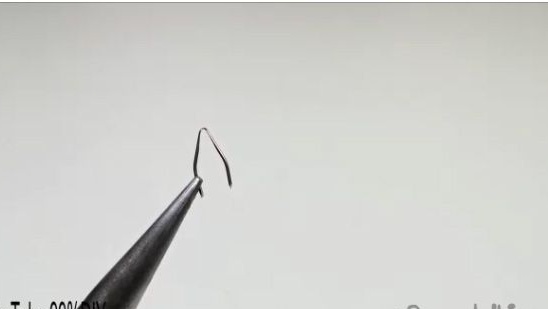
26- Then you need a medical syringe, or rather a needle from a medical syringe.
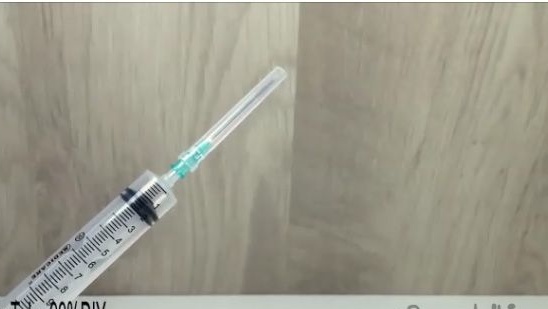
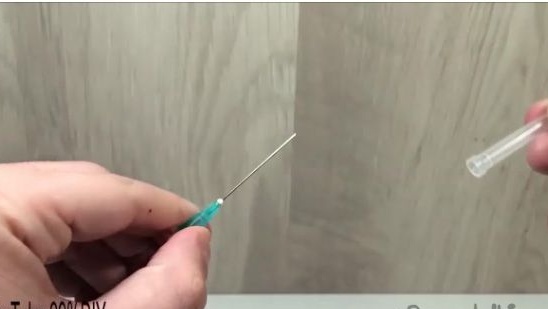
27- We will make a heating element from a needle from a medical syringe. To do this, use the file to grind the central part so that it warms up in that place.
28- You should get something like this, as it is shown in the photo.
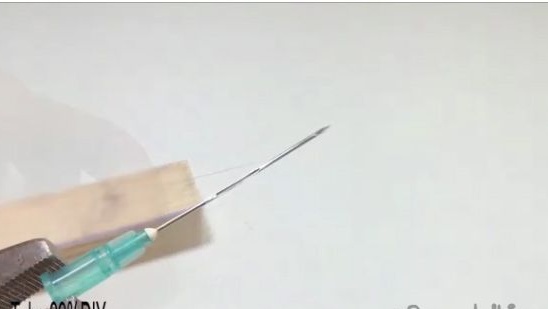
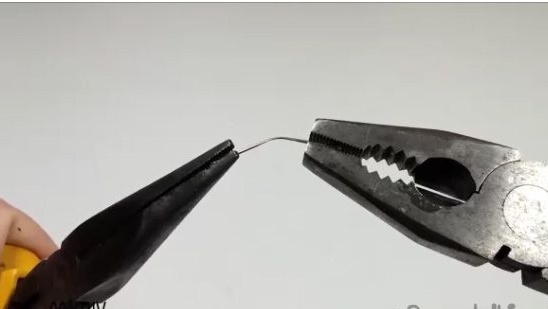
29- Bite off the prickly part of the medical needle.
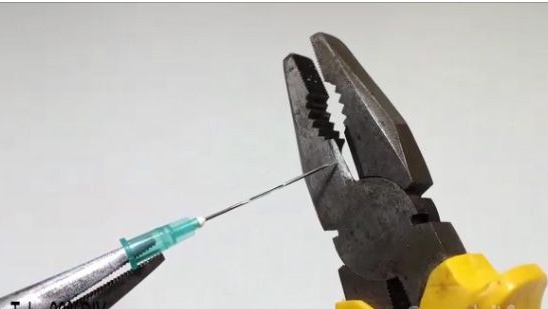
30- And bite off the plastic part of the medical needle.
31- With the help of round-nose pliers and pliers we give the following form.
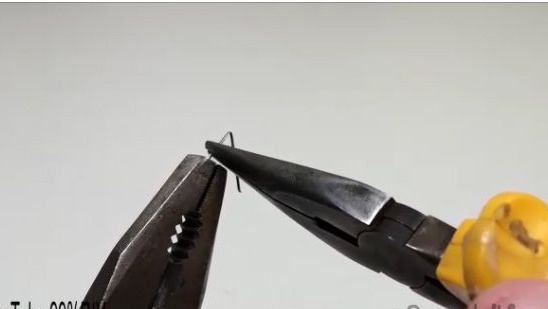
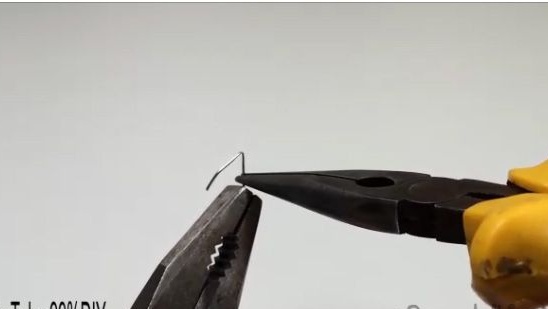
32- About this heating element should work for you.
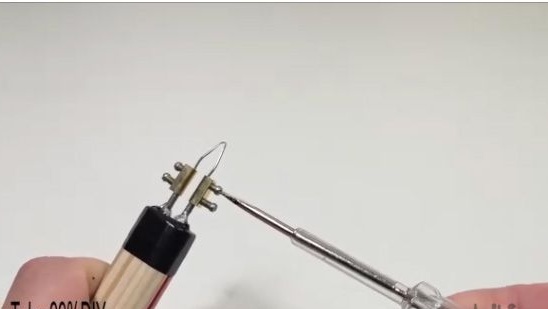
33- Insert the heating element into the clamping terminals.
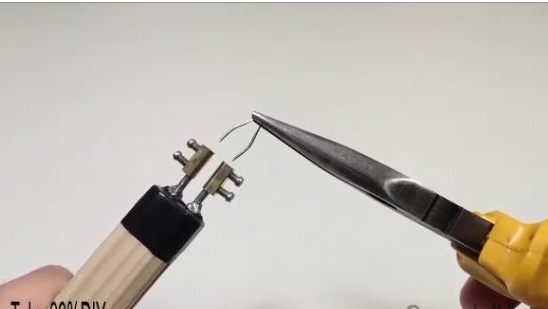
34- We fix the heating element, with the help of a screwdriver we clamp the screws of the clamping terminal for wires.
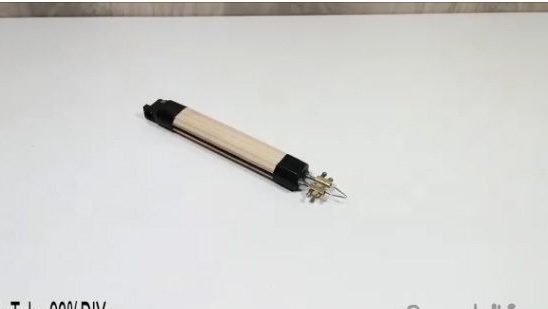
35- The wood burner is ready.
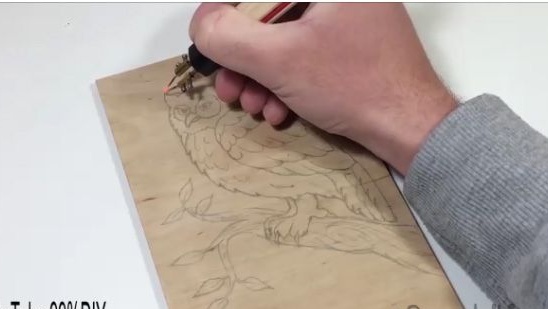
Test.
We connect the power supply and start using the wood burner.

Conclusion:
Now, with the help of a burner, you can make beautiful paintings or key rings, which in turn can be presented to your loved ones. Thank you for your attention. I hope this article was useful for you, and also you have a wonderful opportunity to see the video assembly of this homemade product.