The "technology" that will be discussed I first tried a couple of years ago, then I made wide light stripes on the tires of a motorcycle. Rather, then I experimented with rubber paint, which I bought in Chinese Taobao (). After drying, this paint acquires the properties of a balloon - it also stretches, and if rubbed heavily, it rolls into tubes. With the color it turned out not quite as I planned, but to be honest, it is not at all like that. I thought about the wide white stripes on the front wheel and the first time after the work was done, but then I began to notice that the white color gradually turned into ivory, and that later became coffee with milk and so gradually over the course of the year the stripes became light brown . And on the one hand, the experiment could be considered failed, but the most interesting thing was that during this period (today more than two years) the paint from the rubber did not come off though motorcycle exploited quite intensively. Yes, the color has become much darker due to the rubber made of auto\ Moto tires are toxic and, after prolonged contact with something, they color everything brown.
And an unpredictable result is also a result. After all, the goal was to make stylish tires with a light stripe - but the tires turned out to be a very light stripe, but still lighter than black. In general, I decided to repeat this experiment with minor corrections, to capture and describe in detail the process specifically for "".
This homemade product can be used with the same success on any tire, the difference is small.
Materials and tools:
Rubber paint in a spray can (2 bottles on 4 strips)
Scotch
Office Knife Blades
Alcohol (or other substance for degreasing)
Stationery knife
Sandpaper
Brush
Marker or just a pencil
Tweezers
Newspaper
Detailed manufacturing description:
Step 1
First, remove the wheels. I did everything first with one wheel, and then on the thumb I repeated on the second.
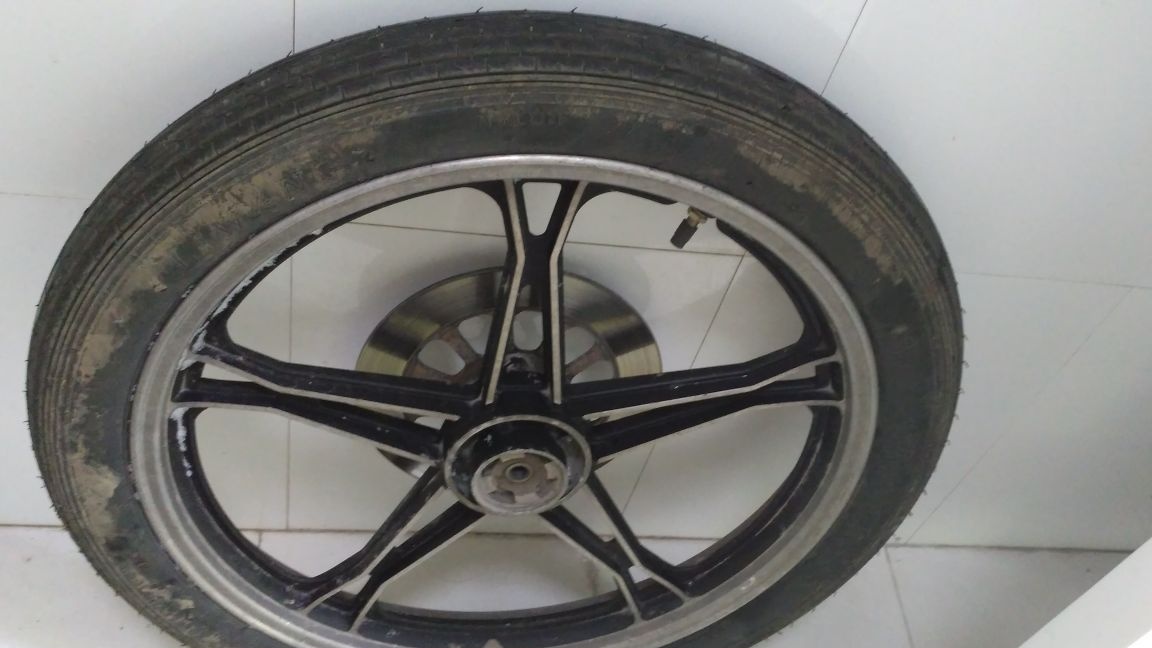
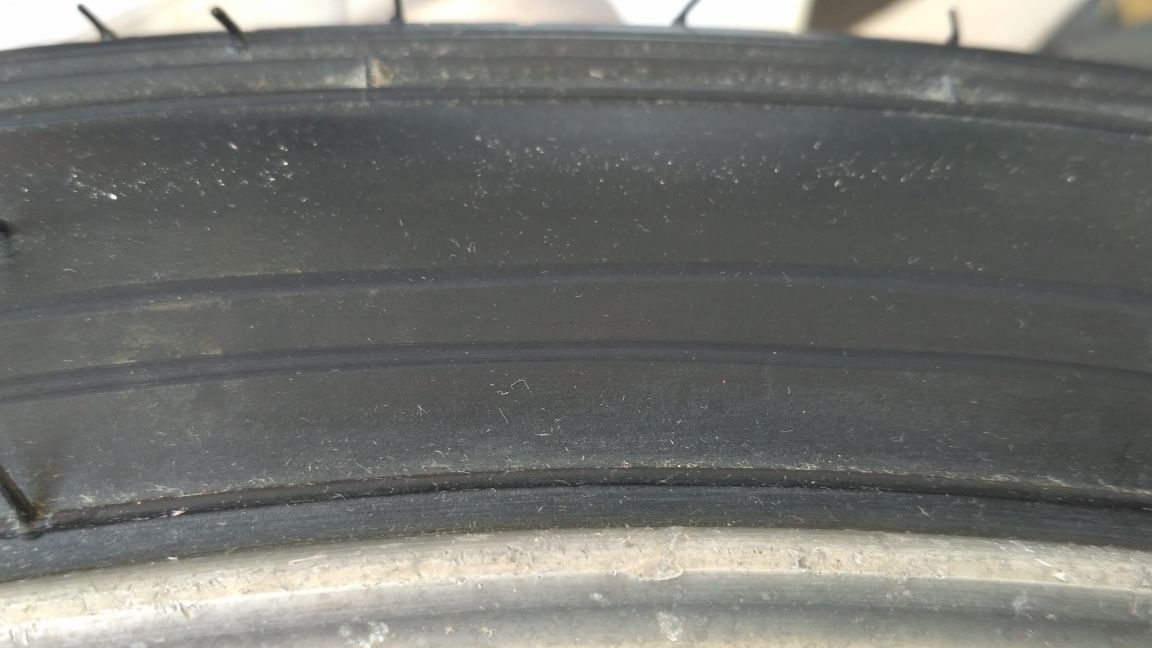
The entire wheel should be thoroughly washed with sand and dirt so that nothing would pour in the process, and the rubber should be washed with a hard brush to make it look like new. Dust and dirt on the wheel will cause inconvenience in the future and can ruin all the work if suddenly grains fall onto fresh paint or under scotch tape, because of which it may peel off at the wrong time.
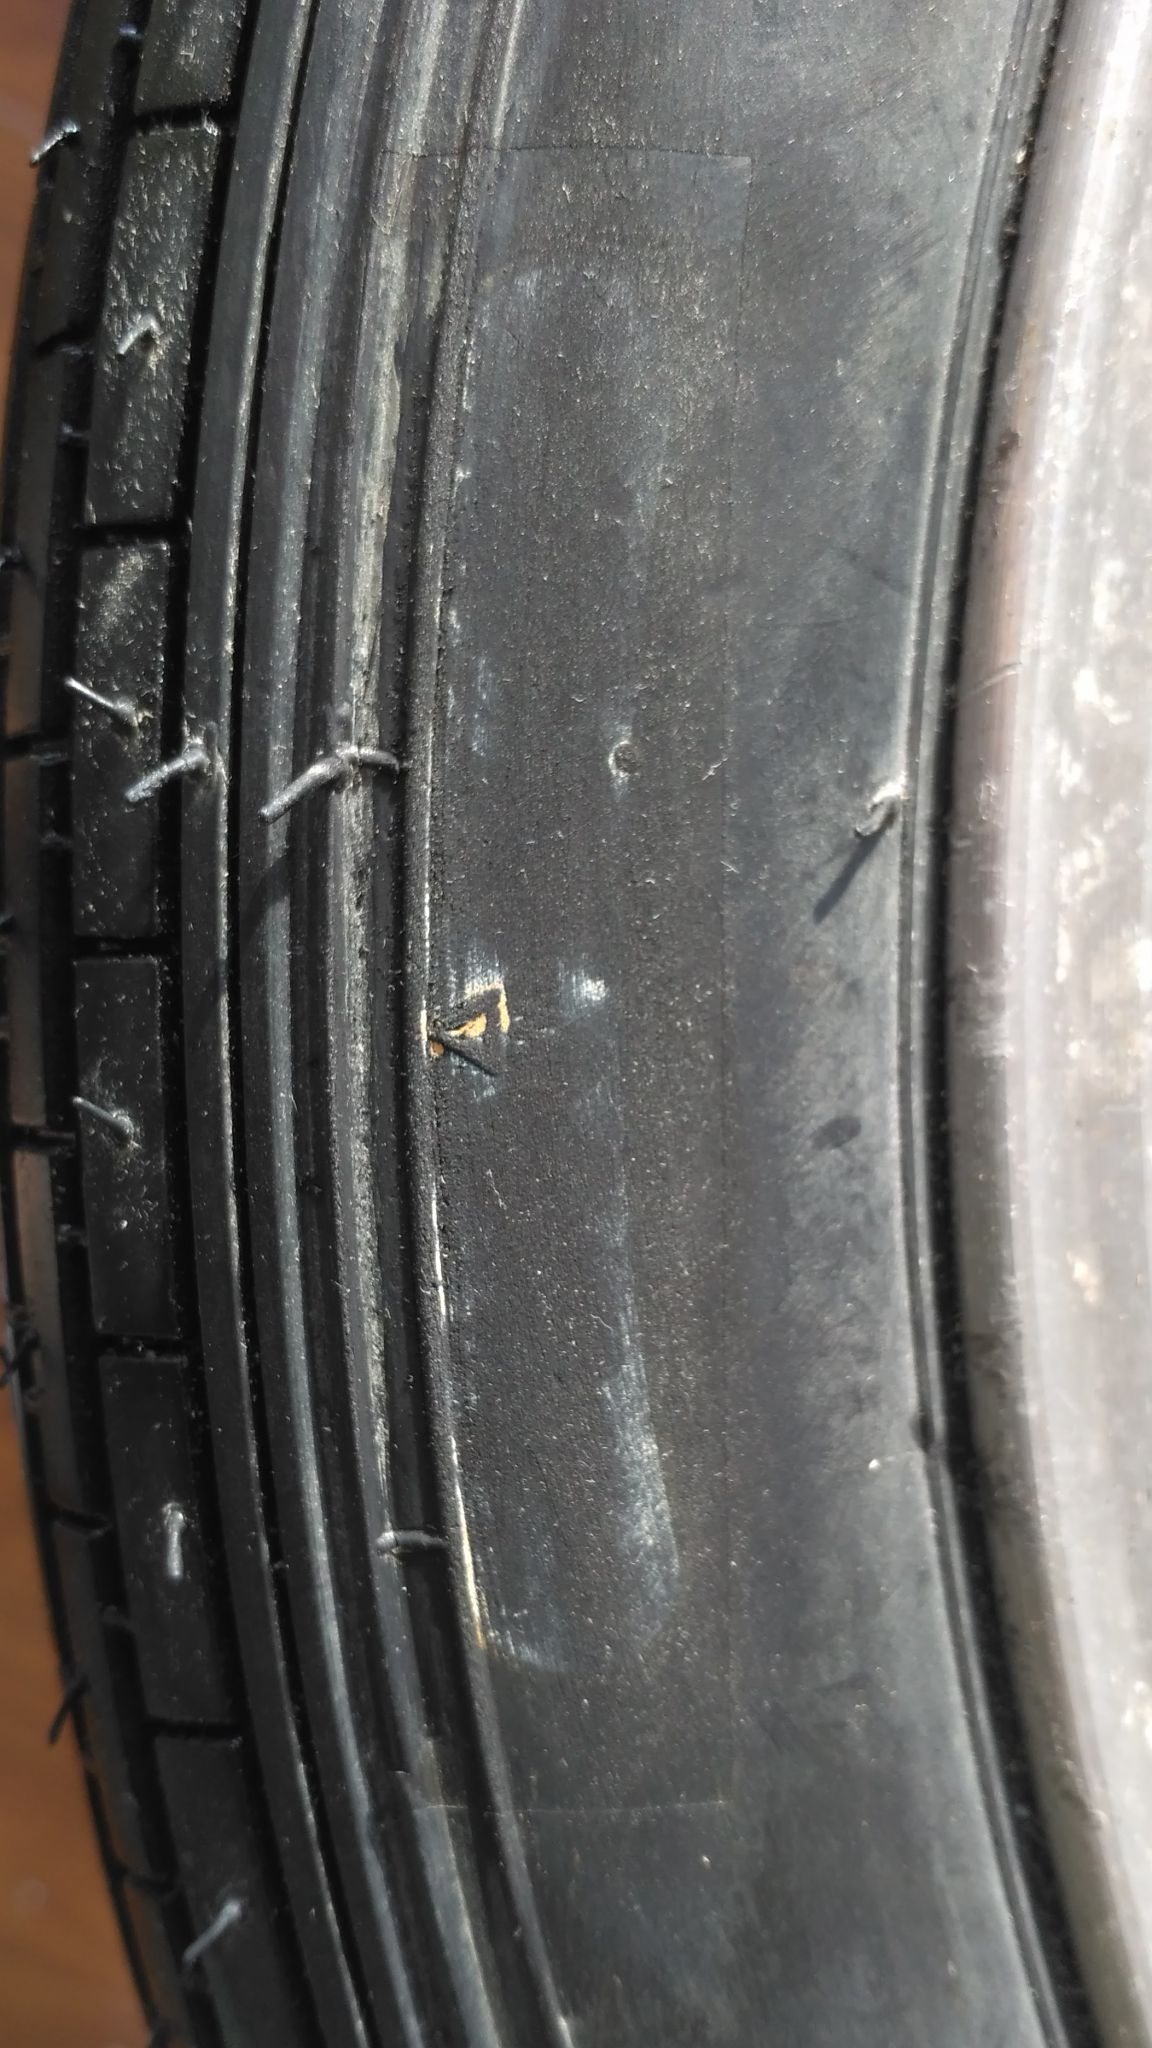
We also cut off all rubber spikes from the tire that stick out in all directions on the new tires. Small such rubber needles. These needles, like sand, could also influence the result. I on the first wheel did not pay attention to them and had to cut them off later, and it was very inconvenient.
Step 2
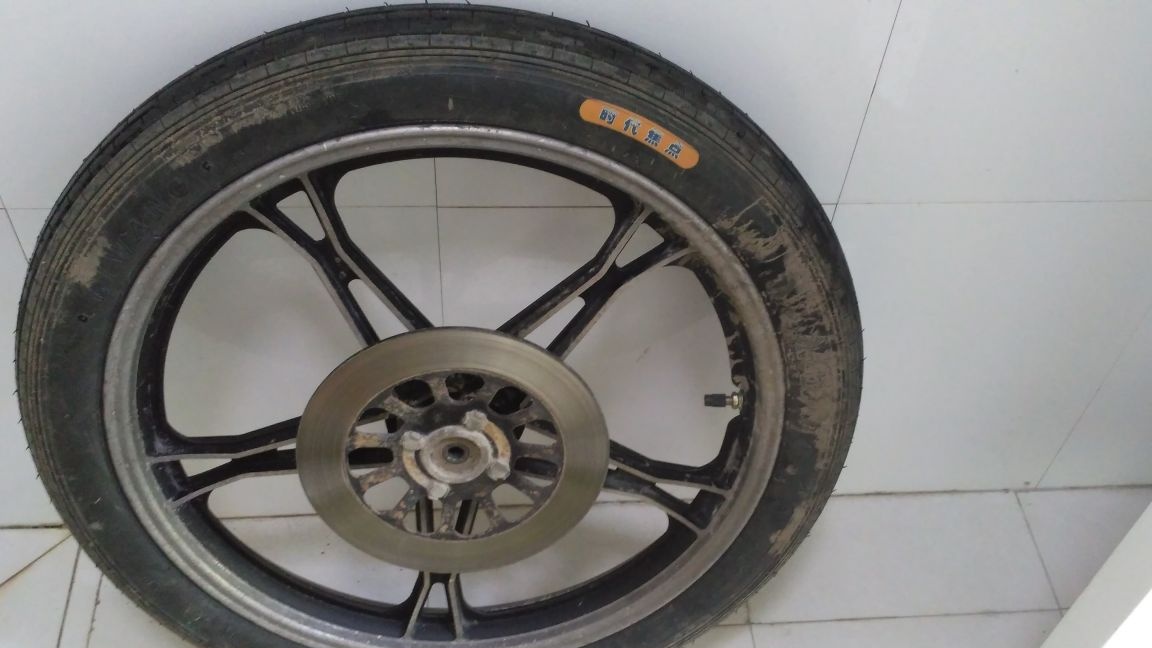
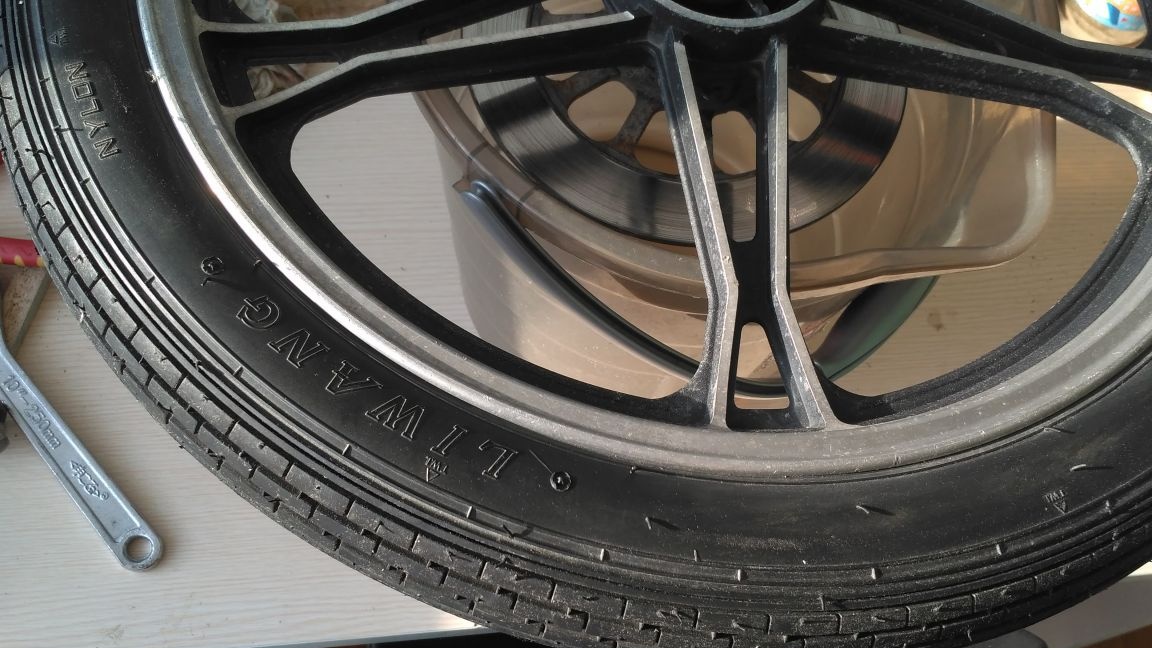
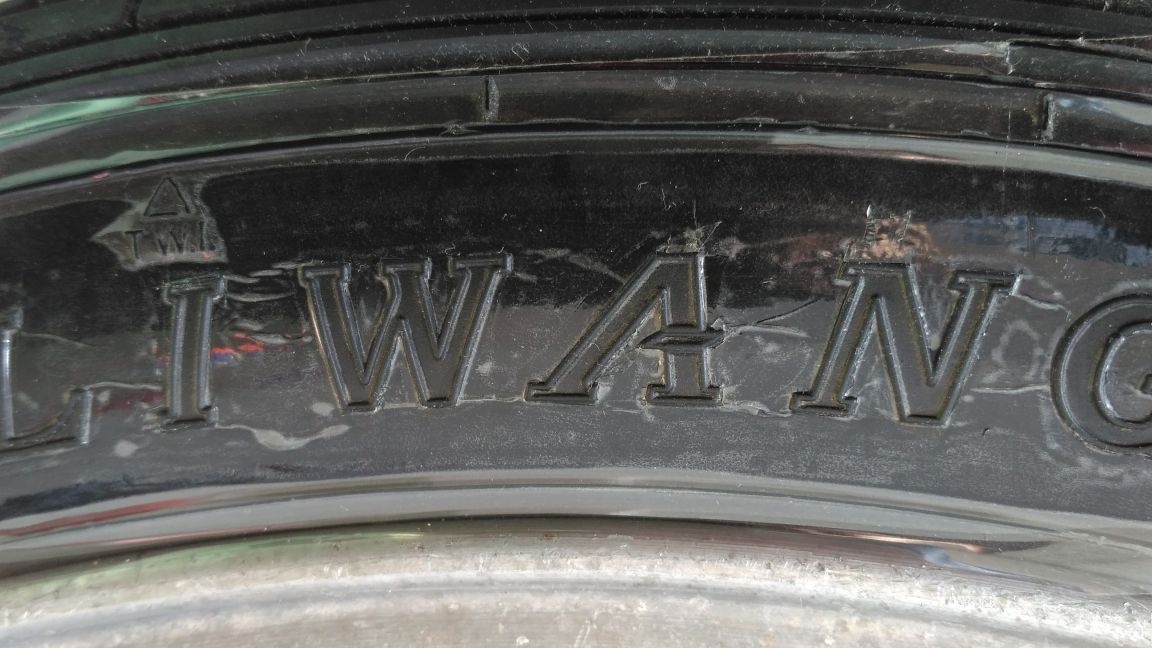
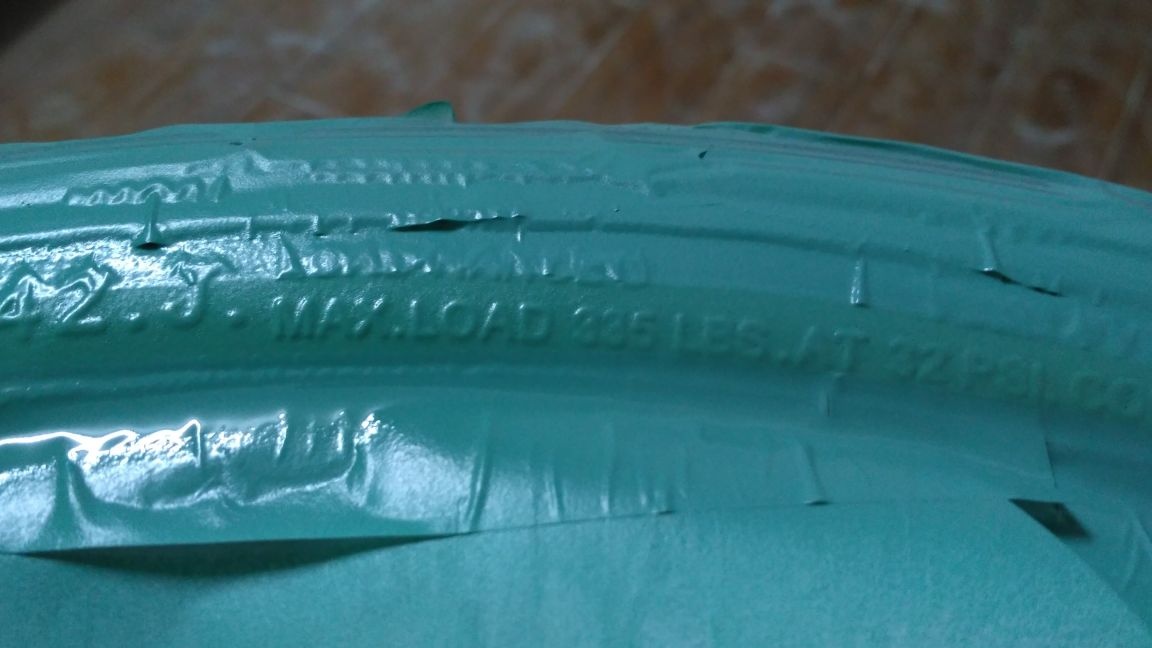
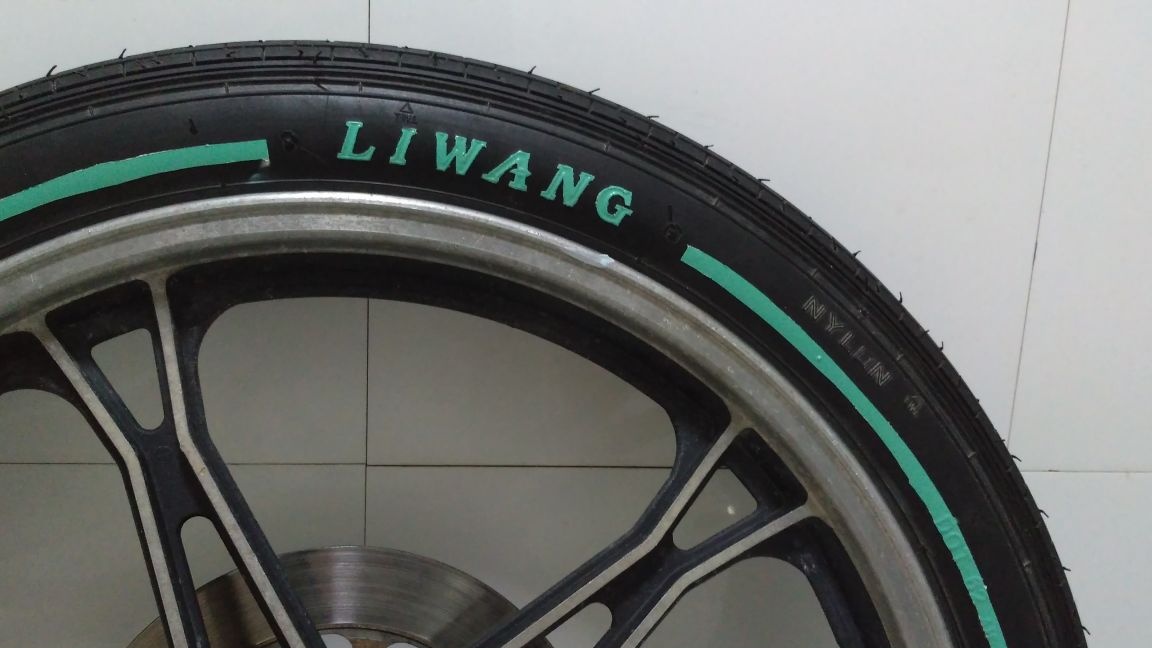
On the side of my tire was a Chinese orange logo, which I removed with sandpaper. You could beat him by including in the picture as part of a strip or something else, but he didn’t fit the color at all.
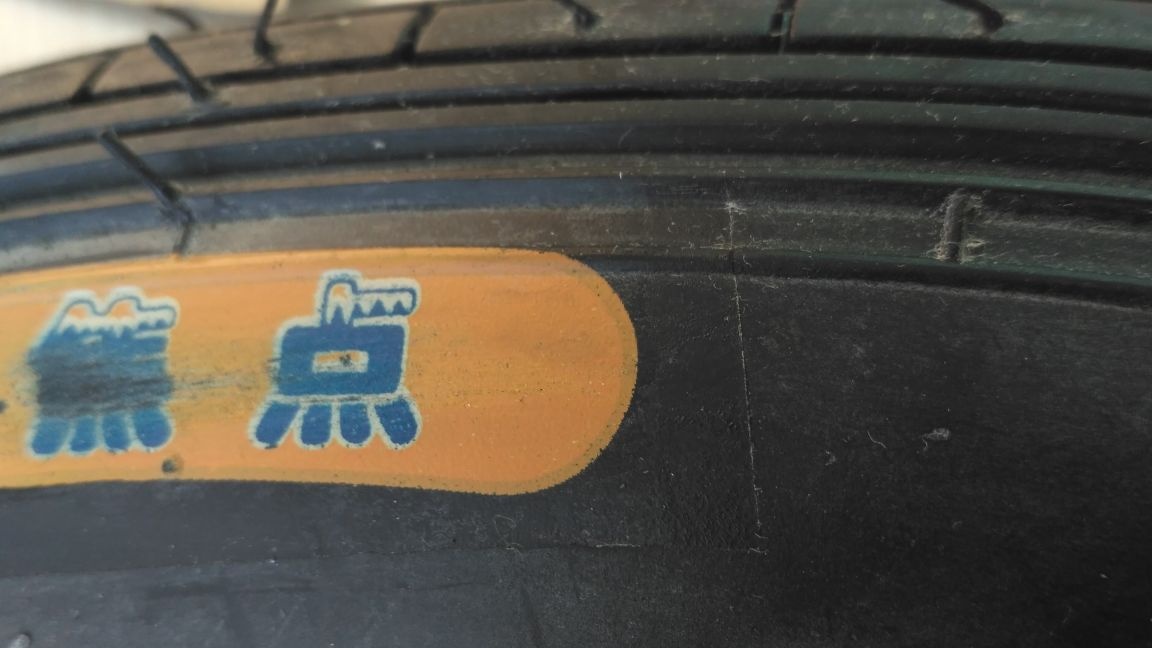
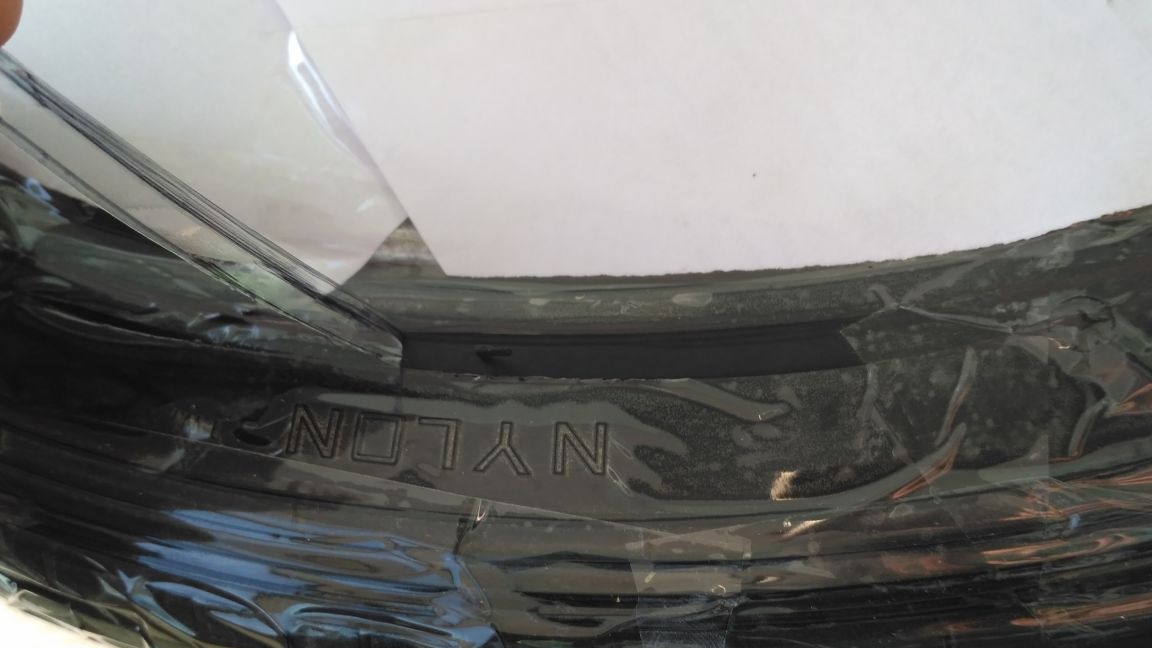
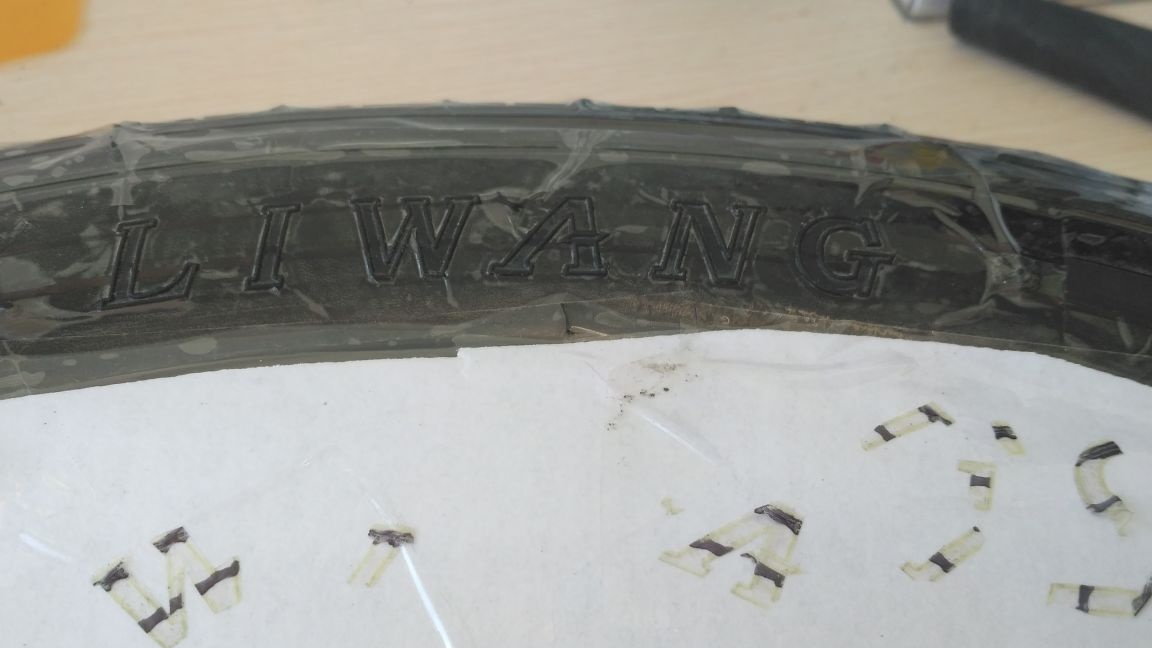
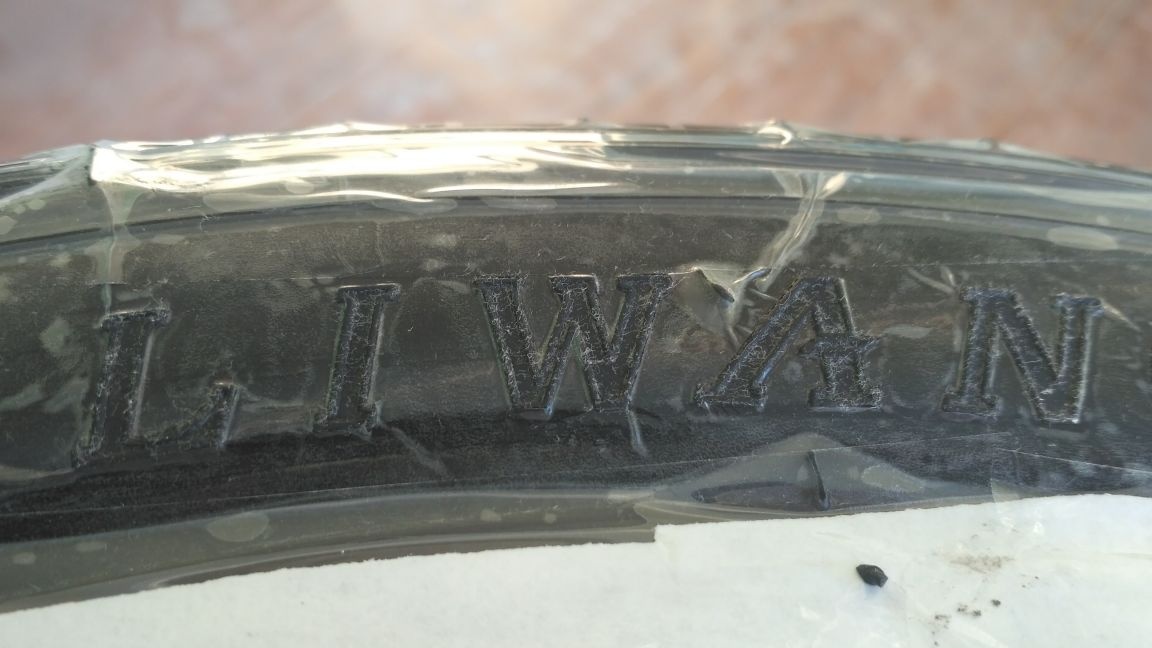
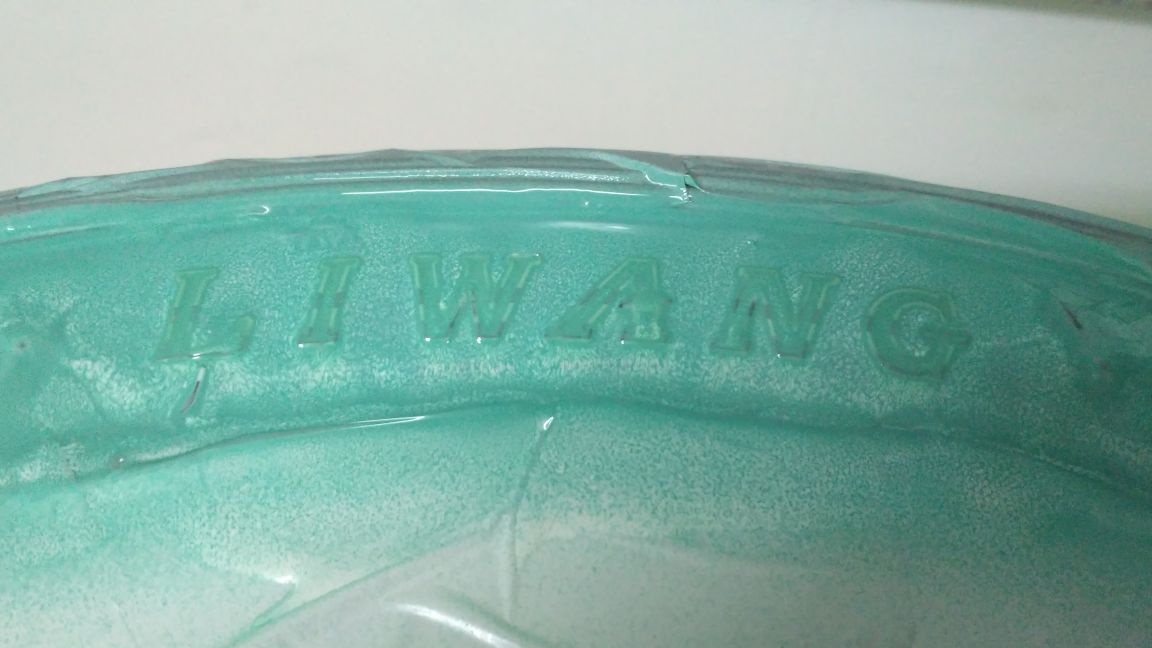
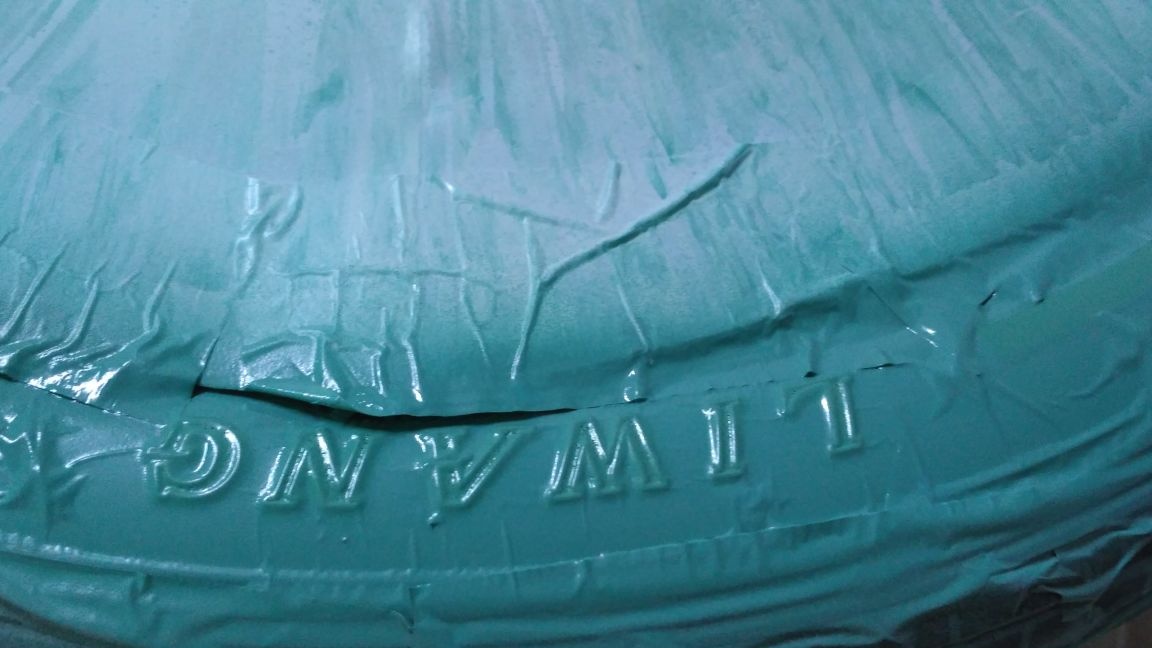
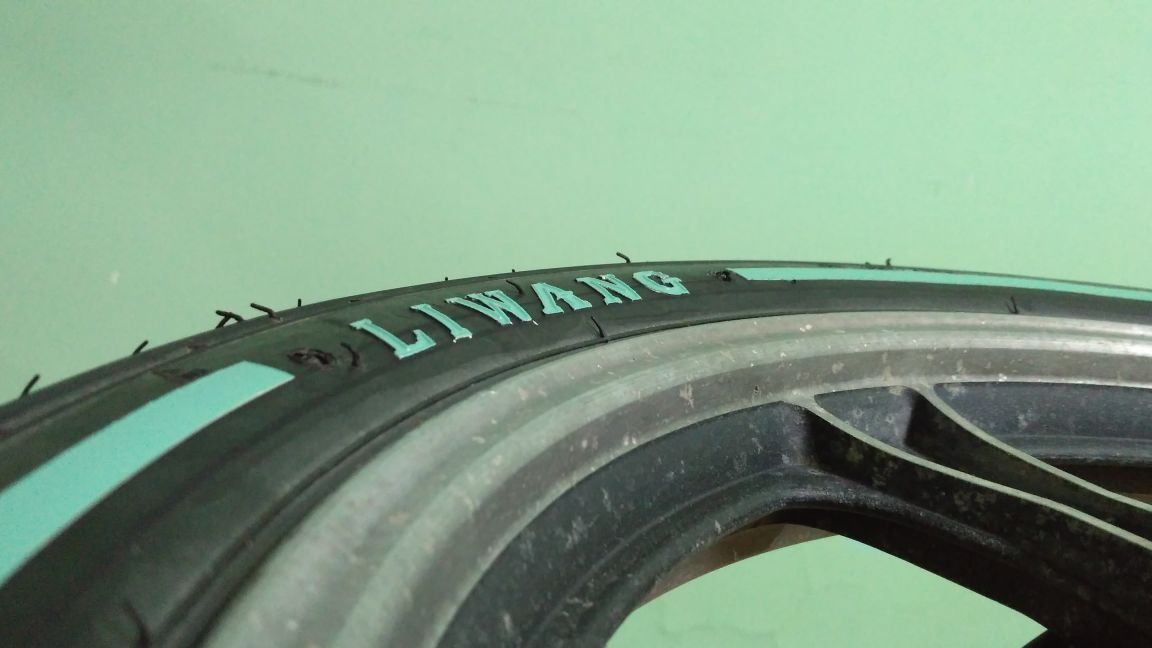
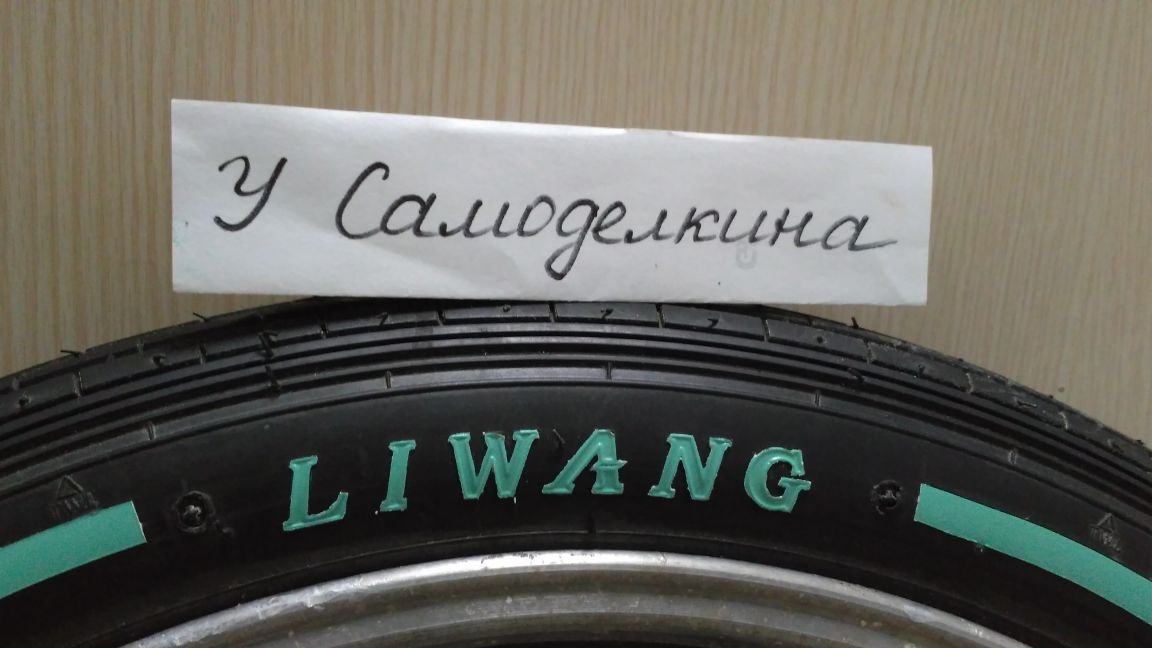
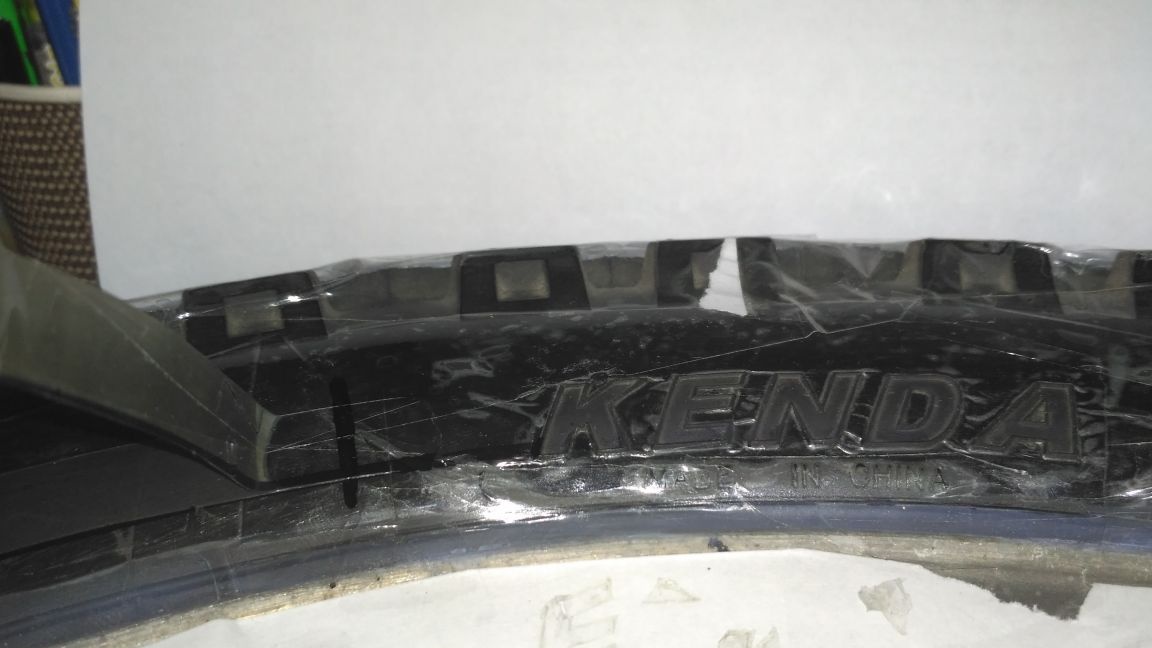
At first I wanted to make just thin continuous stripes in a circle, but then it seemed to me that it would be more stylish if the stripes were interrupted and there would be an inscription in the gap of the same color as the stripes. You can make absolutely any inscription that is enough for fantasy. I decided to highlight the embossed inscription of the name of the tire. It was easier to cut and it looked quite acceptable.
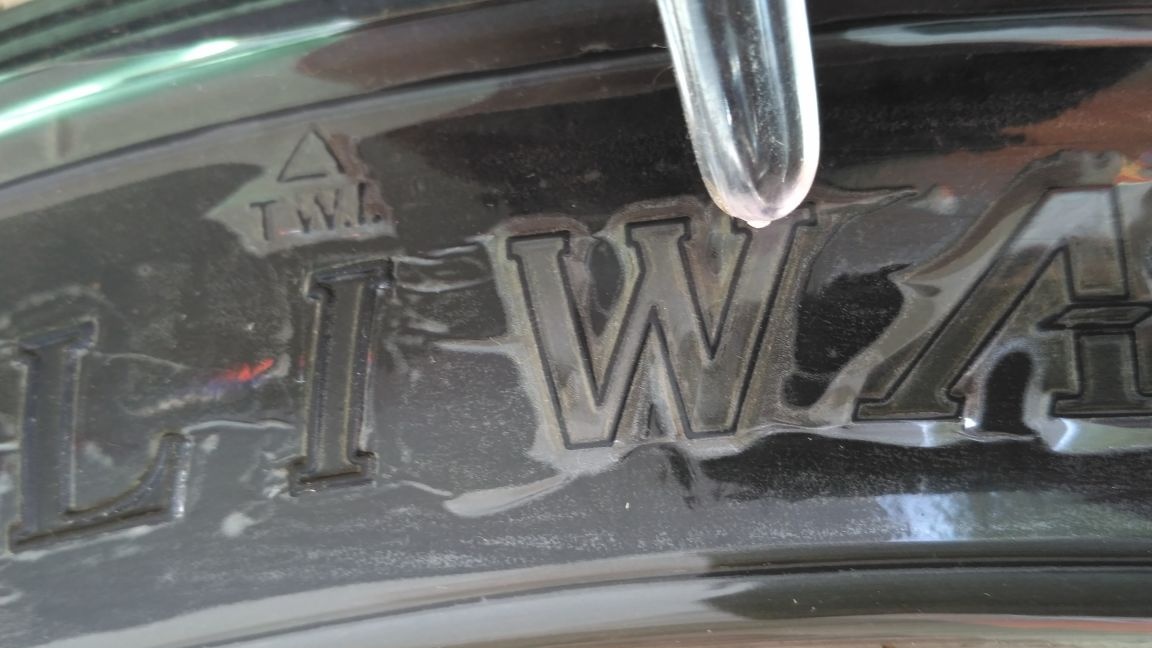
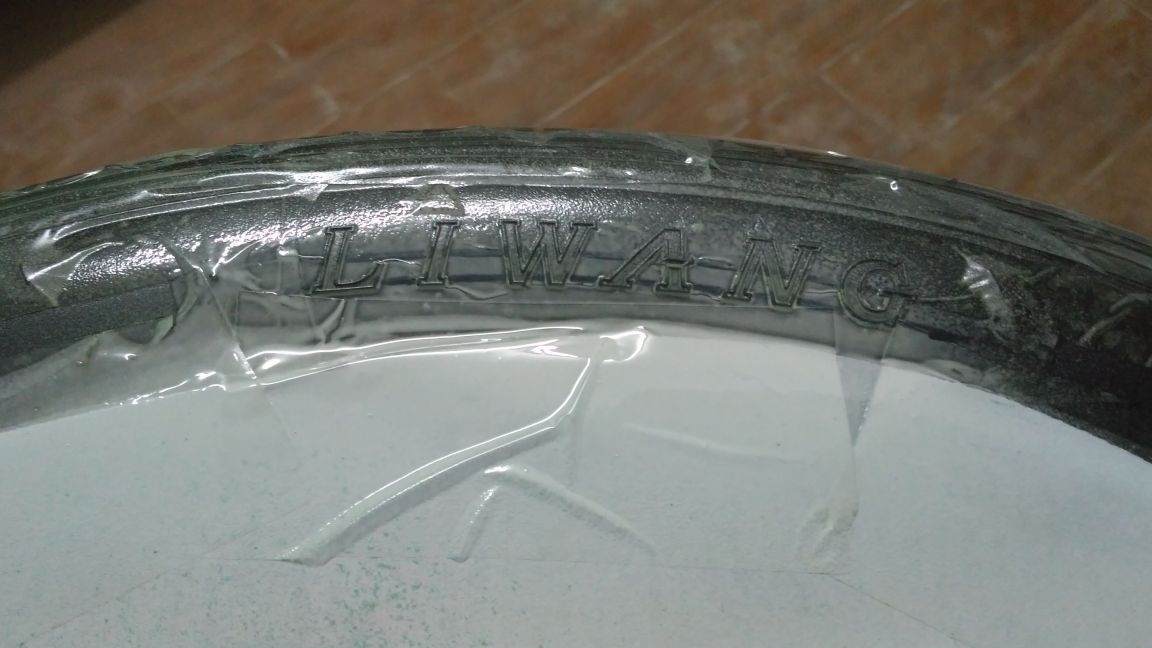
We paste a piece of scotch tape over the inscription (I tried painting, but it’s not easy to cut it) you need to stick it as evenly as possible so that there are no wrinkles. Then we press it tightly to the rubber and circle around the contour with something not sharp, I first did it with my finger, and then began to use a plastic stick with a rounded end.
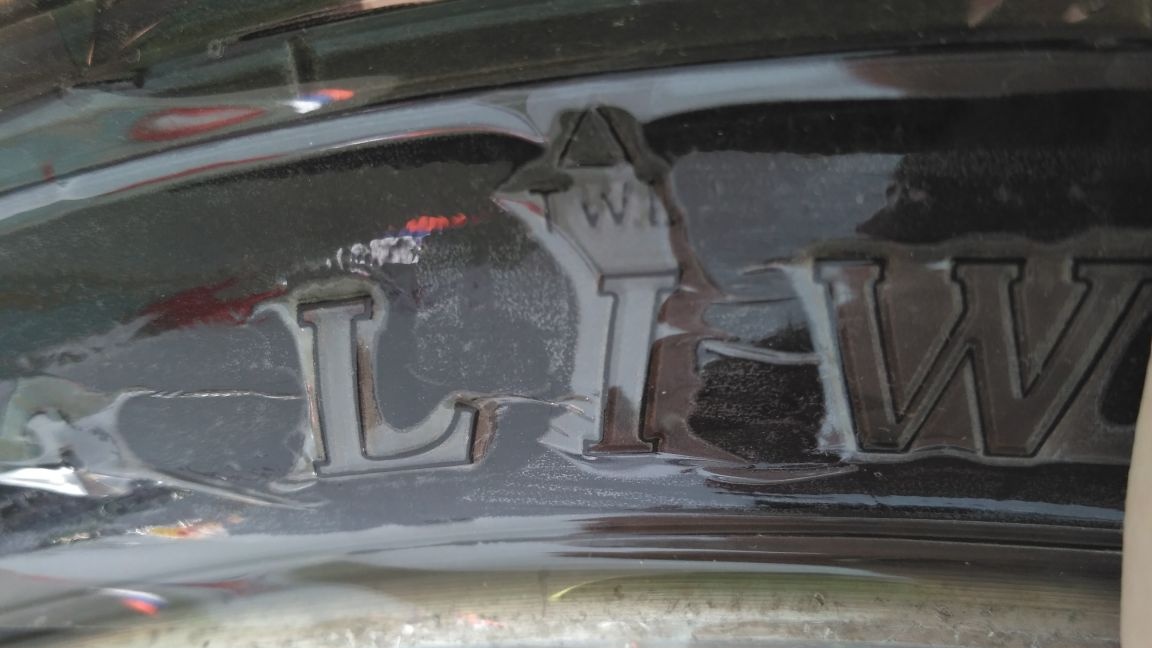
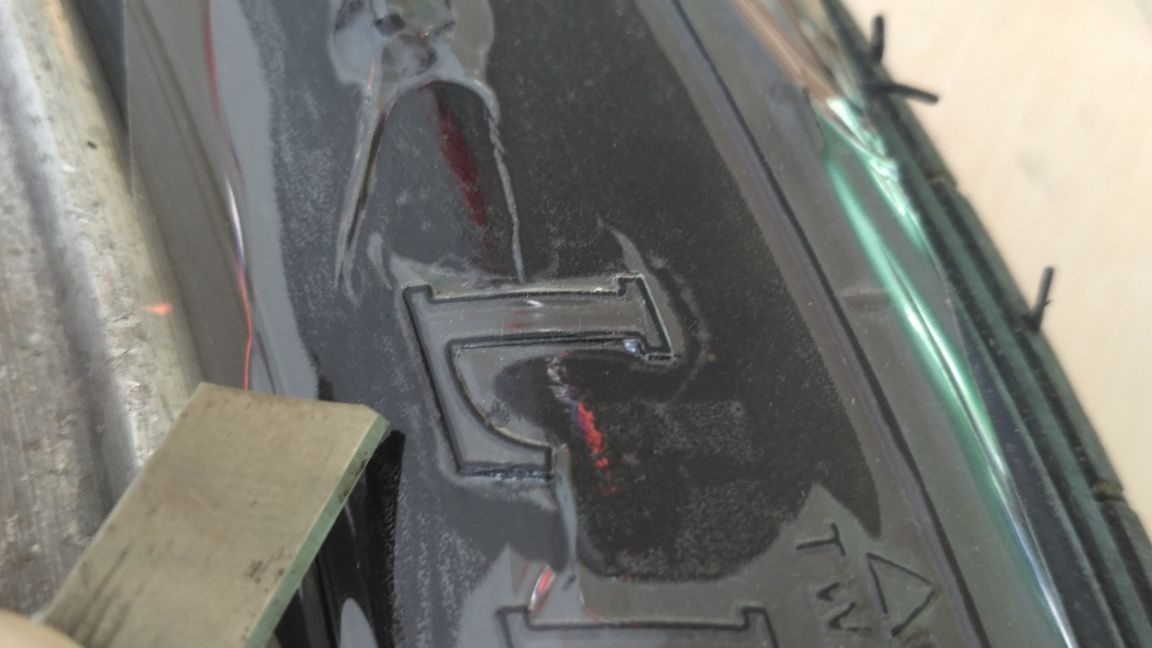
We take a clerical knife and begin to cut out the letters. I cut along the outer contour, so that the entire letter towering above the surface of the rubber fell under the paint. You can cut out only the internal volume, then the black letter will be filled with paint like a bath, which is also interesting among other things.
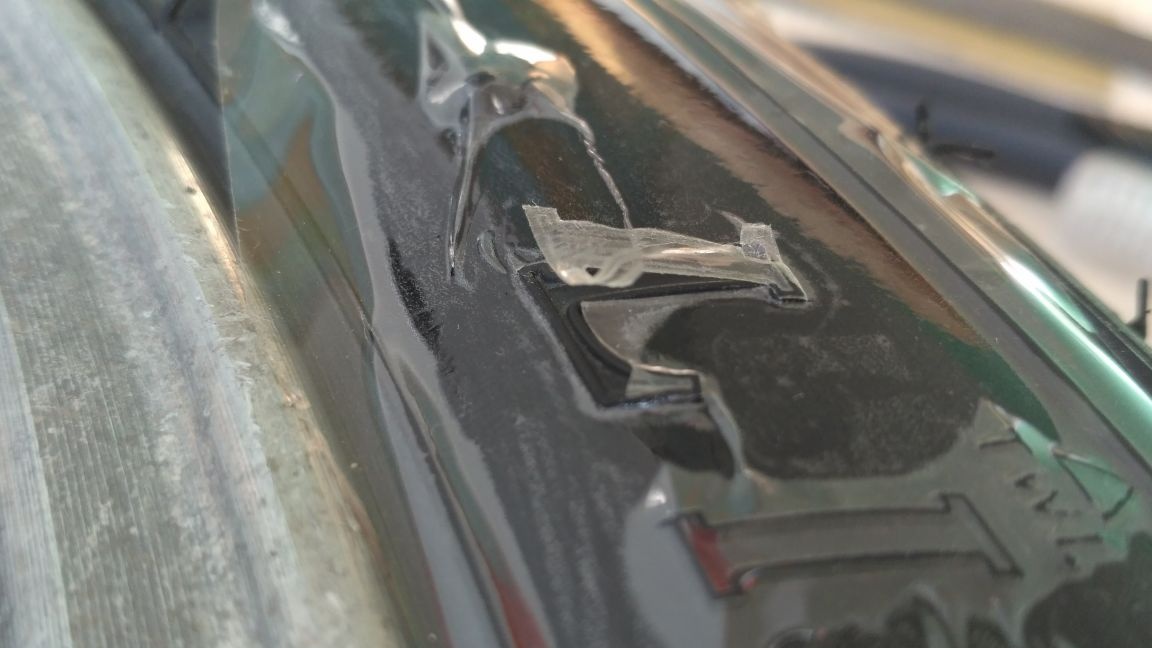
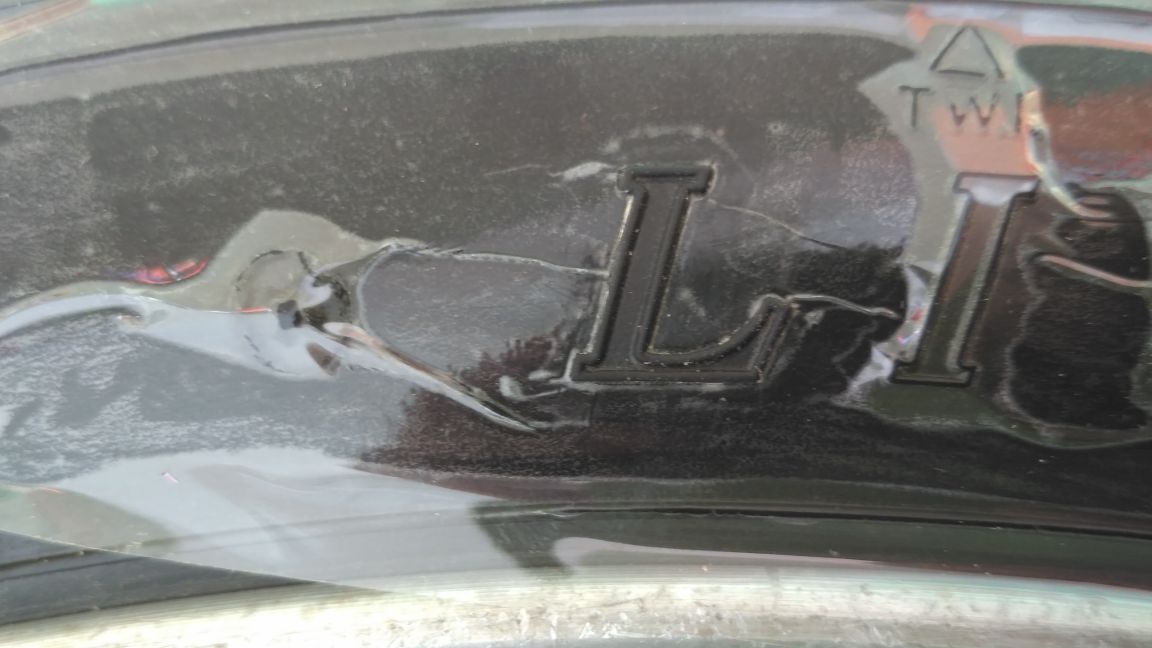
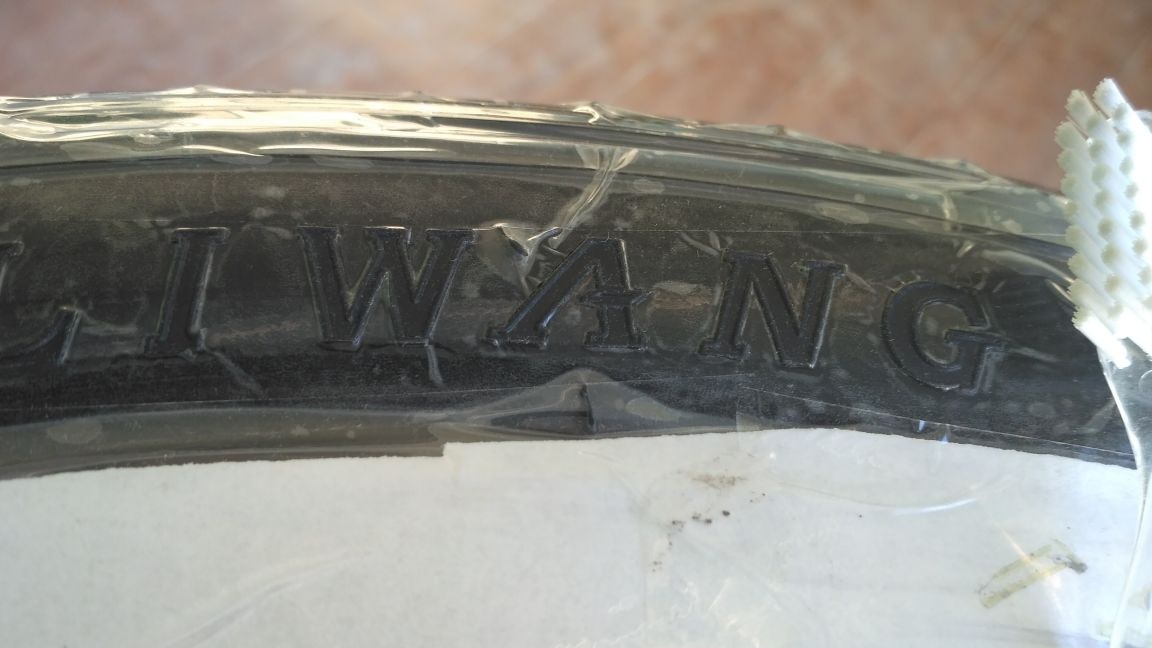
The easiest way would be to cut out something like Michelin, there is a very simple font, which can not be said about my LIWANG.
After cutting the letter around the perimeter, do not rush to tear off the scotch tape, first carefully press the scotch tape along the outline of the letter and if somewhere the tape is not completely cut, it will become noticeable and you can just cut it. And if you start to pull right away, then there is a risk of damaging the adhesive tape, which will cover the rubber where it is not necessary to paint.
Thus, we cut out the entire inscription and repeat the process on the other side of the wheel, if it is a motorcycle wheel and strips will be applied on both sides. On the car tire, drawing a strip from the inside does not make sense - anyway, it will not be visible there.
Step 3
On the first wheel, I drew a line in a circle with a simple pencil directly on the rubber, but in the future practice has shown that it is more convenient to do this, after having pasted the rubber with adhesive tape.
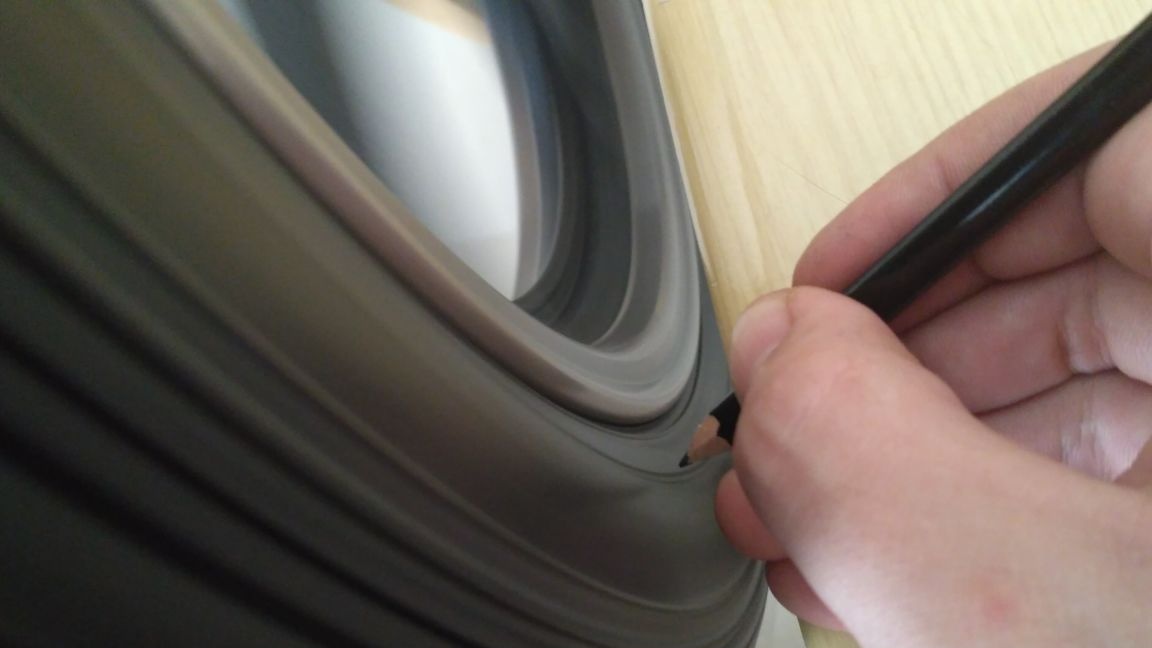
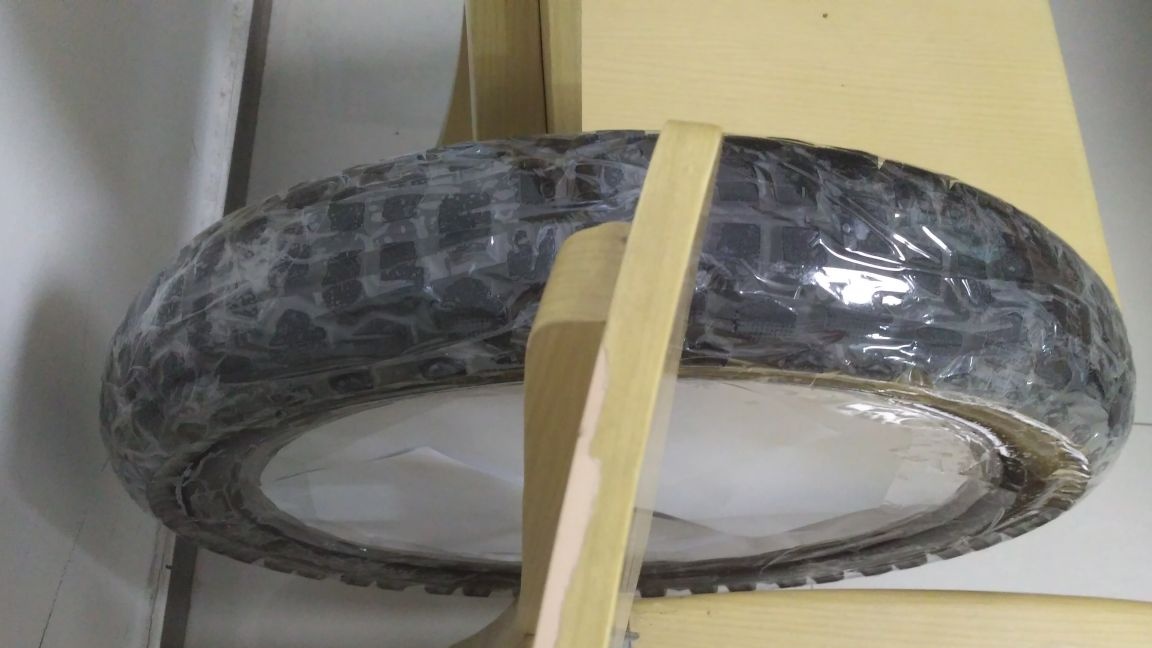
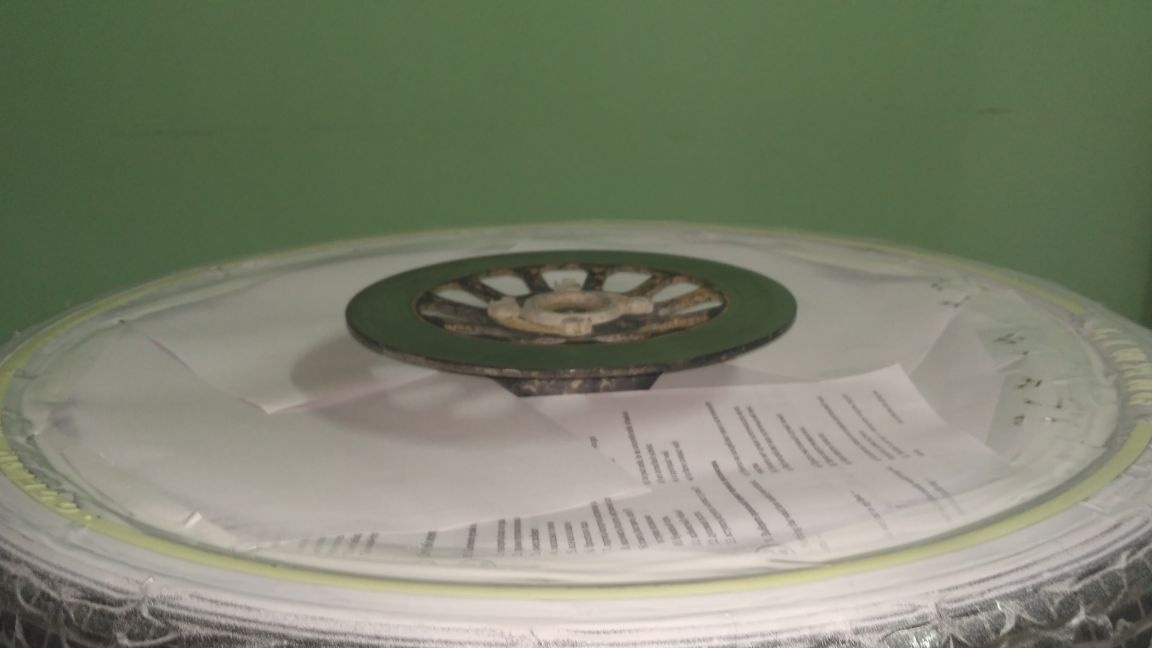
We insert the axis into the wheel, rest it on two chairs, so that the wheel can rotate freely and not touch anything. We spin the wheel a bit, bring a pencil and we get a smooth strip around the entire circumference.
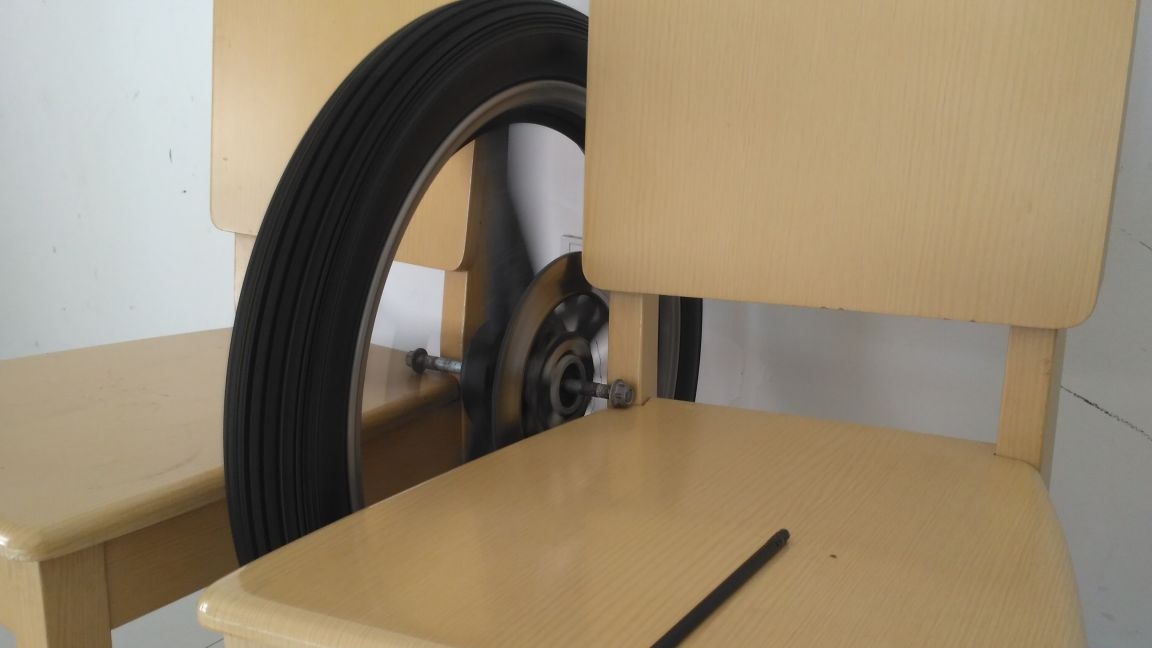
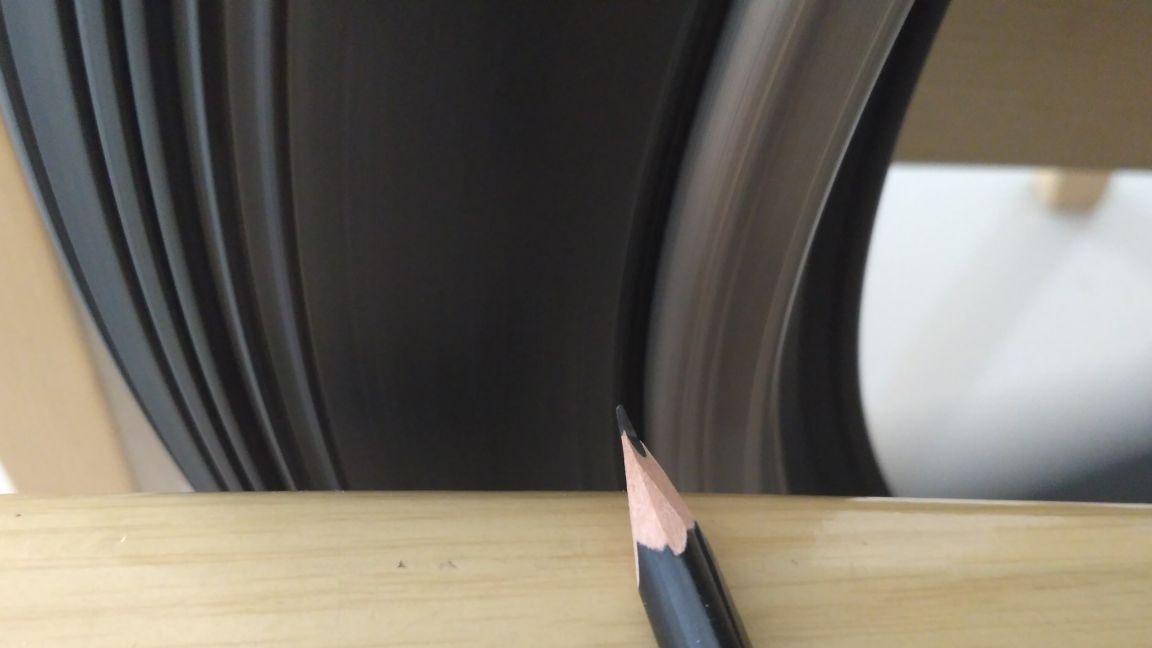
The pencil should not be fixed firmly, as the tires always have a slight roughness (eight) and because of this the line may turn out broken, which does not suit us. The easiest way is to hold a pencil with your fingers resting your hand on a chair.
On the second wheel, I used a permanent marker, drawing a strip in a circle on top of the adhesive tape and before starting to cut out the letters, because with a pencil I slightly damaged the already cut adhesive tape and had to glue the damaged places.
The advantages of the marker also appeared after it turned out that the pencil trace was almost invisible under the adhesive tape.
Step 4
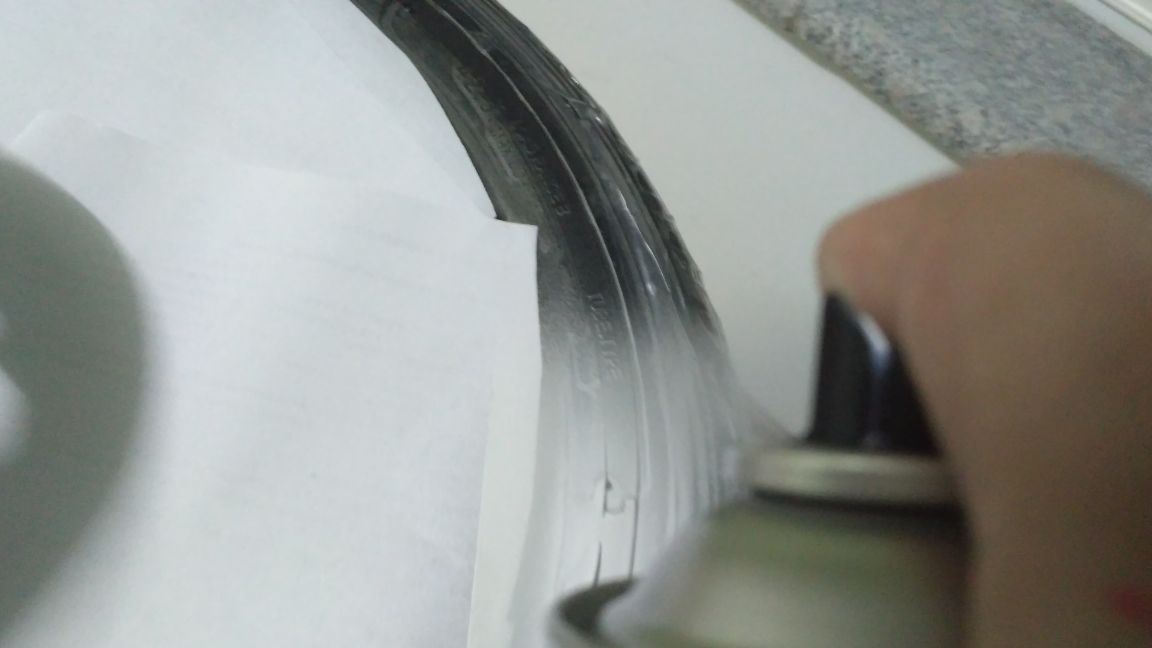
We glue the sidewall of the tire with adhesive tape segments. In the place where the strip will pass, you need to try to glue the adhesive tape as evenly and preferably in one layer, so that later it is easier to cut through.
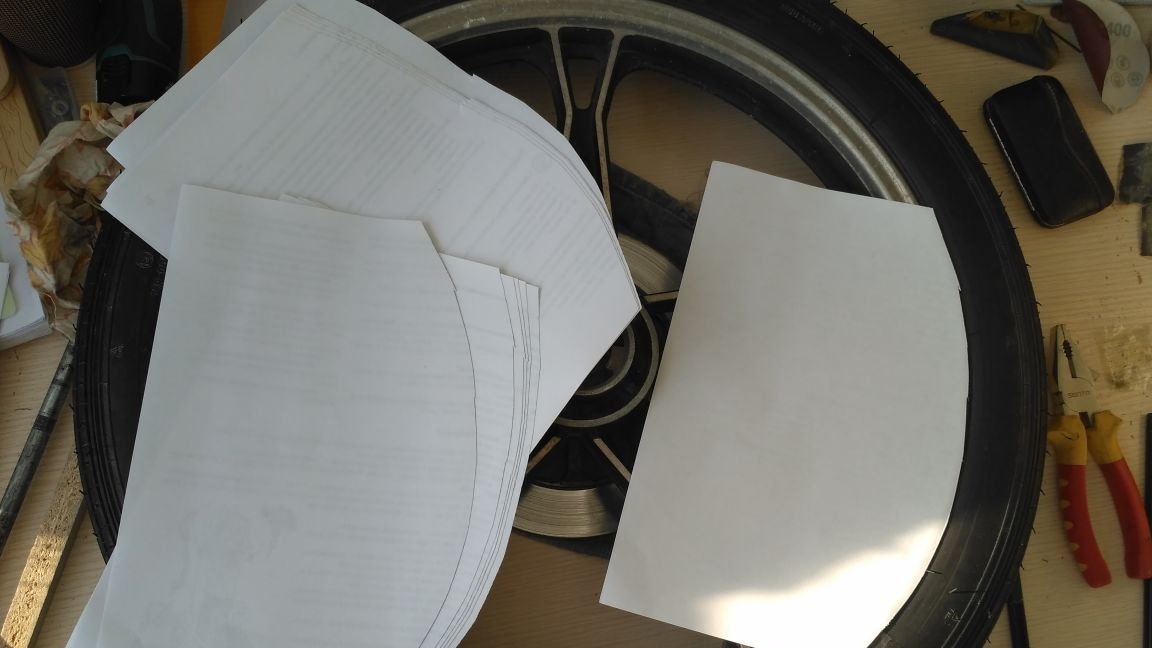
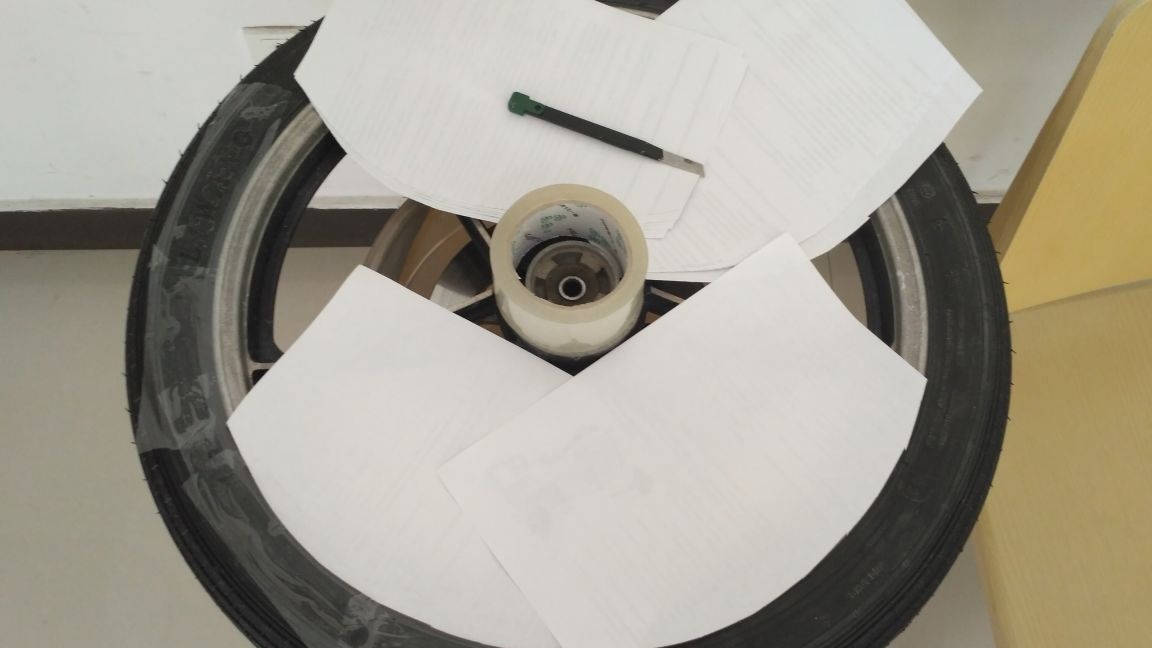
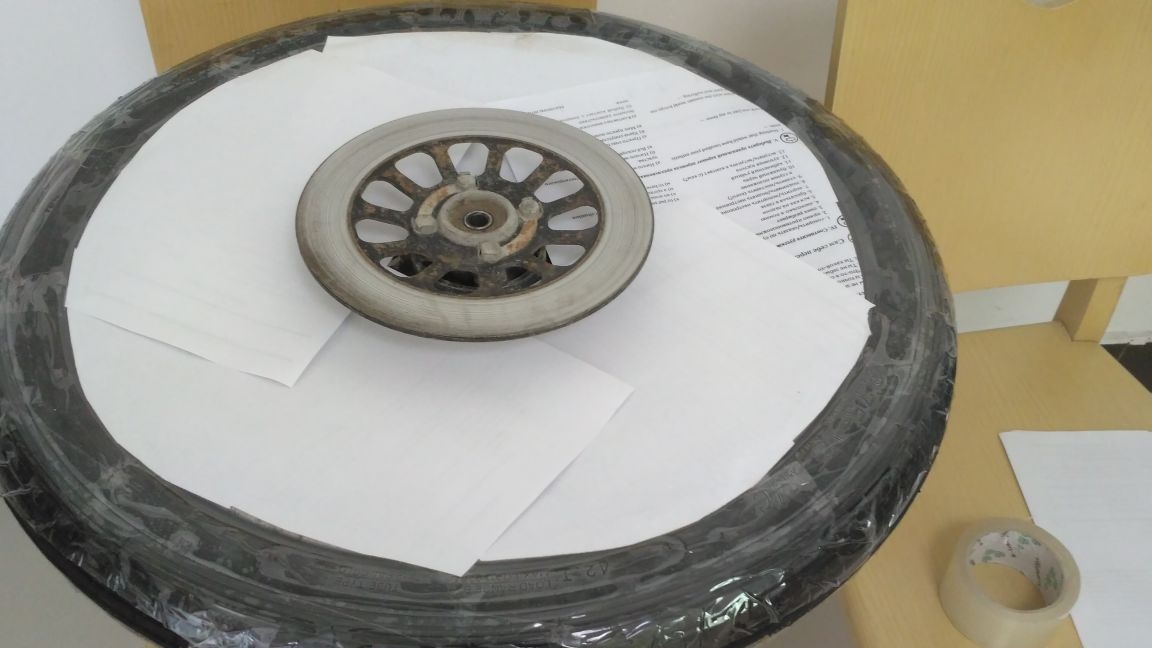
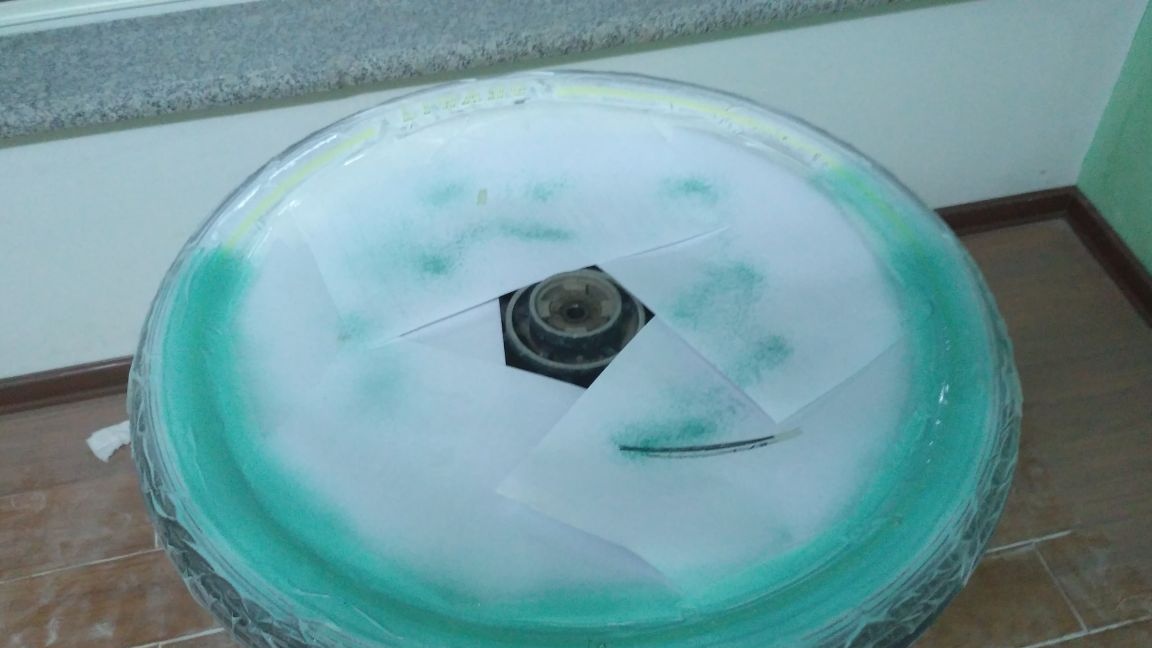
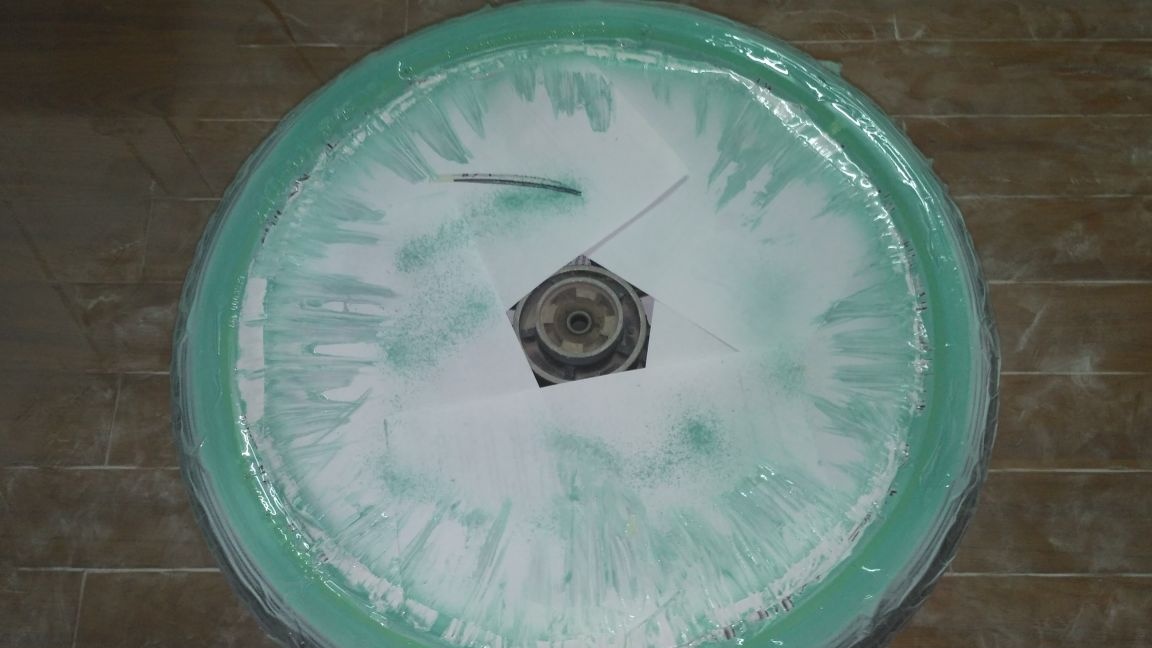
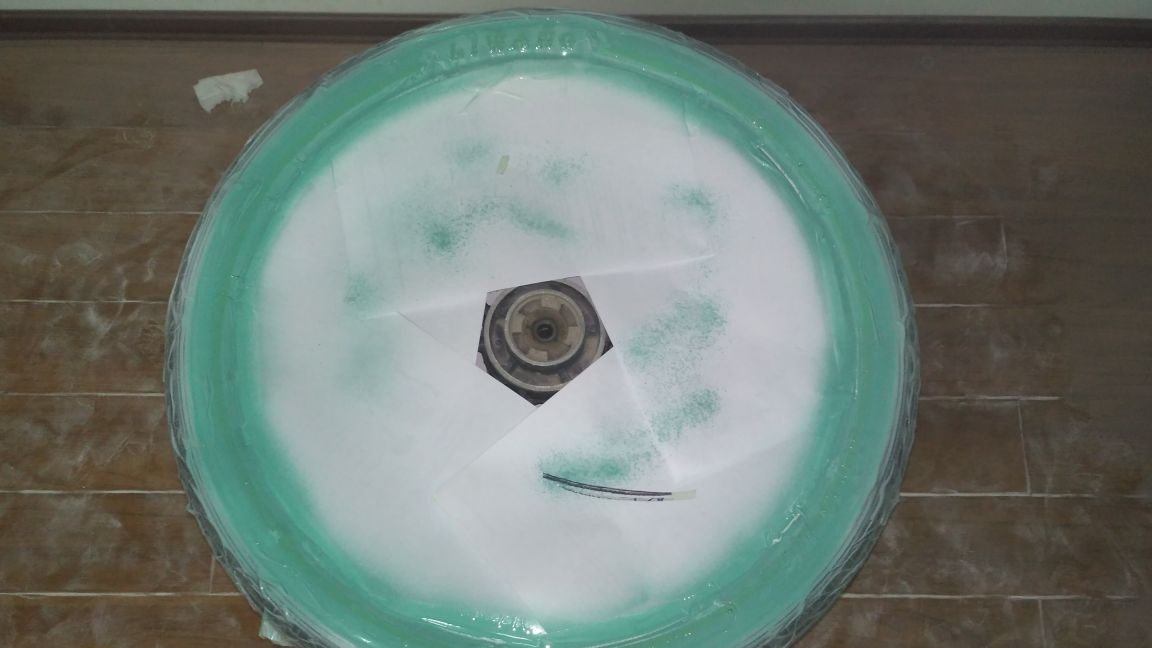
When the sidewall is sealed, close the disc so that it does not get paint. I did this with sheets of A4 paper, it is also possible with film, or with a newspaper - anyone who is more comfortable is better to use paper because it absorbs ink and this is important (see Step 6). And lastly, we close part of the tire with the tread.
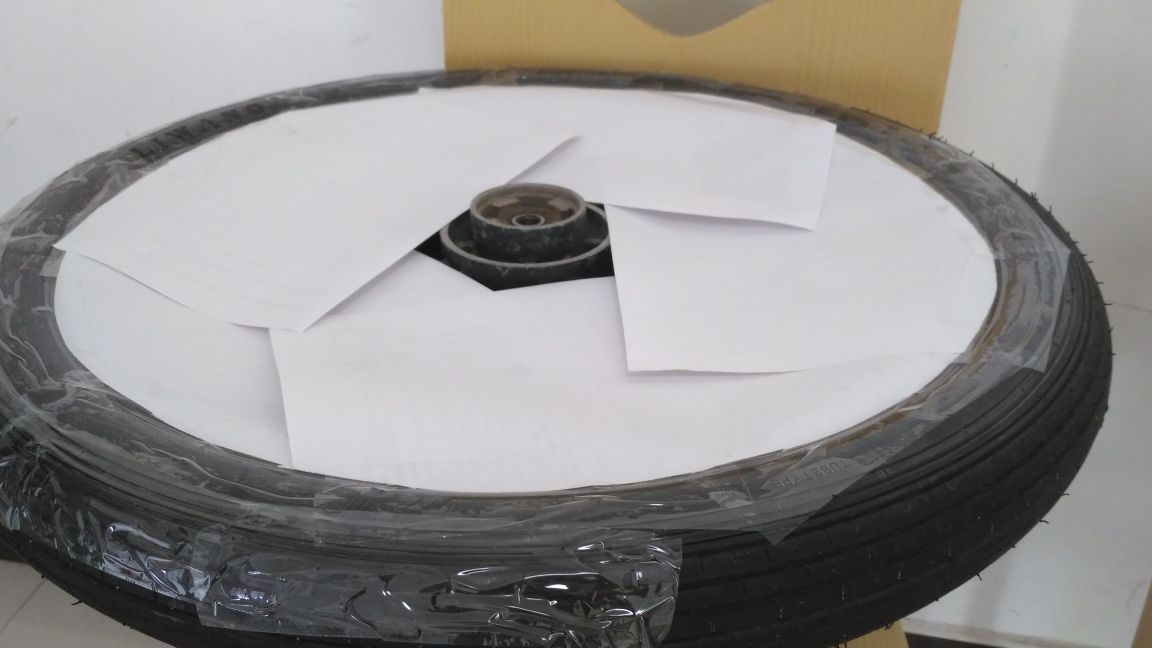
On the first wheel, I did not completely hide all the rubber leaving a small strip of clearance. I thought that the paint will not get there and made a mistake. The second wheel is already fully glued.
Next, we make two parallel slots in a circle and begin to slowly peel off the cut strip of adhesive tape.
I cut the first strip with an ordinary clerical knife, and since the line is long and the strip was poorly visible, the cut lines were not very parallel. And the strip of paint was not everywhere the same width. From a distance of a couple of meters, of course, it is not noticeable, but very close.
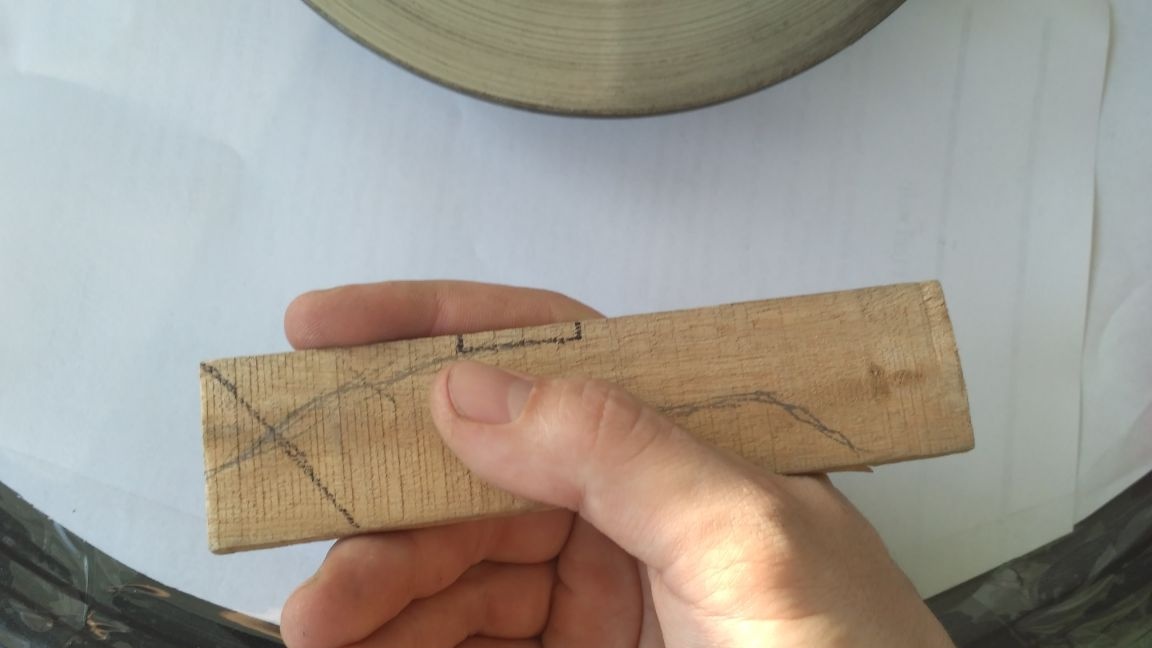
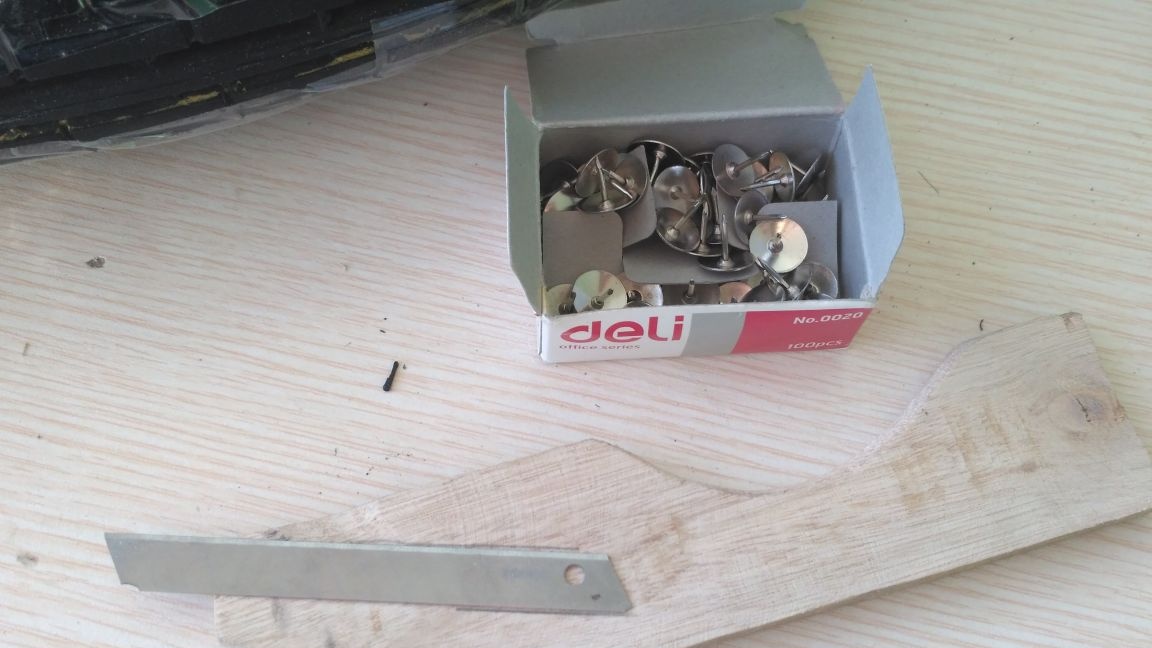
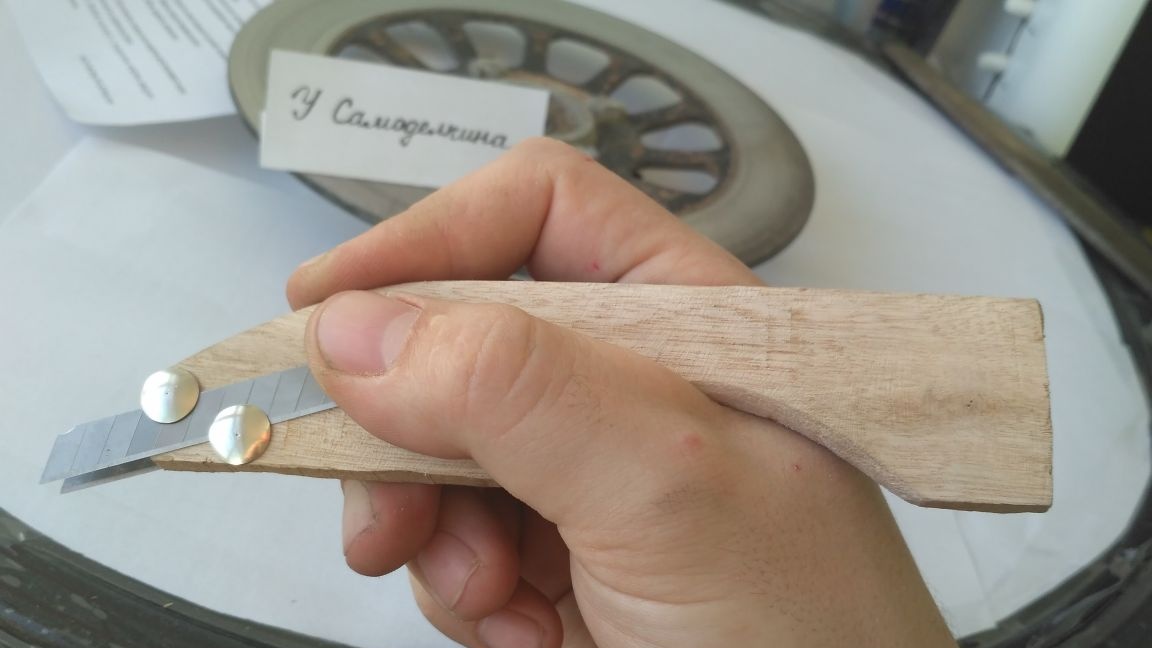
In order not to repeat this mistake, I decided to make a simple “special tool” - a clerical knife with two blades, rigidly fixed at a constant distance from each other. For this, I took a wooden block 8 mm thick. (just such a width I planned a line) and from two sides fixed on the blade from the knife. Previously, he gave the bar such a shape that it was convenient to hold in his hand. He fixed the blades on furniture studs with a big hat (it is also possible on push pins, I think).
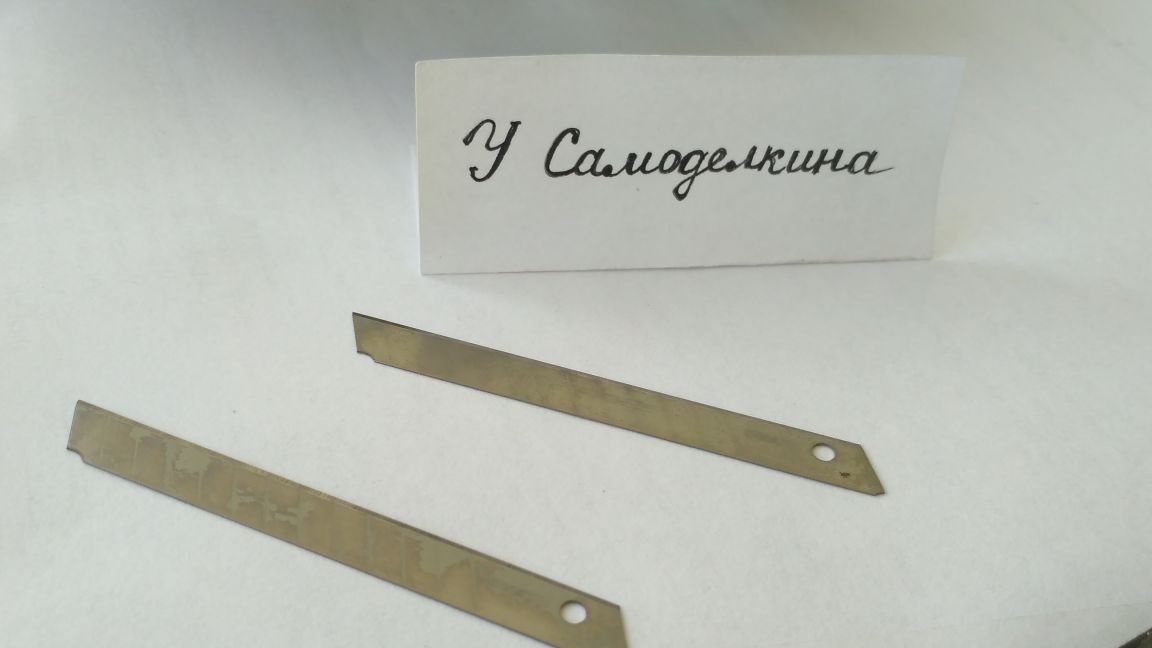
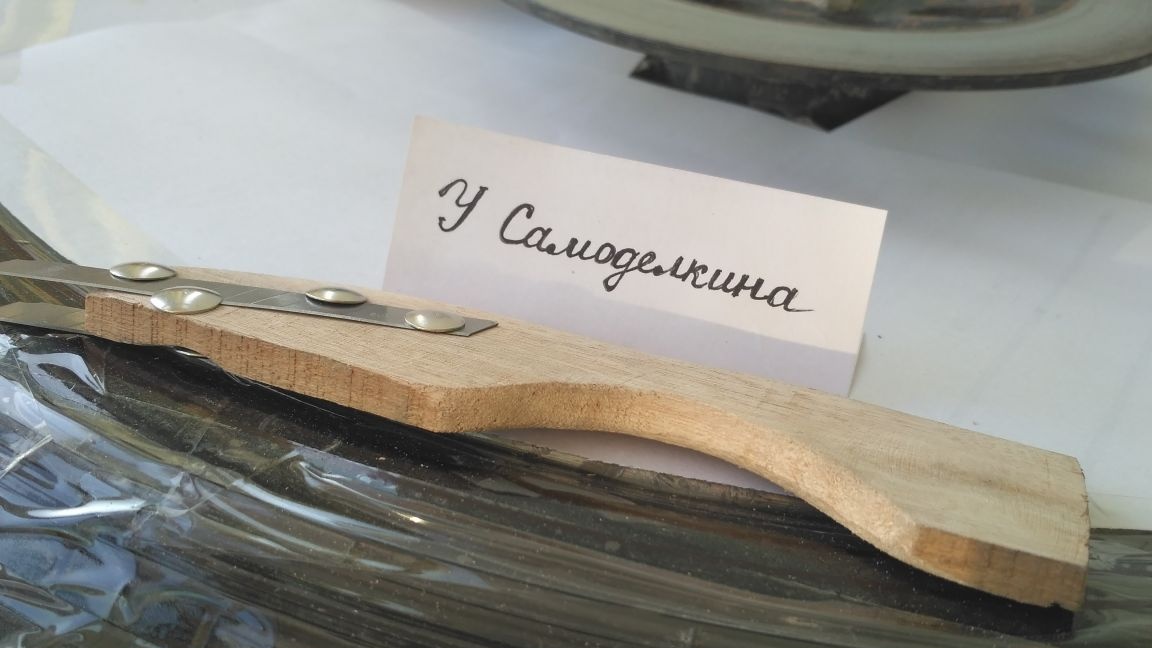
The result is a cutter that allows you to cut through two guaranteed parallel lines at the same time. Yes, and the process accelerated twice.
Step 5
We prepare the tire for applying paint. Degrease the cut strip and the inscription with alcohol. I wiped it with a cotton rag dipped in alcohol. As a result, the villi remained on the rubber. Using an unnecessary toothbrush, I completely cleaned off the foreign matter from the rubber. By the way, it’s very convenient to iron the adhesive tape on the back of this brush for better contact with the rubber
We check every centimeter of the cut strip and inscription. Adhesive tape everywhere should be as tight as possible to the tire, otherwise there is a risk that it will lag behind during the application of paint. Fixing this later will not be easy.
Step 6
We start spraying paint from a spray can, after thoroughly mixing the paint. And throughout the entire process of staining, you should periodically shake the can so that the liquid rubber inside is mixed with the solvent and does not settle.
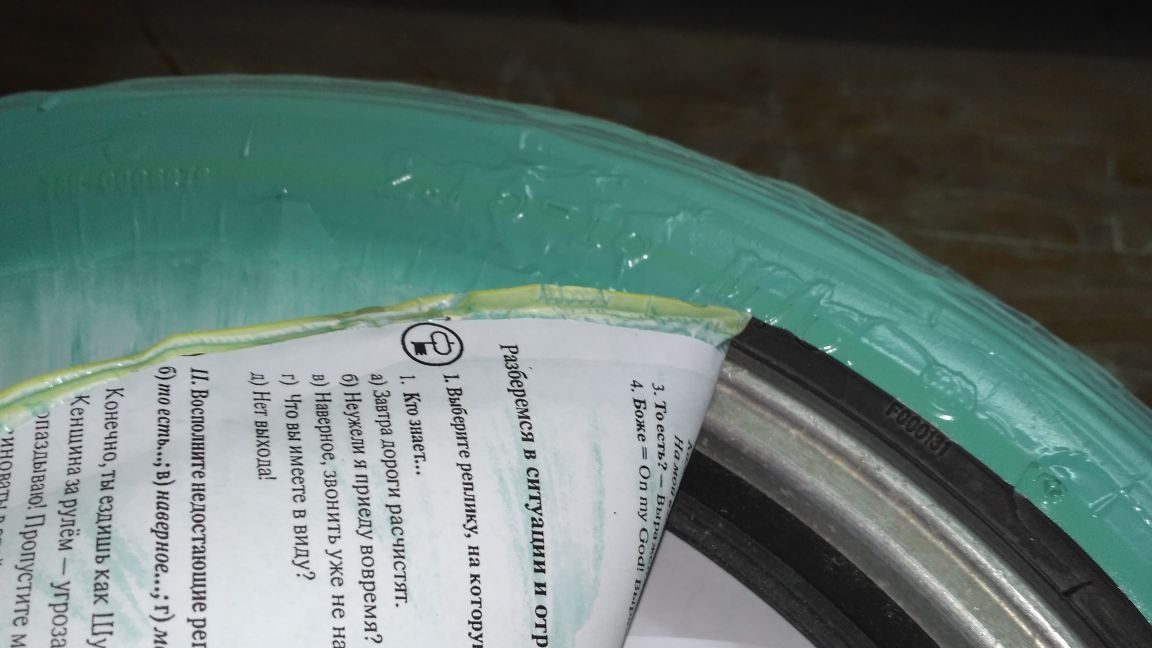
I decided to make the stripes blue-green (turquoise), but the first layer I applied the white paint left over from the last time. I did this to see the difference in color, if applied over a white layer and if the blue-green color is immediately sprayed onto the tire surface. As a result, on the wheel where the white “ground” was, the stripes turned out brighter and closer to the green color, and on the second wheel, where the white paint was not used, the color turned out to be a bit darker and shade closer to the blue color. But at the same time, white paint is visible in some places against the background of the black tire, along the edges where adhesive tape was glued. Conclusion: if you apply the paint on top of the light base, the color will turn out more vivid, but if the paint is applied through stencils, then after removing them, a thin light strip along the perimeter of the painted surface will be noticeable.
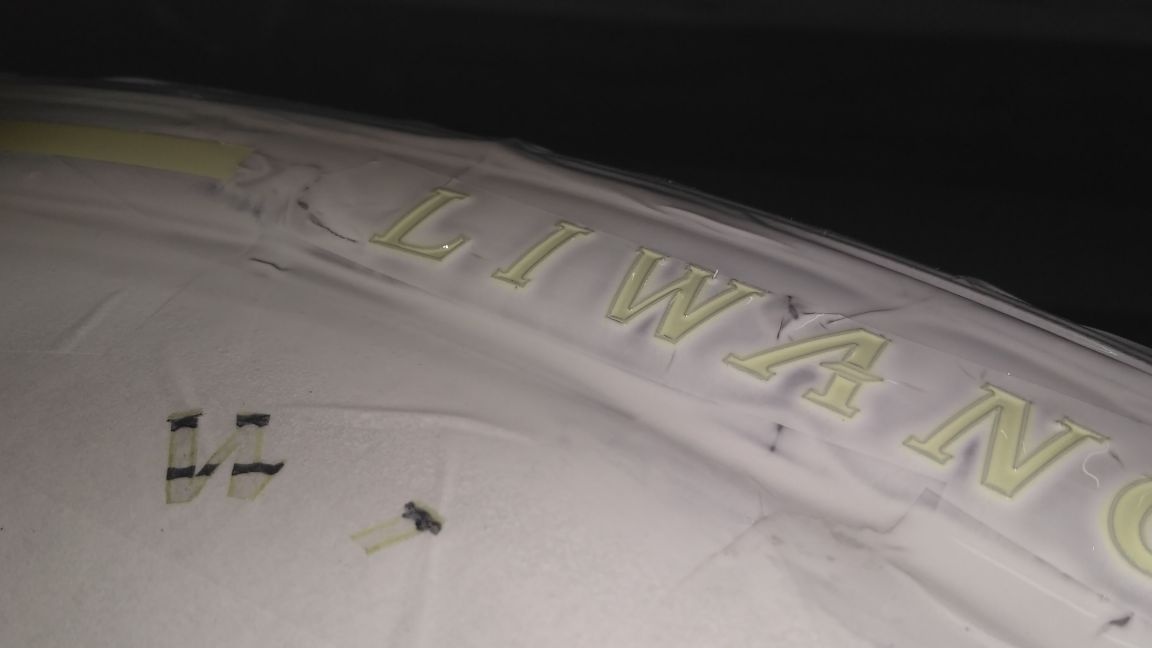
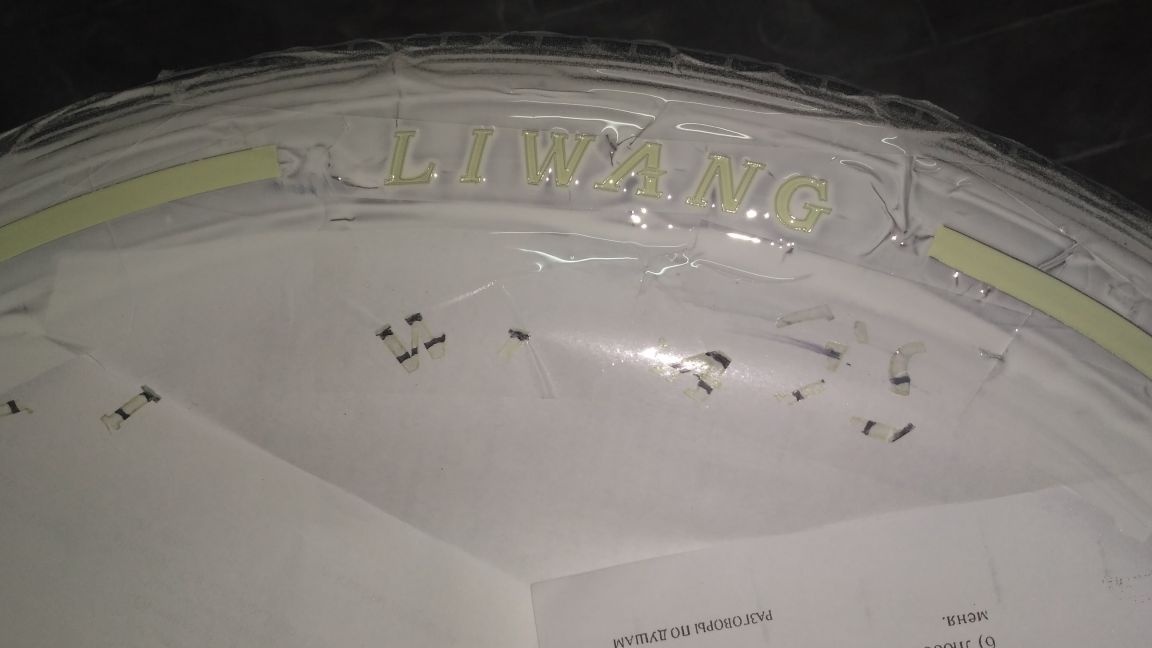
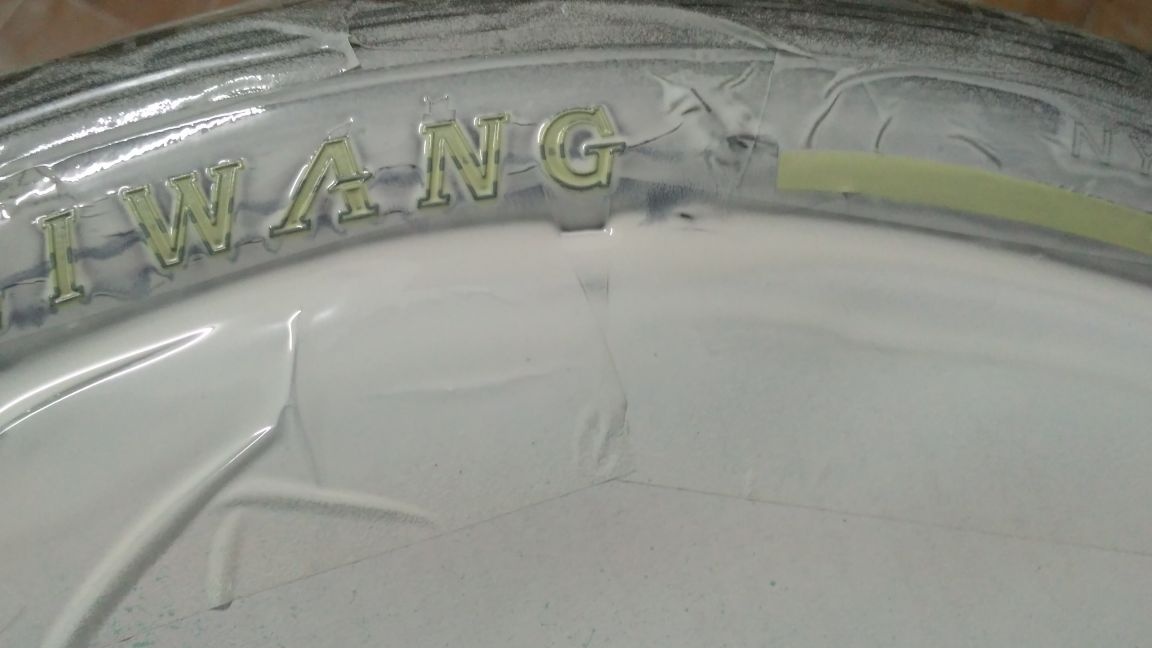
As can be seen in the photographs, white paint in contact with rubber instantly begins to turn yellow, which does not occur on the surface of the adhesive tape. And the point is not in the paint, but in the rubber itself. In the photographs where I cut out the letters, it can be seen that the adhesive tape, which was in contact with the rubber even for a small amount of time, also turned yellow. And the newer the tire, the more intense it gives yellowness.
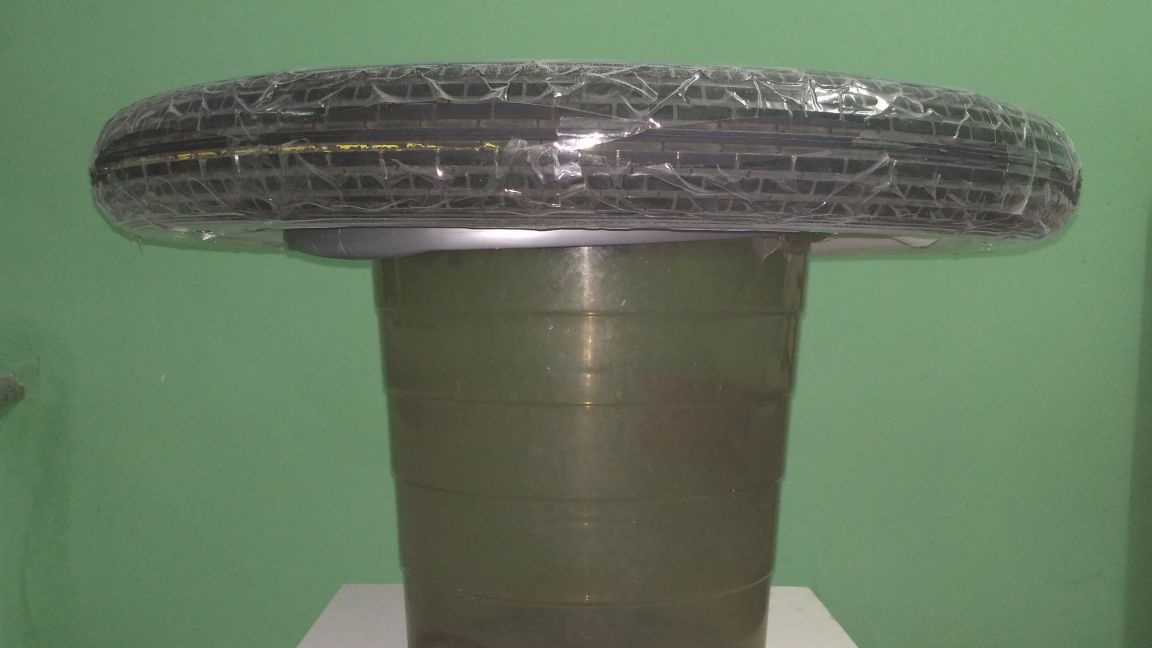
The paint was applied in 5 layers, counting along with the first two white layers. When drawing a picture on a motorcycle wheel, it is most convenient to use an empty bucket or something like that. Then the wheel can be turned over without causing damage to the downward side of the tire. There will be no such problem with car wheels, because they are painted only on one side and do not need to be turned over.
In the process of applying rubber paint a couple of times I had to smear a drop of paint on the surface of the adhesive tape on paper that covered the rim. On rubber and paper, the paint dries up within 5-7 minutes, but on the scotch tape entire puddles are formed, which, when the wheels are turned over, can seriously harm.
Step 7
Remove the tape.
ATTENTION: remove adhesive tape immediately after applying the extreme layer of paint, without waiting for it to dry. When the paint dries, it will acquire the properties of rubber and, together with tape, you can tear off the strip that should remain on the tire. In order to completely remove the tape, we have about 4-5 minutes, then we have to arm ourselves with a clerical knife and cut through the border between the tape and the strip of paint we need on rubber.
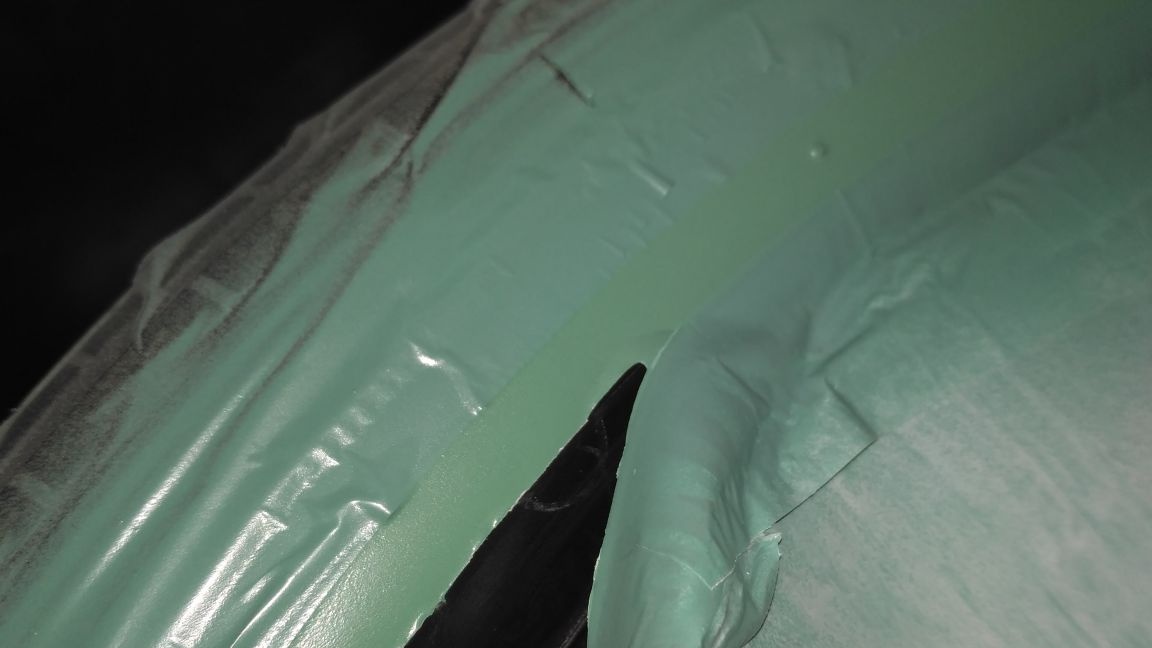
To speed up the process of removing adhesive tape, I cut a line along the tread border to remove not all the adhesive tape from the wheel at once, but first only the area around the “strip”, and the rest of the adhesive tape can already be removed in a hurry.
When removing adhesive tape from the inscription, it is better to have a pair of tweezers and an office knife on hand, because there are very small pieces of adhesive tape that need to be removed very carefully without damaging the painted areas.

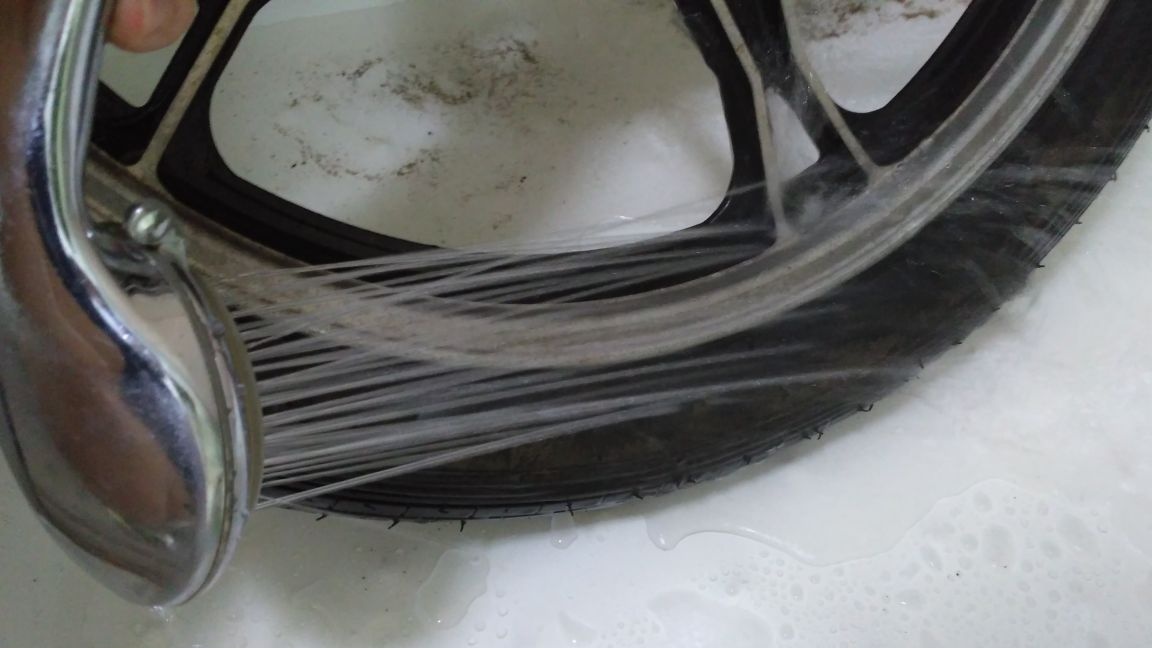
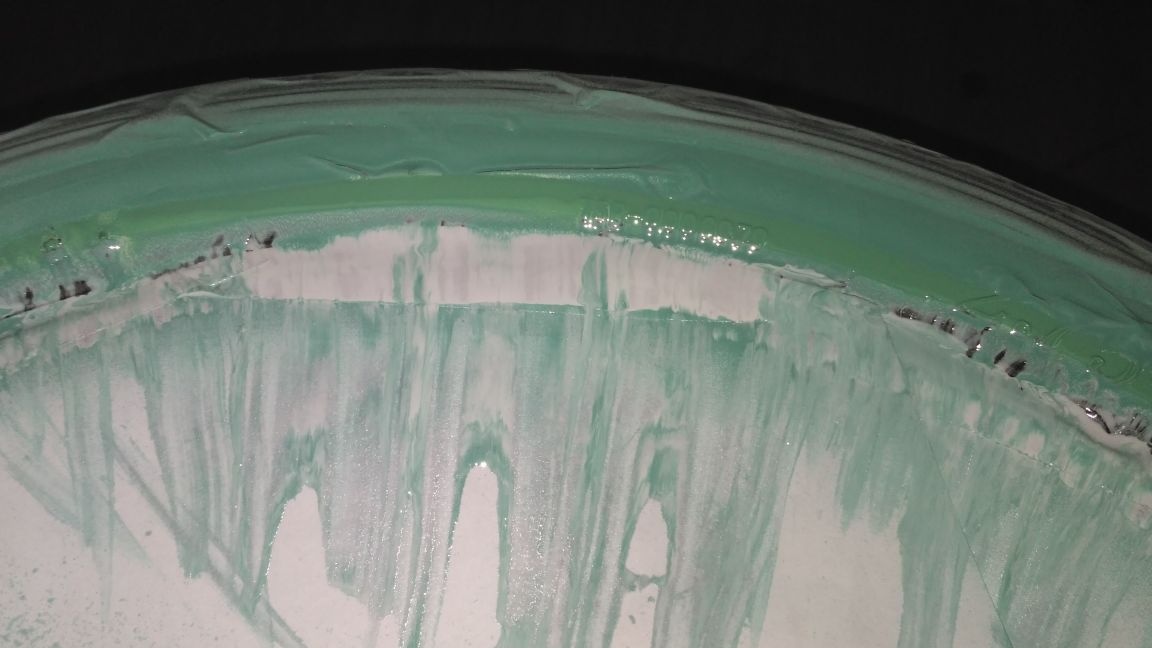
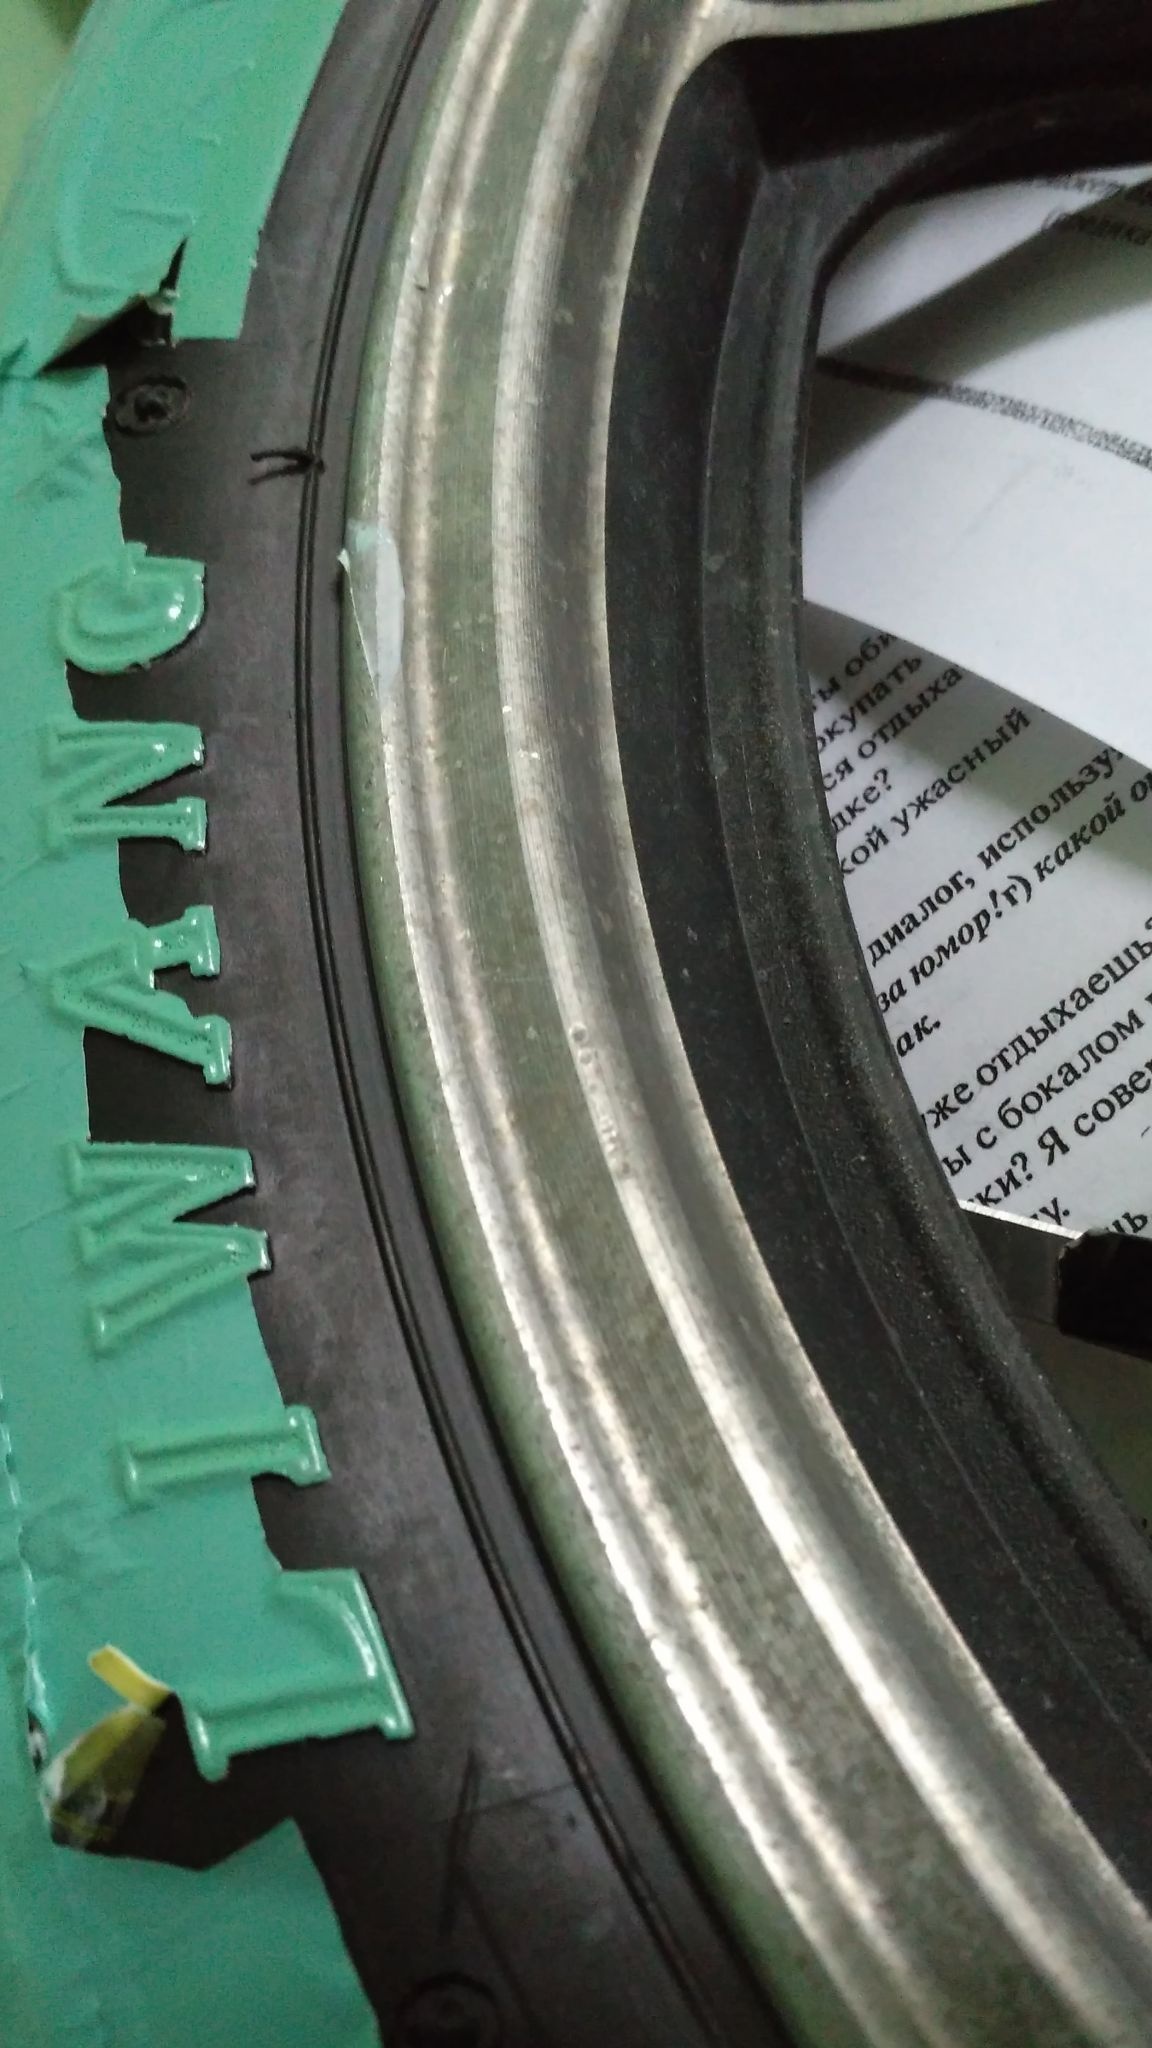
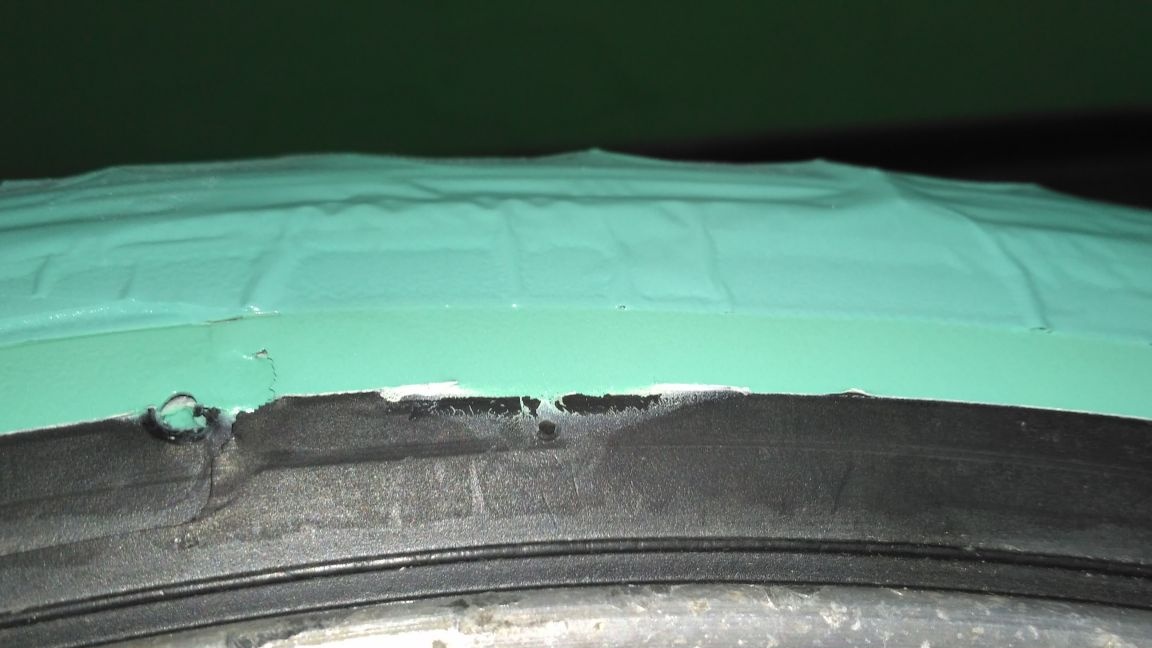
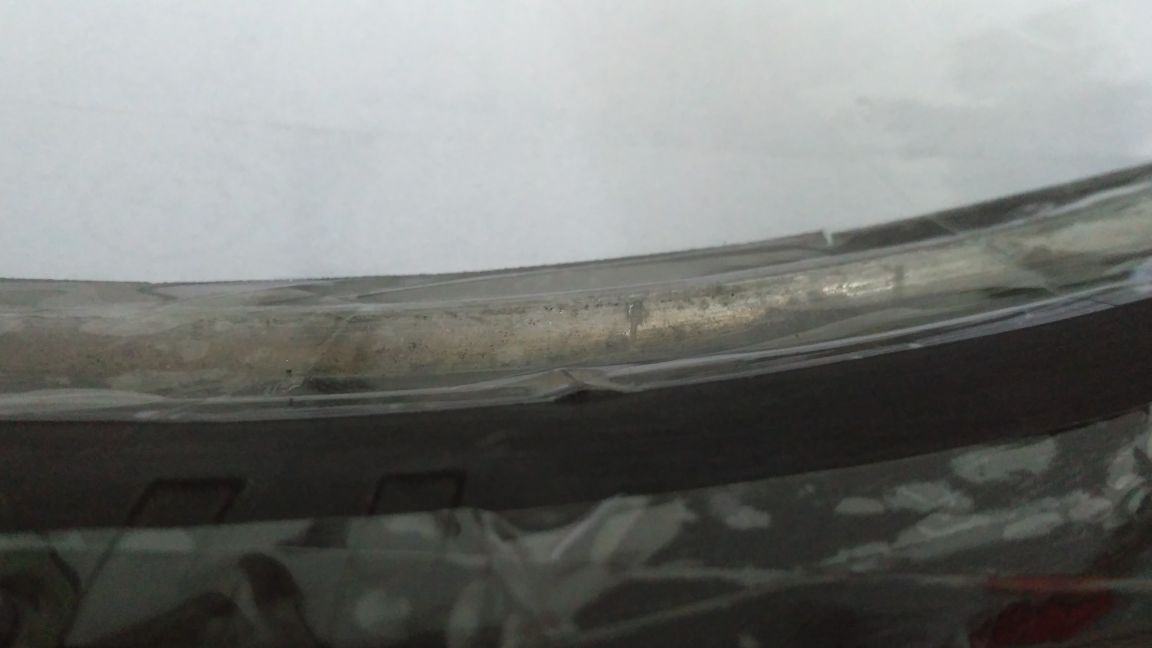
In this photo you can see what is fraught with leaving these small rubber spines on the tire. They will not let the adhesive tape be pressed tightly and you get such a fuzzy border.
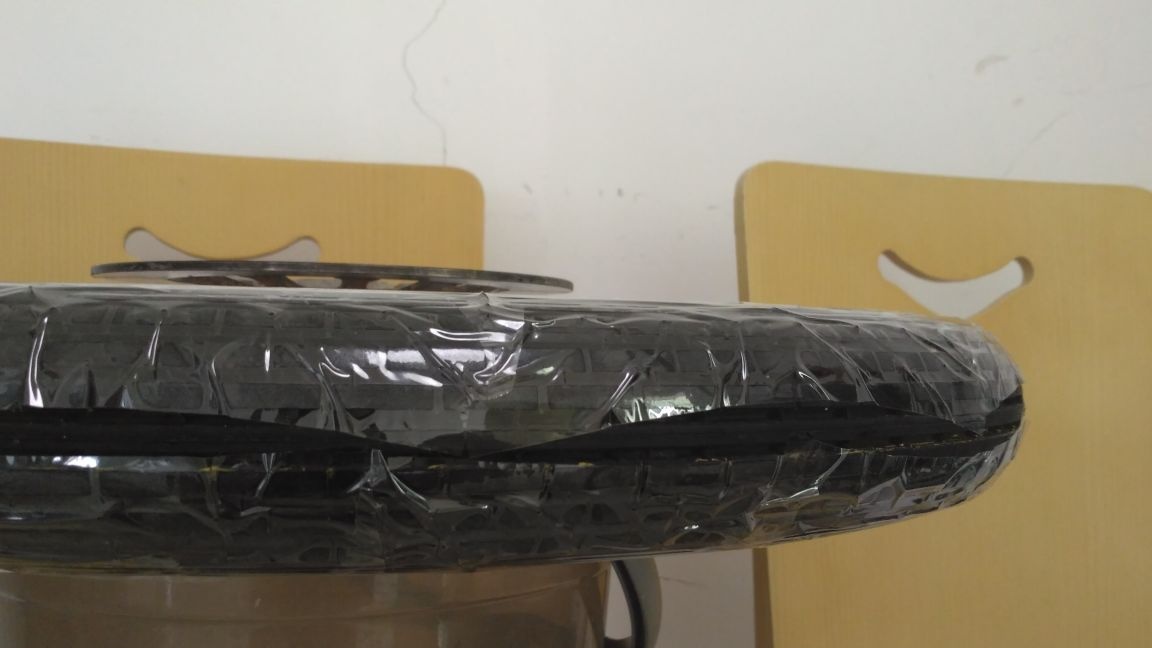
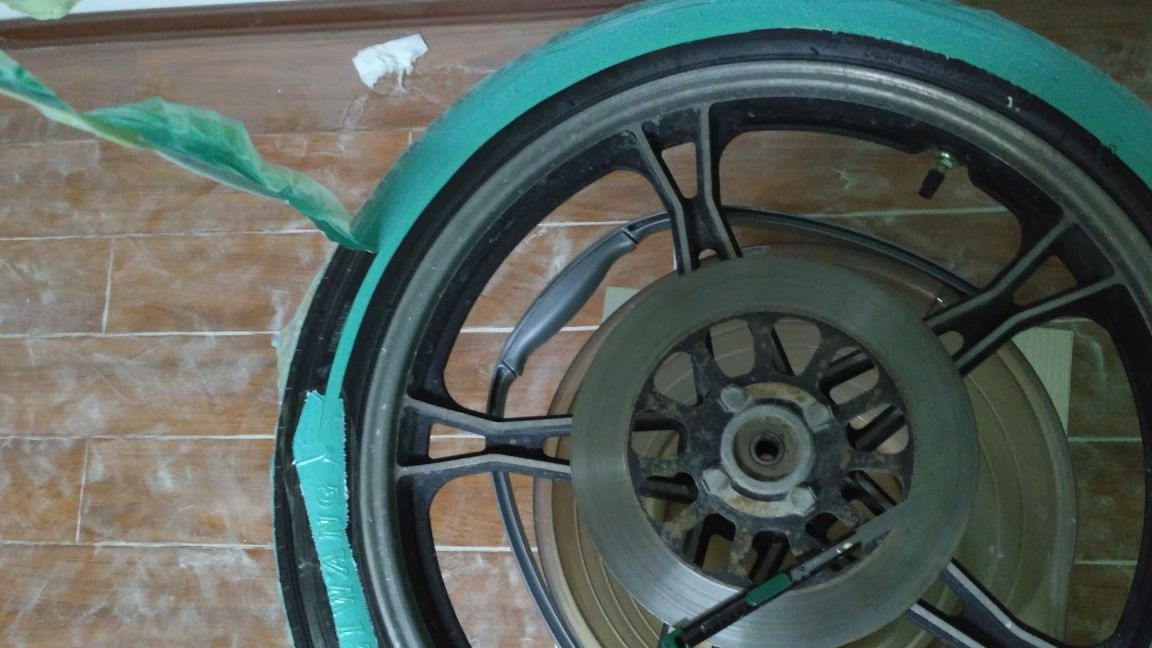
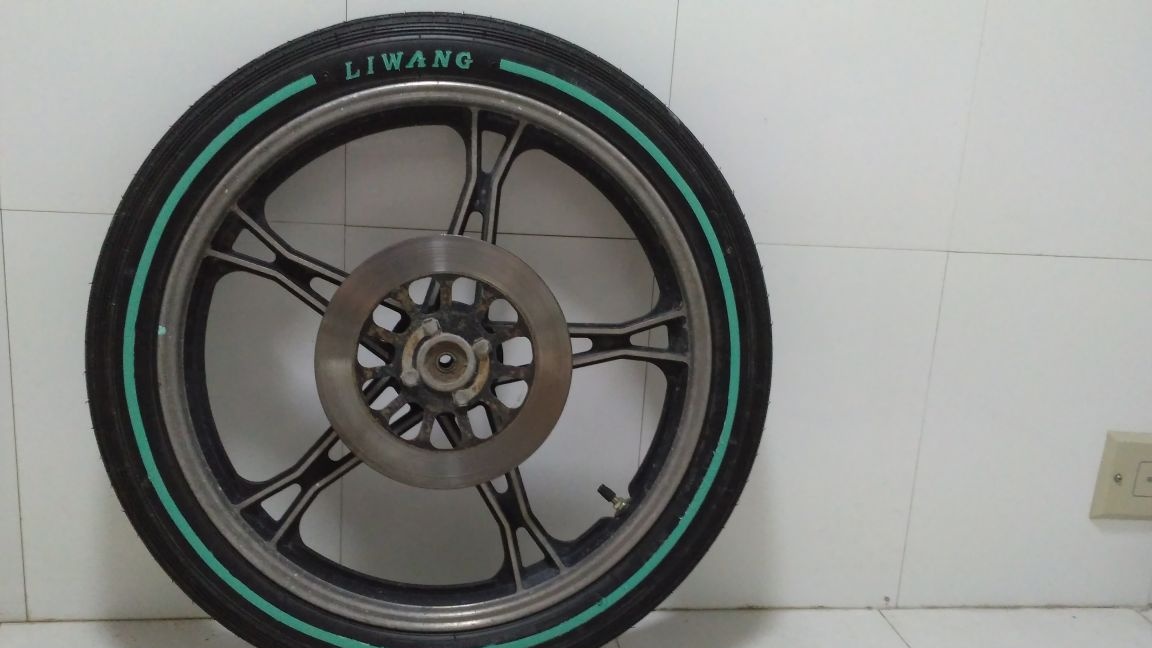
On the side where the brake disc is located, I cut a strip using a makeshift cutter with two blades, and with the reverse an ordinary stationery knife. The difference is visible to the naked eye.

Step 8
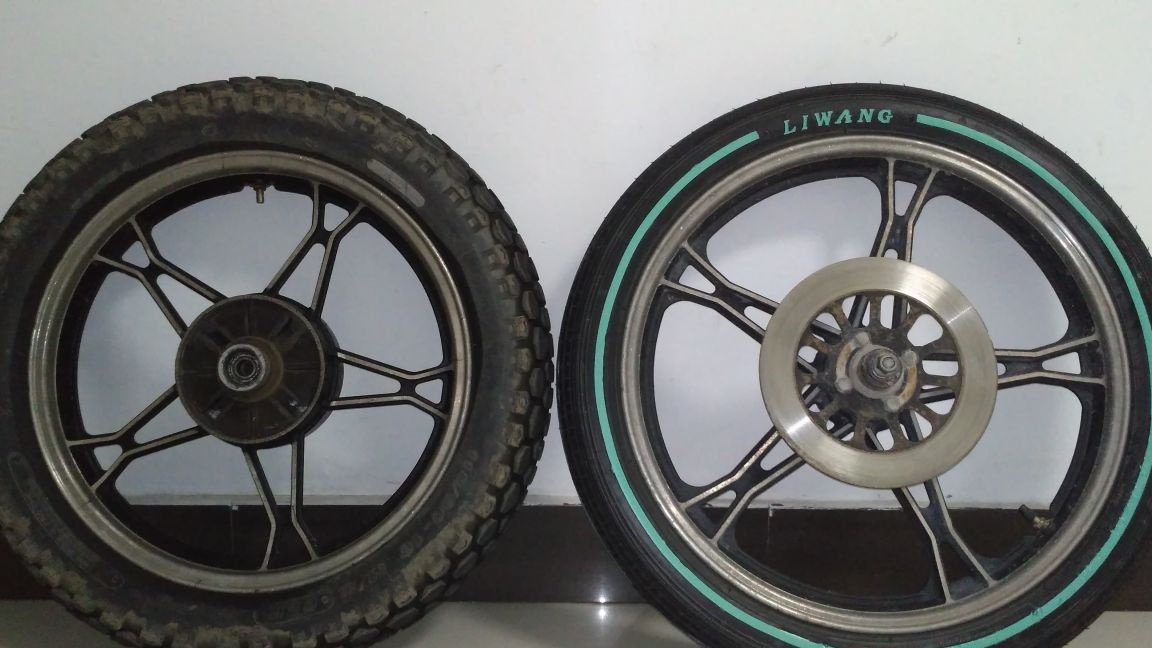
In the case of motorcycle wheels, there is another nuance. The front and rear wheels, as a rule, have a different diameter and height of the tire profile, and therefore different proportions. On my motorcycle, the rear wheel looks more massive, although it has a smaller radius. And the width of the strip, the same as on the front wheel, will look different here. Therefore, our homemade cutter is no longer suitable, since there the blades are 8 mm wide, and 12 mm are needed for the rear wheel.
I did not look for a new bar of the required thickness, but simply loosened the nails and inserted two matches between the blades and the bar and then hammered the nails again, thereby increasing the distance between the blades to 12 mm.
My front tire is almost new, so it was pretty easy to rinse it with a brush, but the back had to be processed with sandpaper. And the tread already decided to stick completely, because on the front wheel the paint still hit the rubber, not critical, but still this can be avoided simply by adding a strip of adhesive tape.
Here you can see that if you do not cut off these small rubber spines, you get such a gap in which the paint gets. And if you cut the spikes after sticking the adhesive tape, then when we then press it to the rubber, an unwanted fold is formed. So pay maximum attention precisely at the preparatory stages, this will avoid unnecessary work and achieve a better result.
Conclusion
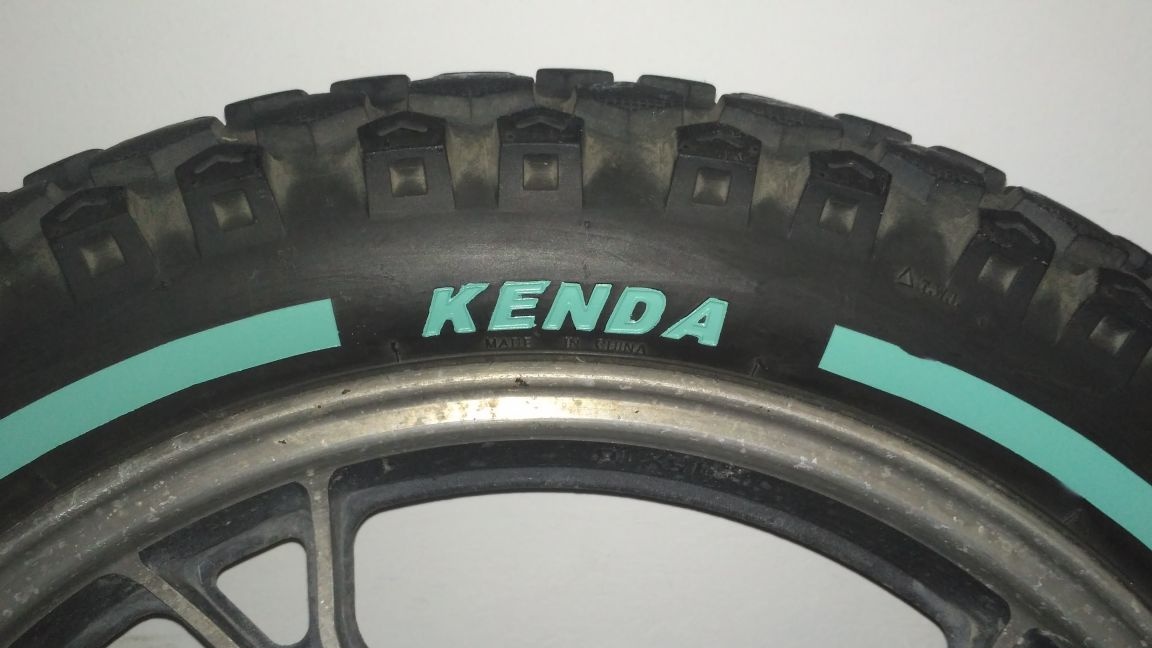
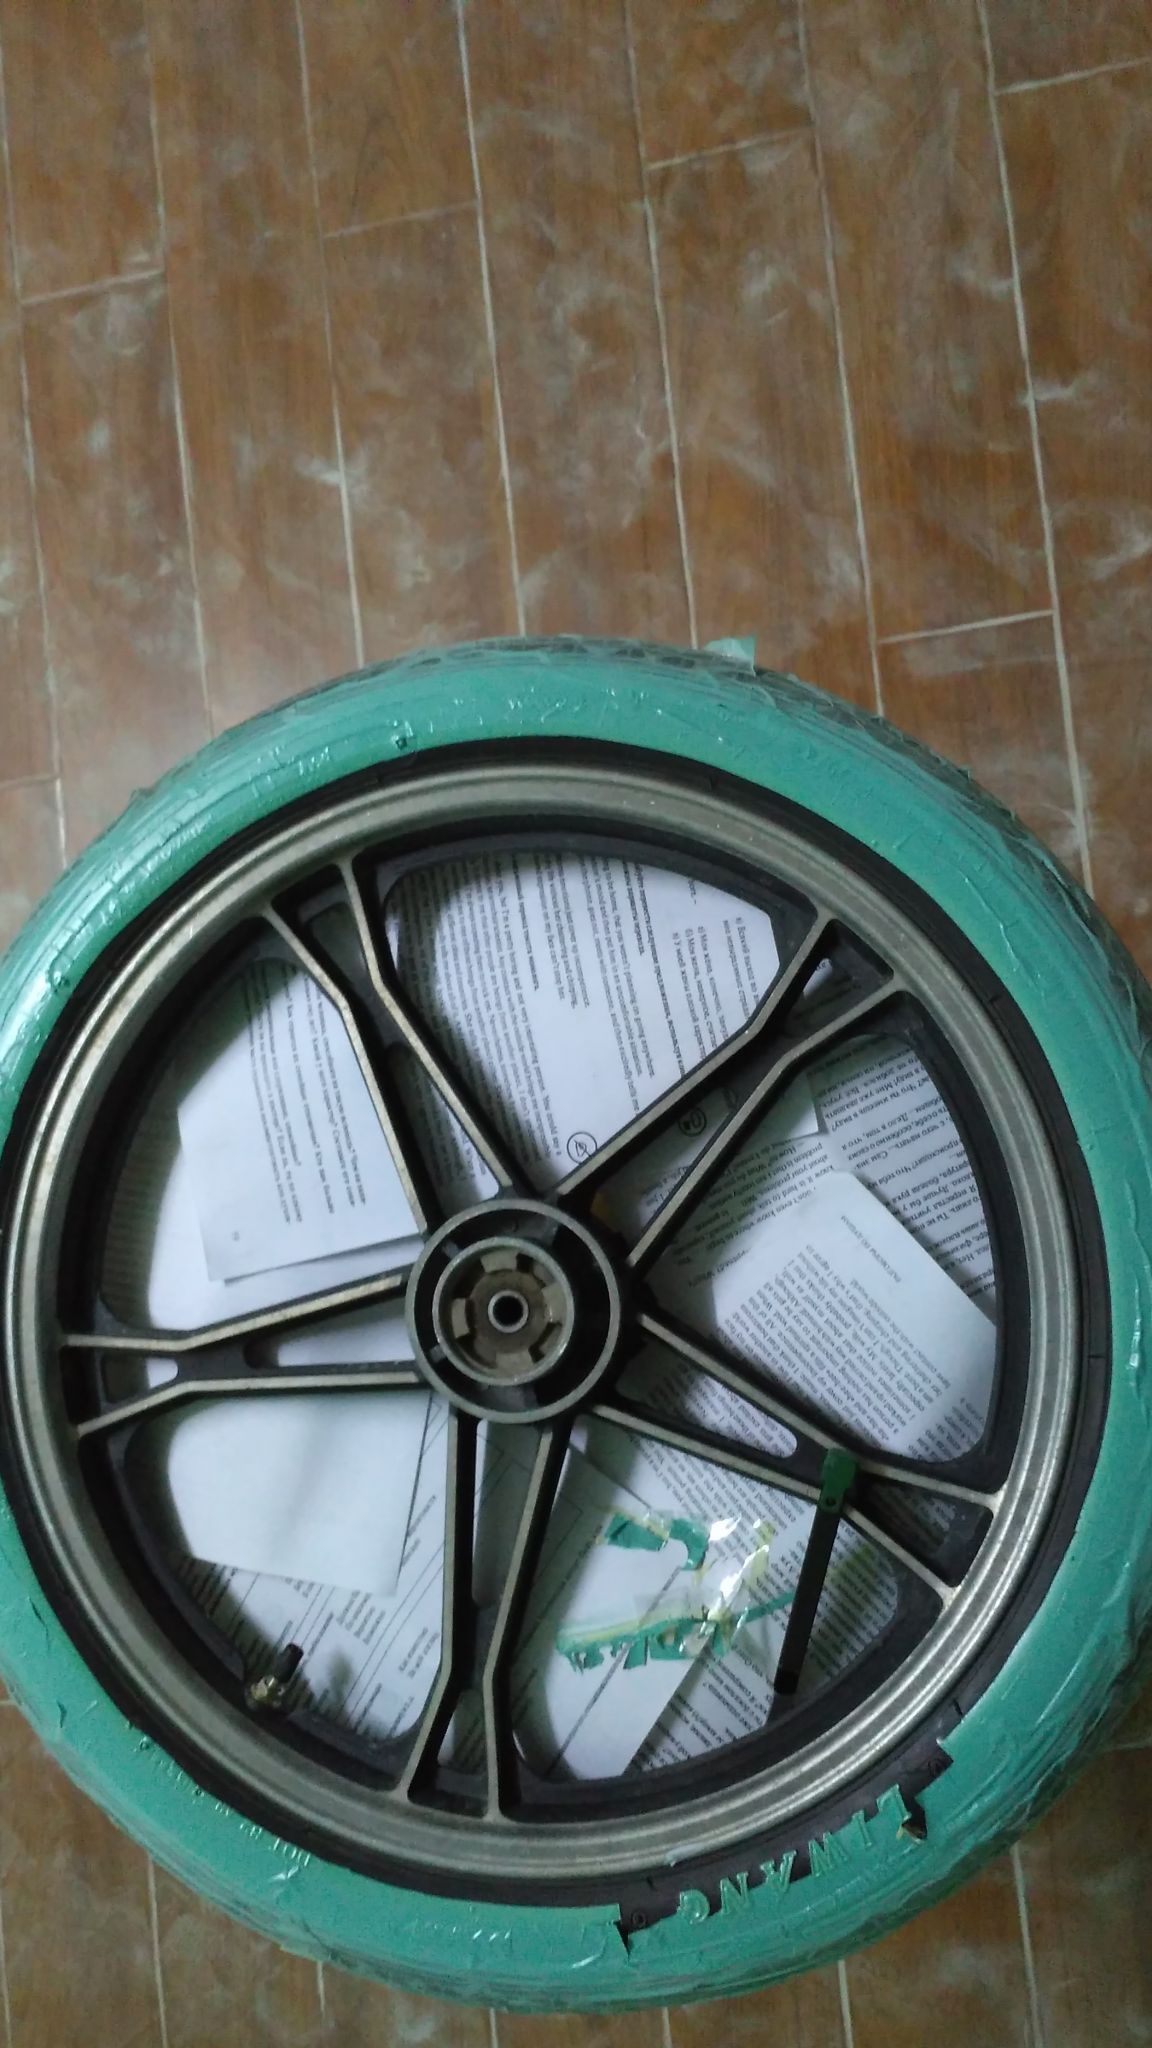
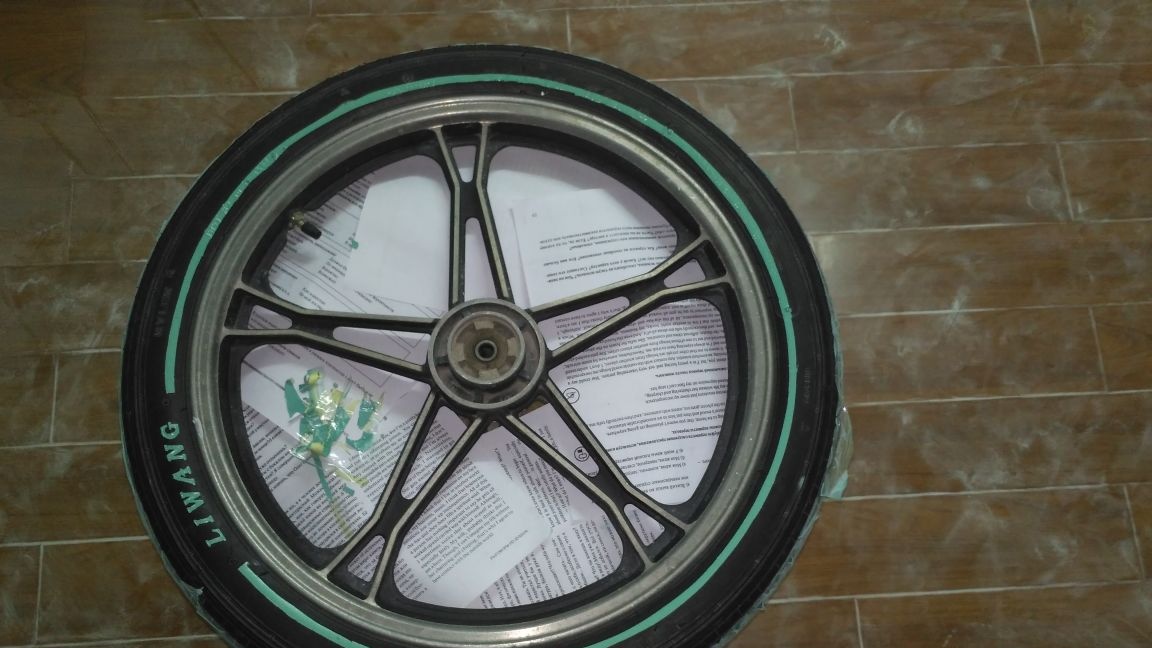
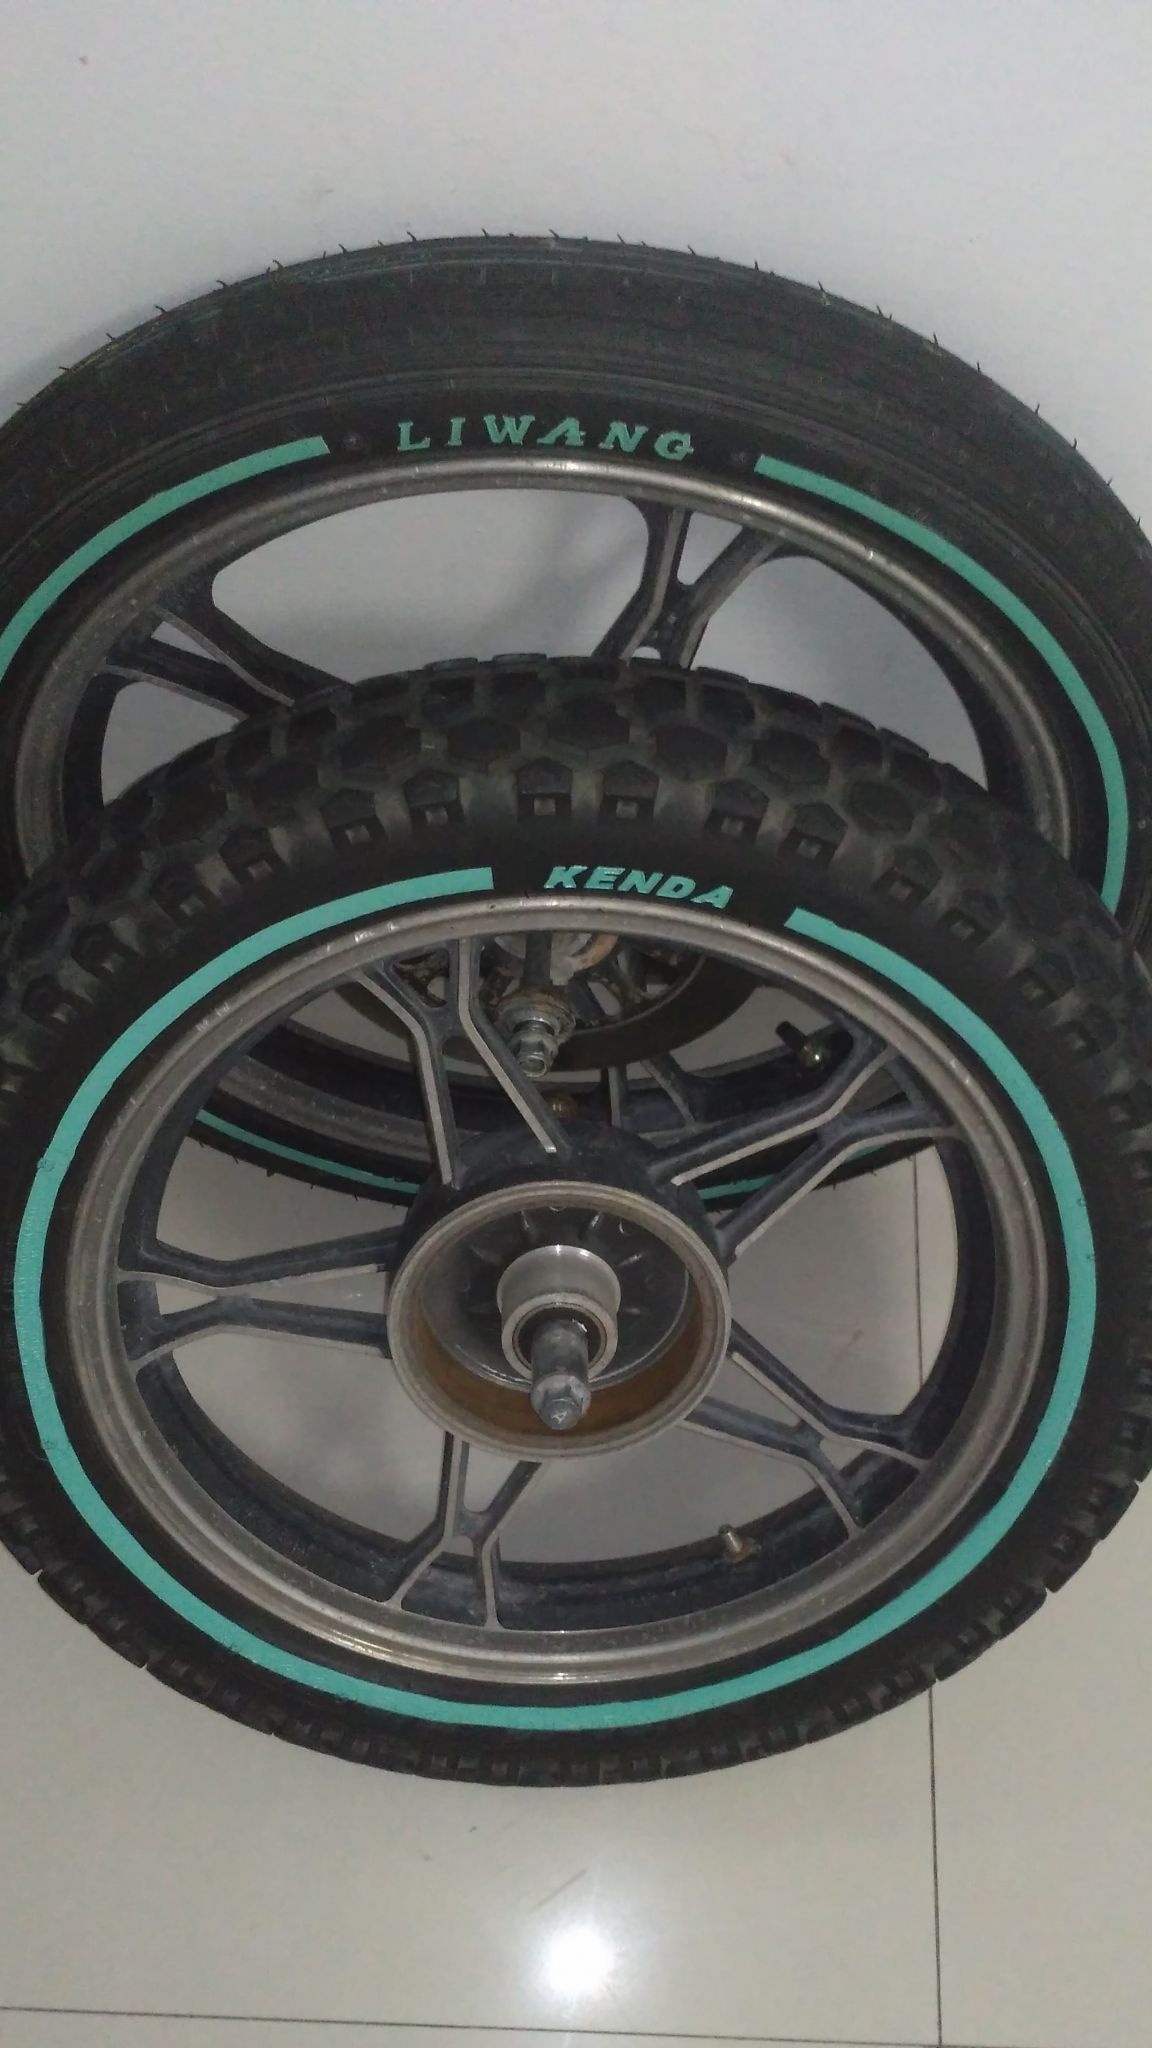
Some photos show a slight difference in shades. The KENDA wheel was painted immediately with turquoise paint, and at first two layers of a white base were applied to LIWANG.

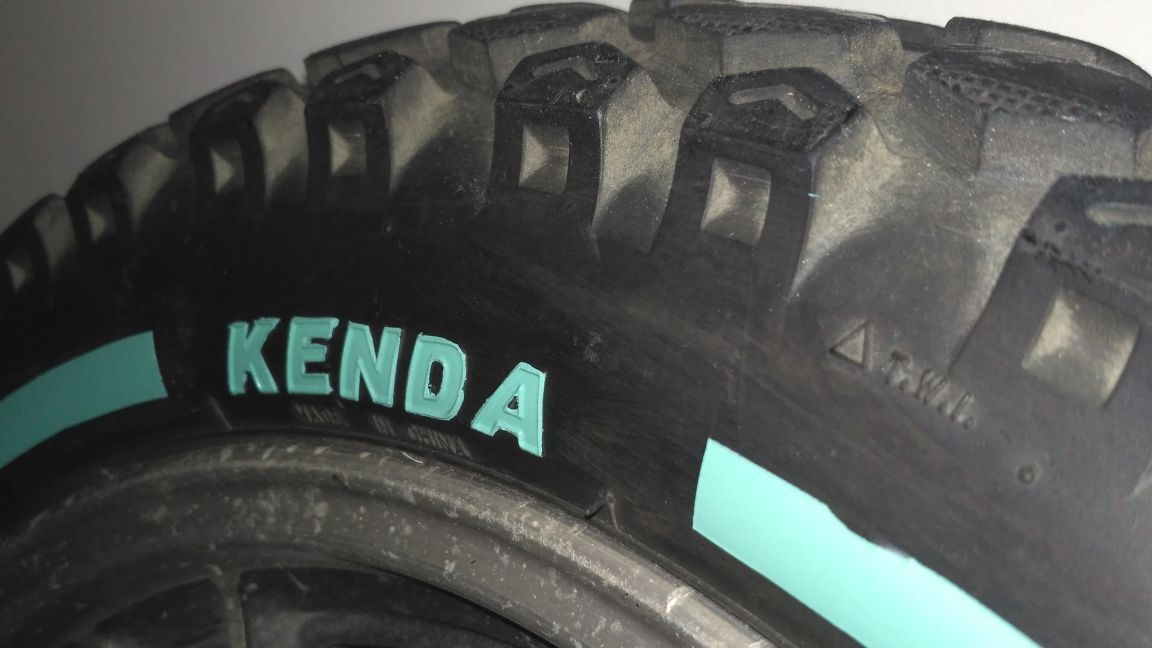
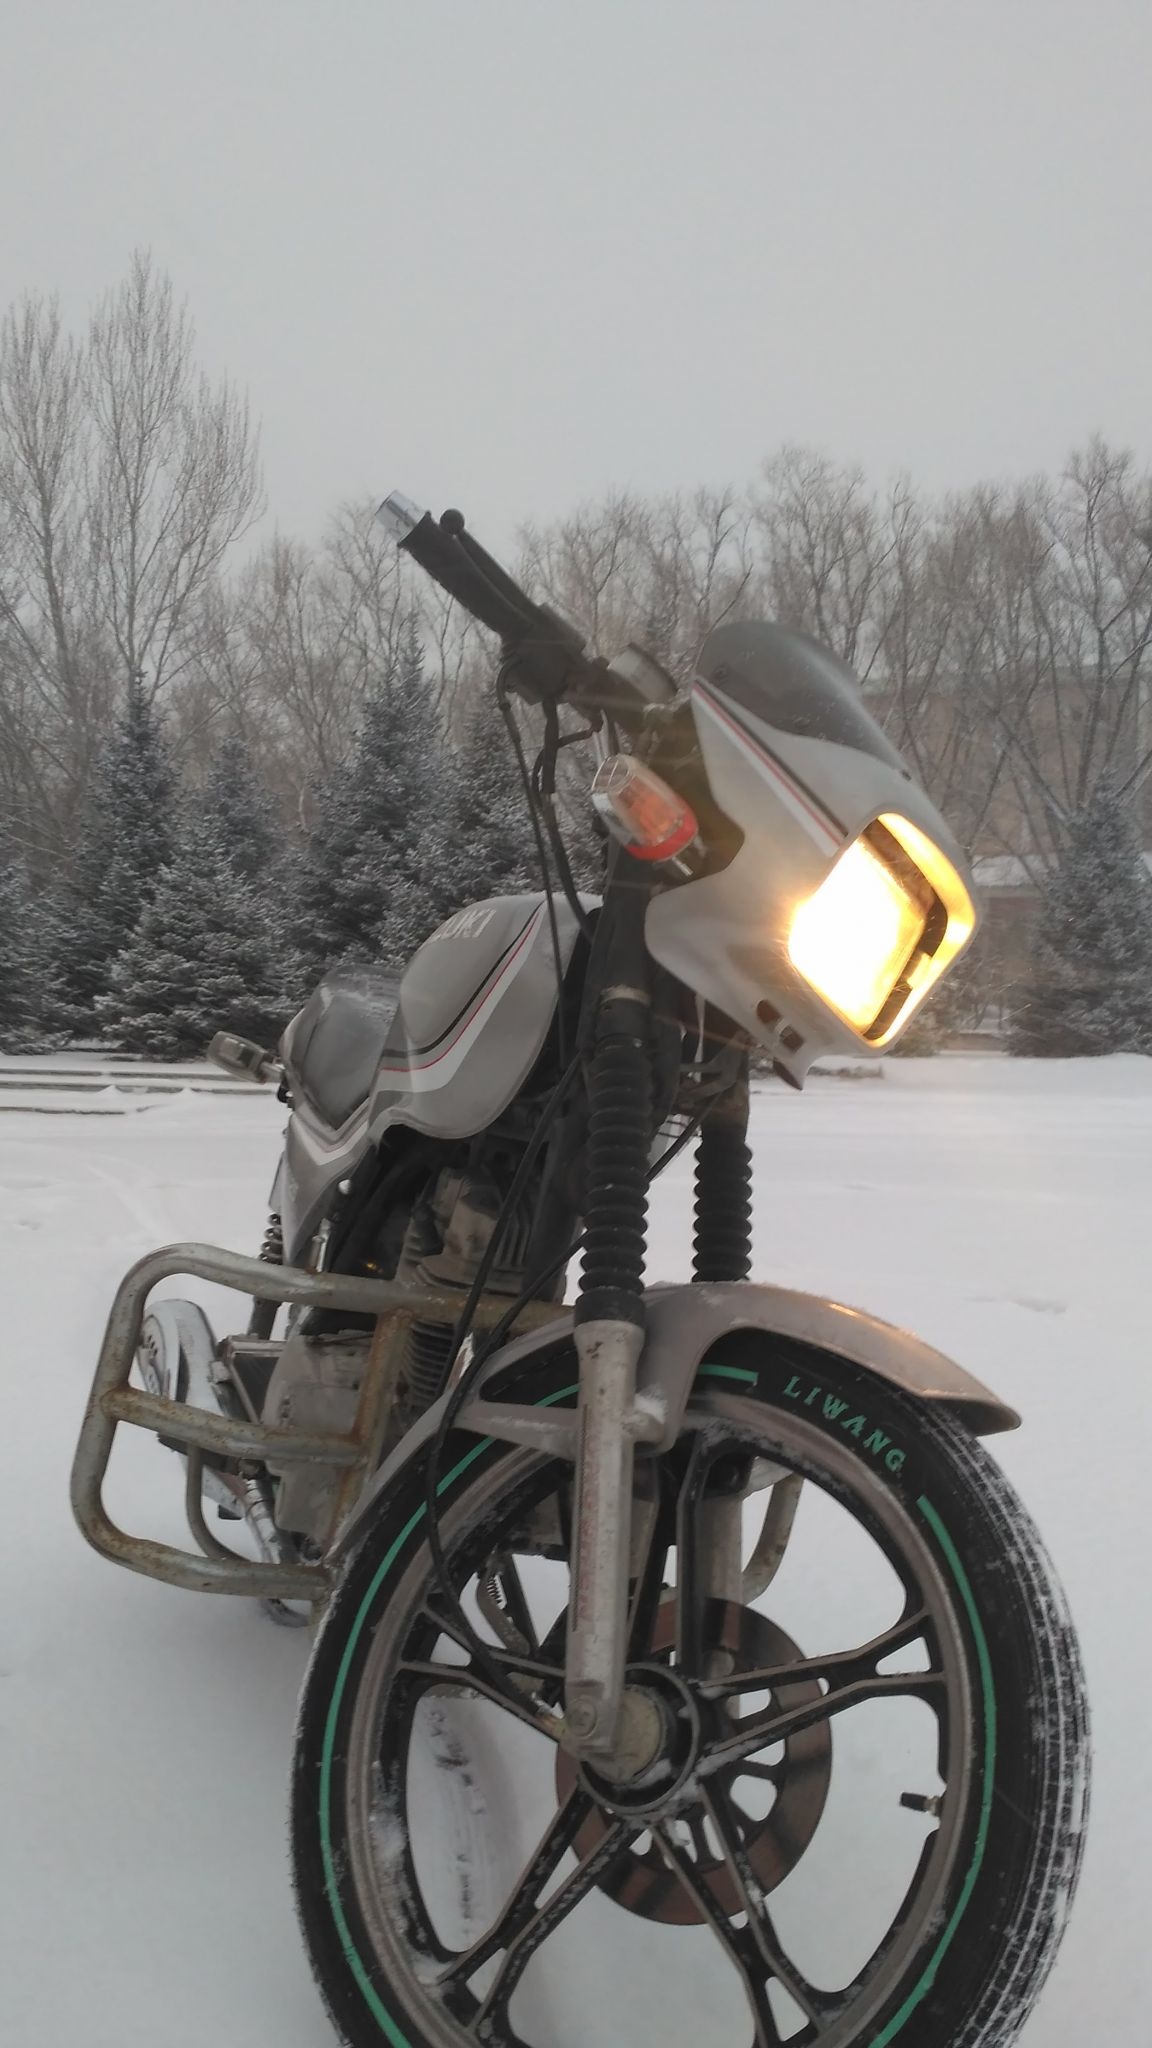
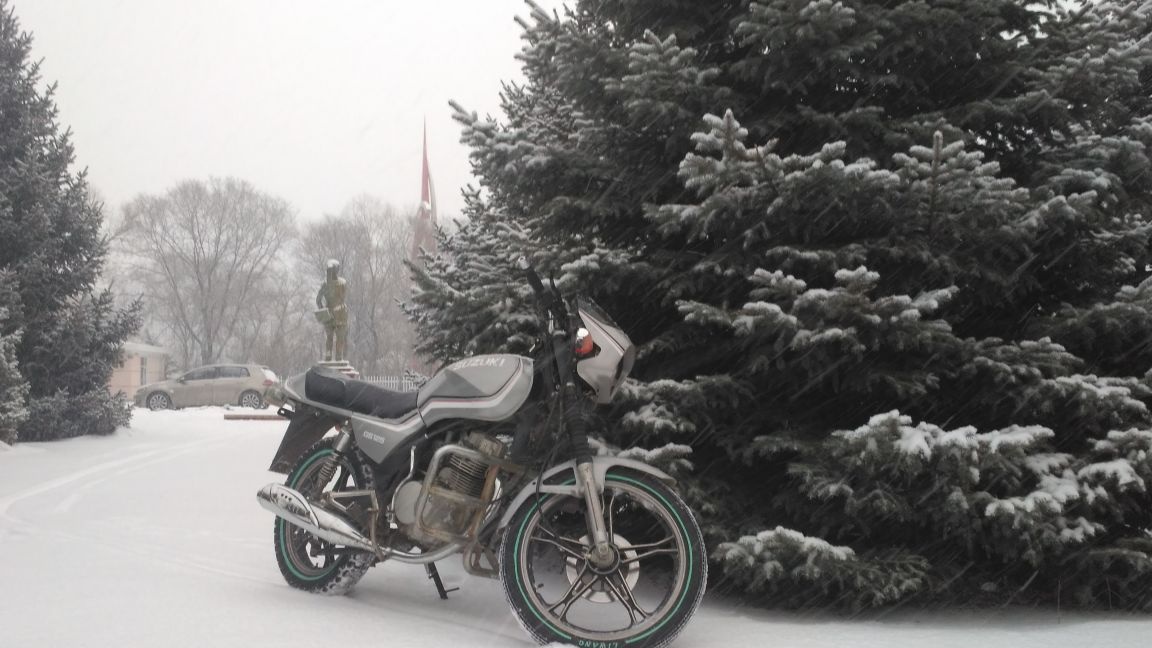
Of course, after a couple of months, the color of the stripes will not be so bright, because the tire will make its own adjustments by adding a little tan to the turquoise. But in general, it seems to me that this is even good, because now the color is too bright, it is too striking. But in general, it seems to me that with a gray motorcycle the wheels with a turquoise strip look very harmonious.