For our grandfathers, the order of things was to work with wooden tools. With the advent of plastic and other similar materials, the demand for such tools fell sharply, and there was nothing to do with them, because now you can buy everything. Despite such an offer on the market, it is sometimes not so easy for us to find a tool for some non-standard cases.
So, for example, in the manufacture of furniture there may be a need to cut sharp corners. It can be the corners of the legs of a chair, table, and so on. Indeed, you must admit that it is much more comfortable to use furniture if it does not have sharp corners.
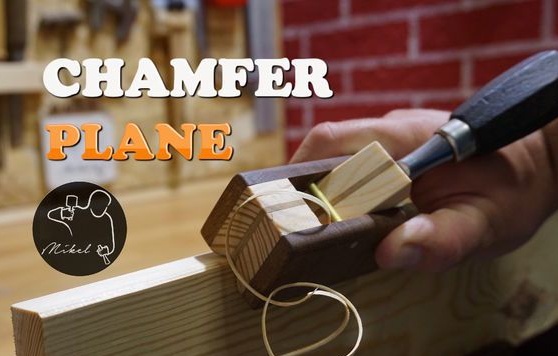
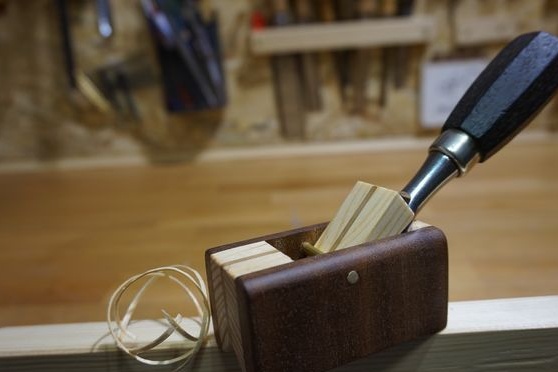
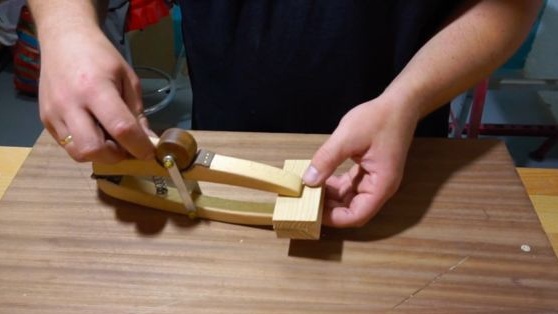
The author decided to make a small planer for himself, which allows him to solve this problem. A chisel is used here as a knife.
Materials and tools for homemade:
Material List:
- source of wood;
- brass rod;
- wax for wood;
- good glue for wood (the author used).
Tool List:
- Japanese saw ();
- pencil and drawing accessories;
- a clamp;
- sandpaper;
- drill and drill 4 mm ();
- hammer;
- chisel and more.
The process of making a planer:
Step one. Foundation preparation
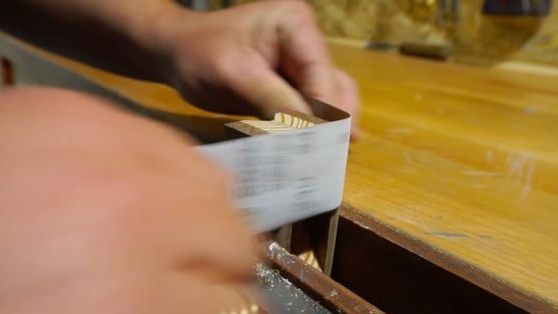
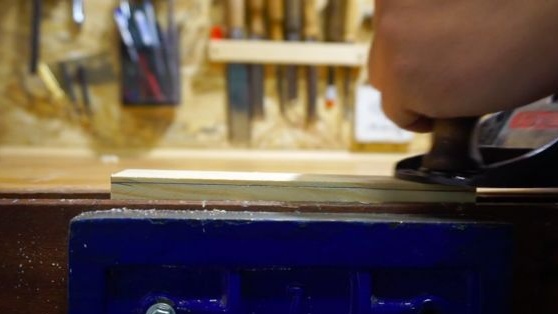
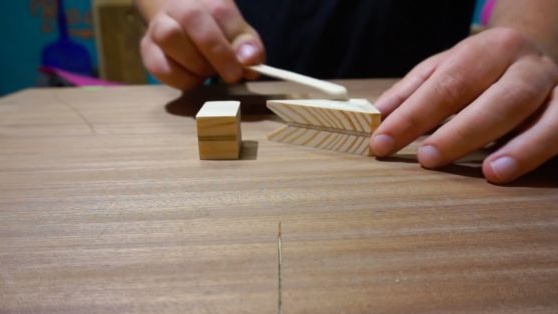
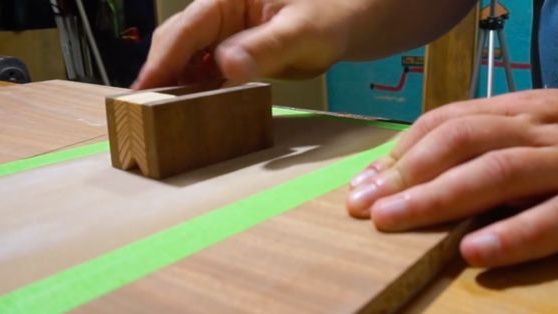
The manufacturing process begins with the basics. First of all, you need to determine the size of your bit and make all the necessary calculations. The author cuts a piece of the workpiece in 158 mm long.
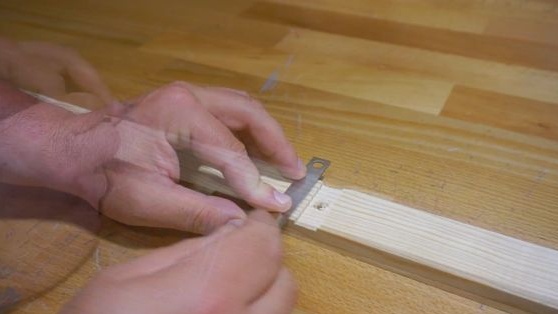

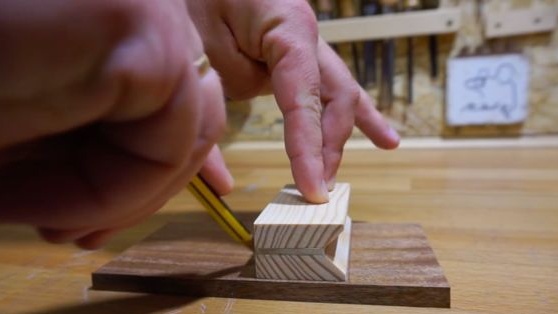
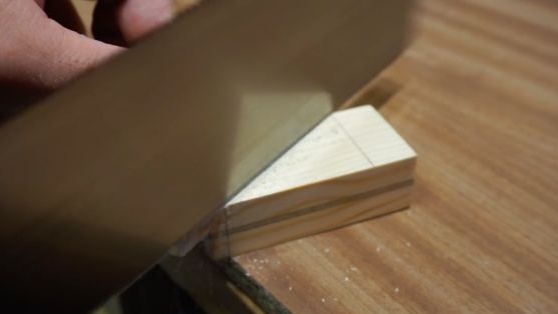
Step Two 90 degree angle
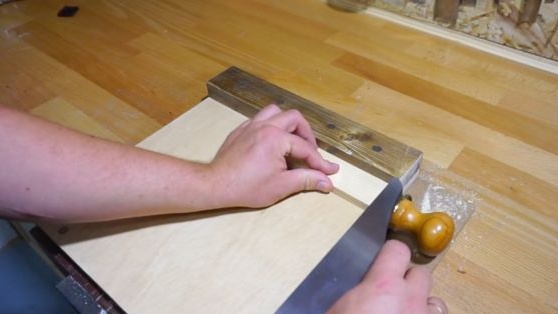
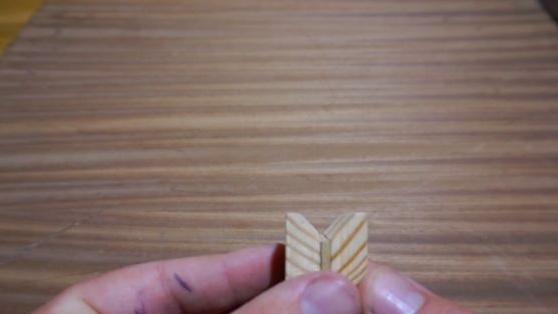
In the next step, we need to make two parts, the angle between which should be 90 degrees. What kind of angles are in question, see the photo. First, the workpiece will be solid, form the desired angle on it, and then cut lengthwise into two parts, you will get two identical halves.
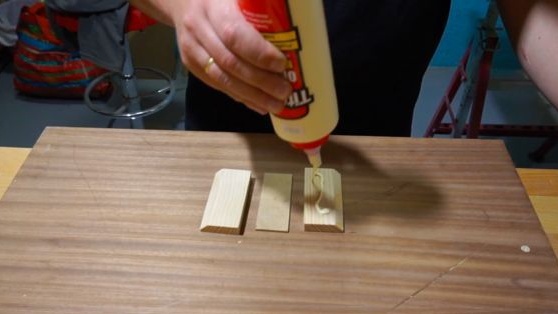
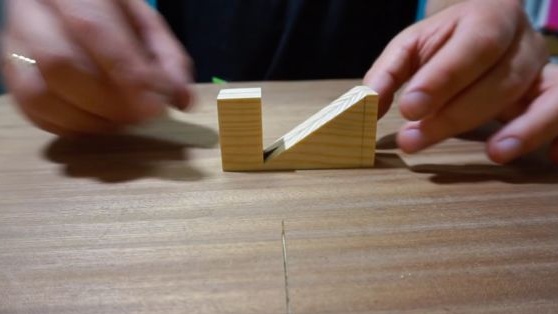
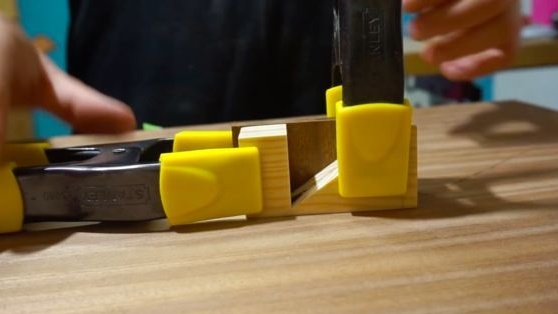
Step Three Glue two parts together
Now we need to glue the two previously made parts together. The essence of bonding is to adjust the angle for your needs. Between the two halves you can glue the fiberboard or other material of the desired thickness. The stronger you "push" the halves, the stronger the planer will cut the corner.
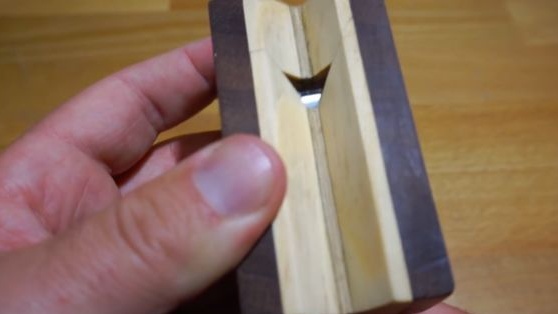
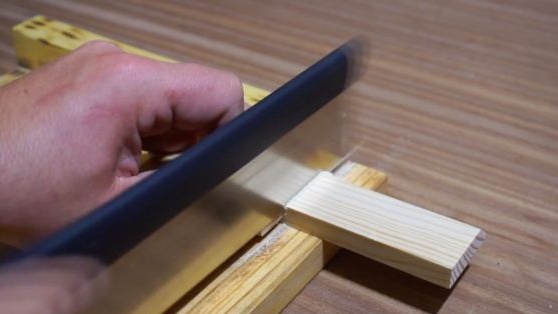
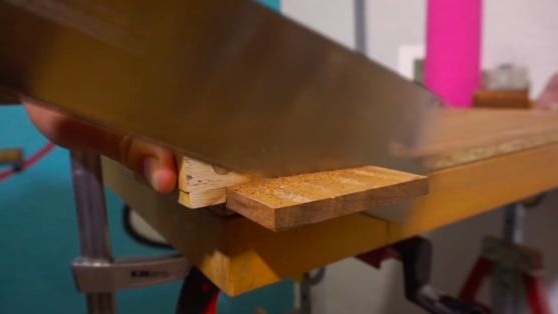
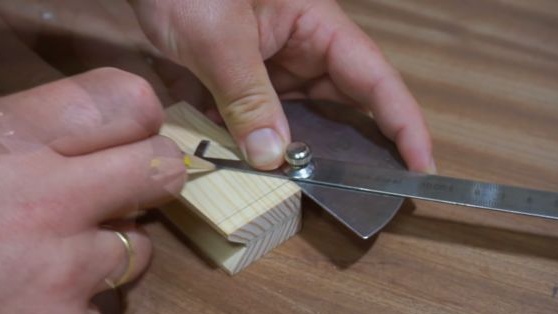
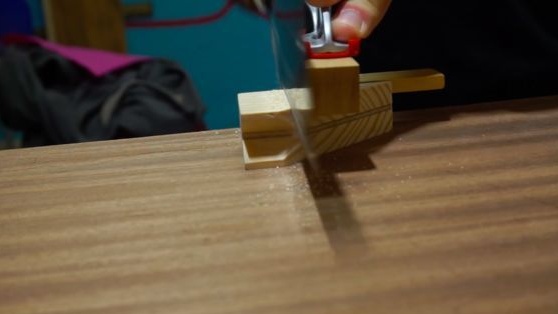
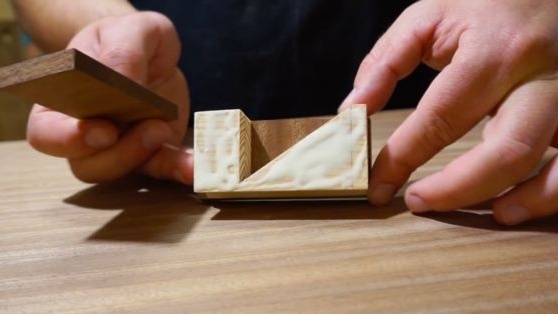
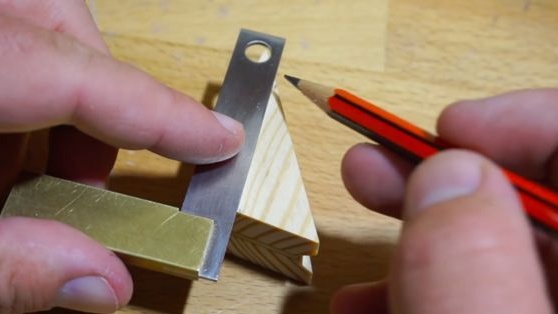
Step Four Cut out the center
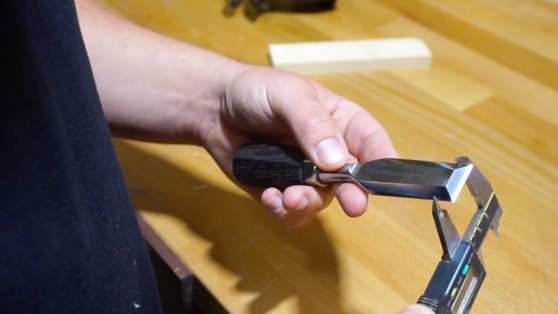
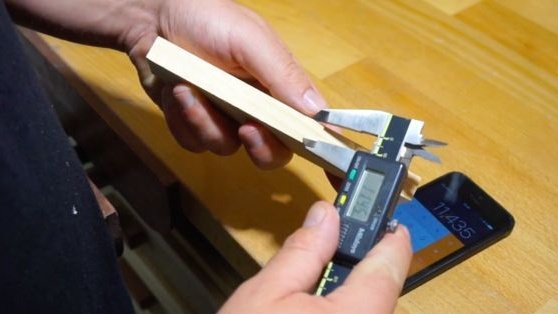
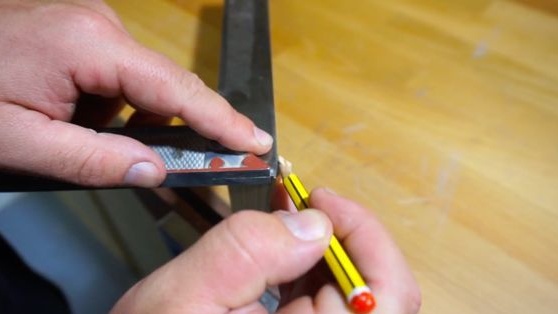
As soon as the glue dries, cut the central part at the workpiece. You should get a right triangle, the angle of one side should be 45 degrees. Before cutting, carefully calculate everything with a square and vernier caliper. Do not discard the cut part.
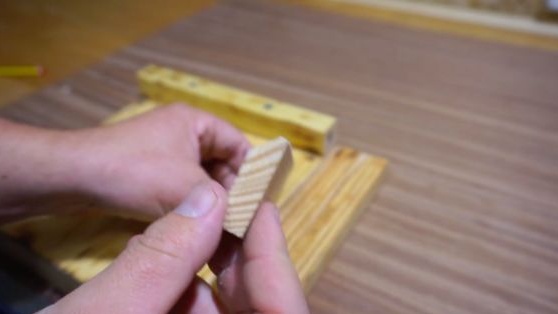
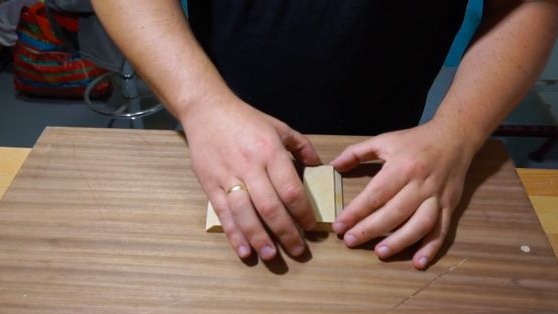
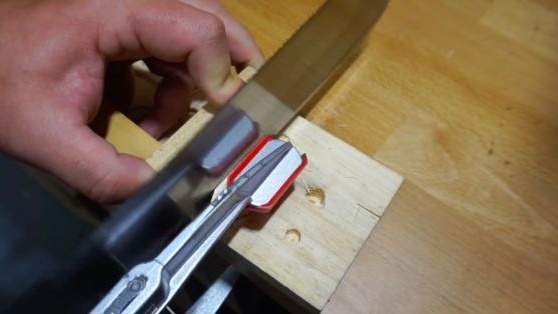
Step Five Glue the side walls
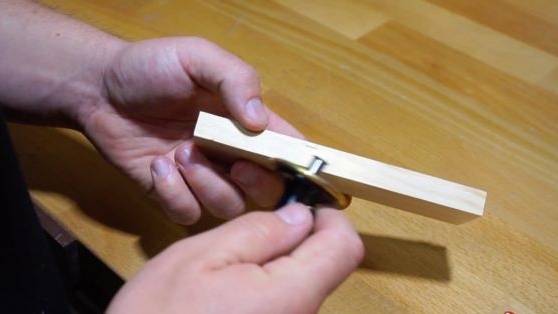
For this step, you will need two pieces of rectangular shape, in size they should be such as the previously made part. We adjust the dimensions, dry and sand well with sandpaper for high-quality bonding. Now you can glue it, apply glue on both sides and tightly clamp it with a clamp. Let the glue dry completely.
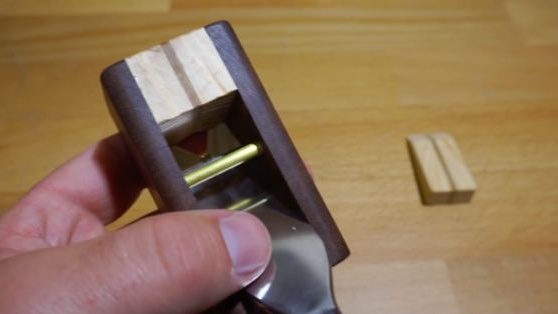
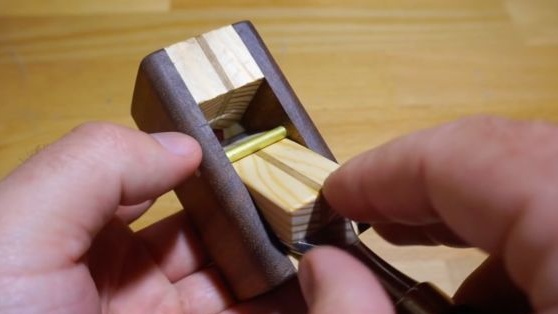
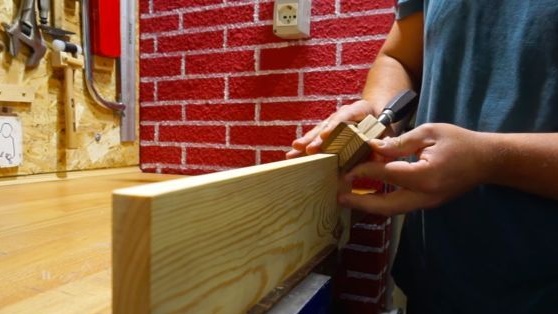
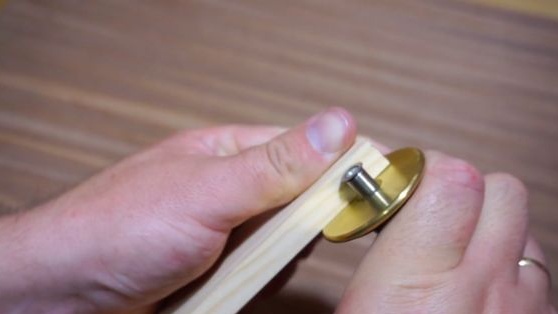
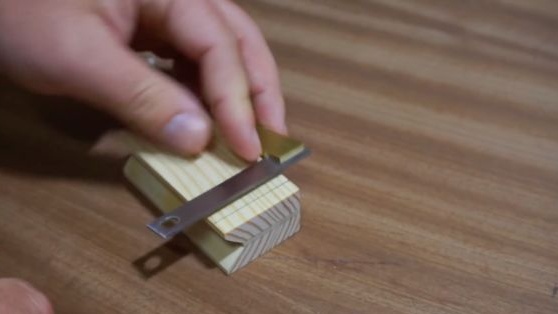
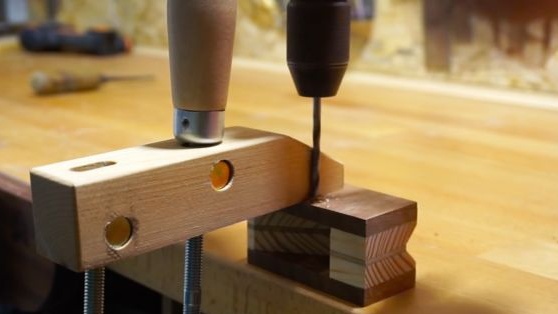
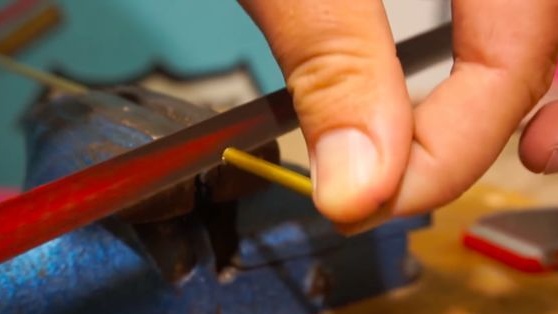
Step Six Bit lock
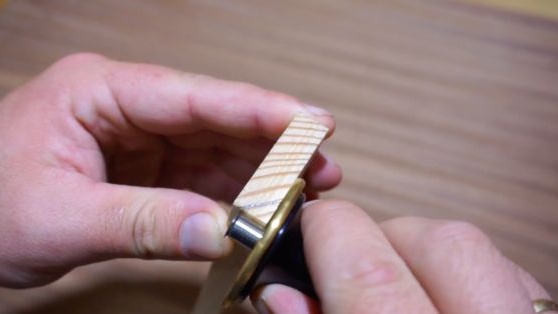
To fix the bit, the author needed a rod made of brass, we drill a through hole for it in the body. It is not necessary to use a brass rod, it is only a matter of aesthetics. Even a nail will do.
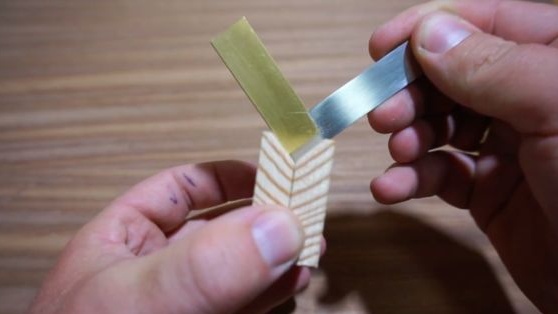
In addition to this, we need the detail that we cut earlier, we are talking about a triangle. Cut off excess from it. Now by inserting a chisel in device, try fixing it by inserting it in its place. If the chisel holds, everything is done right.

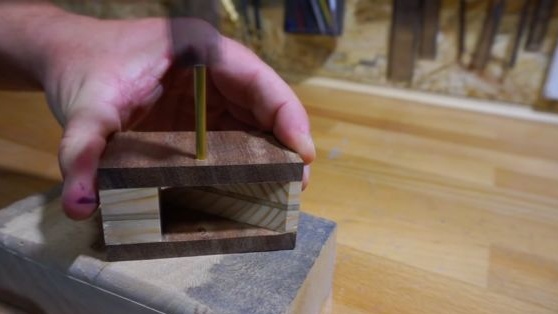
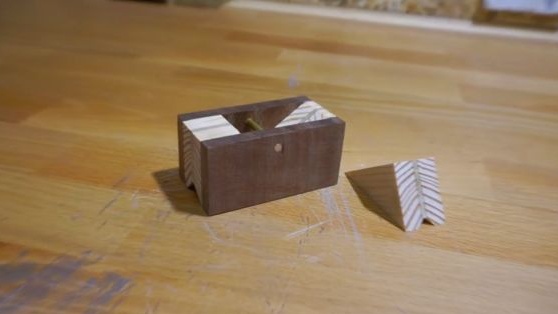
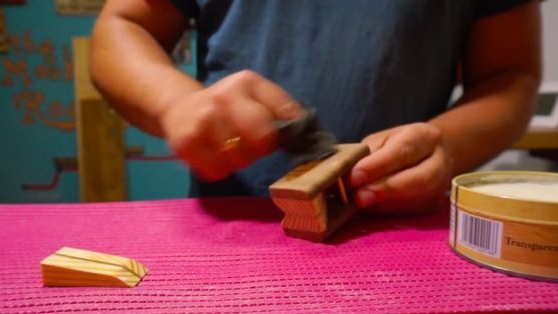
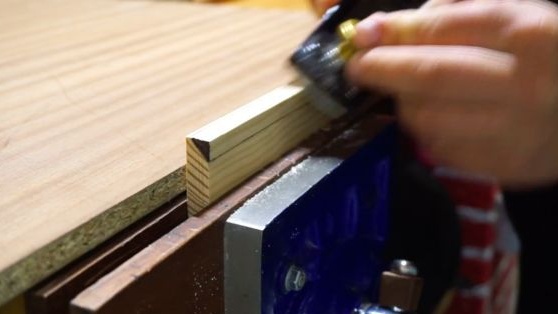
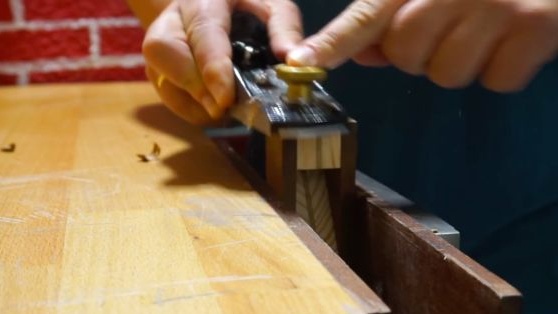
Homemade ready. Grind the surface thoroughly and soak in linseed oil or wax to protect it from moisture. Good luck