
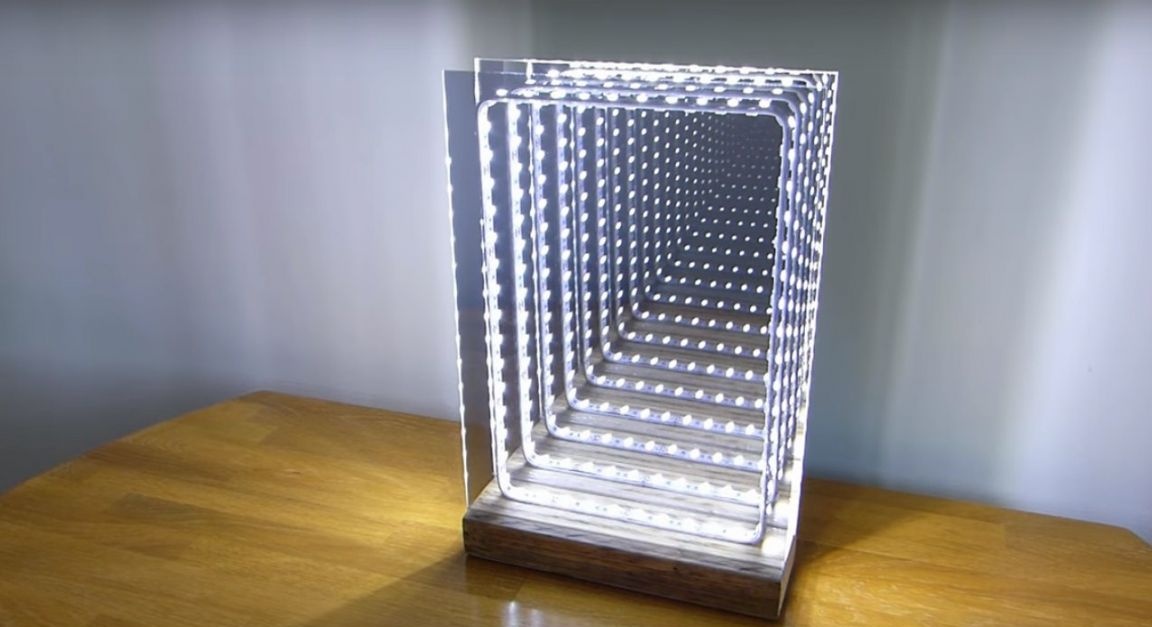
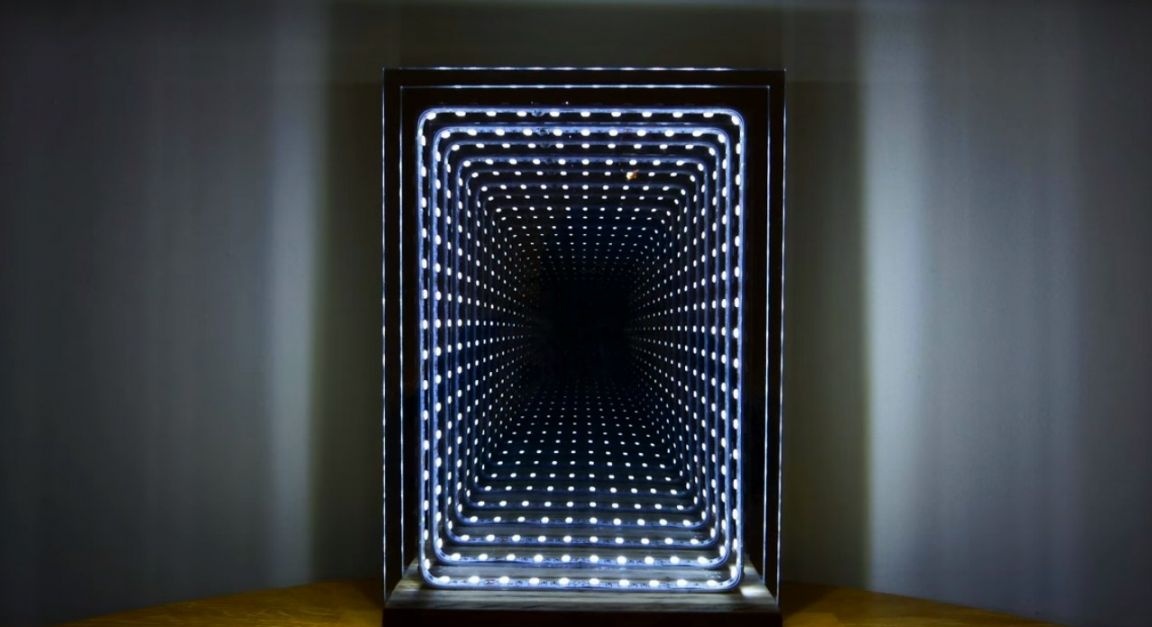
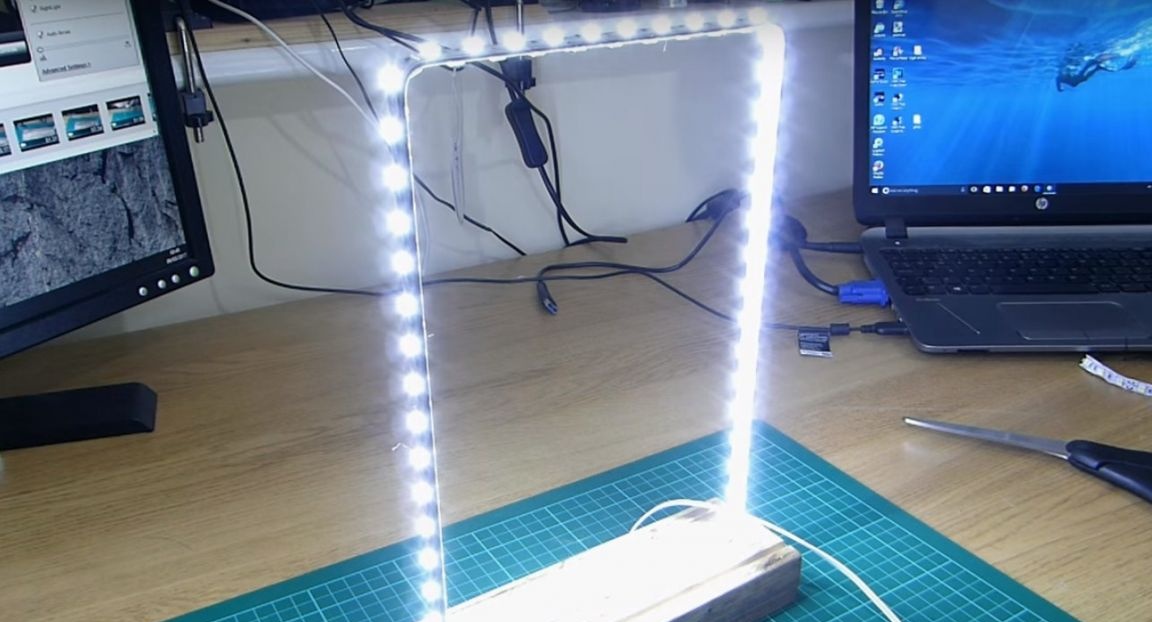
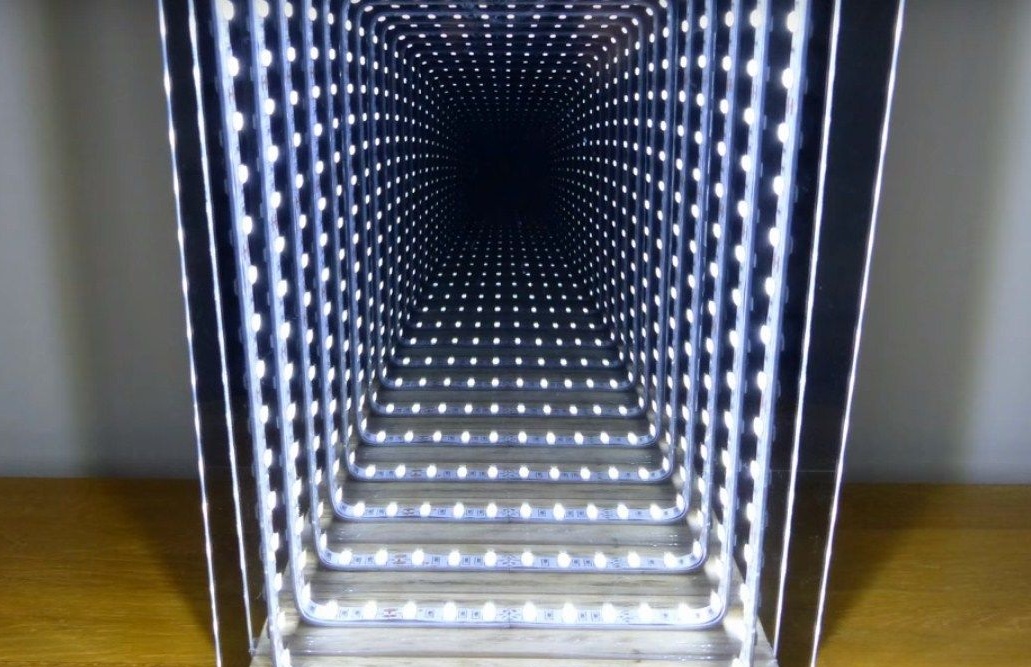
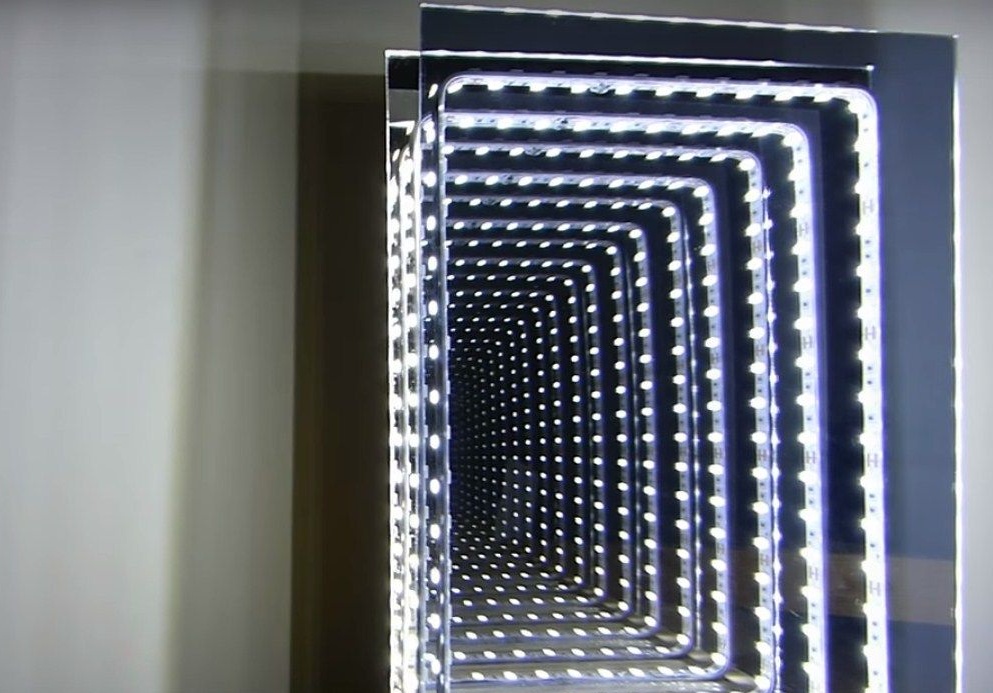
At night, he looks even more beautiful.
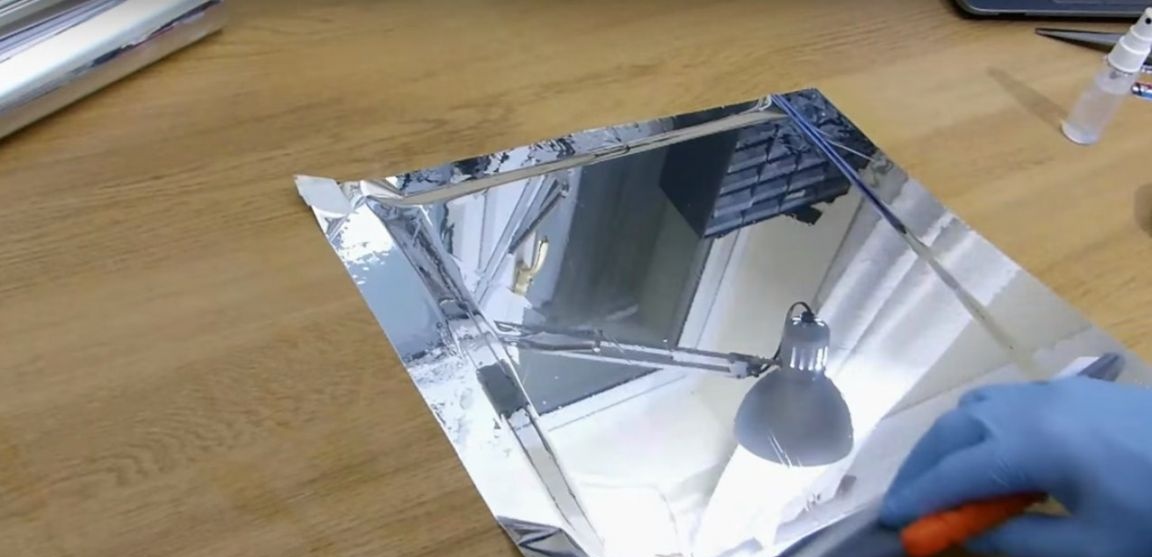
For this homemade the author used such materials: acrylic mirror. Sizes may be different.

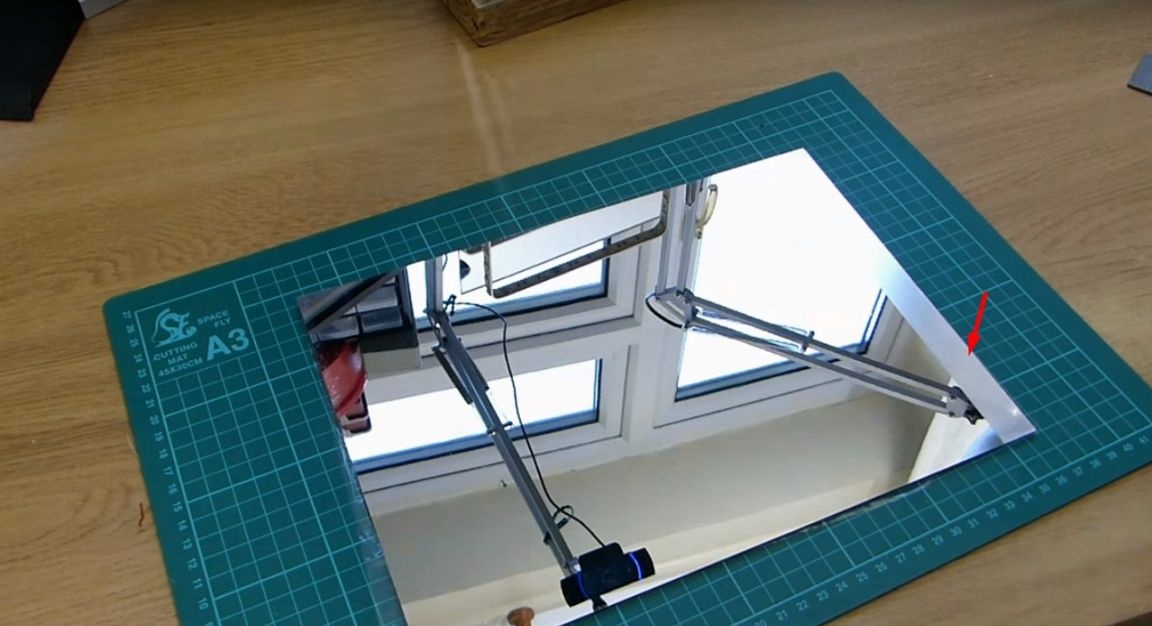
Double-sided acrylic mirror.
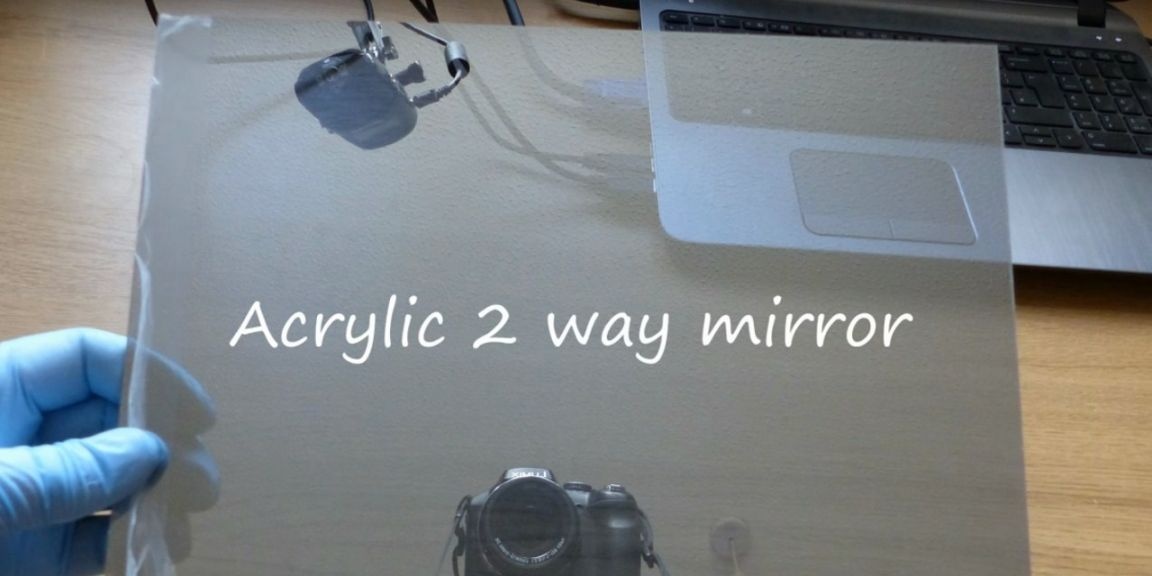
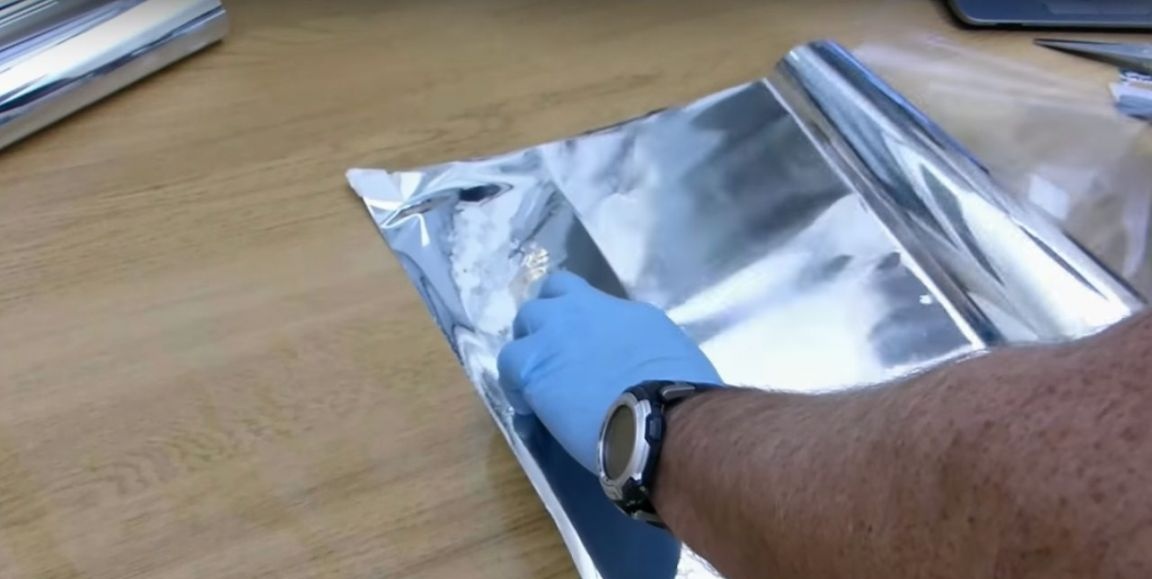
You can make it yourself if there is no factory. You need to take a transparent acrylic glass and stick on it a mirror reflective film for windows, or tinted car windows. You need to stick it with a soap solution.
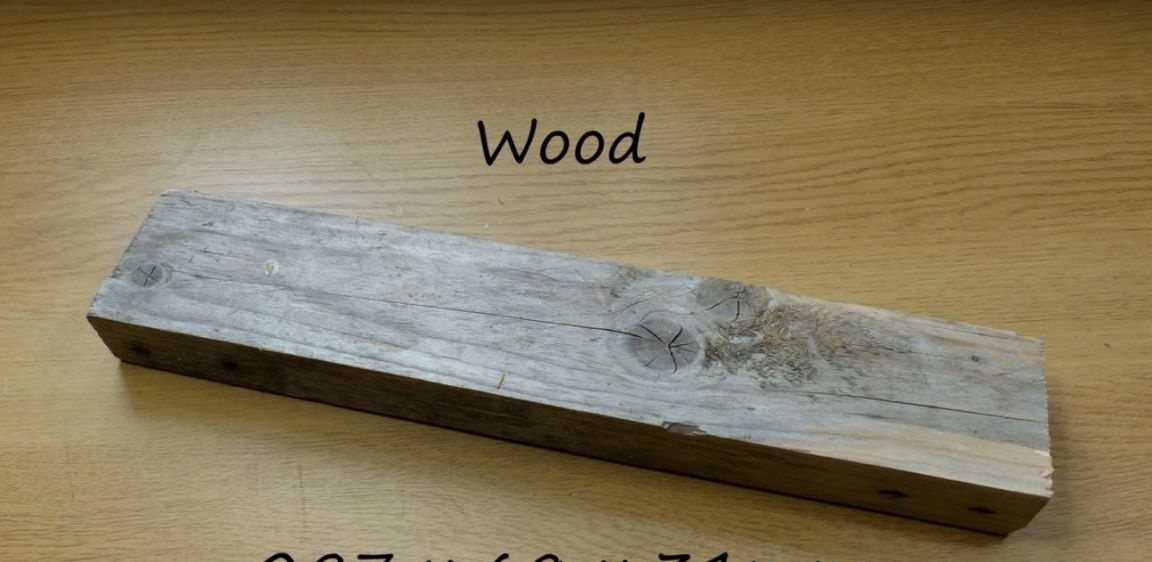
Also, the author took a wooden block as the basis of the nightlight.
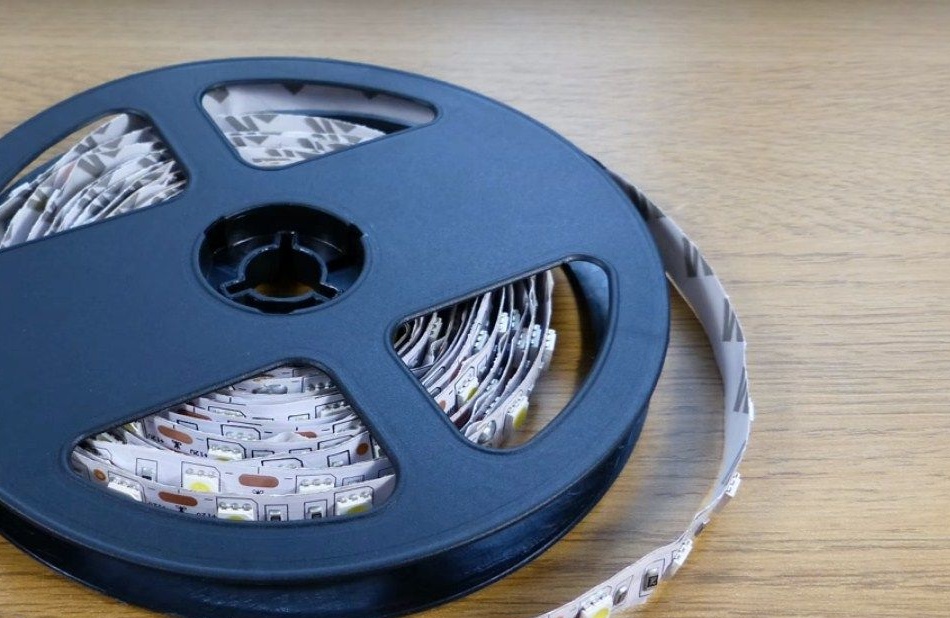
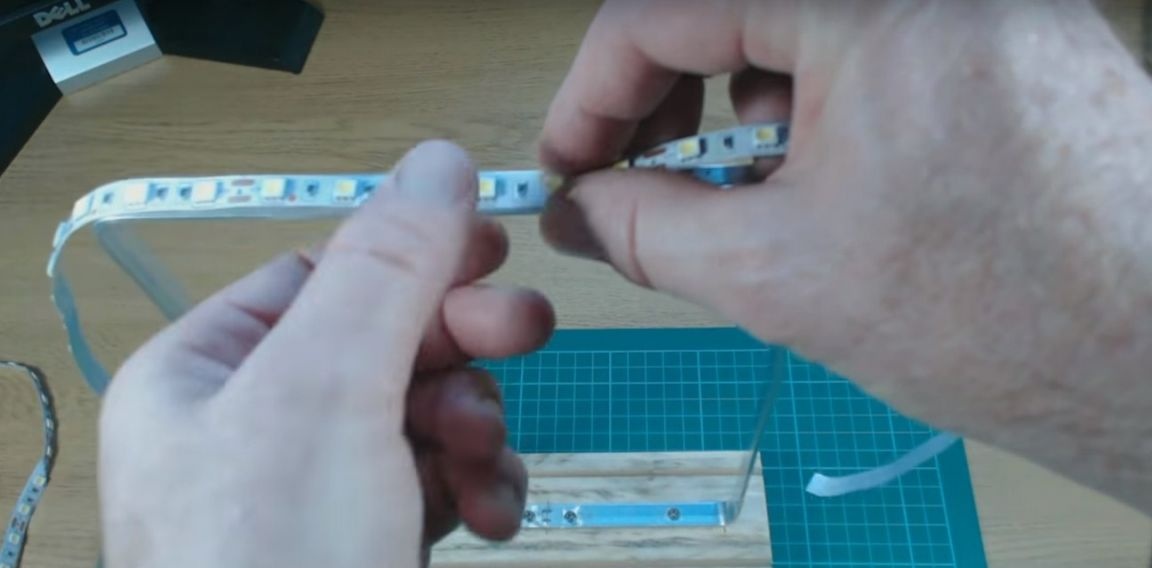
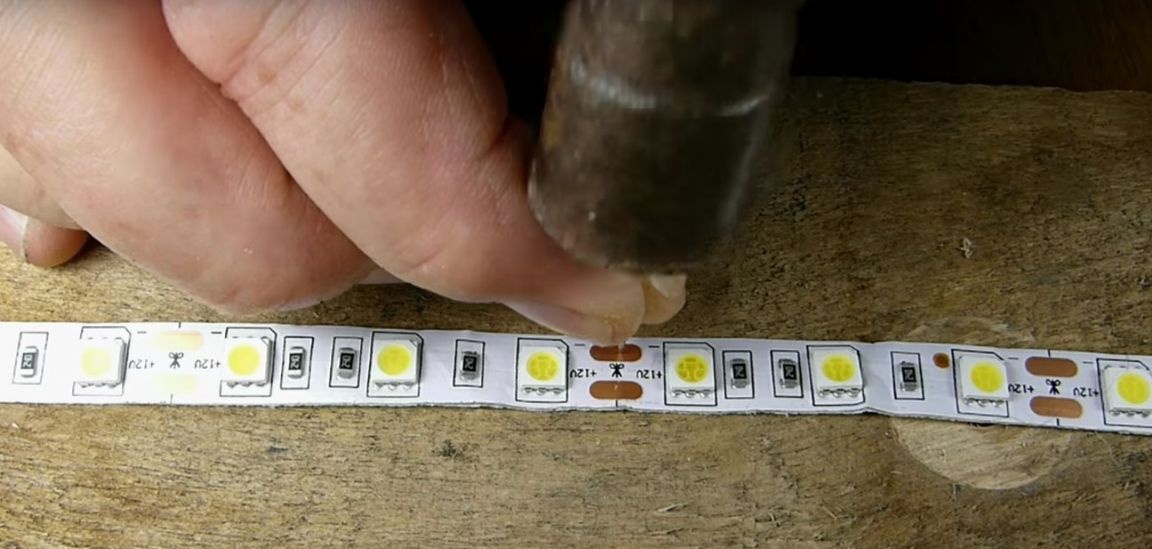
Another LED strip in white.
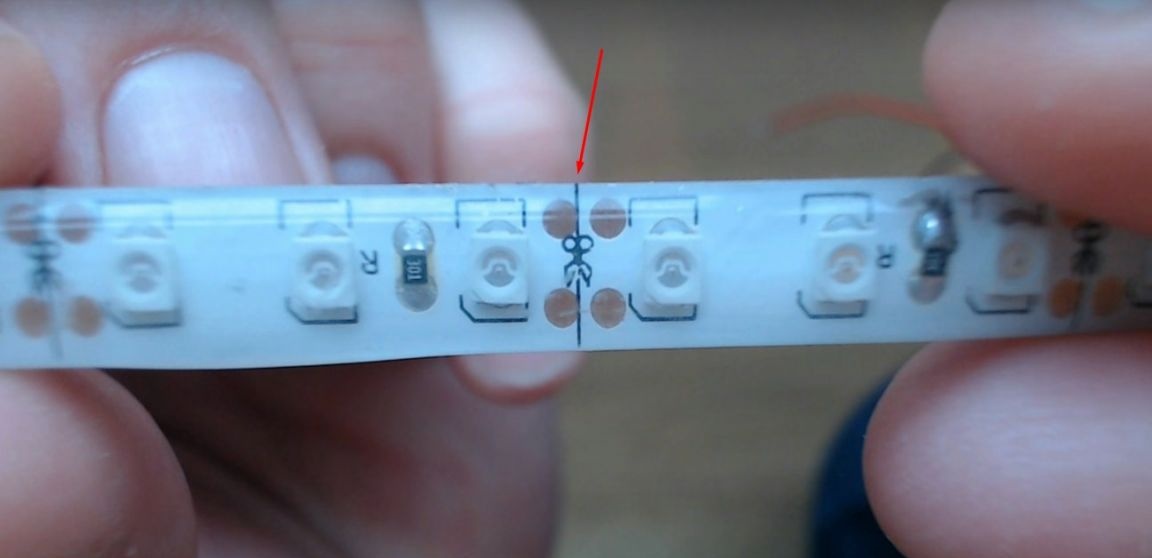
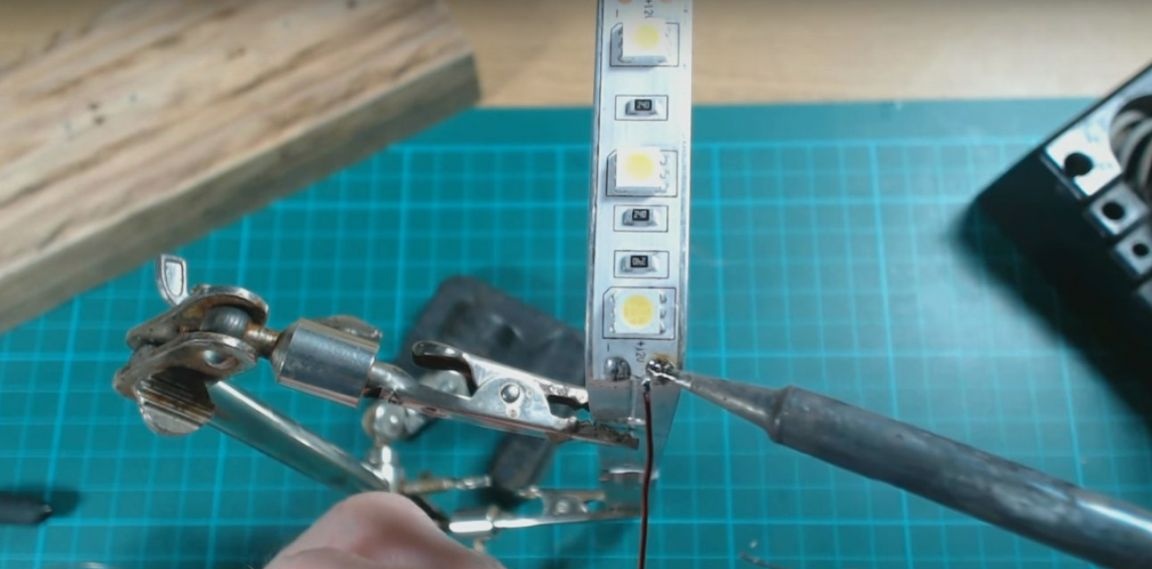
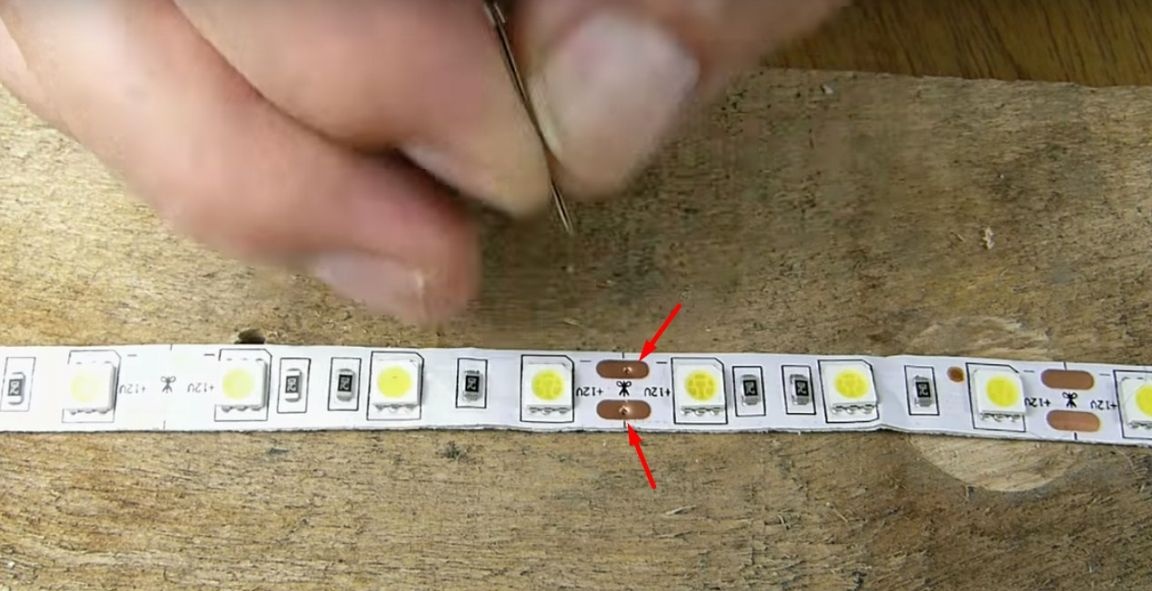
Places where you can cut the tape.
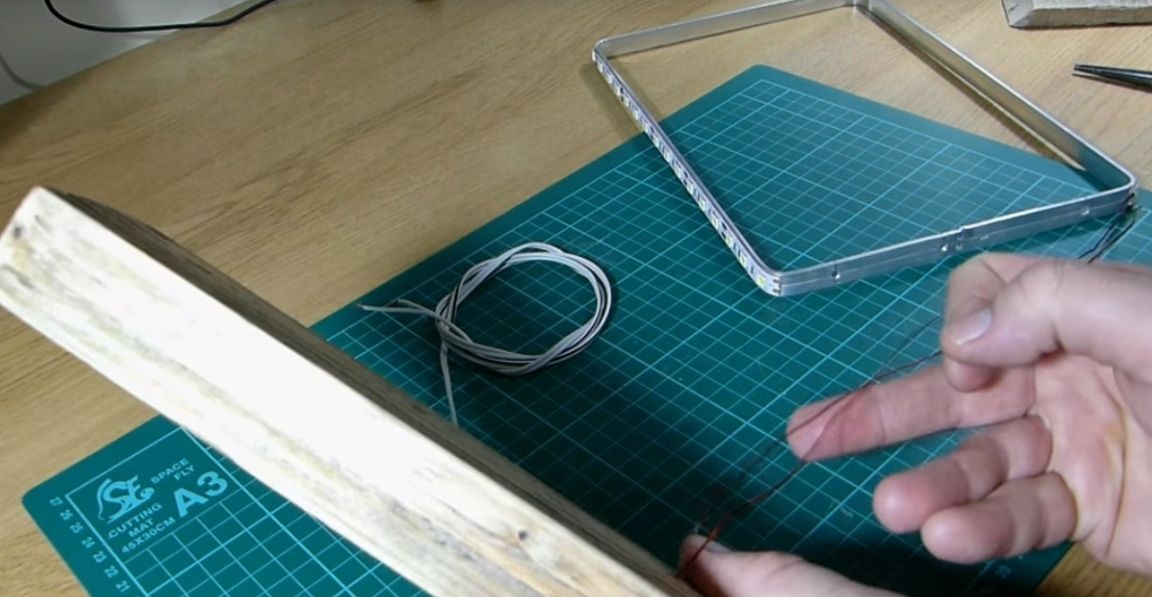
And another aluminum strip is about 1000 mm long., 11.5 mm wide, 2 mm thick.
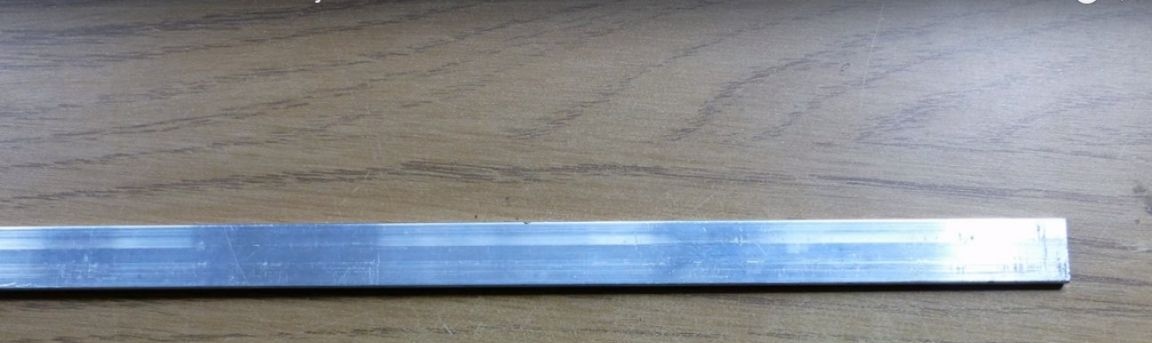
It should be slightly wider than the tape.

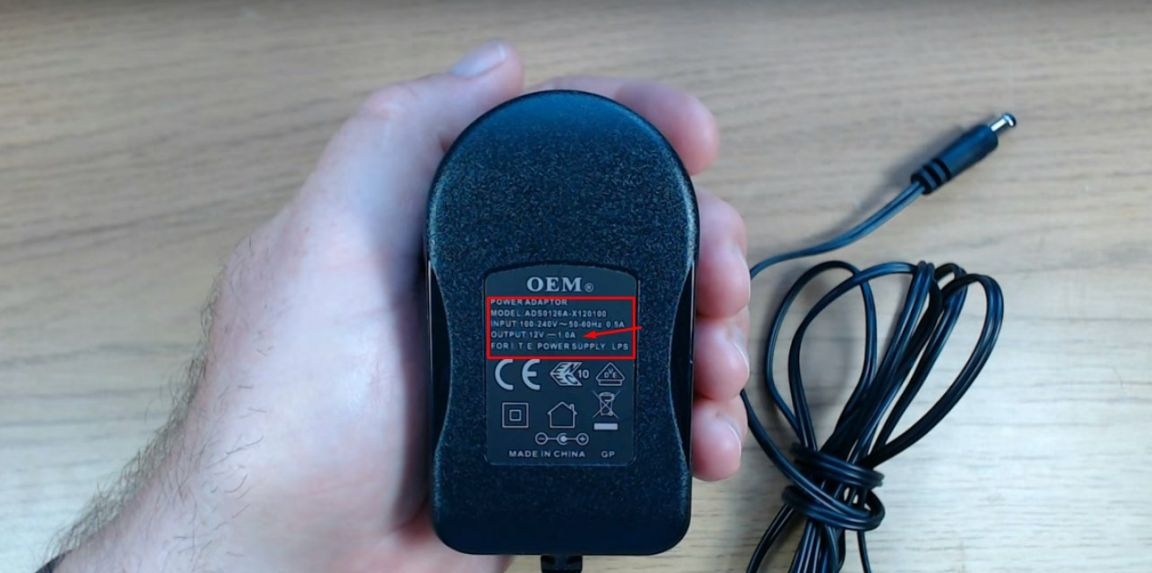
The author will use a power supply with such parameters as a power source.
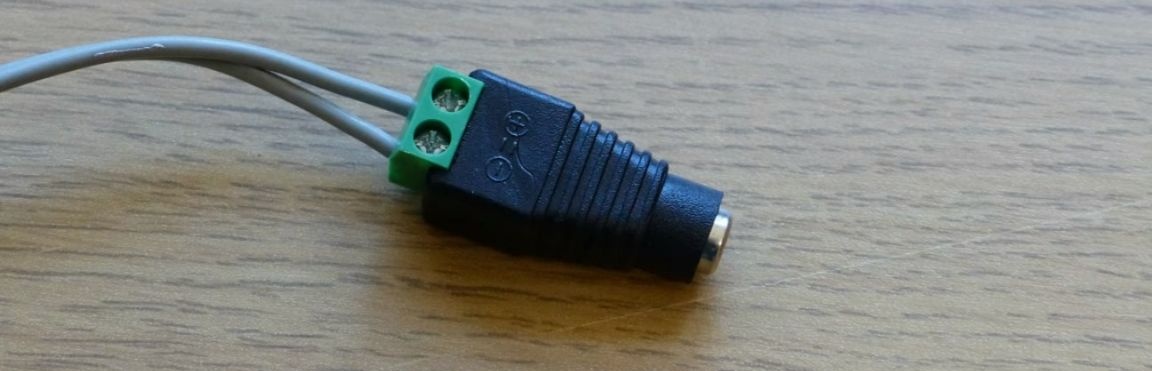
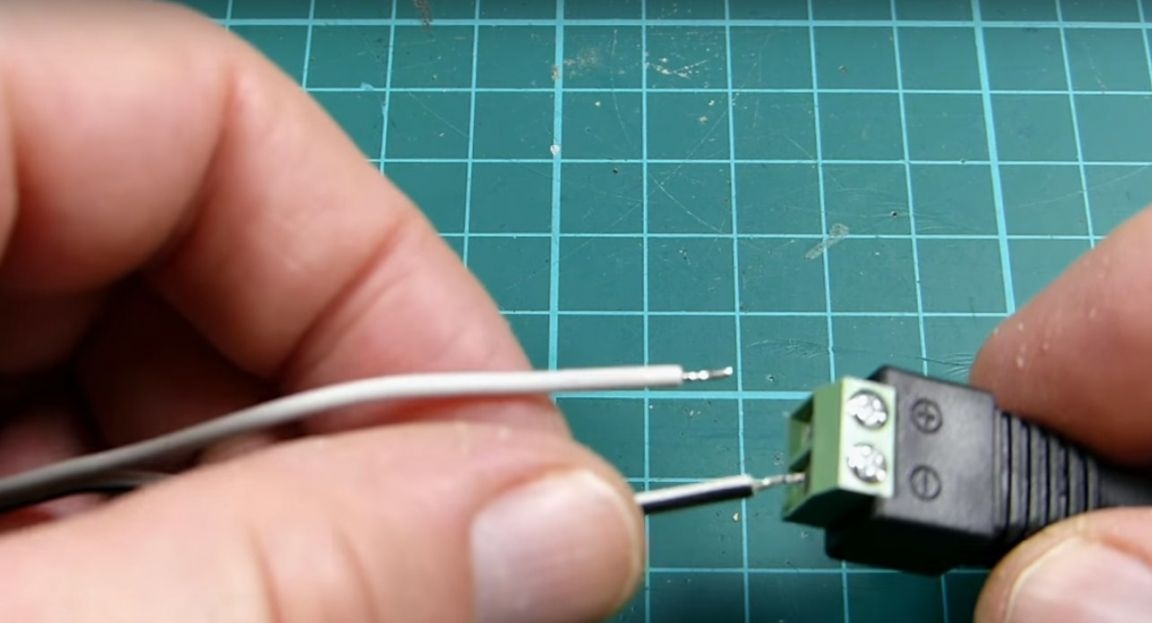
You will also need a DC connector.
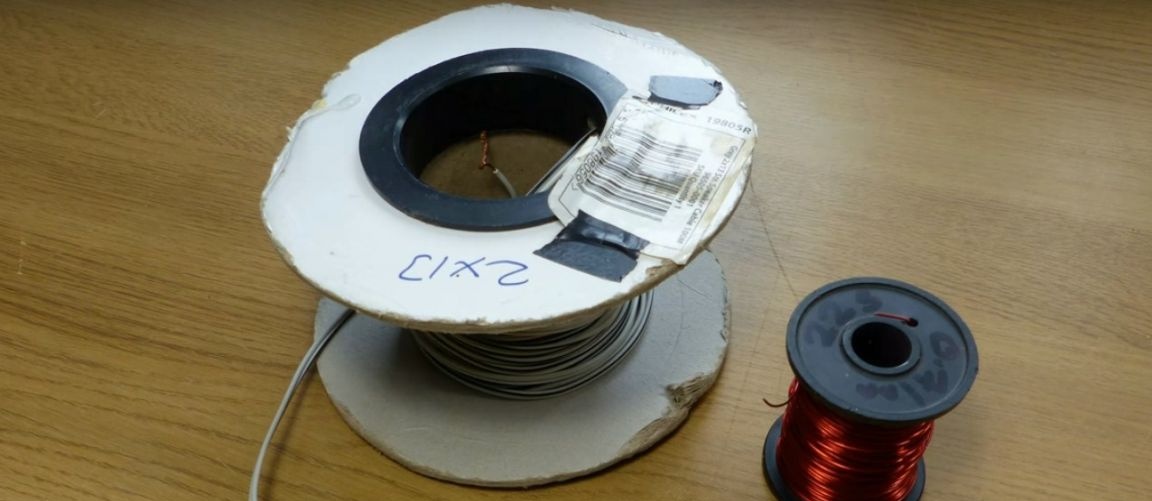
And the wire of two types, one flexible double in isolation, and the second enamel wire.
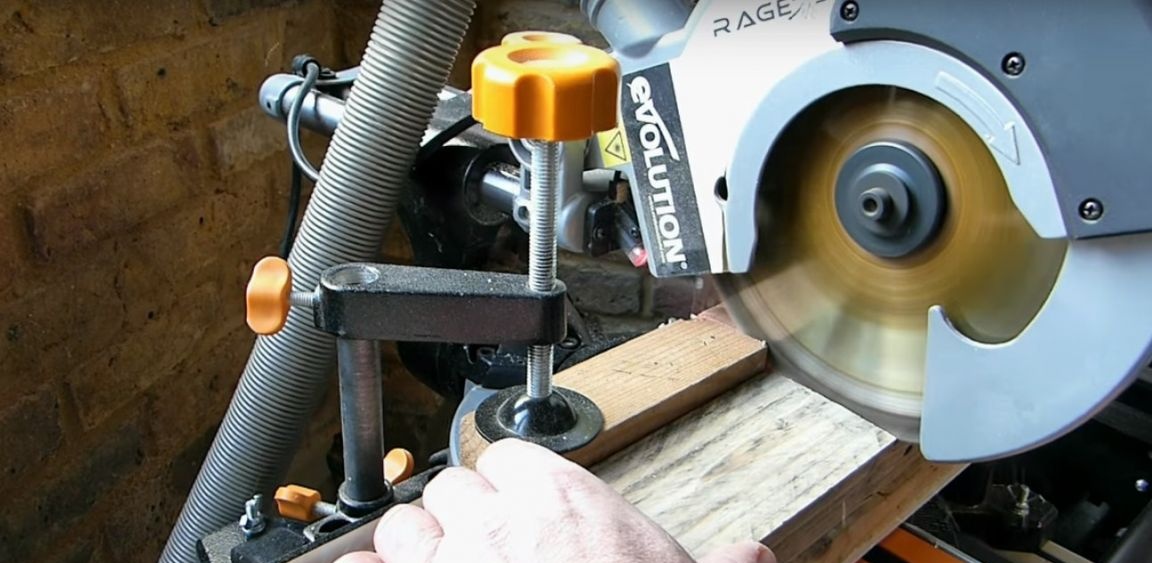
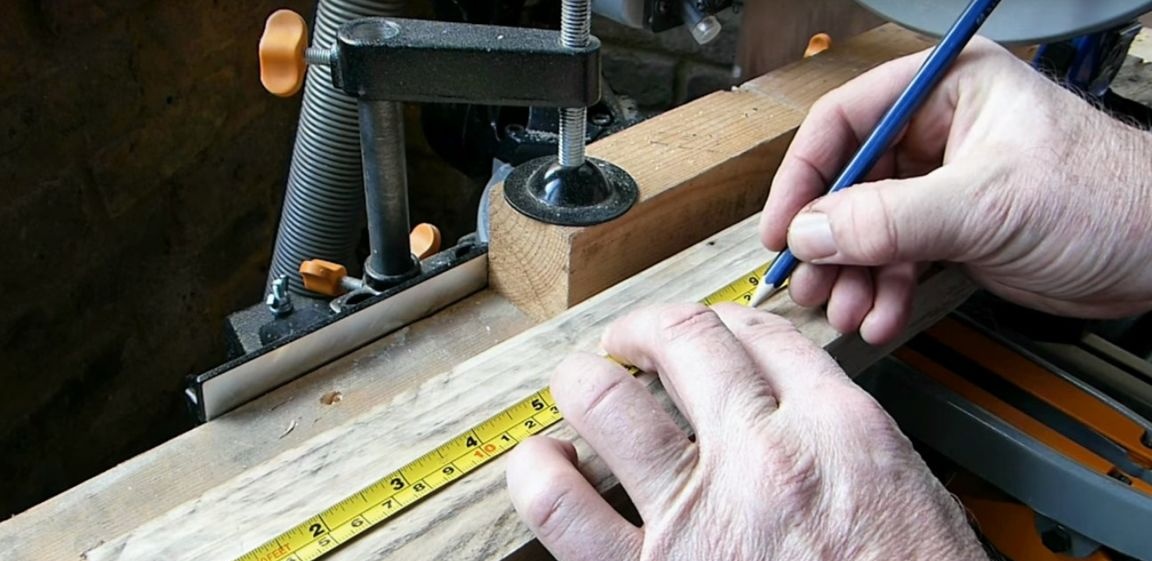
When the author prepared all of the above, I started to work. And first of all, he prepared the basis of the nightlight. For this, he aligned one edge with a wooden block. Then measured the size and cut off.

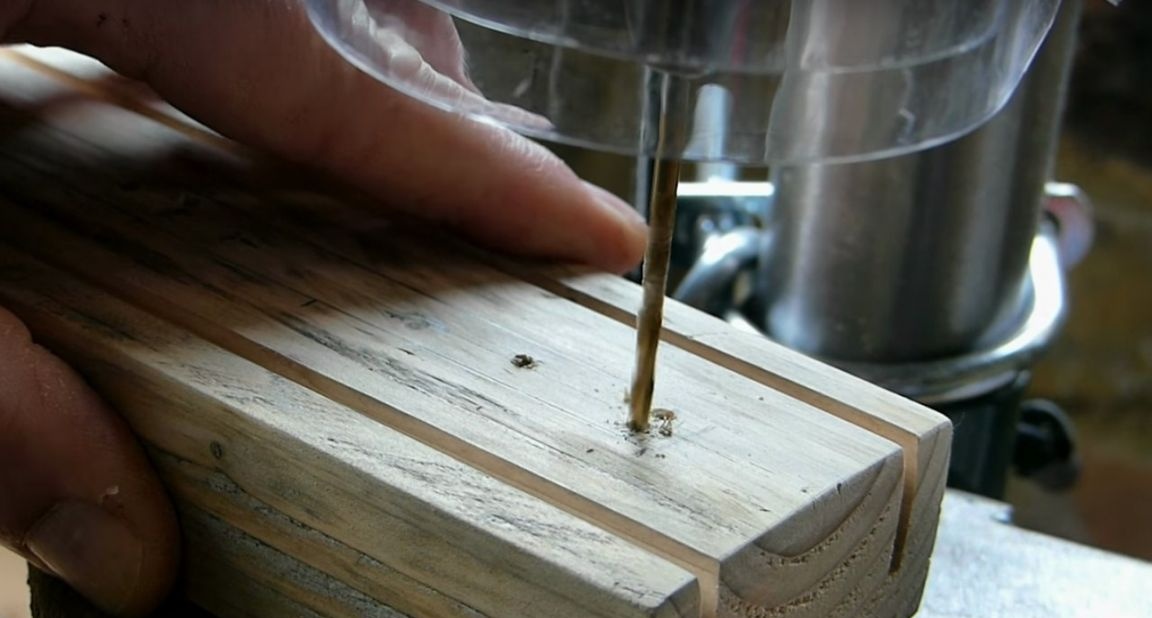
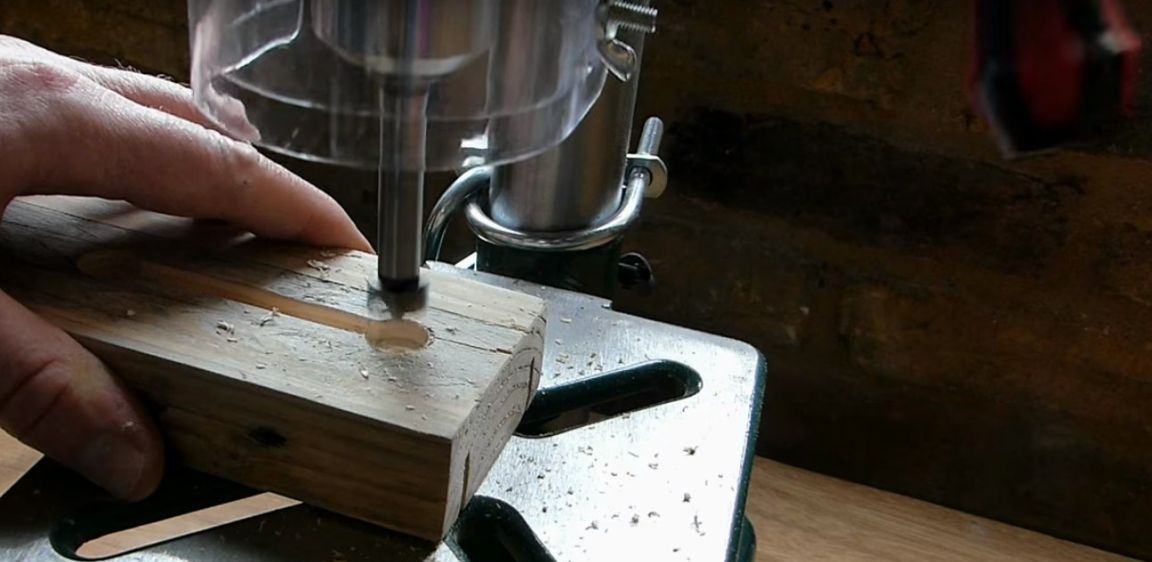
Then he made grooves in this bar.
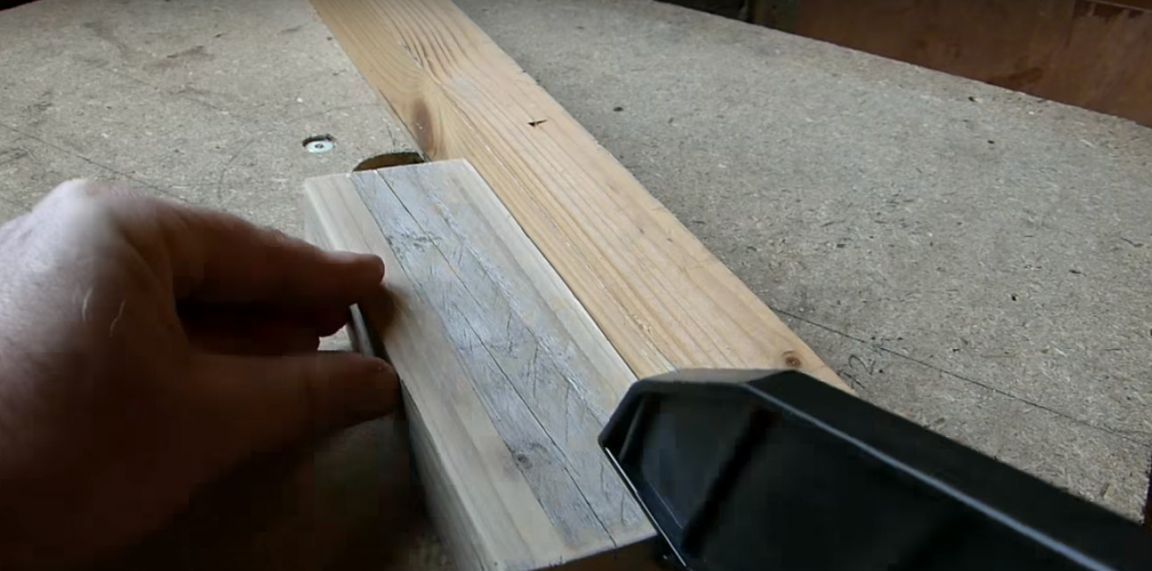
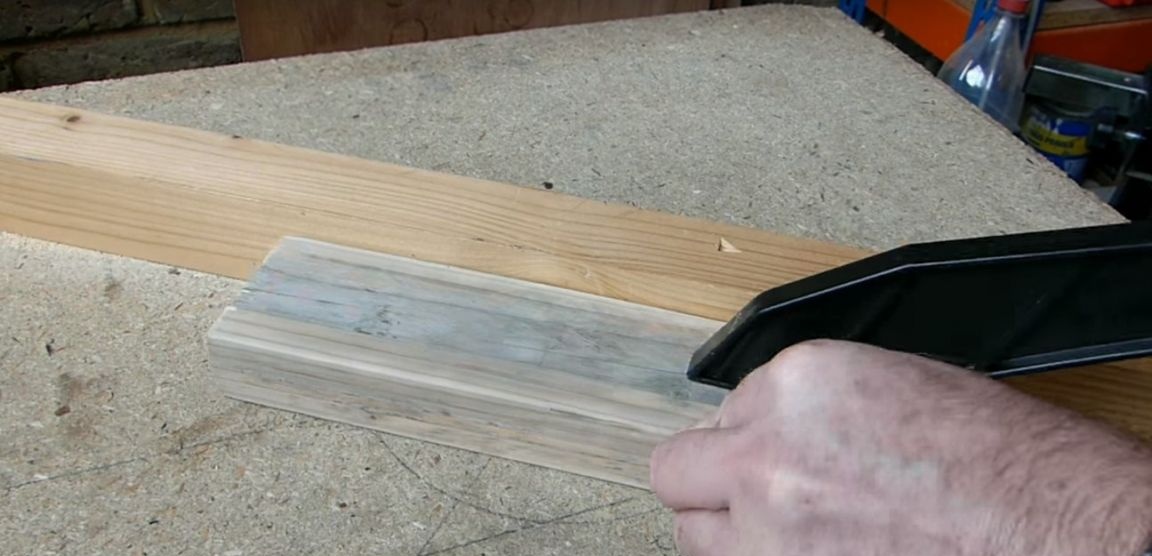
After he made the grooves, he went with fine sandpaper.

The dimensions of the grooves are 19 mm deep and 3 mm wide.
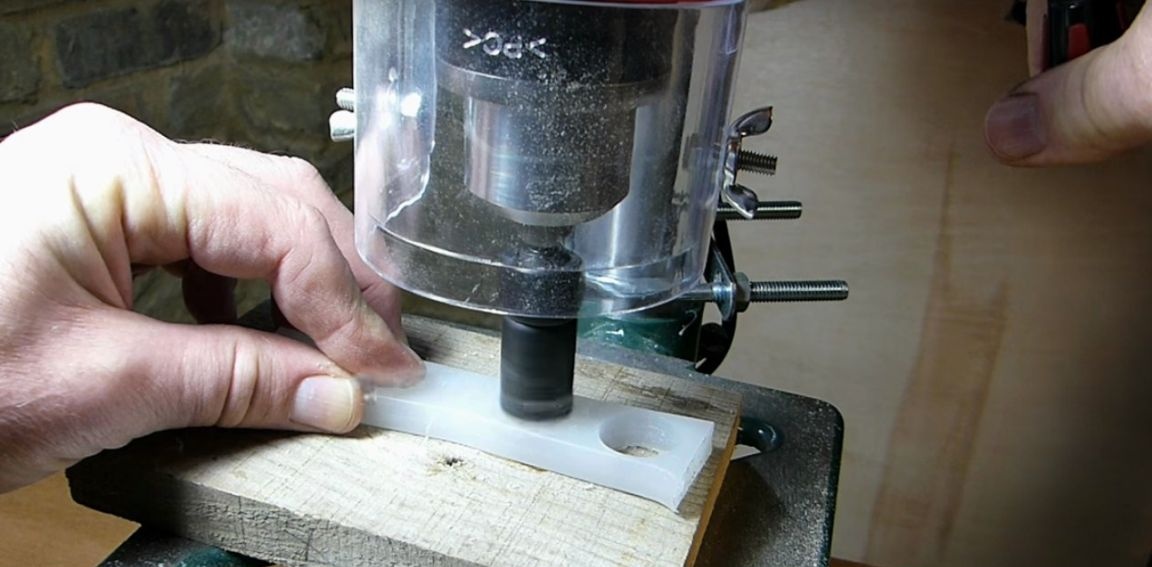
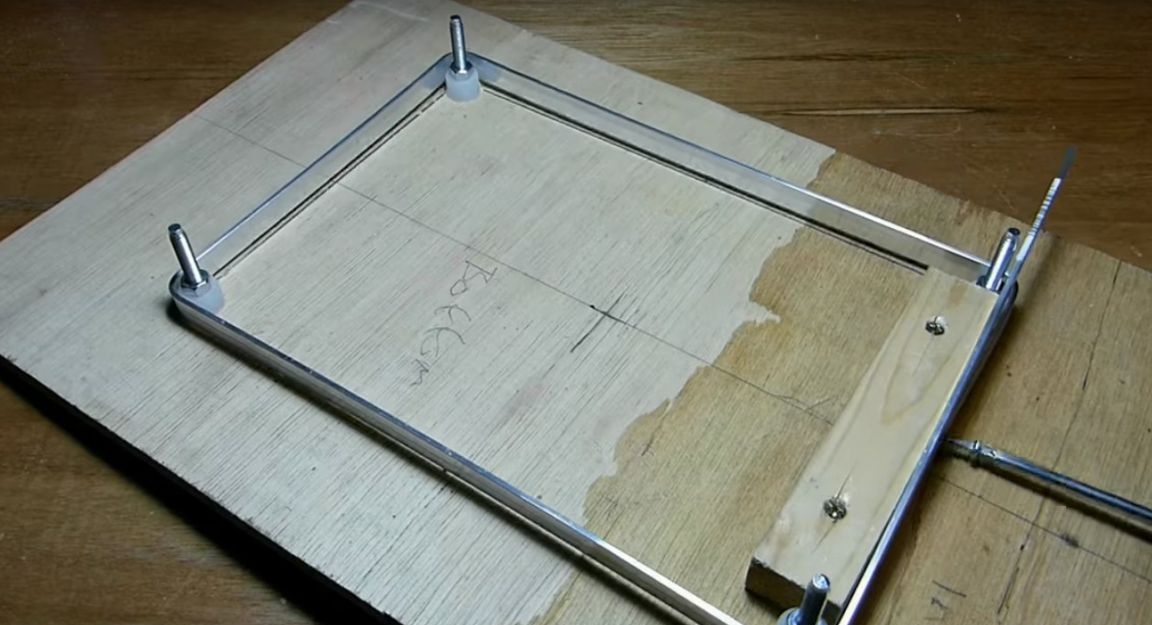
In order to bend the plate exactly, the author made such a conductor, and so that the corners were rounded, the author put plastic washers.
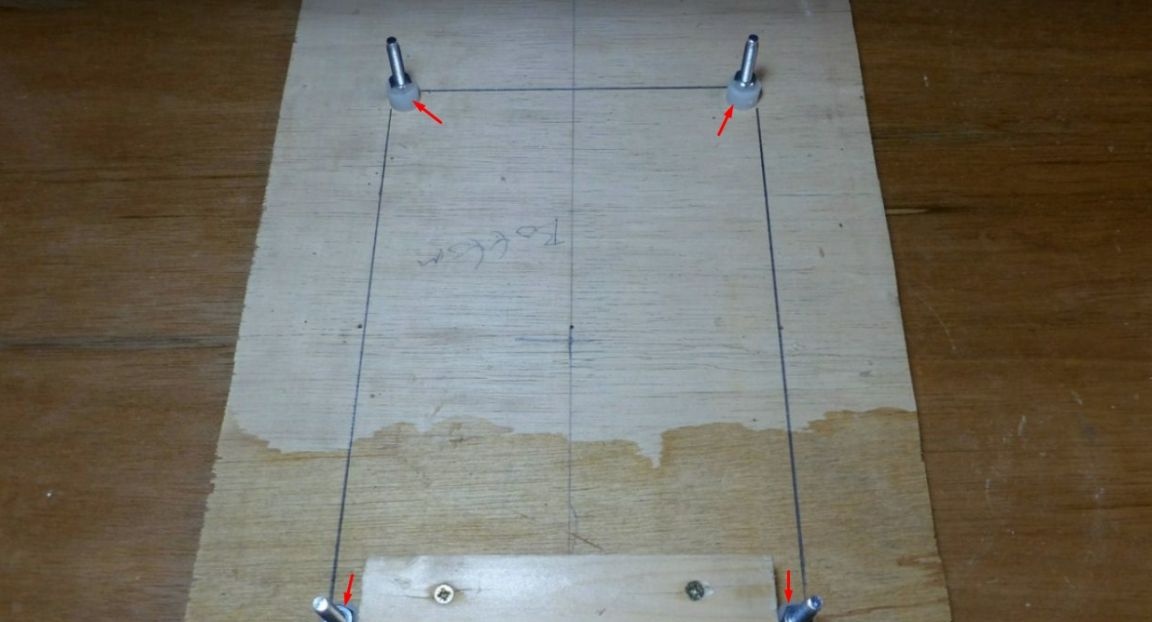
Which he cut out of an old cutting board.
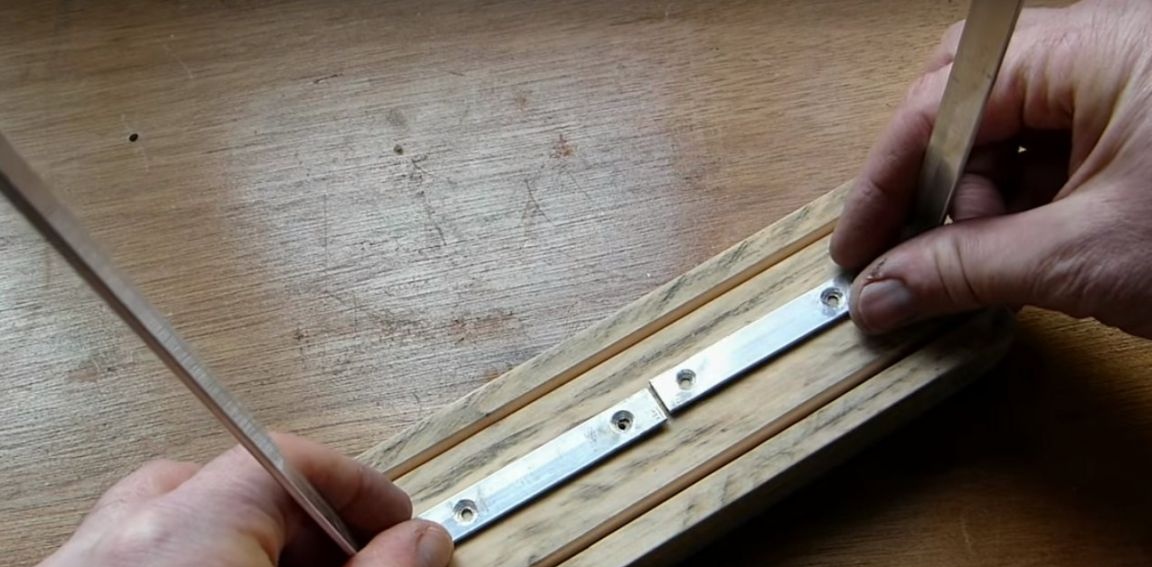
From one edge on the plate, the author made a hole and attached it to the jig on a self-tapping screw.
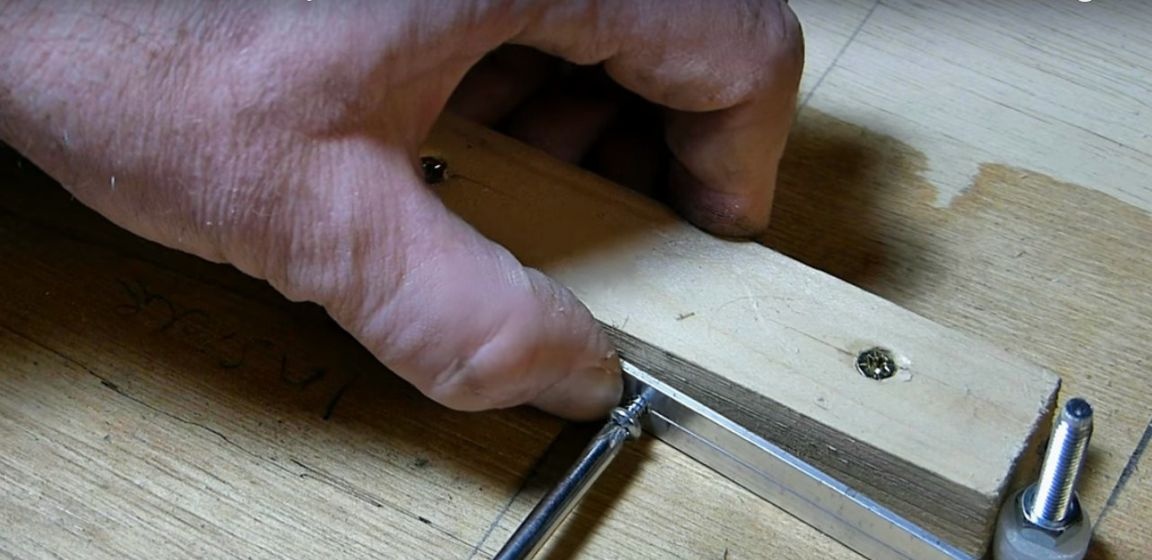
After he began to bend the plate, giving it the desired shape.
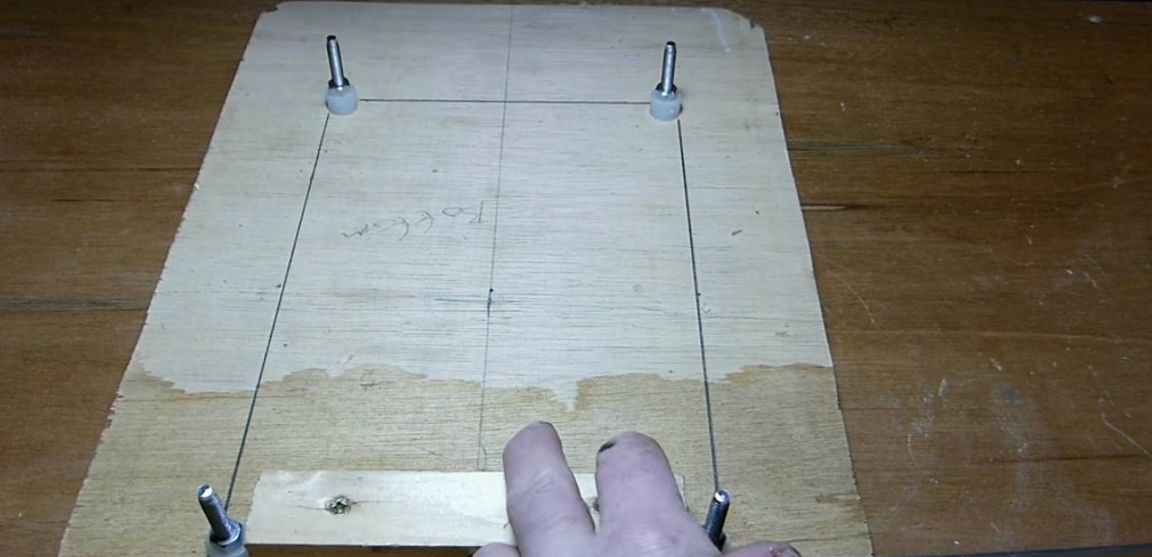
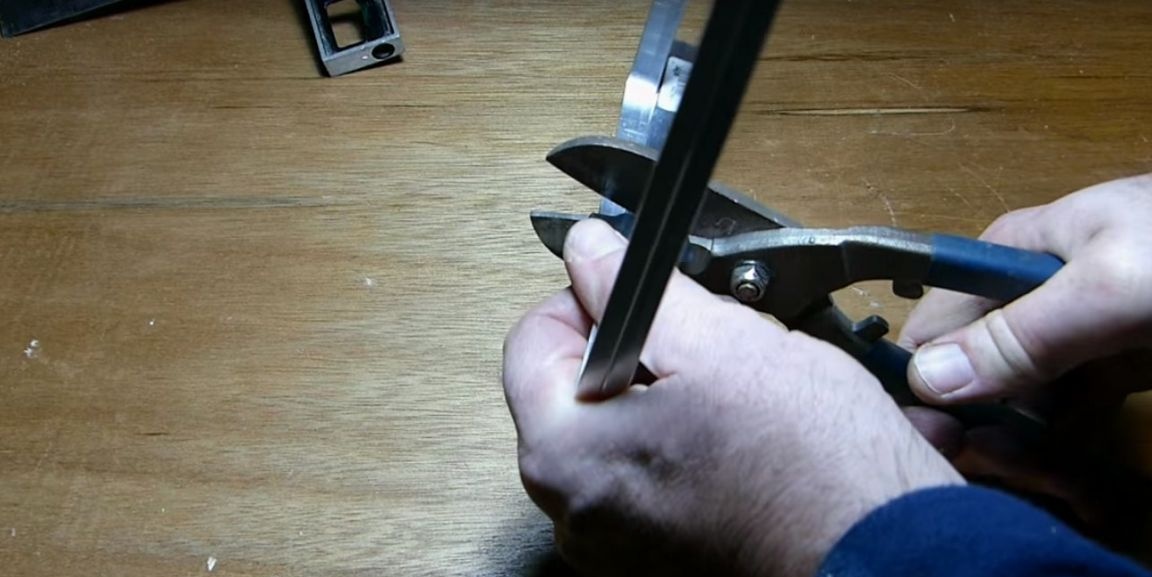
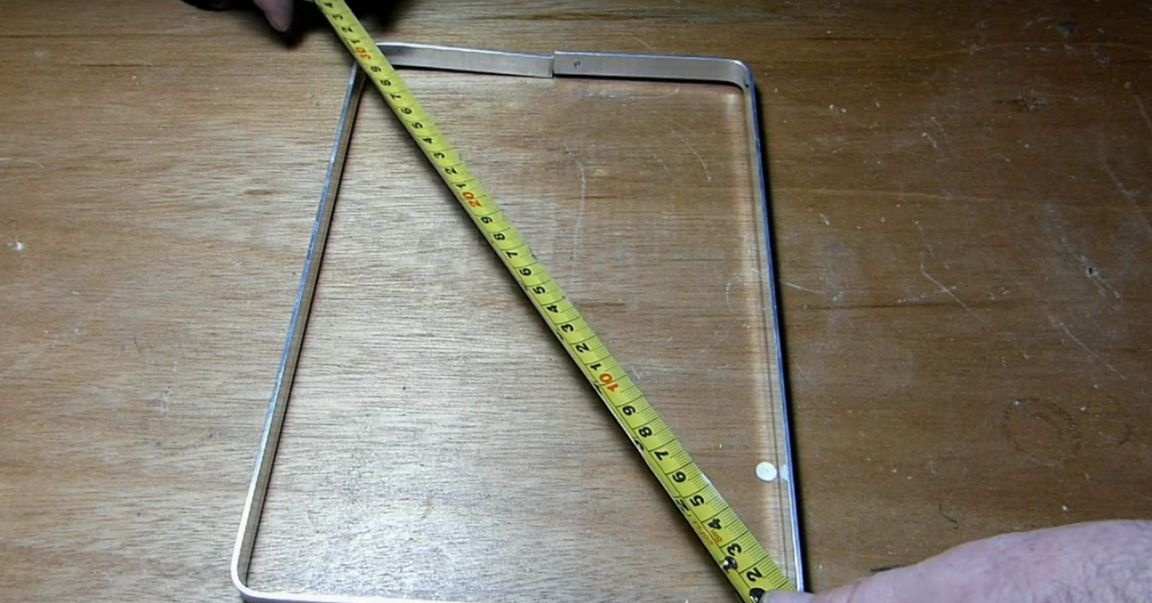
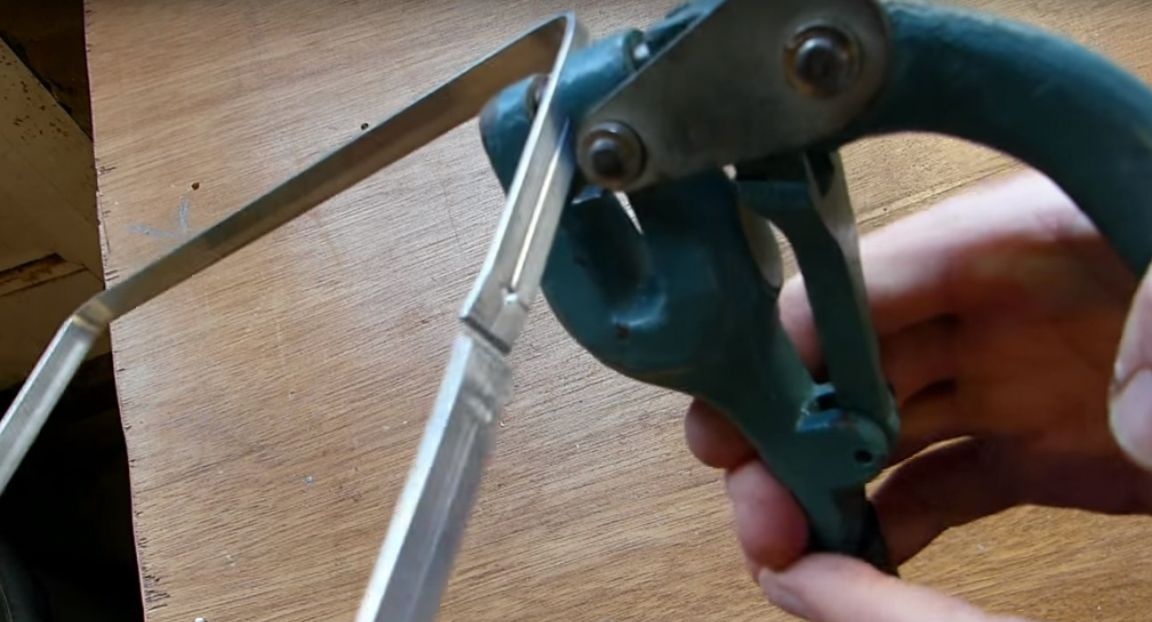
Then he removed the plate from the jig and cut off the excess.
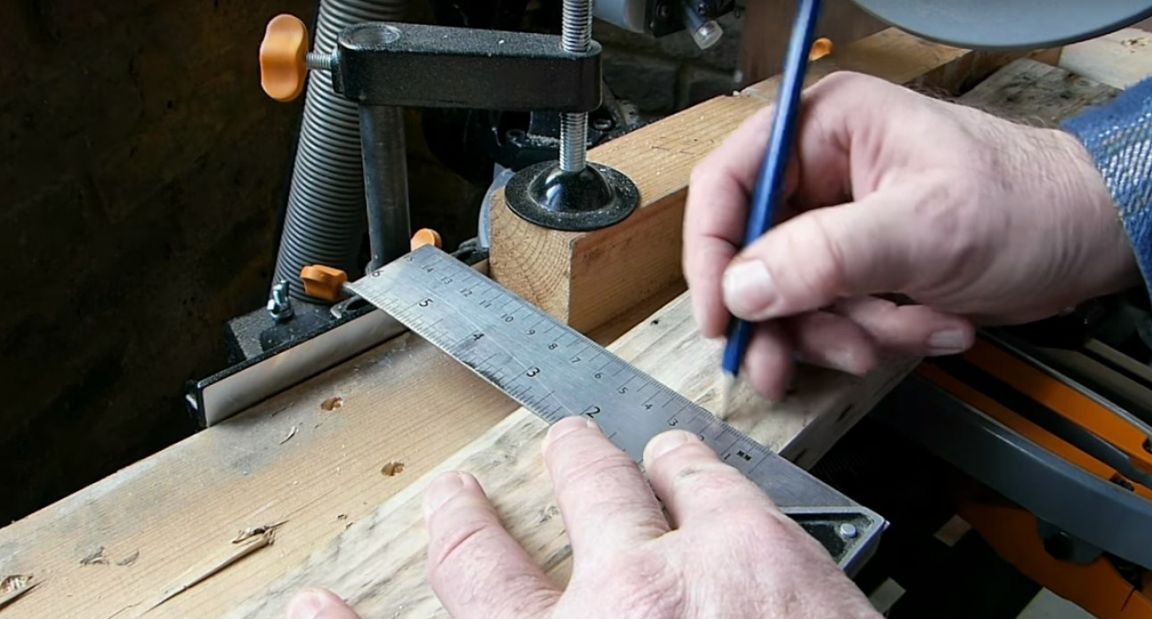
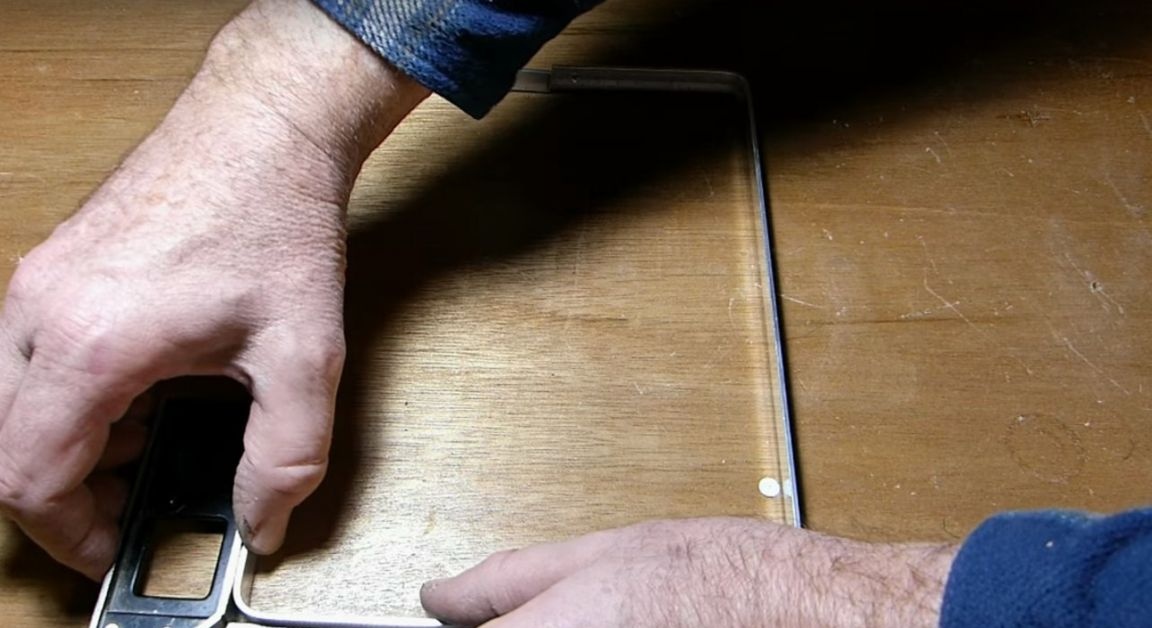
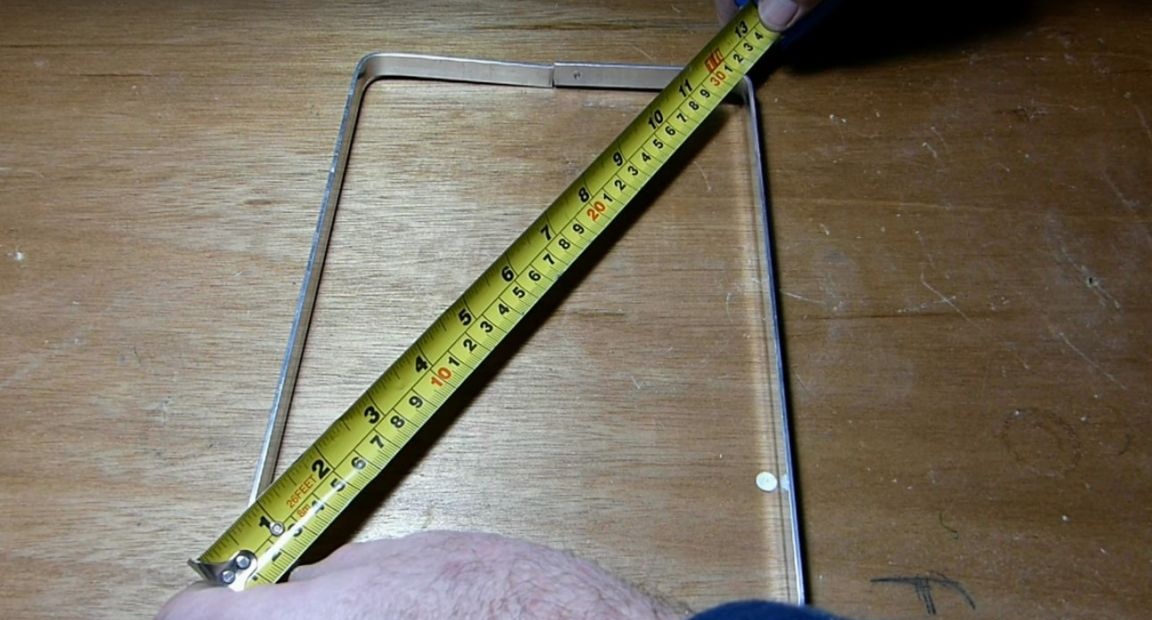
He measured the angles and diagonal, making sure that everything is accurate.
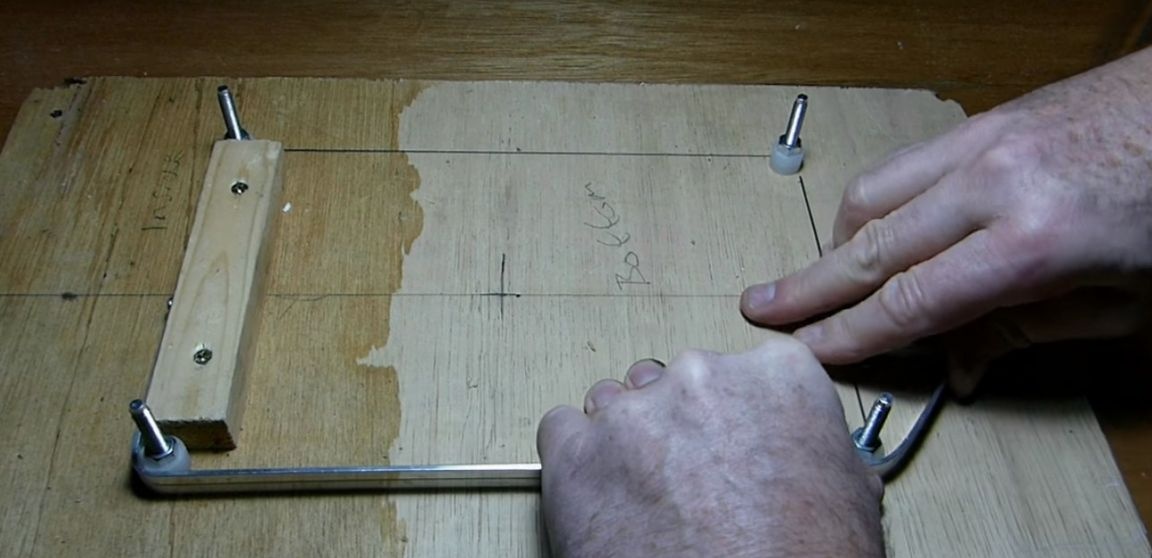
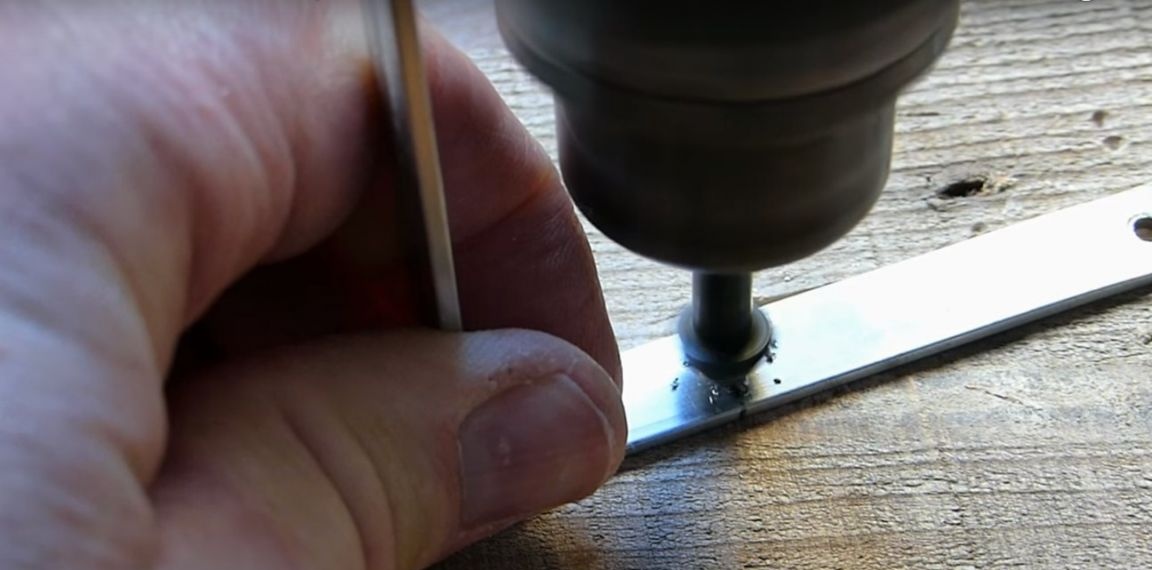
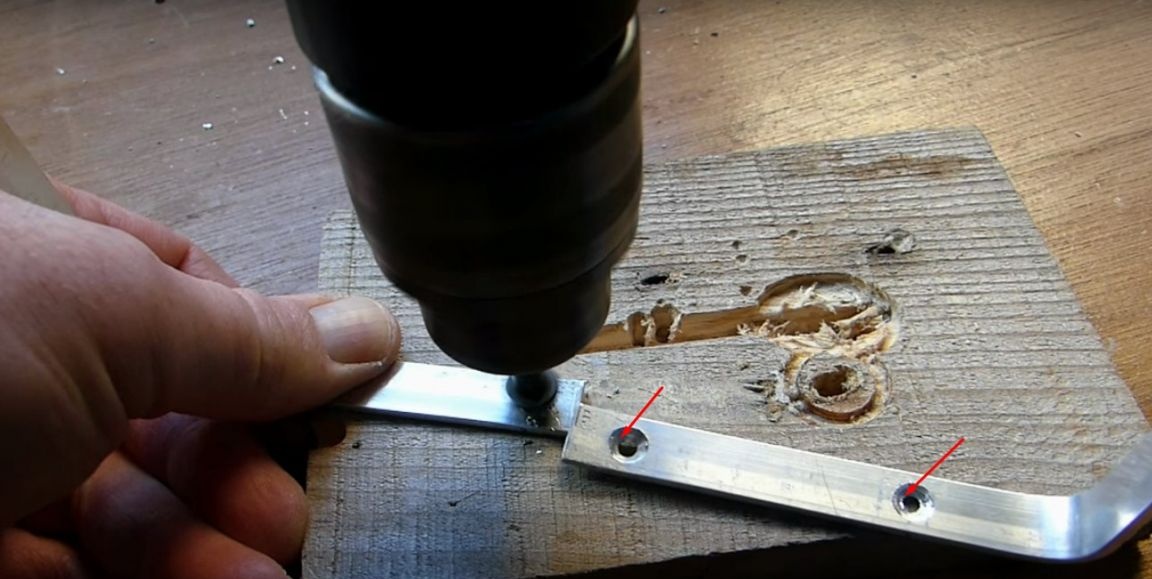
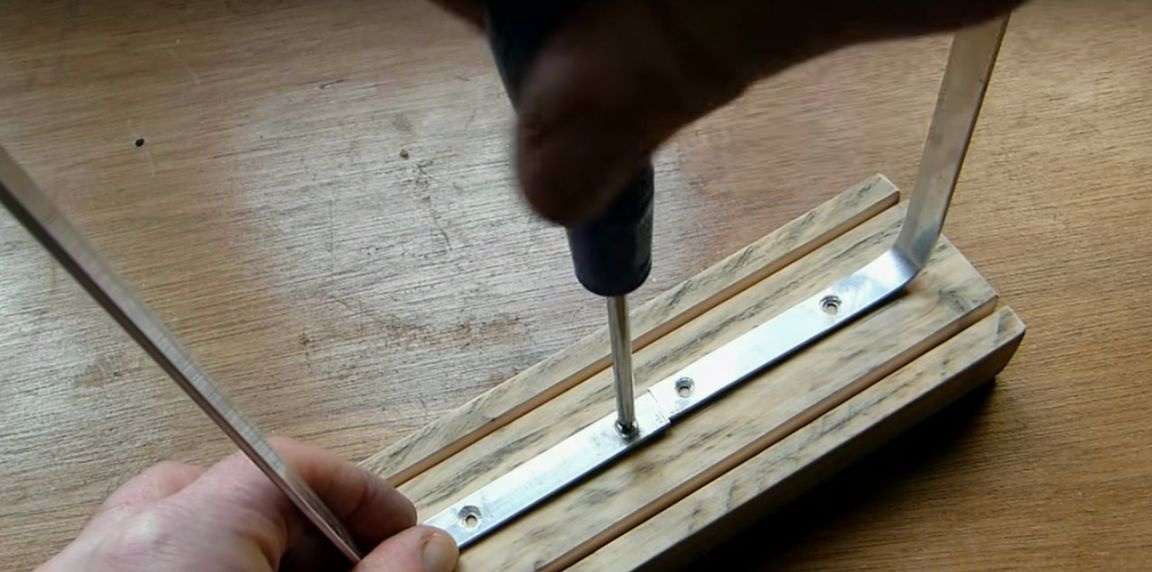
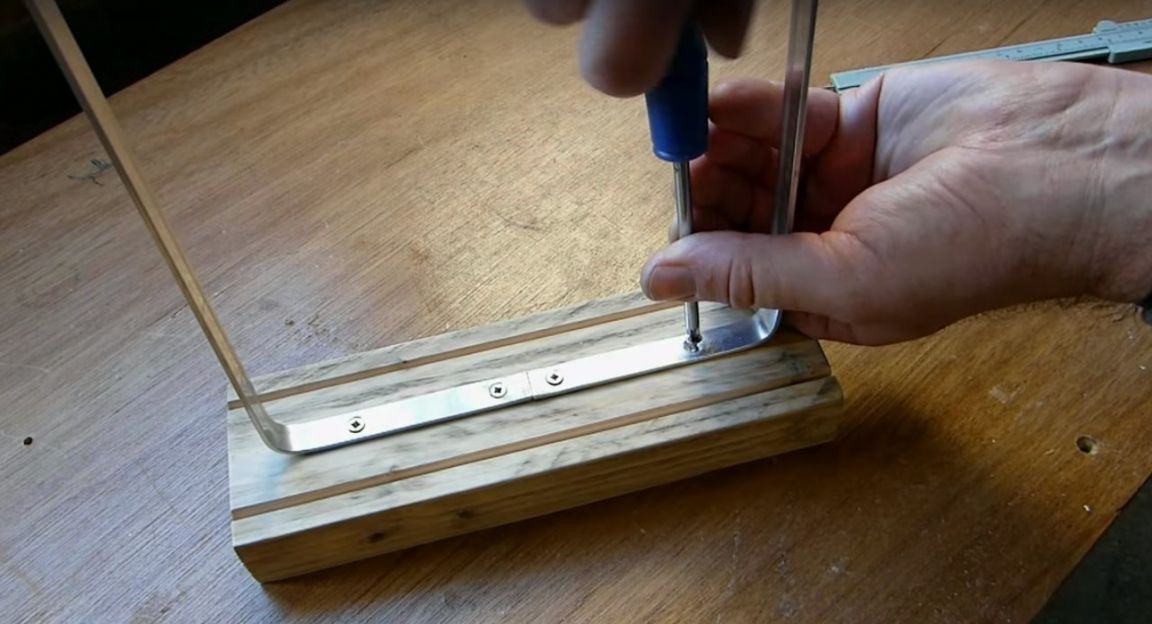
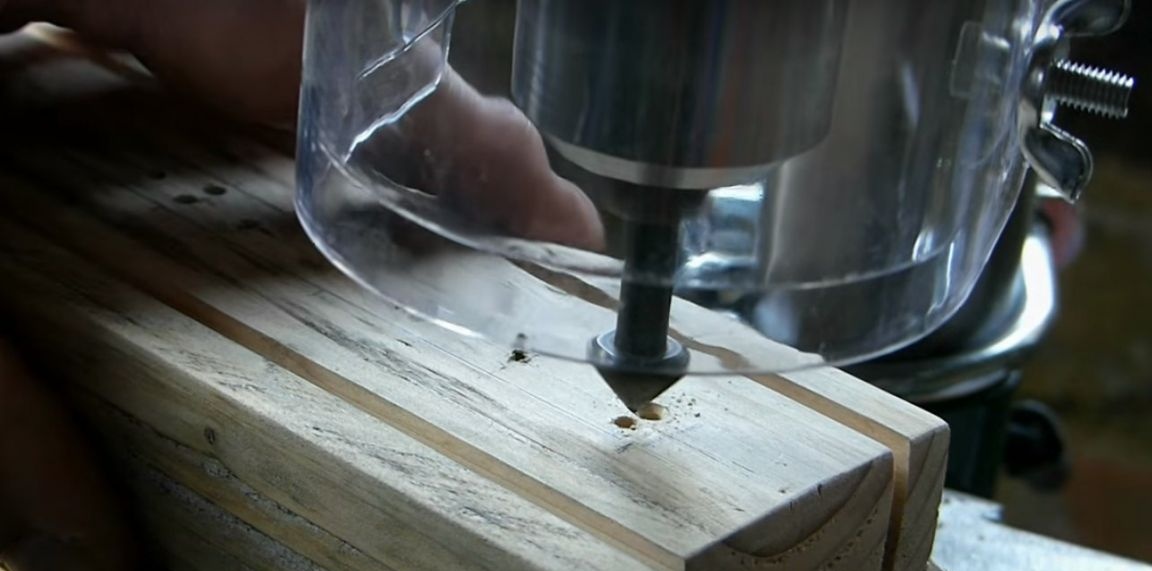
He made three more holes for fixing the base plate.
And he drilled a hole a bit with a larger diameter, so that the screws would go flush.
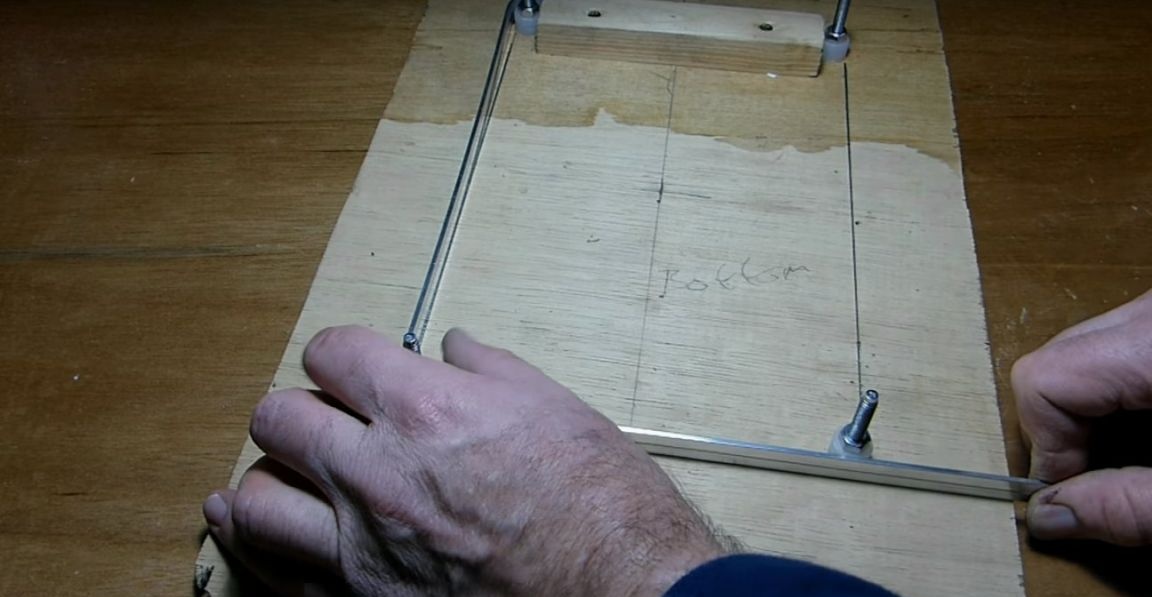
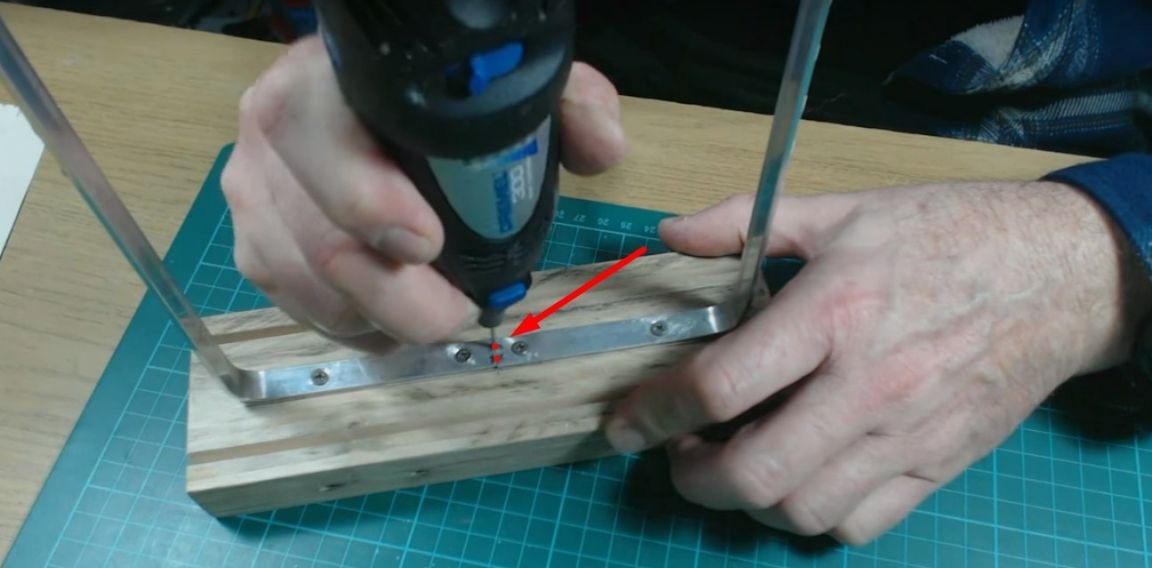
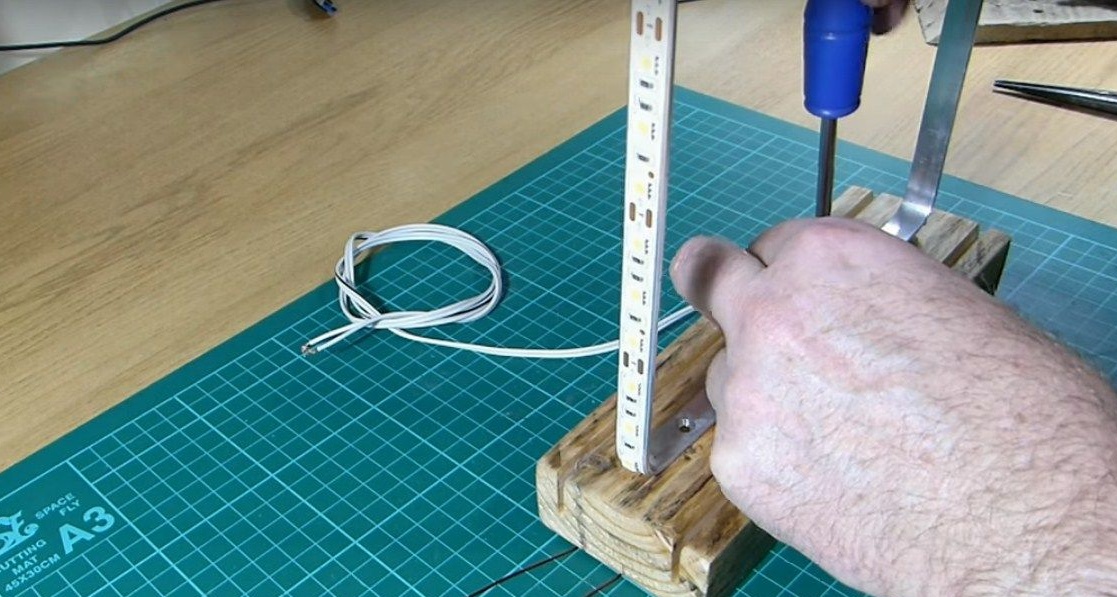
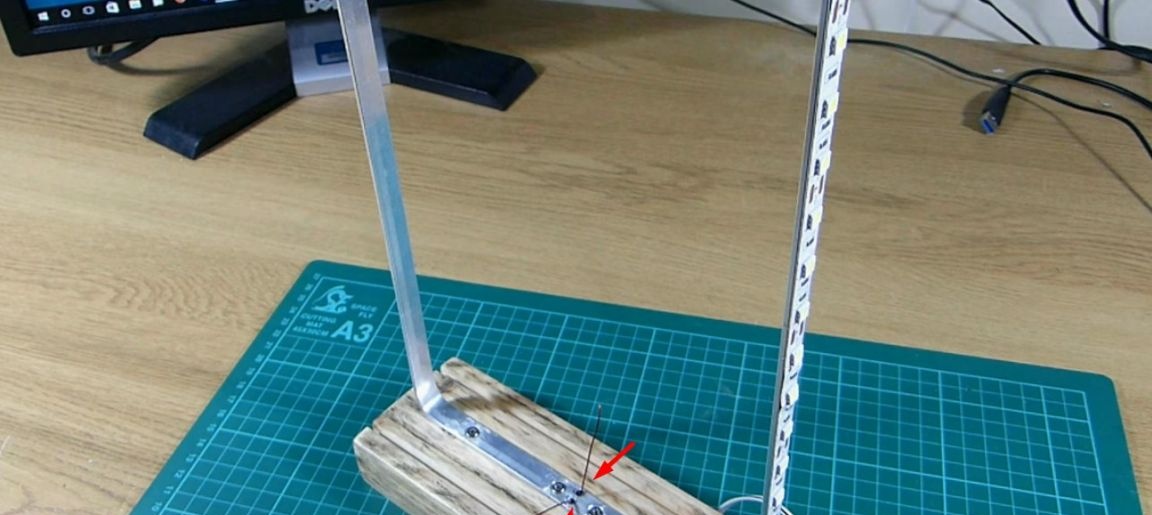
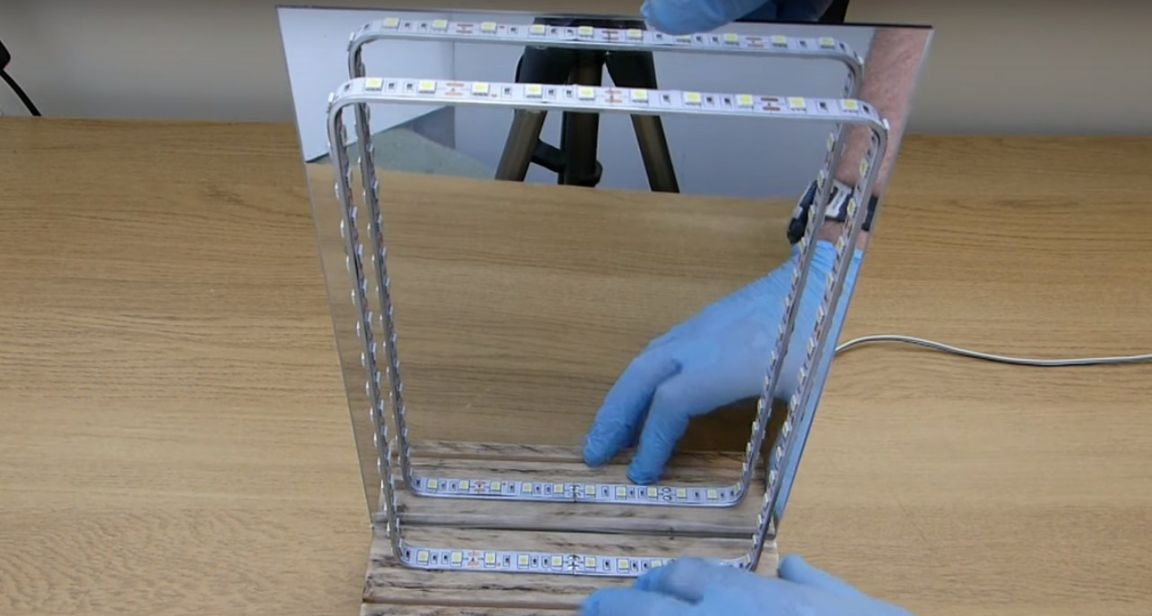
Then he set the frame on the base and screwed it.
I glued the tape to the outside of the frame after measuring out the desired size.

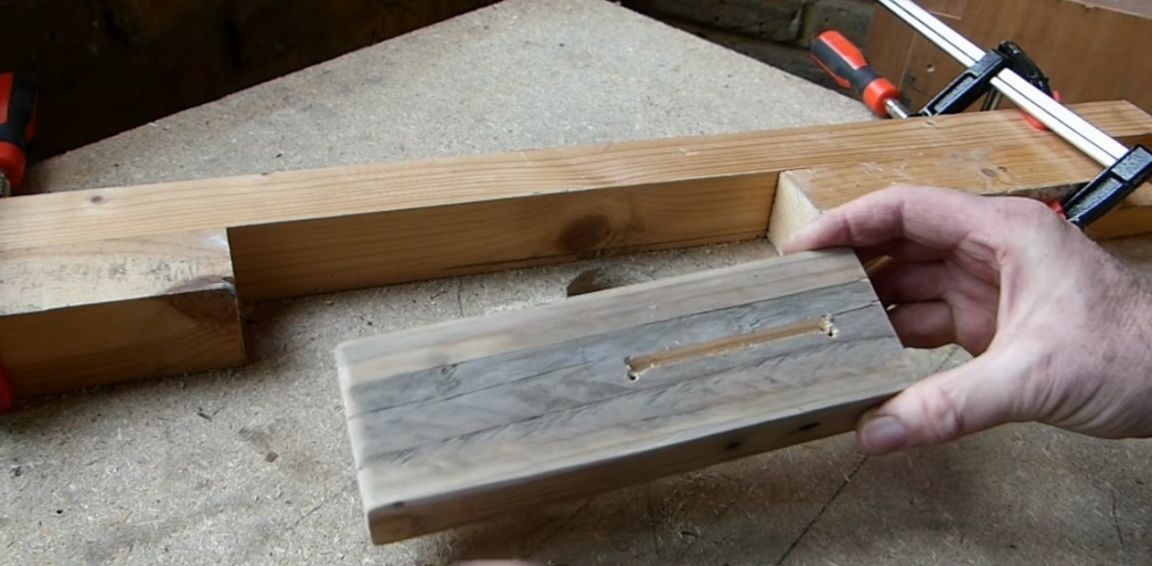
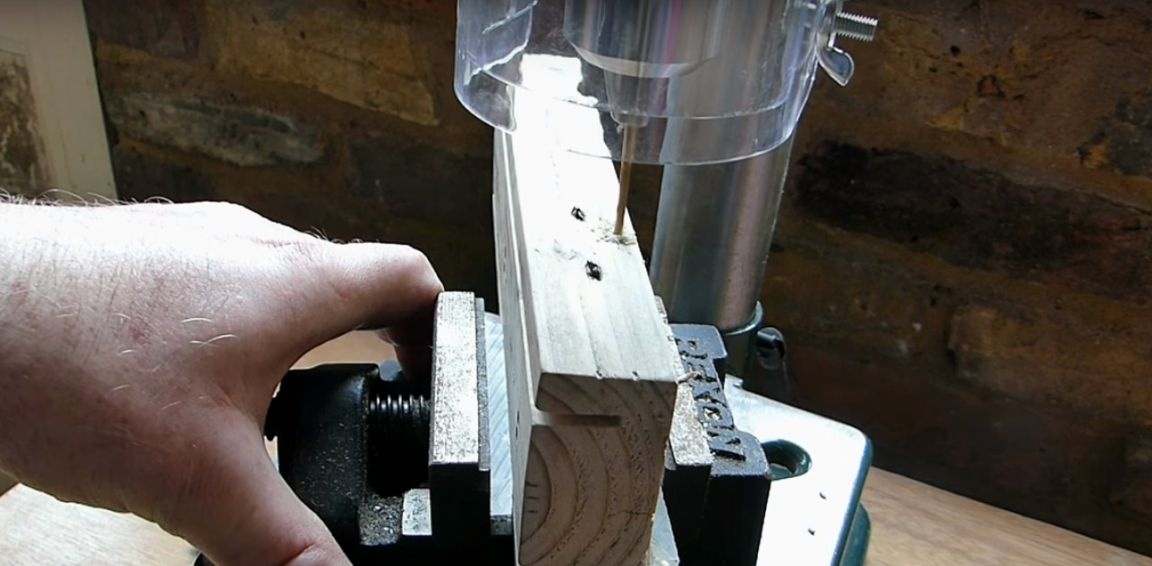
Then I made two through holes in the middle of the frame.
Then the author unscrewed the screws and made a mark where the frame ends.
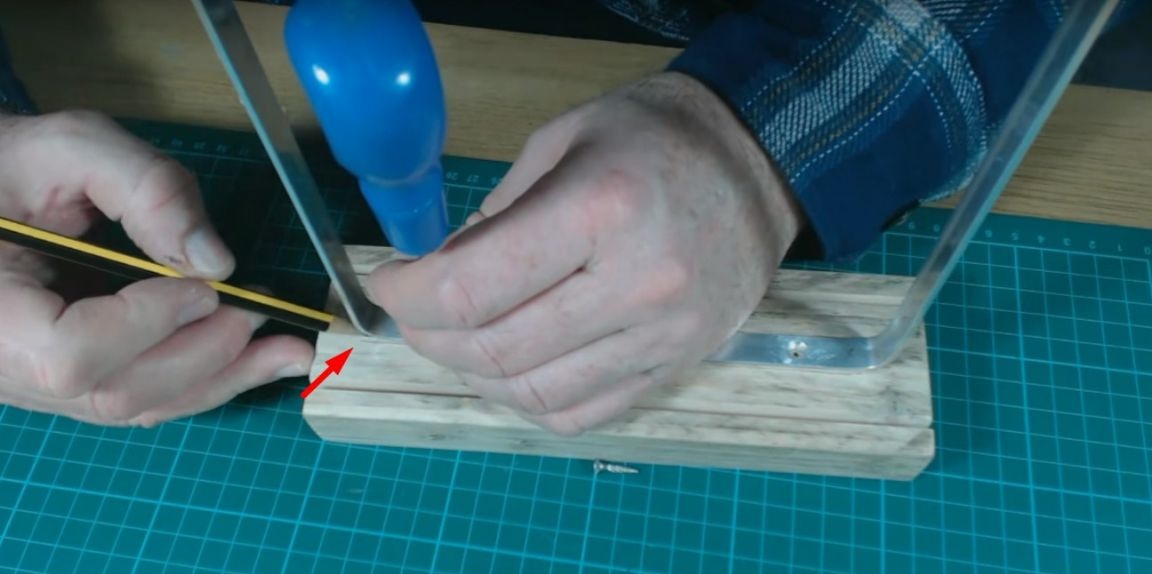
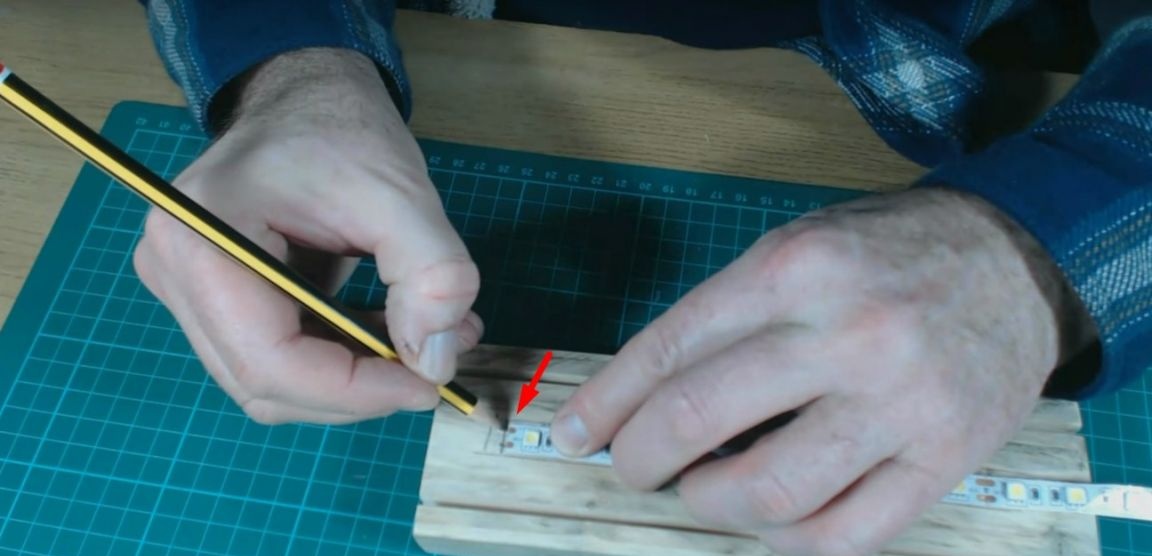
Then he took it off completely and noted the places for the holes at the contacts of the tape.
Then he made holes in the marked places.
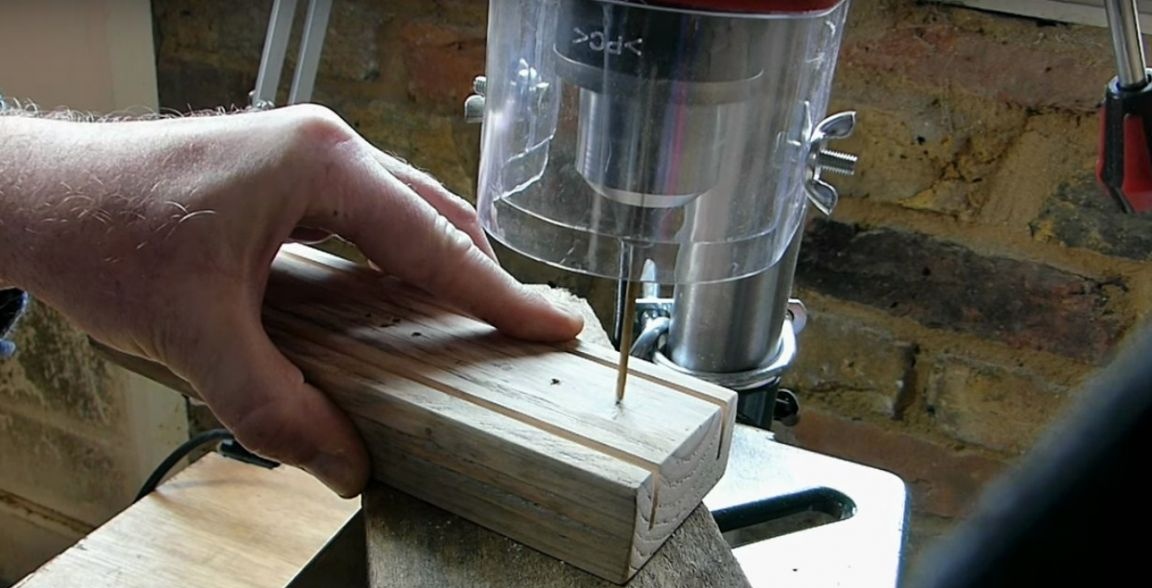
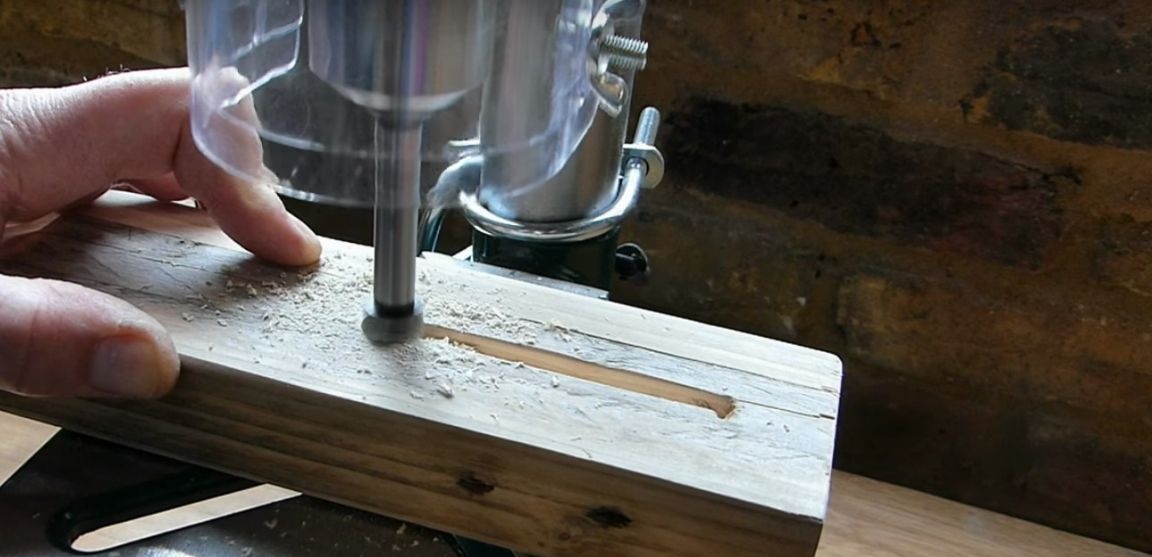
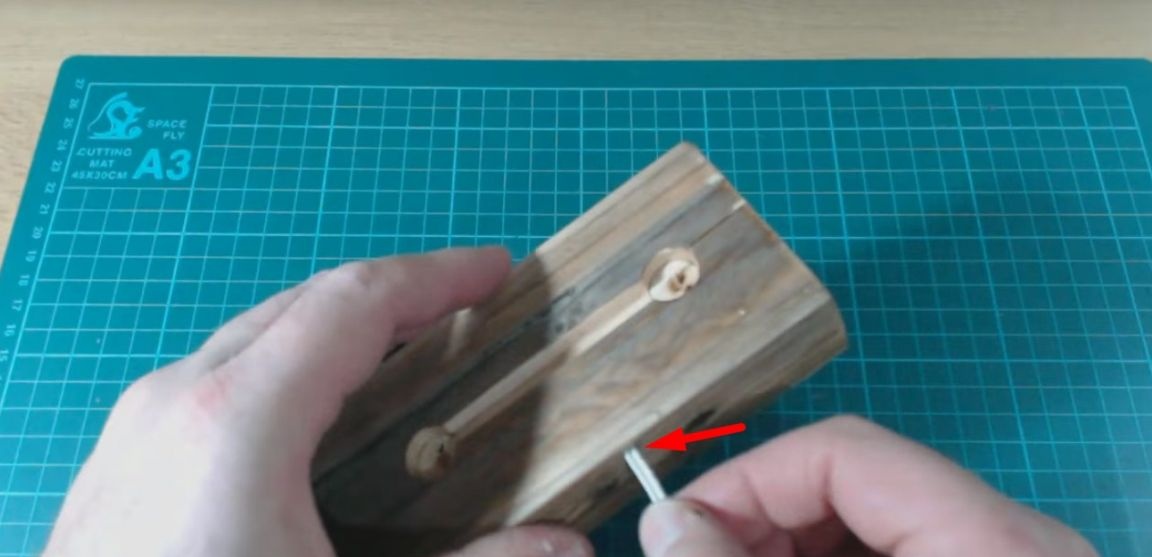
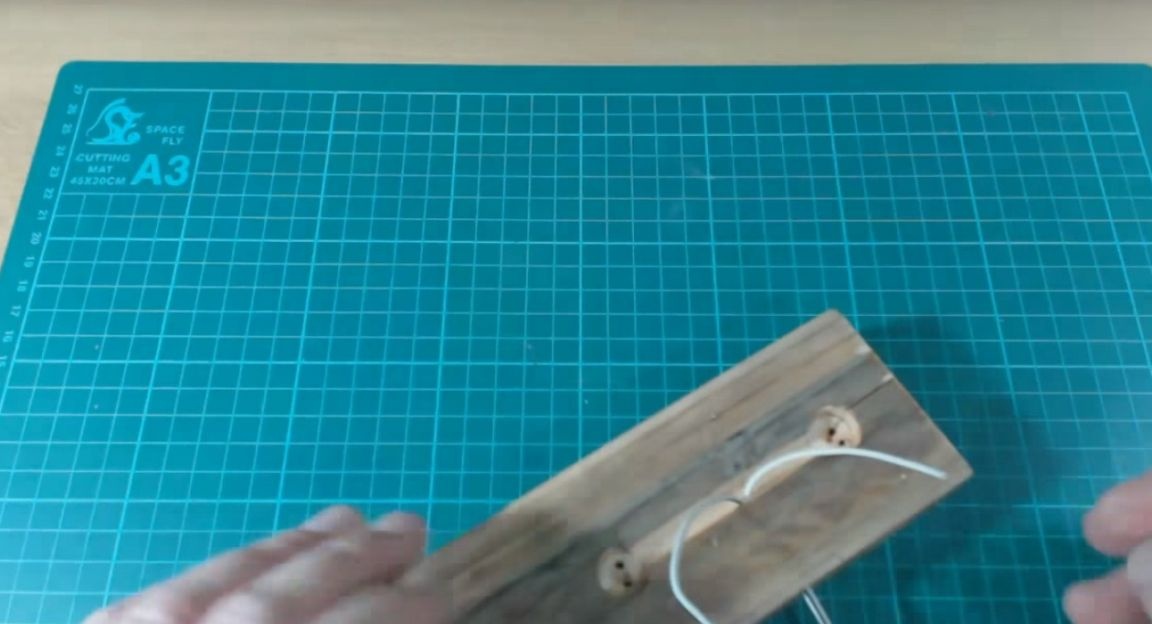
Then he made a groove 6 mm deep on the back of the bar between the holes.
On the side, the author made a hole for the connector.

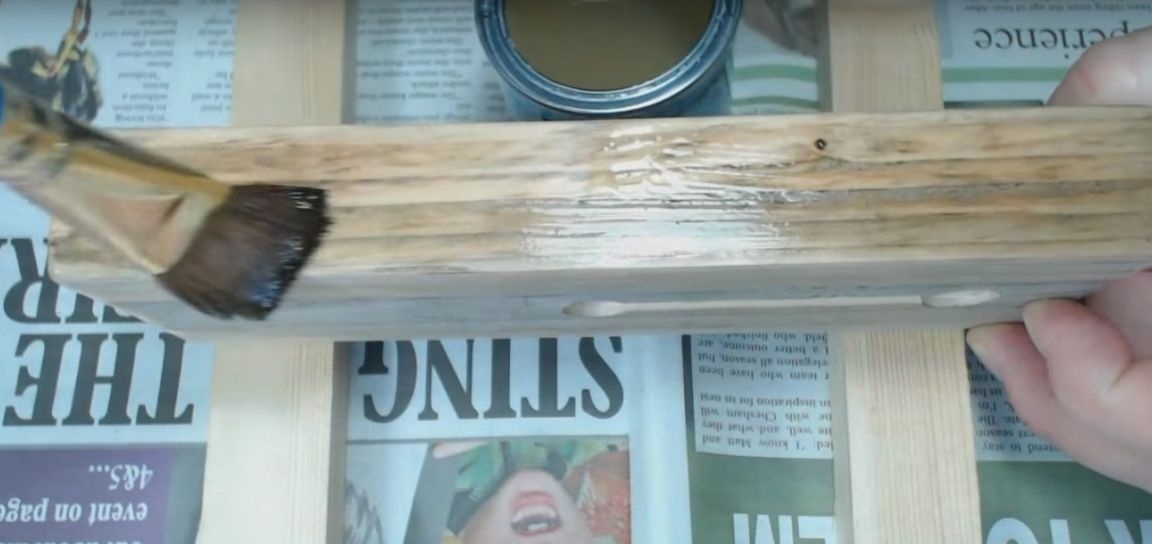
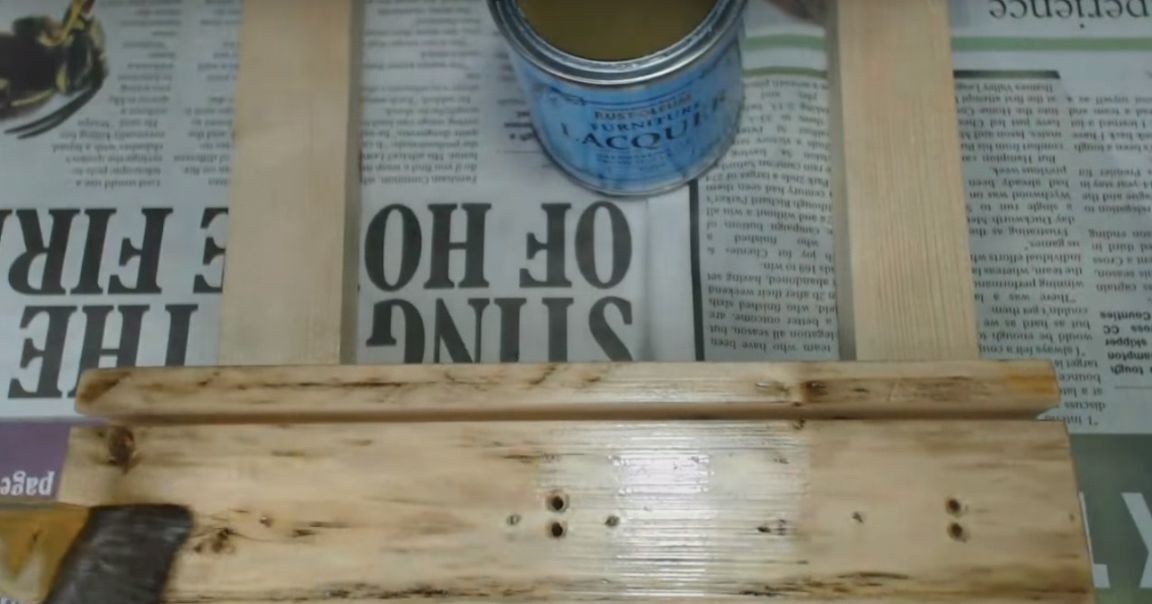
After the finished base varnished.
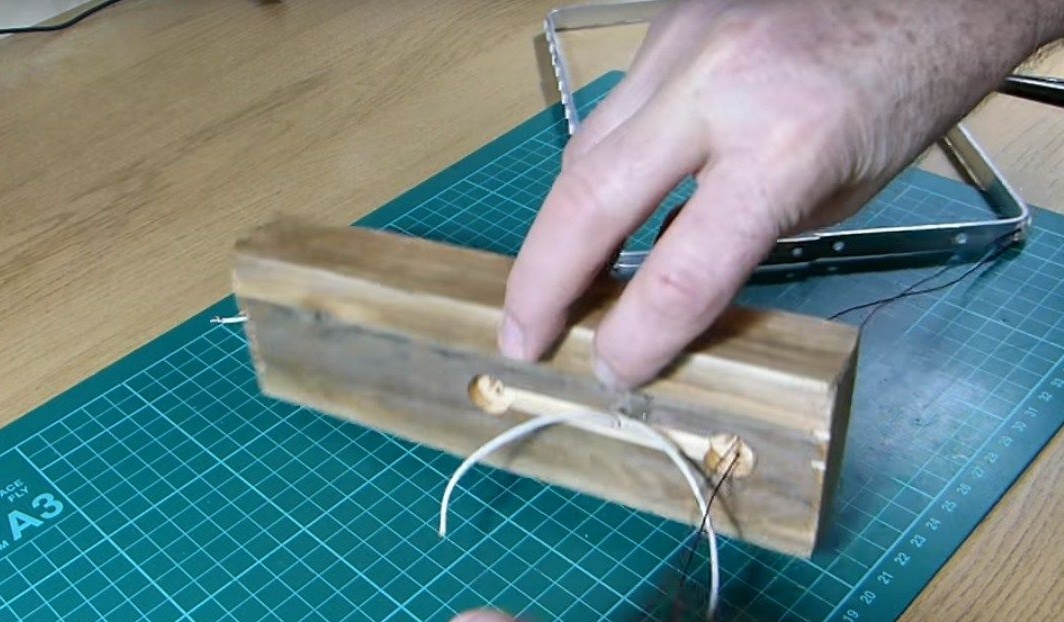
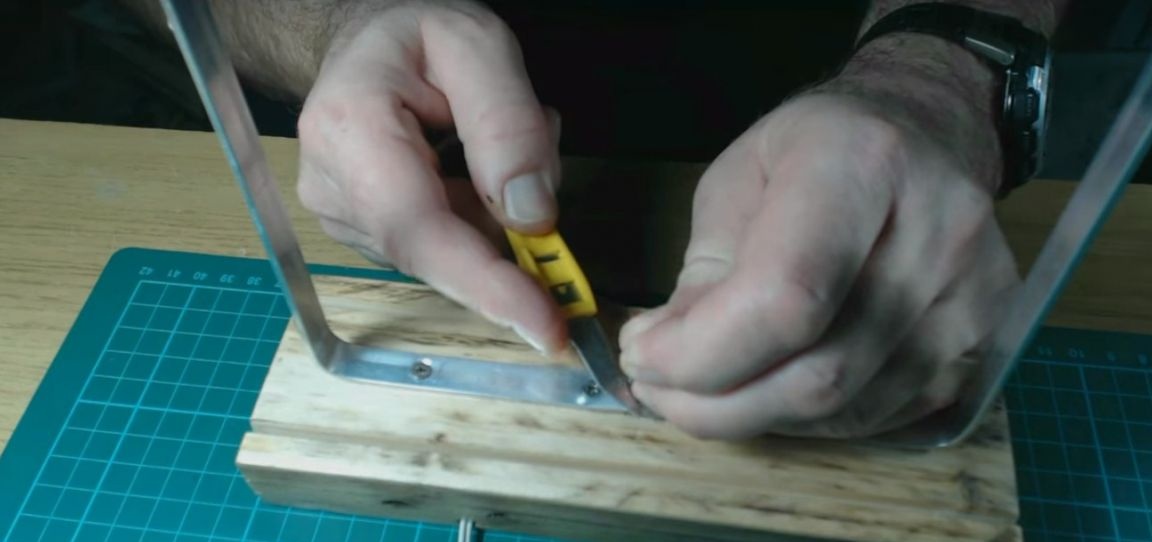
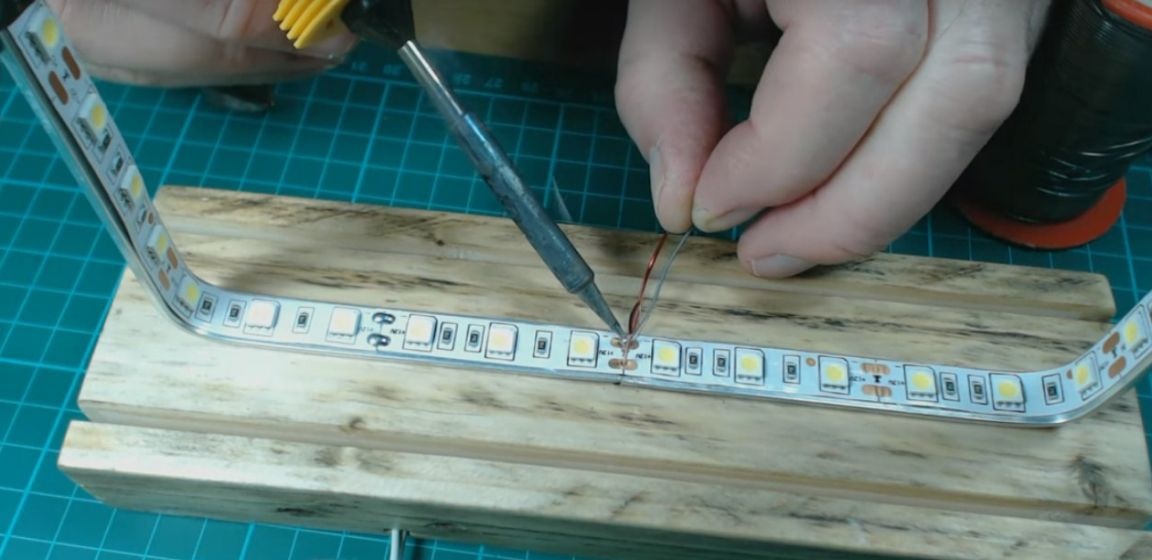
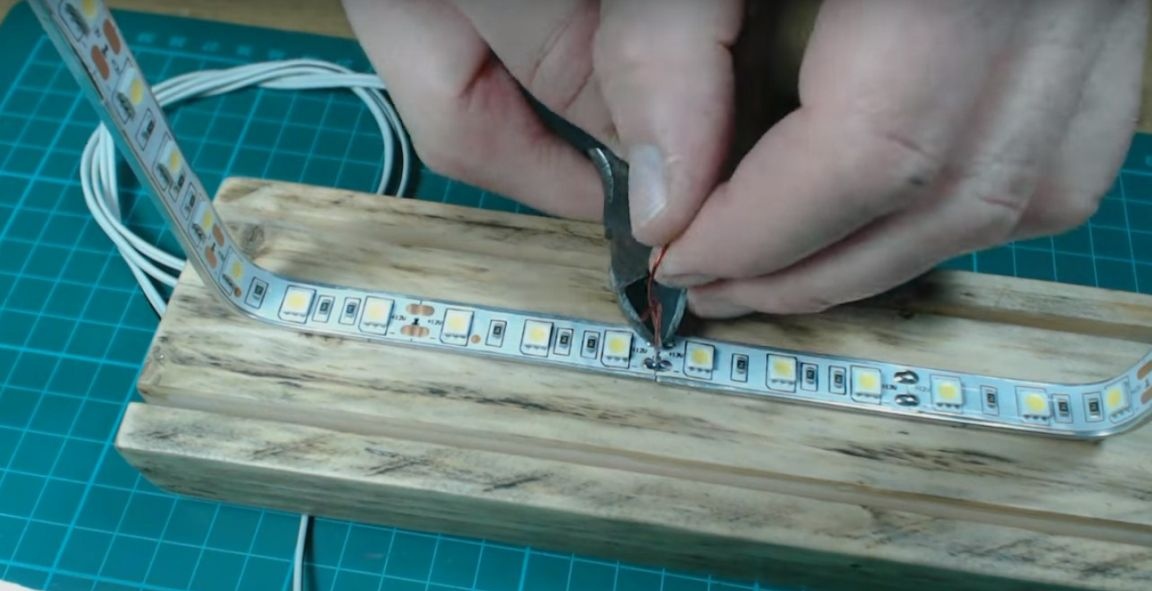
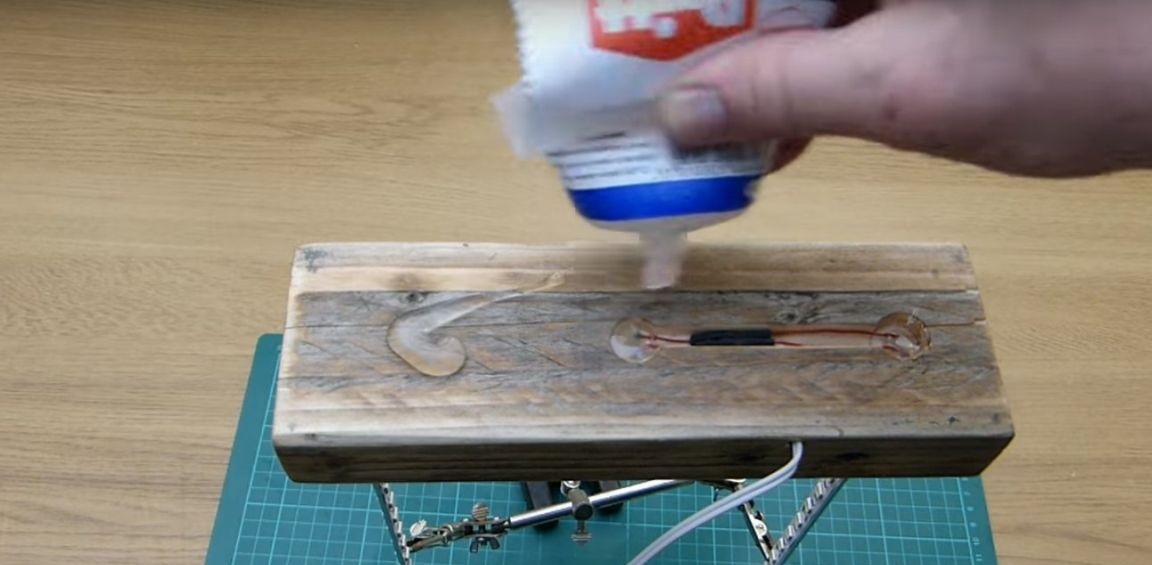
While the author was still drying, he proceeded to the electrical part of the night lamp. First, he soldered two pieces of enamel wire to the contacts of an already glued tape.
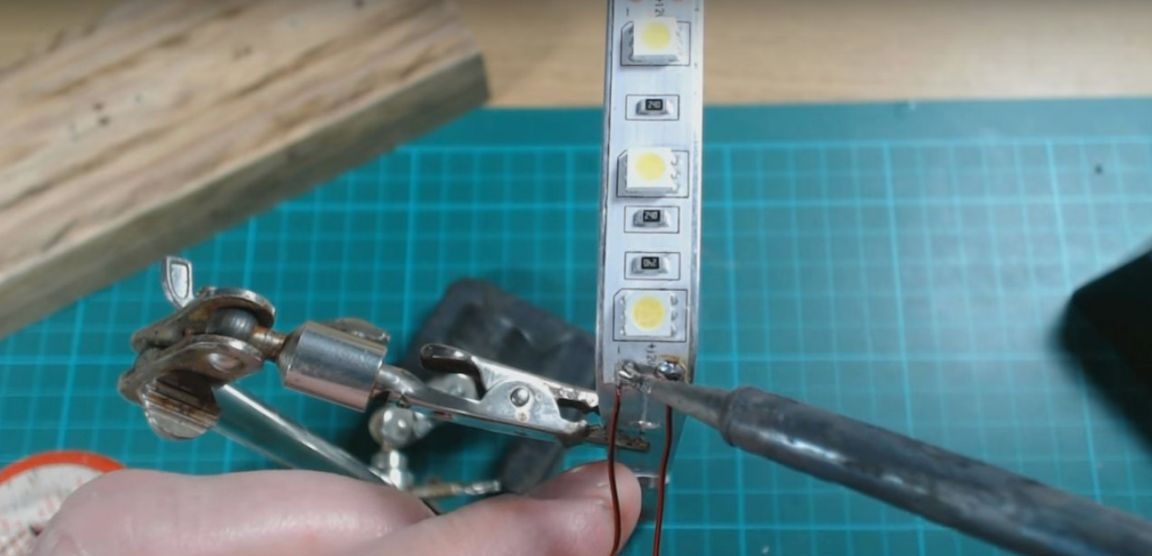
I checked that everything works, after which I applied a little hot glue as insulation.

Then I passed a double flexible wire into the side hole.
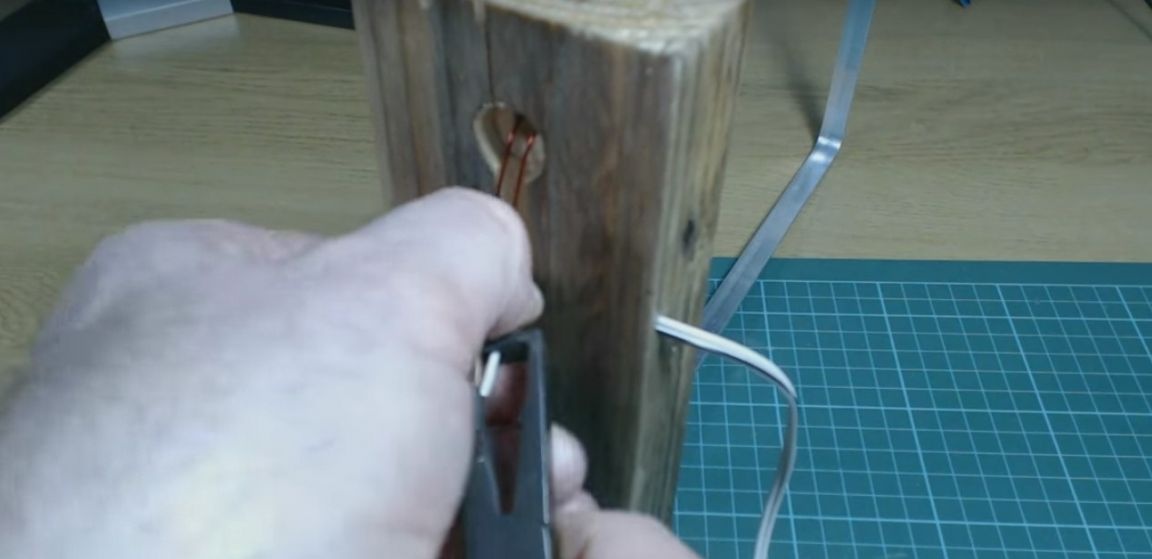
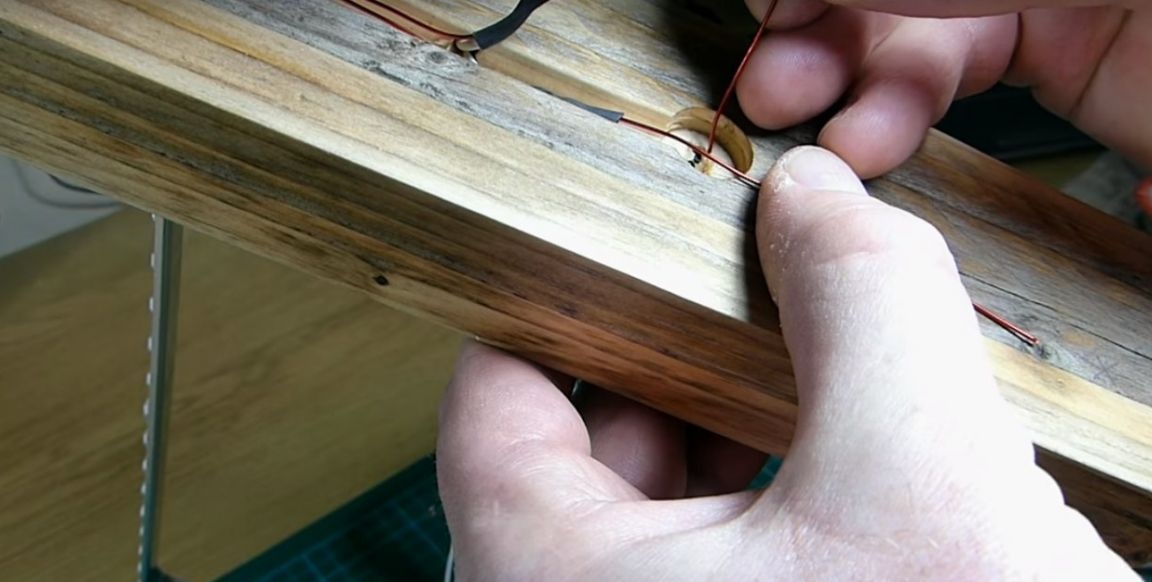
Then he passed soldered enamel wires into the holes on the front side of the bar.
Screwed the frame into place.
I cleaned the edges of the flexible wire.
Also, the author took off the enamel on the wires in the places of soldering, which he had done on the front side of the bar. And he soldered the ends of the flexible wire to the enameled wires after checking the polarity.
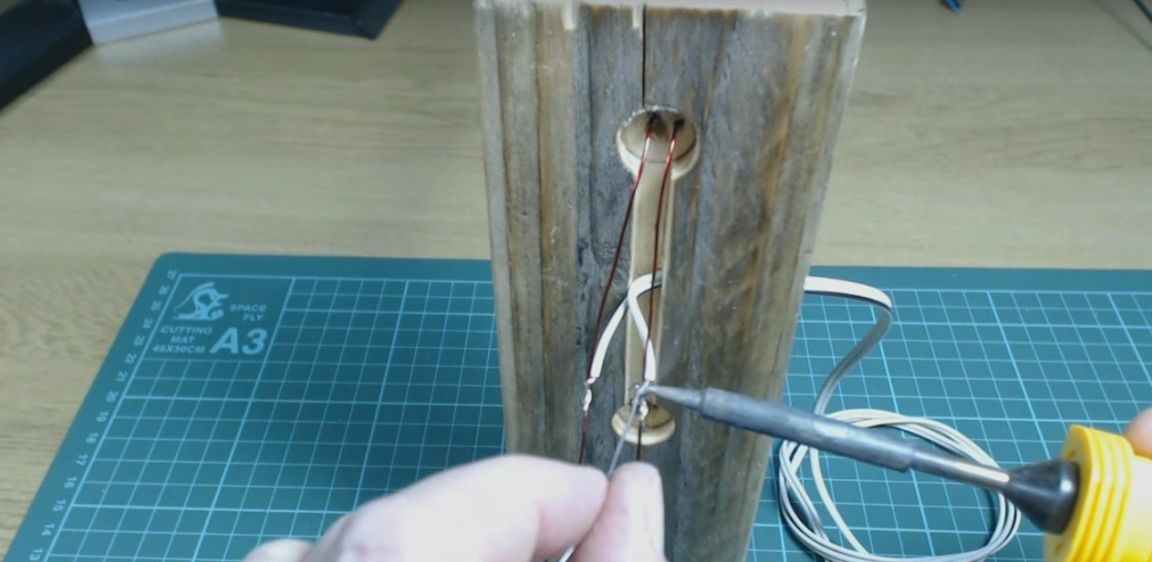
He put on a heat shrink on the soldering points and warmed up.
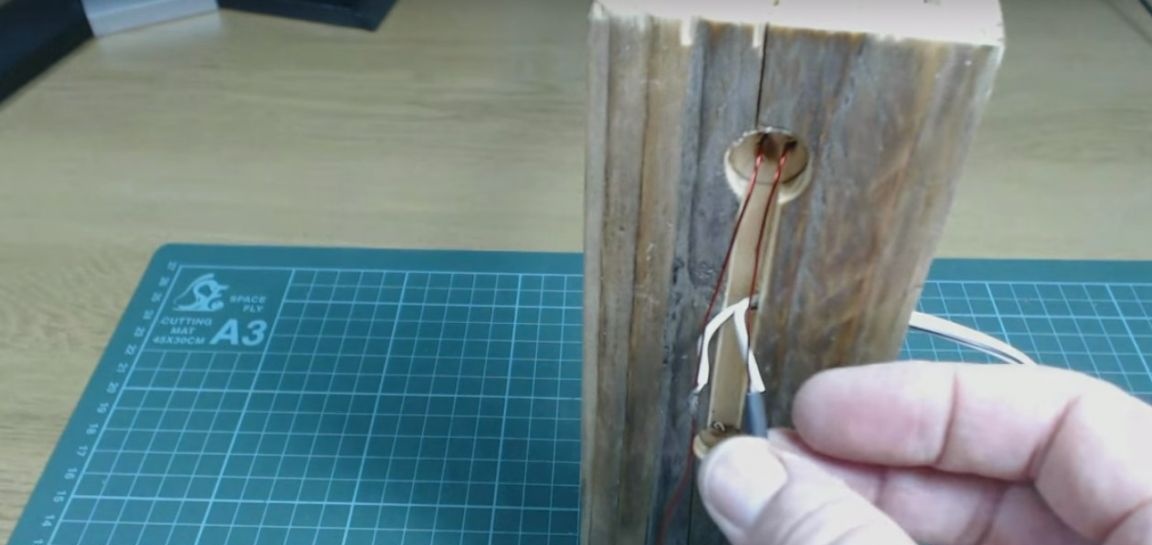
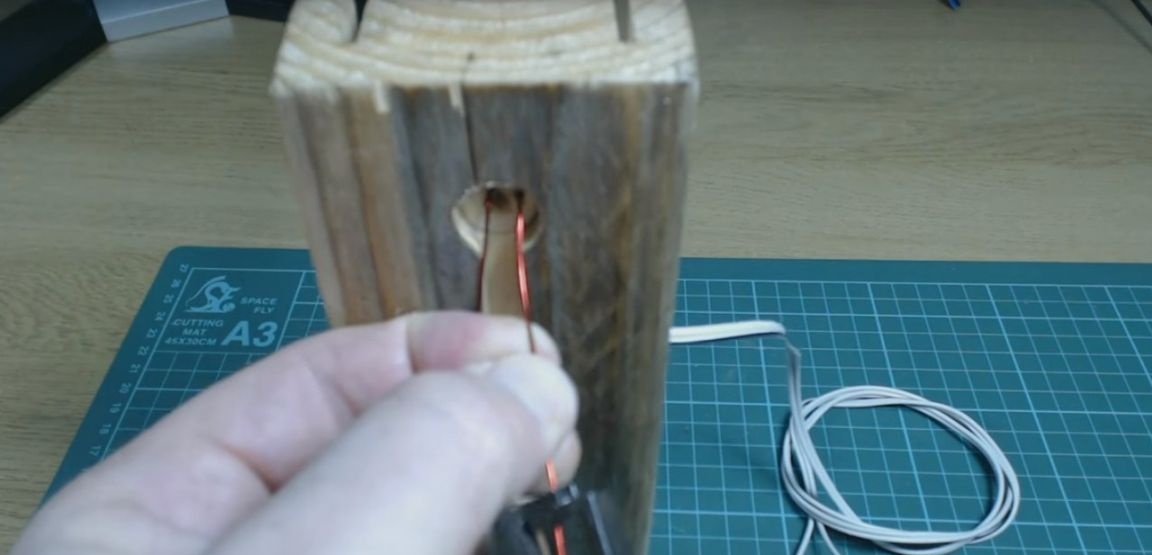
He passed the ends of the enamel wires into the hole on the back of the bar.
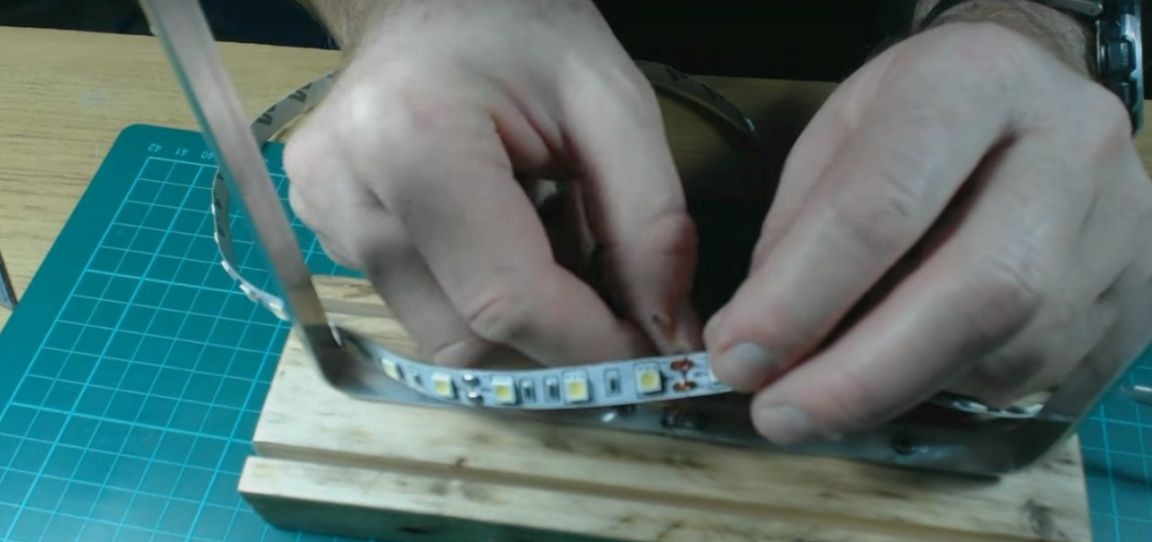
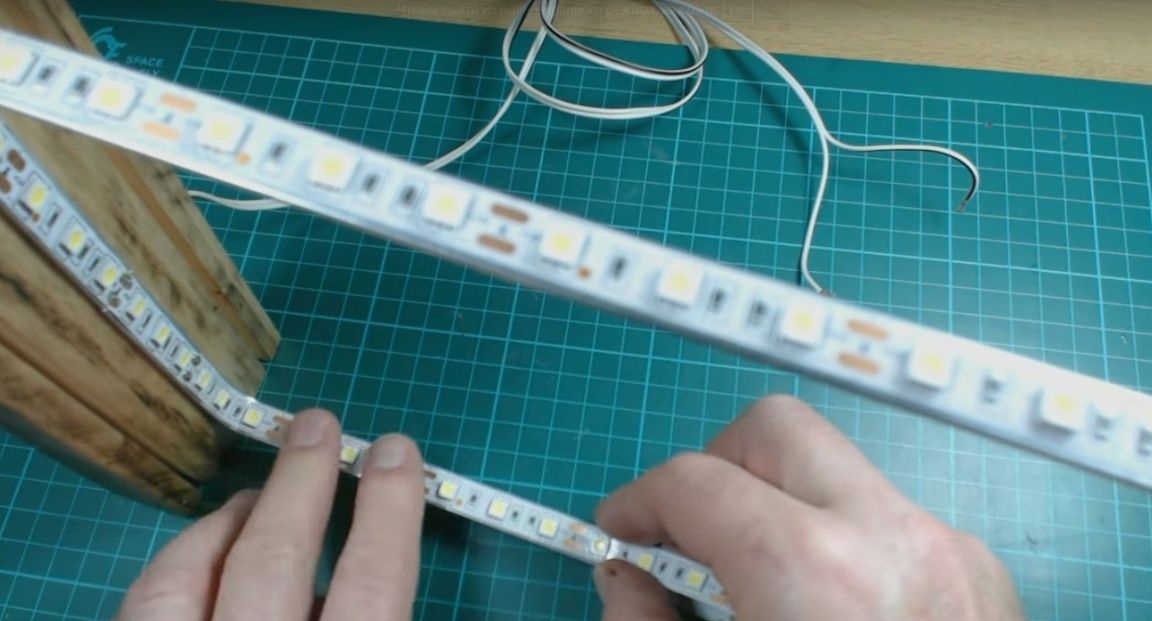
Then he measured the tape on the inside of the frame. And with the help of a small nail in the contacts, the airmen made holes.
Having cleaned the wires, I put a tape on them. I glued it partially to the frame.
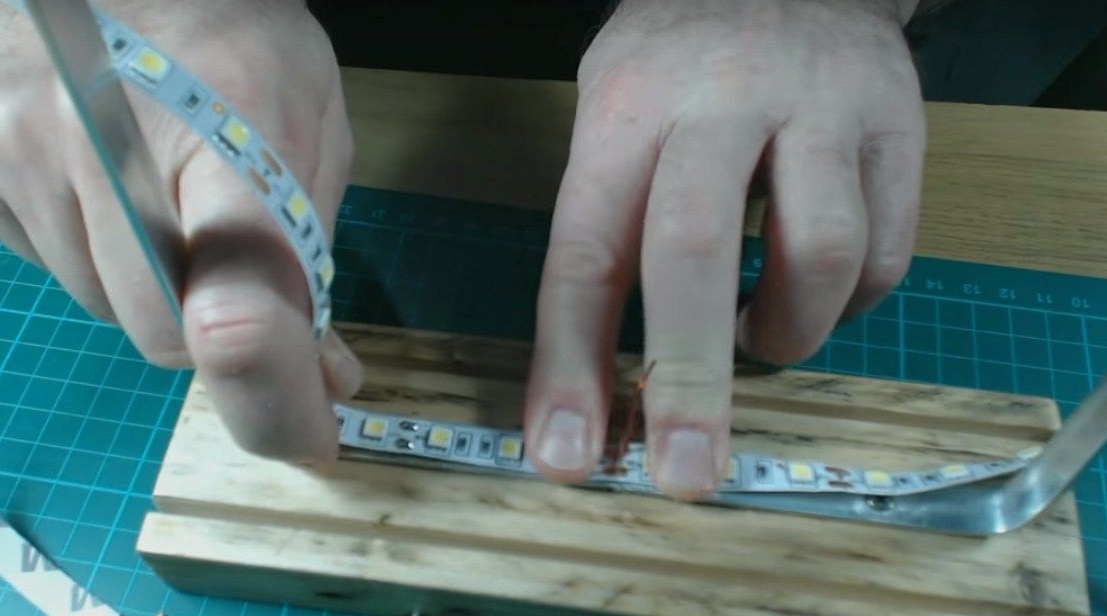
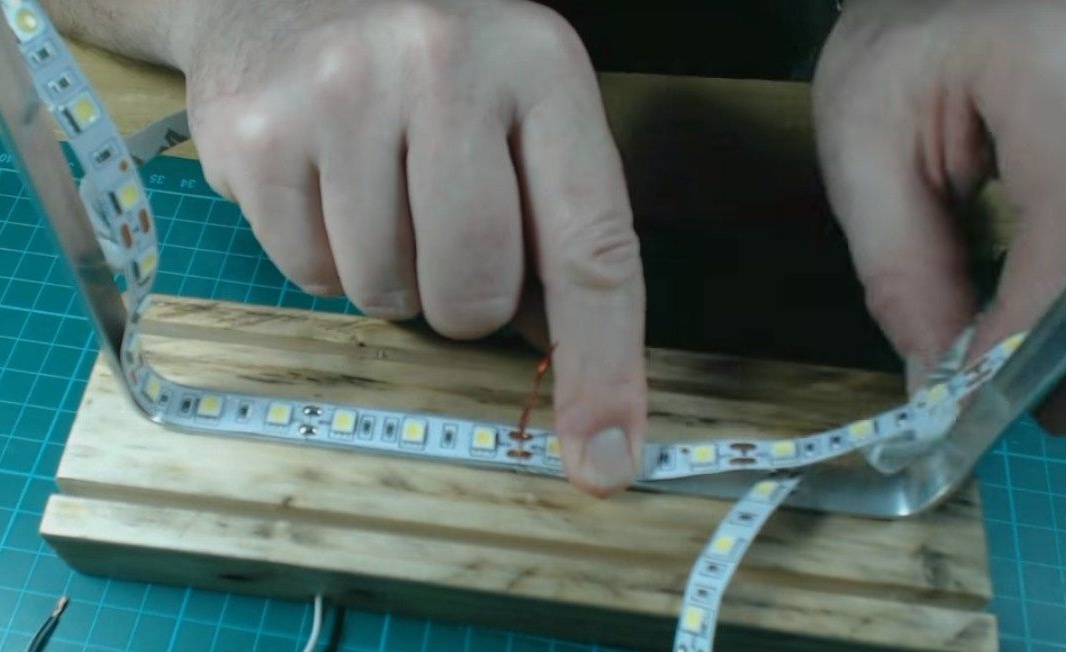
Then he soldered the wire to the contacts of the tape and cut the excess.
Glued the rest of the tape.
Then the author screwed the ends of the flexible wire to the connector observing the polarity.
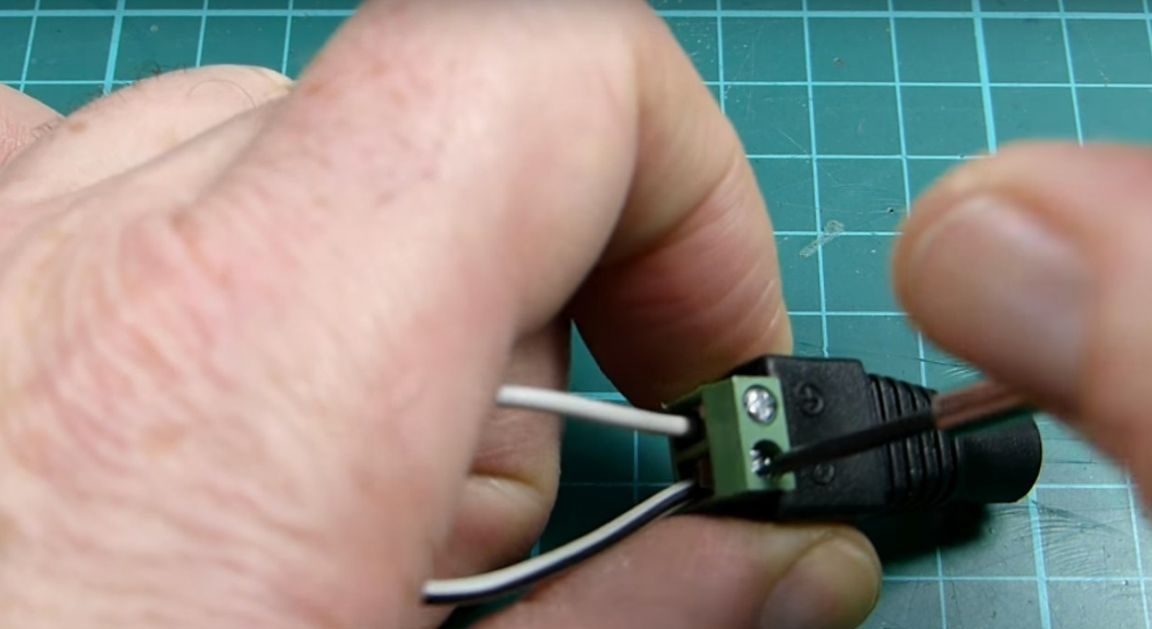
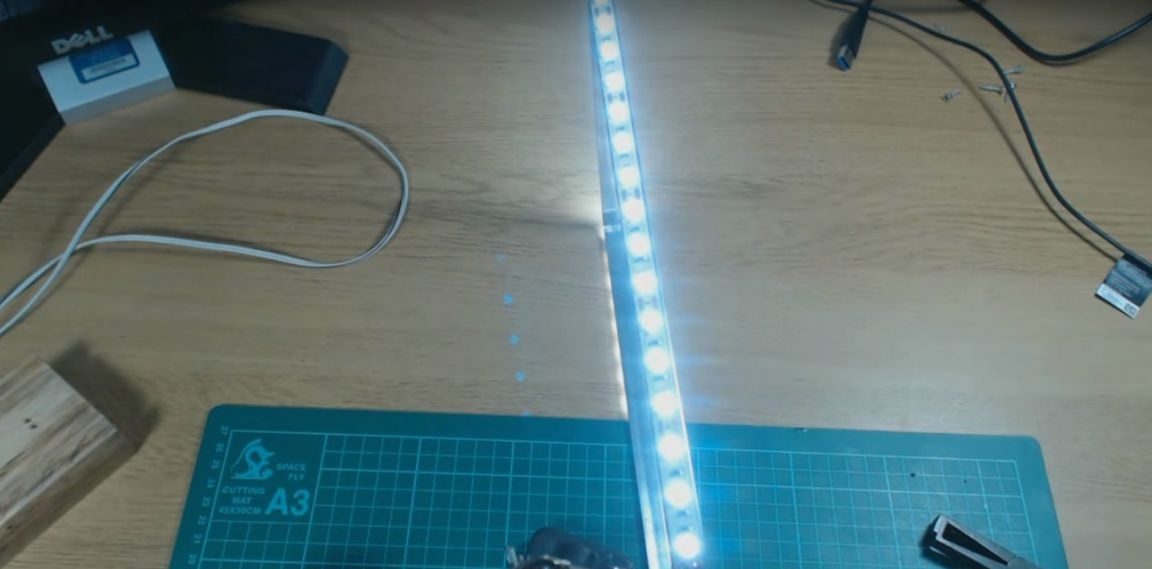
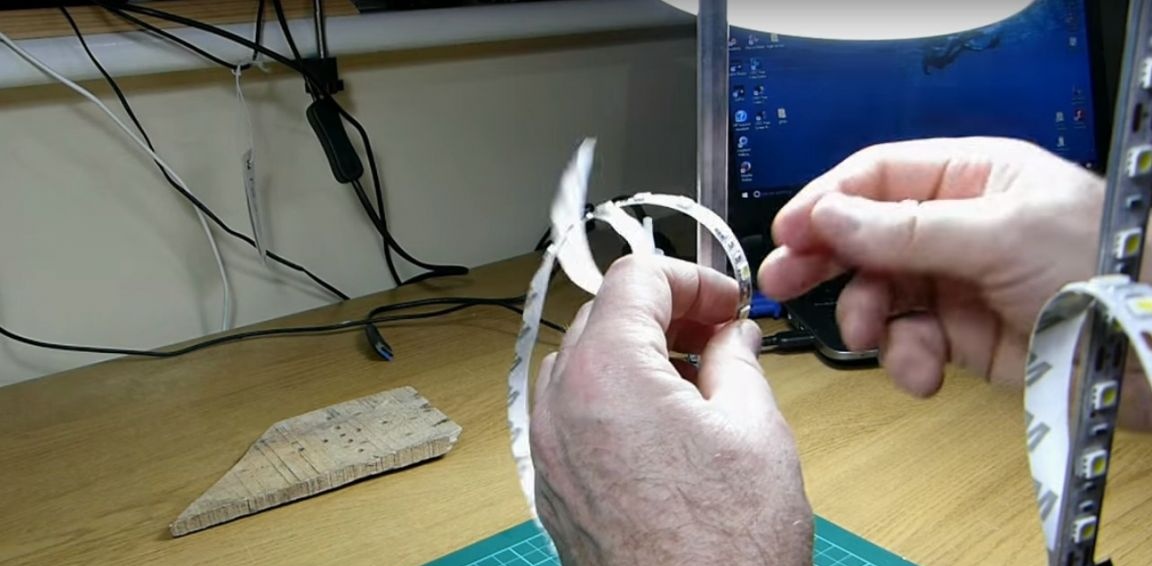
Then check.
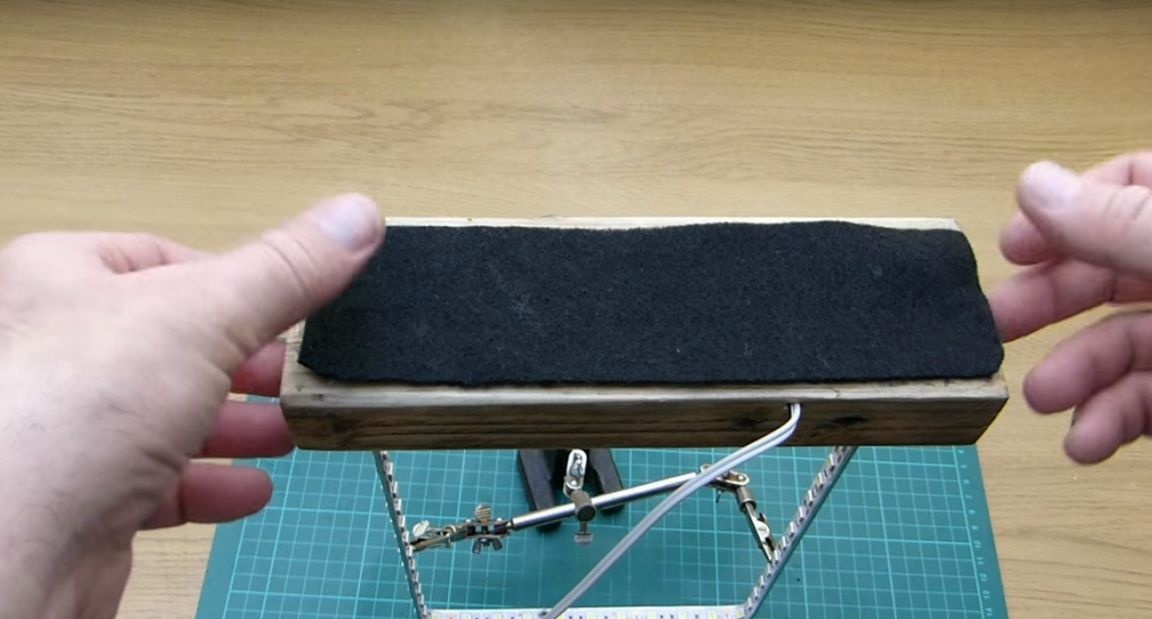
To hide the wires, the author applied glue to the bottom of the base and glued a piece of thin felt.
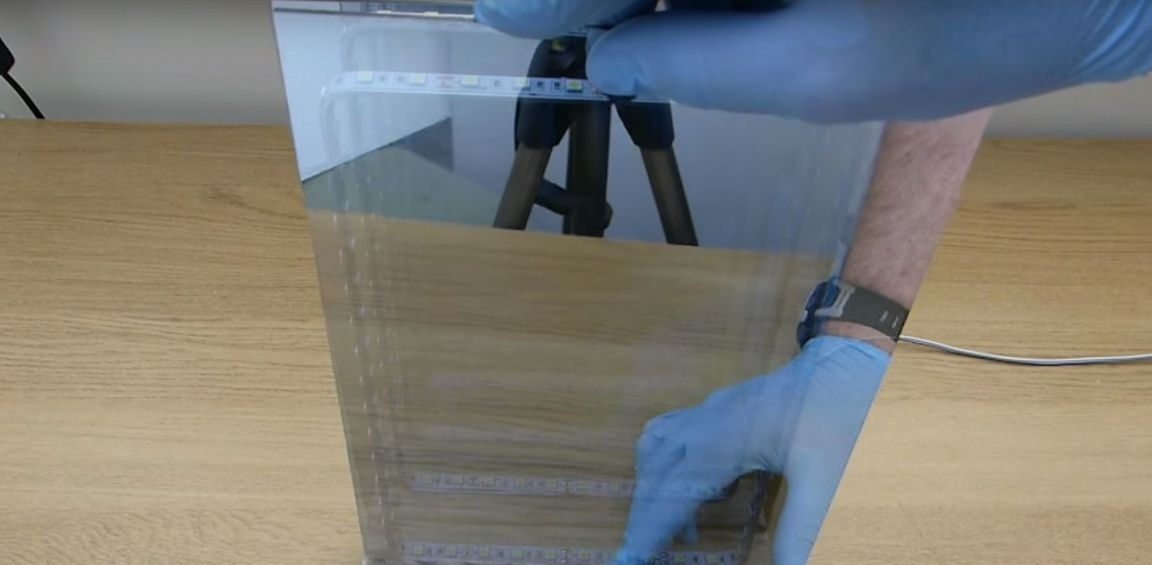
Then he set to work with mirrors. He put on rubber gloves (so that there were no fingerprints on the mirrors.) And he began with a regular mirror, removing the protective film from it, but not completely, but leaving 19 mm.
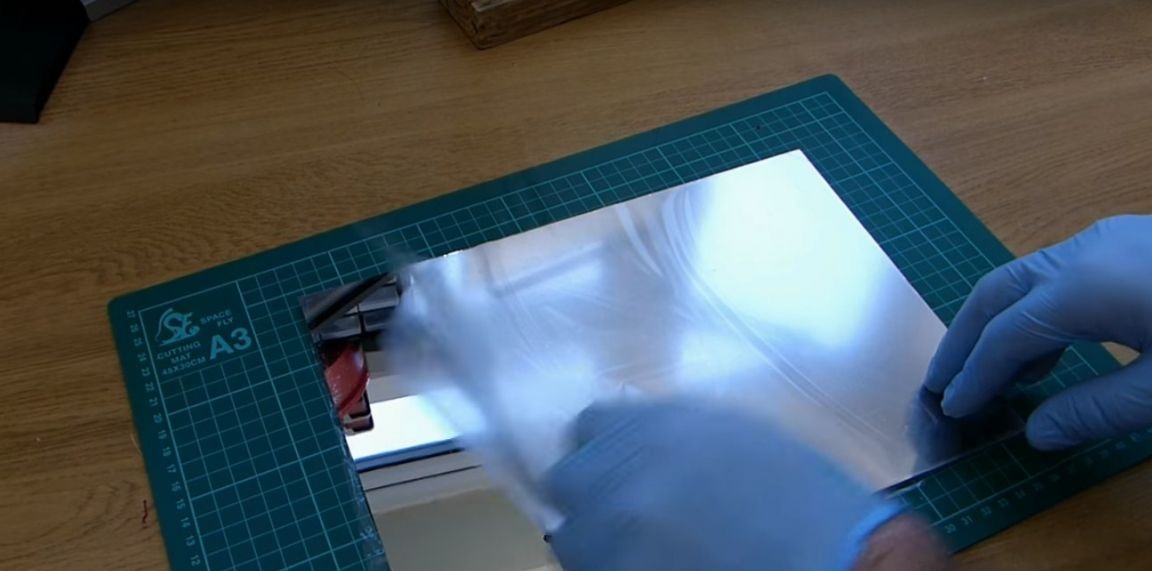
And putting a sheet of paper underneath cut it off.
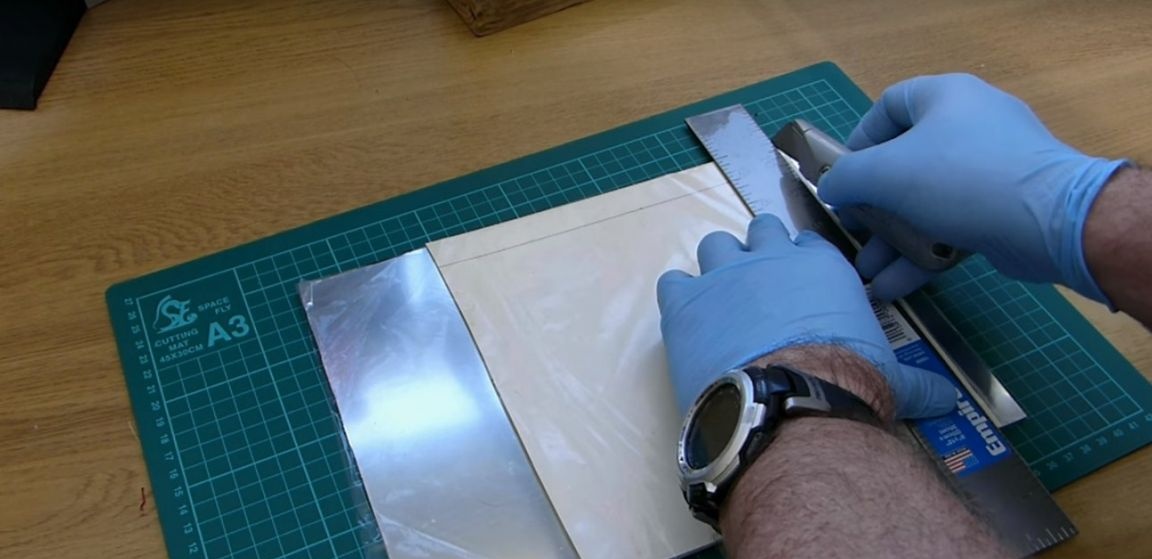
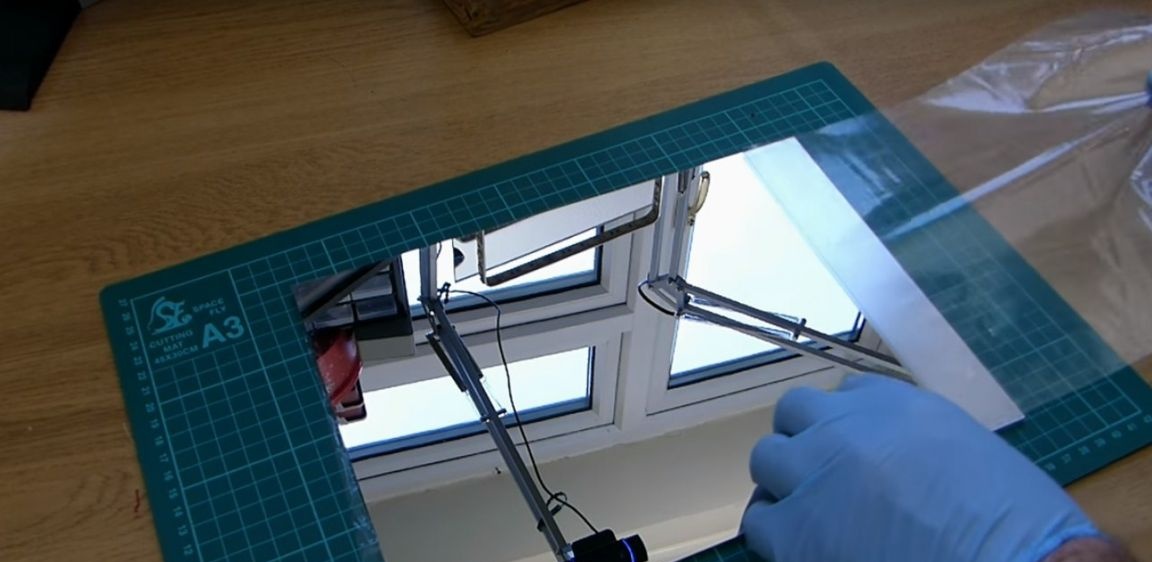
With this piece of protective film, the author will install the mirror in the rear groove for greater strength.
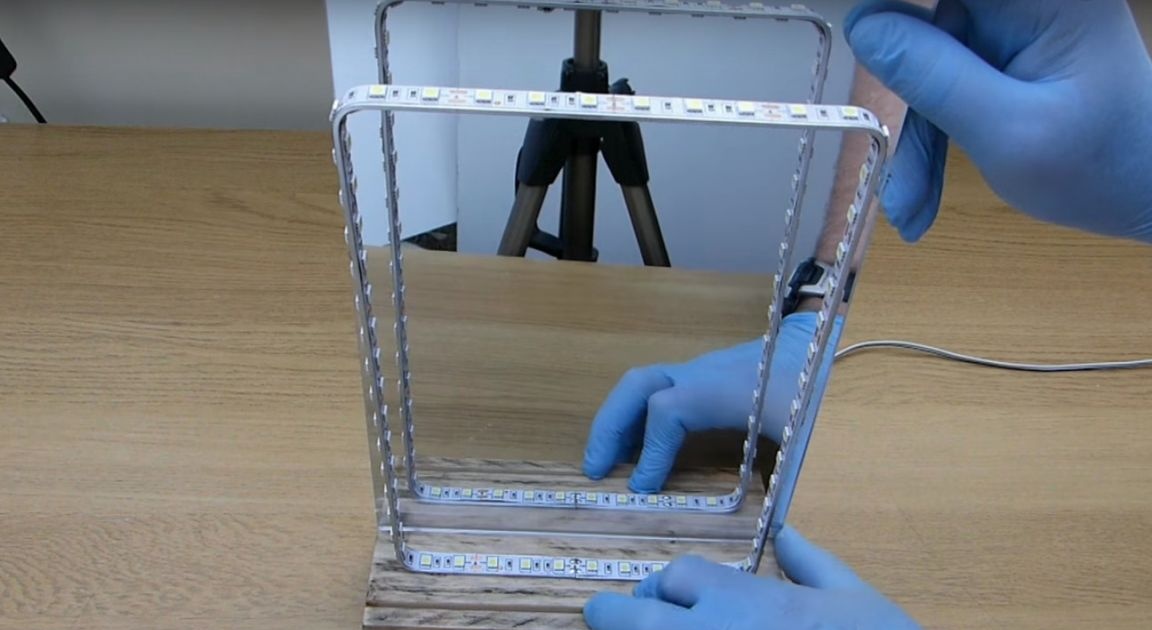
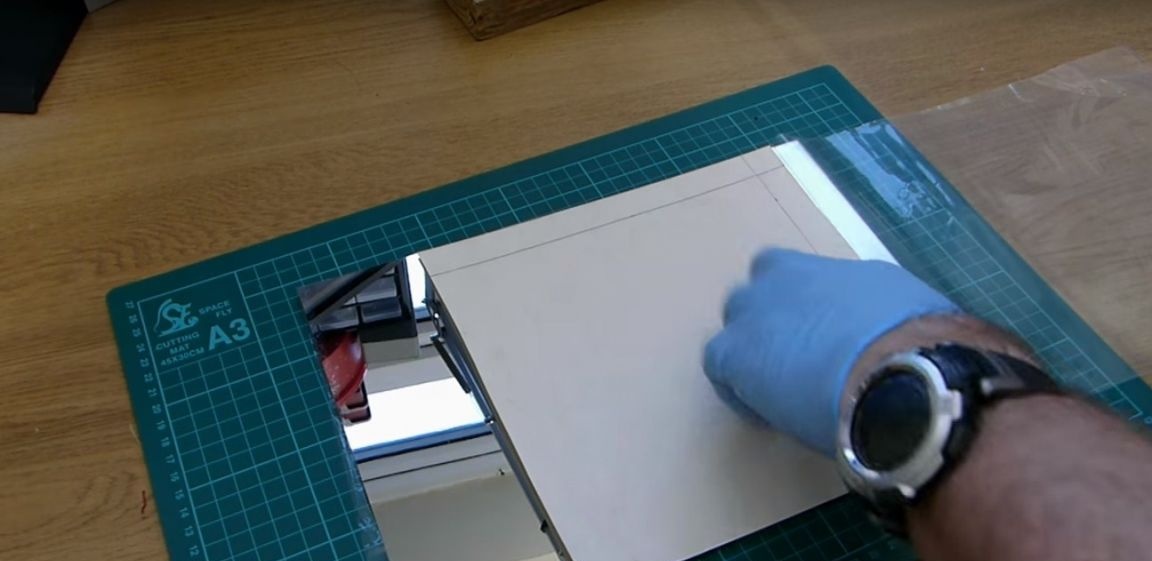
Having done the same operation with the protective film of a double-sided mirror, the author installed it in the front groove. Acrylic side in front.
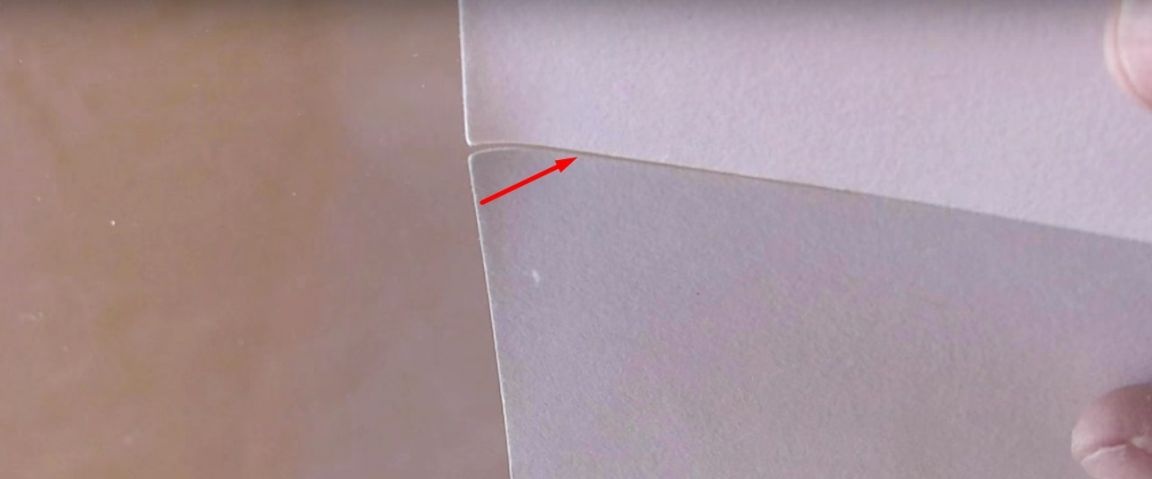
To find out the acrylic side, according to the author, it is easy to just attach a flat surface to the mirror. The side where there will be a gap is acrylic.
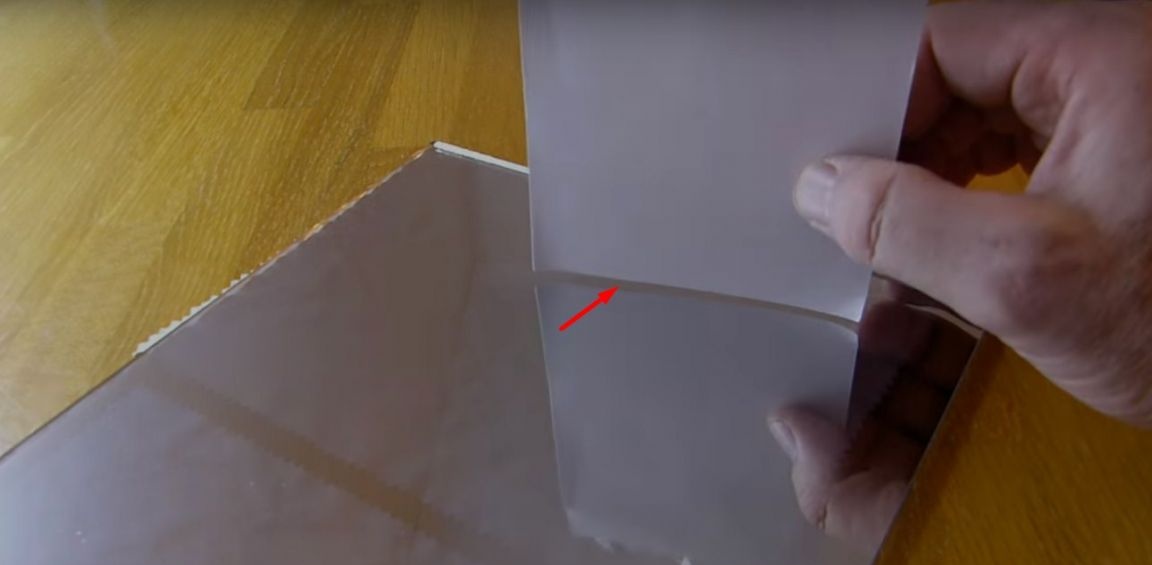
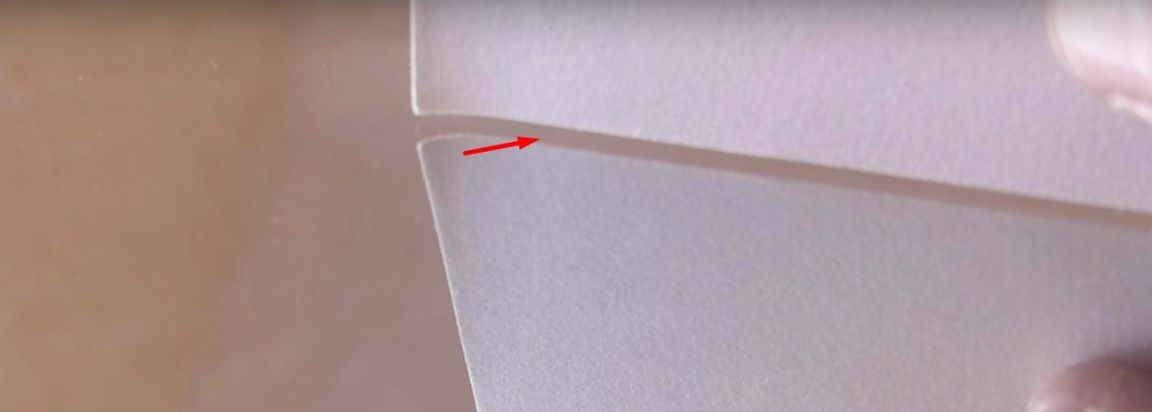
And the side where there is no gap foil.
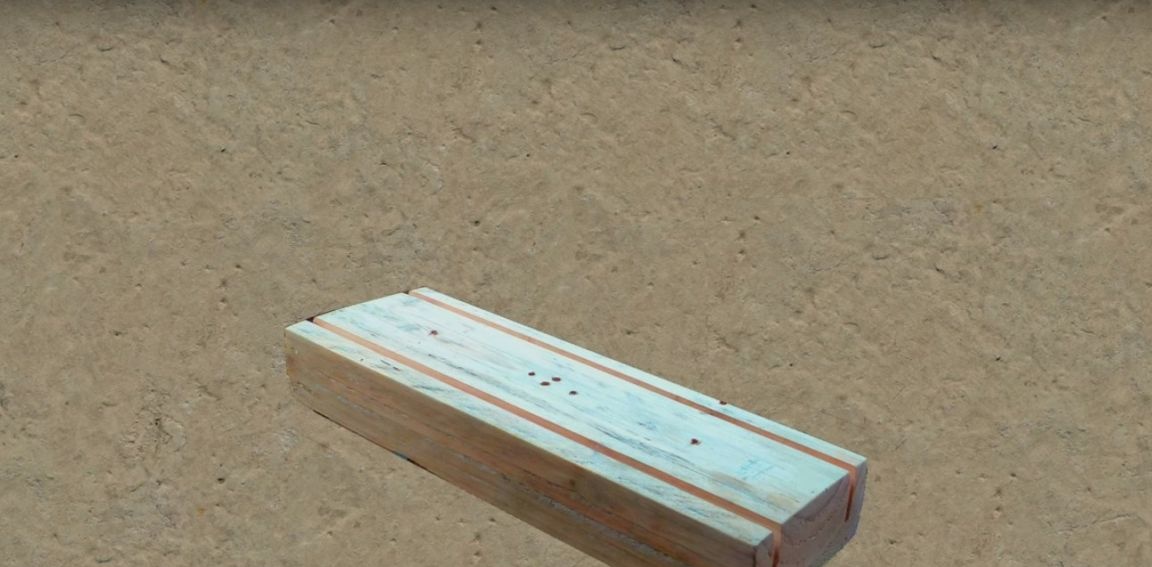
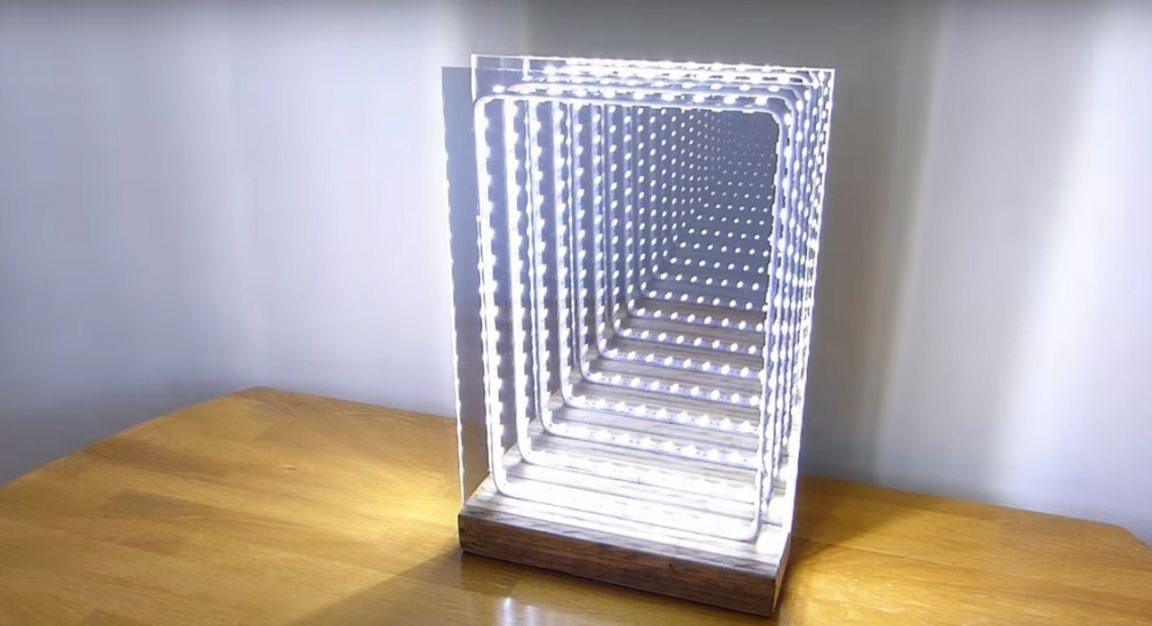
This is how the author’s night light looks off.

And so it looks when turned on.

Homemade video: