
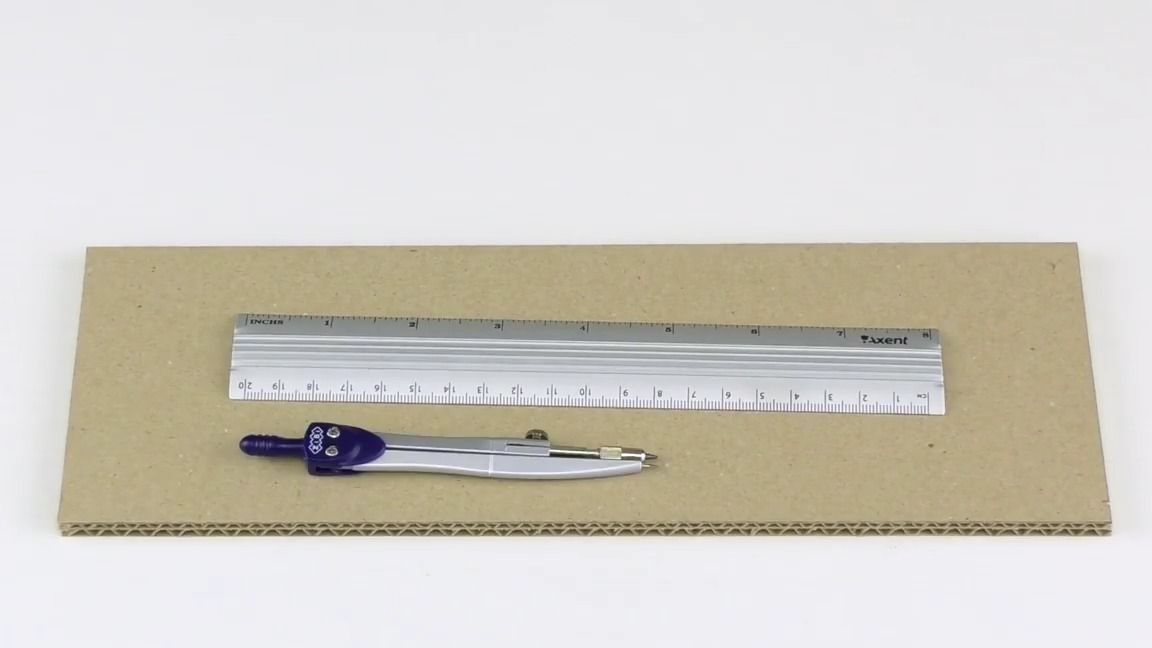
And so, for a cardboard safe, we need:
corrugated cardboard, the more the better
-wooden skewers
medical spatula
-paper
Of the tools we will also need:
-compass
-stationery knife
line
hotmelt
tape or glue stick
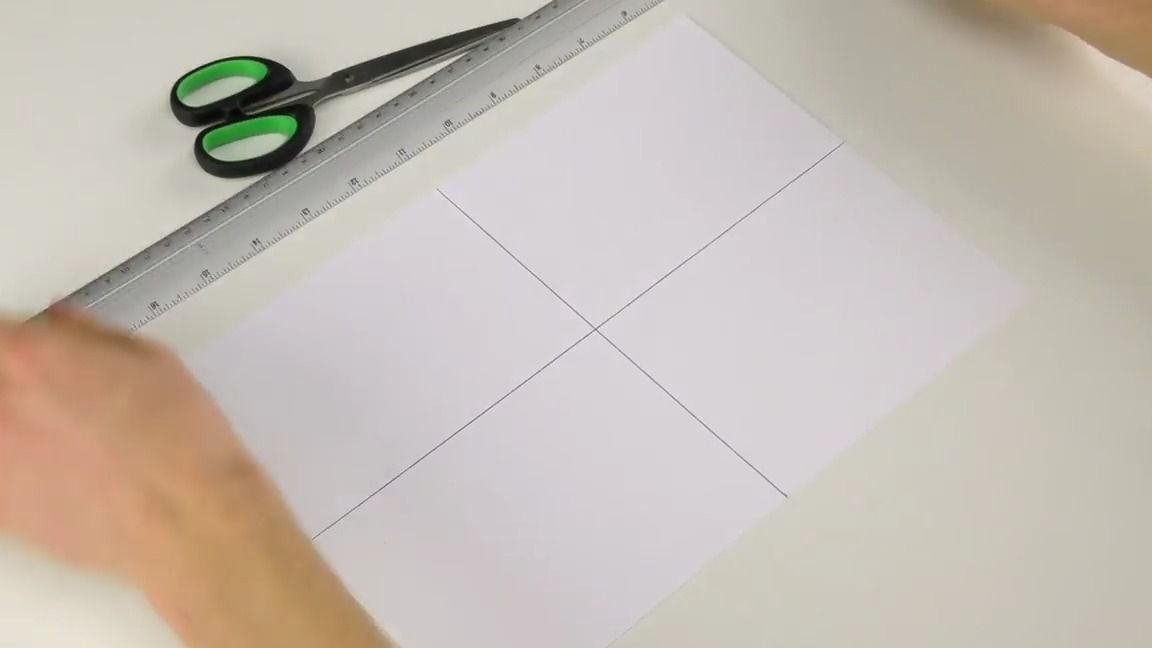
First of all, you need to draw two lines crosswise on a sheet of paper, as shown in the photo. Then we cut it along the marked lines:
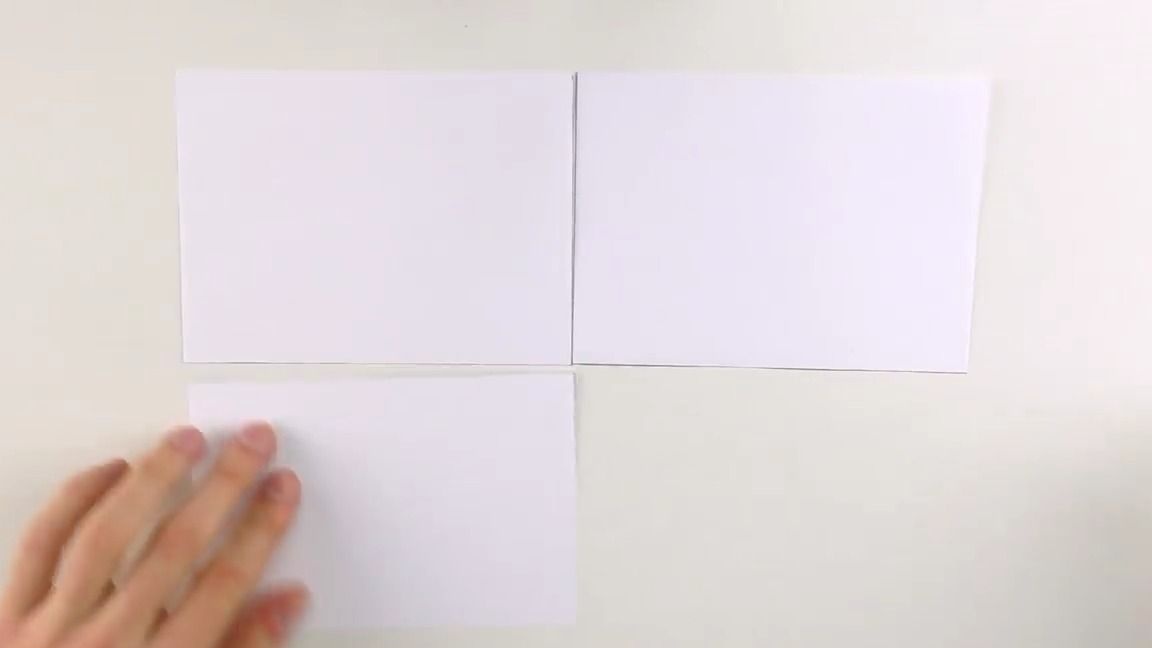
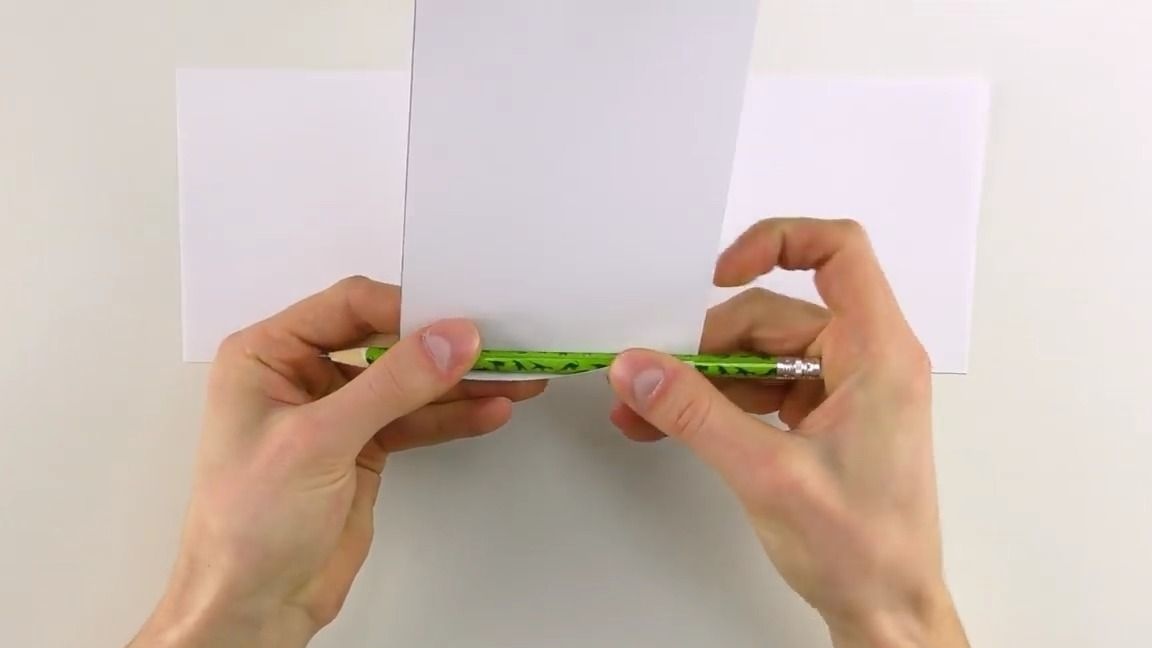
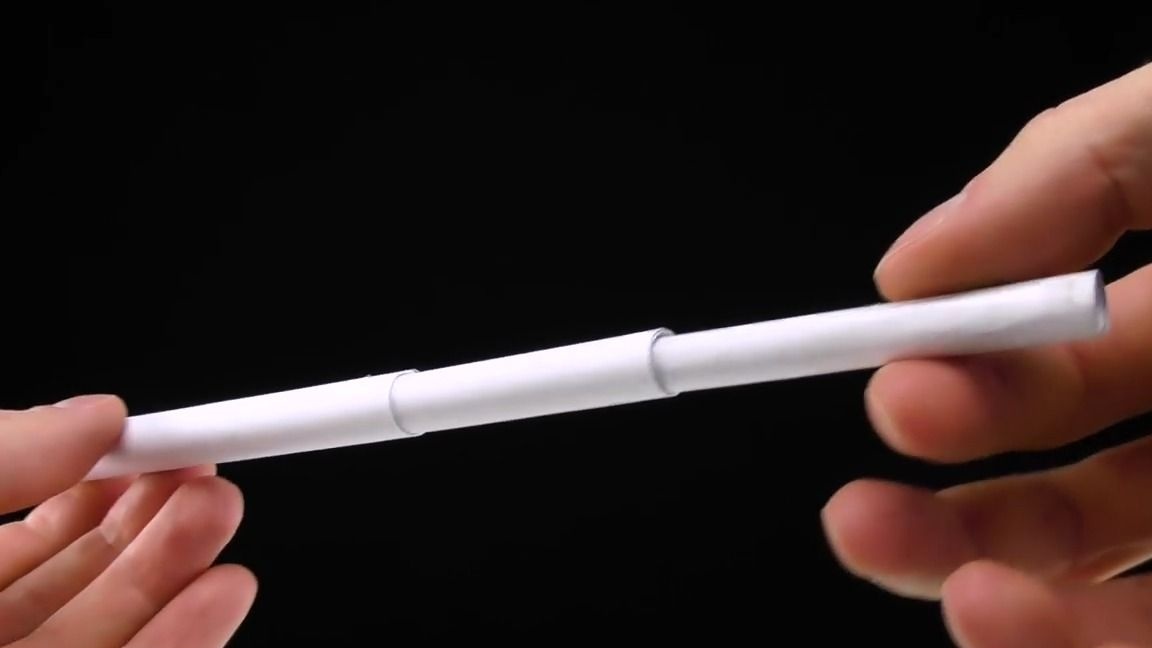
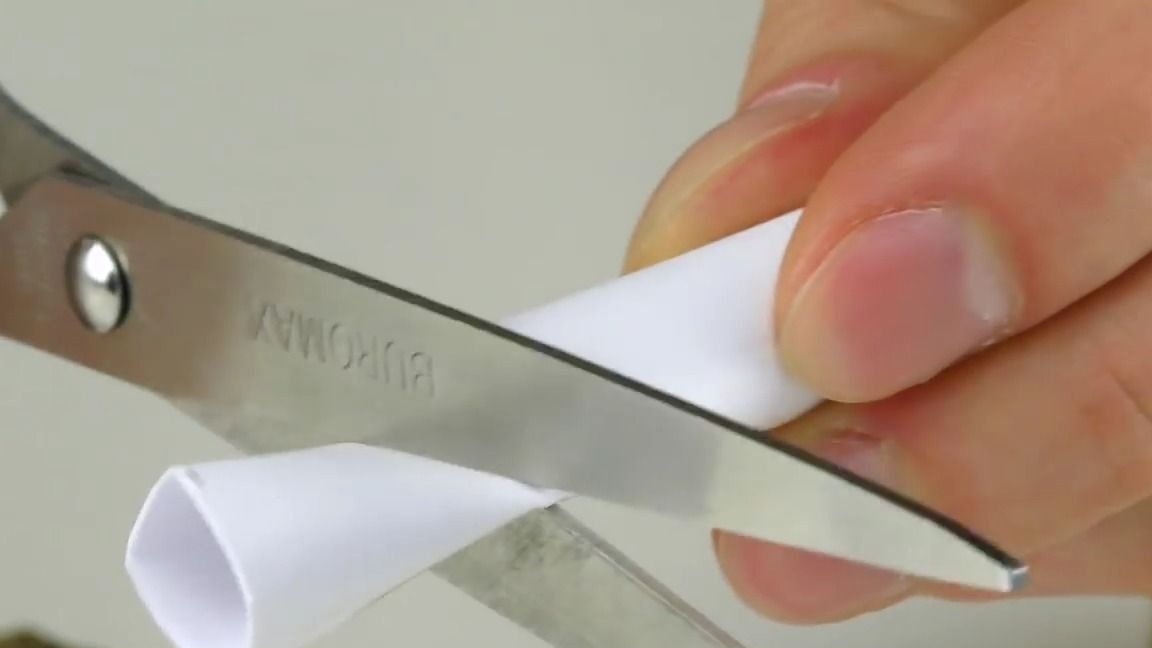
Take a pencil and start wrapping around one of the pieces of paper around it, then glue the ends with tape or glue and wrap the next one over this tube. Thus, we should get 3 tubes of the same length, but of different widths, one larger than the other:
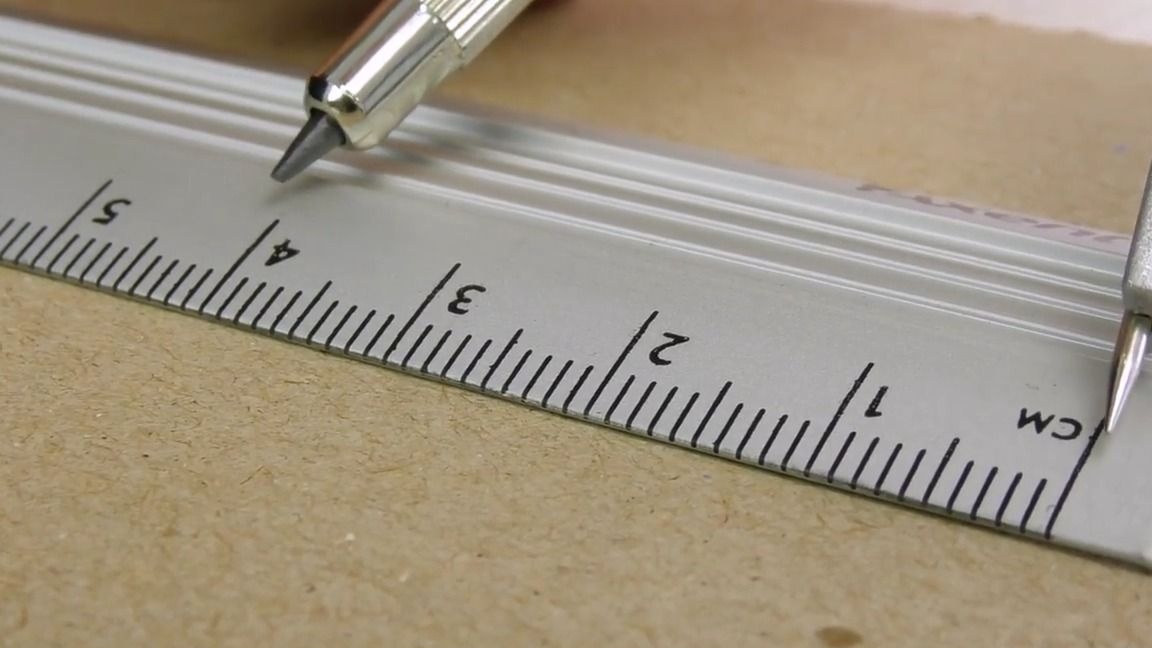
Take a compass with a ruler and draw 3 equal circles with a diameter of 4 cm:
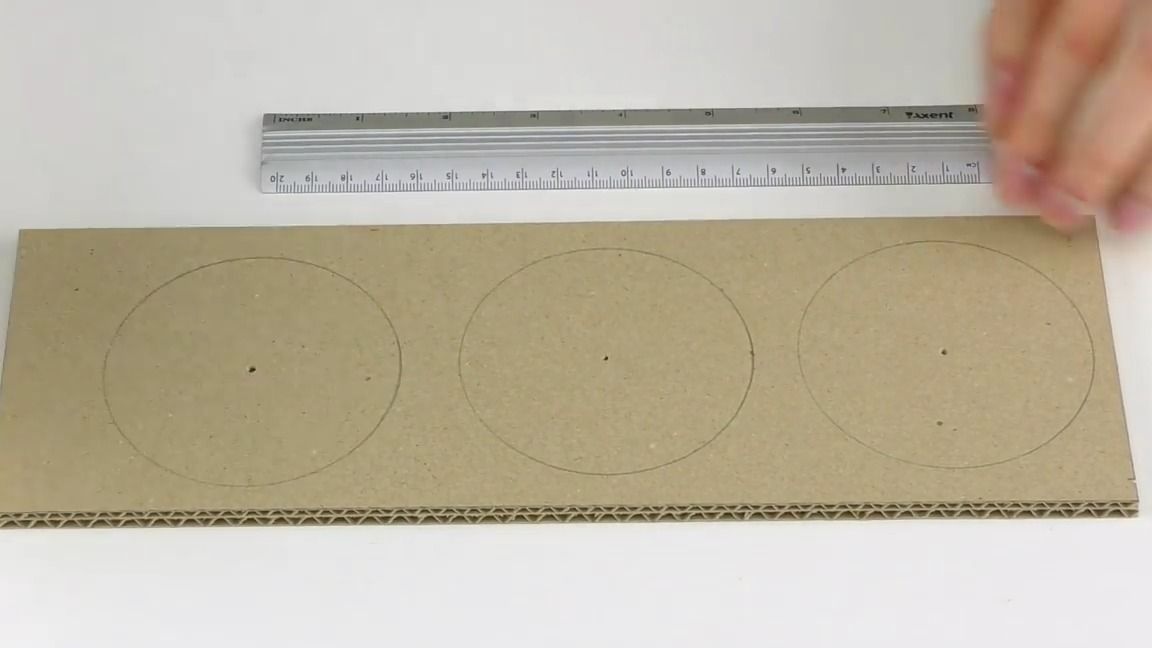
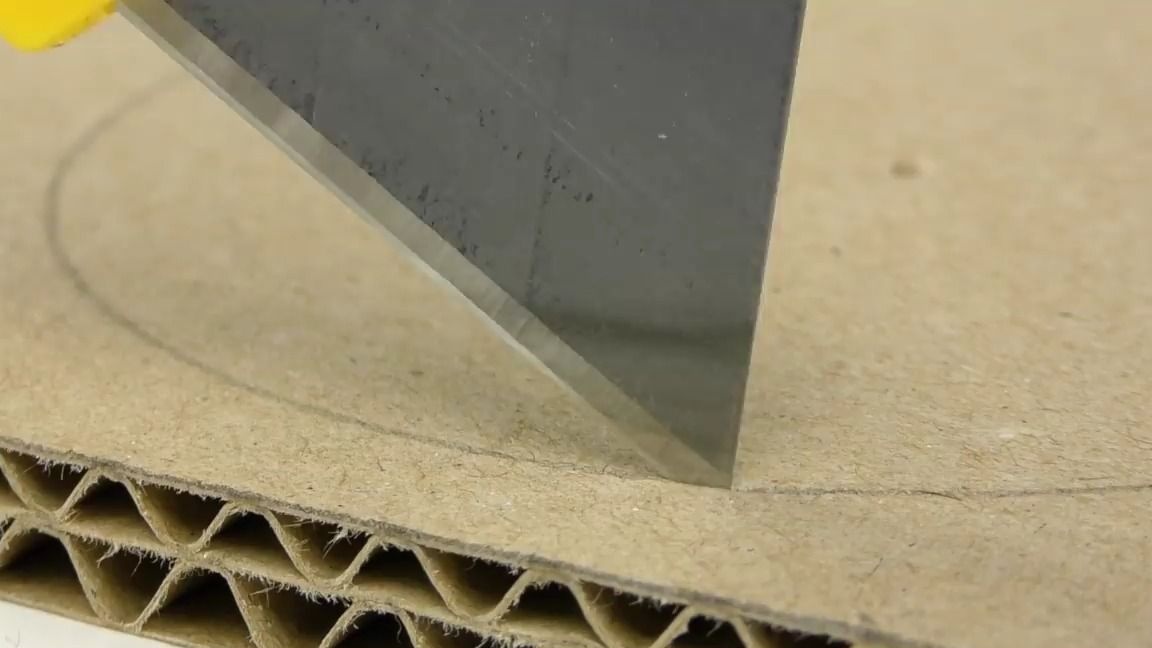
Then cut with a clerical knife or scissors:
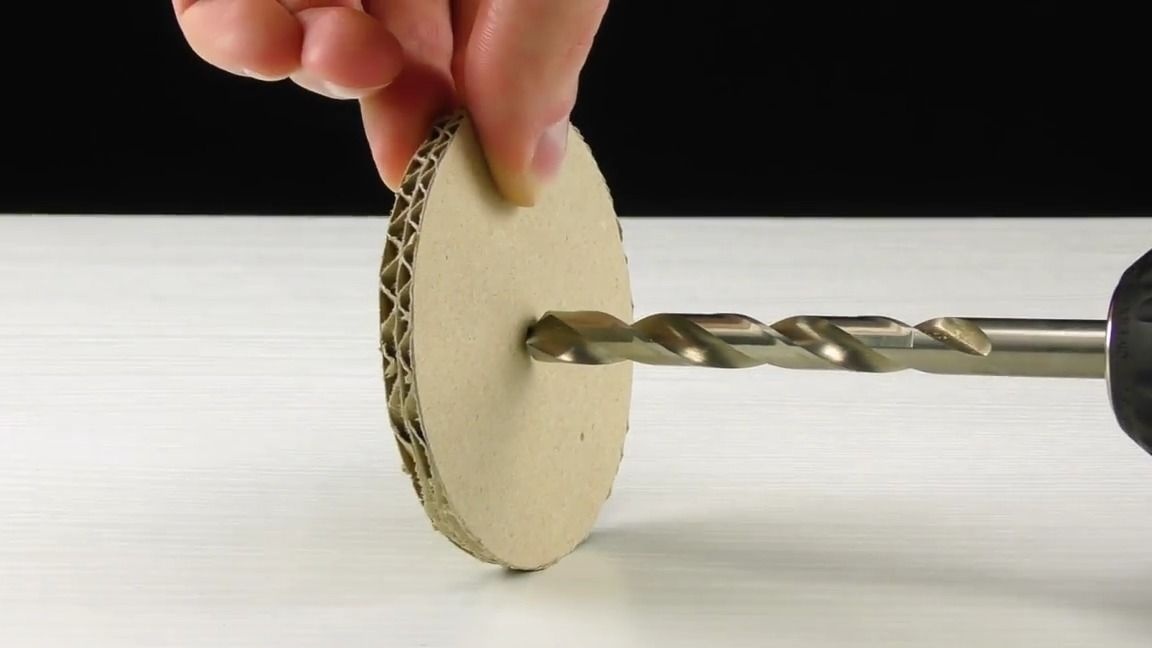
Now we take an 8 mm drill and drill a hole exactly in the center of all our circles:
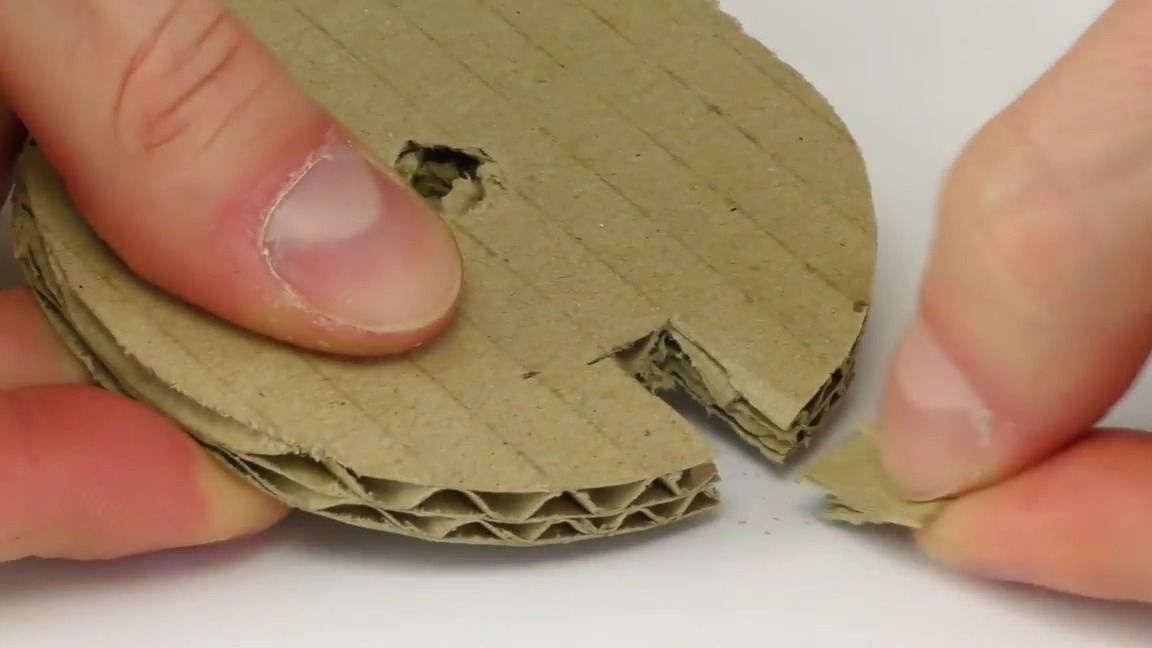
In each of the circles you need to make such an incision with the help of an office knife (you can also use scissors):
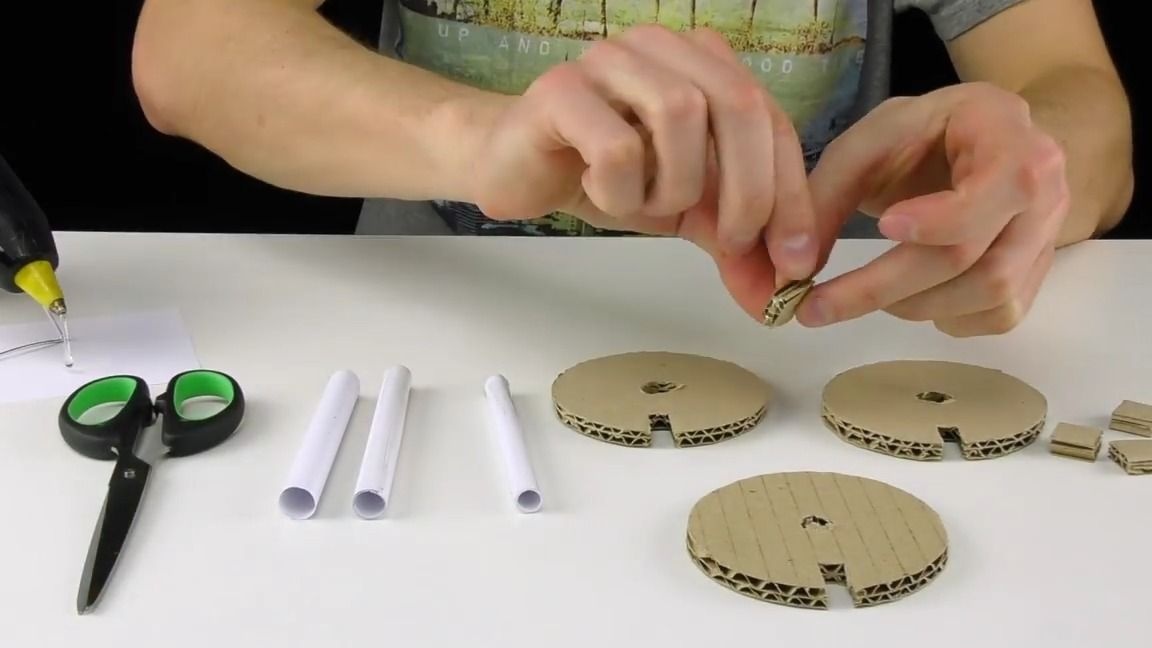
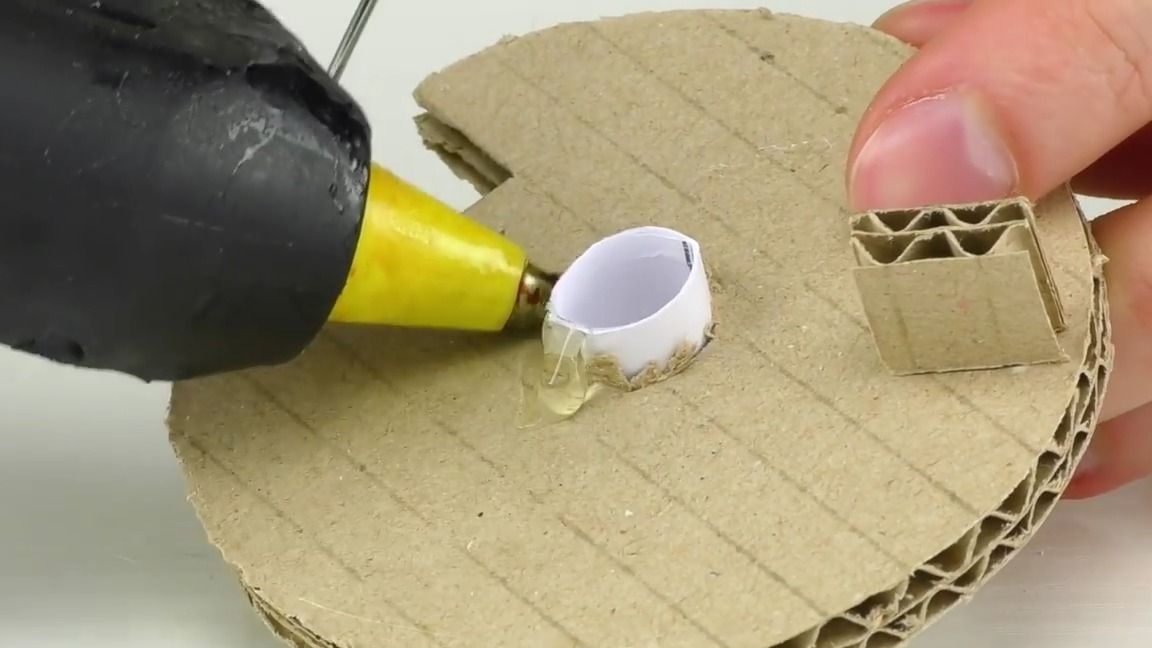
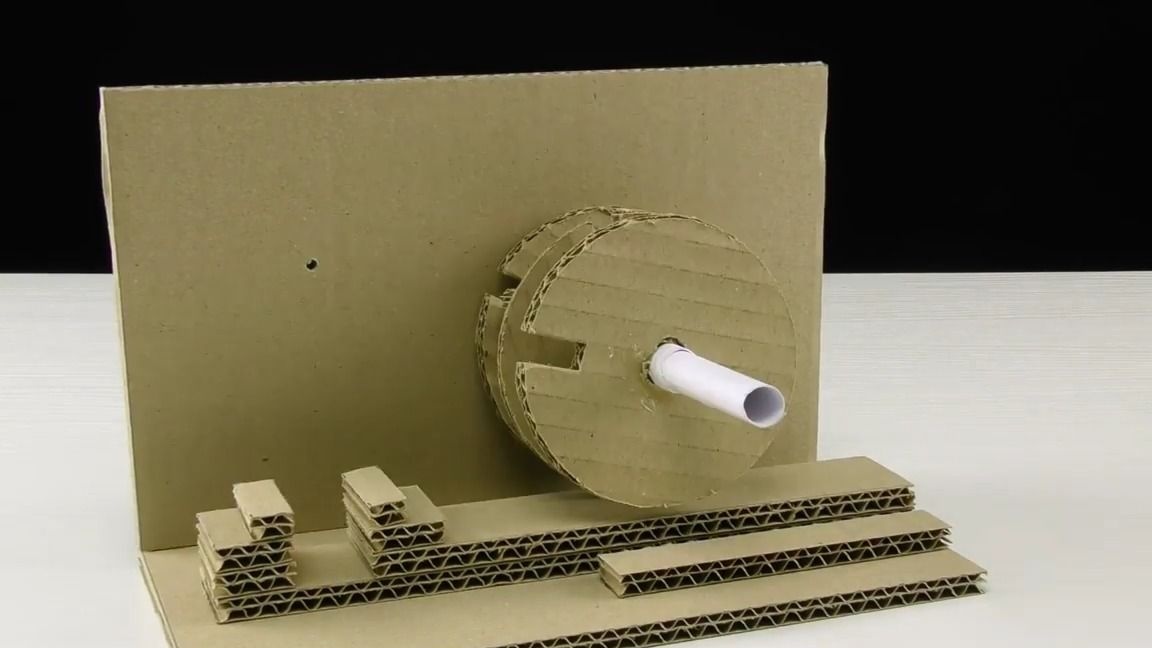
Then you need to make 4 identical squares of cardboard with sides of 1.5 to 1.5 cm. They need to be glued as shown in the photo, on one of the disc we glue two small squares from different sides:

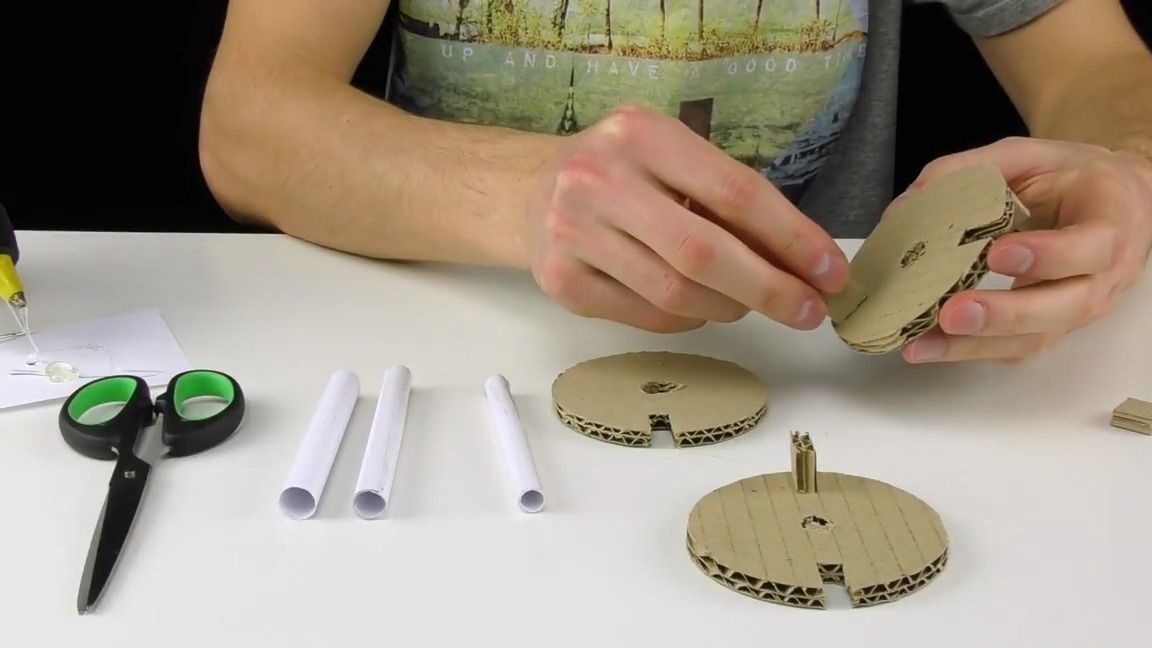
We take the thickest paper tube and cut off from two equal pieces of approximately 2 cm long:
We insert them into the hole of the two disks as shown in the photo, after which we glue thermo glue:
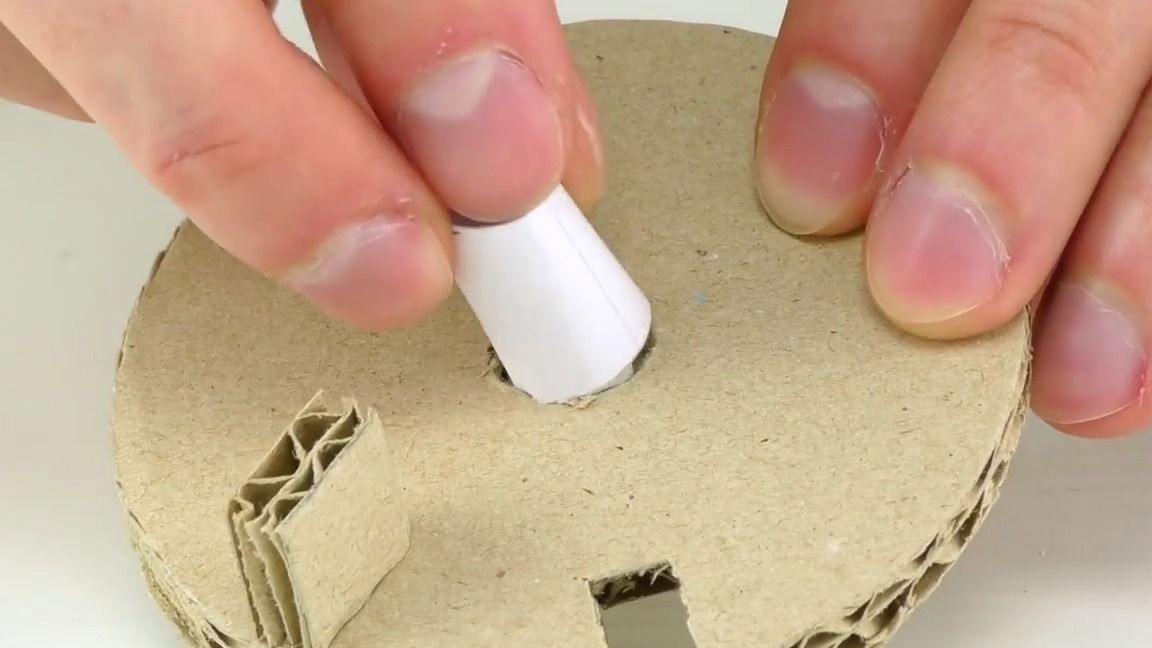
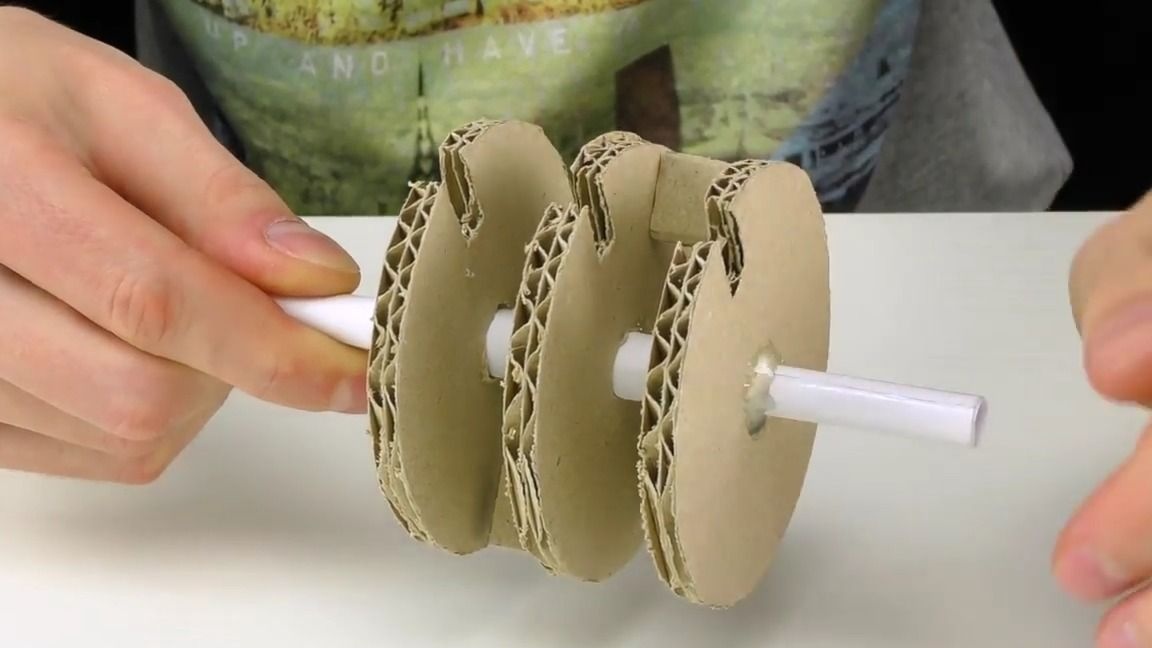
Then we insert the thinnest tube into another disk, as shown in the photo, it is also necessary to glue it with thermo glue:


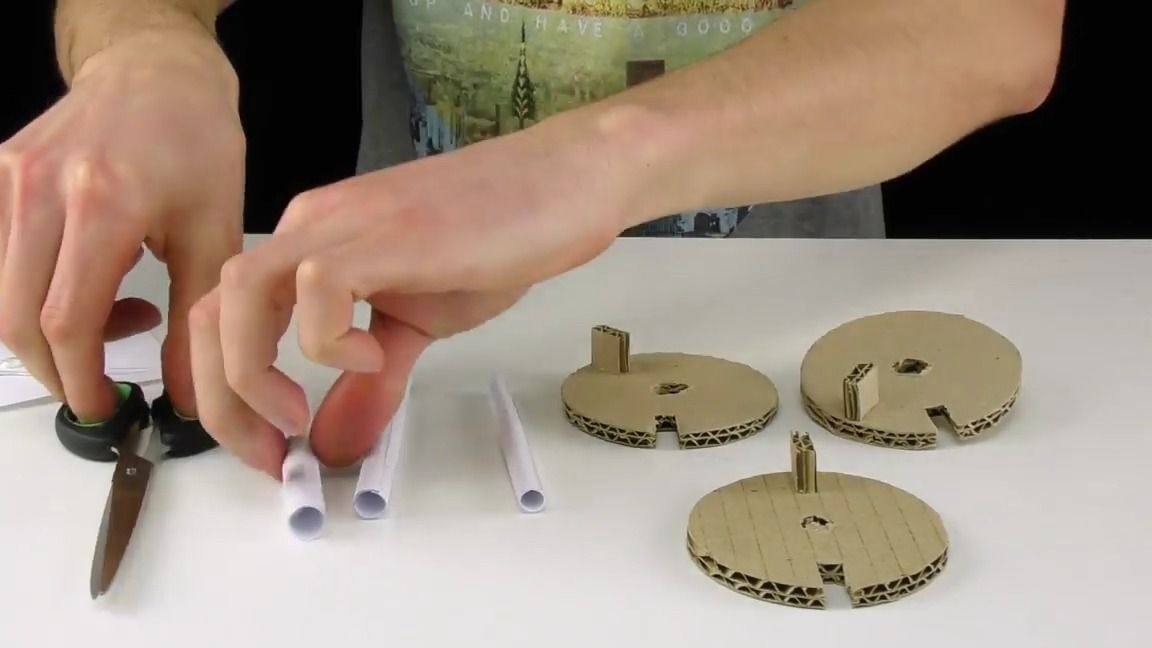
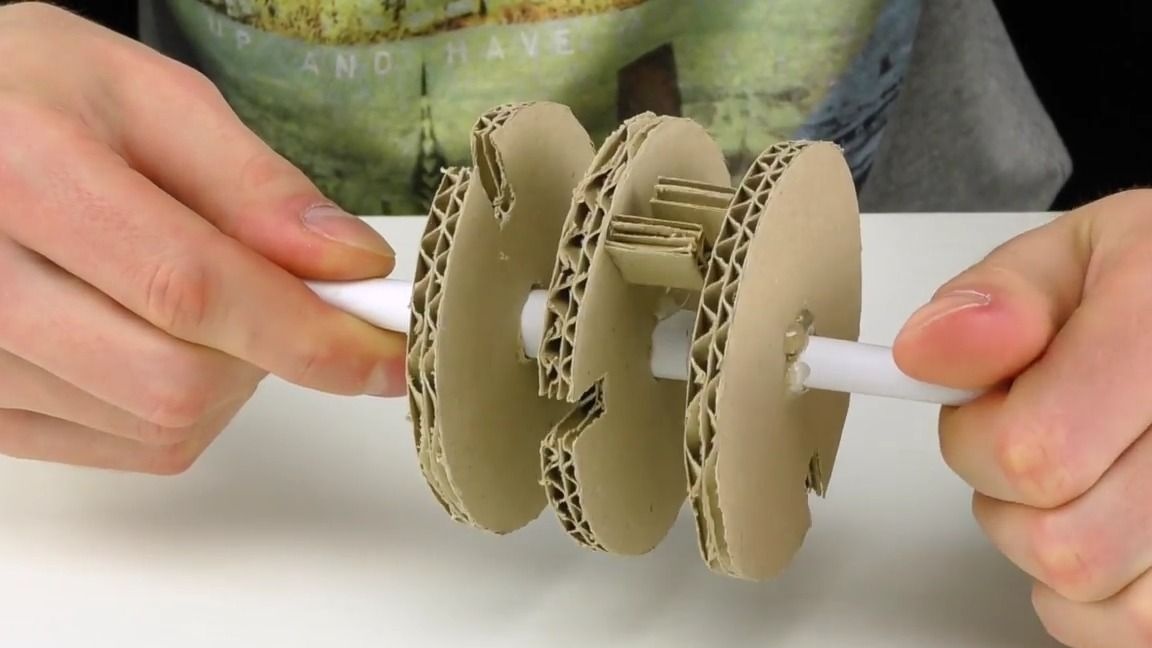
At one end of the thin tube we put on the remaining tube, in general we assemble our entire structure as shown in the photo:
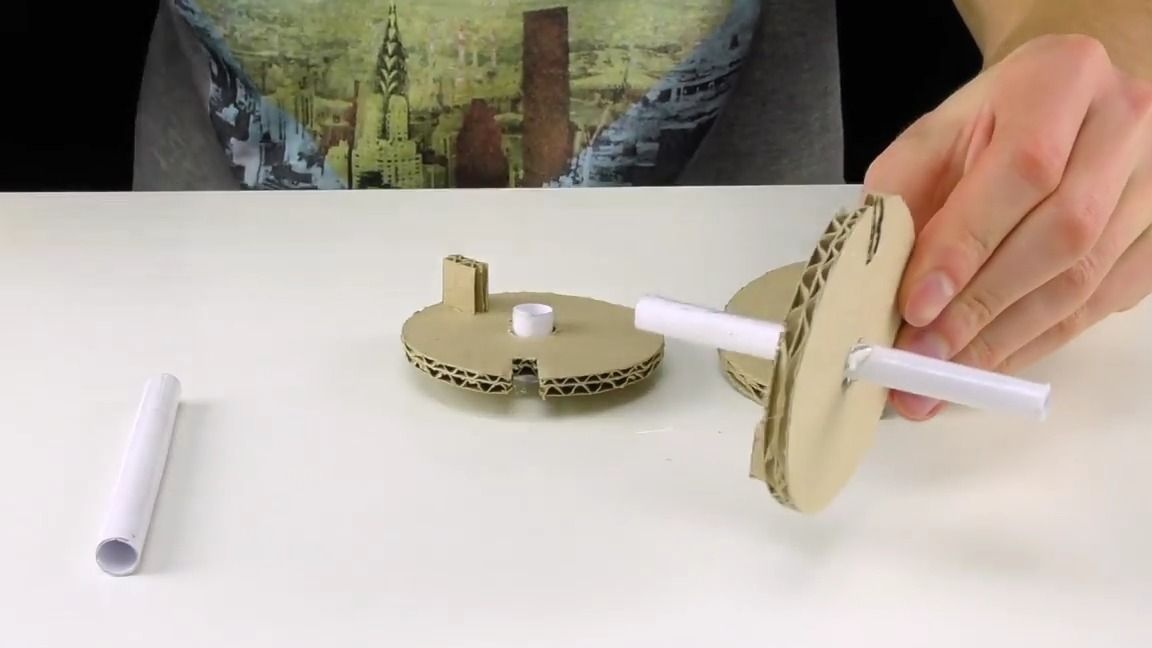
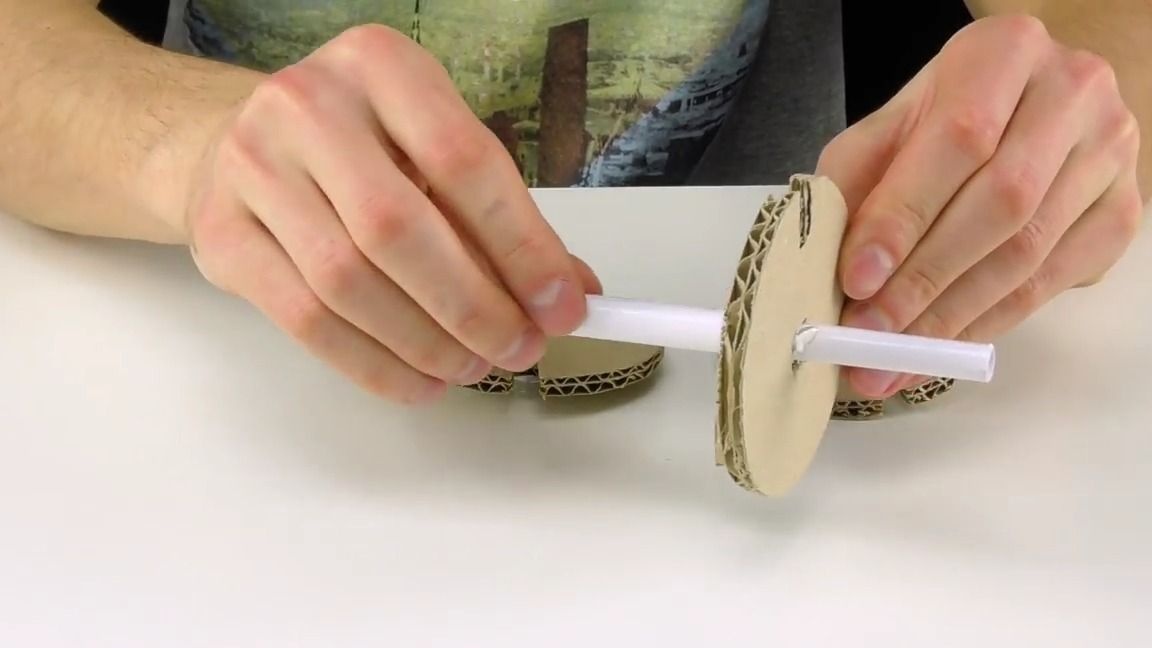
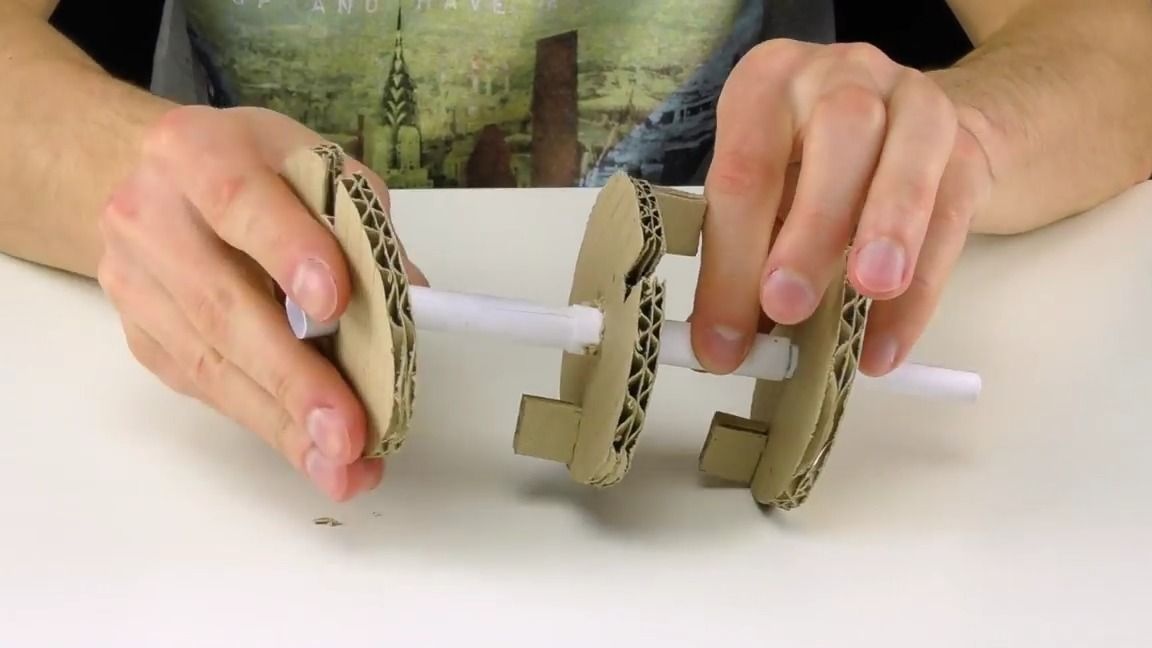
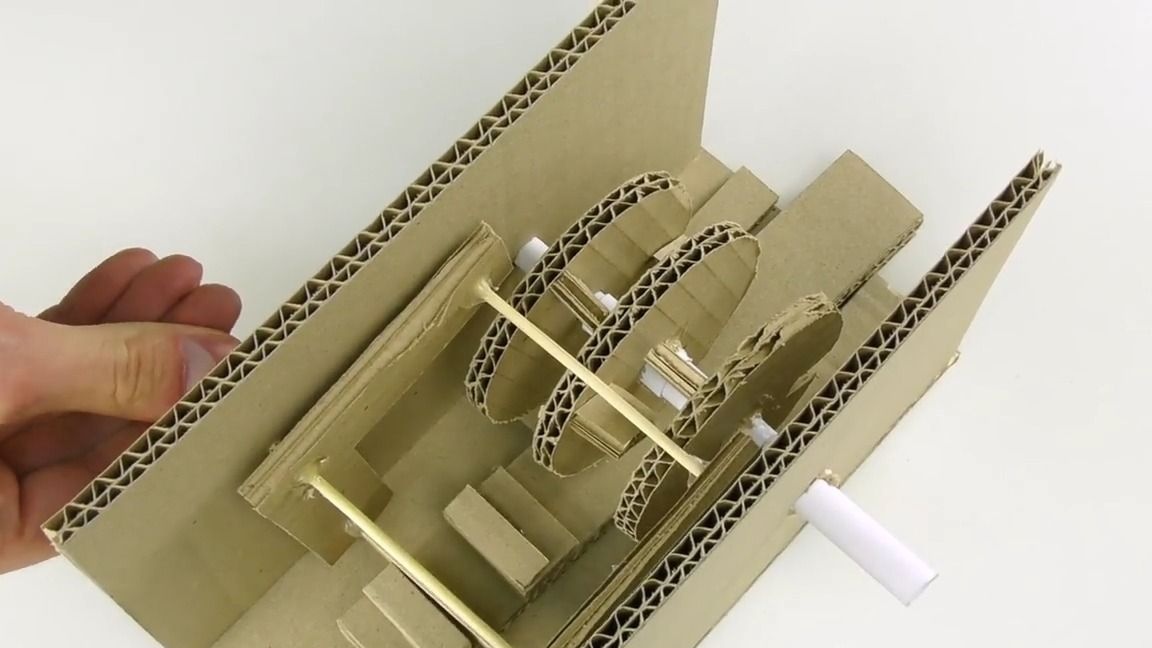
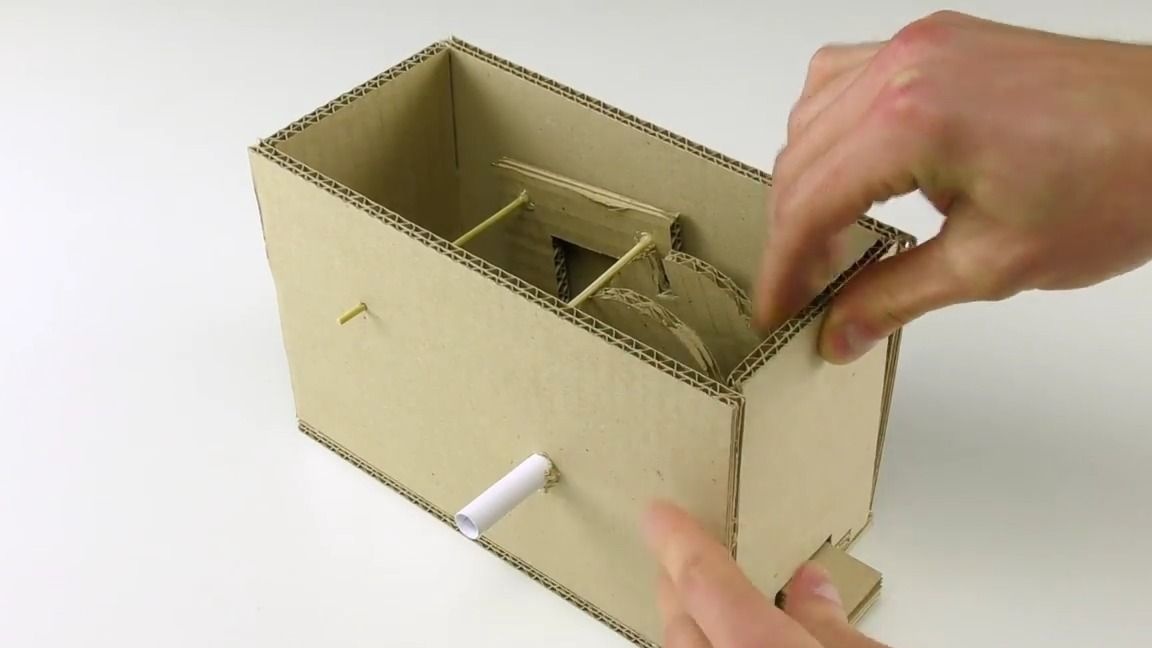
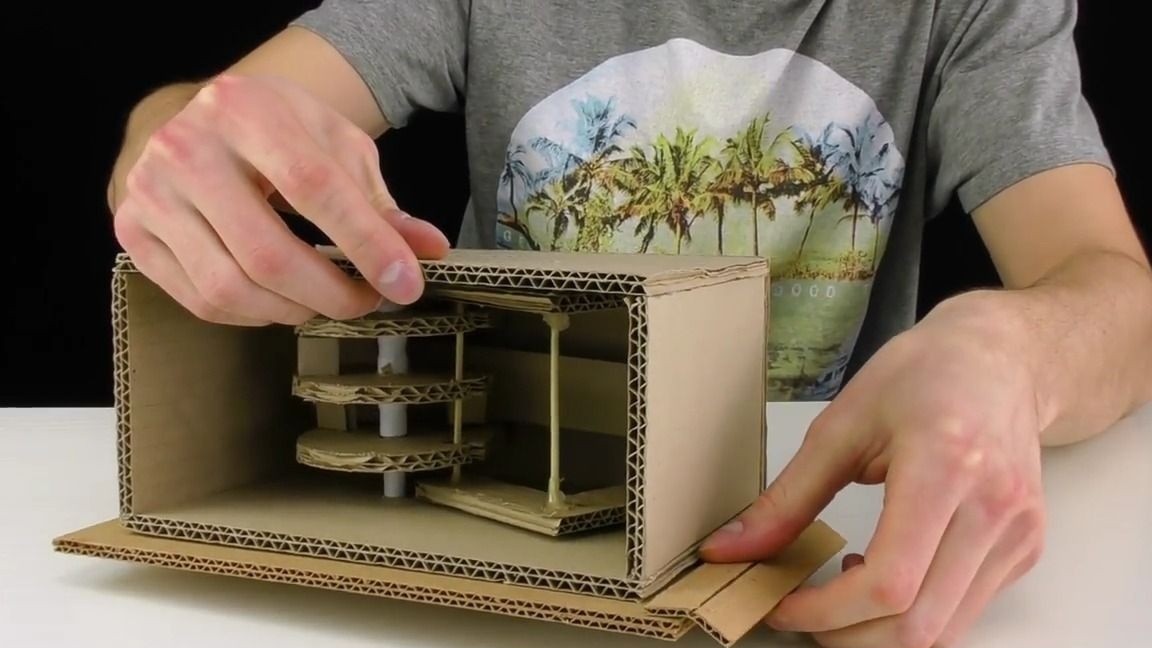
It should look like this mechanism, it is important that all cardboard boxes look inside the mechanism:
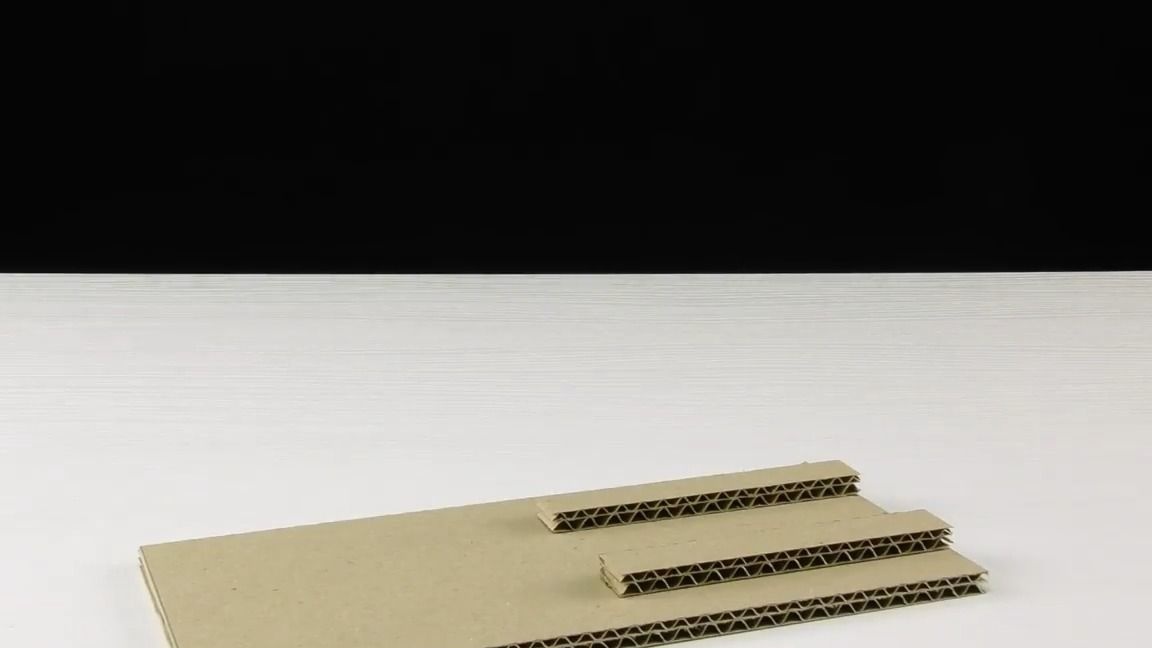
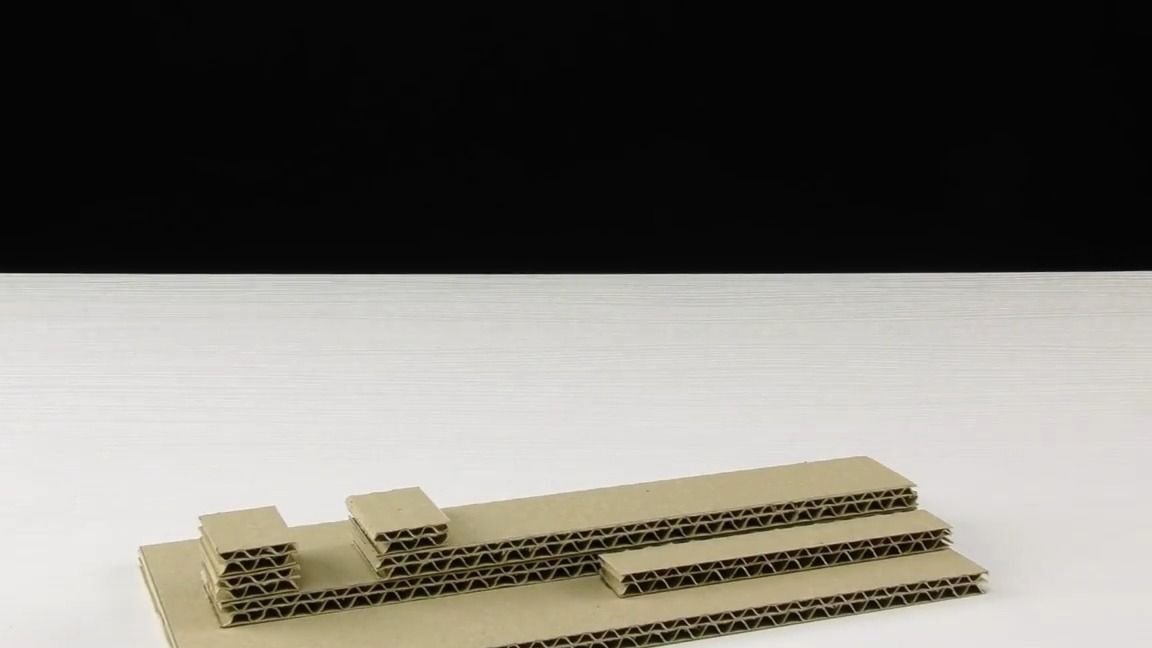
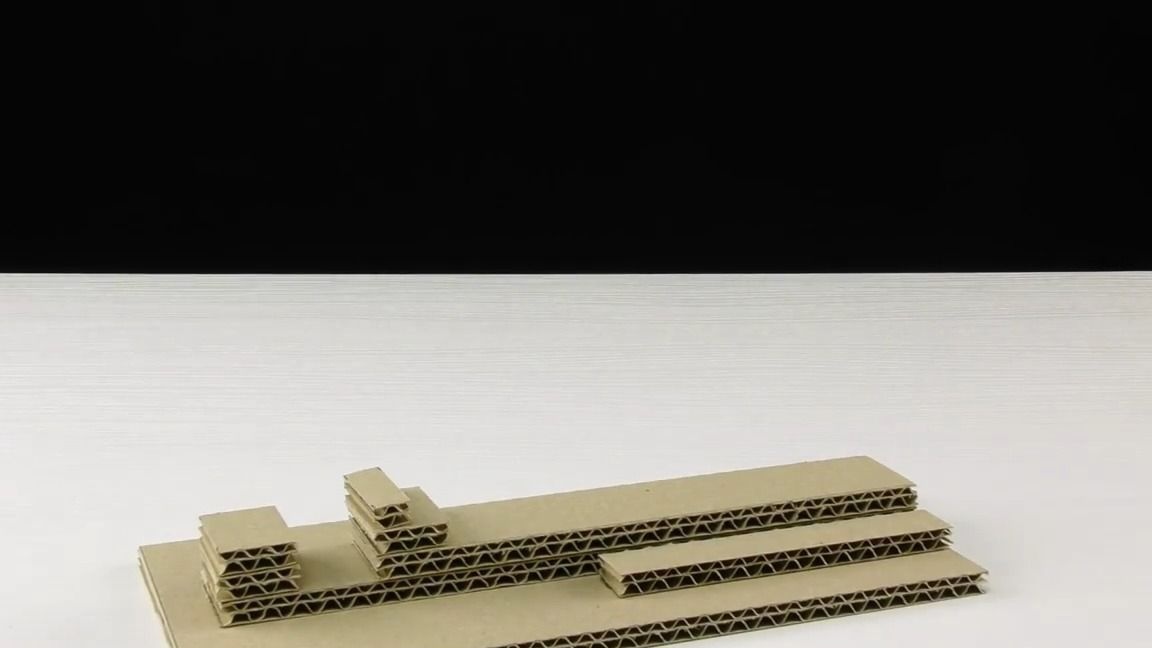
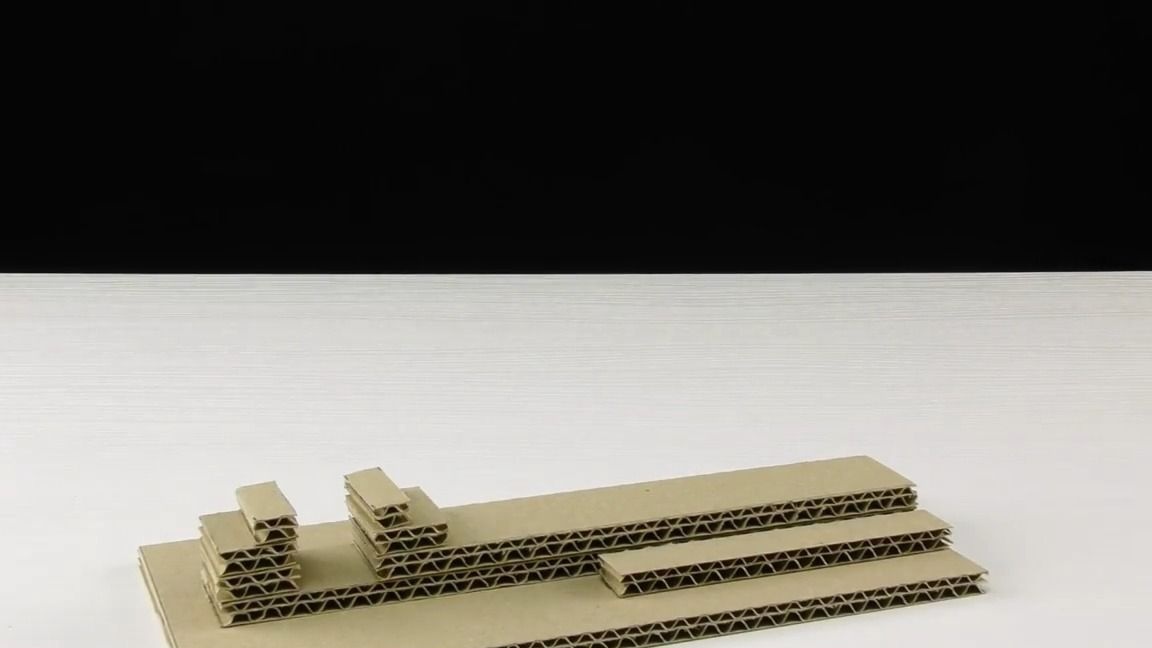
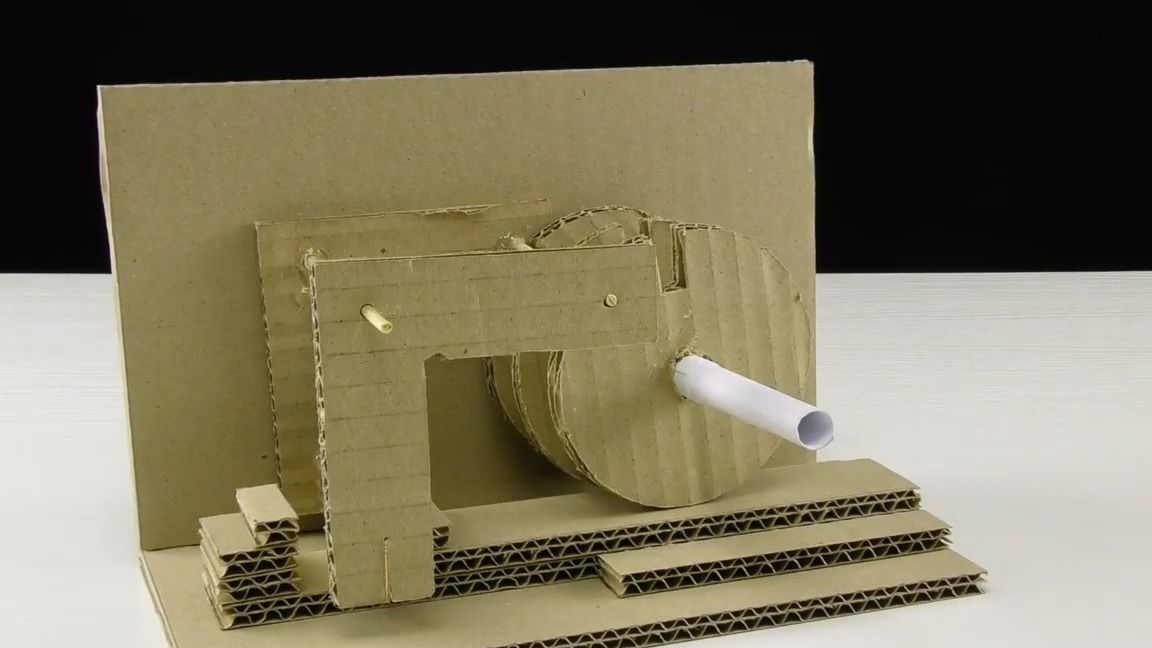
Now you need to cut out two pieces of cardboard, with a length of each side of 10 cm:
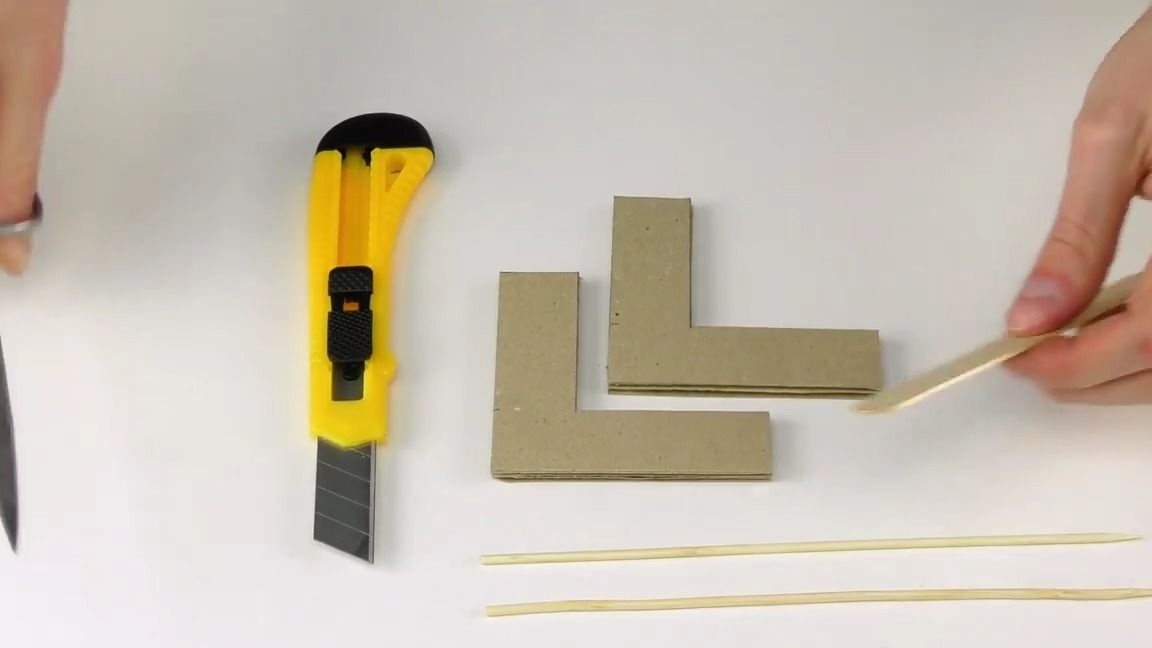
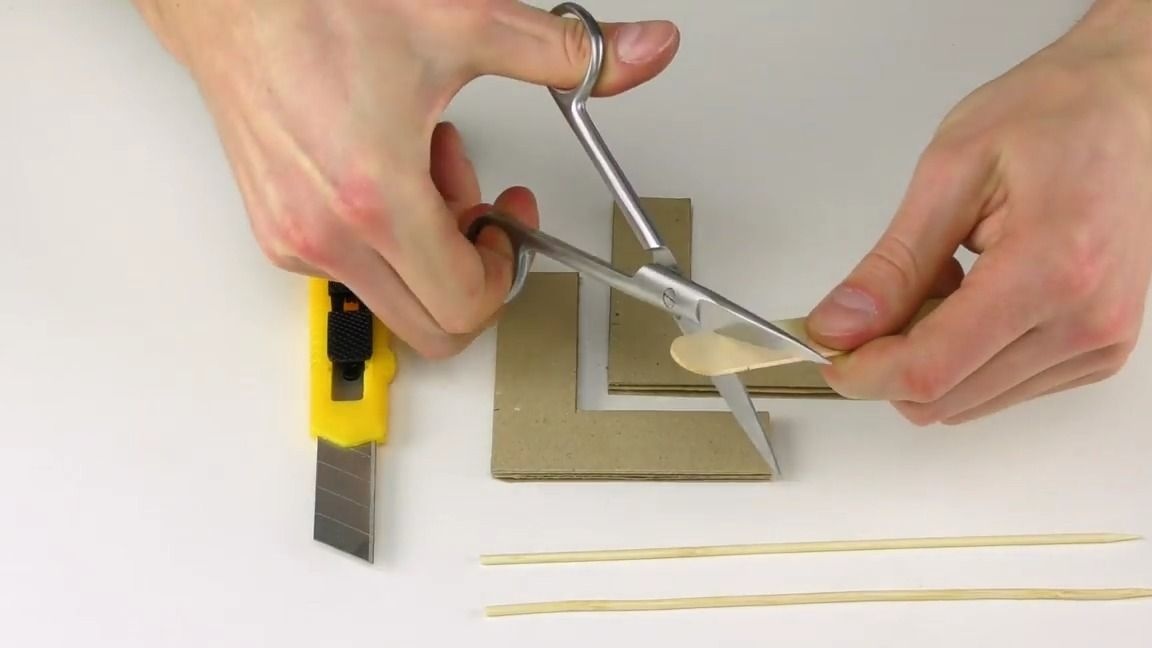
We also take a wooden spatula and cut off the rounded ends from it:
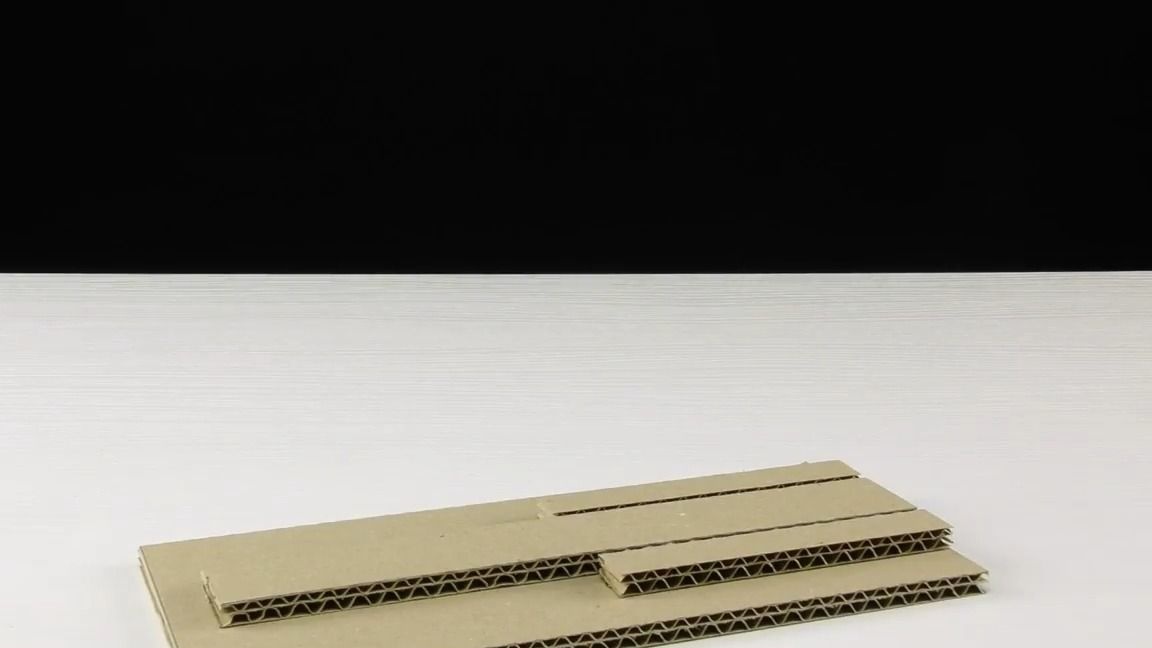
Cardboard blanks must be folded in place and an even cut made with a knife:

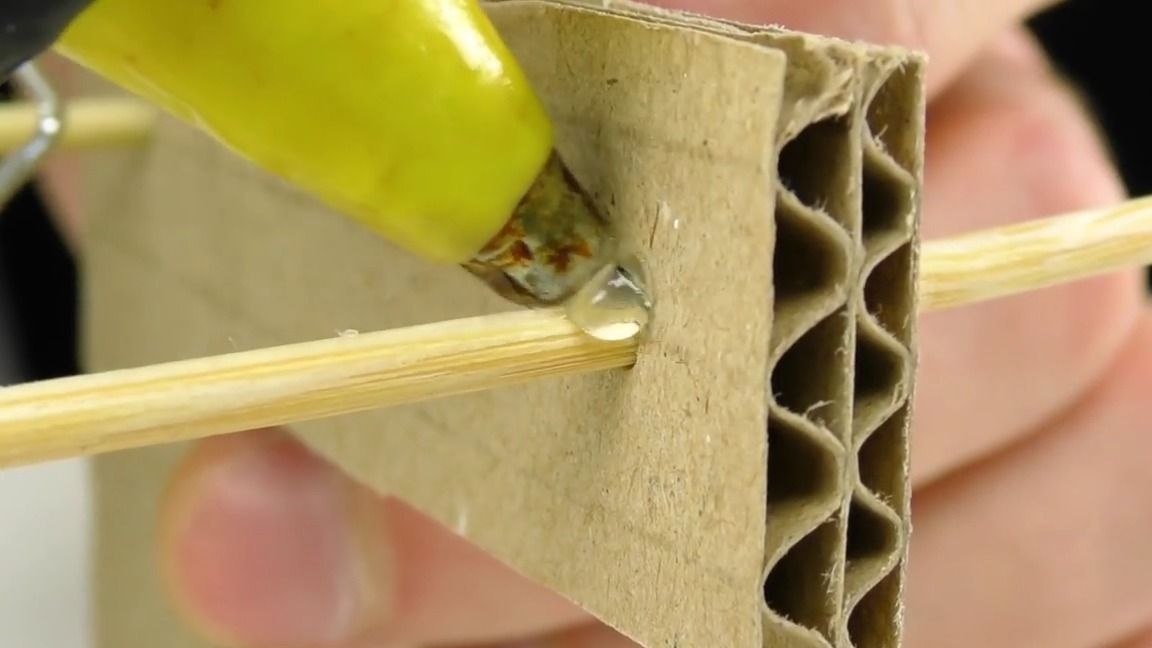
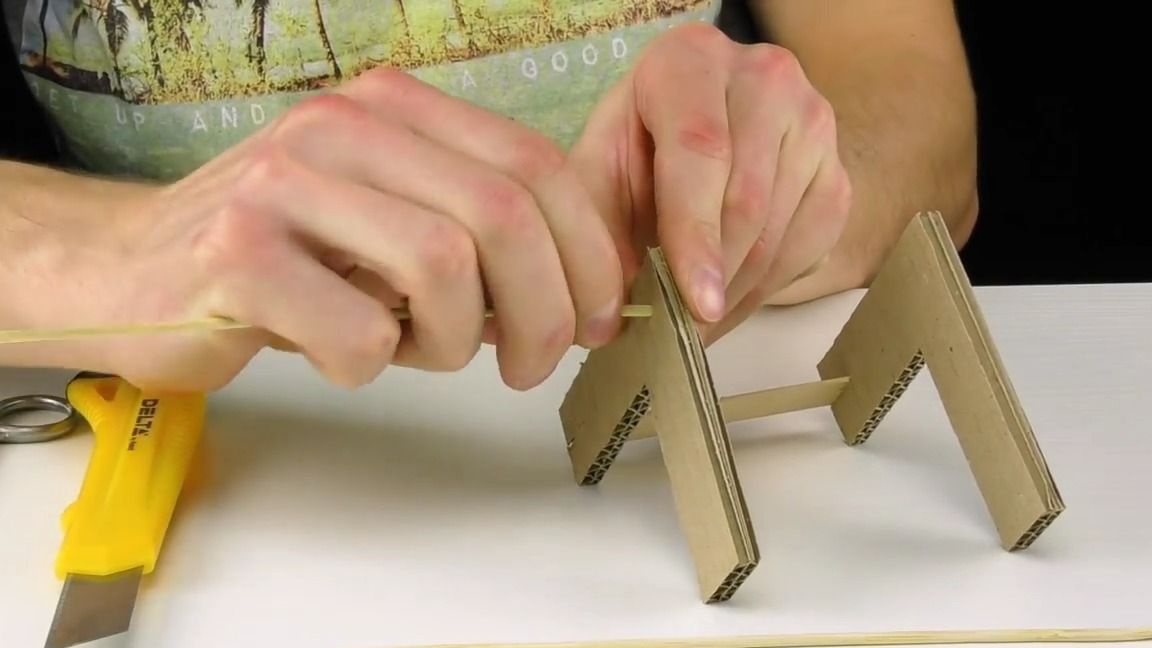
We extend our workpieces to the length of the trimmed spatula and insert the spatula itself into the cuts we made, after which we take the wooden skewers and insert them as follows:
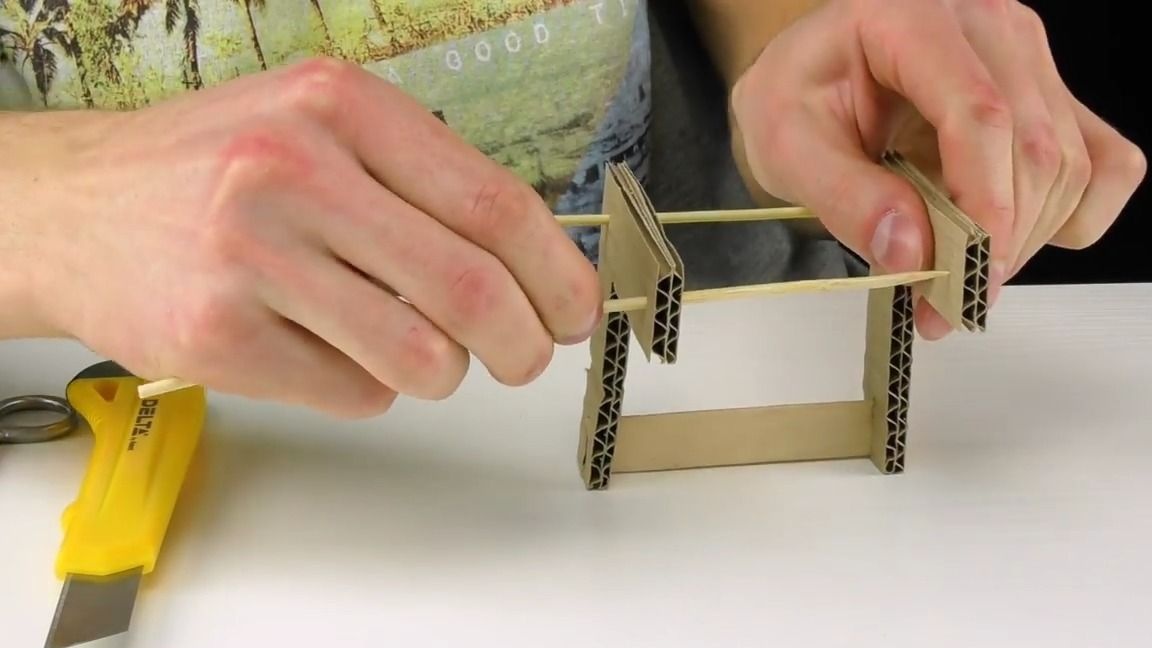
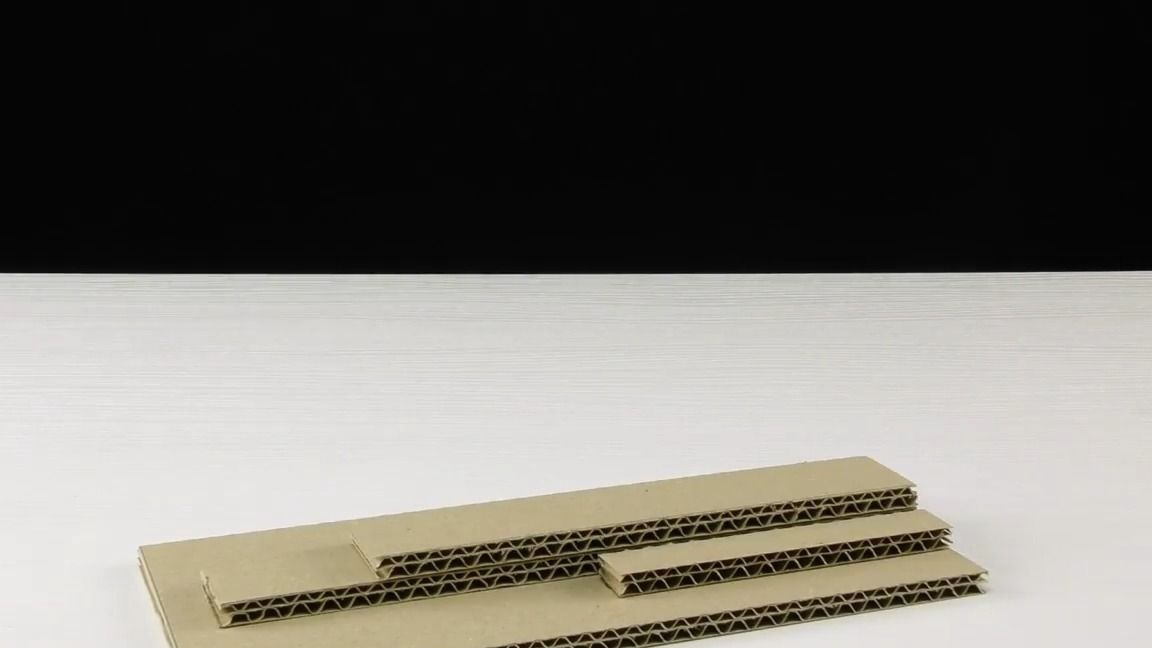
We cut exactly the same details from the cardboard as shown in the photo and put them on top of each other, you only need to glue two side blanks and all the other blanks that go above the central one, in general, you should get such a piece that moves forward backward between the two control blanks:
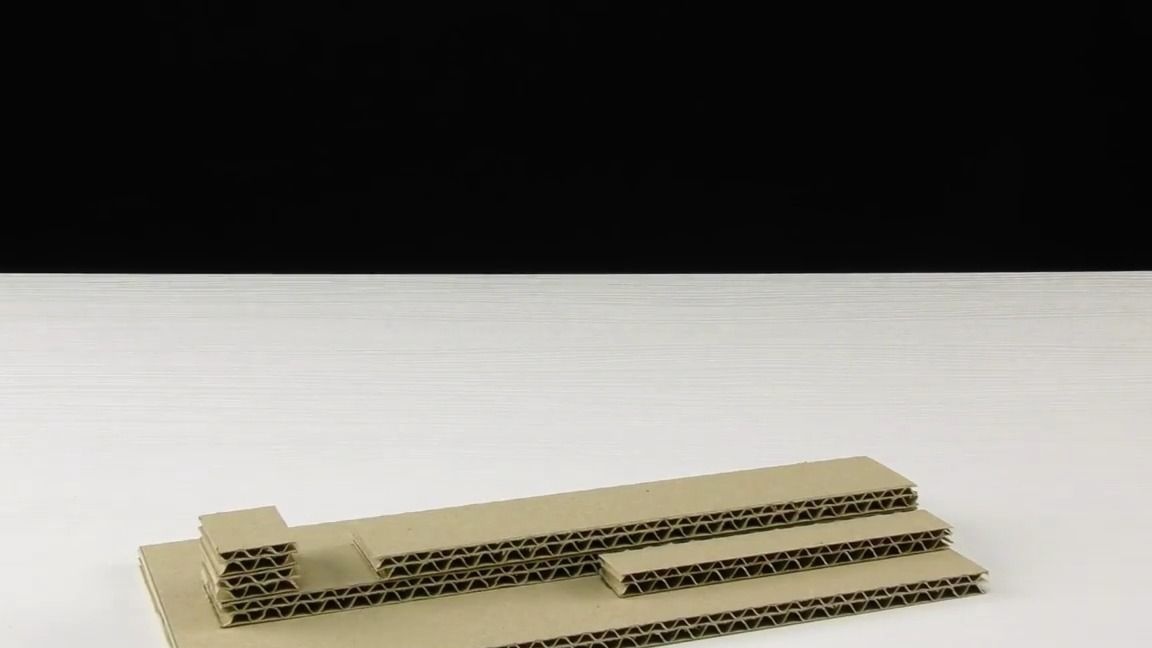
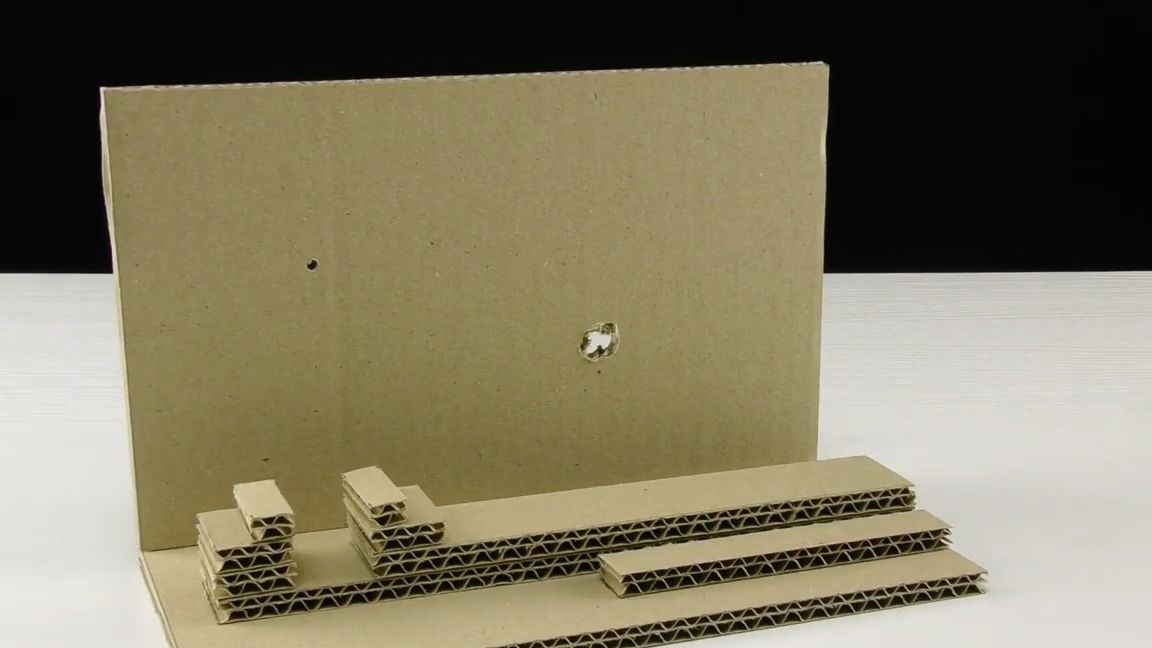
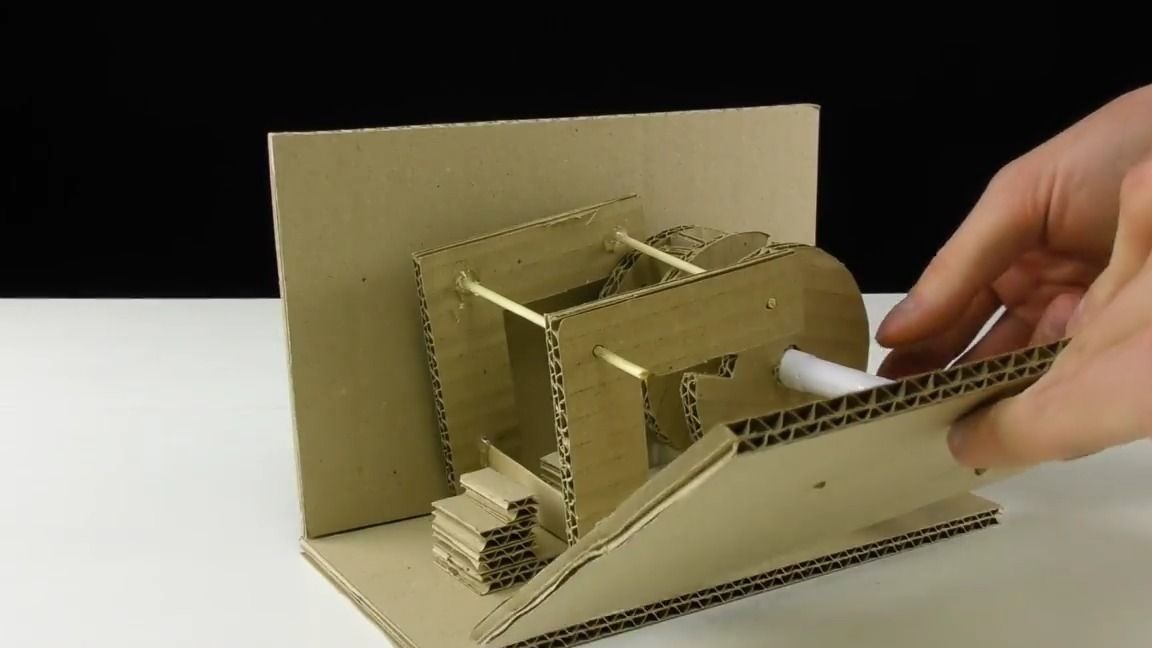
We cut out another rectangle from cardboard and glue it as shown in the photo:

It is necessary to make two holes in it like this:
We insert our mechanism from the disks into the larger hole:
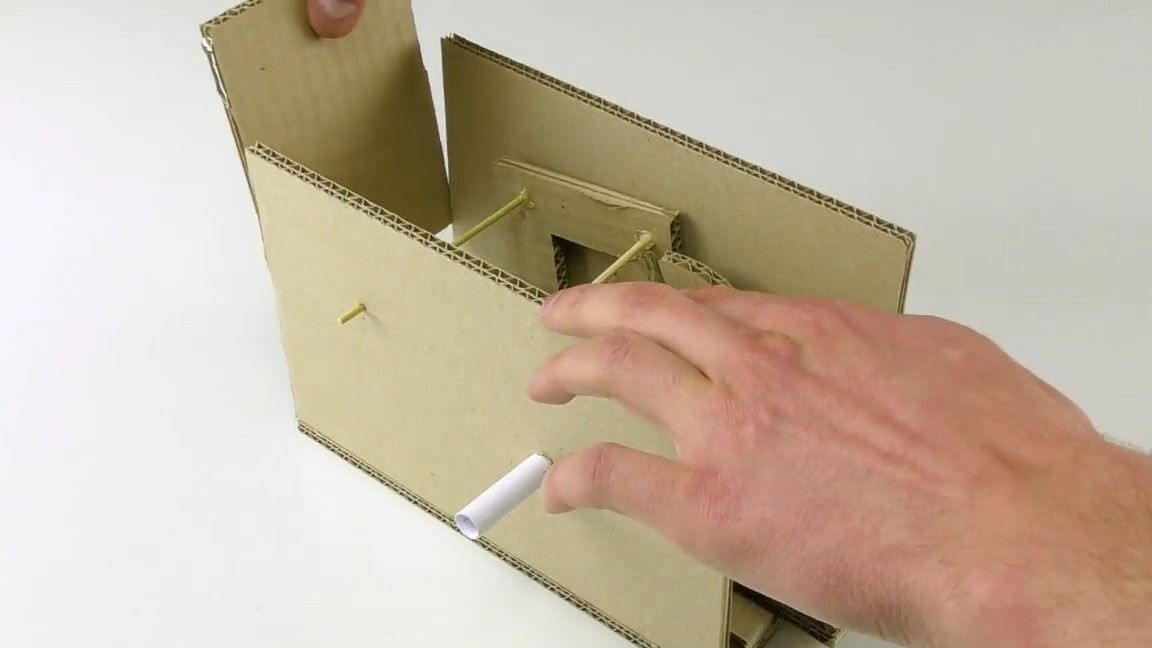
Insert the end of the skewer of the coal part into the thin one:
We cut out another cardboard part, cut two holes in it parallel to the first and put on this whole structure as shown in the photo, then glue it to the base:
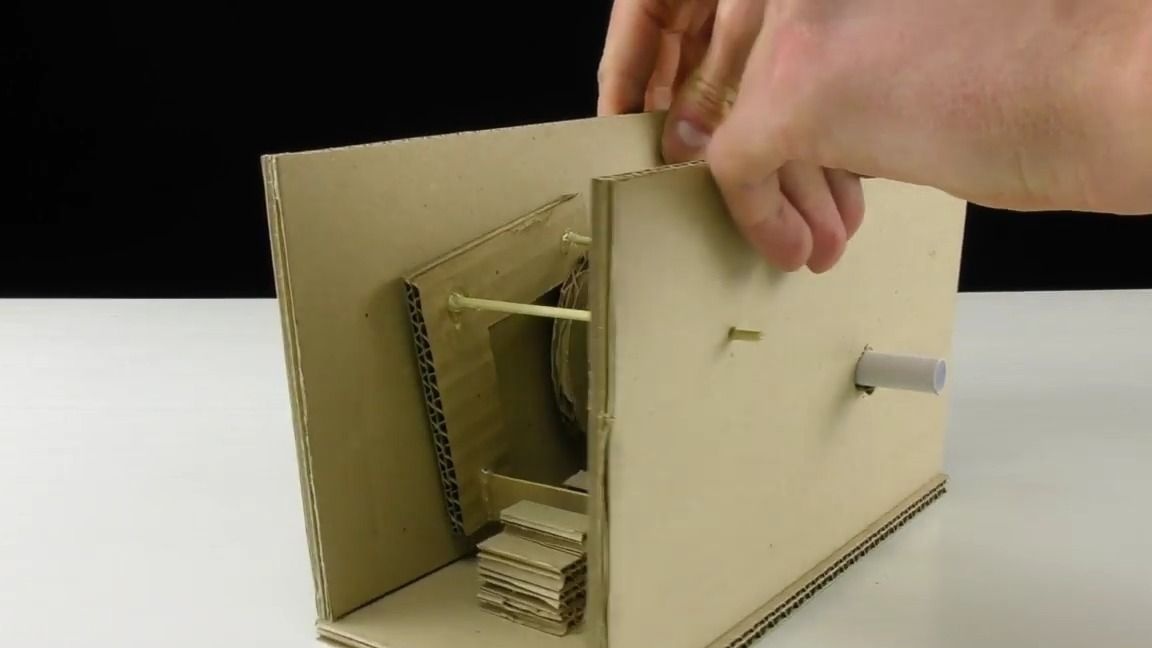
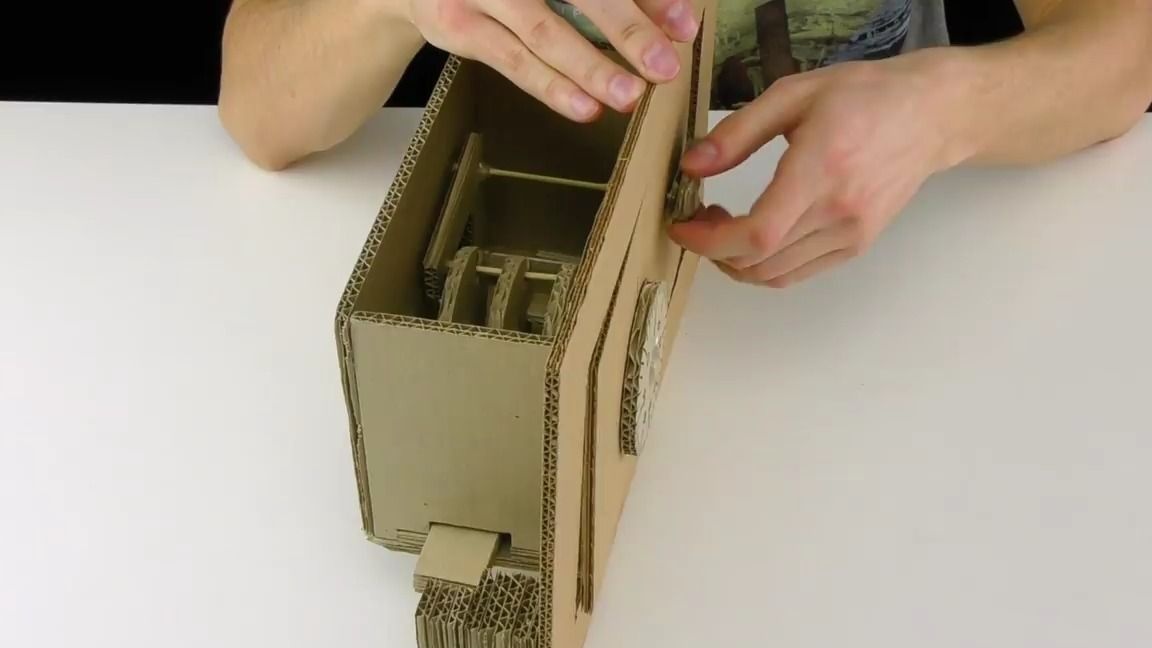
We check our mechanism, when the paper tube rotates in different directions, the holes on the cardboard discs should coincide with the skewer, while if you turn another skewer, the lower movable part should move in front and back:
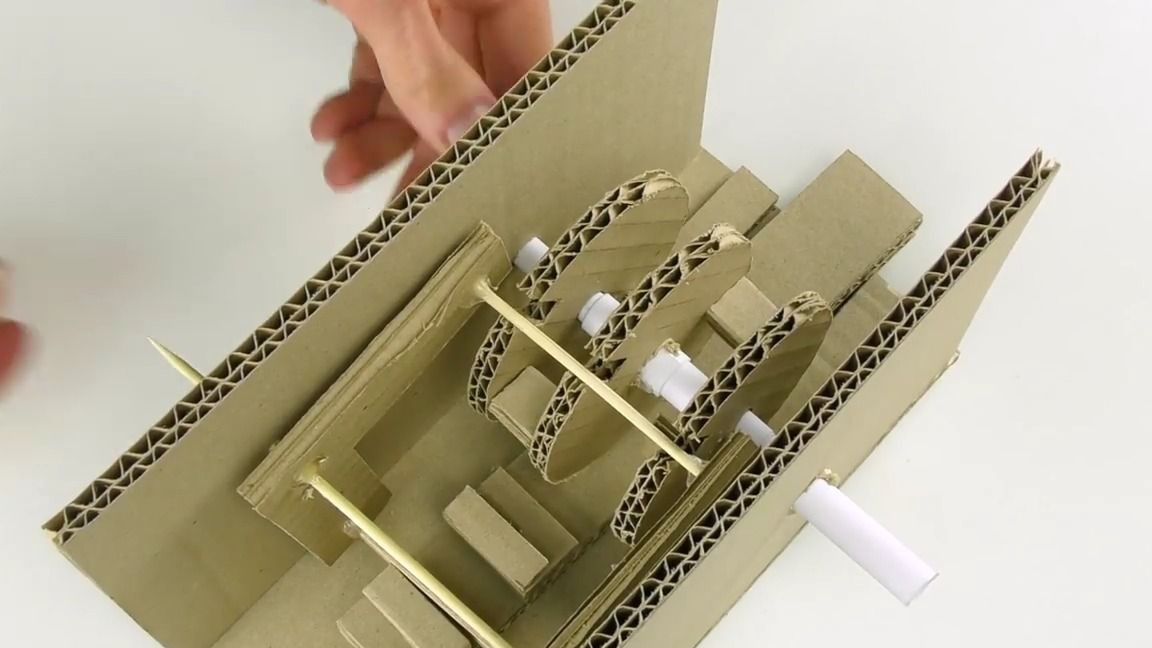
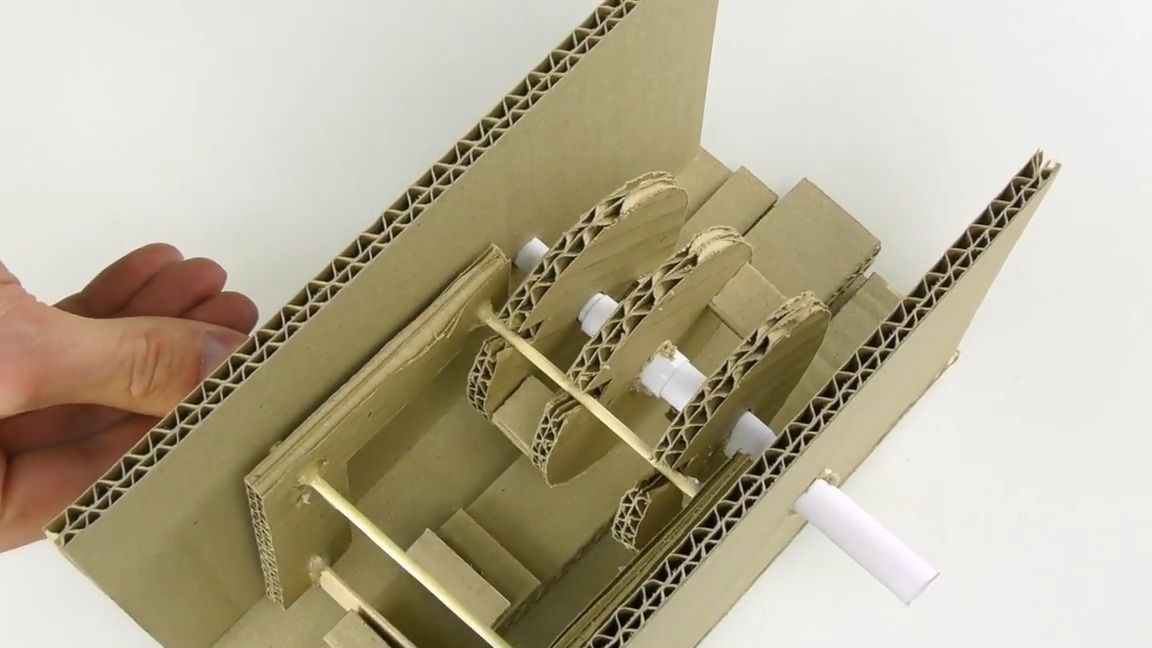
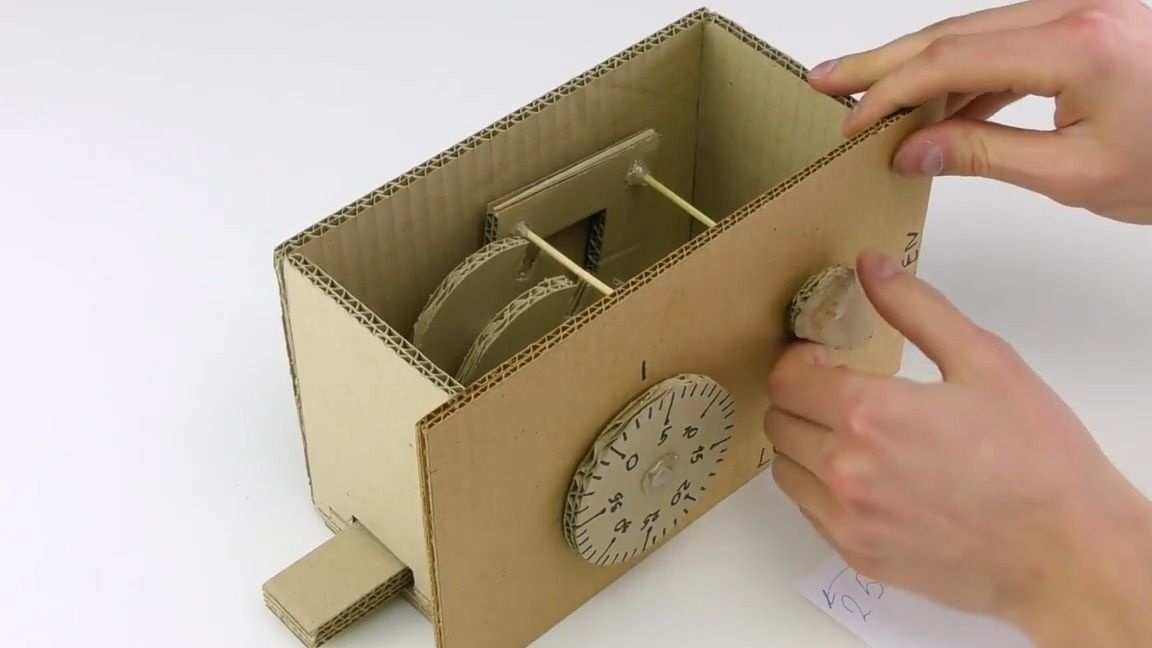
If everything works correctly, then you can close the entire mechanism on the sides:

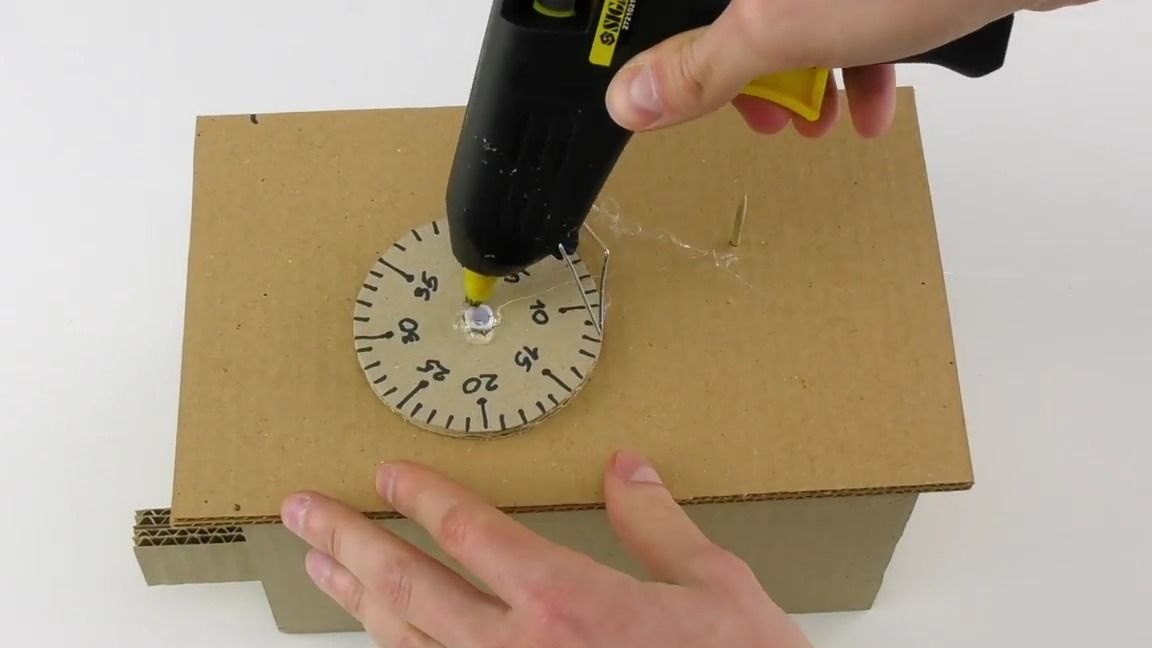
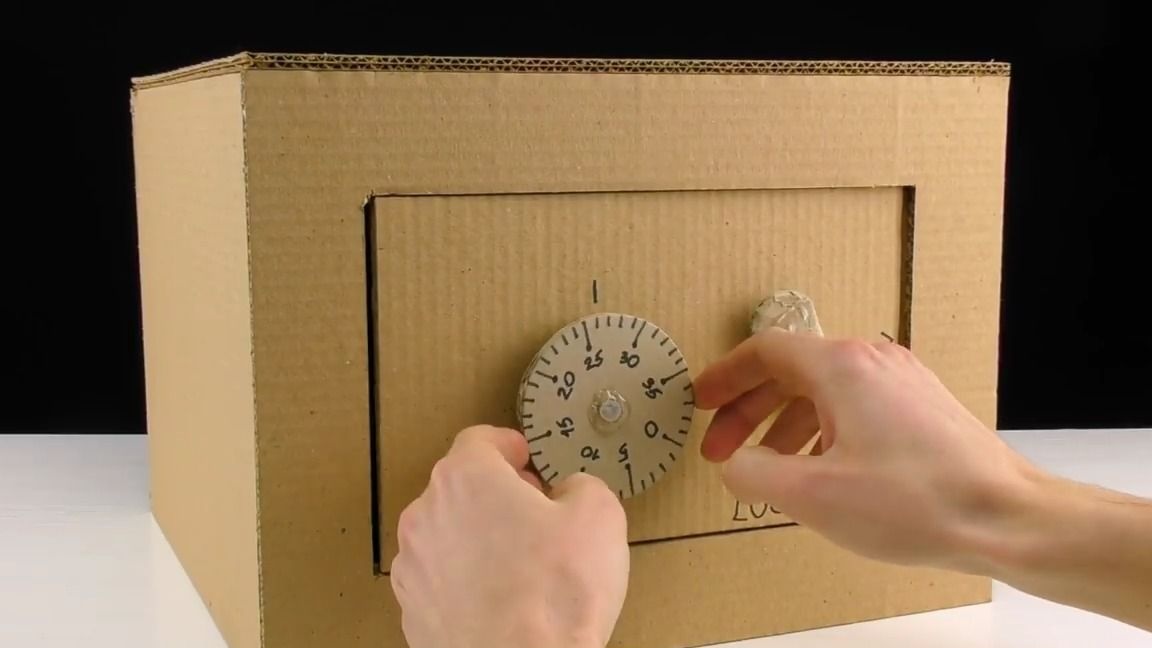
We cut out a small circle from cardboard and on it, using a marker, make digital markup with divisions:

On the front part of our mechanism we apply thermal glue and glue a rectangle of thick cardboard, it is also necessary to make cuts for the protruding parts on it:
Now we put the circle with the marking on the paper tube and firmly glue it with thermo glue:
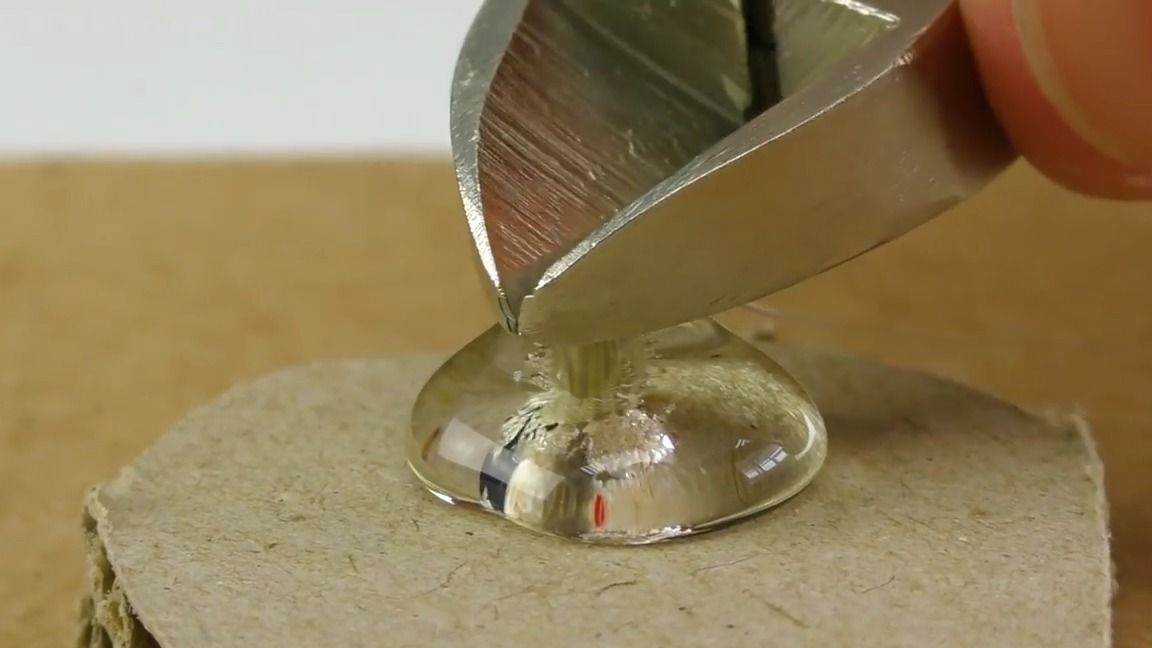
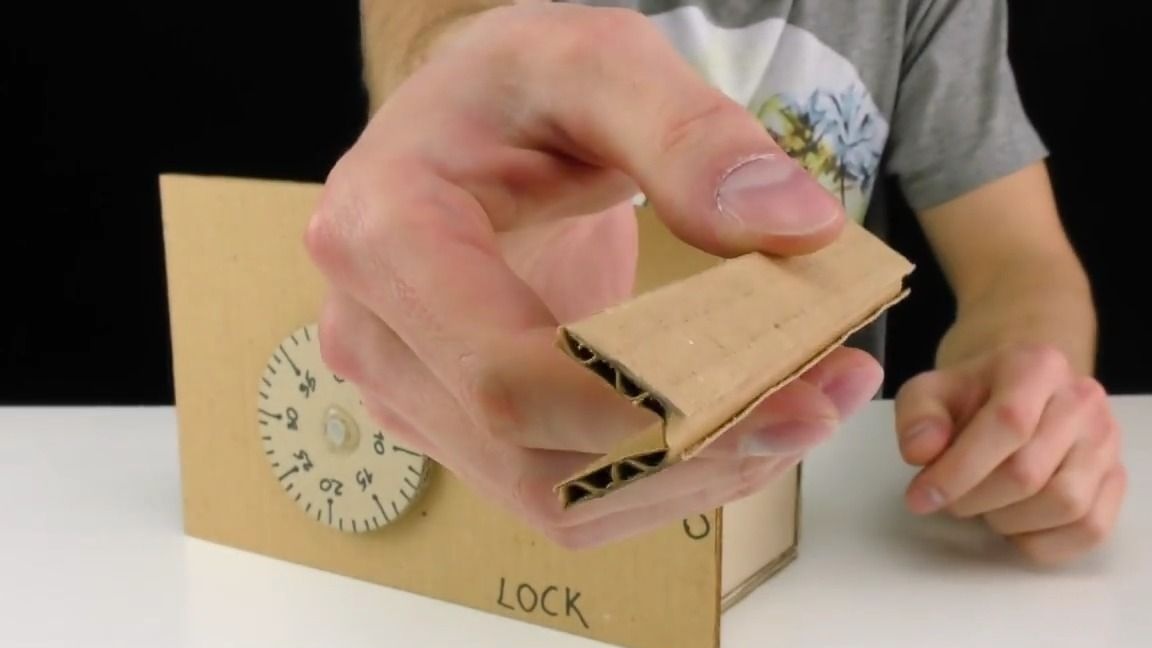
Cut out a drop-shaped part from cardboard and glue it to the skewer, bite off the excess with the help of nippers:
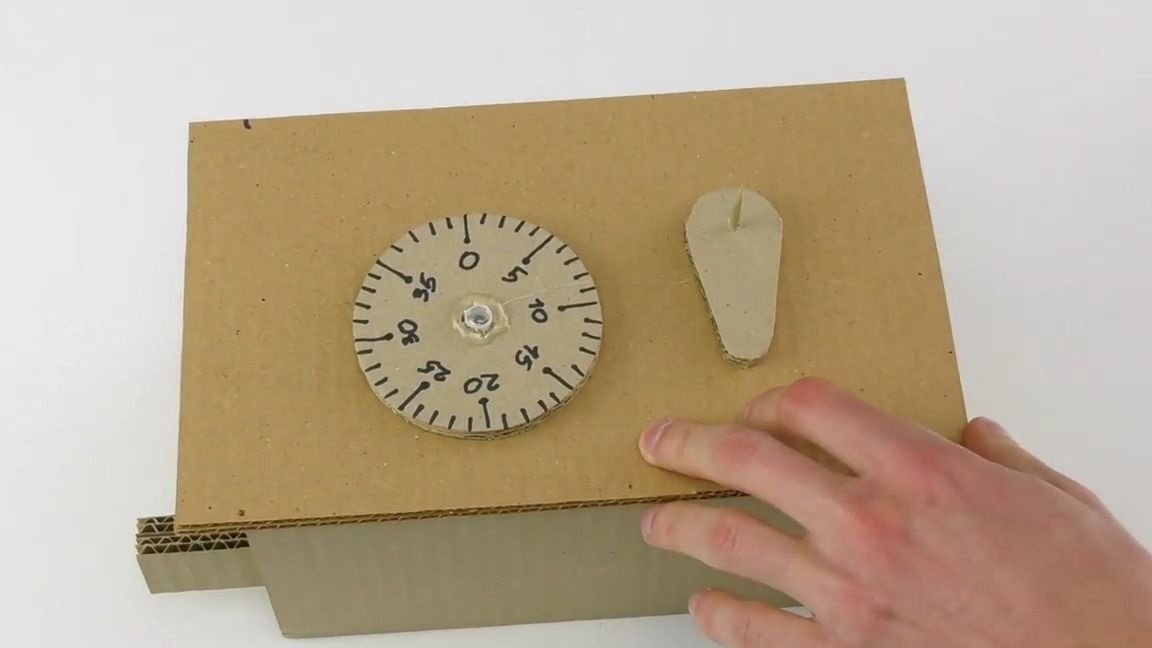
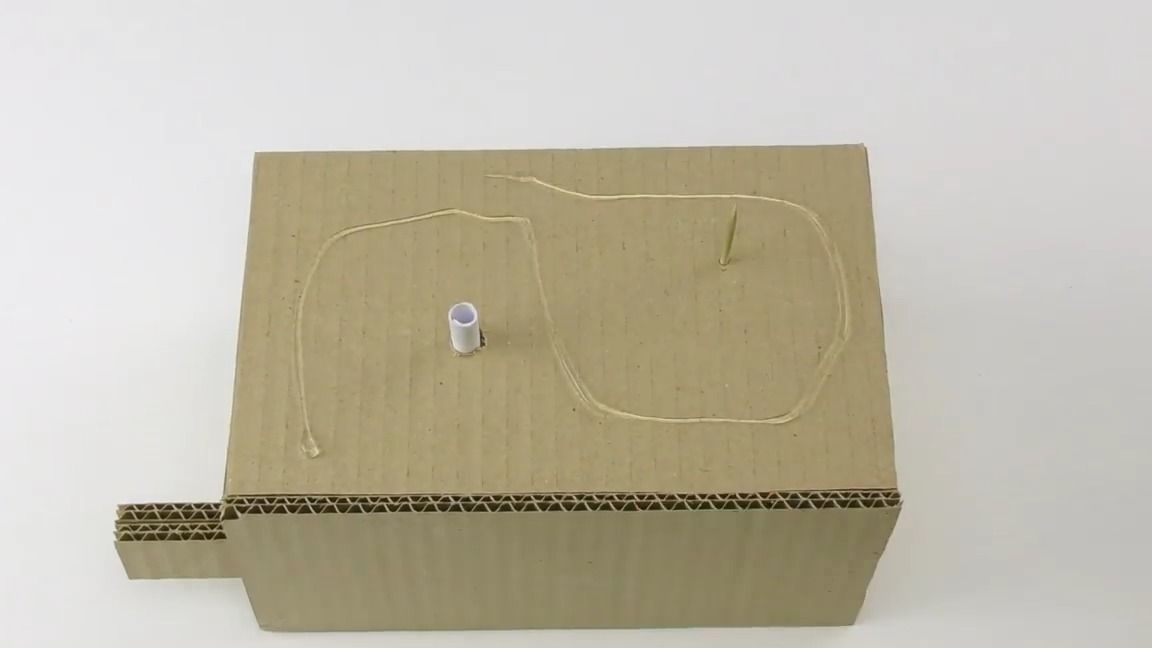
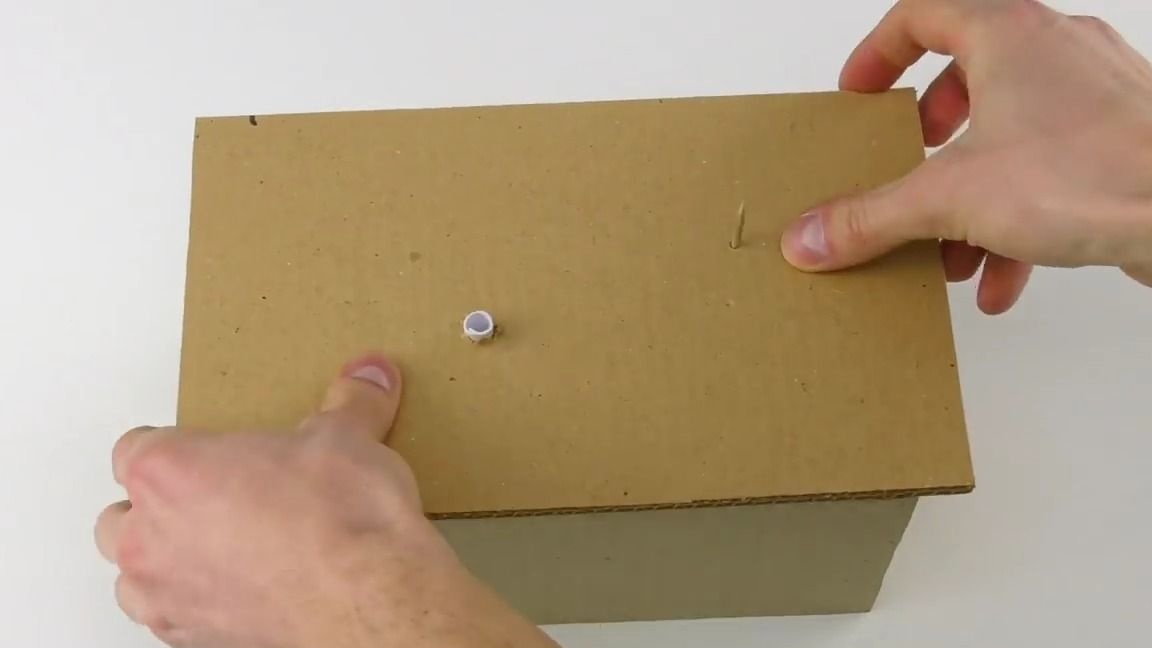
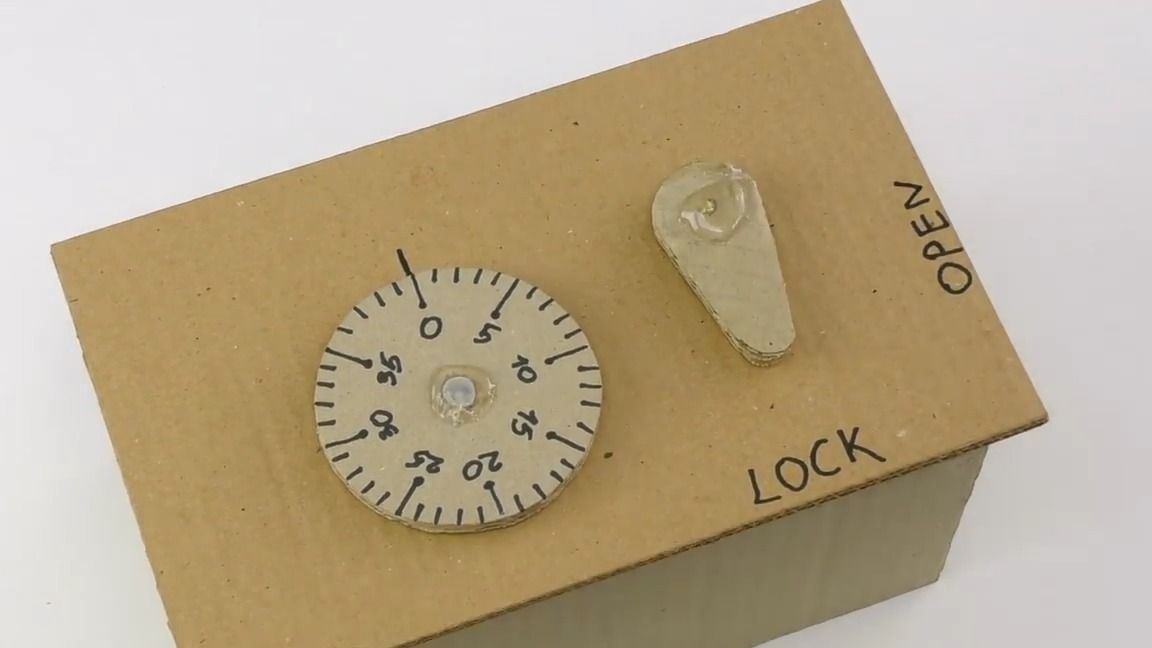
Then we make useful markings on the front part like this:
Now you need to get the password from our safe, for this you need to start rotating the cardboard disk counterclockwise until one of the grooves on the mechanism disk matches the skewer, after which you need to rewrite the number that at that moment intersected with the markings on the front part, after you need to do the same with the rest of the disks, rotating them after each time in the opposite direction and rewriting the numbers when they coincide with the groove, after which we get this password:
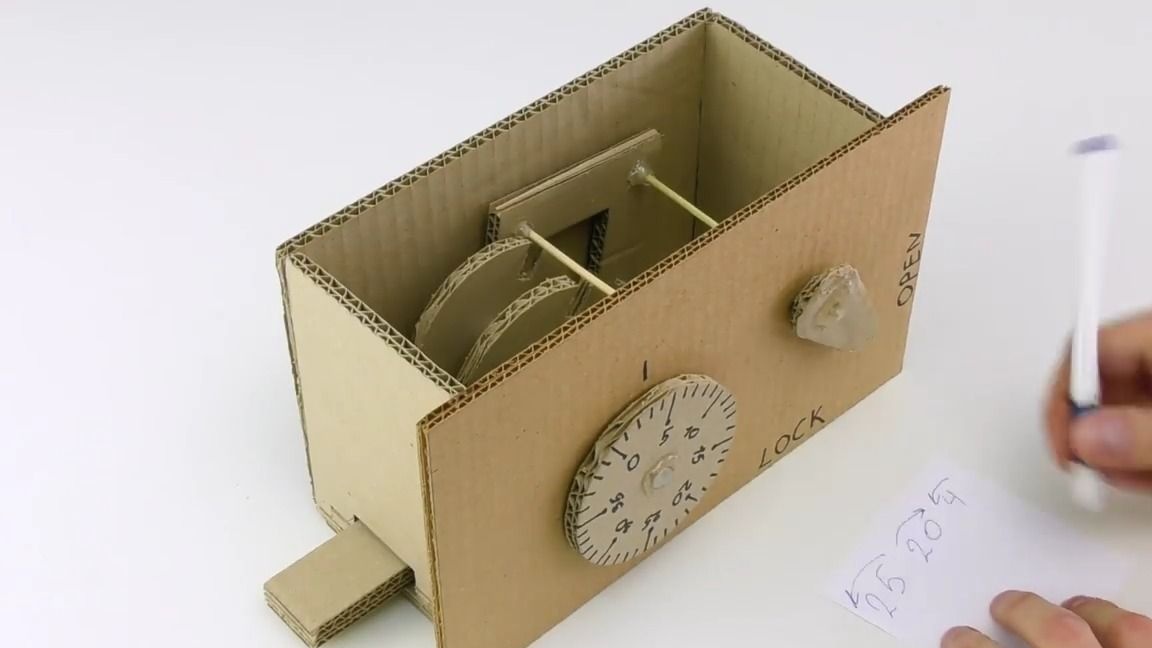
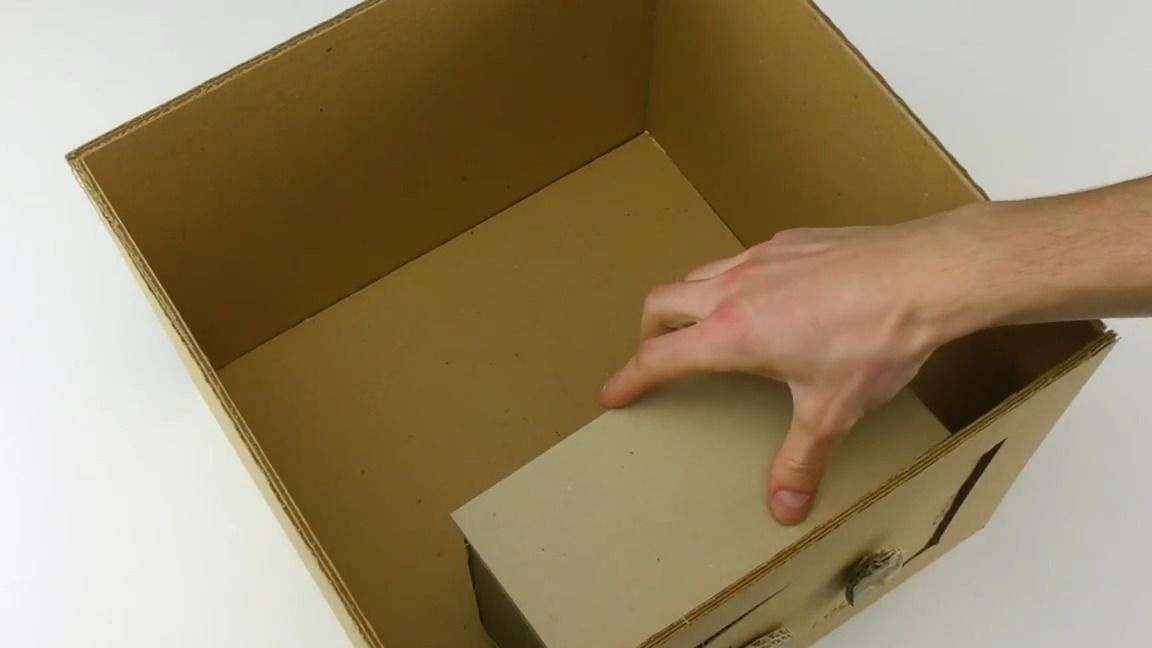
As you can see, the retractable mechanism can be retracted:

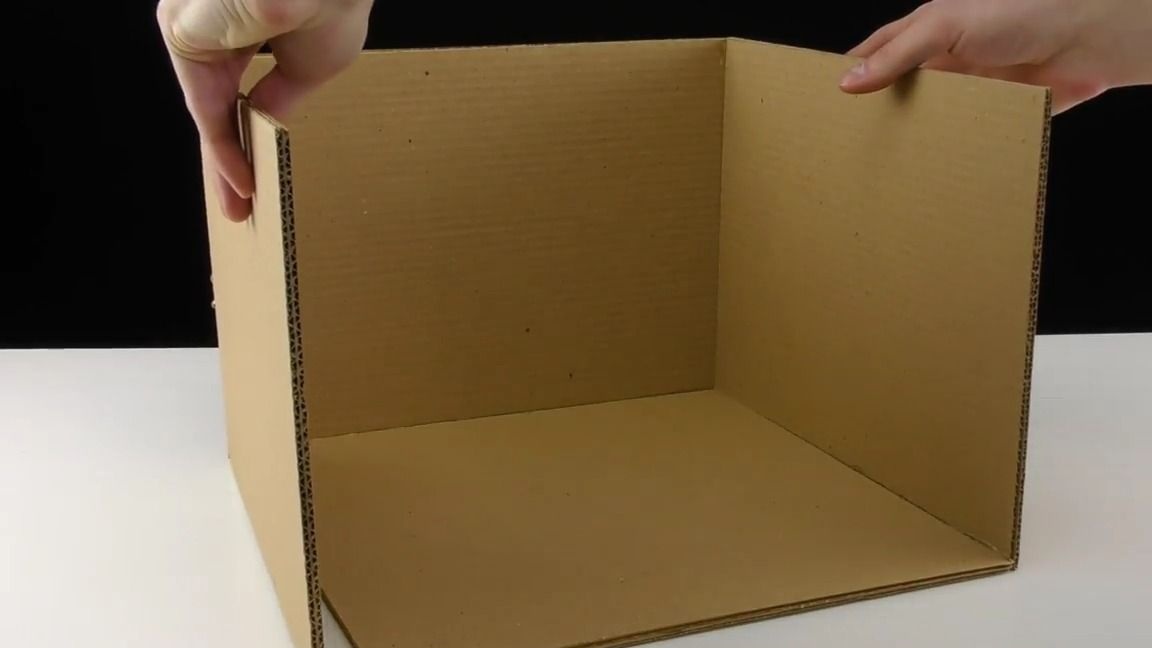
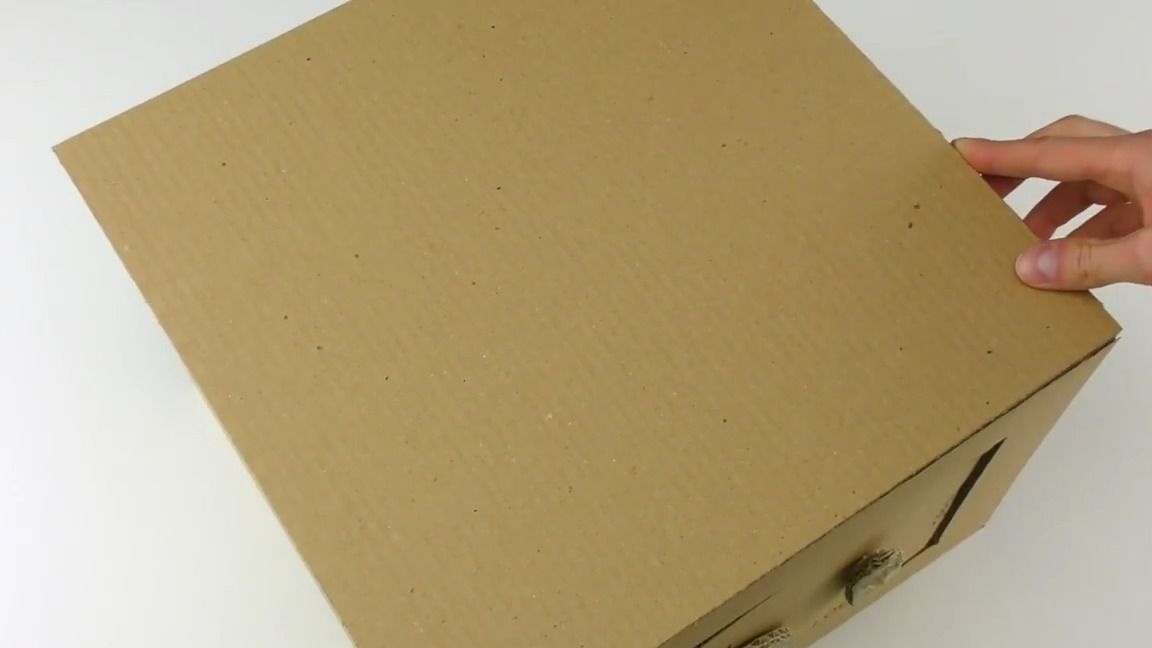
Well, it remains only to make a frame for our safe, there is nothing complicated, so you need to do everything the same as shown in the photo, in principle, the size and shape of the frame depend only on your needs and imagination:

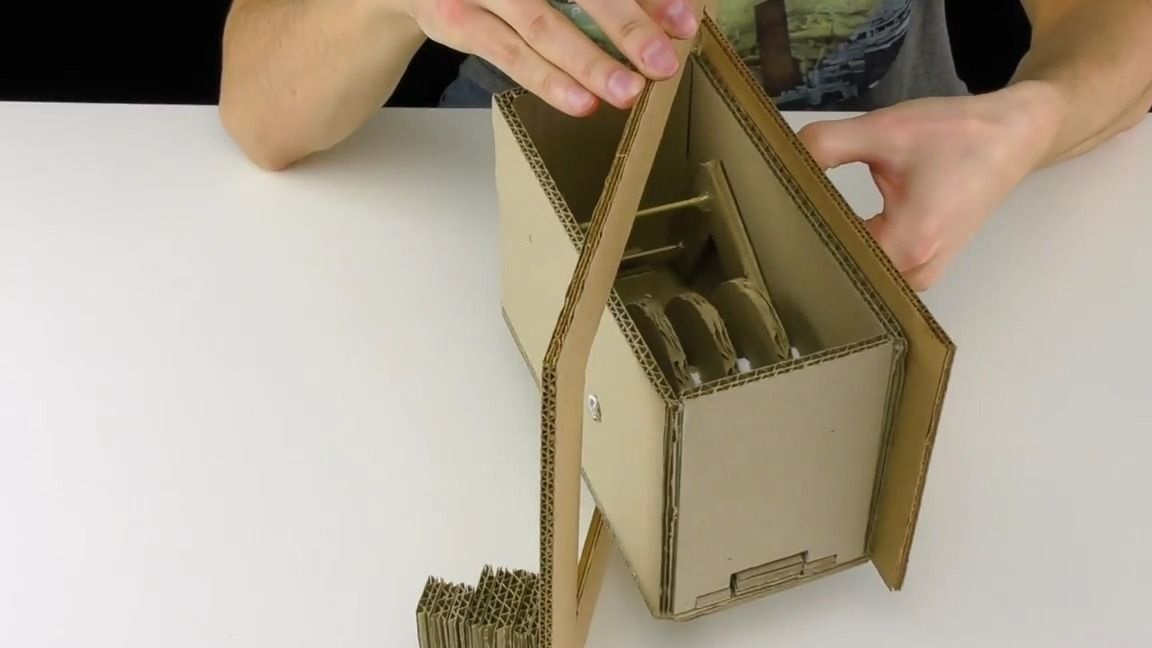
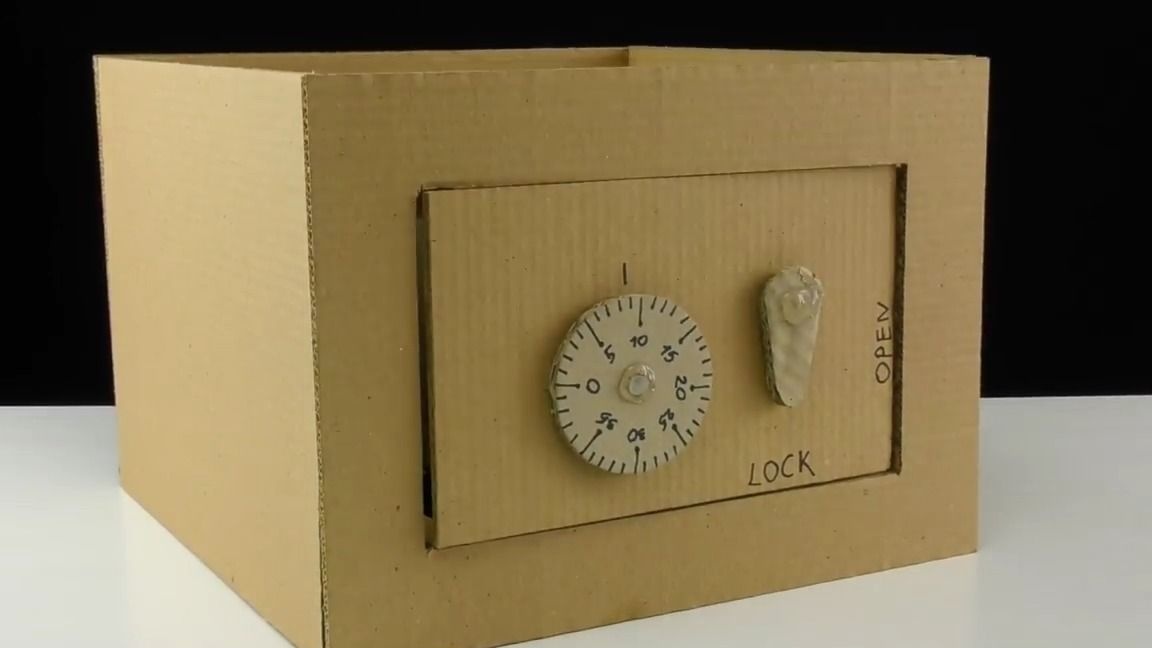
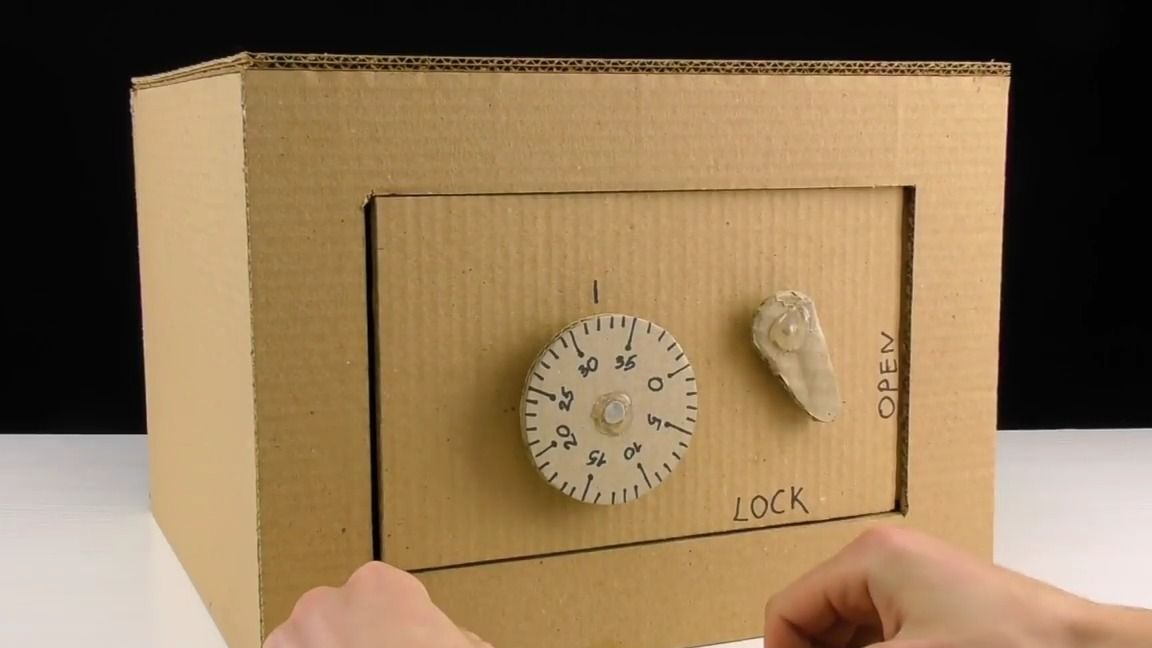
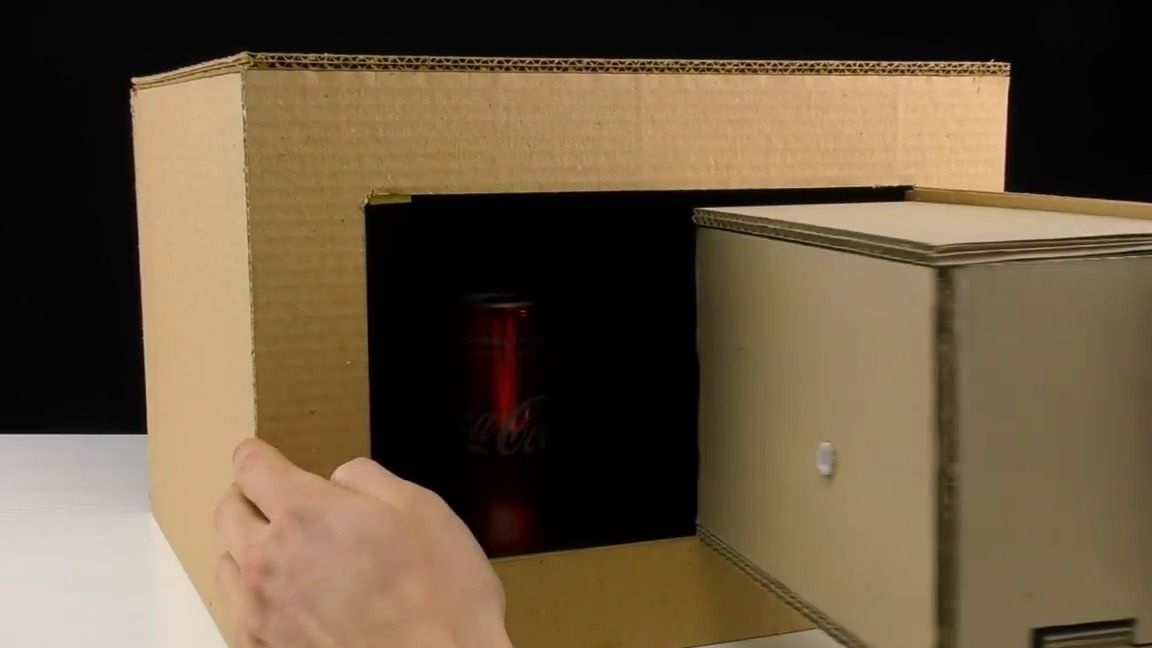
That's it! Our simple cardboard safe is ready, and it remains only to test it, for this we open the door, put any object in size there, close the door and rotate the cardboard disk in a random manner and transfer the drop-shaped handle to the LOCK extension. All our safe is closed! And to open it without breaking the design is almost impossible. In order to open the safe, simply translate the circle with the marking to position 0 and start to rotate by entering our password, I think there will be no problems with this.
The safe is quite interesting and clearly shows how the real one works, so if someone wants to, it can do exactly the same only from wood or metal.
Here's who is interested in the author’s video with the assembly:
Well, thank you all for your attention!