
What can be done from an old car rack? One Master made a chair out of a rack. Let's take a step-by-step look at how he made it and which, for this, he needed
Tools and materials:
-Rack;
-USHM;
-Pipe profile;
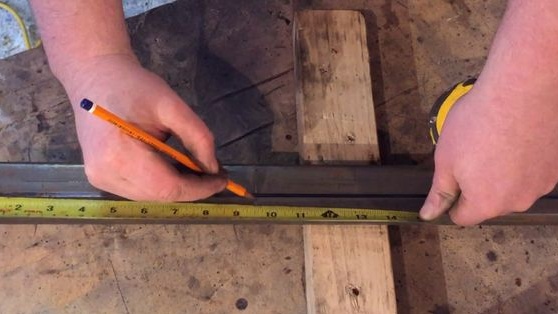
-Roulette;
-Pencil;
-Gon;
-Welding machine;
-Paint;
- brush;
-Board;
-Glue;
- Clamps;
-Rule;
-A metal sheet;
-Drill;
- Electric jigsaw;
Cutter;
-Key;
-Plastic plugs;
- mallet;
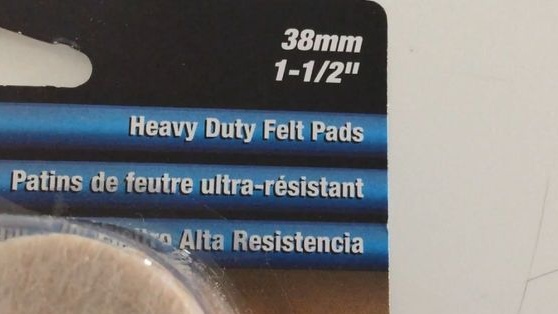
-Felt pads;
-Screws;
-Compass;
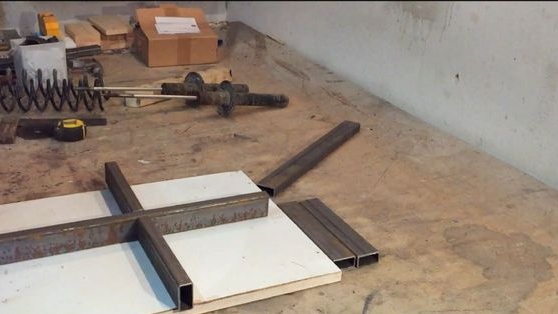
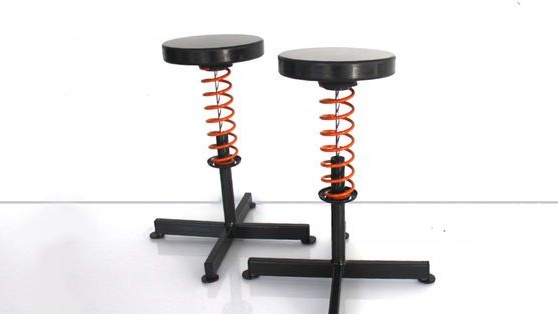
Let's move on to manufacturing. The master made two chairs at once, so the number of details in the photo may differ from the text.
Step One: Preparing the Rack
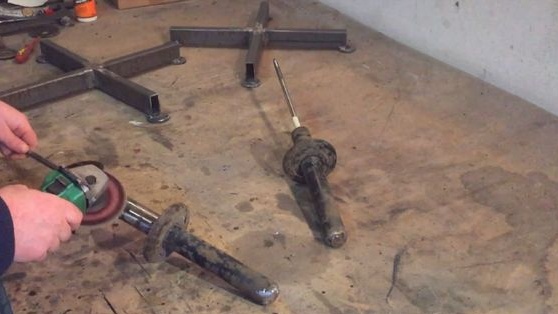
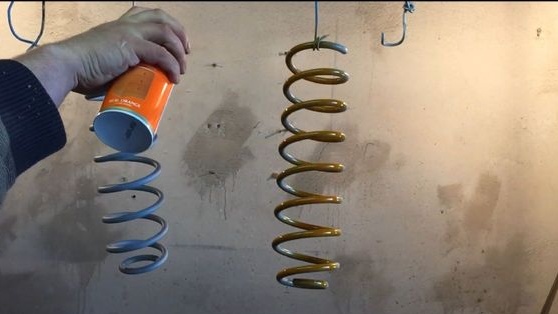
In his project, the master used the rear pillars of the car.
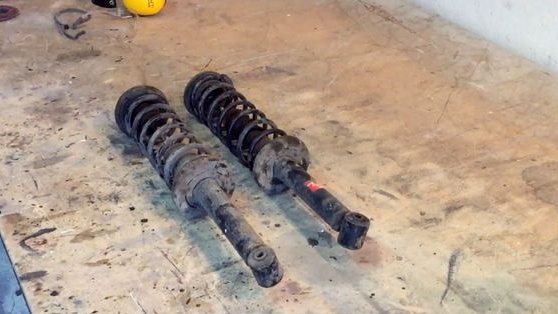

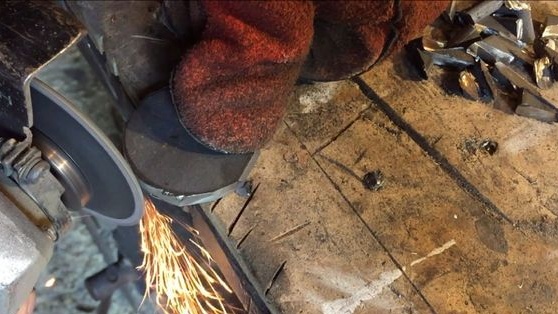
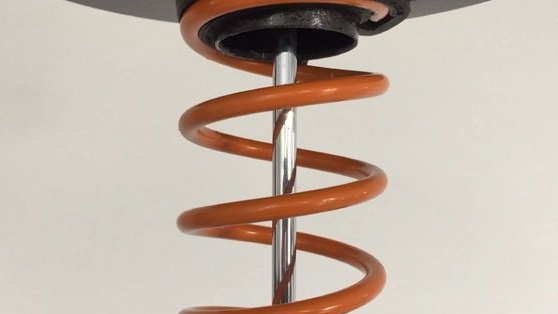
Disassembles the rack. Turns off a nut, removes elastic bands and a spring. Cuts off the eye.
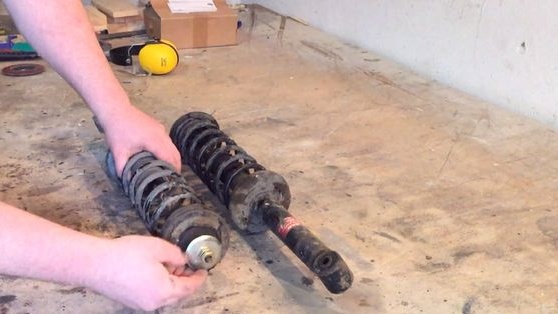
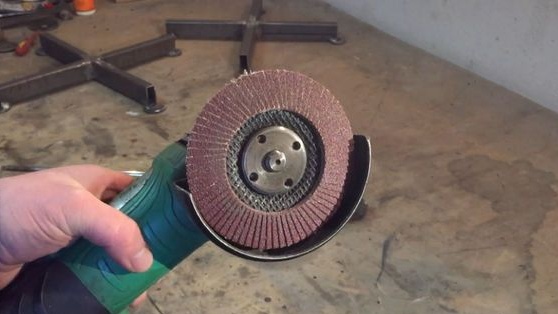
It cleans the surface of shock absorbers with a flap grinding disc.
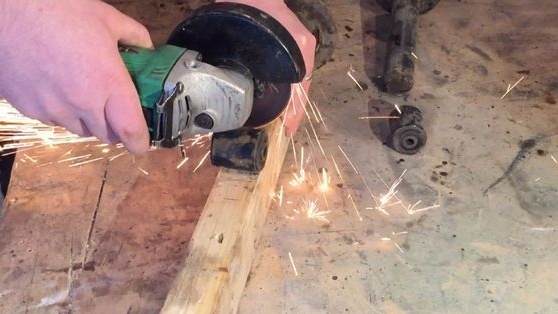
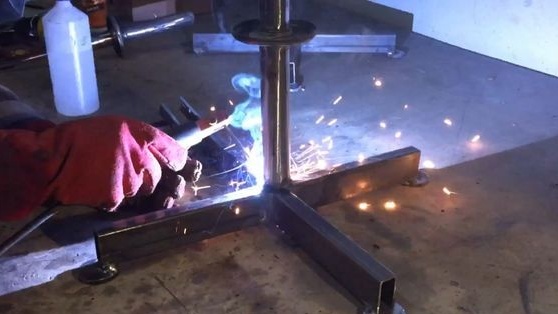
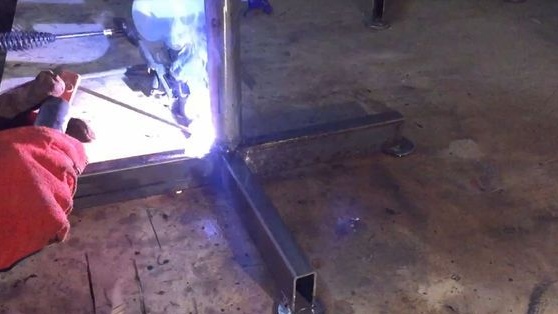
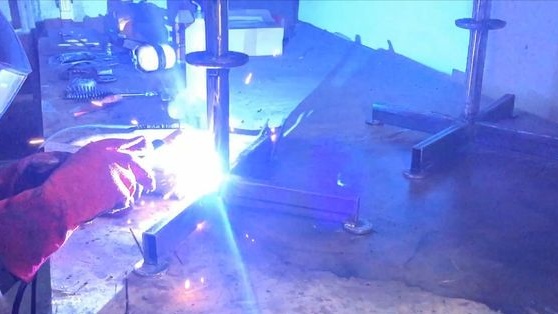
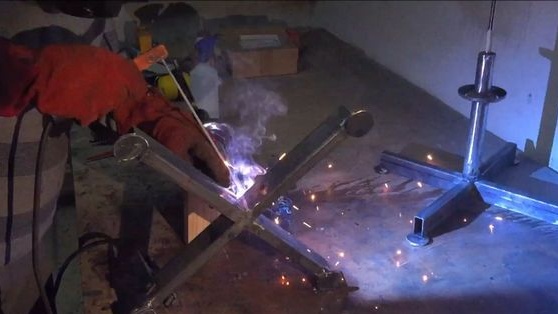
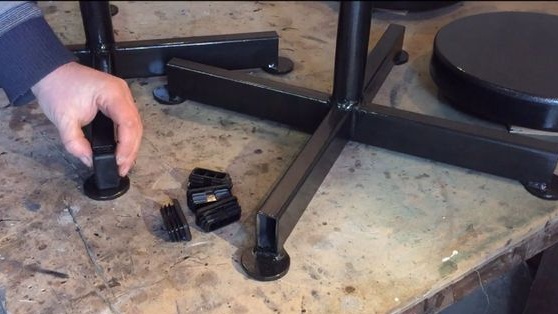
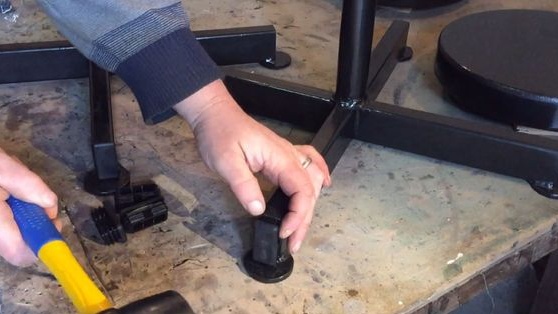
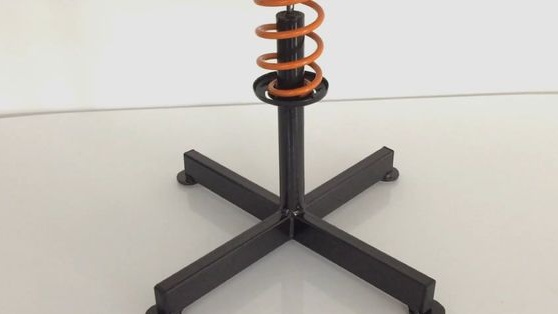
Step Two: Feet
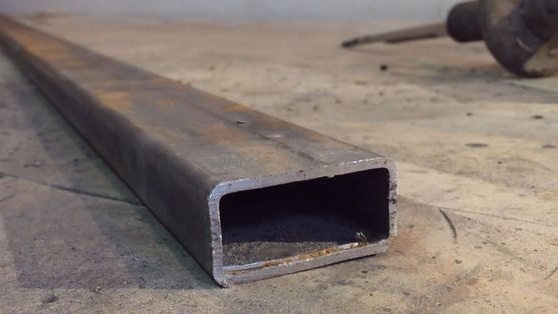
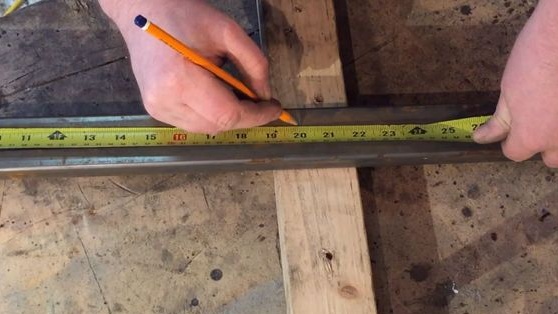
From a profile pipe makes a cross.

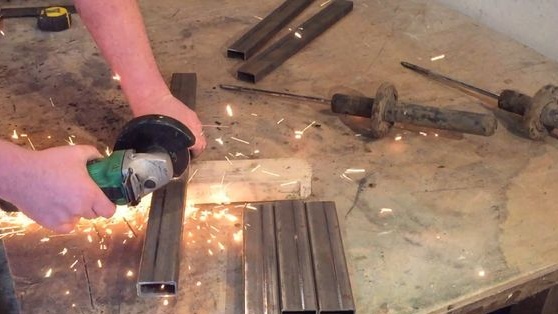
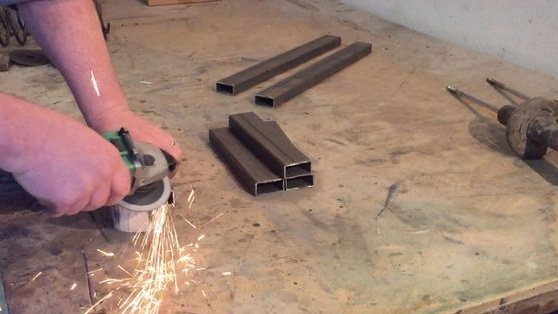
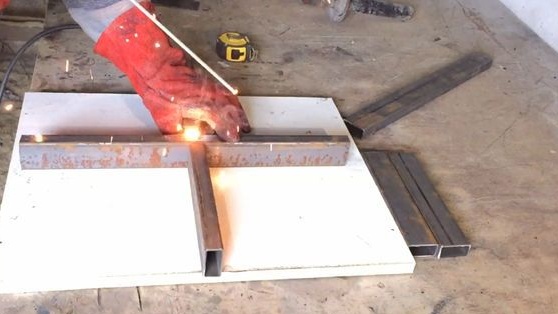
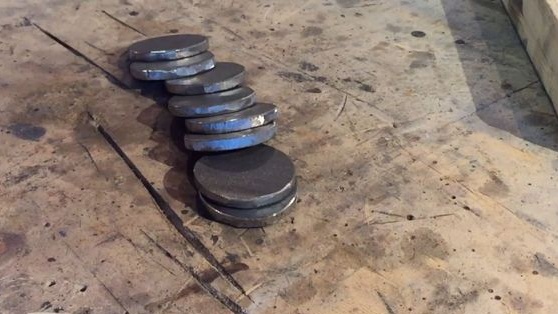
It cuts out round metal from metal. Welds them to the edges of the legs.


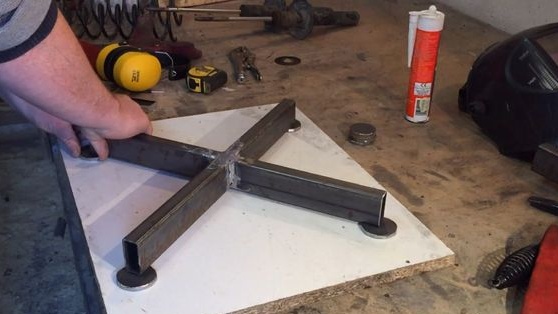

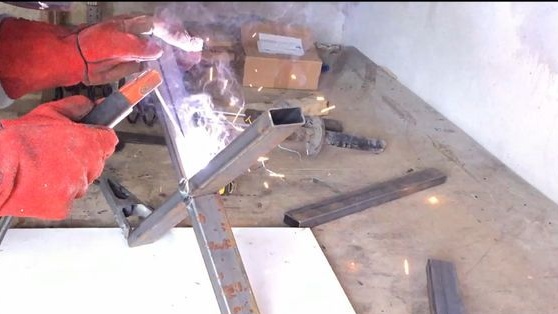
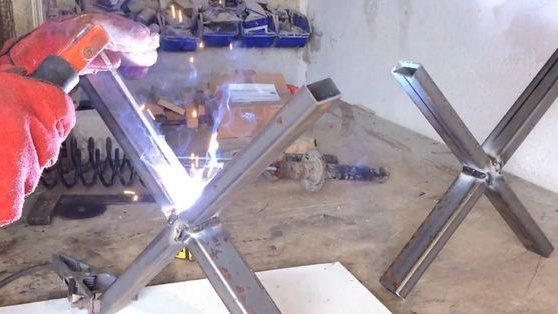
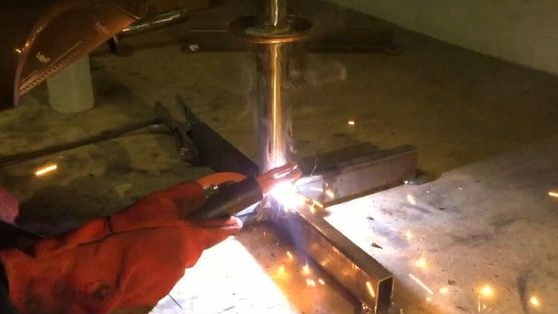
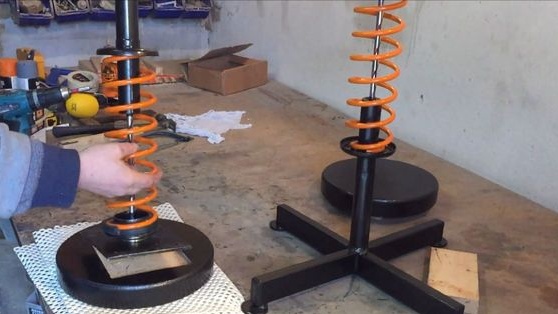
Step Three: Welding
Next, you need to weld the shock absorber to the crosspiece.
Caution: this procedure is unsafe. The shock absorber is a closed pressure vessel. The contents of the shock absorber may also be a combustible substance. Welding must be done without overheating surface. In my opinion, it would be safer not to cut off the eye, but to weld to it.
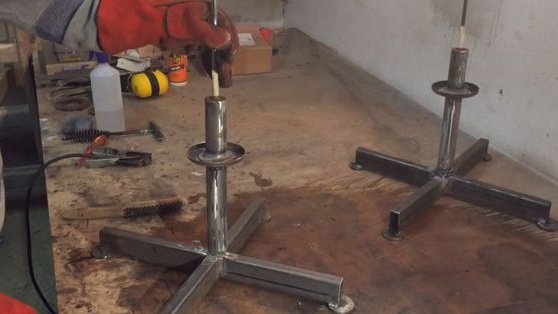
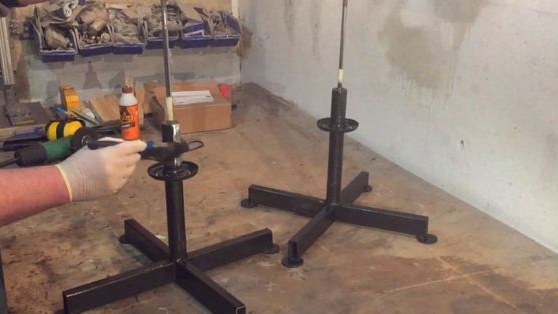
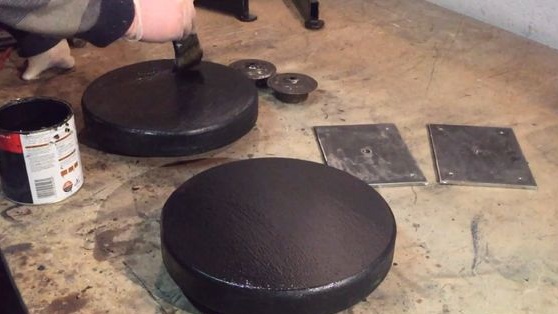
After welding, it paints shock absorbers and a cross.
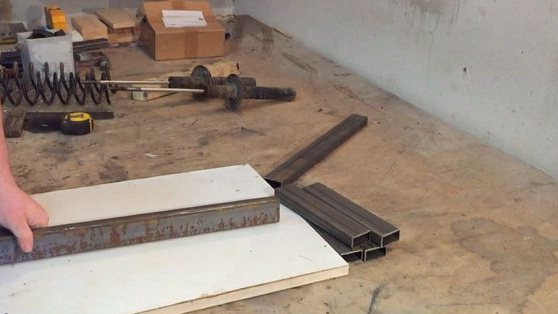
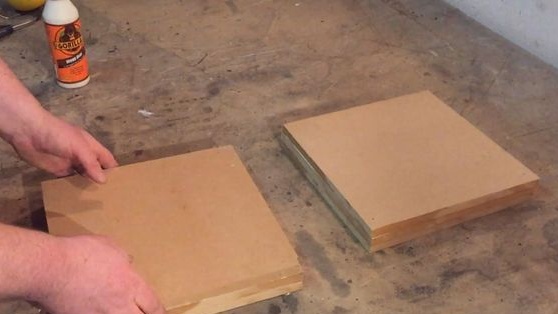
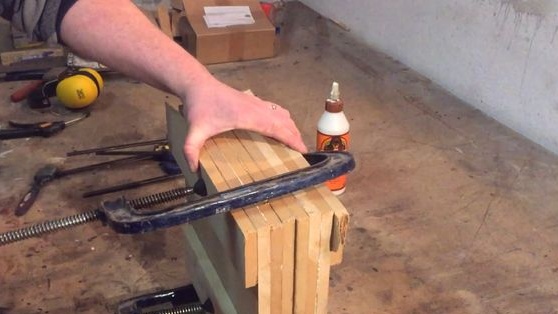
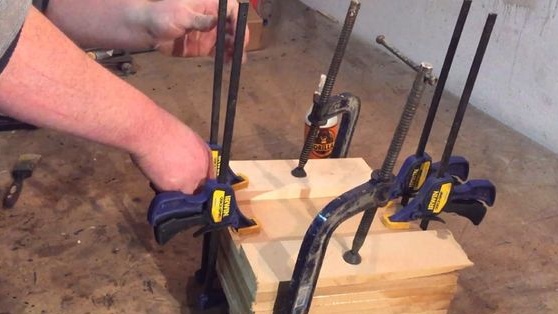
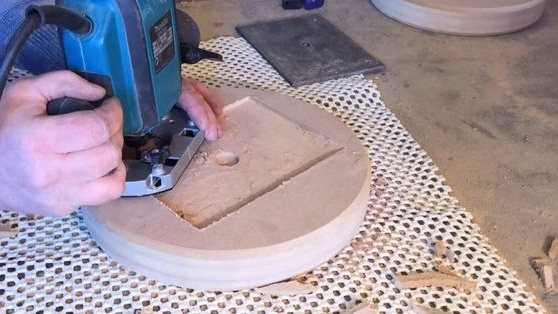
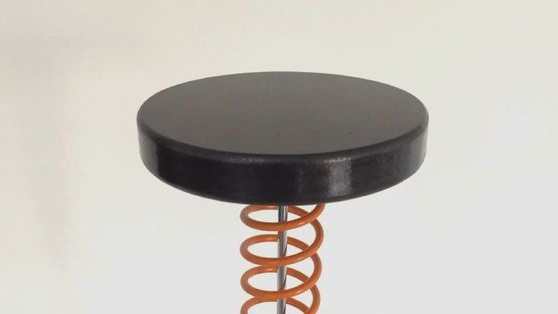
Step Four: Seat
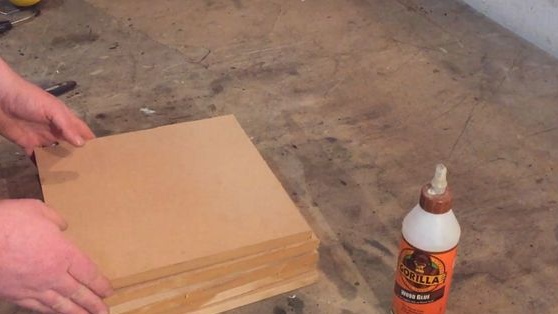
Next you need to make a seat. The author glues three square boards. Applies glue to the surface and fixes with clamps.
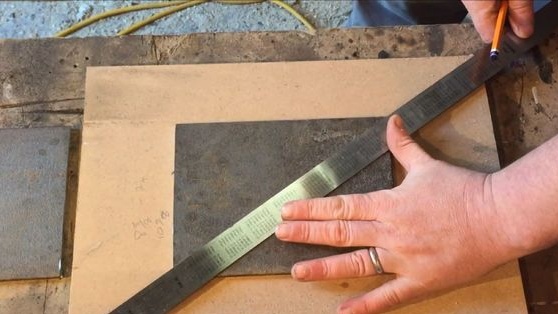
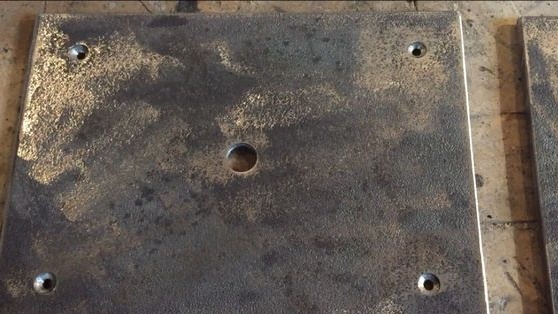
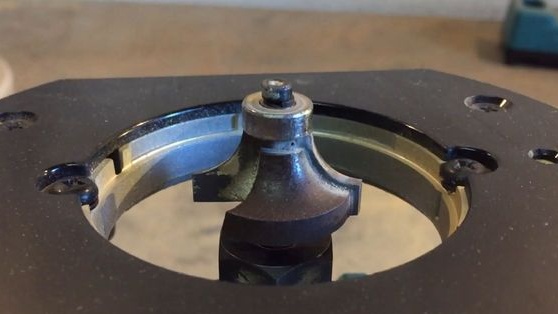
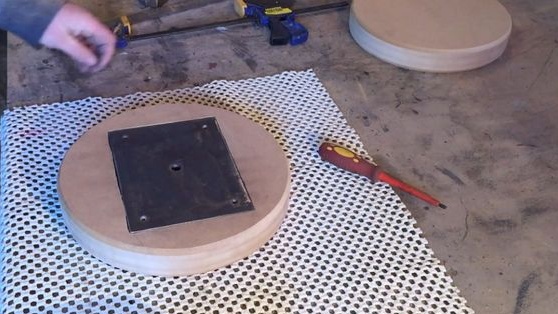
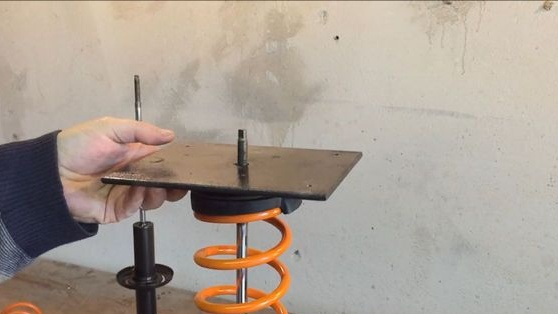
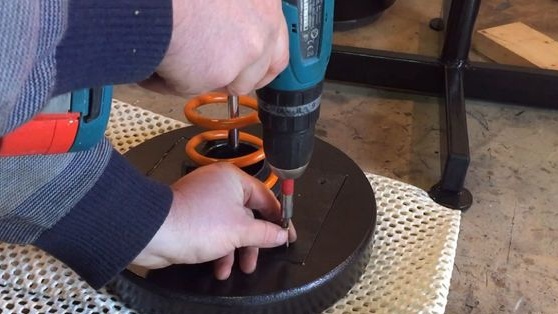
While the glue dries, it makes a support. Cuts a rectangle from metal. Drill a hole. In the center under the shock absorber thread, along the edges under the screws.

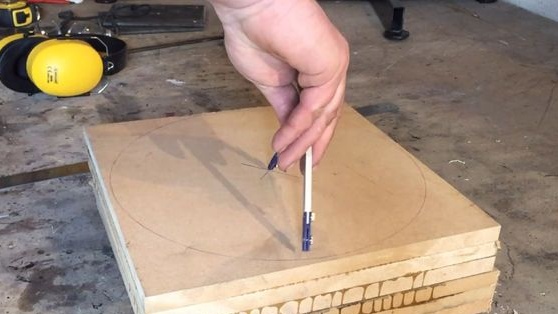
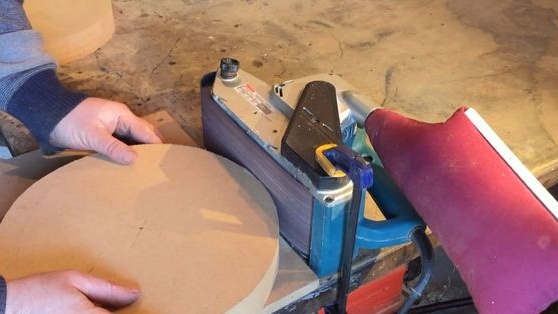
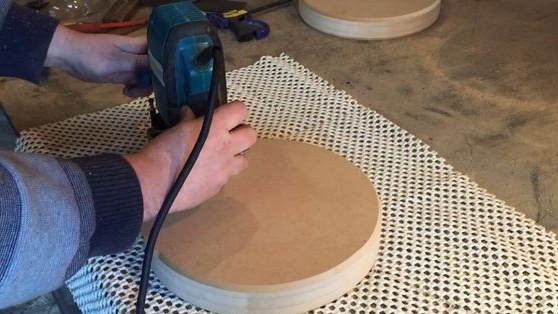
After the glue has dried, the master cuts off the edge of the board in a circle. Takes off an edge and processes edges.

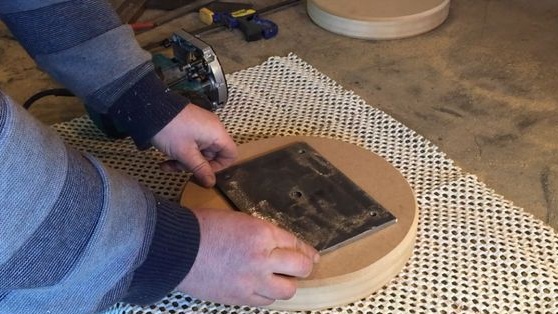
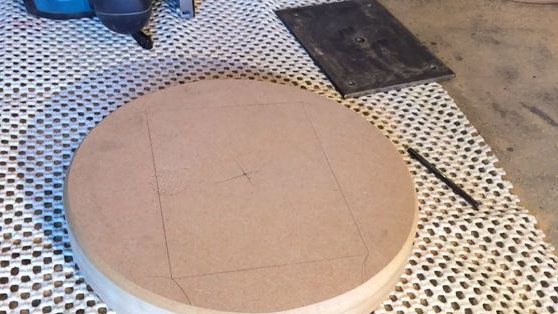
Marks a place for support. Makes a recess in the board along the thickness of the support. In the center makes sweat under the bolt.

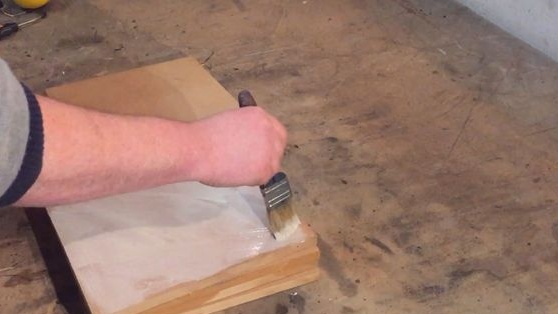
Step Five: Painting
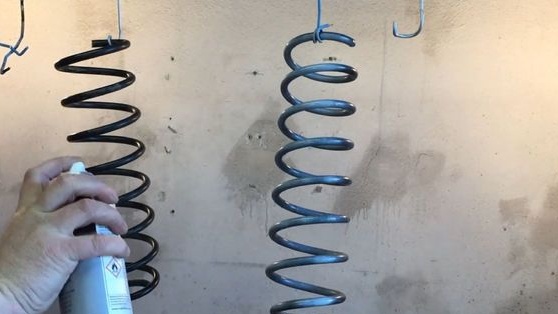
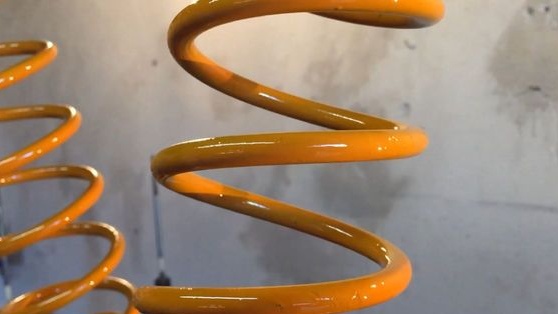
It paints the seat with black paint, and the springs with yellow.
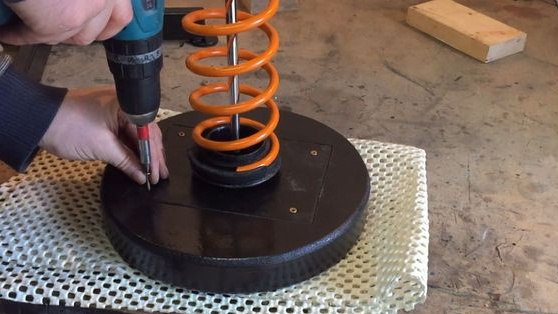
Step Six: Build
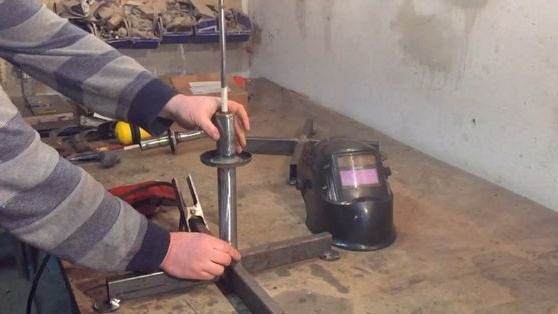
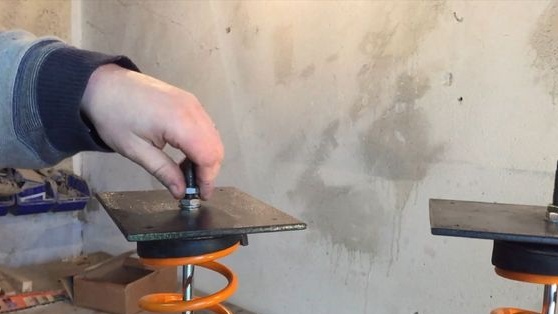
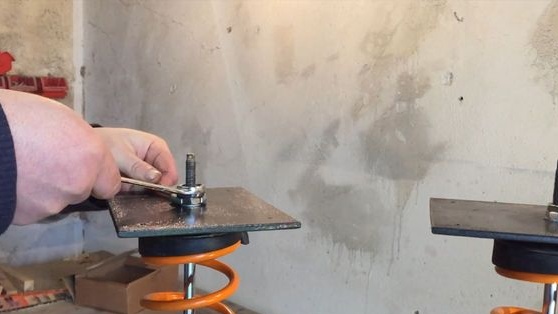
Starts to build. Installs a spring, support cup on the shock absorber. Installs the base plate.Screws the nut and lock nut onto the stem. Cuts off excess thread.
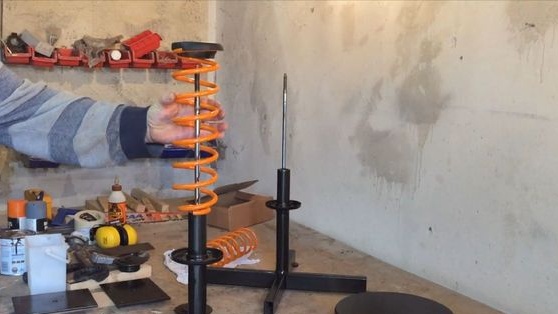
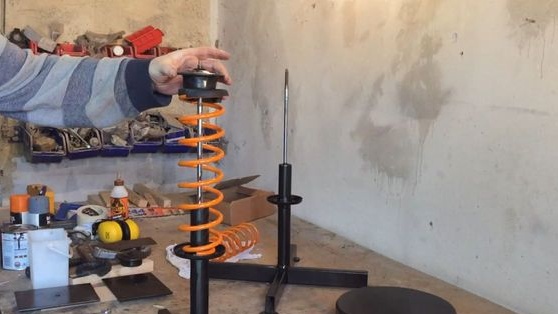
Installs plugs on the pipe.
Screws the seat to the support.
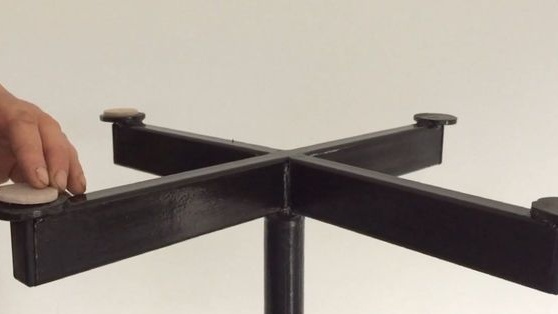
On "round" sticks felt pads.
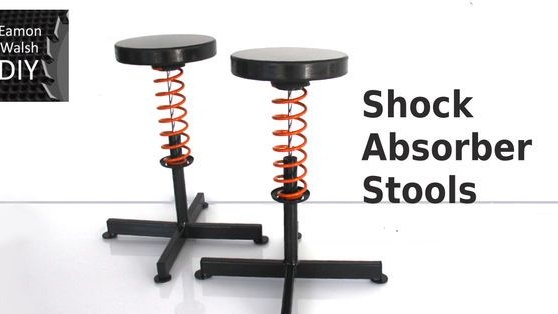
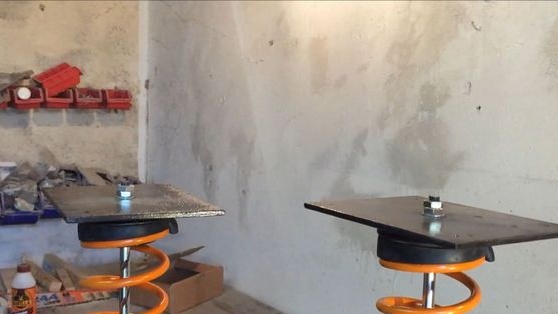
The chair is ready.
Details of the manufacturing process can be seen in the video.