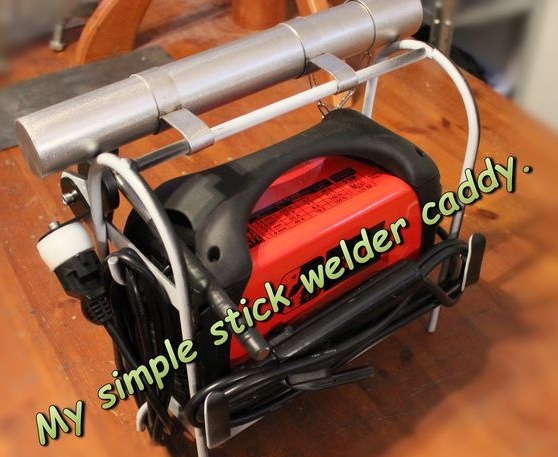
Those who use the welding machine know how inconvenient to store and carry it because of the wires. The master decided to make an organizer for the welder. Below we consider what came of it and which ones he used for this
Tools and materials:
-Welding machine;
-Metal strip;
-Drilling machine;
-USHM;
-Metal corner;
-Metal core;
-Bending machine;
-Vise;
-Clamp;
-Roulette;
- Spray paint;
-Magnet;
-Fasteners;
-Tube made of stainless steel;
Step One: Hooks
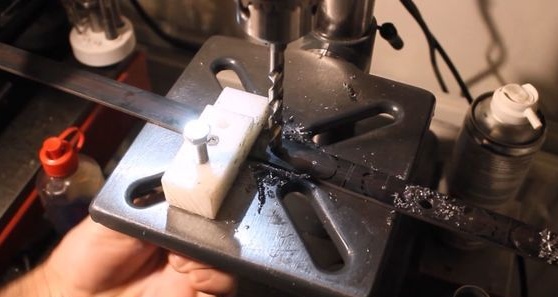
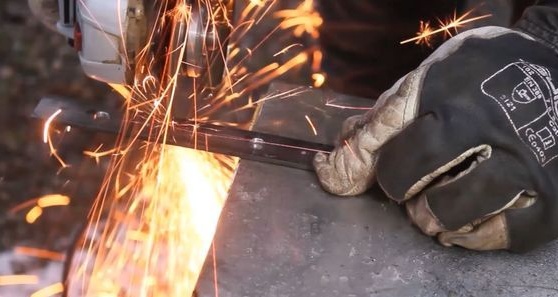
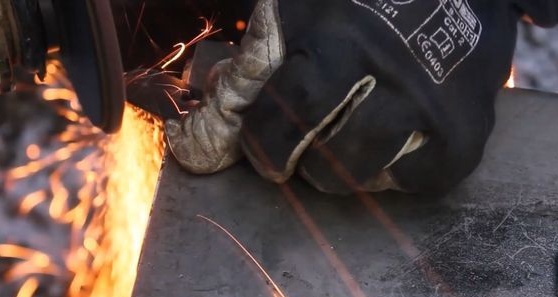
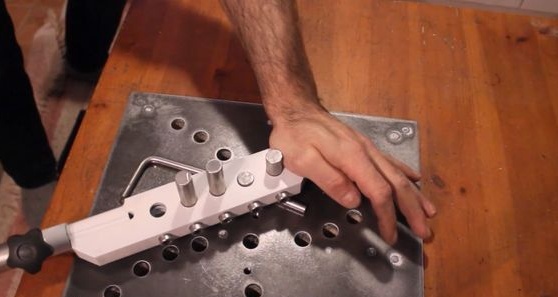
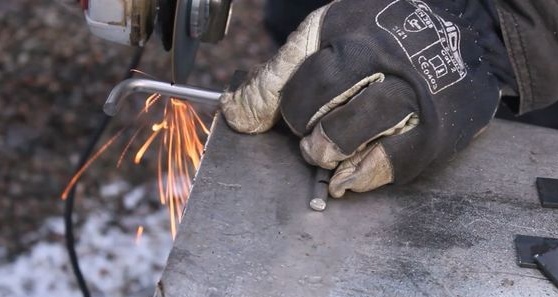
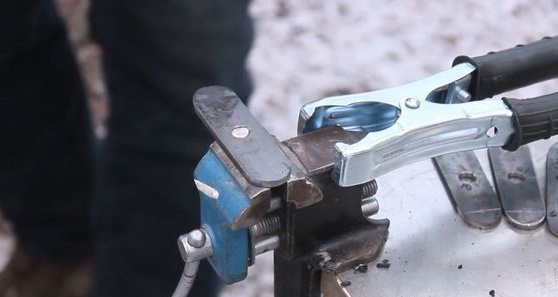
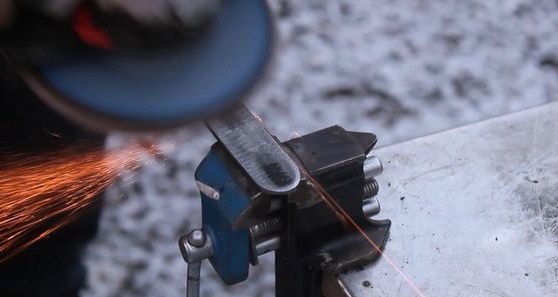
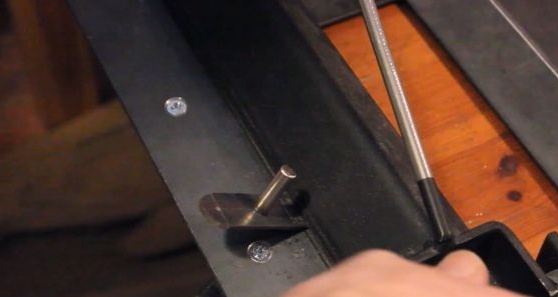
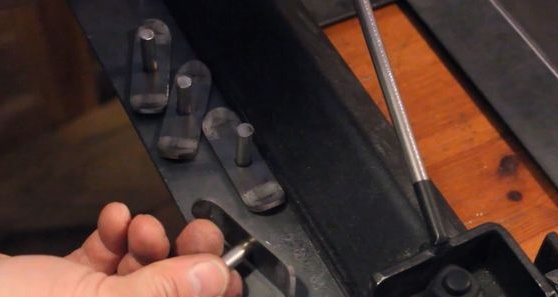
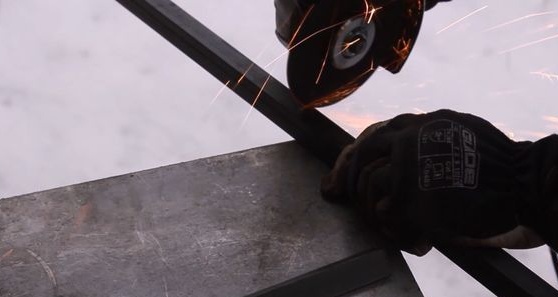
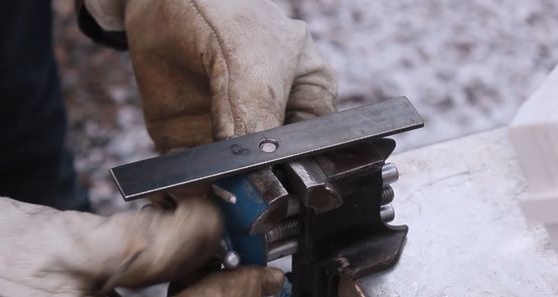
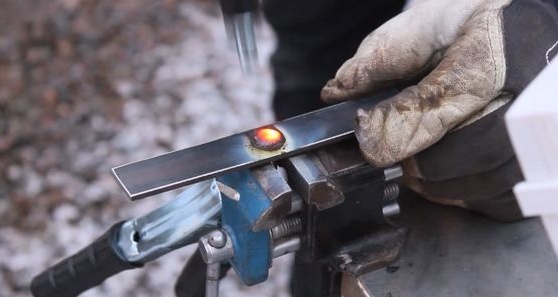
Marks a metal strip 3 * 30 mm. Drill an 8mm hole. Slices the plate. Cuts four rods from 8 mm reinforcement. Inserts them into the holes in the plate and scalds. Bends the edges of the plates at 45 degrees. From the armature makes two more hooks with an angle of 90 degrees. Cuts two strips, drills a hole and welds hooks. Makes another semicircular magnet plate.
Step Two: Frame
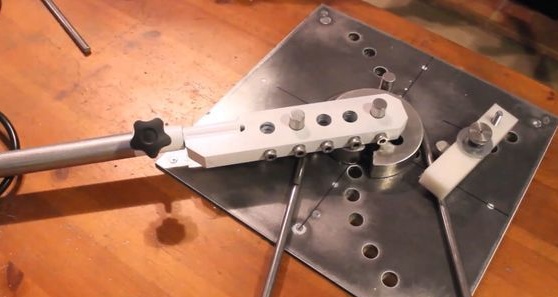
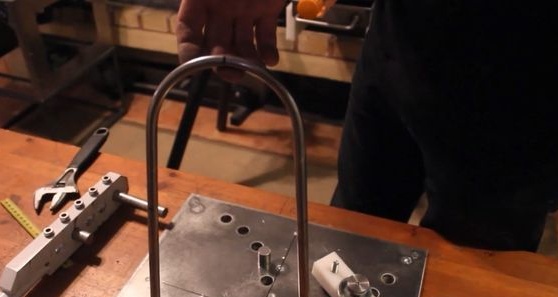
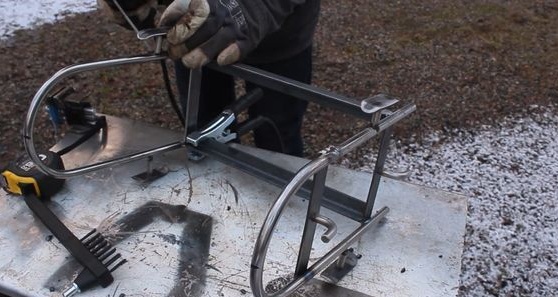
The master made the upper part of the frame from a 10 mm metal rod. Slices two rods and bends them in a U-shape.
The master makes the lower supporting part from a 30 mm corner and strip. Cuts two corners. From the ends welds a strip. Moreover, on one side of the strip with a hook.
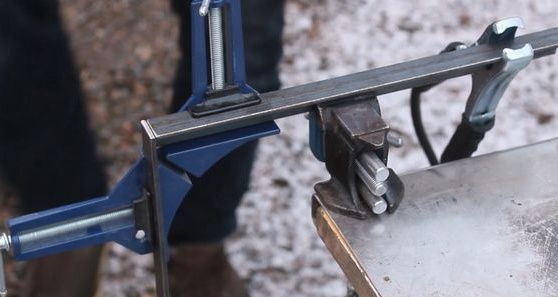
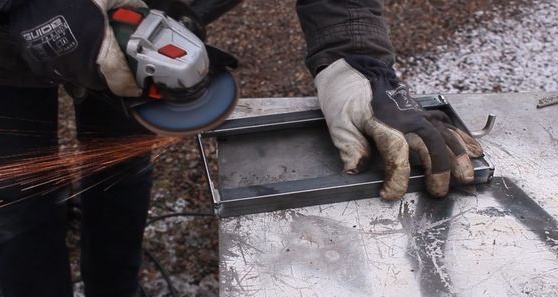
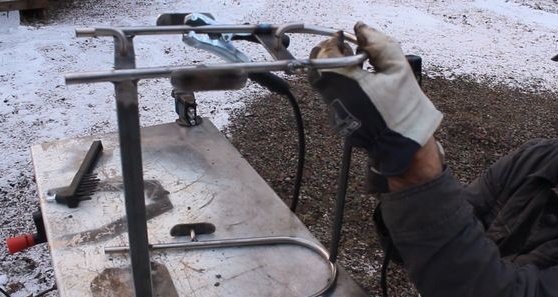
Welds to the bottom of the U-shaped frame. Welds on one U-shaped frame, in its middle part, a plate with a hook. It turned out a hook from the bottom and top of the frame, a power cord will be wound on it.
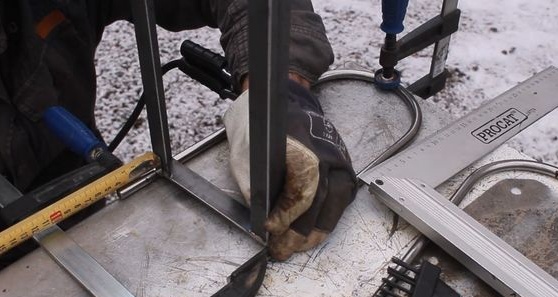
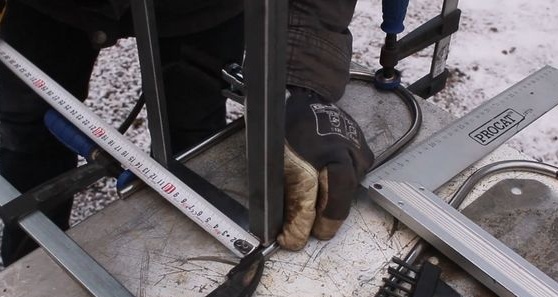
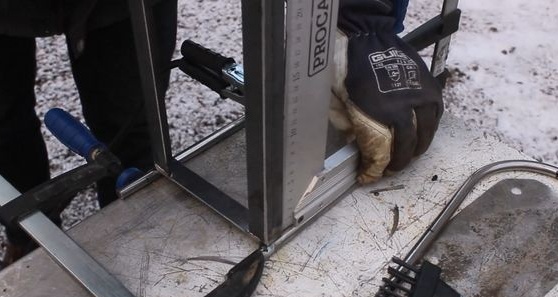
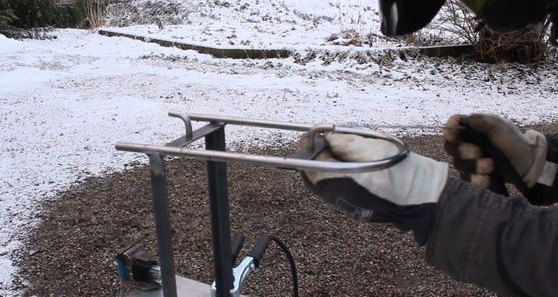
Welds hooks on the sides of the frame, welding cables will be wound on them.
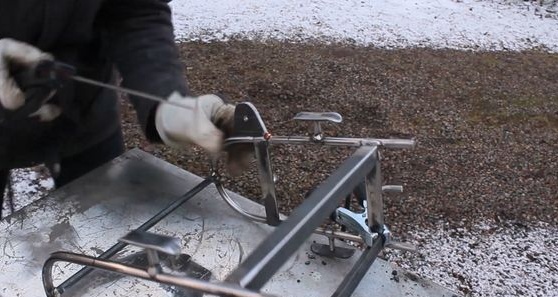
Welds an eye under a magnet.
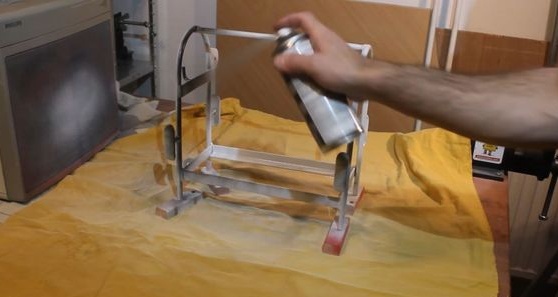
Step Three: Painting and Assembly
Cleans seams, stains the surface.
Makes a plastic holder for the plug.
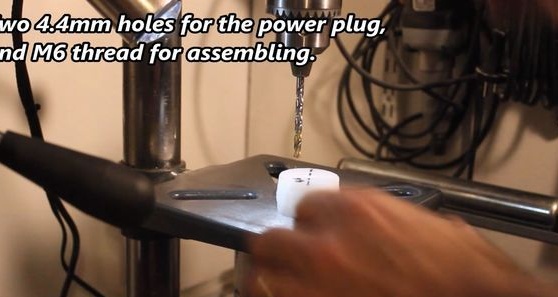
Screws a holder to the eye on one side, and a magnet on the other.
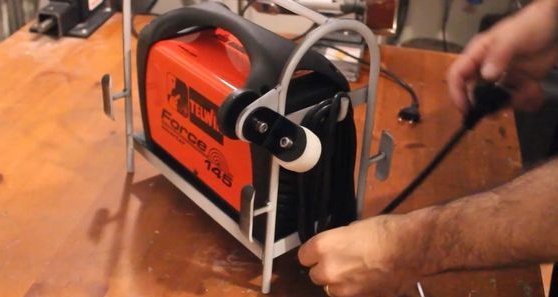
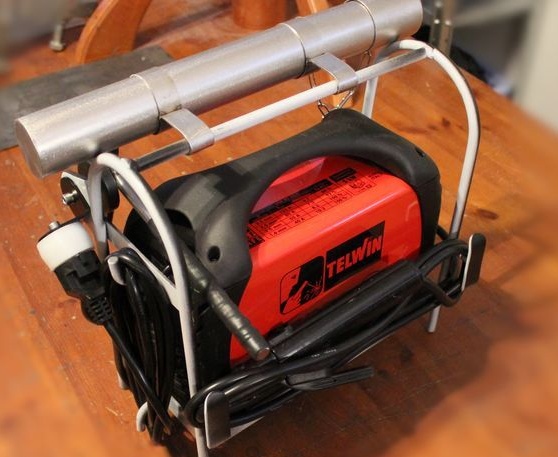
Installs a welding machine. Coils cable hooks. Fastens an electrode tube at the top.
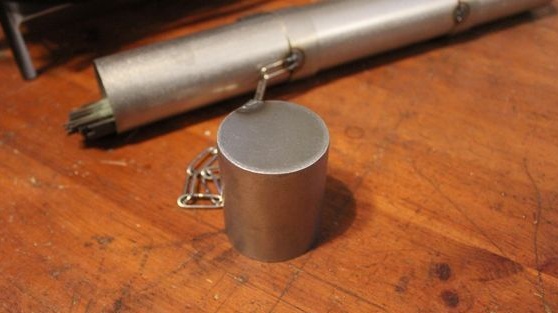
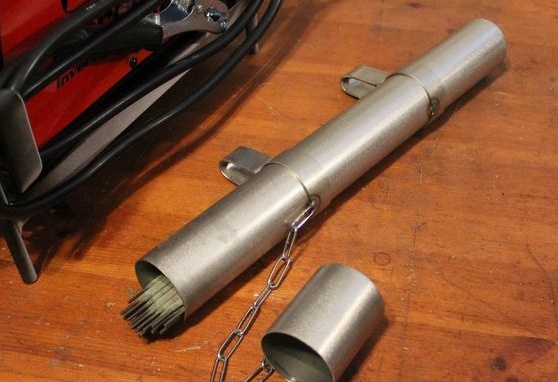
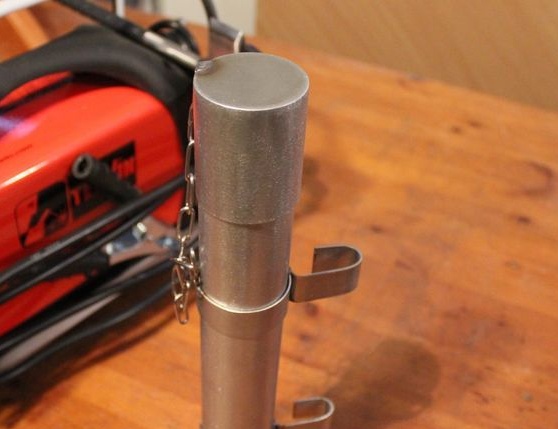
The organizer is ready.
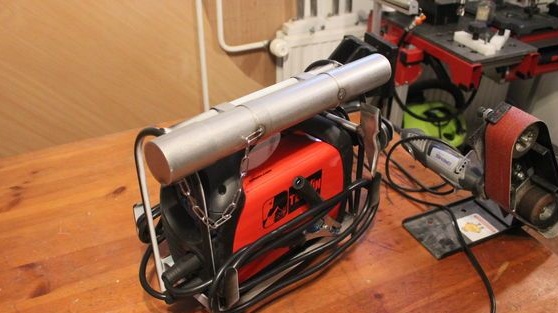
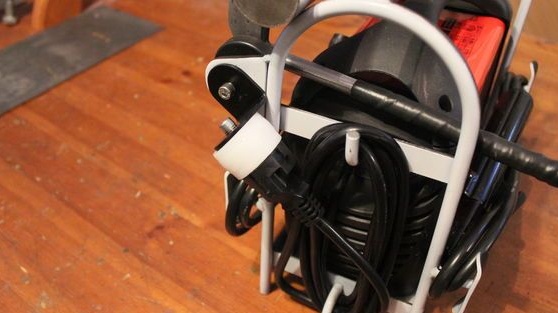
The entire manufacturing process can be seen in the video.
