

The ritual of creating your own lightsaber was an integral part of the Jedi training and included not only technological skill, but also harmony with the Force. Ideally, a Jedi needs many months to create the perfect weaponswhich he will keep and apply until the end of his days. Once created by you, the lightsaber will become your constant companion, your tool and ready-to-use remedy.
- Luke Skywalker
In this article, the Wizard will tell us how to make a Jedi lightsaber with light and sound effects. Built on the platform Arduino the sword responds to every movement. Let's watch the video.
The following are the characteristics of the sword.
Shine:
- Smooth on / off with lightsaber effect
- Pulsating color with the ability to turn off
Sounds:
-Mode 1: generated noise. The frequency depends on the angular velocity of the blade.
-Mode 2: drone sound from SD card
- Slow wave - long hum of a hum (randomly from 4 sounds)
-Fast swipe - short hum sound (randomly from 5 sounds)
- Bright white flash when the sword hits the surface
-Play one of 16 sounds on impact
- Weak kick - short sound
Hard hit - long sound
-After turning on the power, the current battery level from 0 to 100% is displayed on the blade
Battery:
- The battery is discharged - the lightsaber does not turn on - the power button blinks 2 times
-When the battery is discharged during operation, the sword automatically turns off
Control button:
- Hold-on / off sword
-Touch Press-Color Change
-Five taps-change sound mode
- Selected color and sound mode stored in memory
Tools and materials:
-
-
-
-
-
-
-
-
-
-
-
-
-
-
-
-Pipe from polycarbonate Ø 32 mm with diffusion (dispersion) can be bought;
Sewer pipe Ø 32 mm and Ø 40 mm;
- Plastic plugs;
-All for soldering;
-Plume;
-Steel wire;
-Double-sided tape;
-Glue gun;
-Fasteners;
-Hacksaw;
-File;
-Rule;
-Marker;
-Knife;
-Scotch;
-Paper;
-Burner;
-Drill;
-Calipers;
-Cone drill;
- Spray can with paint;
-Porolon;
Heat Shrink;
-Insulating tape;
-Screwdriver;
Step One: Connect
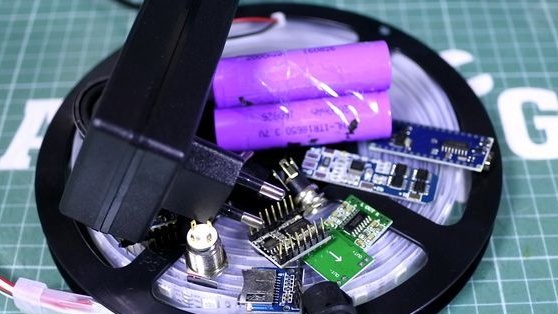
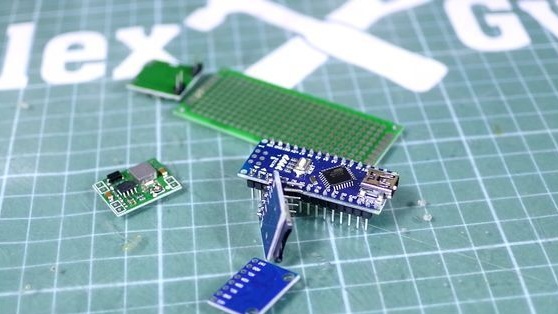
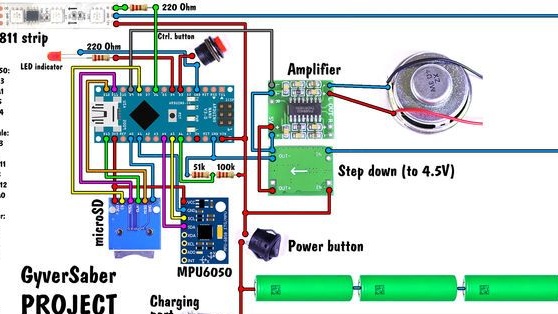
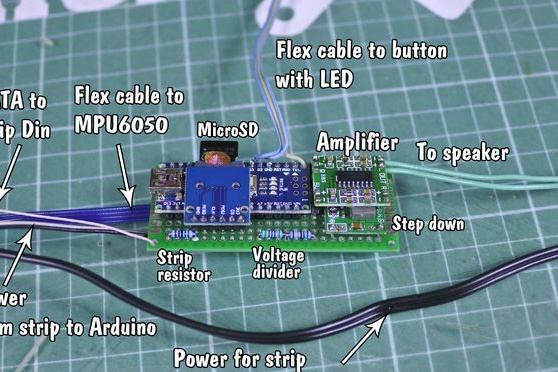
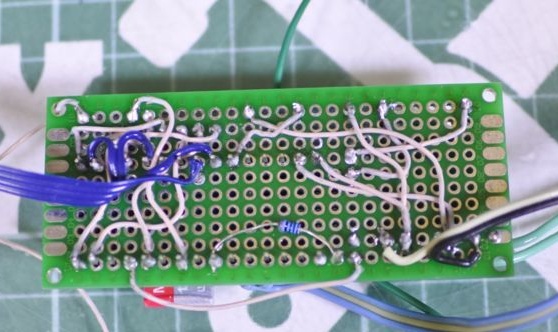
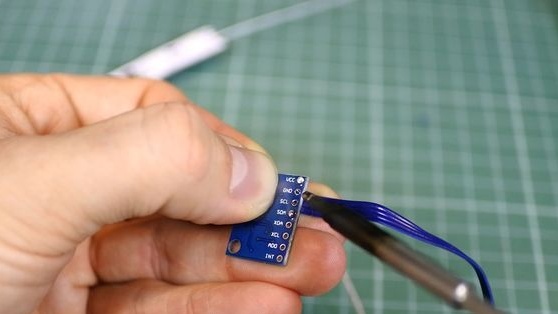
According to the scheme on the breadboard collects electronics. Solder contacts mounting wire. The buck converter is pre-adjusted to 4.5 V. The accelerometer is connected separately using a loop.

Step Two: Firmware
Instructions, firmware, sounds can be taken
or download the link on this page.
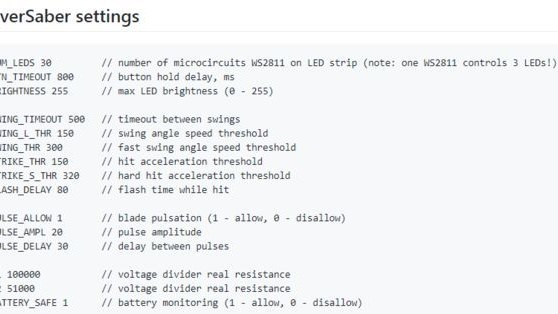
You can configure:
- The number of chips on the tape (if the length of the blade of the sword will change)
-Flick on / off
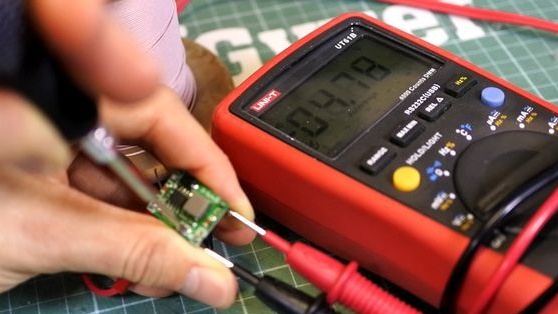
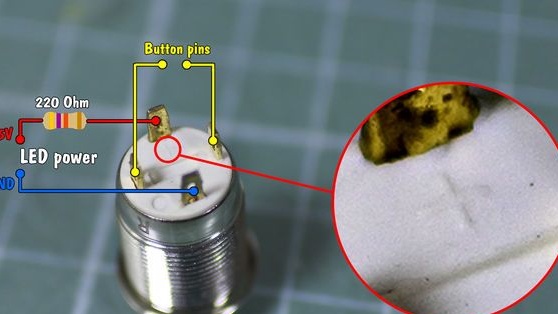
- Measure and indicate in ohms the resistance of the resistors
And some other settings.
For the project, the master took MicroSD 4 GB, FAT.
When flashing the assembled sword, you must turn on the power.
Step Three: Batteries
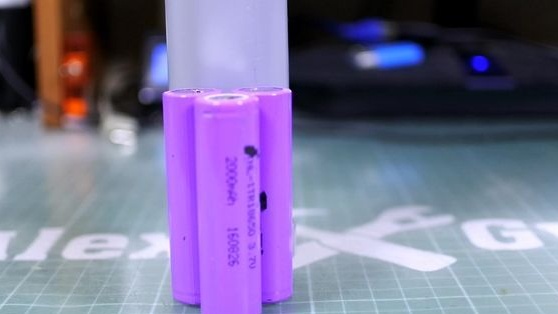
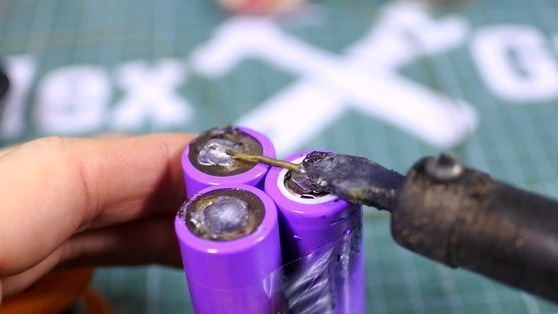
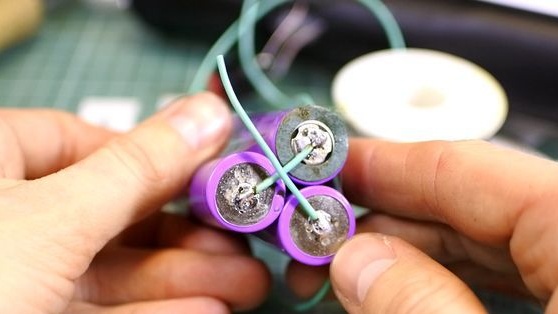
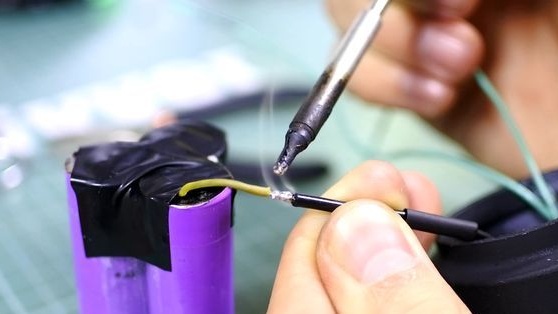
For his project, the master used three 18650 lithium batteries with built-in protection.
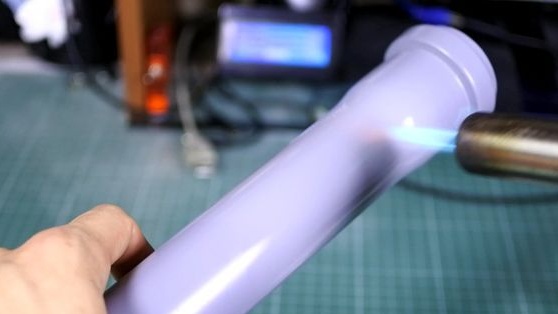
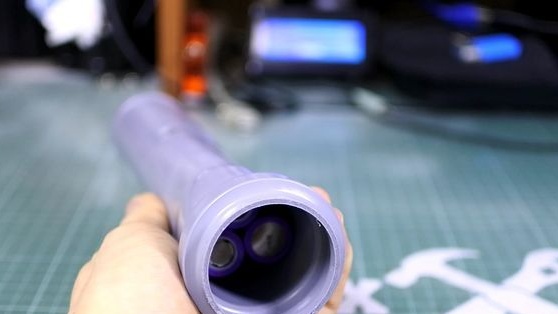
Solders them in series in one battery. The diameter of the 32 pipes is larger than the battery pack. The author wraps the battery with paper so that it fits tightly into the pipe. Then he warms the surface of the pipe with a burner and quickly cools. The pipe narrows and takes the form of a battery. He pulls out the battery. Removes paper. Now the battery fits tightly into the tube and does not hang.


Step Four: LED Strip
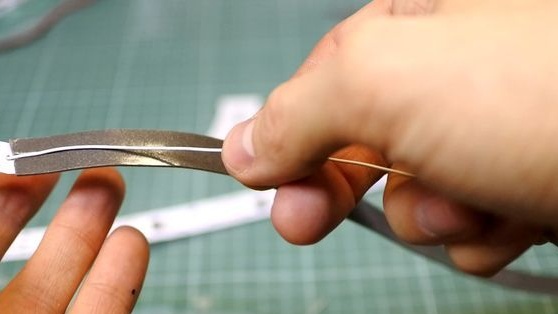
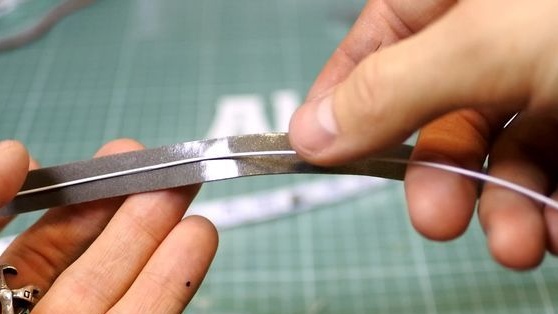
The length of the blade (polycarbonate pipe) is 75 cm. The master cuts off two pieces of LED tape 75 cm each. He glues double-sided tape on the tape. At the top of the tape makes a hole (without damaging the track). Pulls one end of an insulated wire into a hole. Glues the wire to the tape along the entire length of the tape. Glue the second strip of tape from above. The result was a tough LED design.

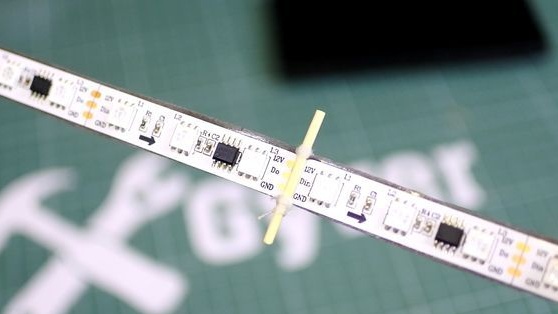
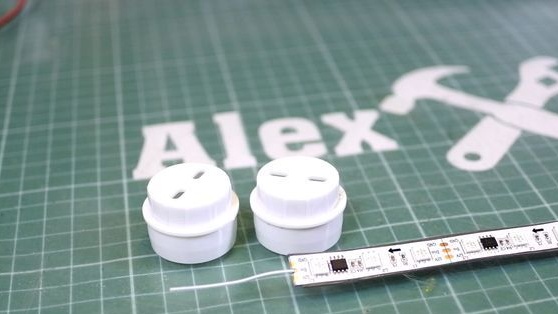
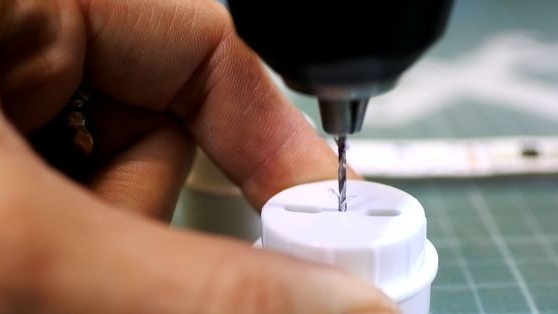
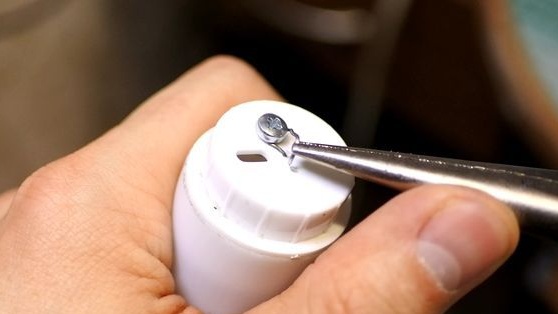
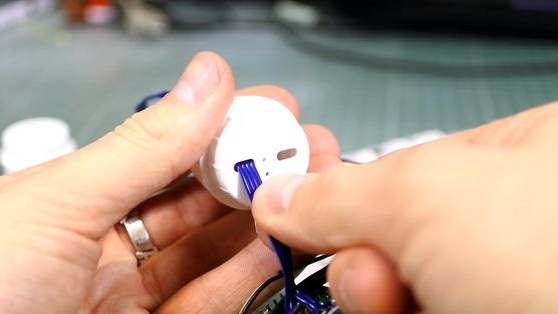
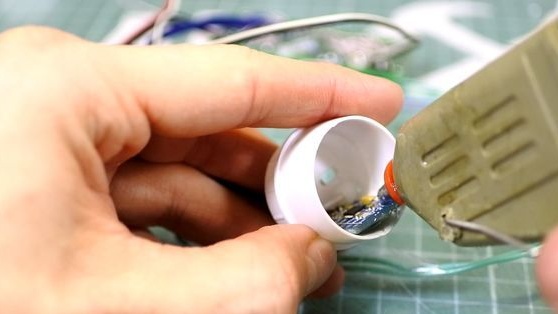
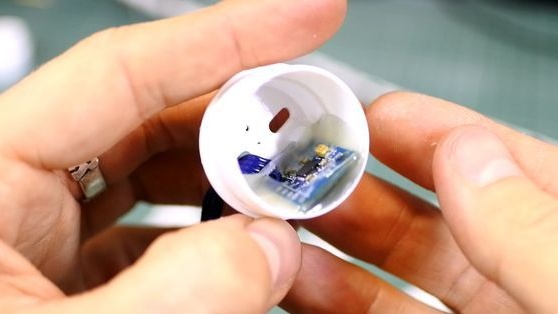
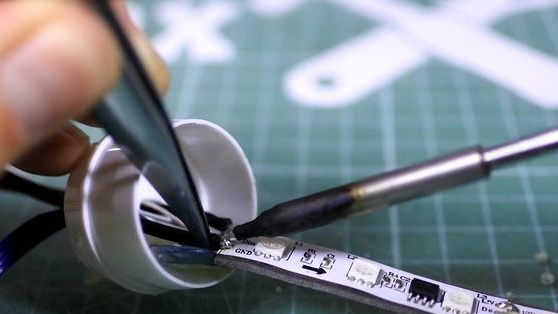
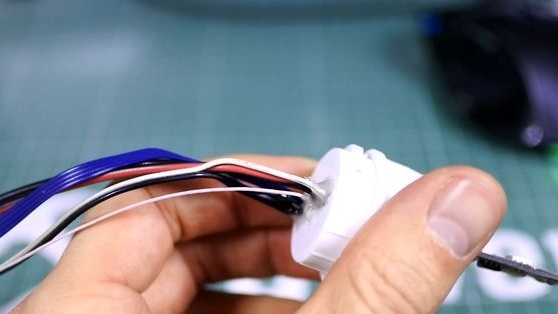
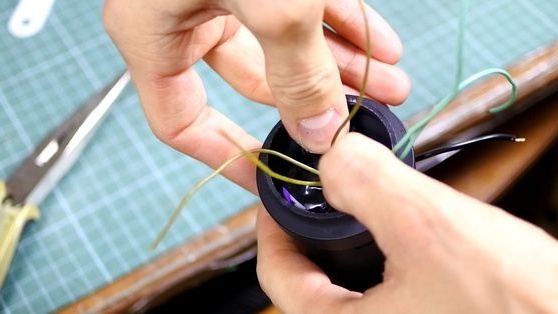
Having previously brought the cable out, the accelerometer is fixed in the second (lower) cap. Solder the wires to the LED strip and bring them out. Fastens the wire with a self-tapping screw on the plug. To prevent the tape from hanging in the middle of the tape, a toothpick makes a lateral emphasis. He puts a polypropylene tube on the bottom cap. He dresses the top cap. Stretches the wire and secures it with a self-tapping screw at the top.
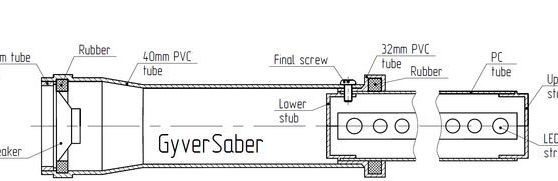
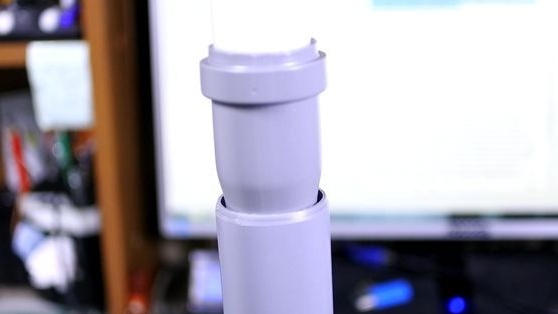
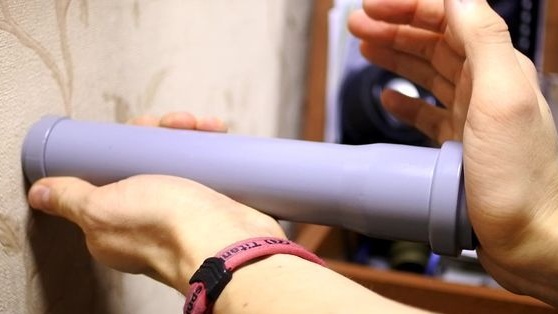
Step Five: Handle
For the handle, the master used two pieces of pipe, Ø 32 mm and Ø 40 mm, inserted into each other.


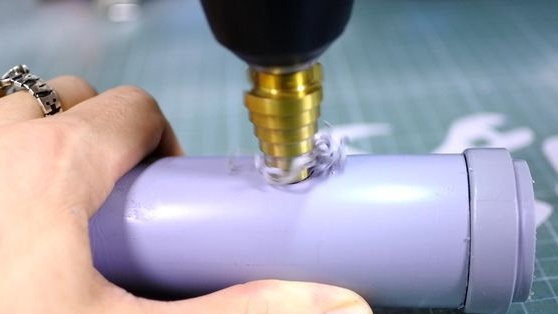
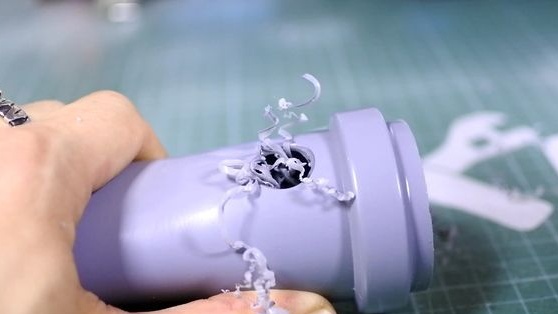
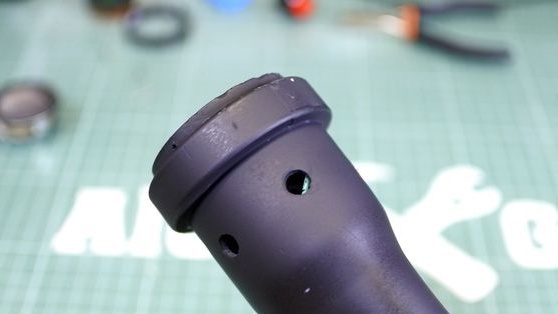
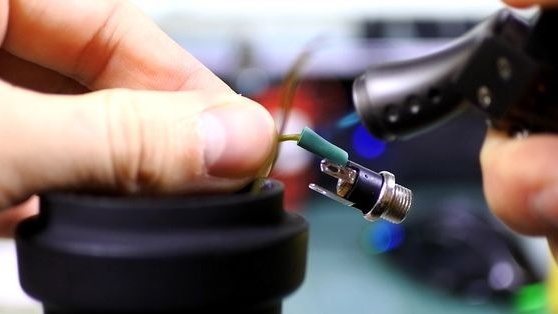
Drills holes in the handle for the connector, the power button, the mode selection button and a series of holes in the lower handle of the part for the speaker. Coats the handle with paint.
Step Six: Build
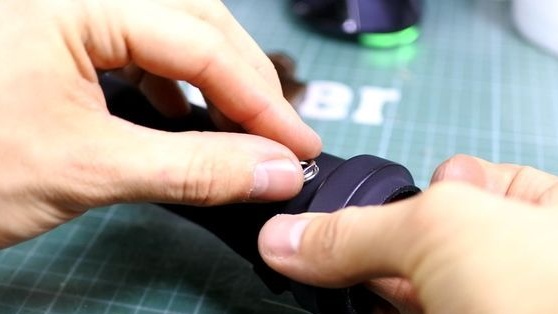
Installs buttons and battery.

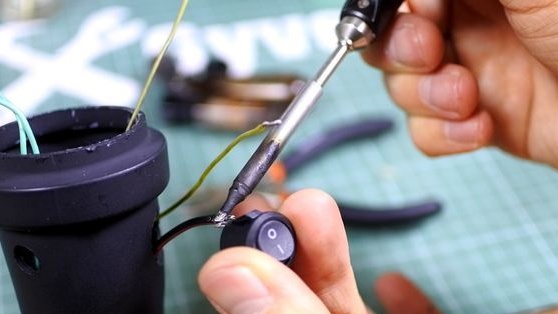

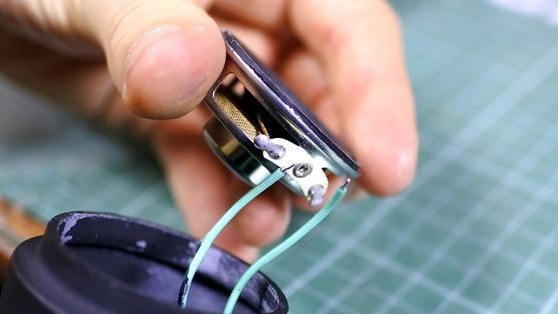
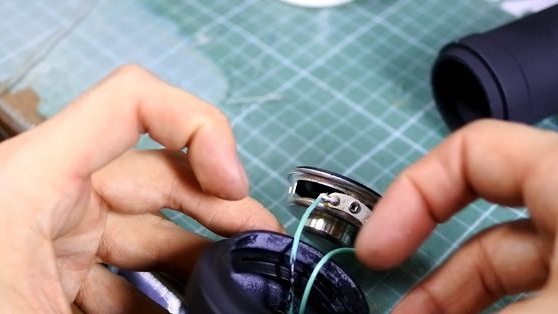
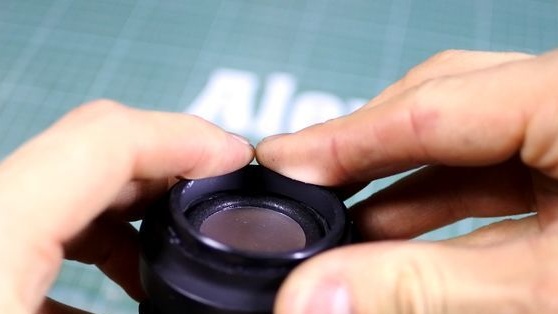
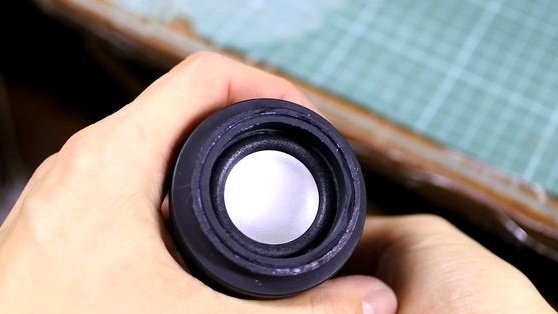
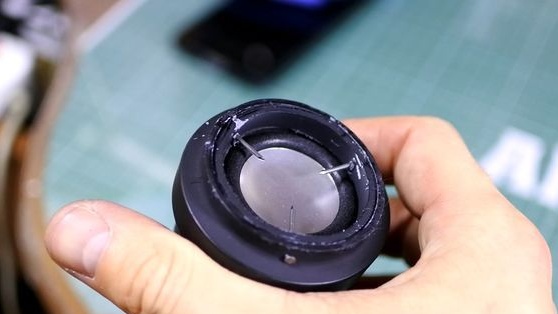
Solder the speaker and fix the speaker.
Fixes the blade to the handle with a screw.

The Jedi Lightsaber is ready.


In the process of working on the article, it turned out that the author is Russian and there is a video in Russian. In the video, the author details the process of creating a sword.