

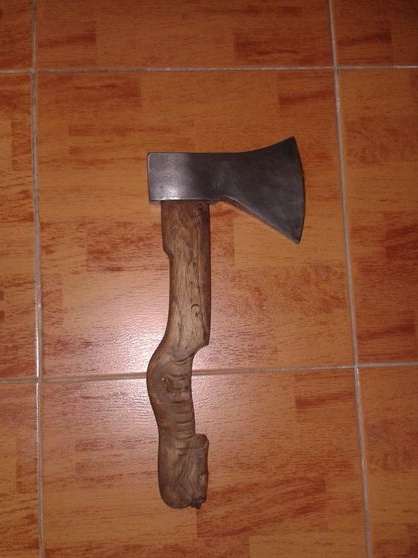
This instruction is about how you can turn an ordinary ax into a masterpiece of art. All the main work here is on the ax, so that homemade It will be interesting for lovers of woodwork.
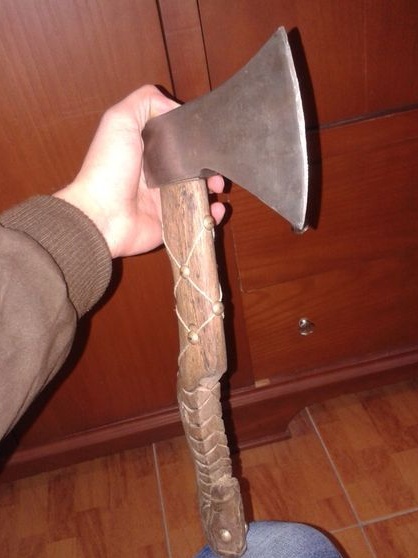
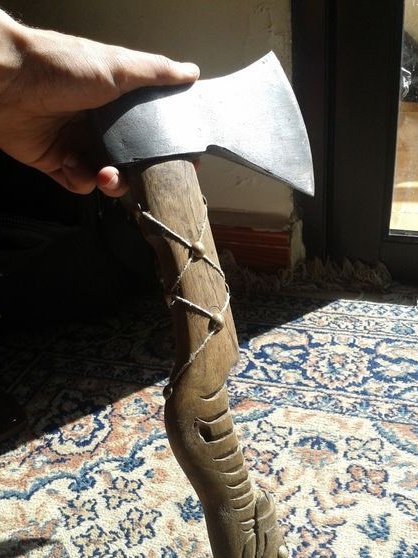
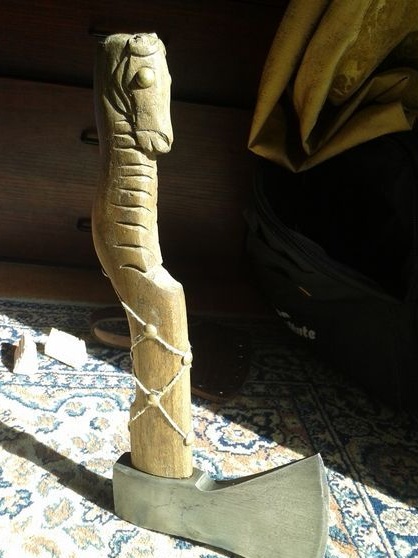
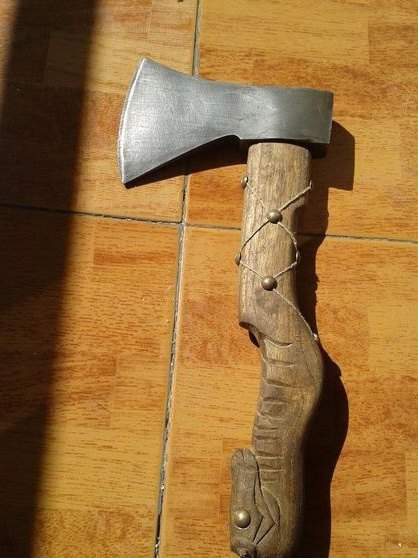
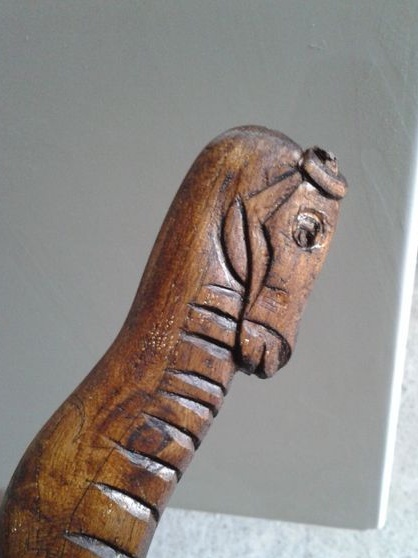
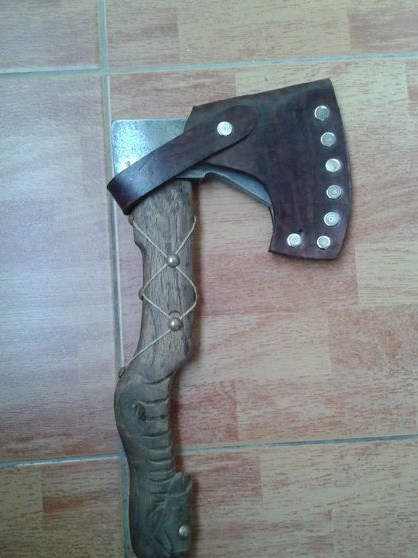
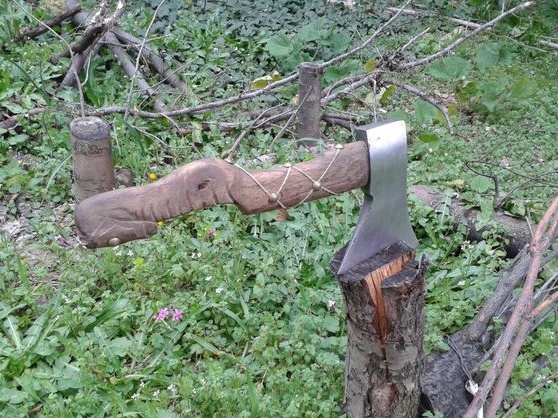
The main emphasis was placed on the style of the ax, the author decided to carve the horse’s head on the handle, and also decorated it with various patterns and twine. In general, despite all the “show-offs”, the ax turned out to be quite strong as well, they can easily chop firewood on a camping trip, not to mention use for defense purposes.
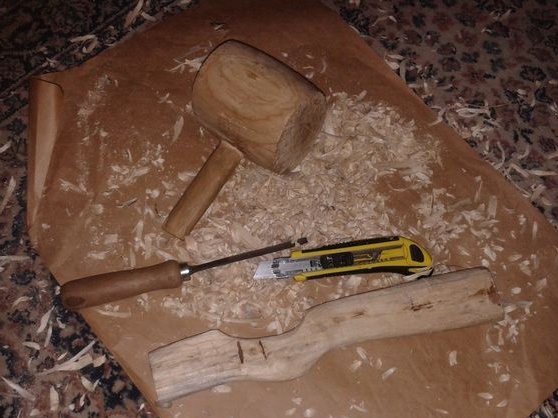
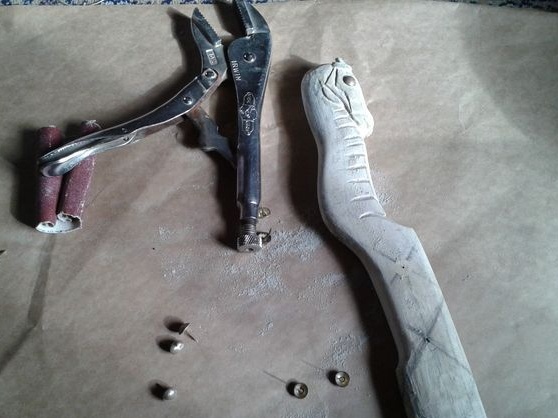
Materials and tools for homemade:
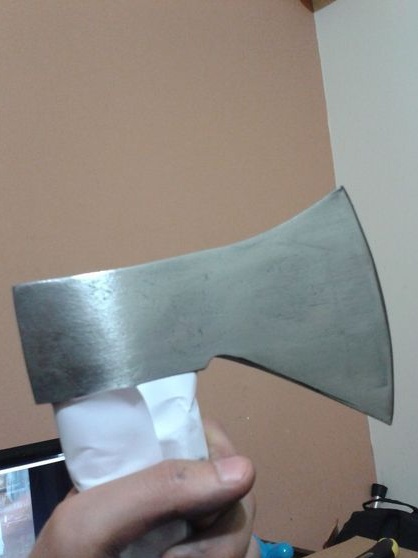
- (blade);
- wood for the manufacture of pens;
- twine (or other similar rope);
- a chisel, a hammer, an office knife (and other tools for processing wood);
- a pencil;
- paper;
- thick leather, rivets (for the manufacture of a cover);
- oil for impregnation;
- glue for wood;
- sandpaper and more.
Manufacturing process:
Step one. Cut out the main features
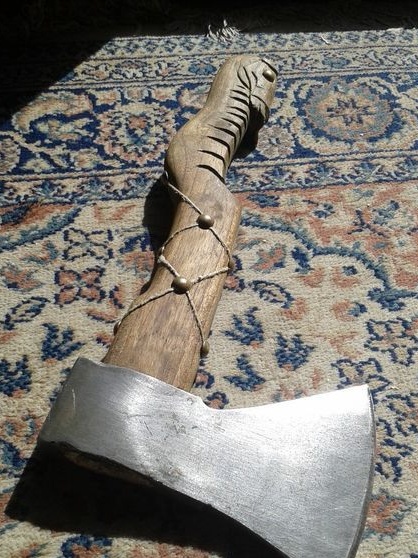
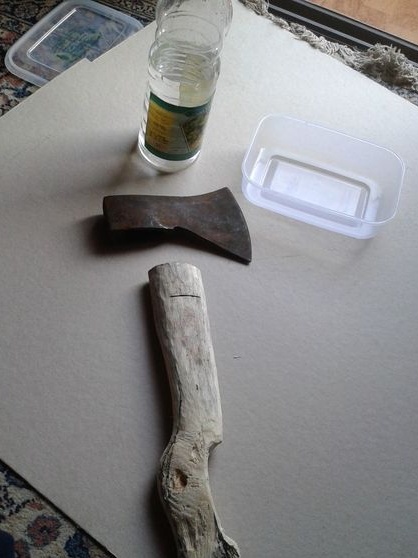
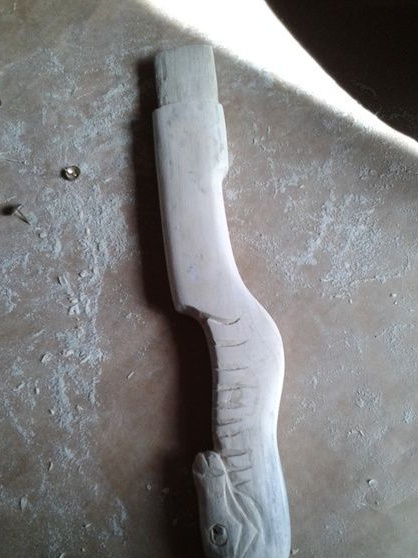
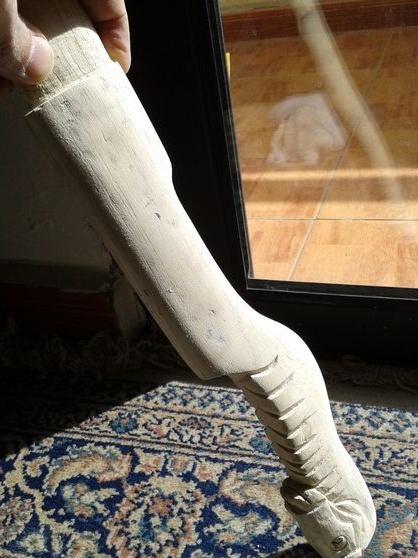
First of all, you will need to choose the ax you need in shape. It should be strong and comfortable to lie in the hand. The author used a part of the tree “melia acedarah” that grow in its area. The workpiece had a curved shape, which was just well suited for homemade work.
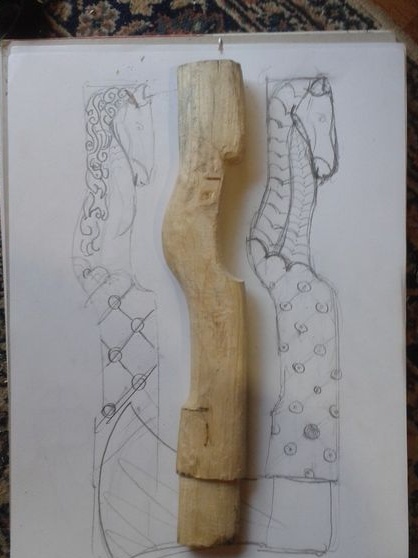

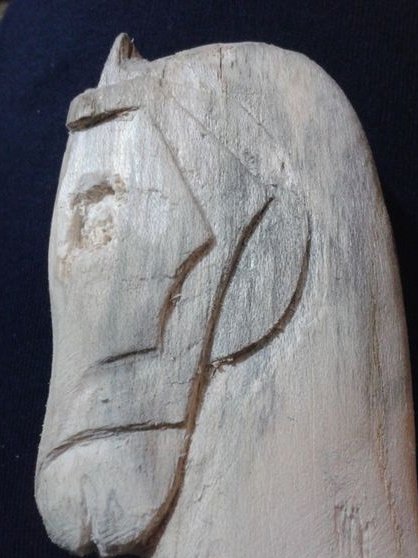


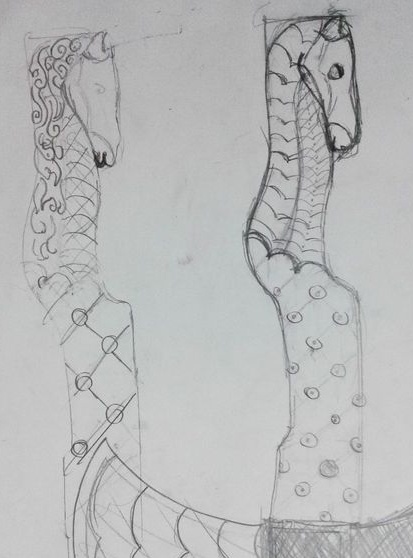
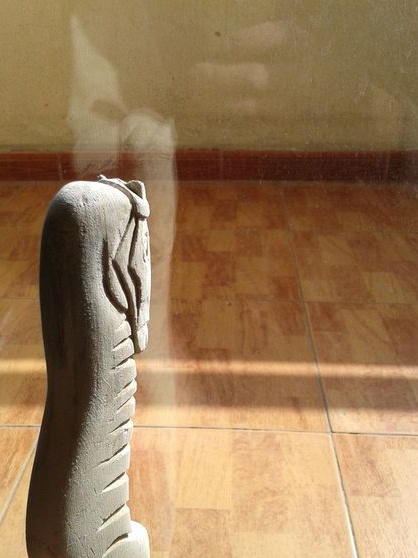
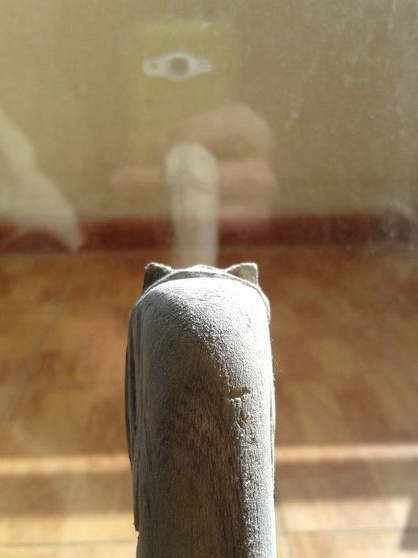
First draw on paper how you want to see the hatchet. Here you will need some artistic skills and a strong imagination. To more accurately understand the features of a horse, find with him a couple of photographs, drawings, and so on.
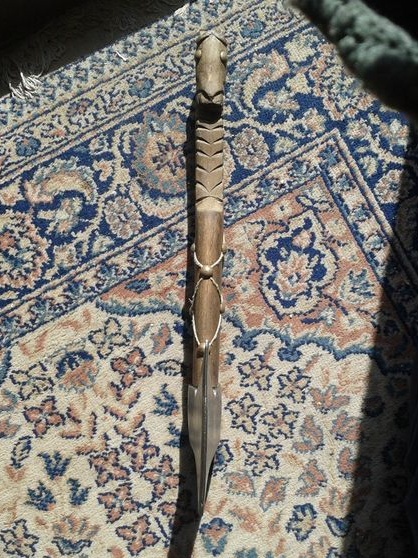
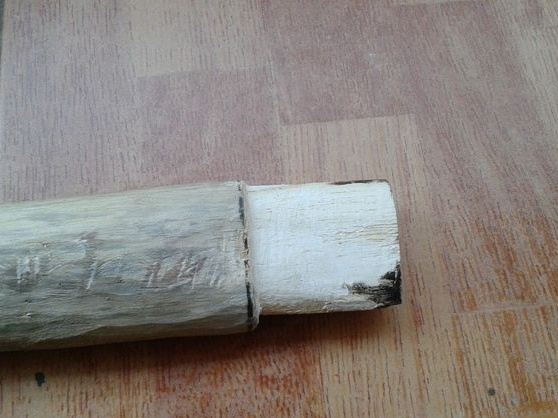
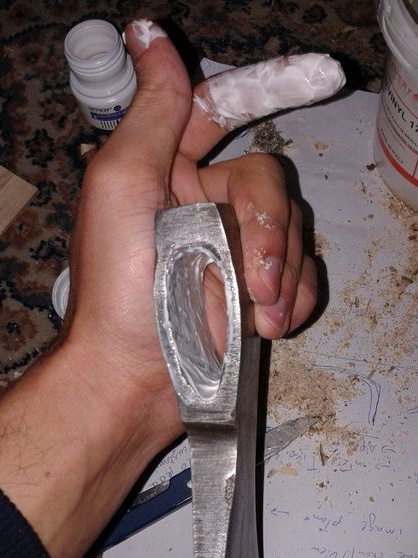
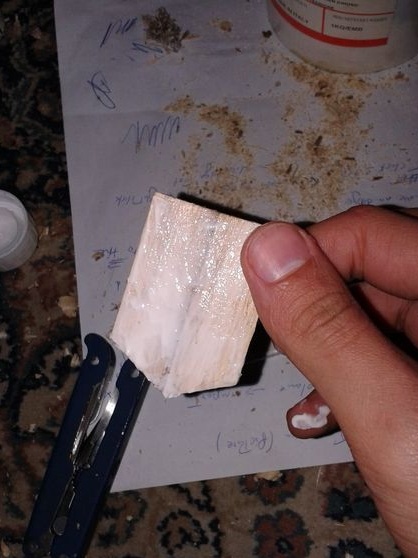
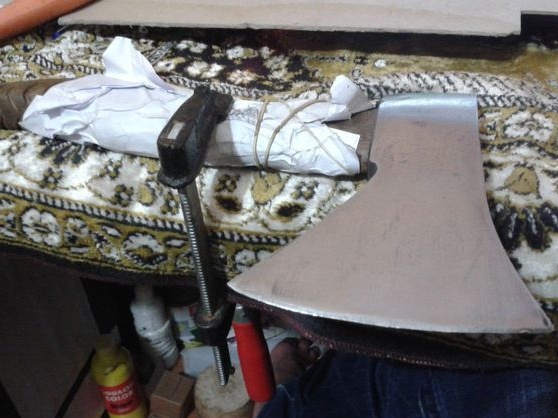
Now you can prepare the hatchet. Here you will need a good knife, round off the workpiece to the desired shape. Also form the part of the ax on which the metal part of the ax is worn.
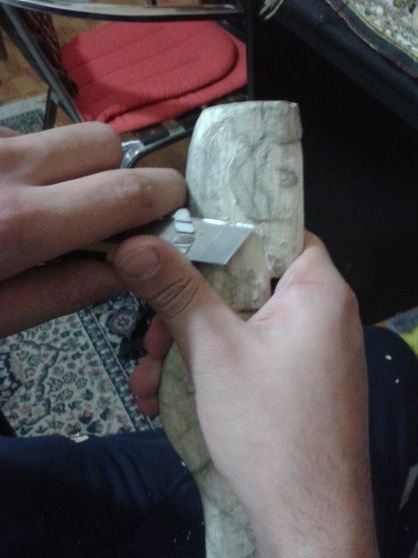
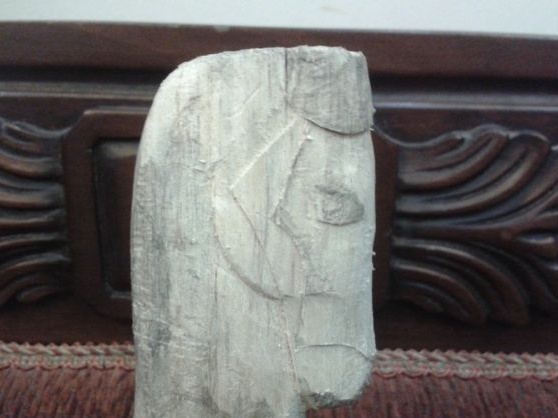
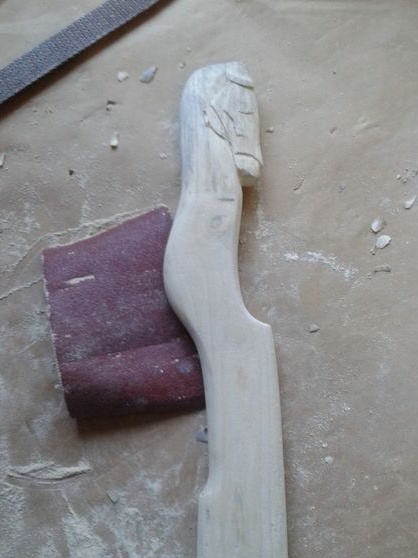
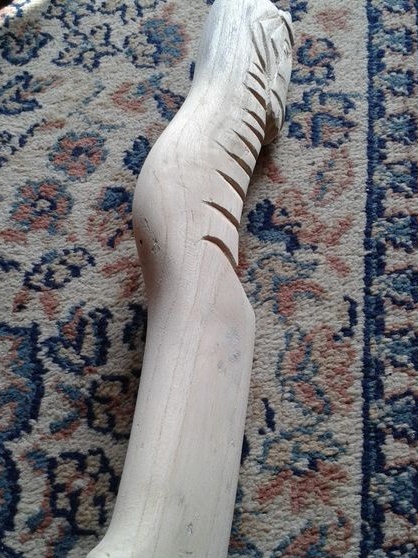
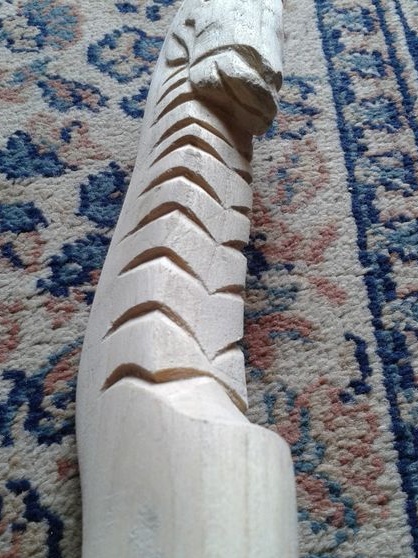
Well, then we transfer the horse's drawing to the hatchet and begin to cut it out slowly. A chisel, a wooden hammer and an office knife will come to the rescue. Of course, for such purposes it would be nice to have a wide range of knives for cutting wood. When you cut out the main features, sand the surface with sandpaper.
Step Two Trim the hatchet with twine
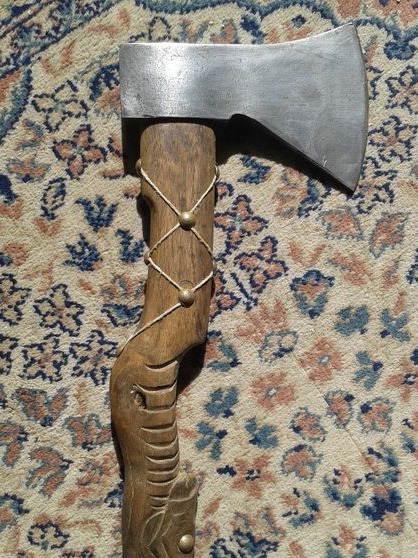
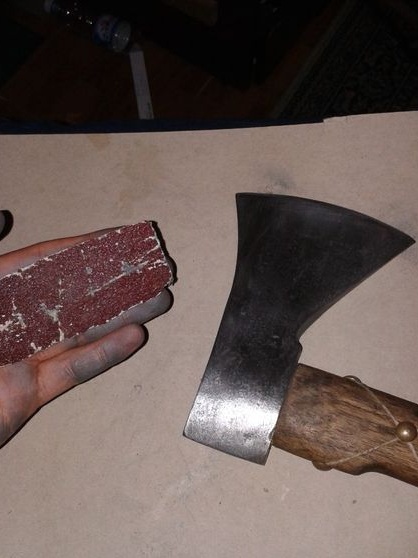
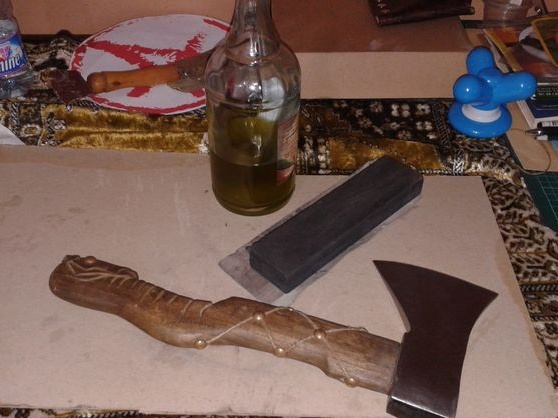
To protect the tree from dampness, and to give a beautiful appearance, we impregnate the wood with linseed oil or use dyes. The author chose a walnut-colored stain. The more layers you apply, the darker the pen will be. Of course, oil would protect wood much better, and this technique is much more ancient than using wood stains.
Before impregnation, treat the entire surface of the ax with fine sandpaper, it should become smooth.
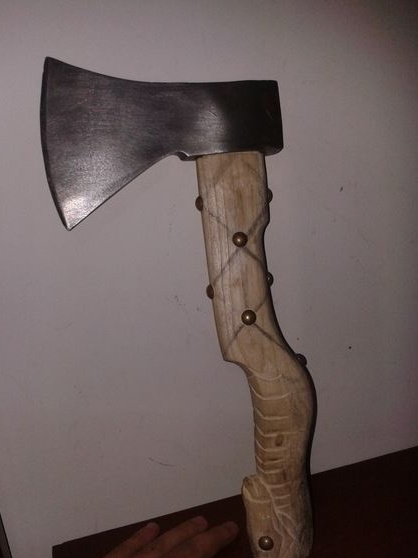

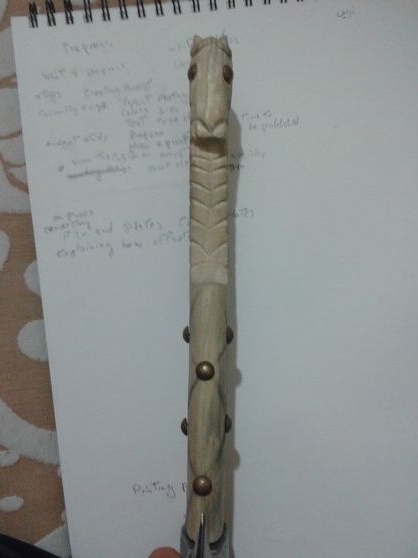
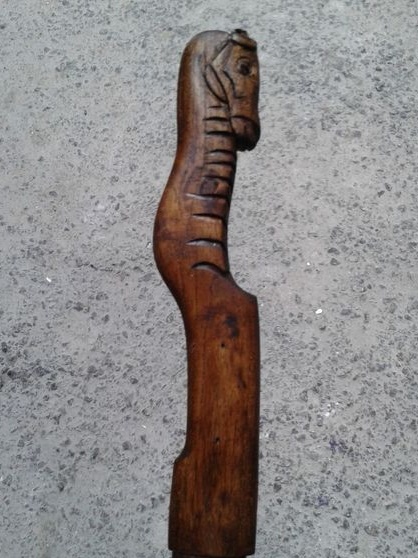

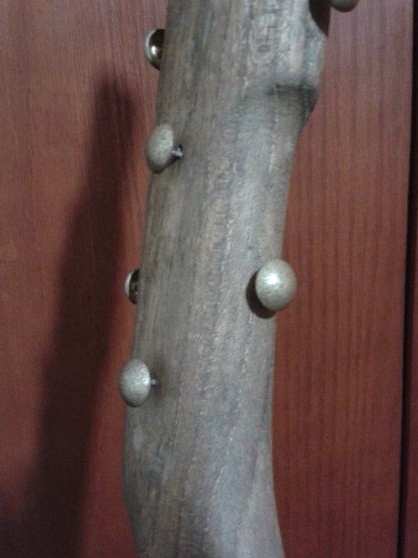
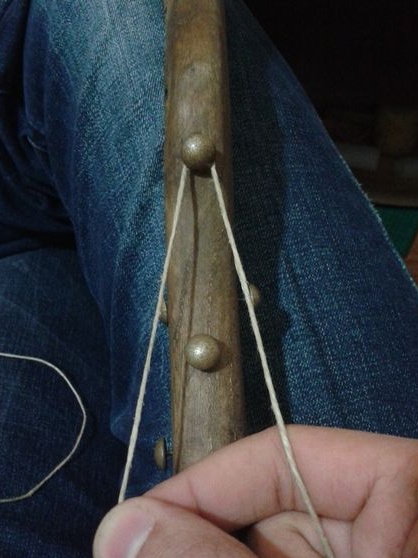

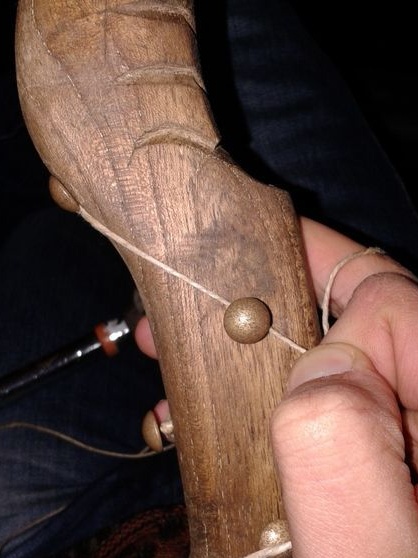
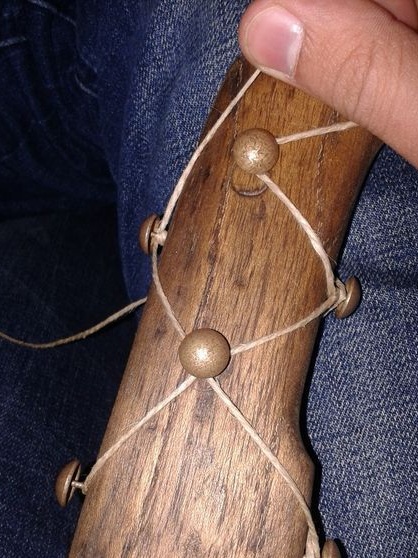
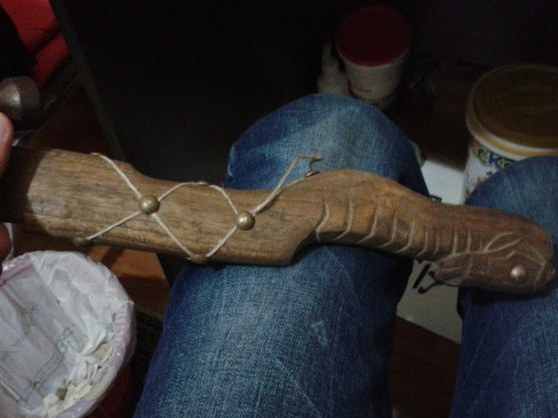
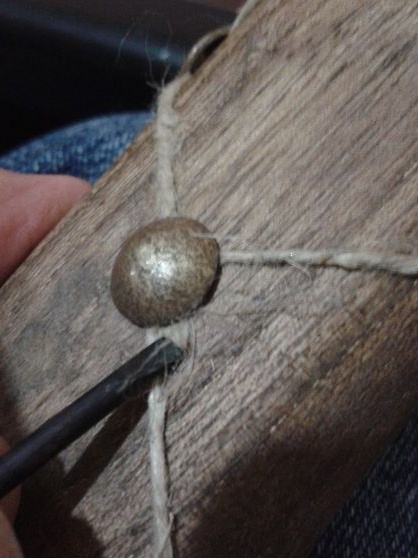
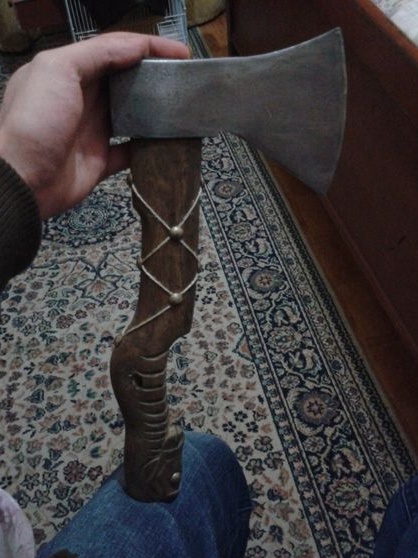
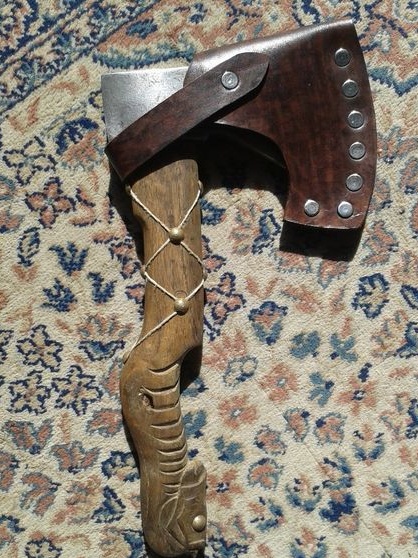
The author decided to trim the ax with twine, as a material, he decided to use hemp rope to make the ax look like an ancient weapon. Also, carnations with large brass hats were used here. Hammer the cloves at the desired angle and fasten the thread.
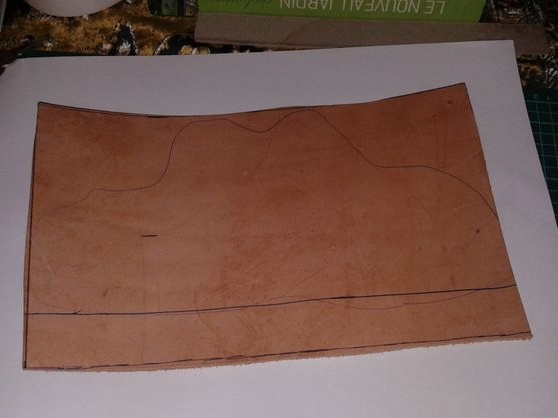
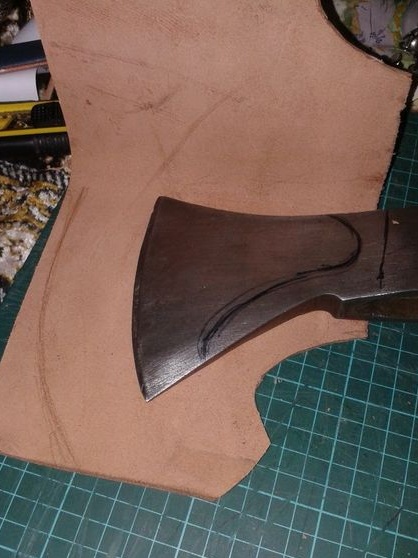
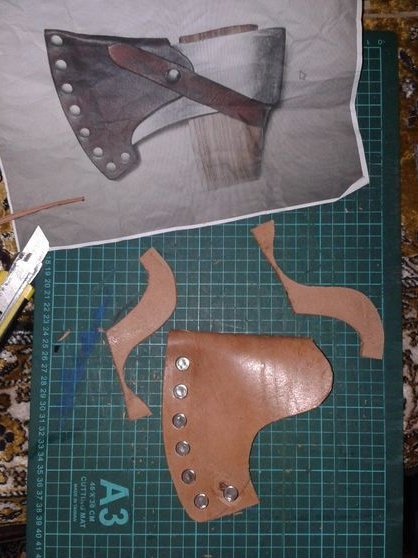
Step Three Protective case
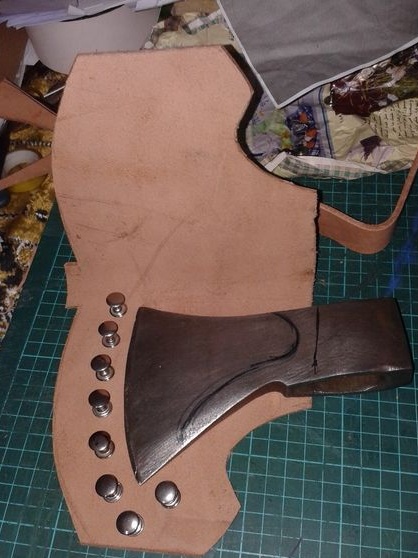
To make the hatchet safe to take with you when hiking, make a cover for it. This will require thick skin and buttons. Fold the material in half first, and then attach the metal part of the ax to the skin and circle. Now the marked part can be cut. When you fold the workpiece in half, you get a finished case for an ax. However, it can be made from separate pieces.
In the end, do not forget to attach a leather strap to the cover, which will fix the cover on the ax.


Step Four Finish the hatchet
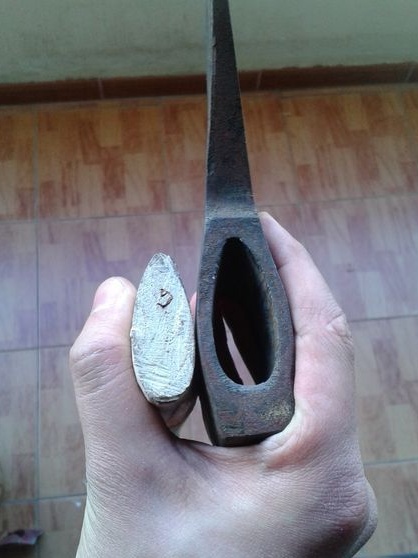
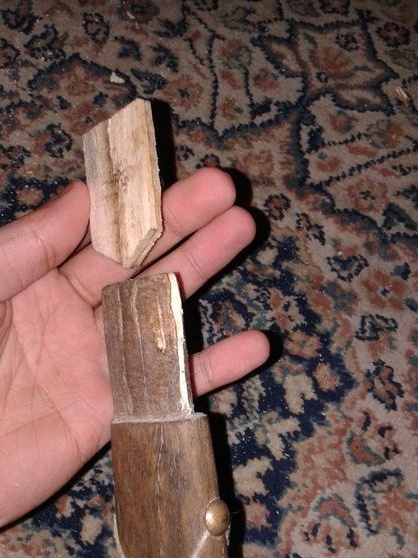
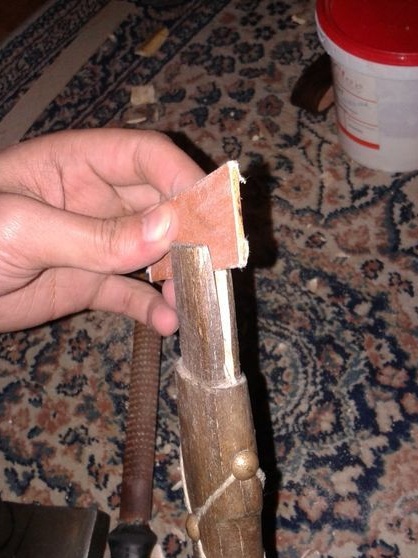
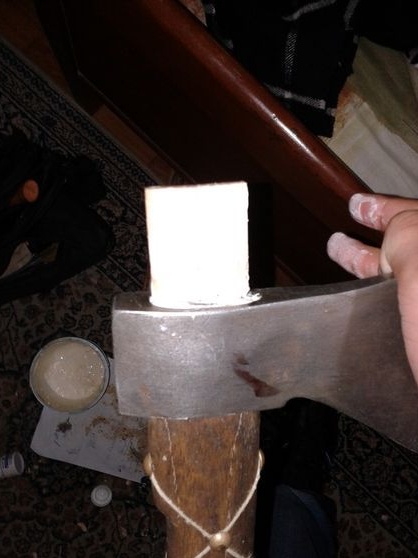
The hatchet is almost ready, it remains to collect it. At the top of the handle, make a slot with a hacksaw and put on the metal part of the ax. She should dress with a small gap. Next, make a wedge from a tree, the author decided to make two of them. The wedge should be so thick that when hammering it reliably wedge the handle and lock the ax.

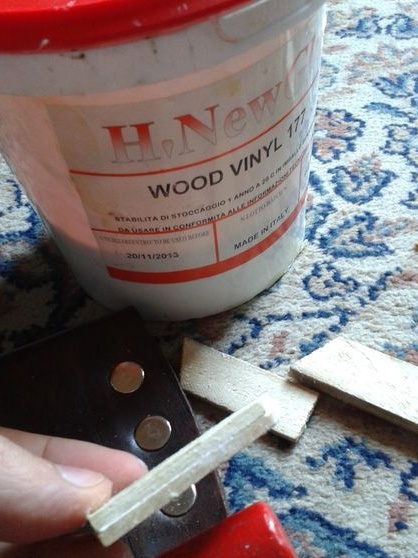
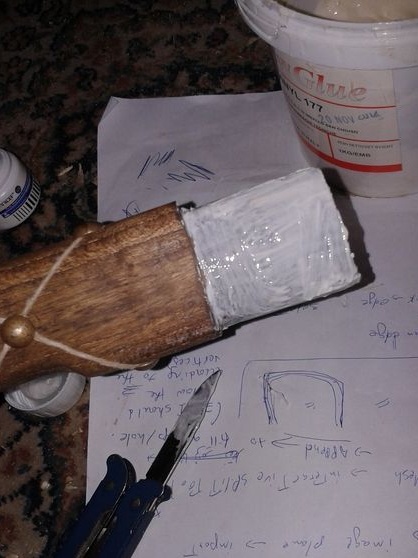
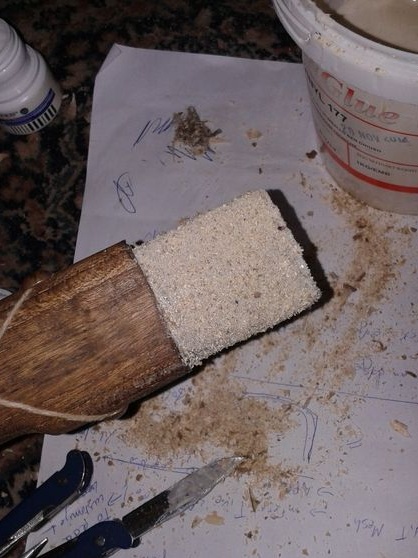
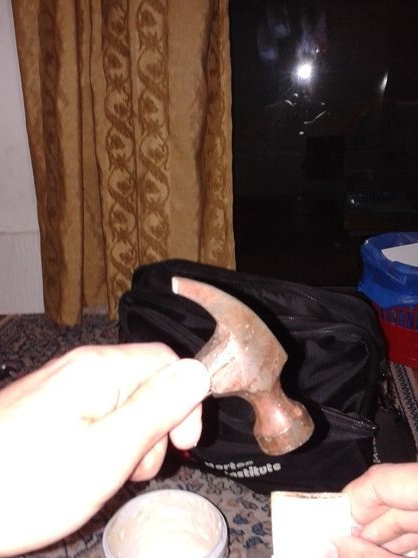
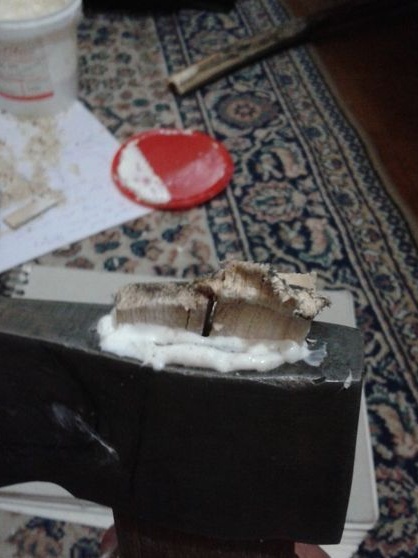
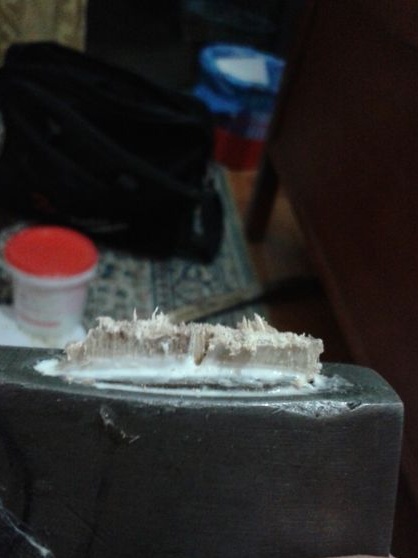
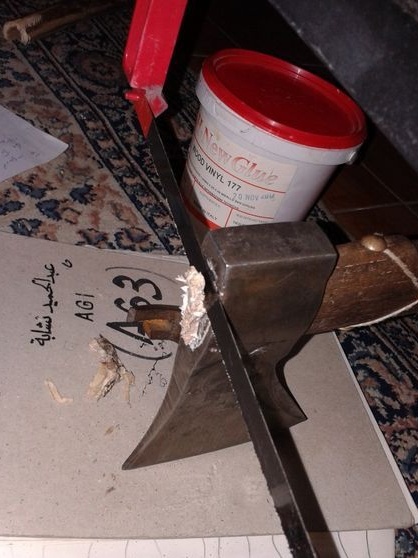
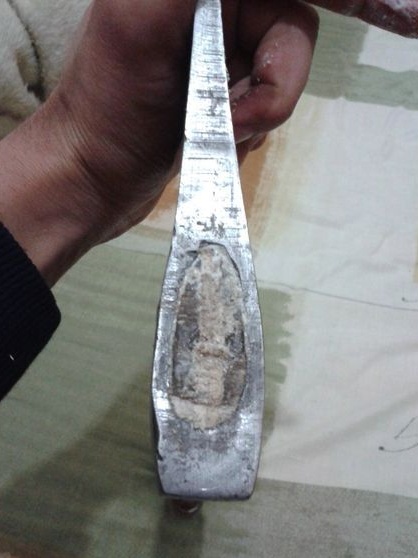
For reliable fastening of the handle we use wood sawdust and glue on wood. Lubricate the handle with glue and then apply sawdust to it, it is necessary that they stick to the glue. Apply glue to the metal part of the ax from the inside. Now the ax can be assembled. We insert the handle into the ax and hammer the wedges, then a hammer will come to the rescue. Let the glue dry completely, and then cut off that part of the wedges that did not clog. As an aesthetic, this place can be treated with sandpaper.
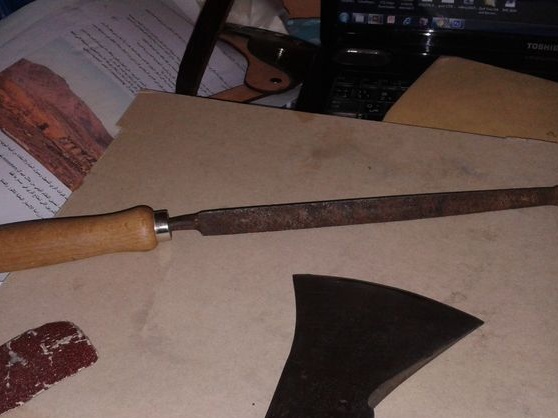

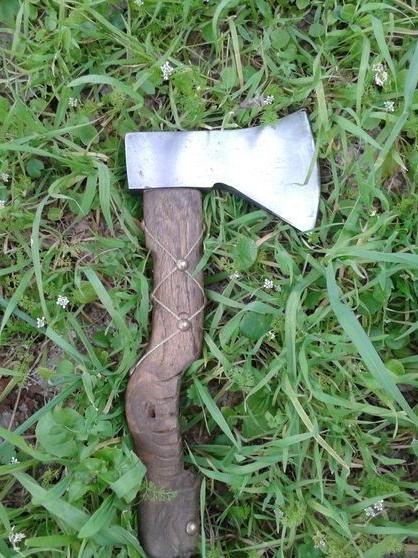
The ax is ready! Now sharpen it. For rough sharpening we use a file, and for thinner so that the ax is like a blade, we use grinding stones, Japanese water stone will be especially good. Good luck and be careful!