
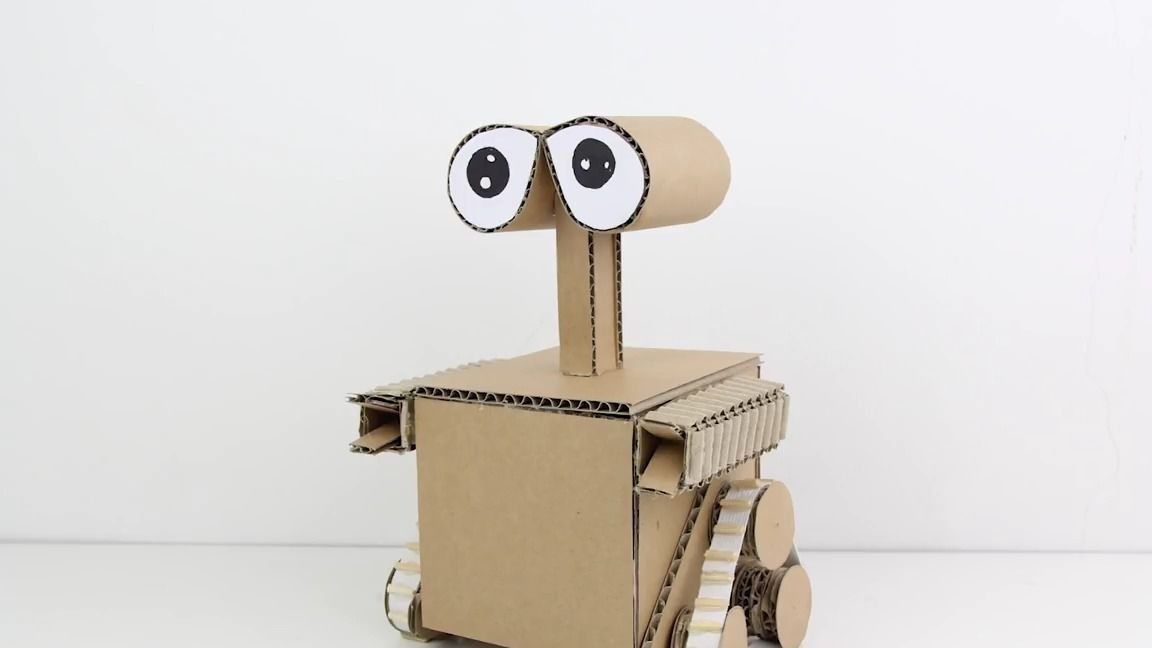
Good day to all! In today's article, I would like to show you how to make radio controlled cardboard out of cardboard model the famous robot Valley! I think everyone is familiar with this cute robot that was left on the ground to clean it, by compacting and distributing garbage in certain areas. Unfortunately, our model will not be able to remove garbage, but on the other hand, it can move around in tank ways.
Homemade very interesting and simple so let's get started!
And so for the Valley robot you will need:
corrugated cardboard
-paper
- 2 Chinese gear motor
- compartment for two finger batteries
- compartment for 4 finger batteries
Rubberized fabric 1.5 cm wide
barbecue skewers
-link from the receiver and transmitter (you can buy in China for 300 rubles)
wire
-switch
- thin metal or smooth wooden sticks
From the tools you will also need:
thermal glue
-stationery knife
-scissors
-marker
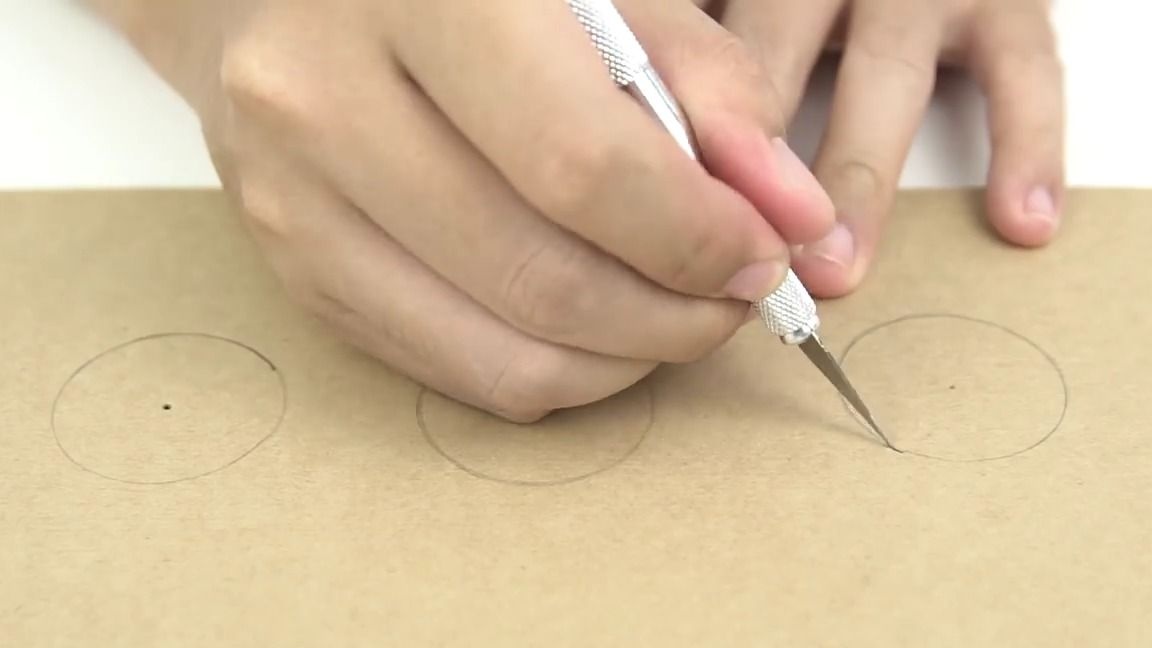
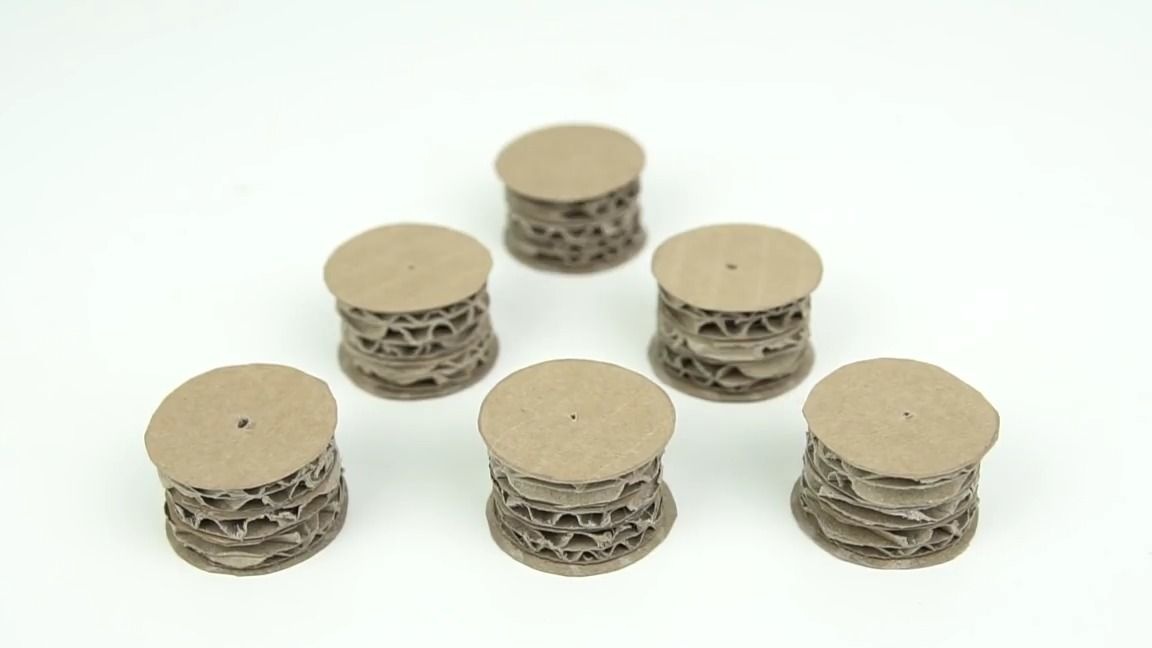
And so the first thing to do is draw three equal circles with a diameter of 3.5 cm on a sheet of cardboard with a compass:

Now you need to cut them:
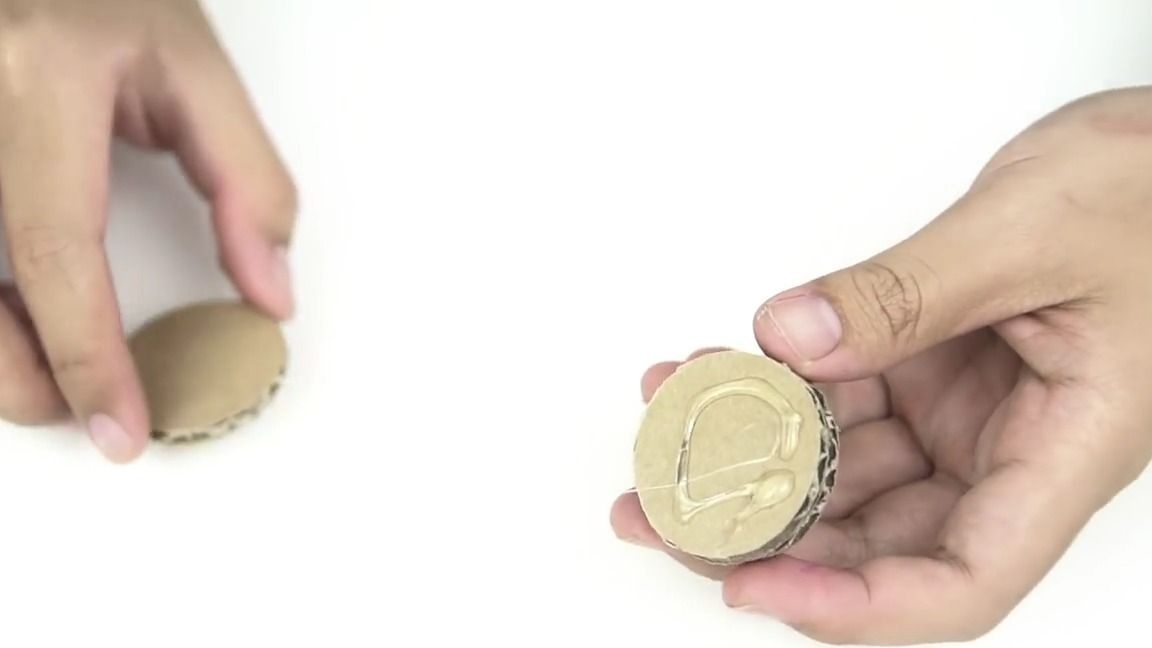
Then, using thermal glue, glue all three circles, adding two circles of thin cardboard with a slightly larger diameter:
Using a screwdriver and a drill for 1-2 mm, we make a through hole exactly in the center:
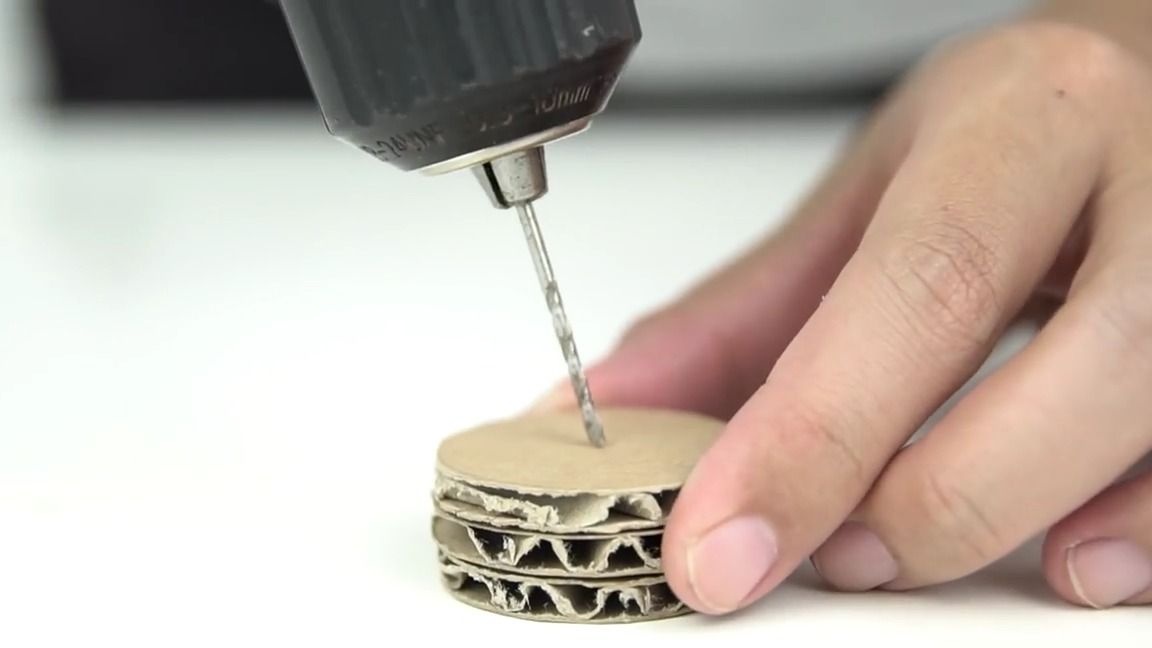
In total, 6 such blanks must be made:
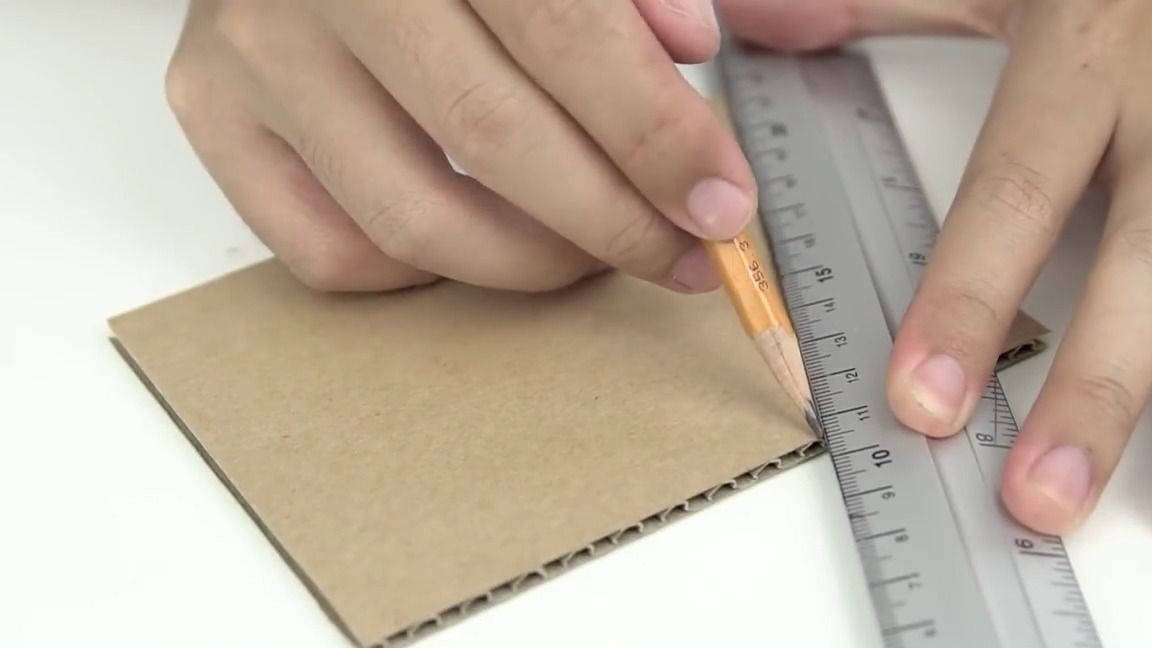
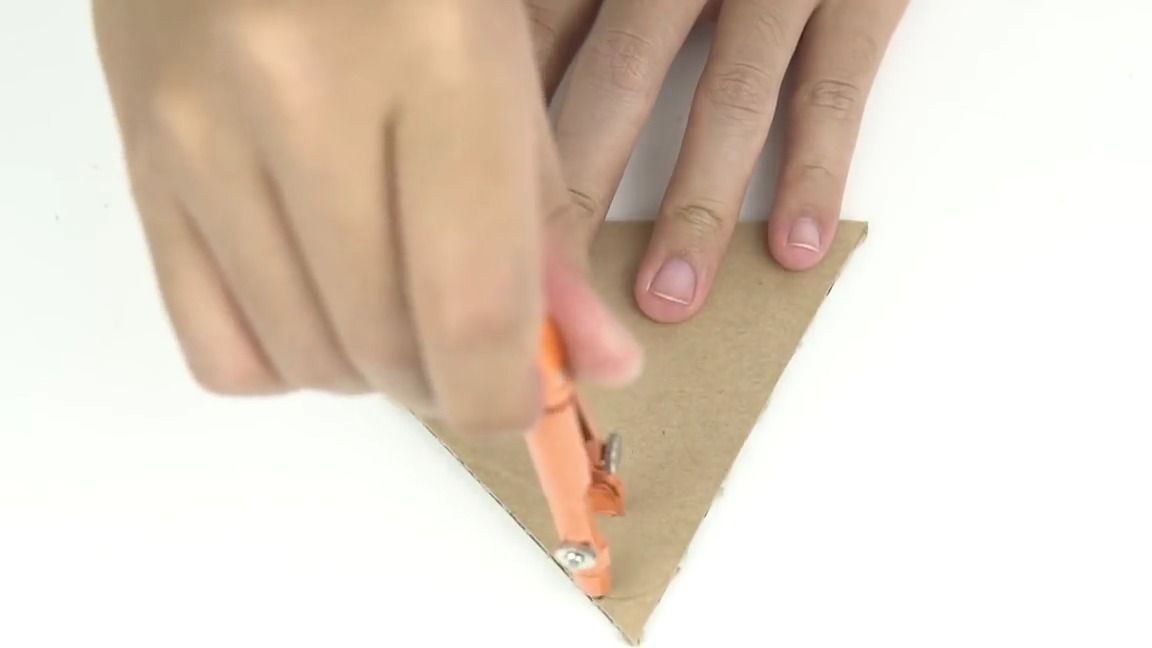
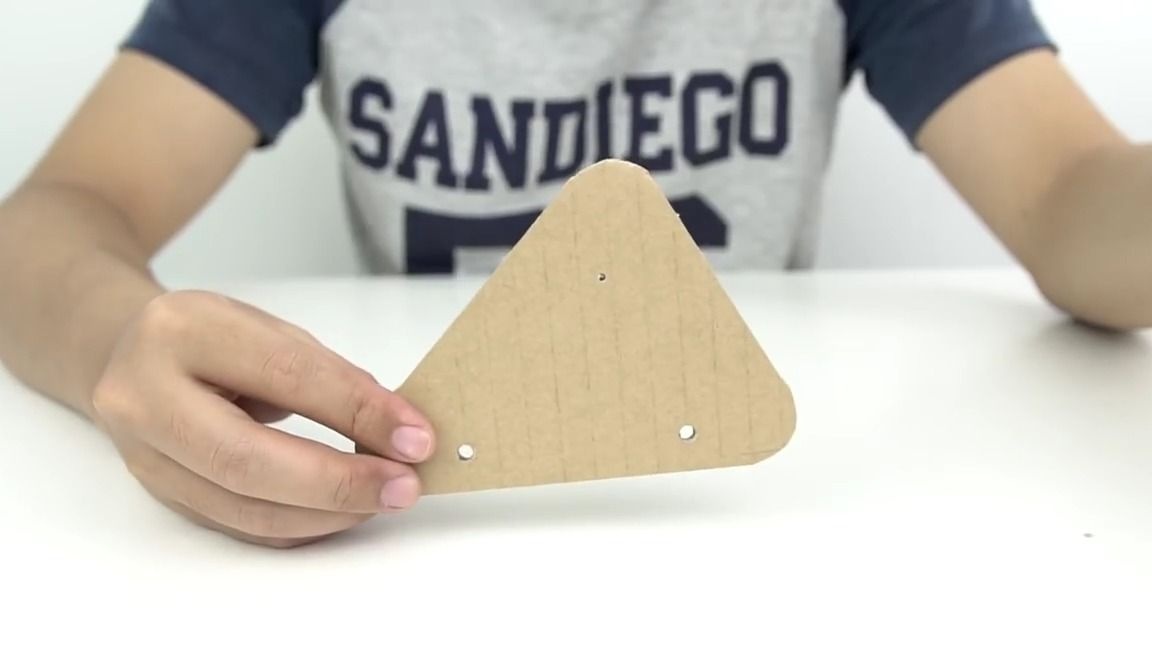
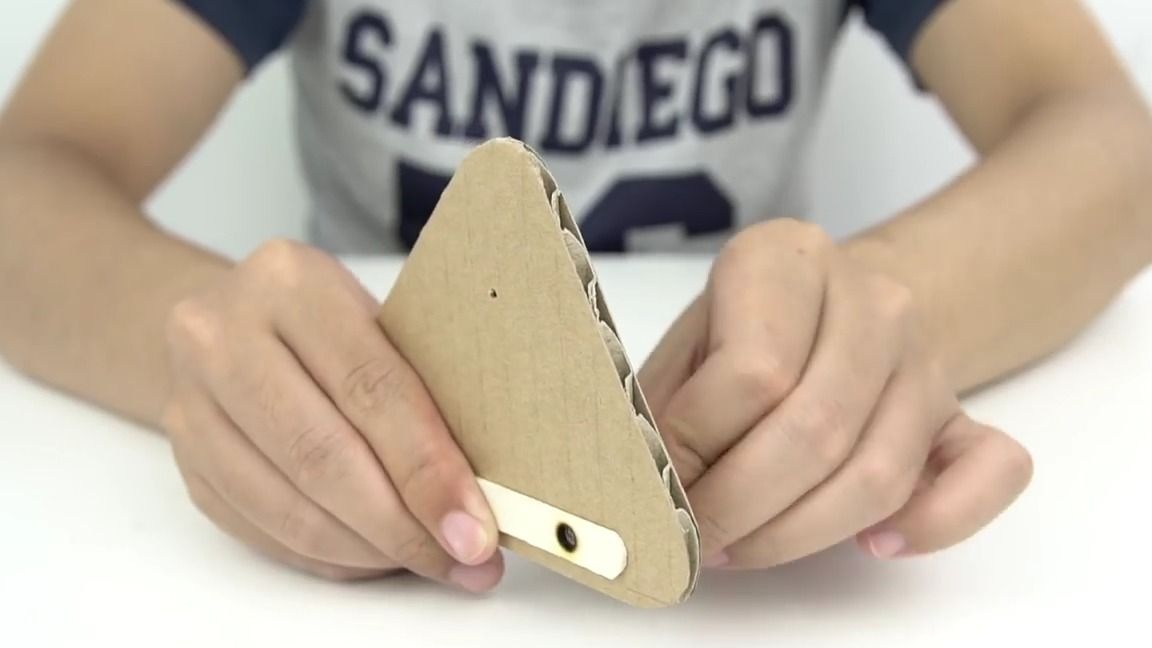
We cut a rectangle from corrugated cardboard and make such a triangle out of it, we do everything as shown in the photo:
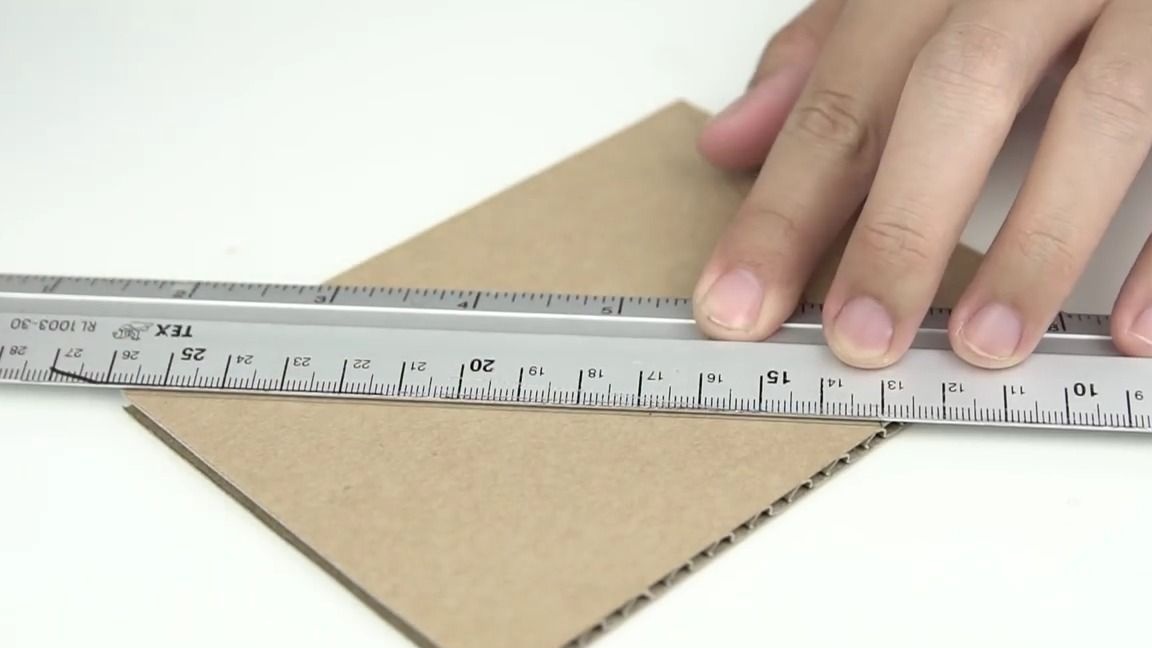
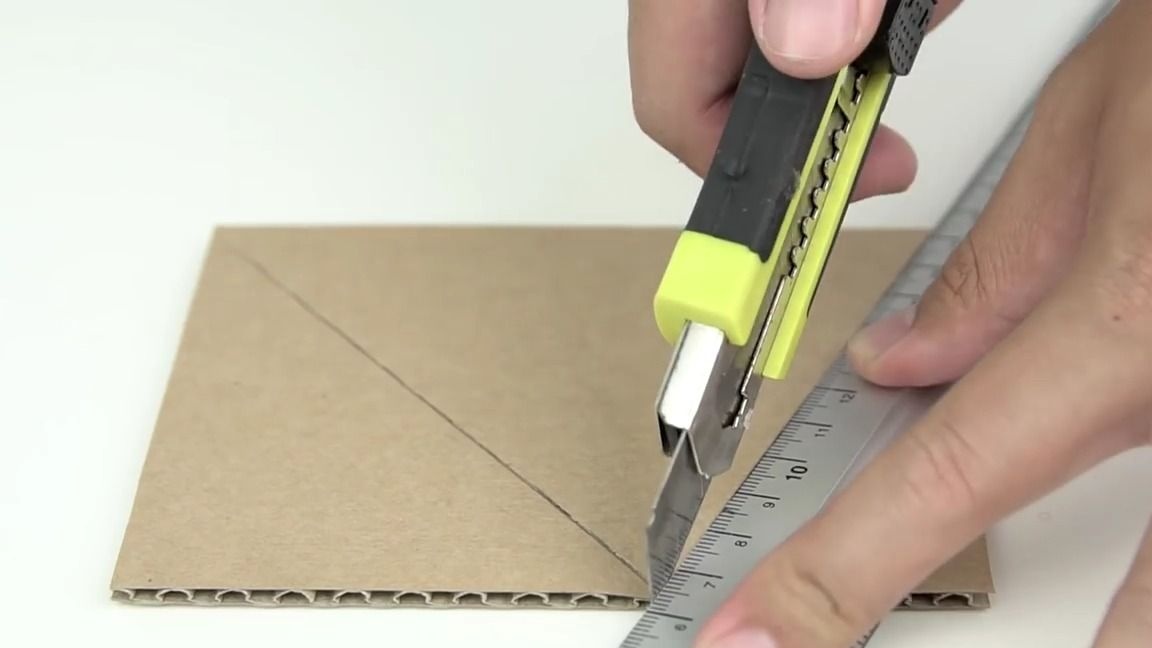
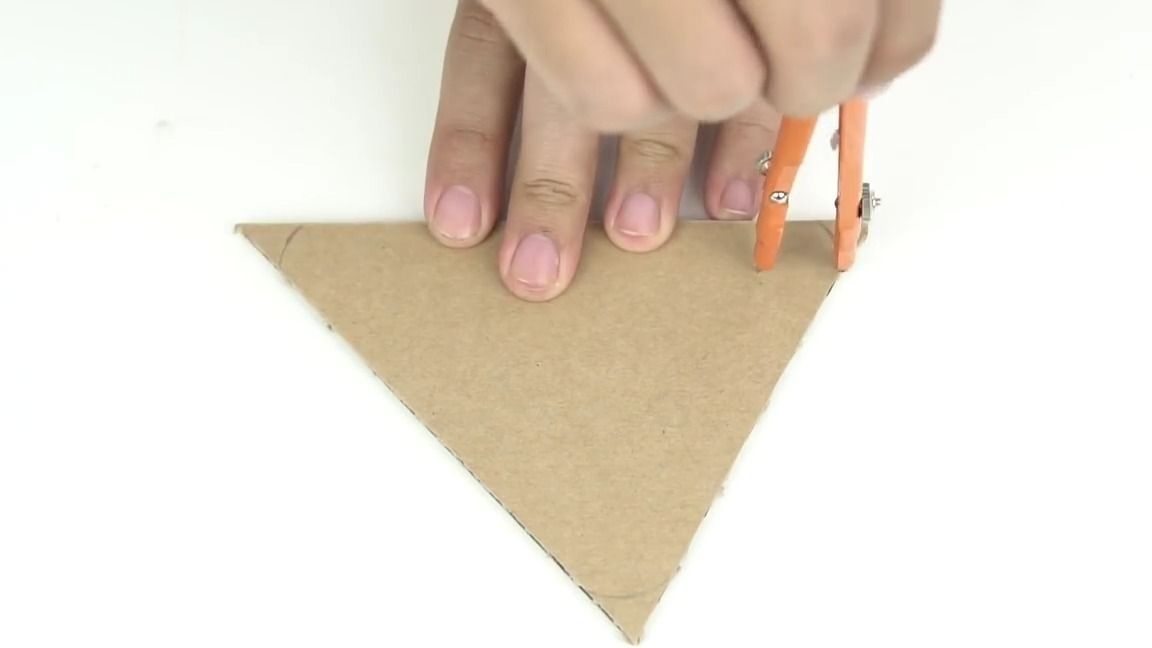
Take a compass and round off the ends of our workpiece:

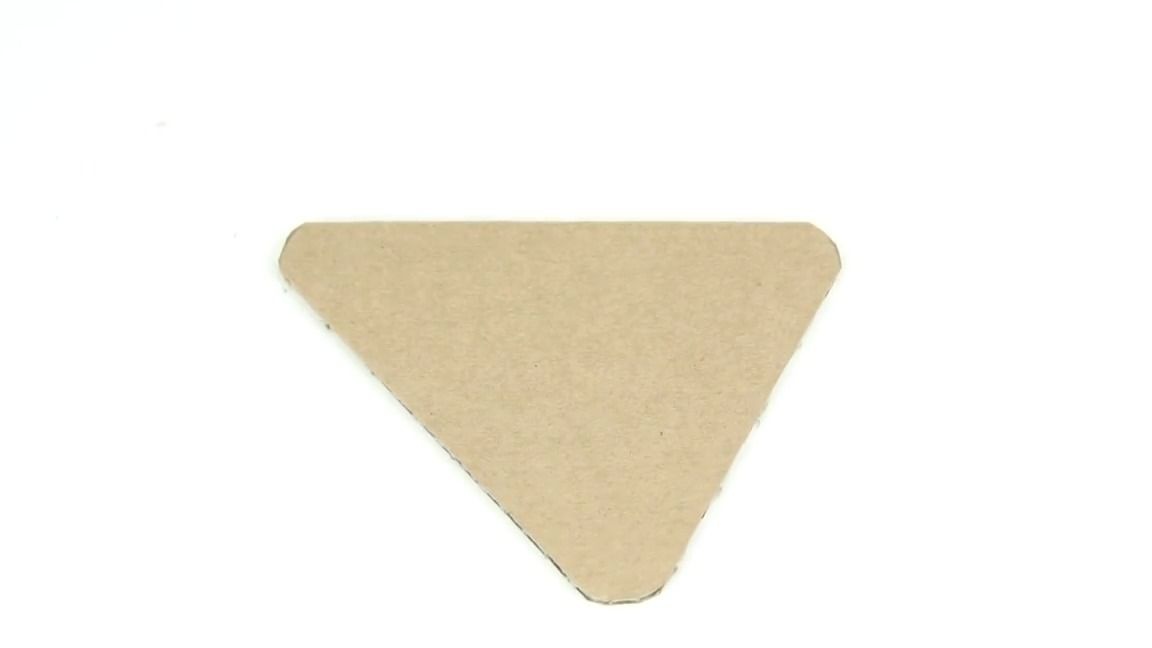
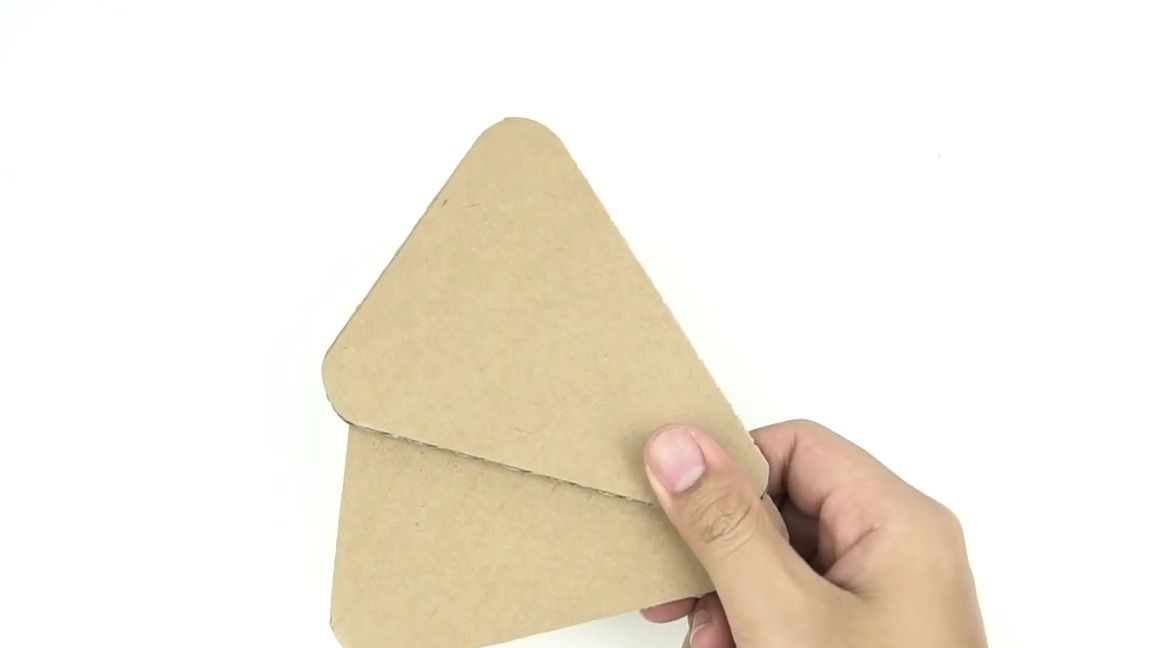
In total, you need to make 2 such blanks:
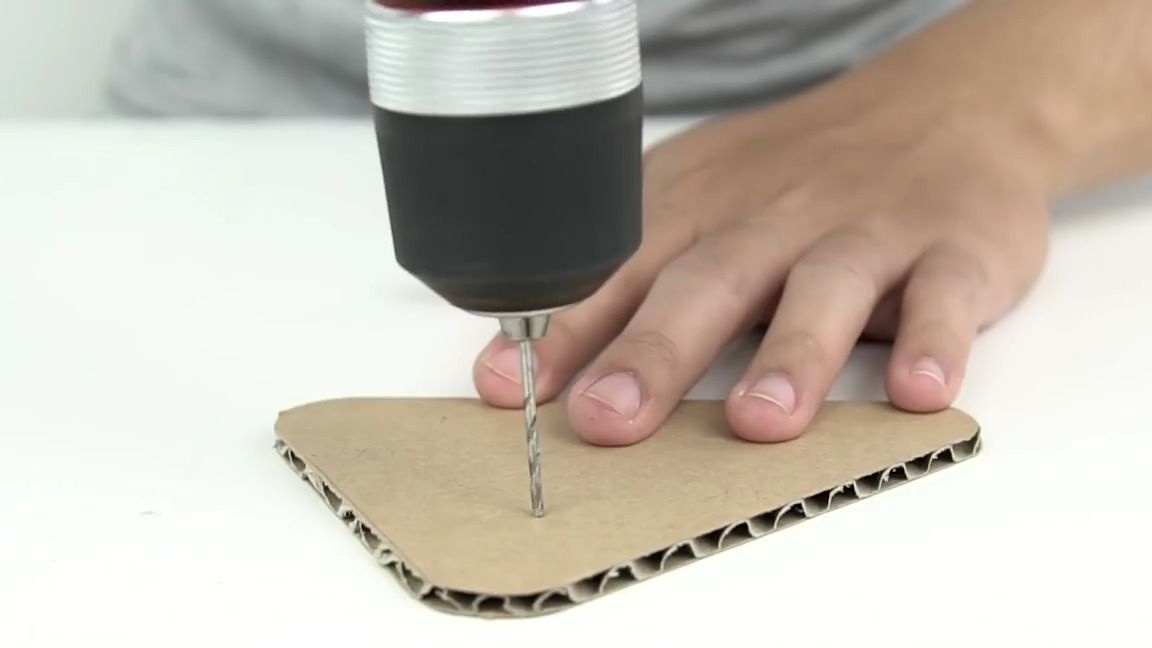
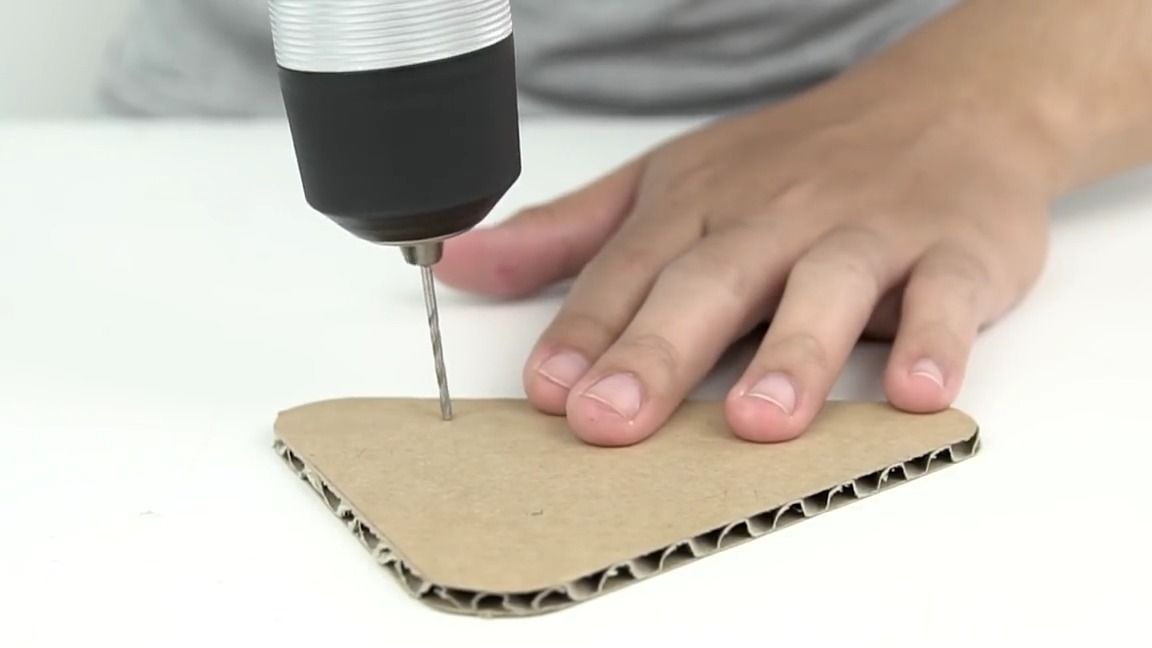
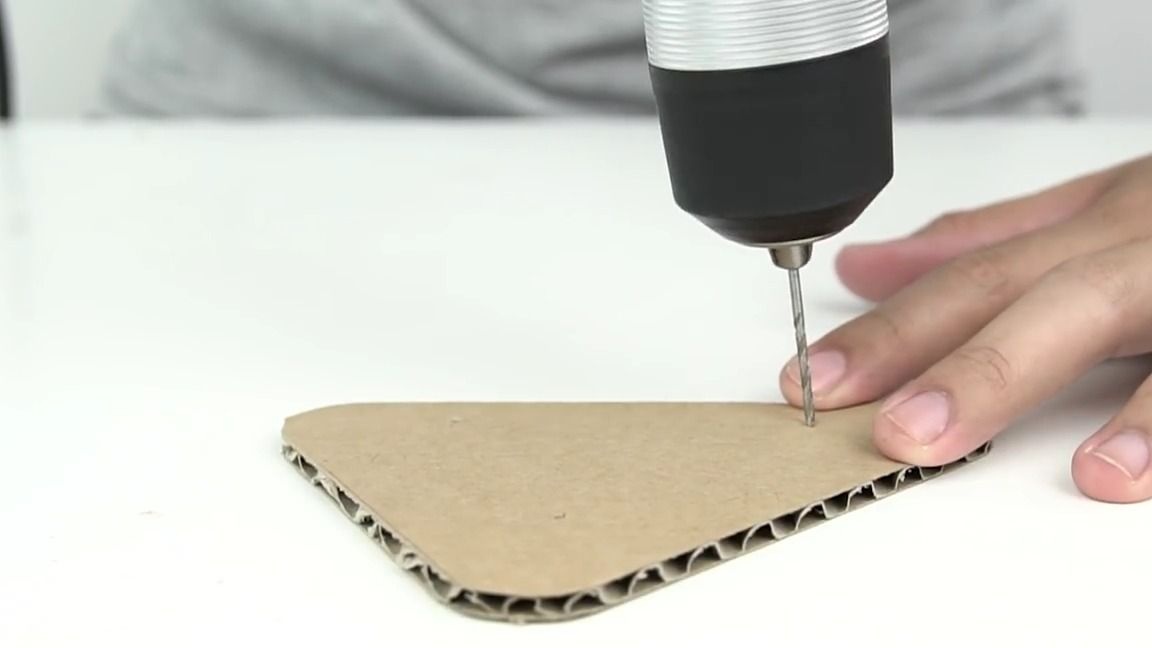
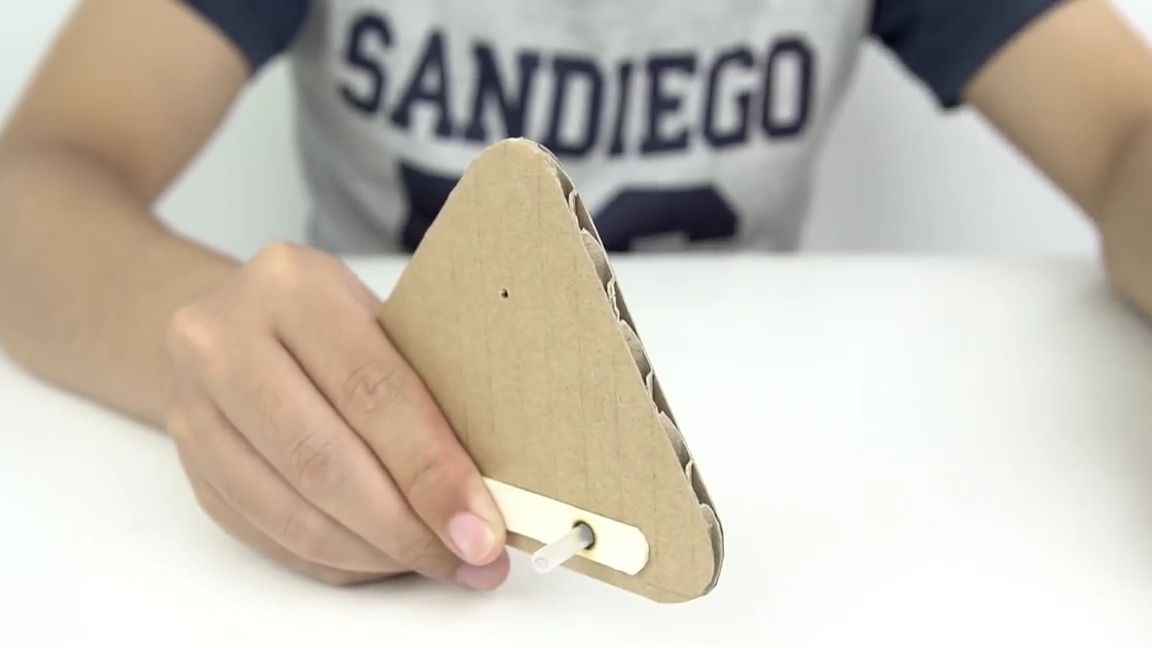
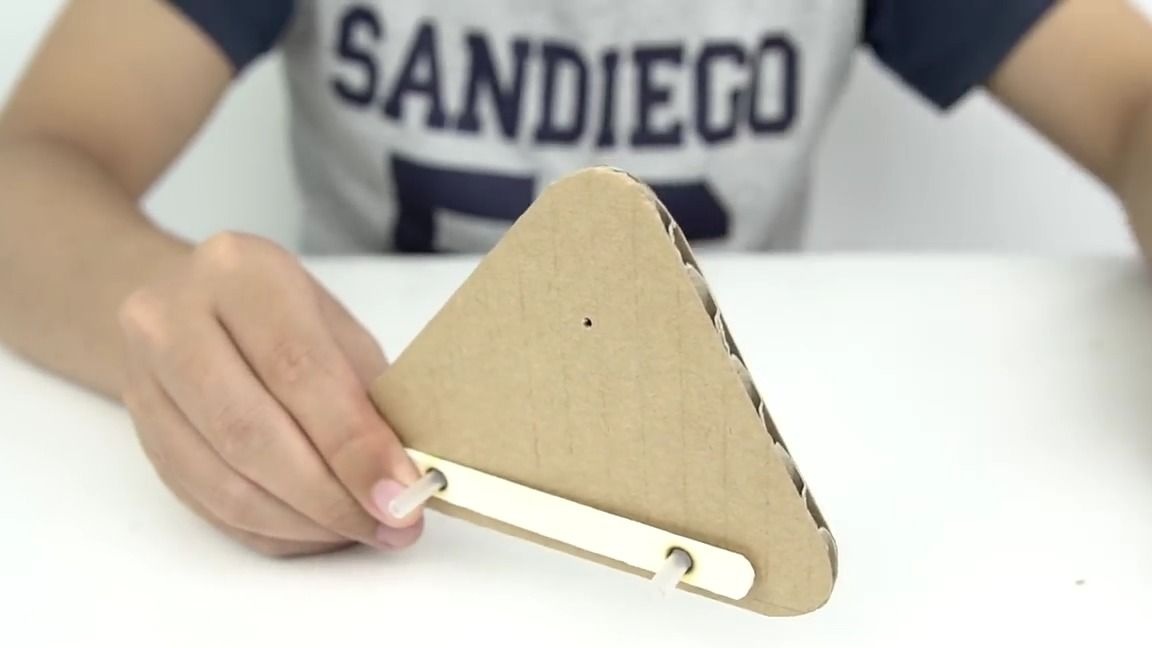
Now you need to take a screwdriver and with the same drill we used before, you need to make 3 through holes on each of the workpieces, after which the two lower holes need to be expanded along the thickness of the rubber tube:
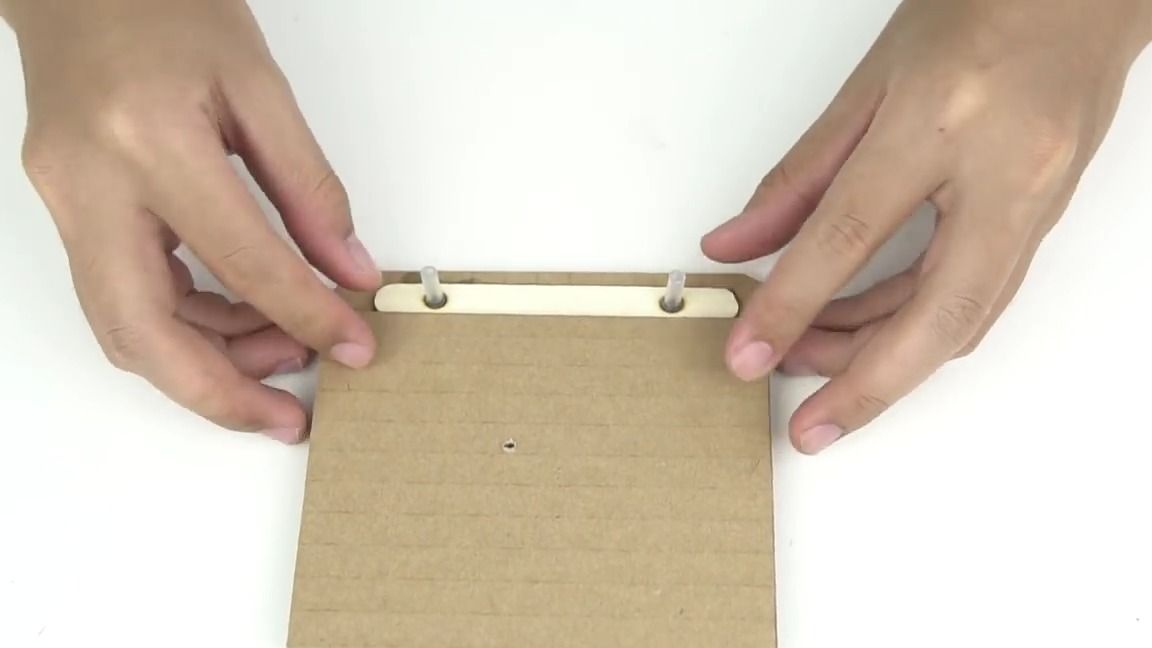
Take a wooden spatula and make two through holes with a soldering iron in parallel to the two lower holes on the cardboard blank, then glue it:

Take our tubes and insert them into the holes:
We apply thermo glue to our structure and glue a cardboard square with a pre-made hole parallel to the thin hole on our structure:
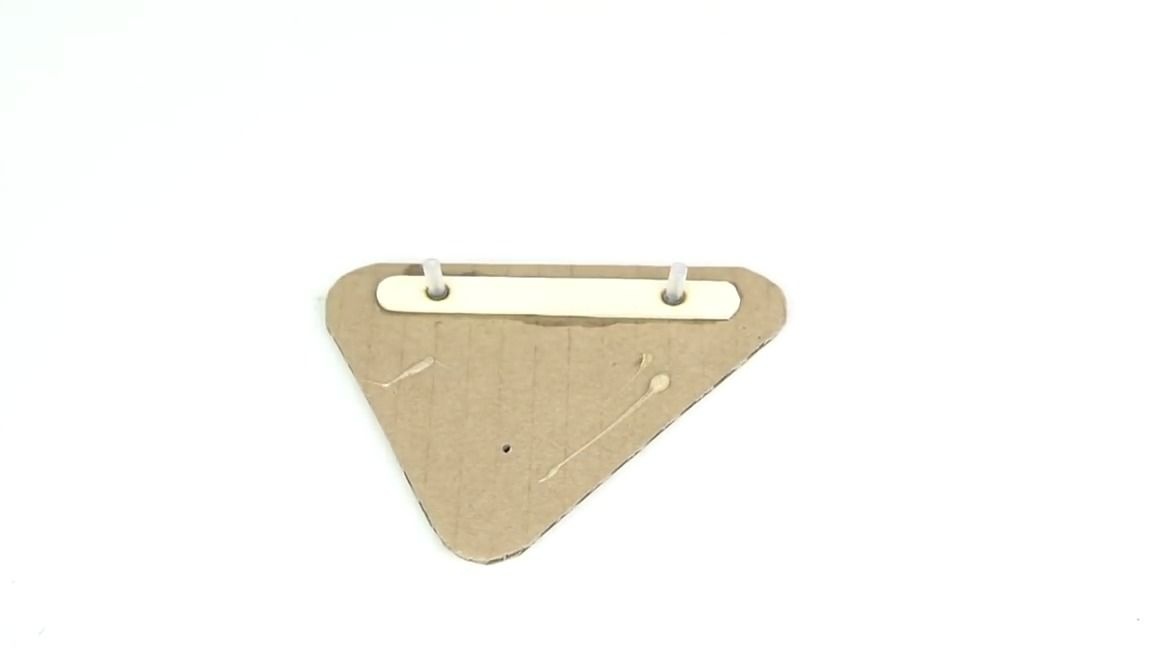
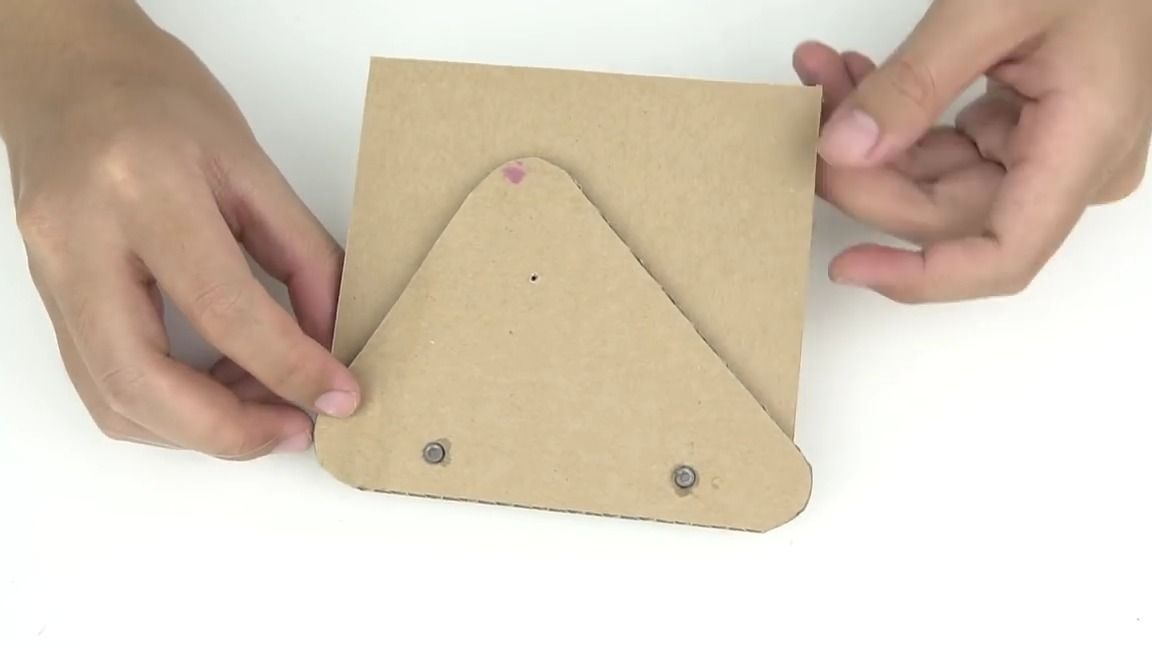
We cut out two squares with sides of 2-3 cm from the same cardboard and glue them on top of each other, and then glue them to the whole structure as shown in the photo:
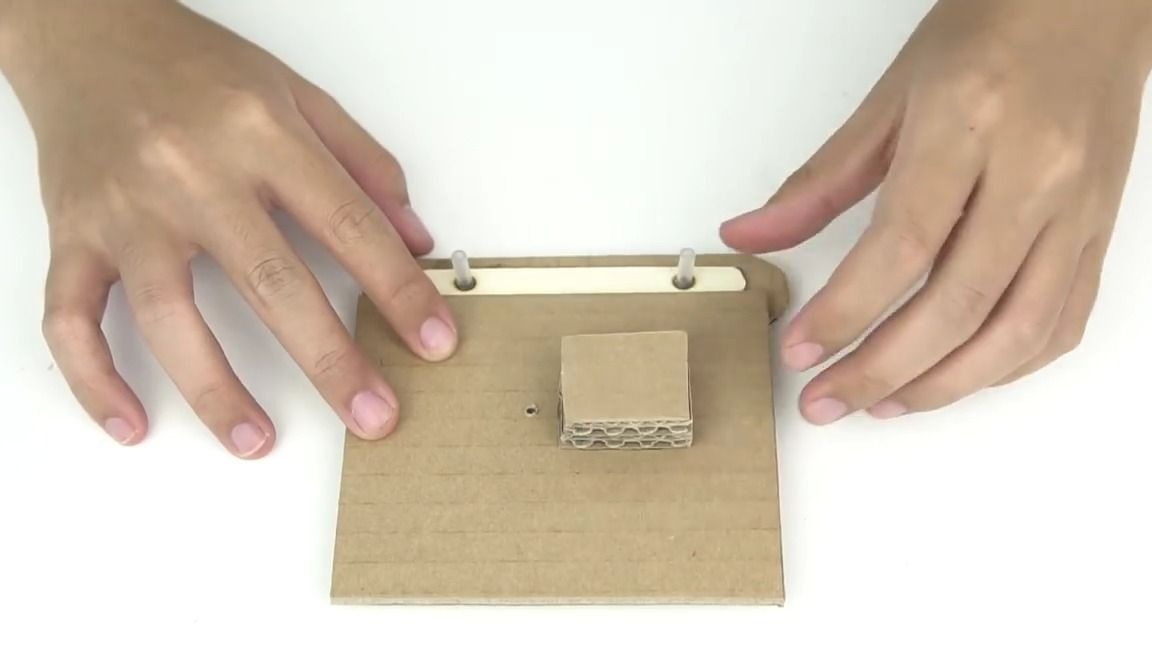
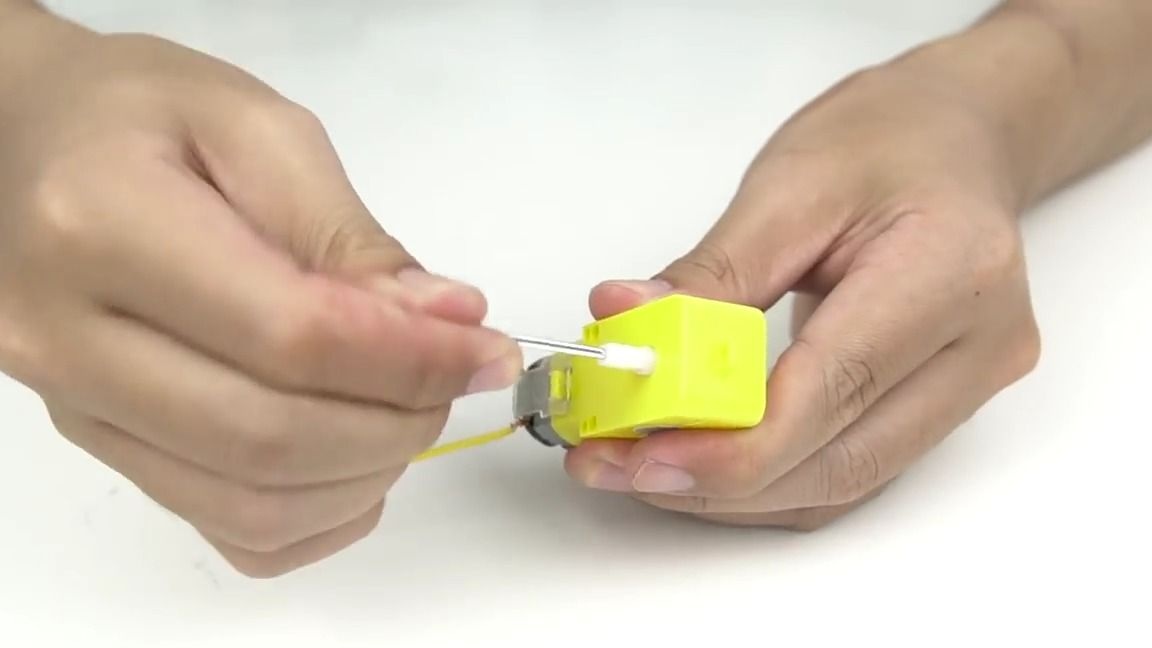
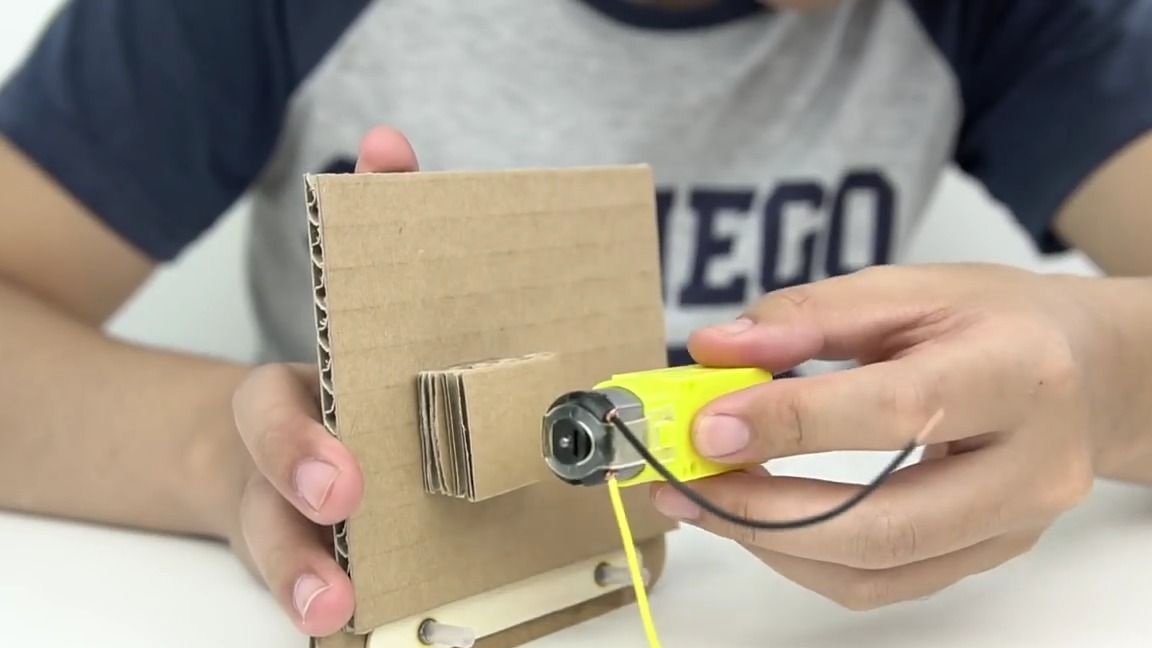
Take a gearbox and use a drill to make a deep hole in its axis on one side, then insert and glue a metal “stick” into it. This manipulation must be done with the second gear:
We glue the gearbox to our site from cardboard squares as shown in the photo:
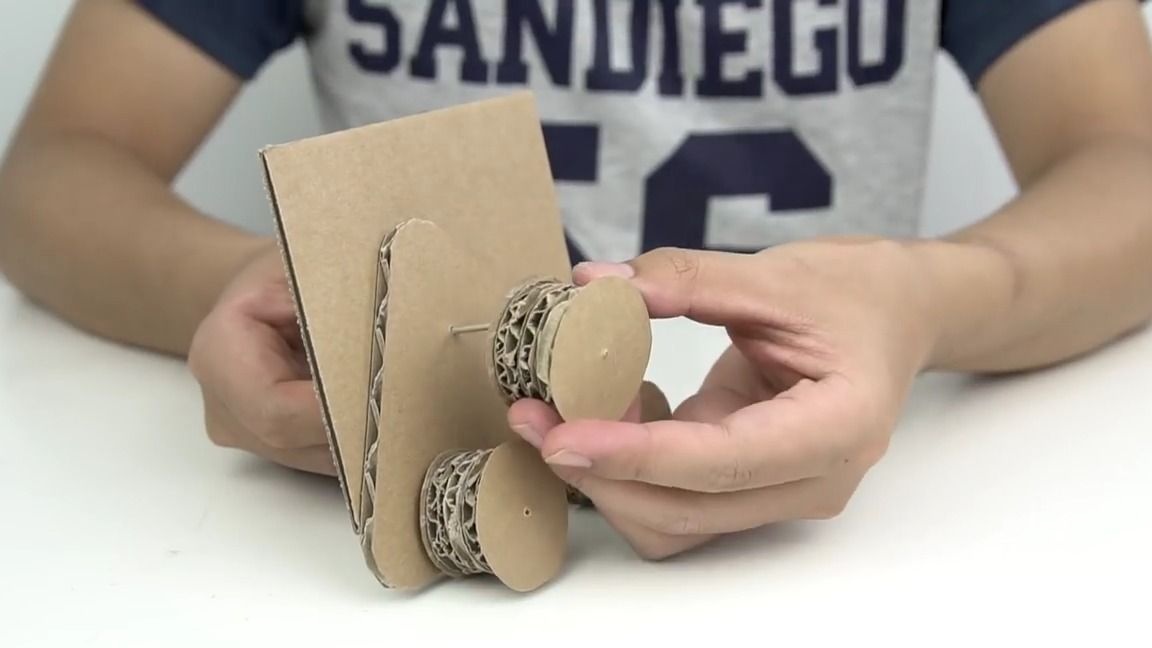
We unfold our design and insert metal “sticks” into the bottom holes and glue them on the other side, then we put them on our poles when the blocks of cardboard we made earlier, it is important that it can rotate. All the same needs to be repeated in a symmetrical order and with a different design:
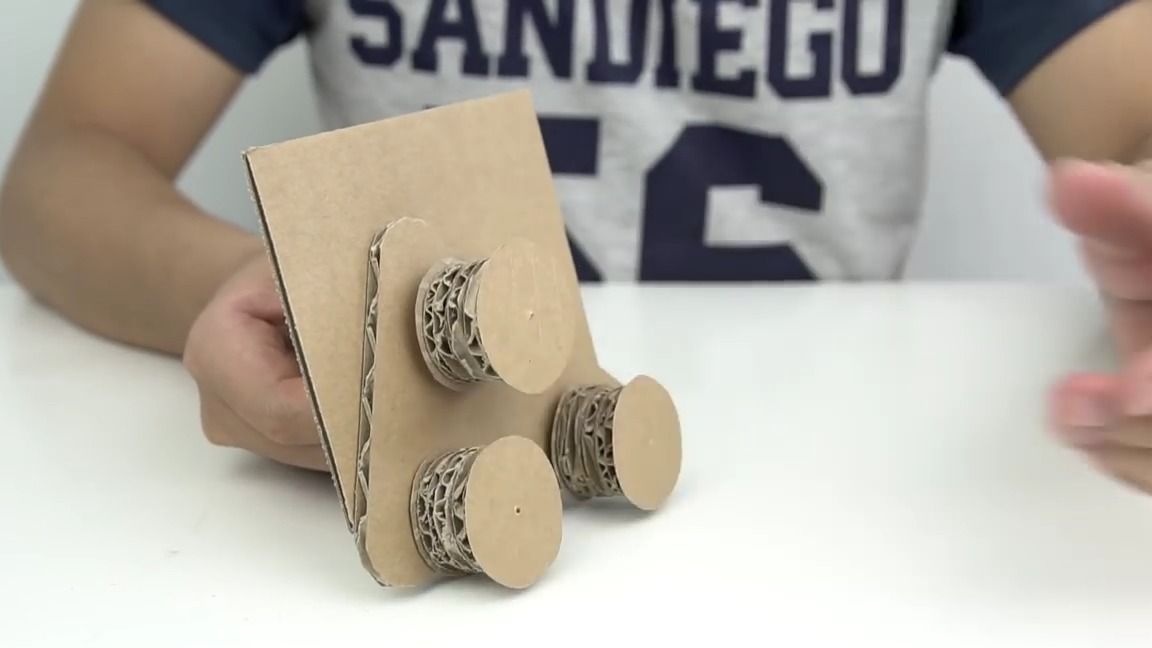
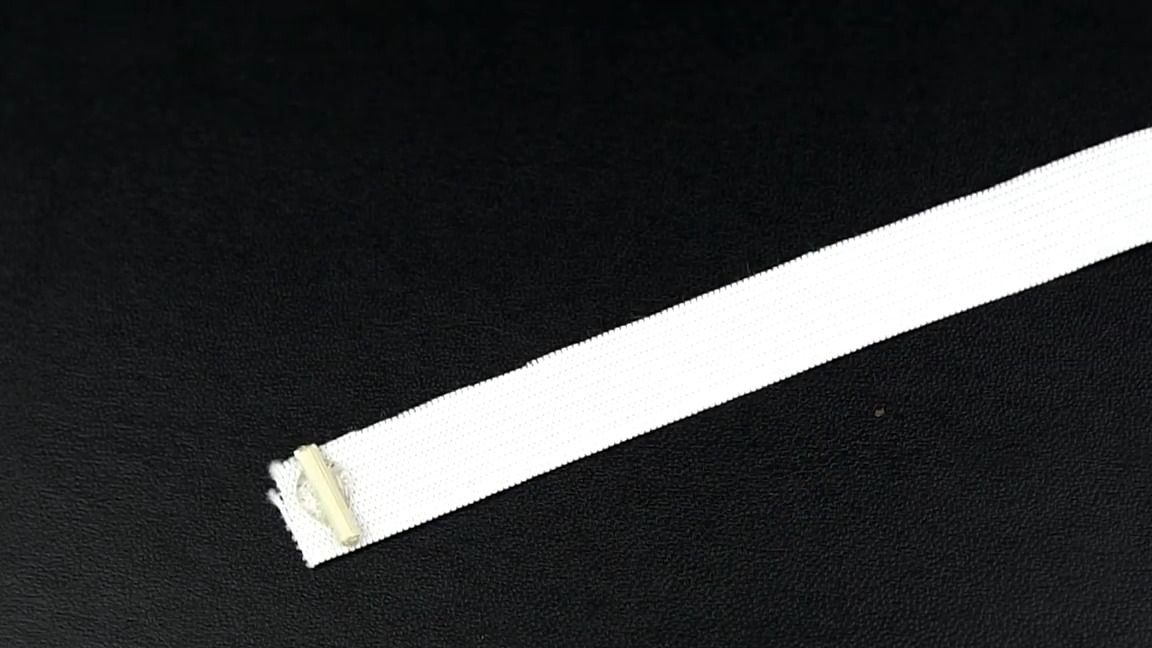
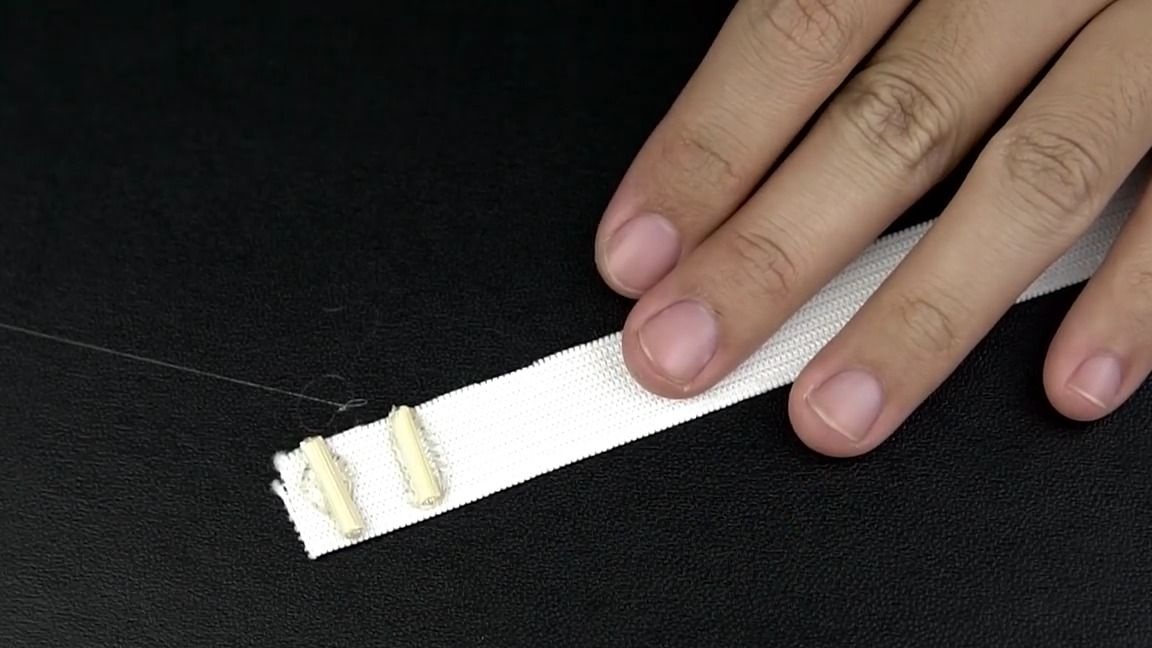
Now we need to make tracks for our robot. To do this, the author took a rubberized cloth and began to stick pieces of wooden skewers at a distance of 5-10 mm:
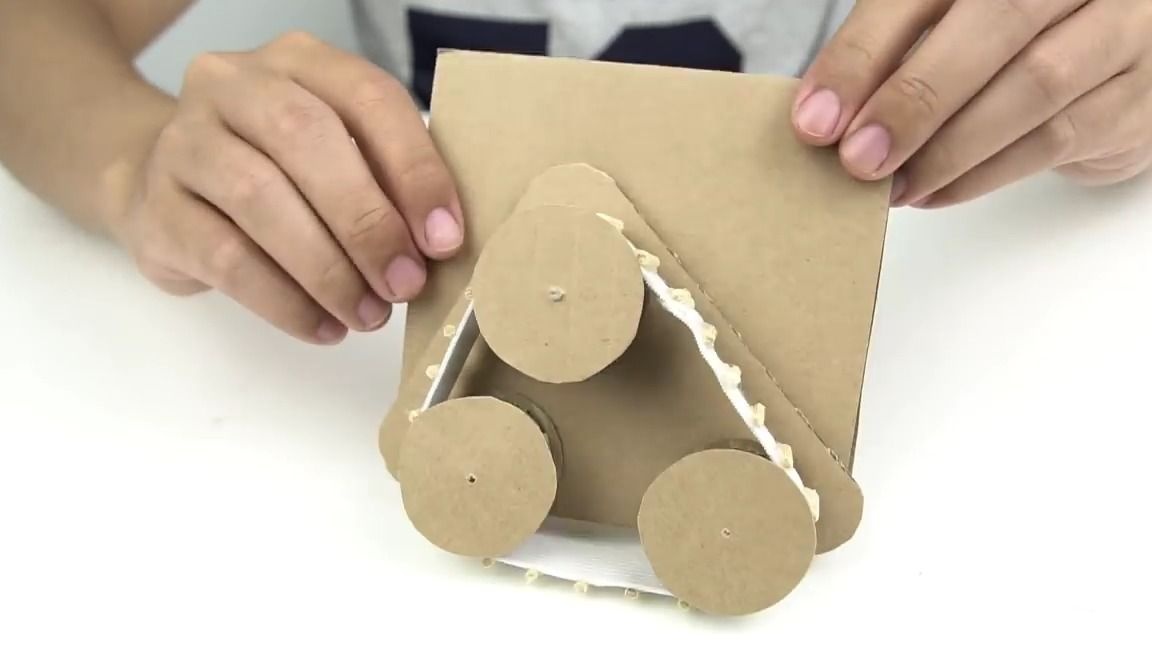
We put the "caterpillars" on the blocks as shown in the photo on the wallpaper design:
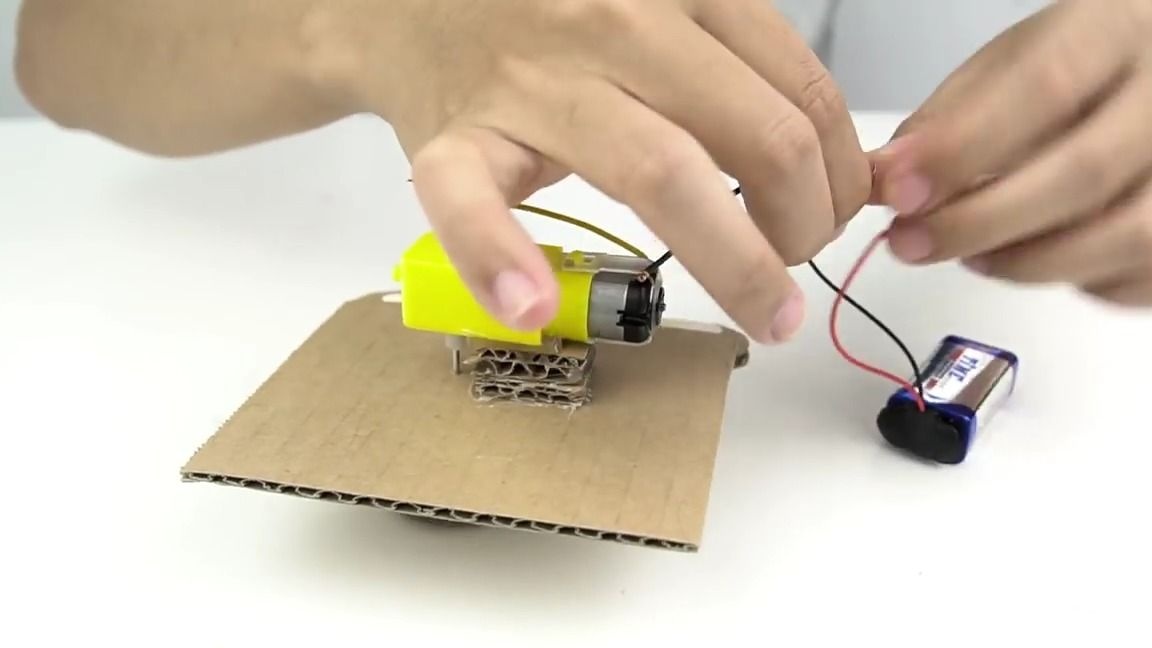
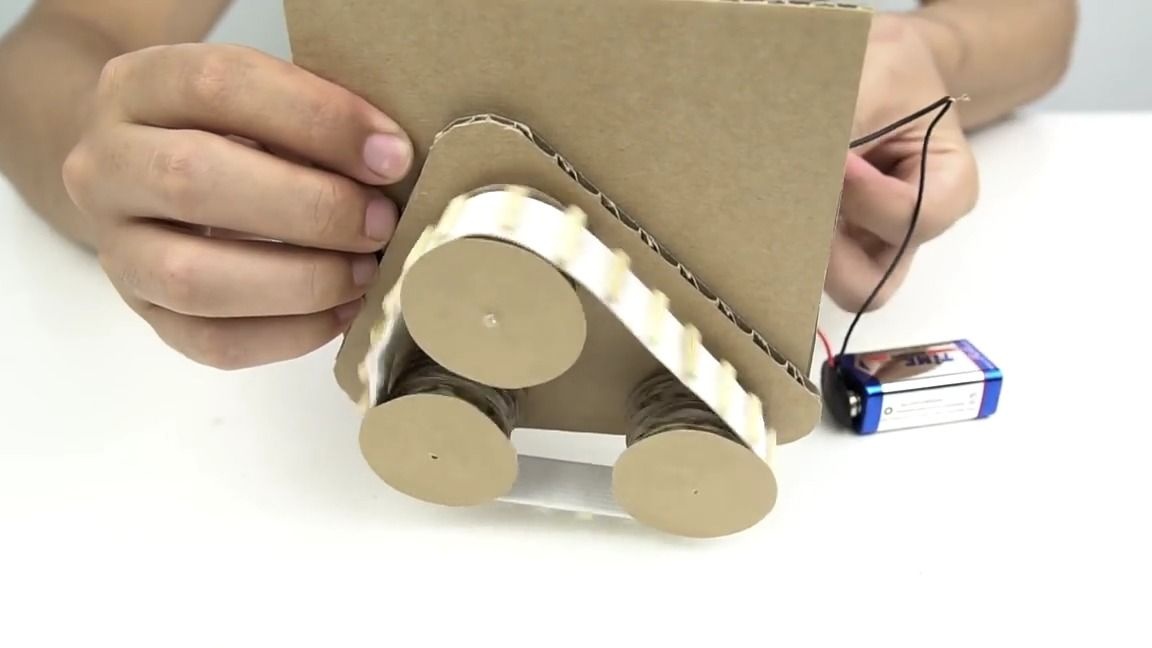
Testing:
We connect the power and if everything rotates freely, then you can do further:
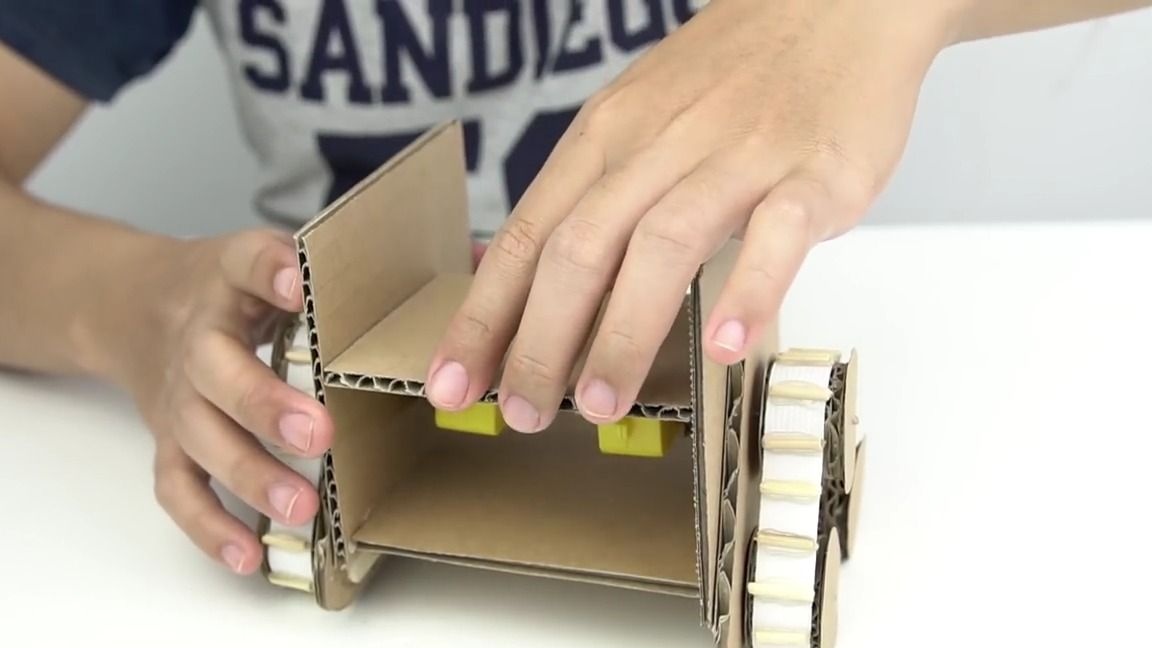
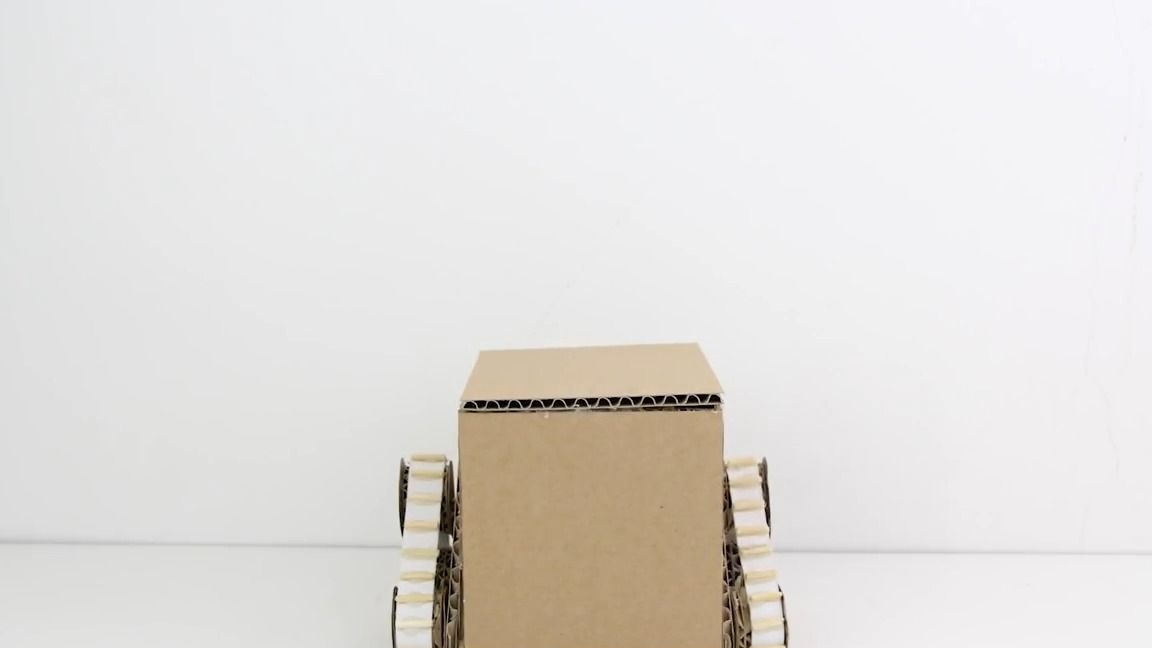
Cut a rectangle out of cardboard and glue it as follows, this will be our bottom:
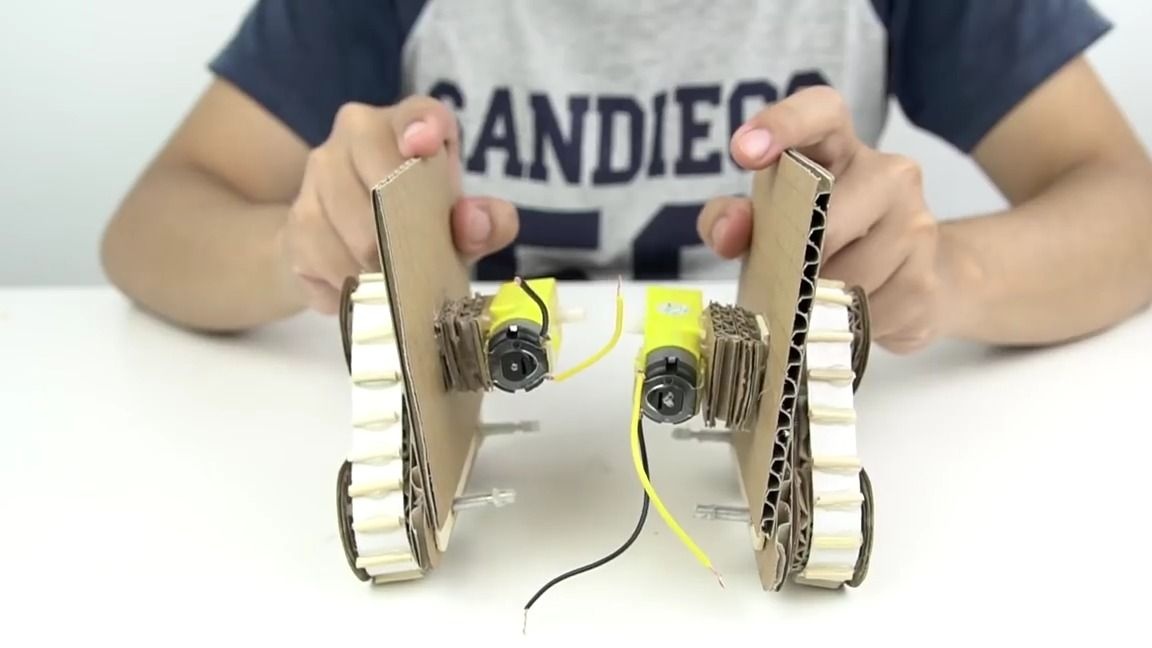
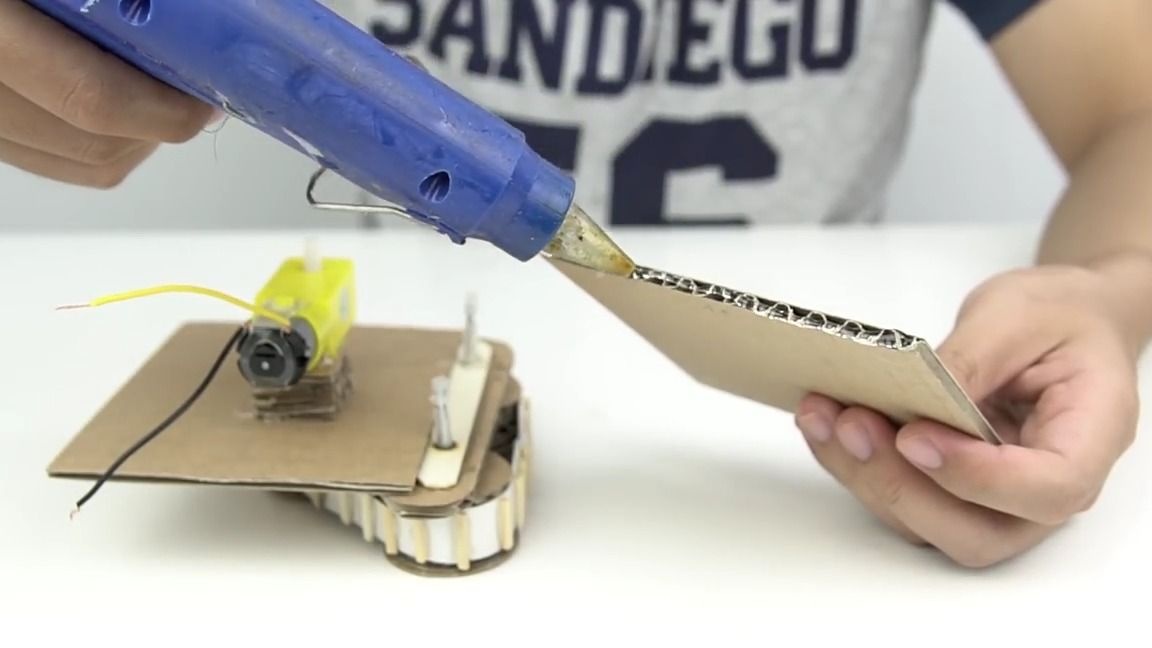
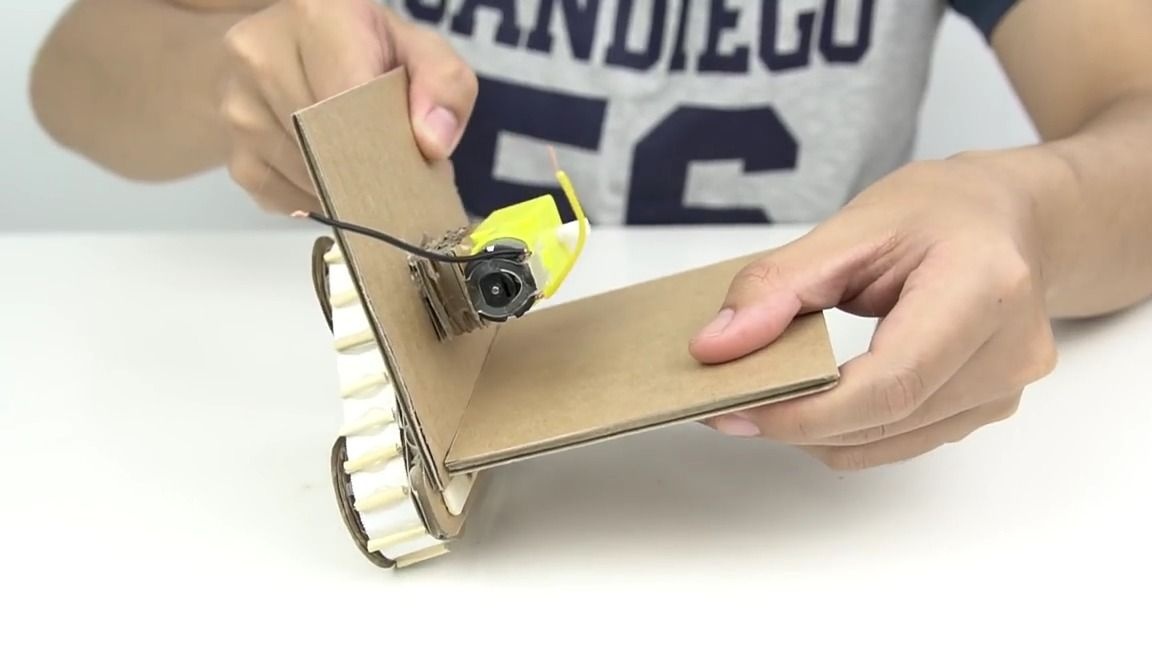
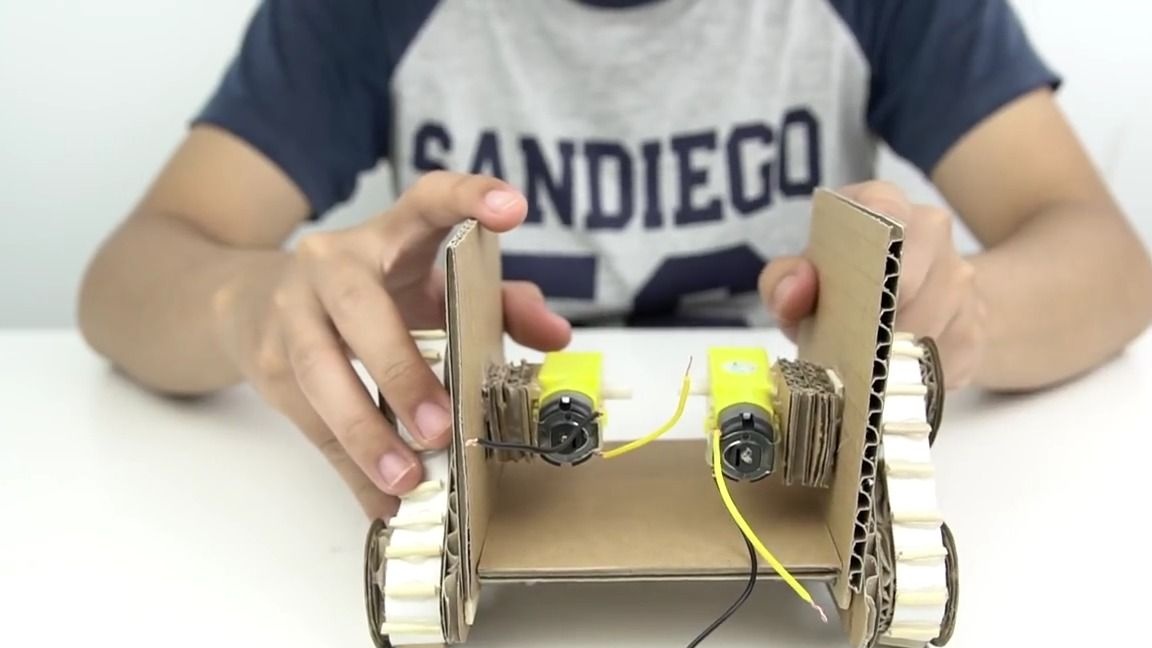
We cut out another exactly the same rectangle and glue up the motors:
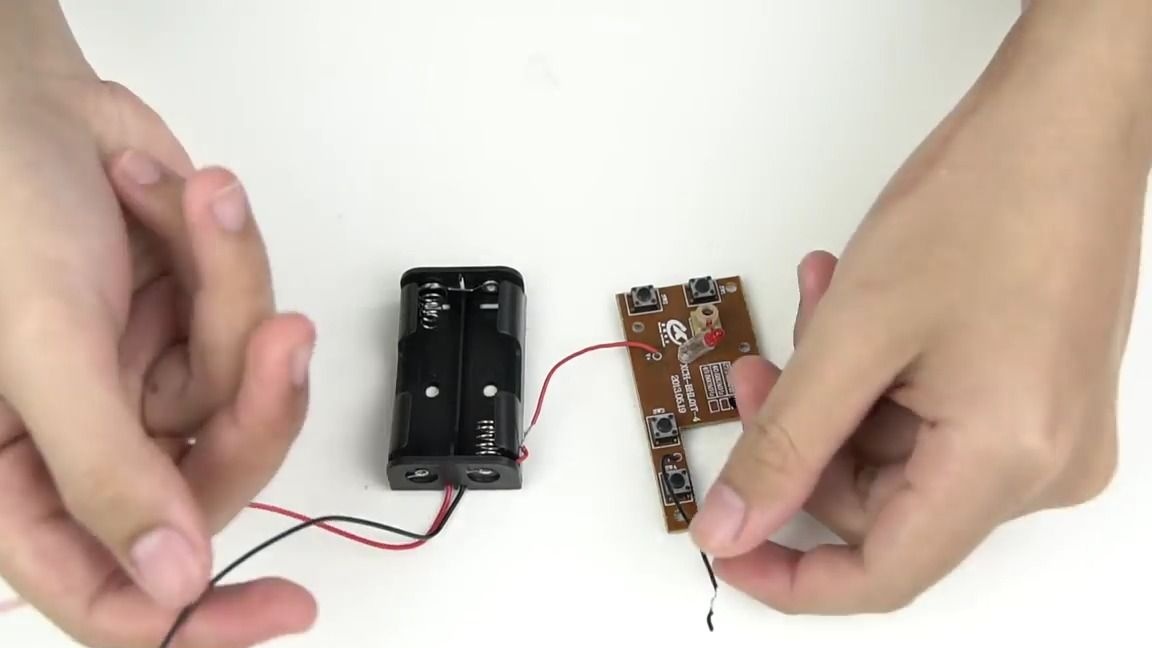
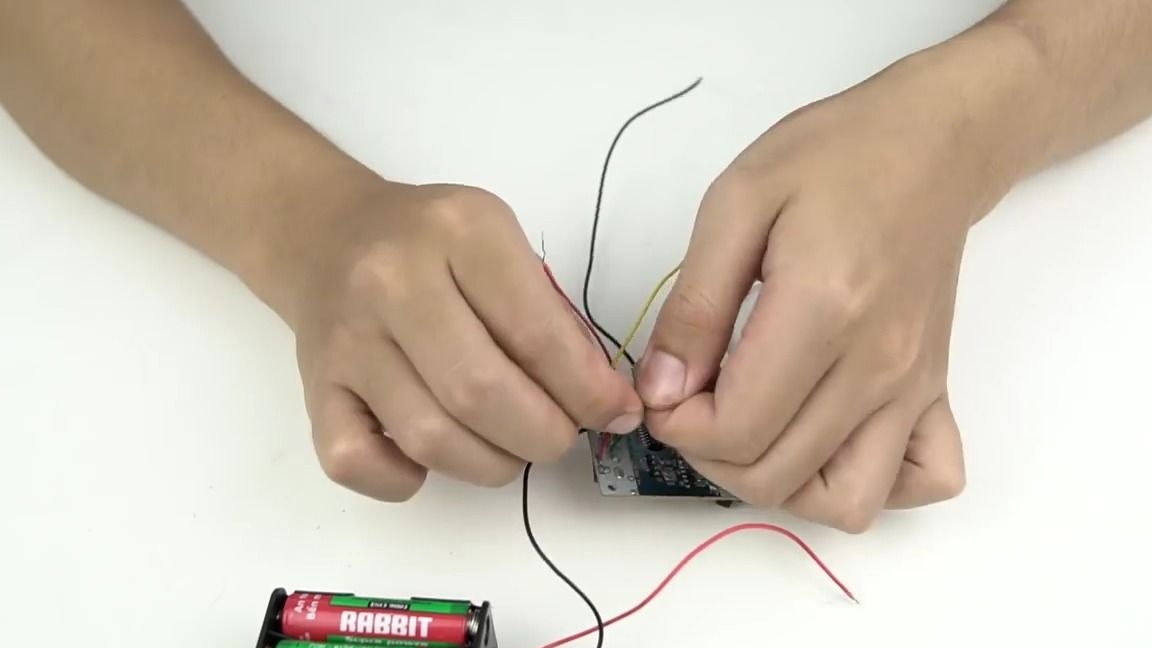
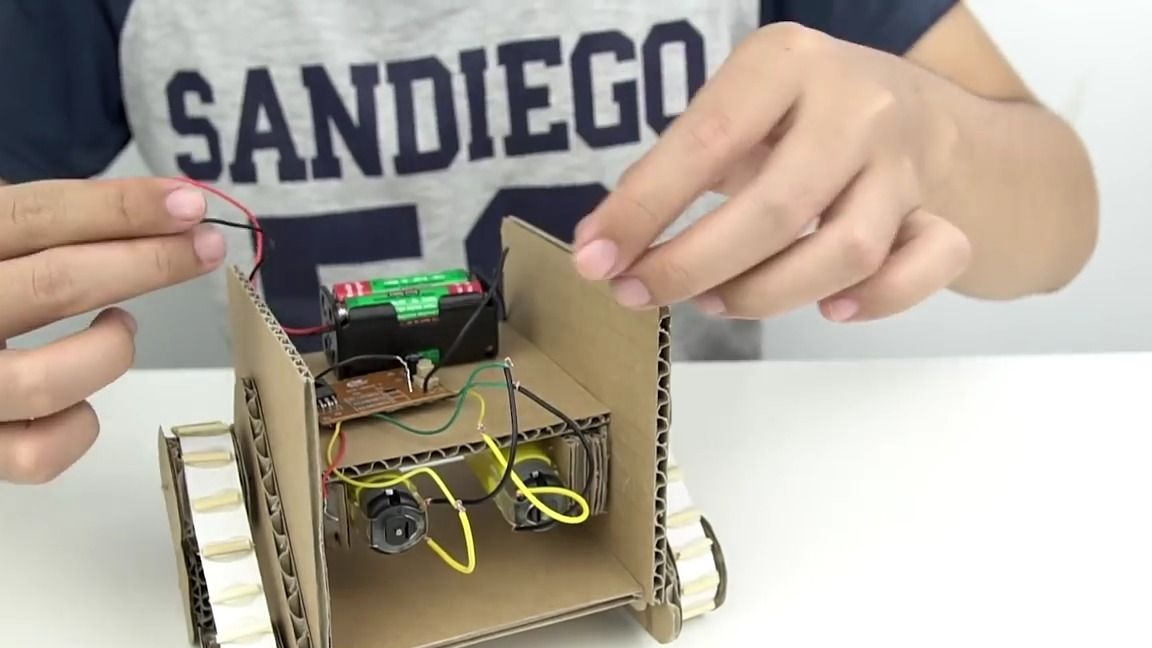
Now we take the transmitter board and connect it to the compartment for two 1.5 V batteries, observing the polarity. It is also advisable to connect a switch:
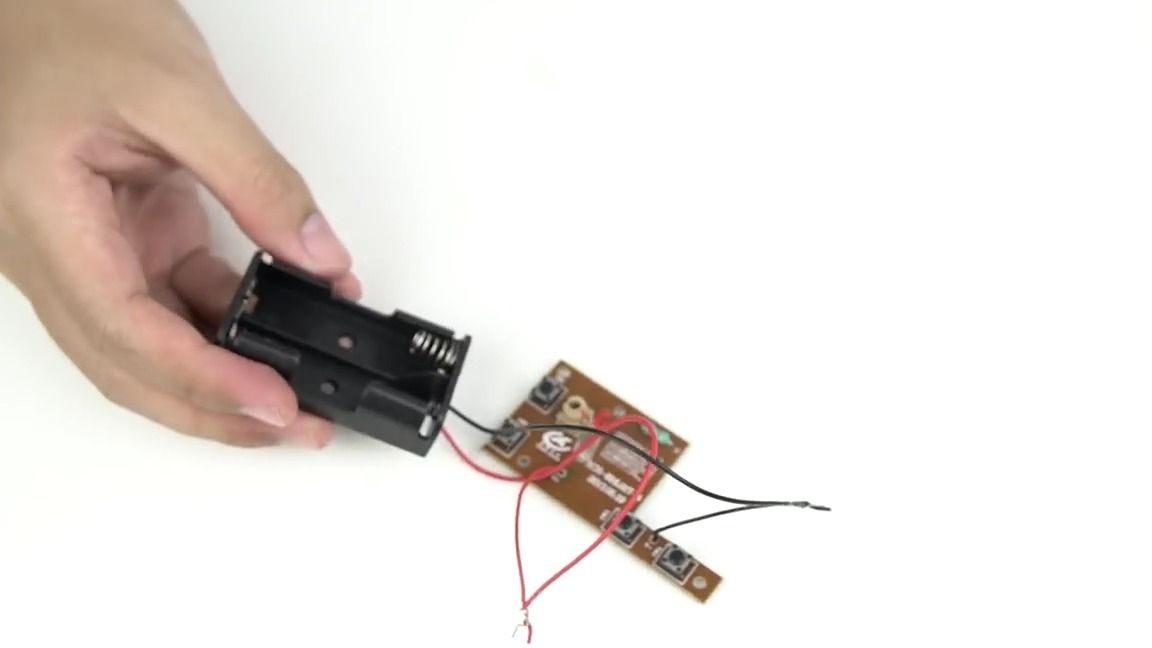
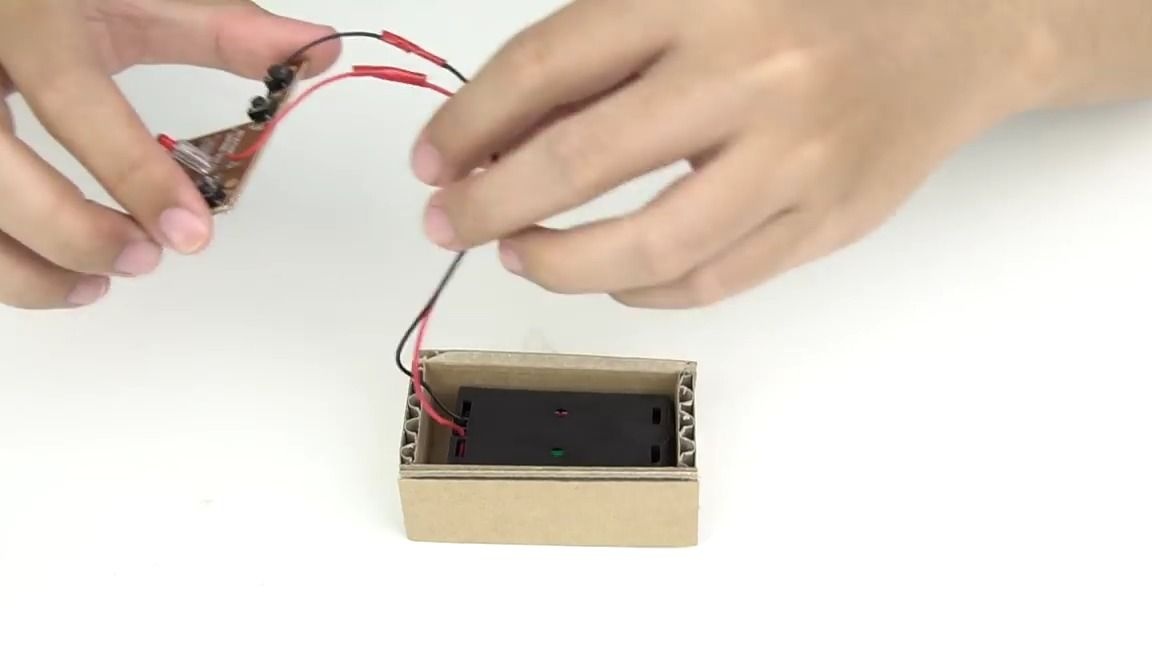
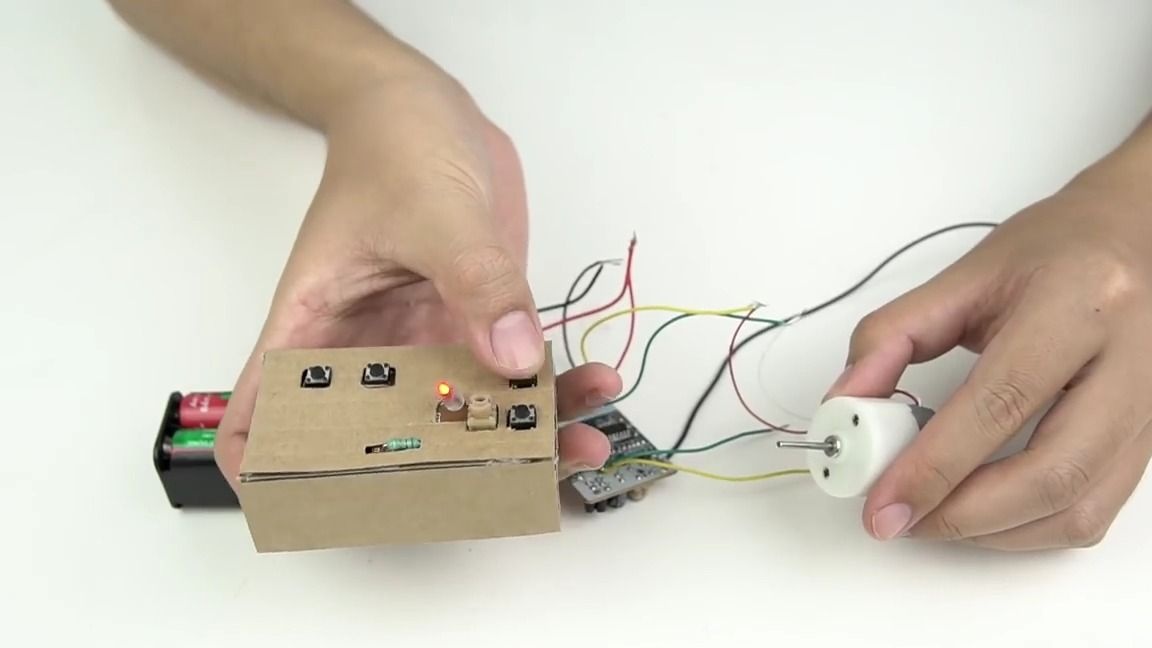
We isolate the contacts with electrical tape or thermal shrinkage and put the whole thing in a cardboard box, then cover with a cover with pre-cut holes for the control buttons. This will be our control panel:
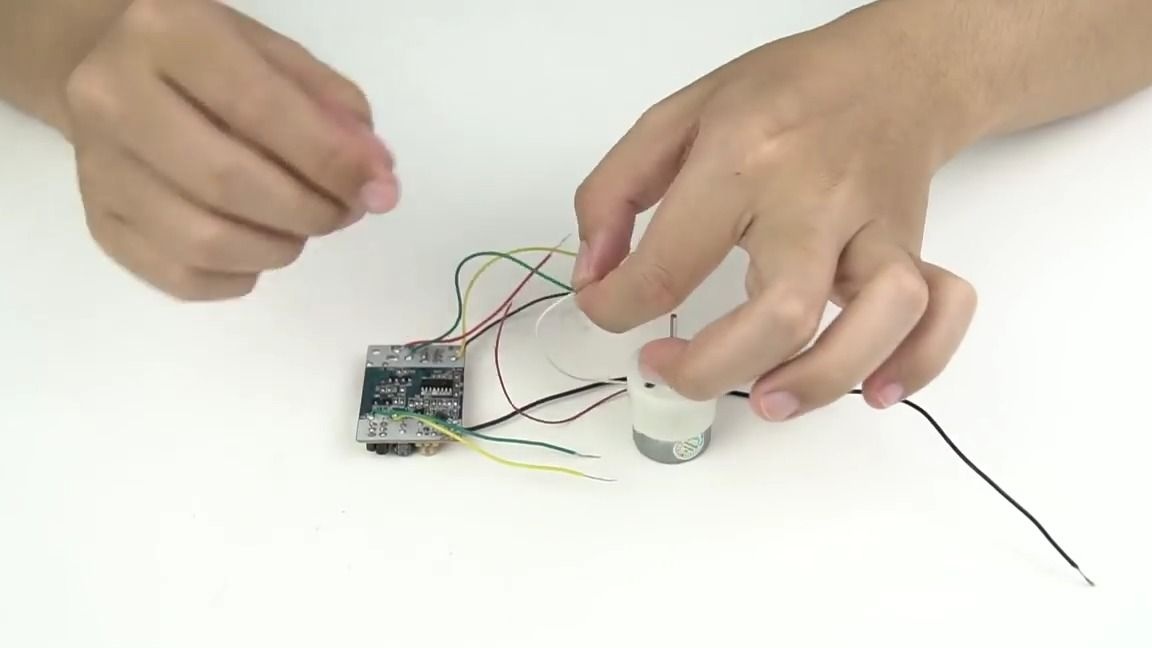
We take the receiver board, connect it to power, then connect it to any motor and check the robots of our design. If everything works correctly, you can turn off the motor and continue assembly:
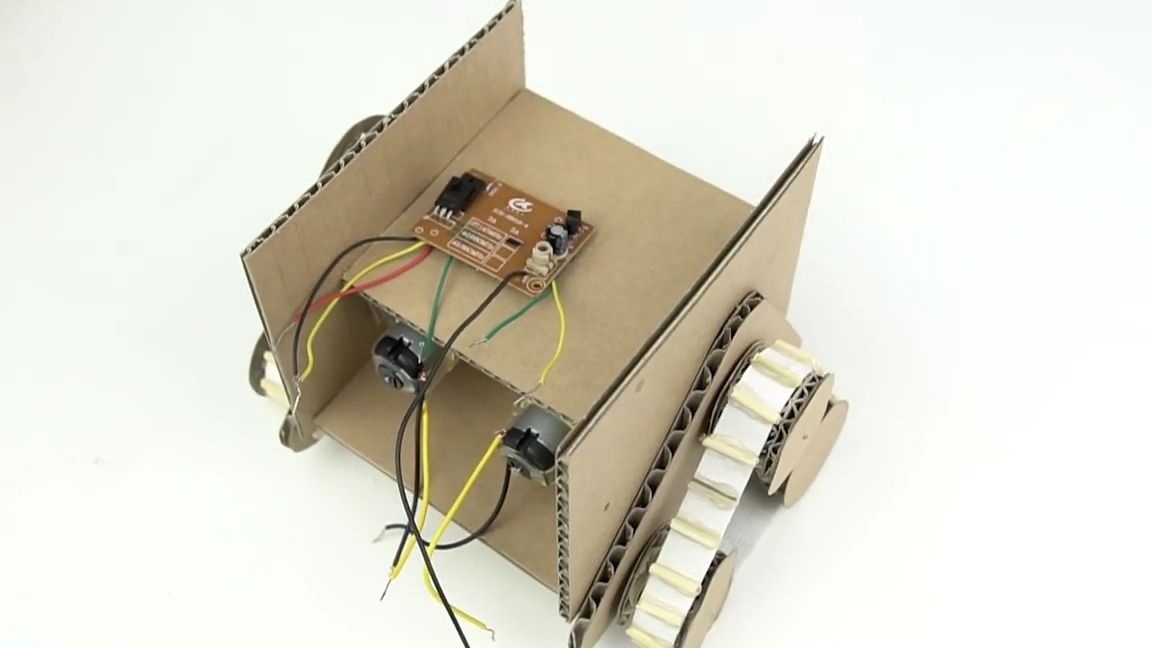
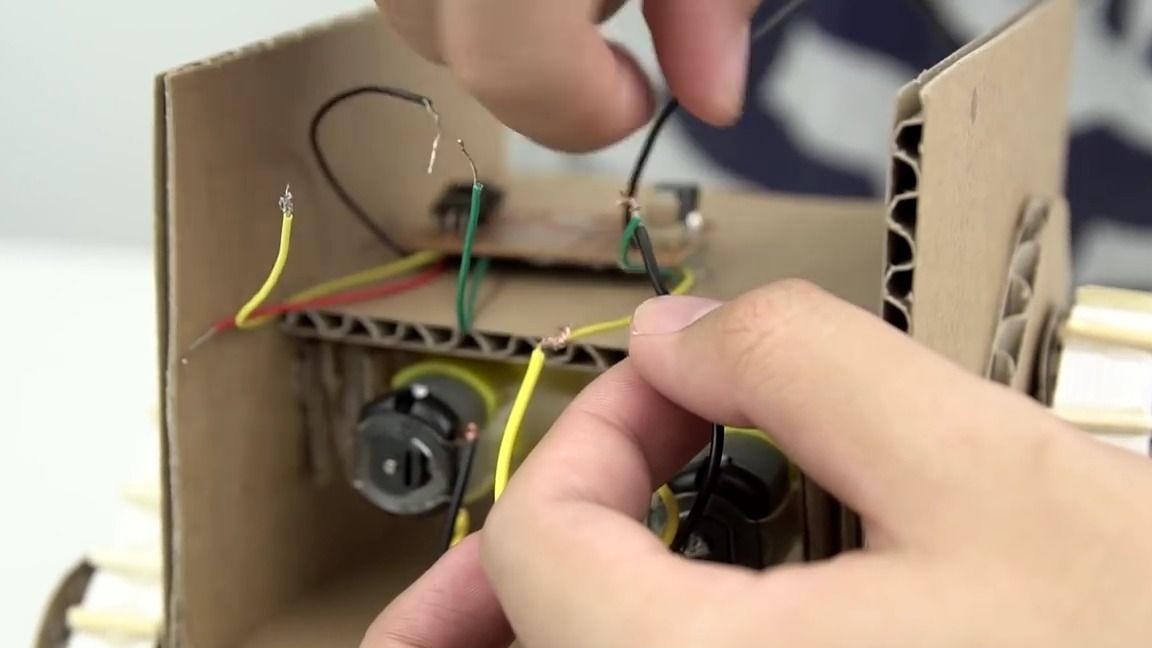
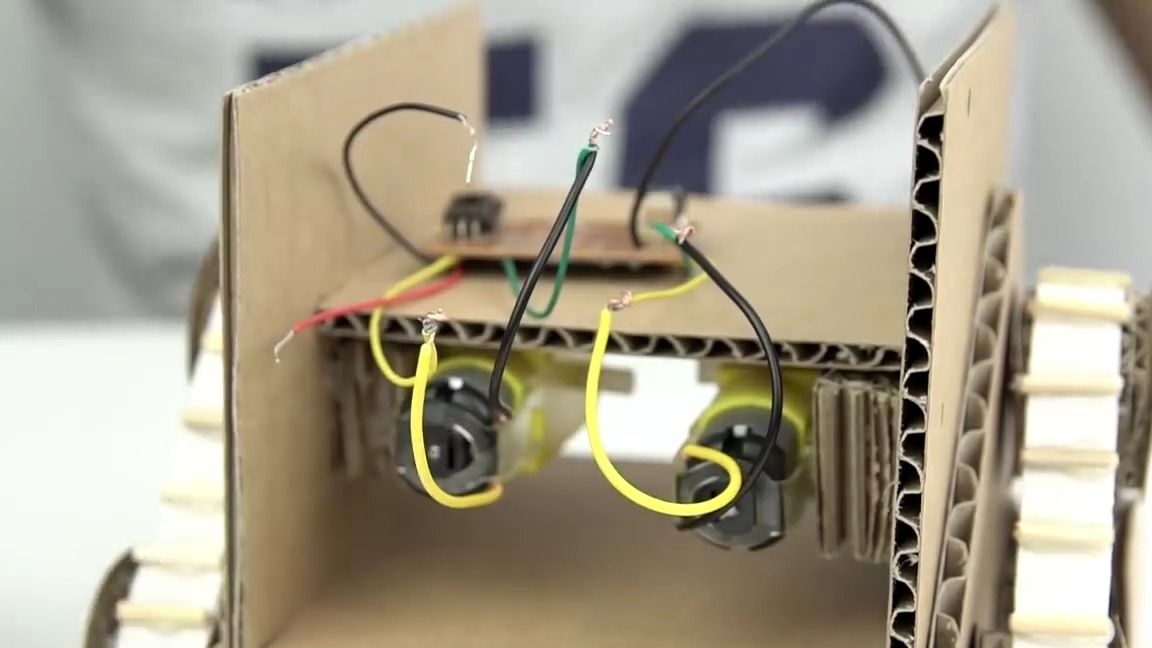
We glue the receiver board onto the frame of our robot and connect the necessary wires from the receiver to the gearboxes observing the same polarity, the connection points must also be insulated. Also, do not forget to connect the power and it is advisable to turn on the switch in this circuit and take it out of the frame:
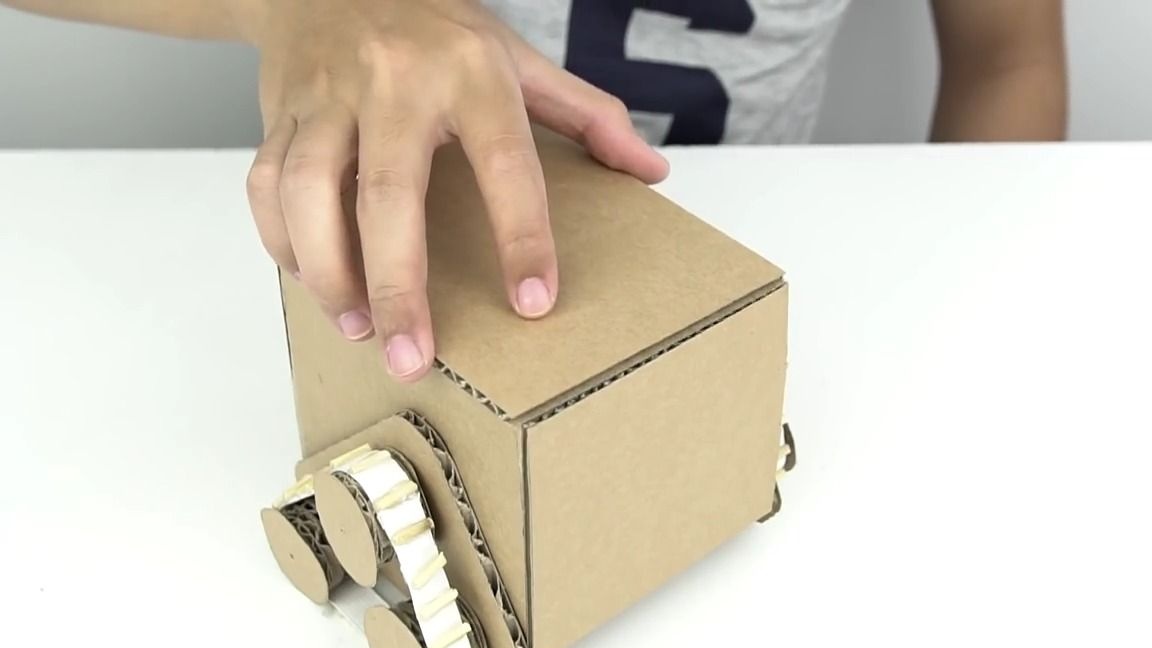
We cut out another rectangle from cardboard and close our entire structure:
Now you need to make such cute eyes and the "neck" of the robot from cardboard, as shown in the photo:
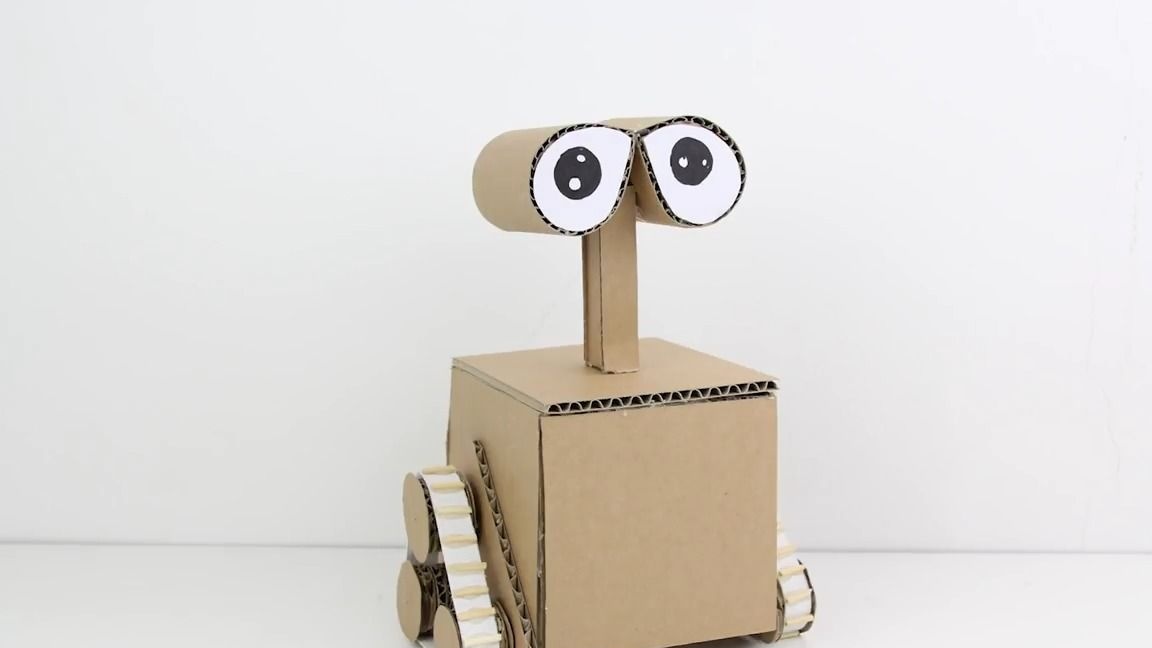
We glue two “manipulator hands” from the cardboard and glue as follows:
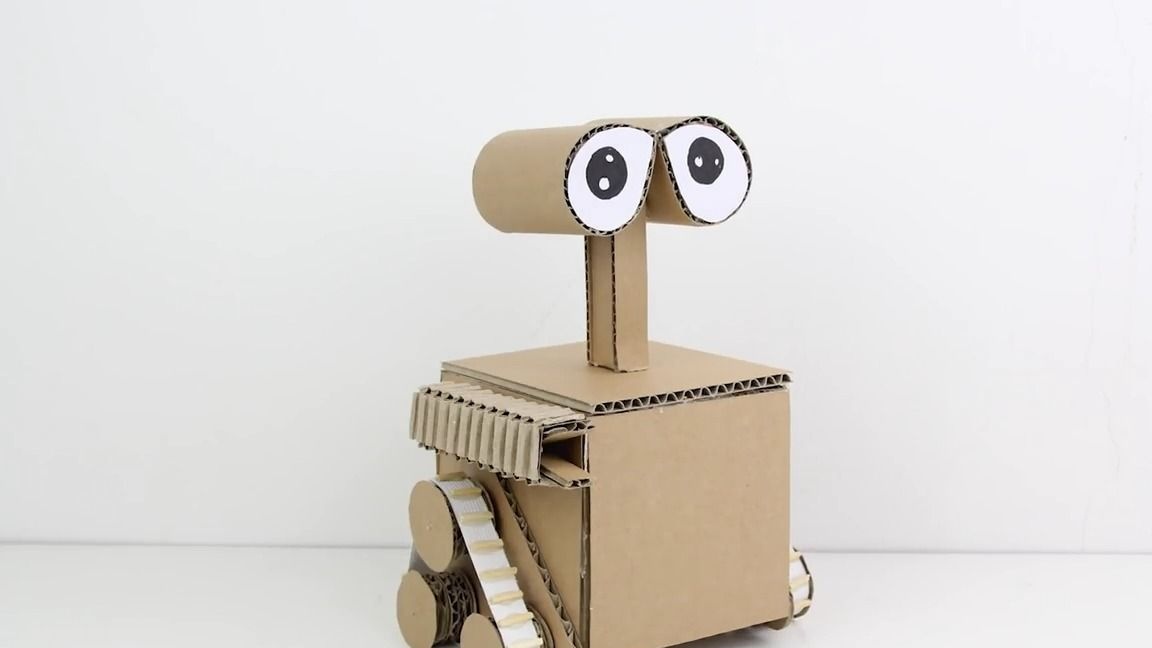
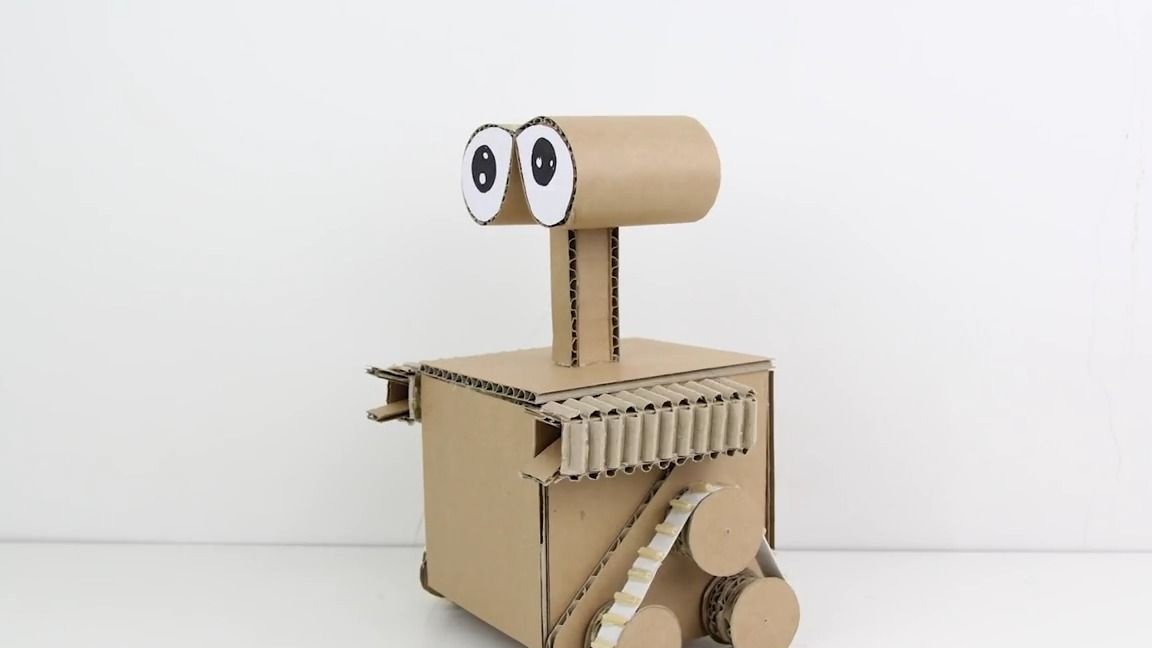
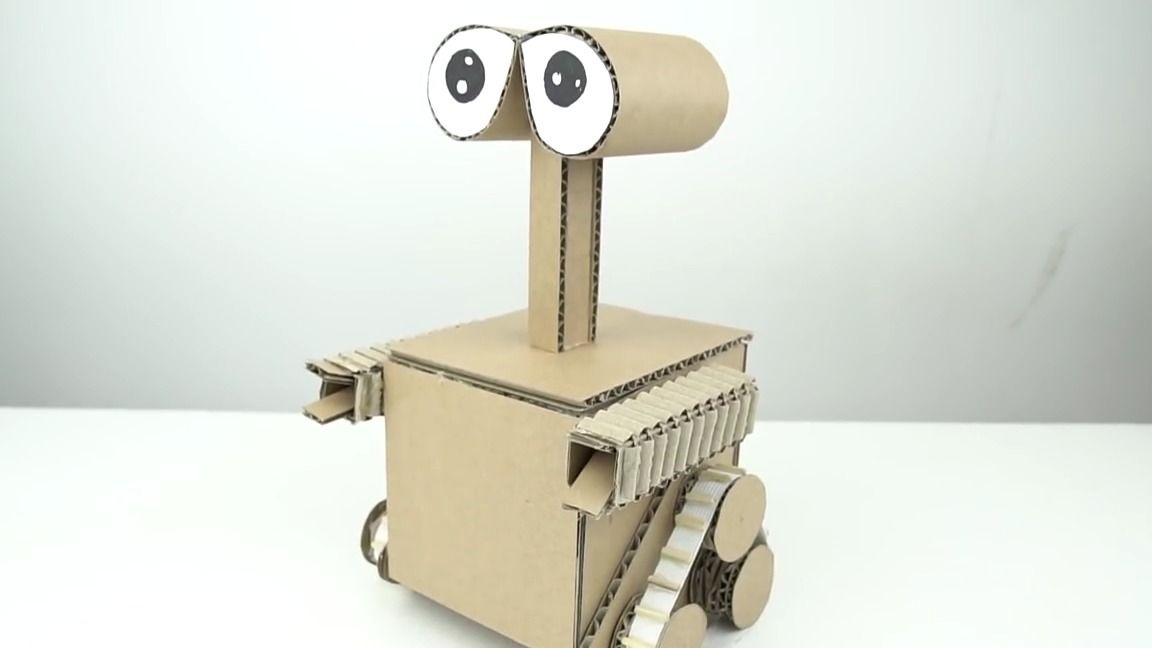
That's it! Our simple robot Wally from cardboard is ready and it remains only to test it! To do this, simply turn on the control panel and the robot itself and control it! The toy is very interesting and, if desired, you can modify it somehow, for example, add a couple more elements from cardboard, LED backlighting and so on. This robot travels like a tank chassis, that is, it can rotate around its axis, and ride forward and backward.

Here is a video from the author about the assembly and with the tests of this robot:
Well, thank you all for your attention!