
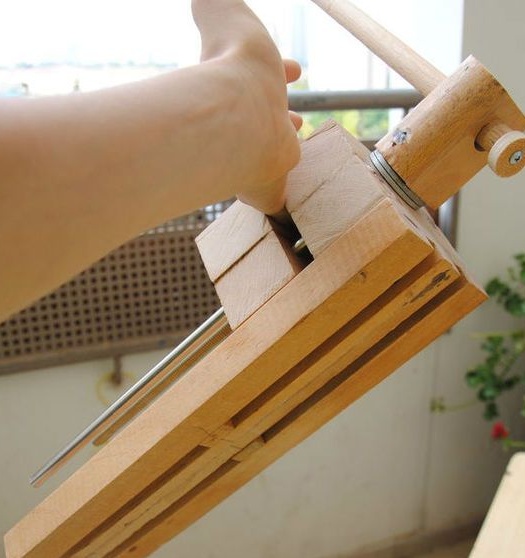
Often in life there is a need to use a vice. This is especially true when you have to work with a drill. No exception will be cutting with a grinder, when often the part has to be held with the foot and than is possible. But this is inconvenient, and most importantly unsafe. Make yourself a small vise made of wood, which you can easily store in a tool box and take with you where you need it. Such a vice will be small, light, in general, will become your best friend.
Vise materials and tools:
- wood;
- threaded rod and nuts to it;
- washers, screws and other trifles;
- glue for wood;
- varnish;
- dremel ();
- drill with tips ();
- sandpaper;
- a chisel;
- clamps;
- screwdriver;
- two metal rods as guides;
- a tool for cutting wood ().
Vise manufacturing process:
Step one. We make the basis
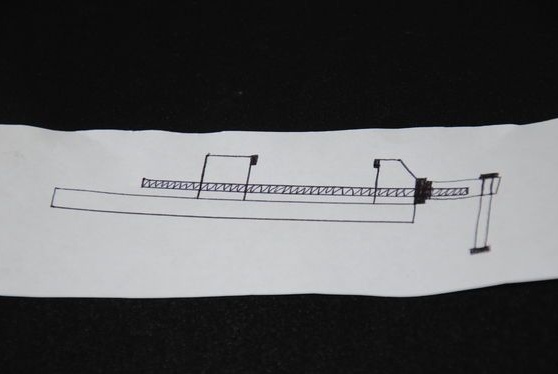
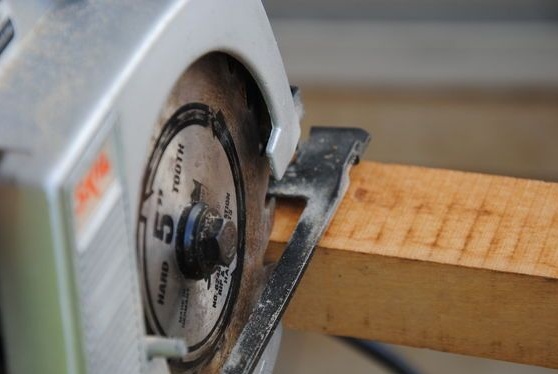
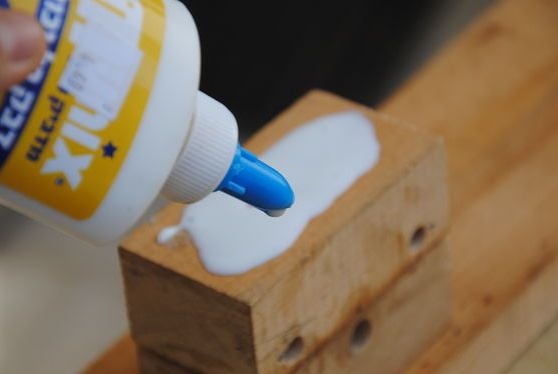
First of all, study the scheme and already cut the blanks according to it. First of all, the author cuts off two blanks for the manufacture of the base. Then these two parts stick together. It is better to use solid material, of course, the author simply did not find the board of the required width. However, adhesive bonding will cope well with this task. When bonding, there are also advantages. You can make a base from narrow plates, it will be durable and at the same time light.
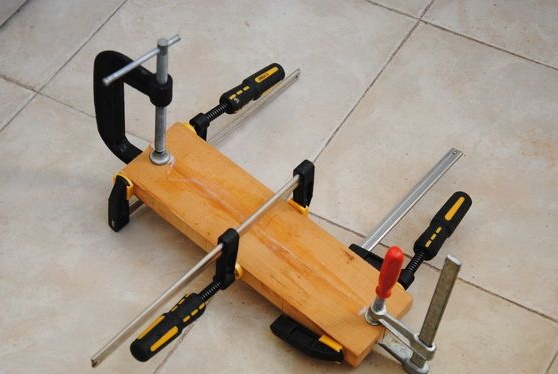
It is convenient to work with a portable circular saw, but you can also cope with this task with the help of hand tools. Lubricate everything well with glue and clamp with clamps until completely dry.
Step Two Make jaws
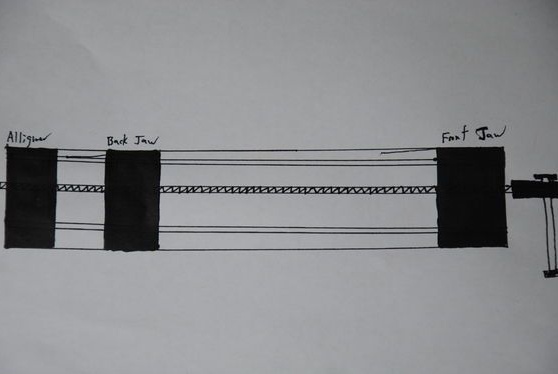
The jaw of a vise as usual consists of two jaws. Here, one jaw acts as a support, it is attached at the very beginning of the vise, that is, there is a handle near it. And the second jaw is movable, they contract when you tighten the screw clockwise.
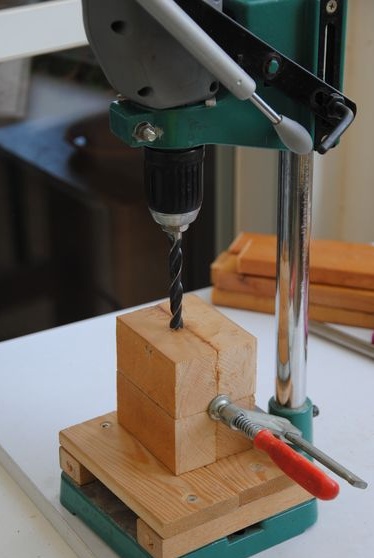
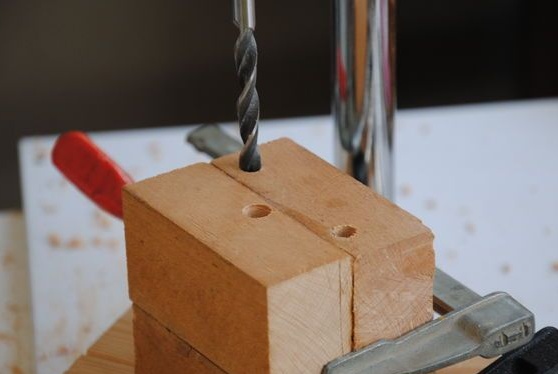
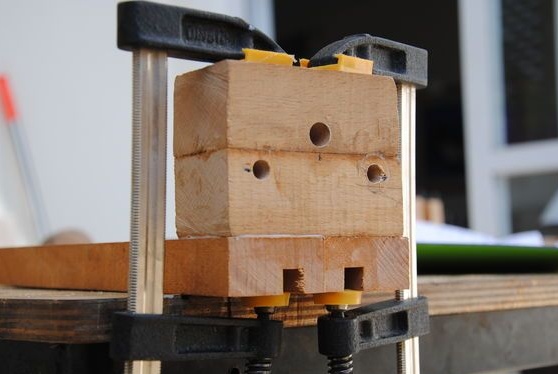
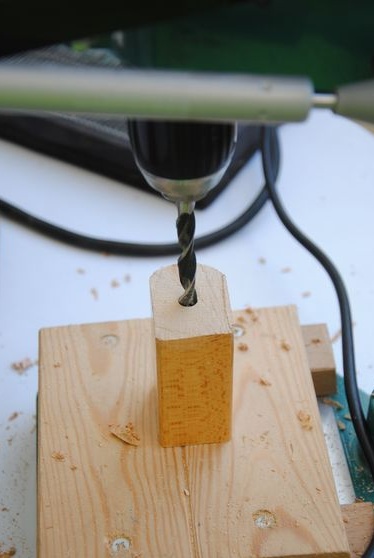
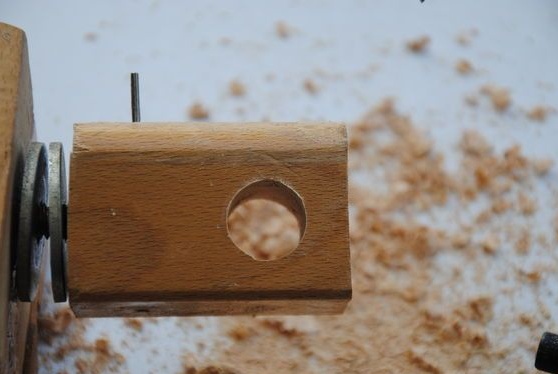
To make the jaws you will need four bars. Their author also glues two pieces each. In each pair, one bar is responsible for the guide, and a threaded rod passes through the upper ones. When glue the sticks and the glue is completely dry, drill holes in them. A hole of such a diameter is drilled in the upper two bars so that a threaded rod passes through it.
And in the two lower bars, drill two holes for the guides. It is convenient to work on a drilling machine, you can immediately drill in pairs.
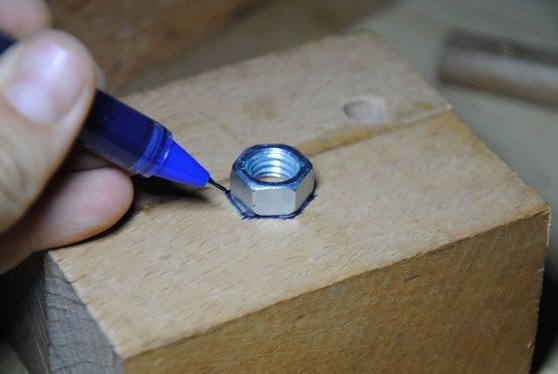
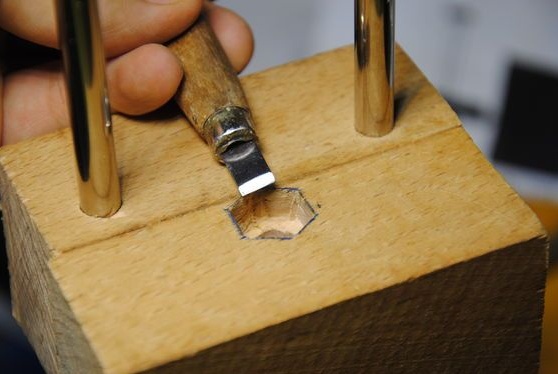
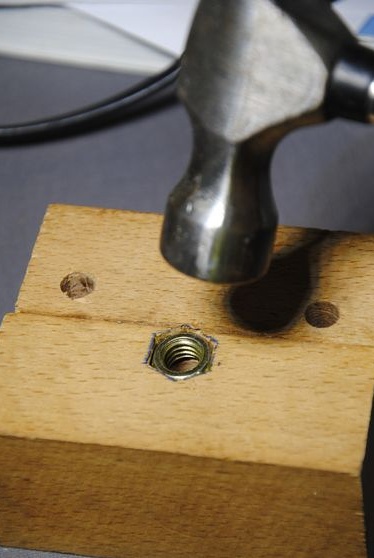
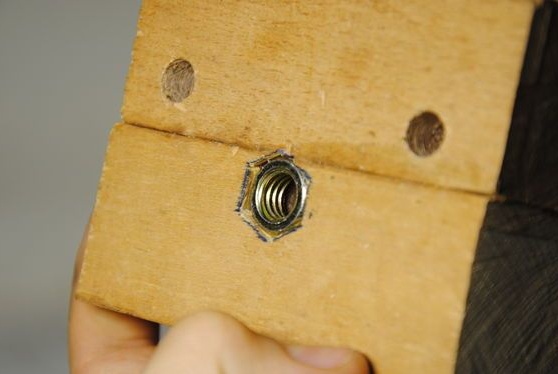
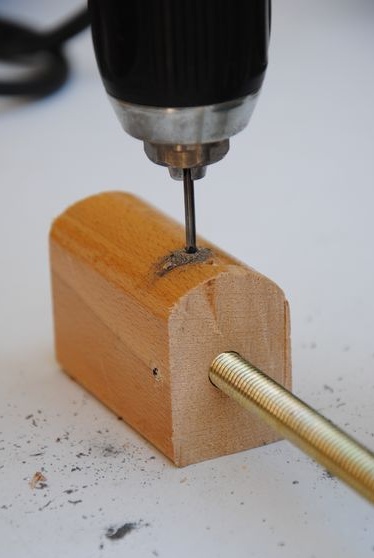
Step Three Insert nut
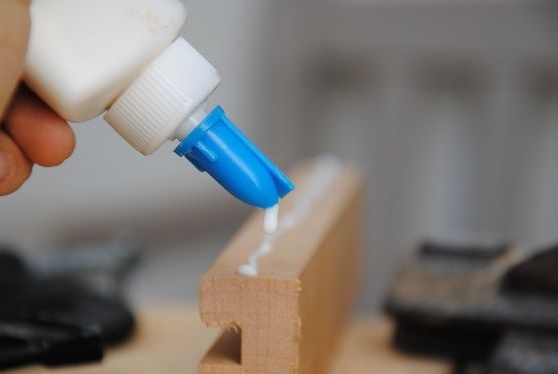
Attach the nut to the opening of the moving jaw and circle with a pen or pencil.Cut the resulting shape with a sharp chisel. Install and paste the nut into the cavity formed. It is best to use epoxy glue, but it will not go anywhere from there, unless it can come out of its place when the jaws open.
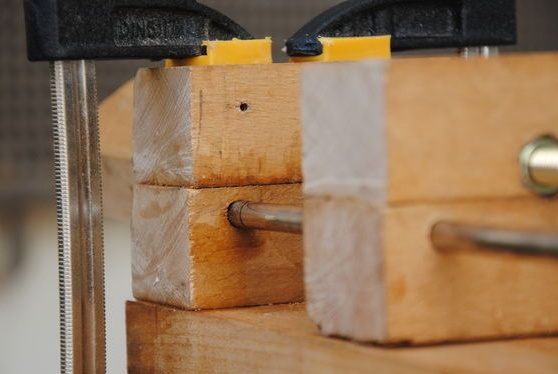
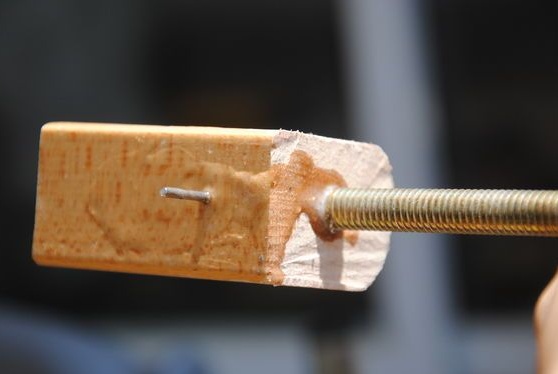
Step Four Set the guides
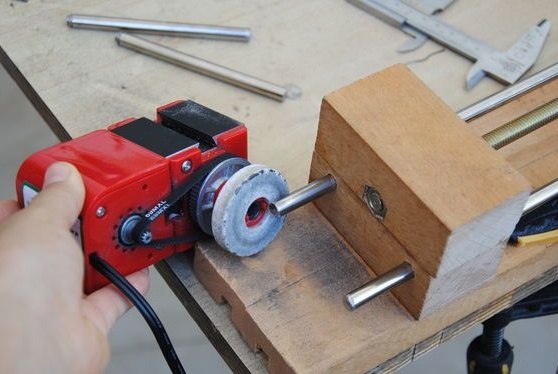
Two steel rods are used as guides. They must be glued to the jaw, which is installed statically. Glue with epoxy glue. We dilute the resin with the hardener, glue the rods and leave for 24 hours until completely dry. Pre-clean the rods with sandpaper, and it is better to process the grinder for reliable bonding.
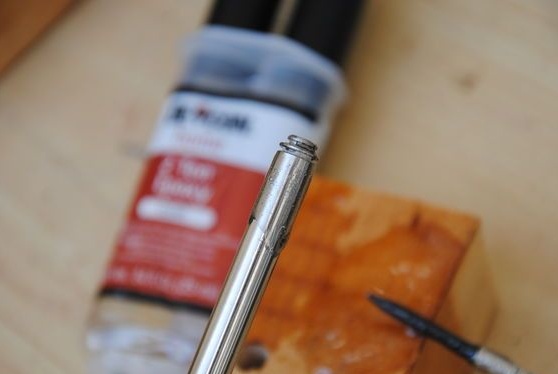
Step Five Glue the front jaw
The author fixes the front jaw to glue, but this method is not very reliable. When clamping a vise, you can easily break your jaw, one way or another, in the future this will someday happen. Instead of glue, and preferably together with it, twist a couple of screws on the other side. In the case of using glue, we clamp the structure with a clamp until it dries completely.
Step Six Pen making
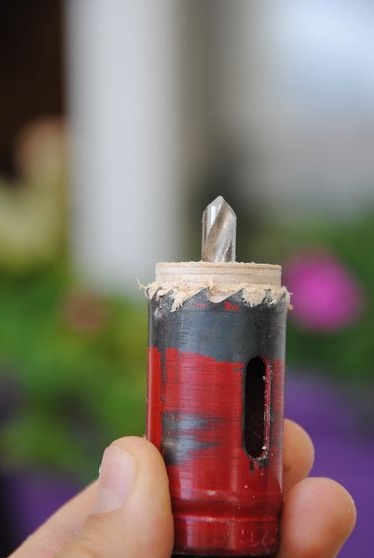
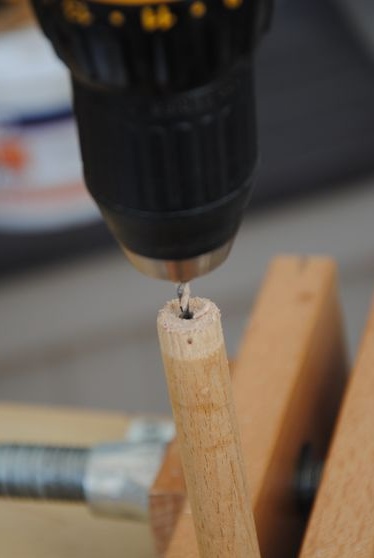
To make a handle, select the right sized bars and cut the handle out of it. We drill a hole in the handle along the diameter of the rod and fasten it to the rod with epoxy glue. You can also drill another small hole across and fix the handle with a pin, this will make it possible to remove it if necessary.


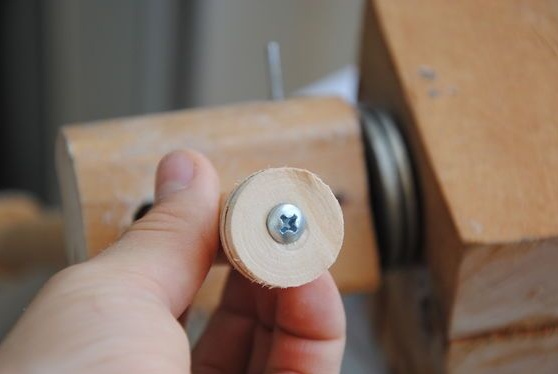
For the handle you will need a lever, drill a hole of the desired diameter under it. The author also makes a lever out of wood. At both ends, we screw the washers with screws so that it does not fall out. Install washers between the handle and the stop. Washers must be lubricated to reduce friction.
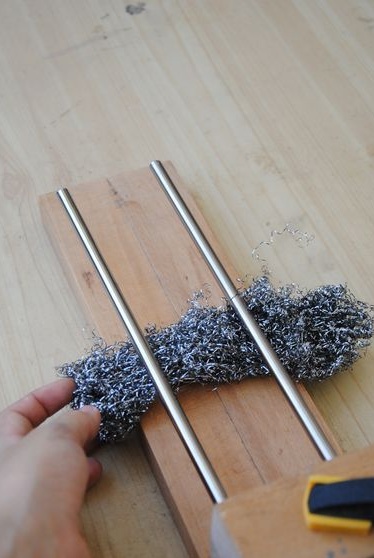
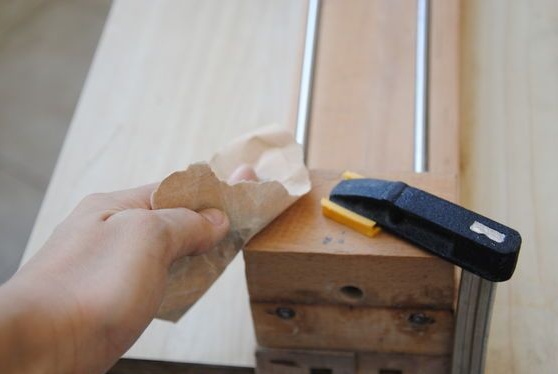
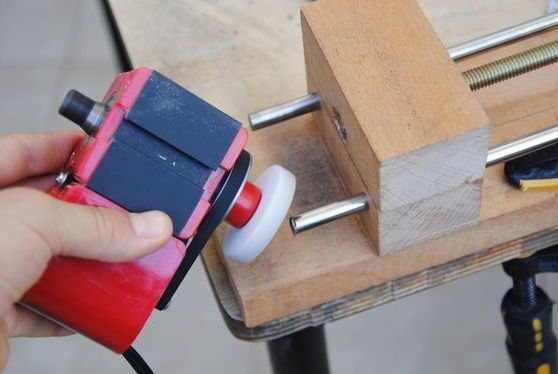
Seventh step. Grinding homemade
In conclusion, the author polishes the surface of the vise so that it is smooth. First, this is done with a metal brush, and then 200 grit sandpaper is used.
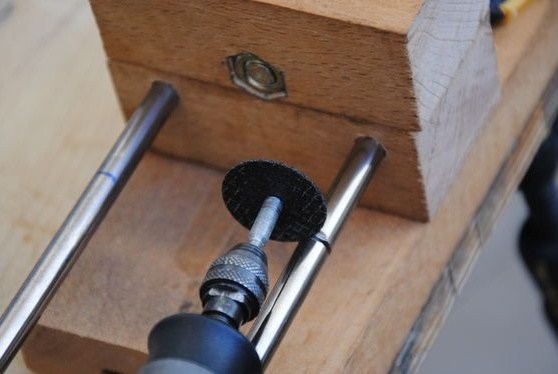
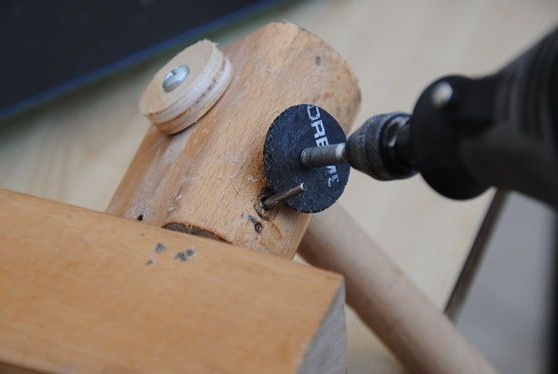
Step Eight. Cut off the excess
It turned out that the author's guides were a little longer than necessary. He decided to cut them off and use them for another project. For these purposes, the author used a dremel with an appropriate nozzle. Remember to smooth the sharp edges of the guides after this.
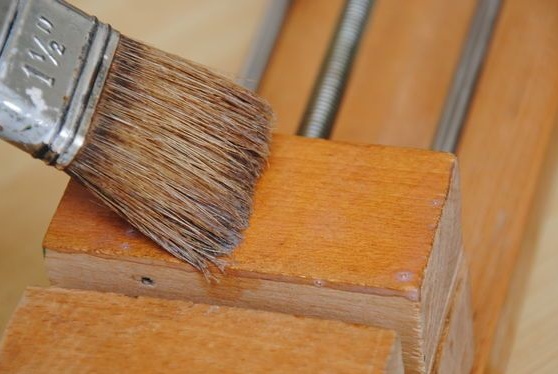
Step Nine. Vise Varnish
To protect the vise from moisture and dirt, we use varnish. First, apply the first coat, and when it dries, grind the vice again. Well, then apply the last coat and expect the varnish to dry completely.
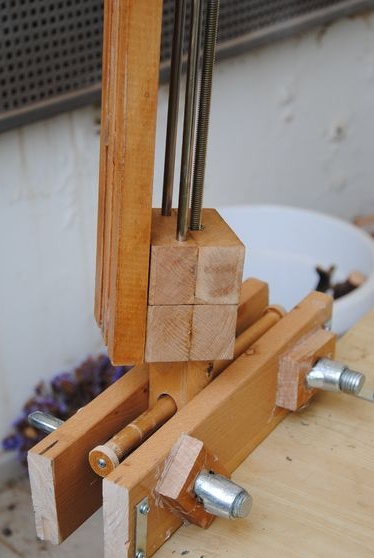
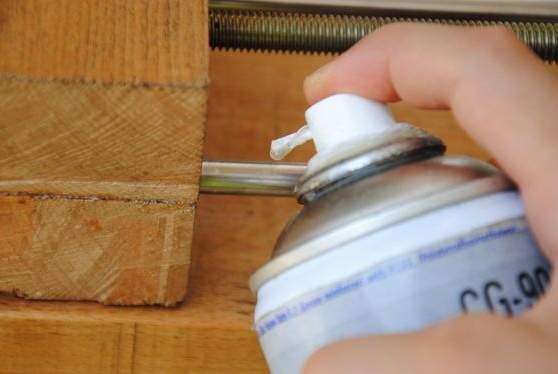
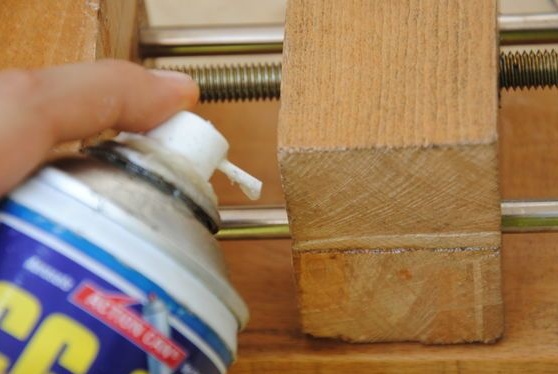
Step Ten Finishing touches
In conclusion, you will need to properly lubricate all the nodes in which friction is present. This applies to rods as well as thrust washers. However, to lubricate these nodes, you probably need to regularly.
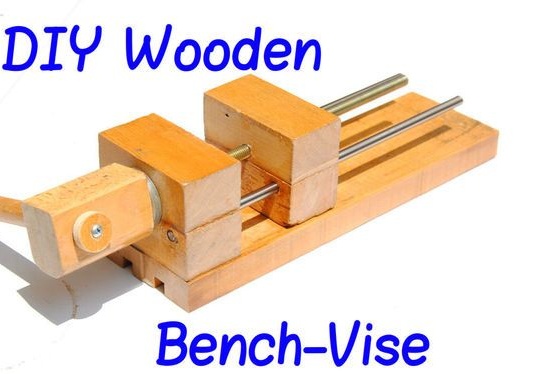
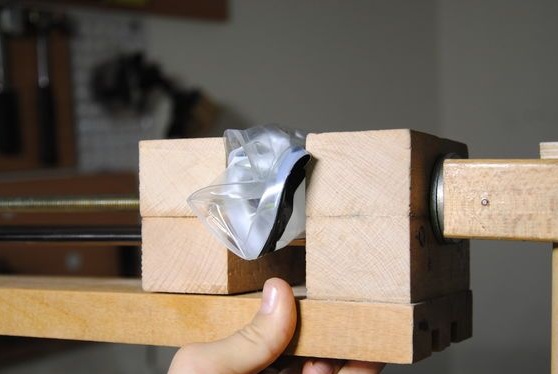
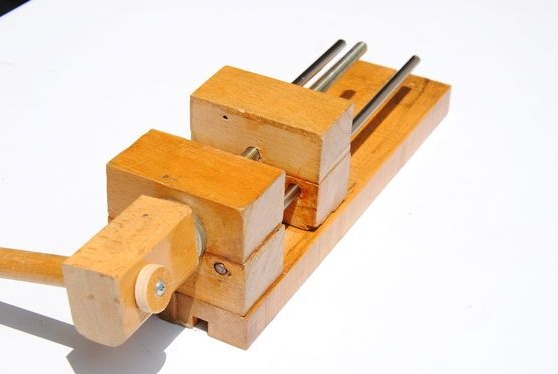
That's all, your homemade vise is ready! Now your arsenal is a very useful assistant.