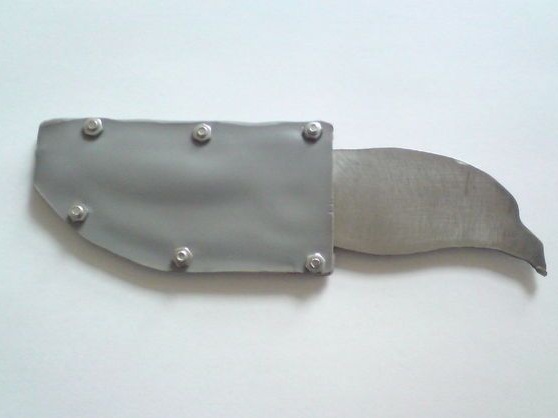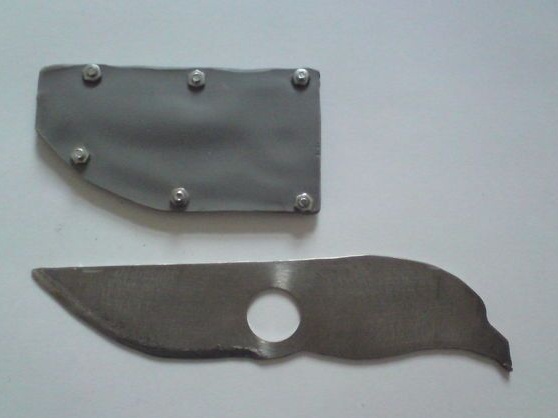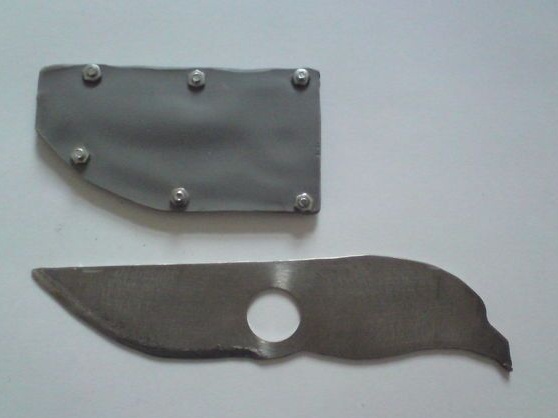
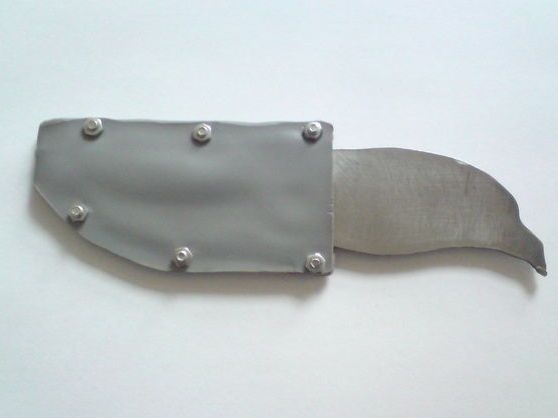
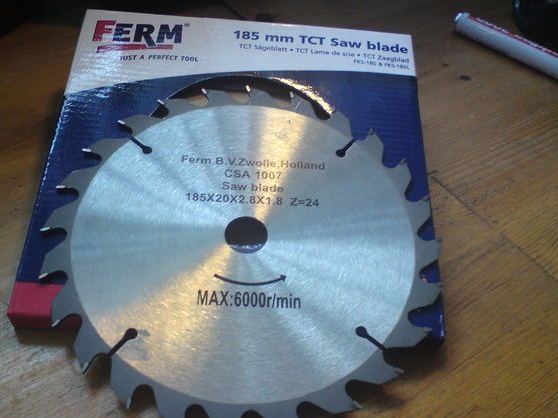
This instruction is about a very simple saw blade knife. The knife is made all-metal, so it is sturdy, reliable and quite claims to be a “survivalist knife”. In the process, the author did not use a hardening furnace, that is, the hardness of the metal is kept the same as in the original cutting disc. But if you approach this process more professionally, then you need to harden the knife and then release the metal. In addition, it will be extremely difficult to manually handle hardened steel.
Sheath is also made for the knife, the author made them of PVC. A PVC pipe was used here as a material. But better, of course, is foliage material.
Materials and tools for making a knife:
- saw blade;
- a piece of PVC pipe;
- domestic oven;
- small bolts with nuts;
- drill ();
- grinder ();
- pliers;
- files;
- sandpaper of various grain sizes;
- vice and clamps;
- marker and more.
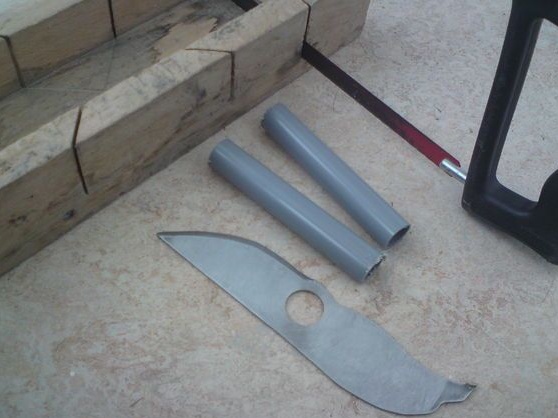
The process of making a knife:
Step one. Knife profile
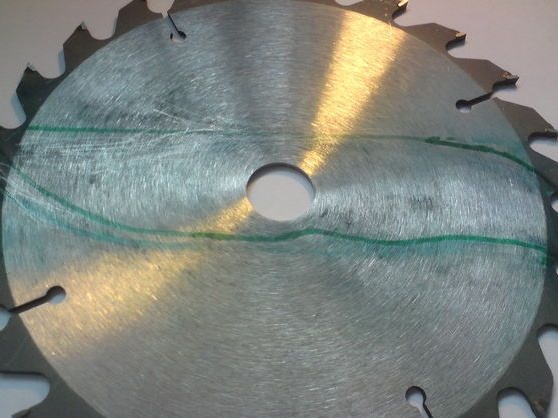
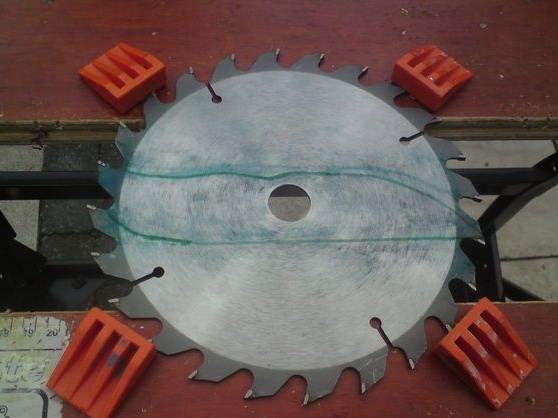
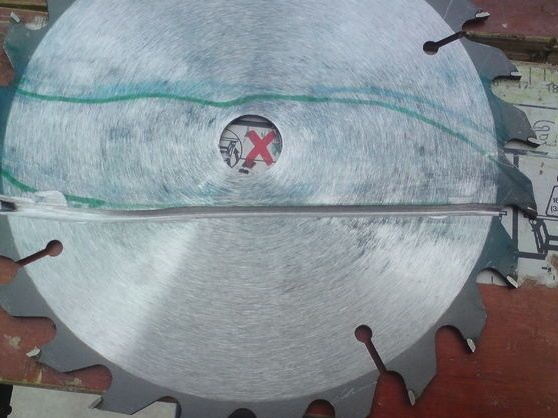
The first thing you should do is create and draw a knife profile. To do this, you need a marker or felt-tip pen. To understand whether a knife will be convenient, you can first draw it on cardboard and cut it out. The author makes his knife as long as possible. He leaves the cutting tooth, on the knife it is located in the back. It can be used for some purposes. Also, the knife will already have a finished hole, which will allow it to be conveniently held, well, or attached to something.
Step Two Cut a rough profile
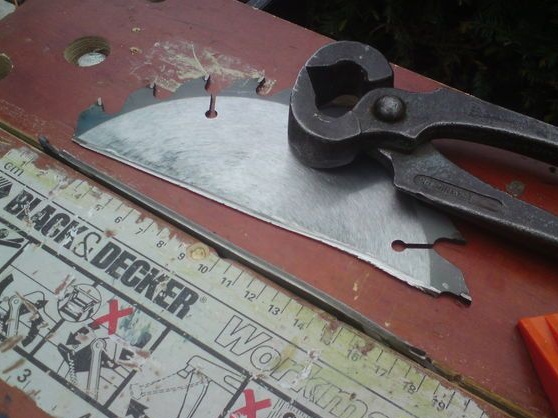
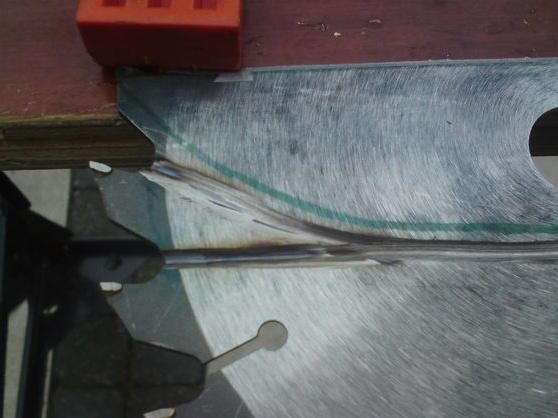
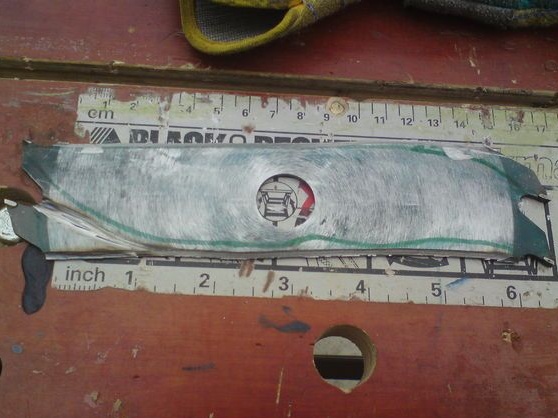
Next you have to cut the rough shape of the knife. If you work as a grinder, do not overheat the metal, otherwise there will be a vacation and all this venture will lose its meaning. If the metal is overheated, it will need to be tempered. A change in color indicates overheating. You can also cut the profile with a hand saw for metal, it is longer, but you will not overheat the steel.
No need to strive to immediately cut out all the bends and so on. Cut as straight as possible.
Step Three We are modifying the profile
Now the rough outline of the knife needs to be smoothed out, the profile should get its finished look.To remove a large amount of metal, you can use a grinder or grinder. For final processing, we work with files. Also here Dremel with a suitable nozzle can come to the rescue.
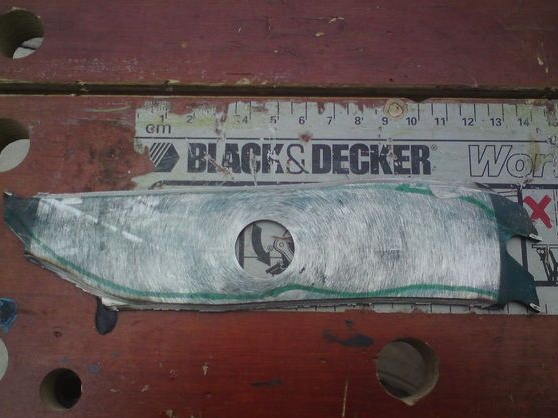
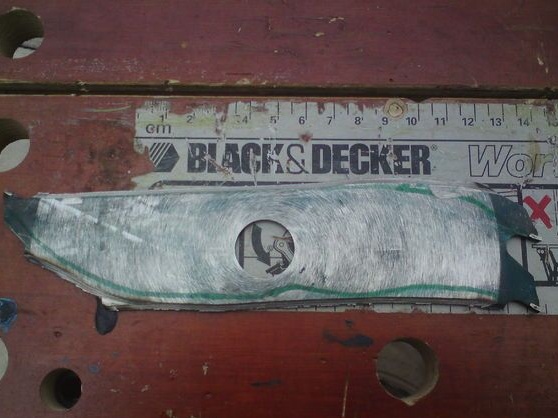
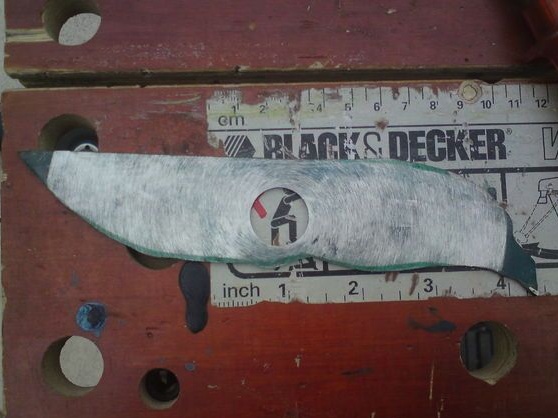

Step Four Knife sharpening
To cut the knife well, make high-quality bevels. First, draw them on the blade, and then grind the metal with a file, holding the workpiece in a vice. Faster this job to perform a grinder, but again, there is a high risk that you will overheat the metal. The bevels on both sides should be as symmetrical as possible, so it is recommended to draw a centering line along the blade that will divide it into two parts. This is usually done with a drill of the same diameter as the thickness of the workpiece.
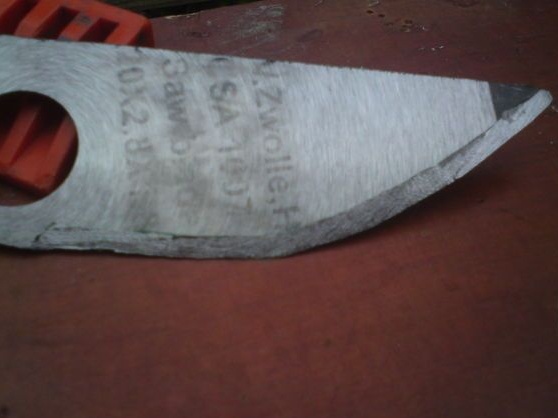
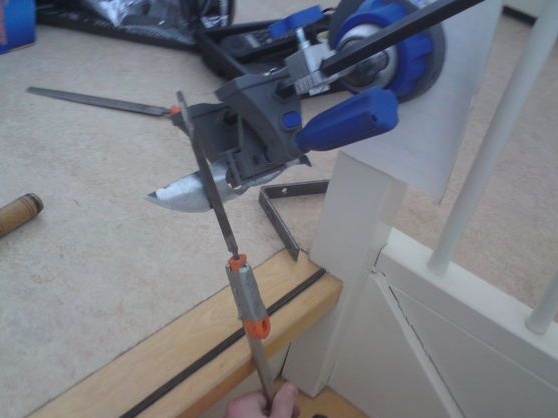
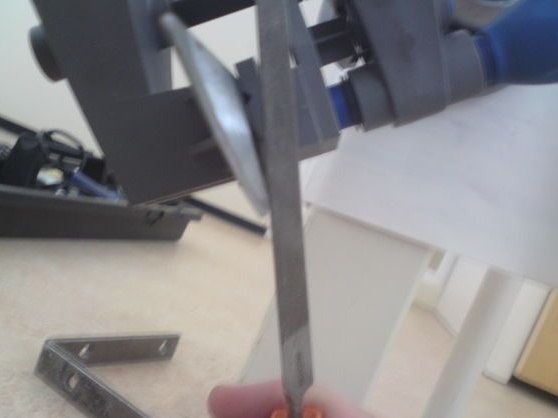
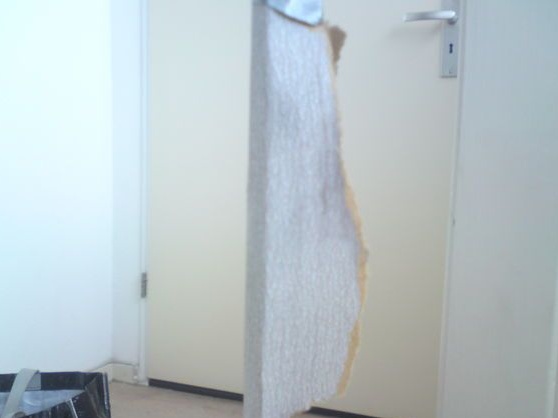
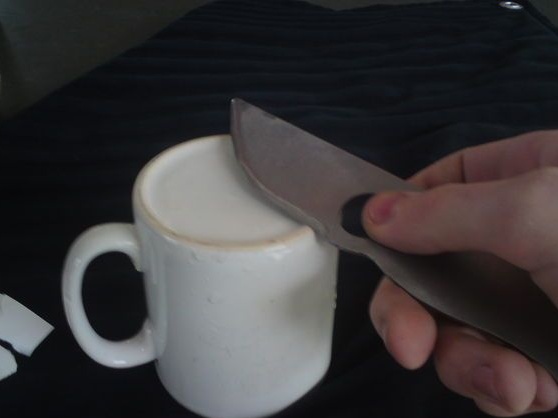
The author had a very small set of tools, so he sharpened the knife with what was at hand. We carry out rough work with files, and then we arm ourselves with whetstones. For fine sharpening, the author decided to use the back of the mug, as there was no whetstone at hand. For professional sharpening, you need a Japanese water stone. However, many craftsmen sharpen fine and fine sandpaper.
Step Five Knife sheath
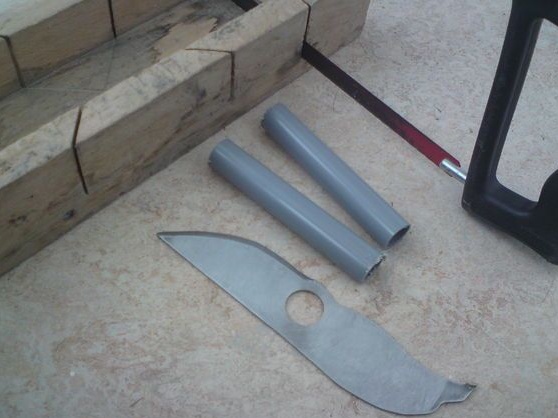
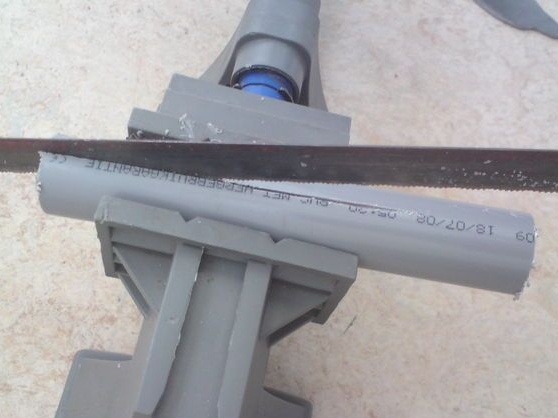
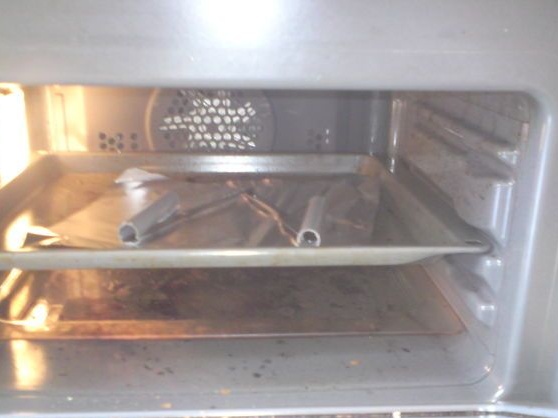
The author decided to make the scabbard from PVC, for this two pieces of pipe were used. In length, they must correspond to the size of the cutting part of the knife. Clamp the pipes in a vice and cut both along. Next you need a domestic oven. We heat it to a temperature of 200 degrees Celsius and put the pipes there. Pretty quickly, the plastic becomes soft, now it needs to be removed and aligned in two sheets. The material is clamped between two pieces and allowed to cool.
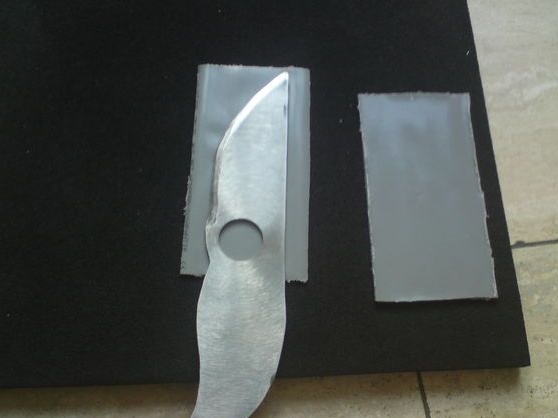
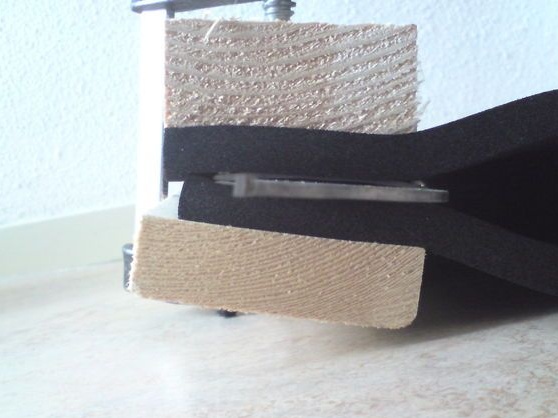
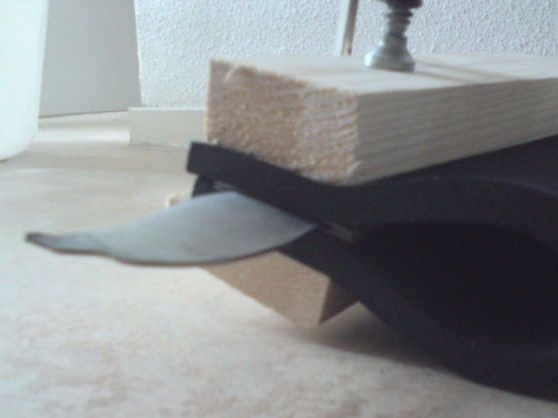
After a while, we again send the sheets of plastic into the oven and again we get it. Now we need to hold a knife between them. As a result, the sheets will take the desired shape. At the end, drill holes in them and tighten the scabbard with screws and nuts. Then it only remains to cut off the excess and the scabbard is ready. The author did not succeed very well, but firmly.
