

Hello to all lovers homemade. Recently, I needed to make a charging circuit for a lithium battery, it was so uncomfortable to solder the wires to it that I decided to fix it with my next home-made product, namely, a “third hand”, which would not only conveniently solder the wires and circuits, but also hold other components when soldering. Also, having done it ourselves, we save as much as 500 rubles, which is exactly what the average “third hand” costs in a radio store in central Russia.
Before reading the article, I recommend watching a video about the assembly of this homemade product.
This homemade product does not require any special skills, so even a beginner will be able to do it.
In order to make a "third hand" do it yourself will need:
* Parquet or board
* M4 bolts
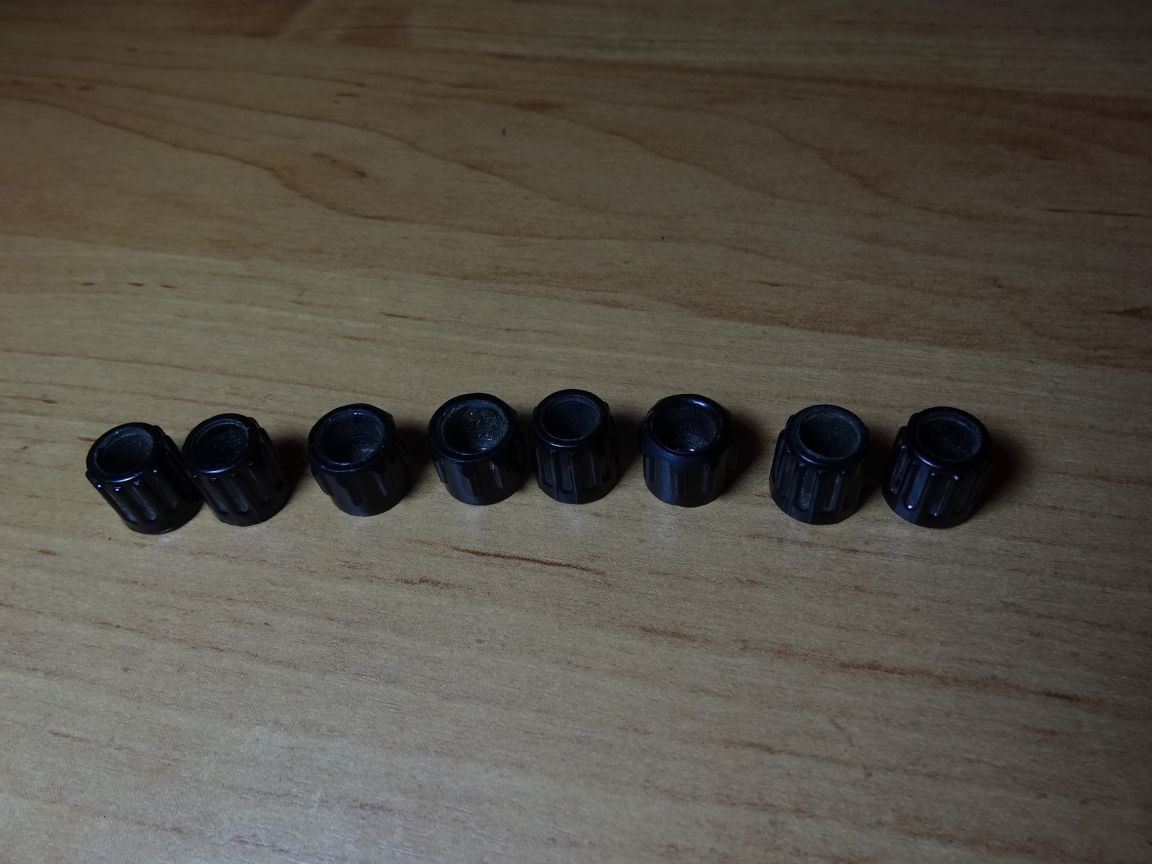
* Lamb, I removed from the Soviet training potentiometer
* Iron plates
* Two corners
* Crocodile clips
* Gas-burner
* Tin solder and soldering acid
* Epoxy resin
* Electric drill
* Heat shrink or wire insulation
* A couple of washers
That's all you need to build an "assistant" when soldering.
Step one.
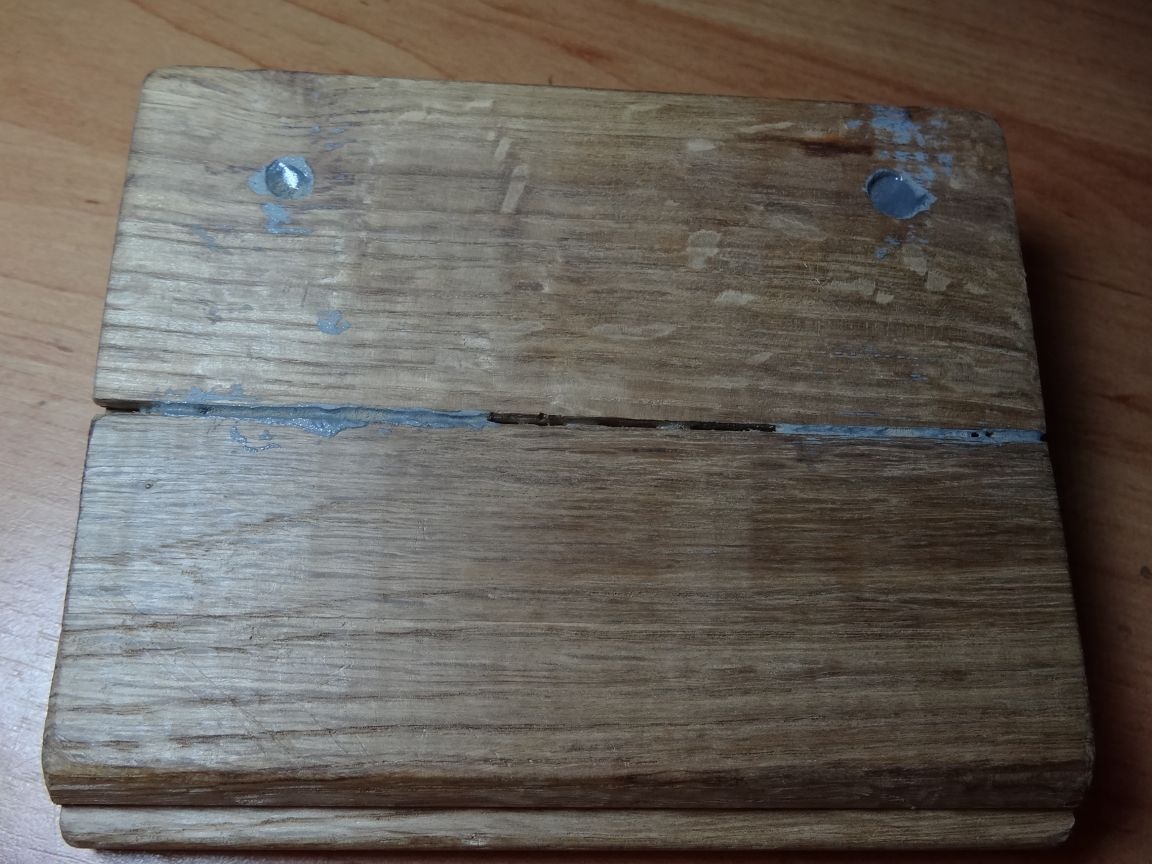
First you need to determine the size of the platform, on which the entire structure will be installed after. My choice fell on the oak sections of the parquet, as this is not the first time I know this material and I know that it will last a long time. When choosing a material for the base, pay attention to its weight, since a small weight will make the entire structure unstable, which is not good.
After I decided on the material, I armed with PVA glue glued the two parts together, eventually got a square platform that weighs 200 grams. Next, I wrapped it with nylon thread and left it for a couple of hours until the glue hardens completely.
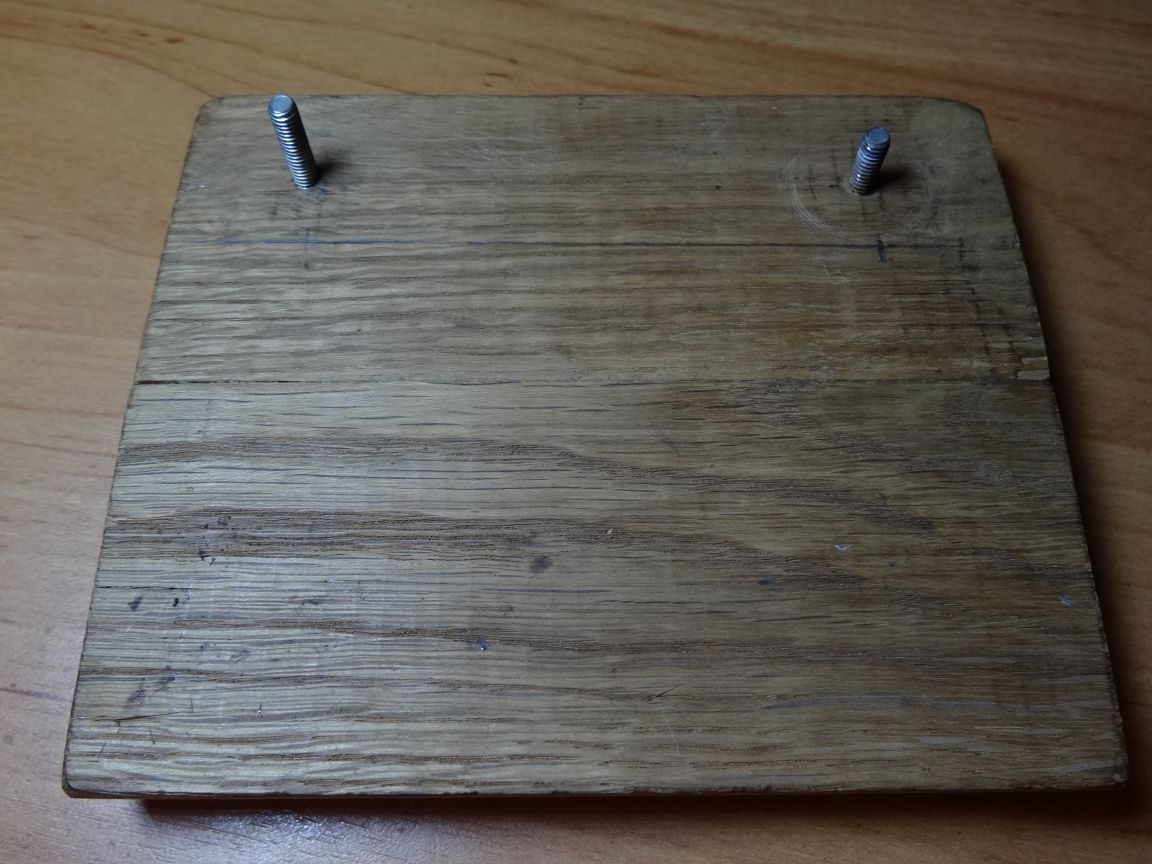
Step Two
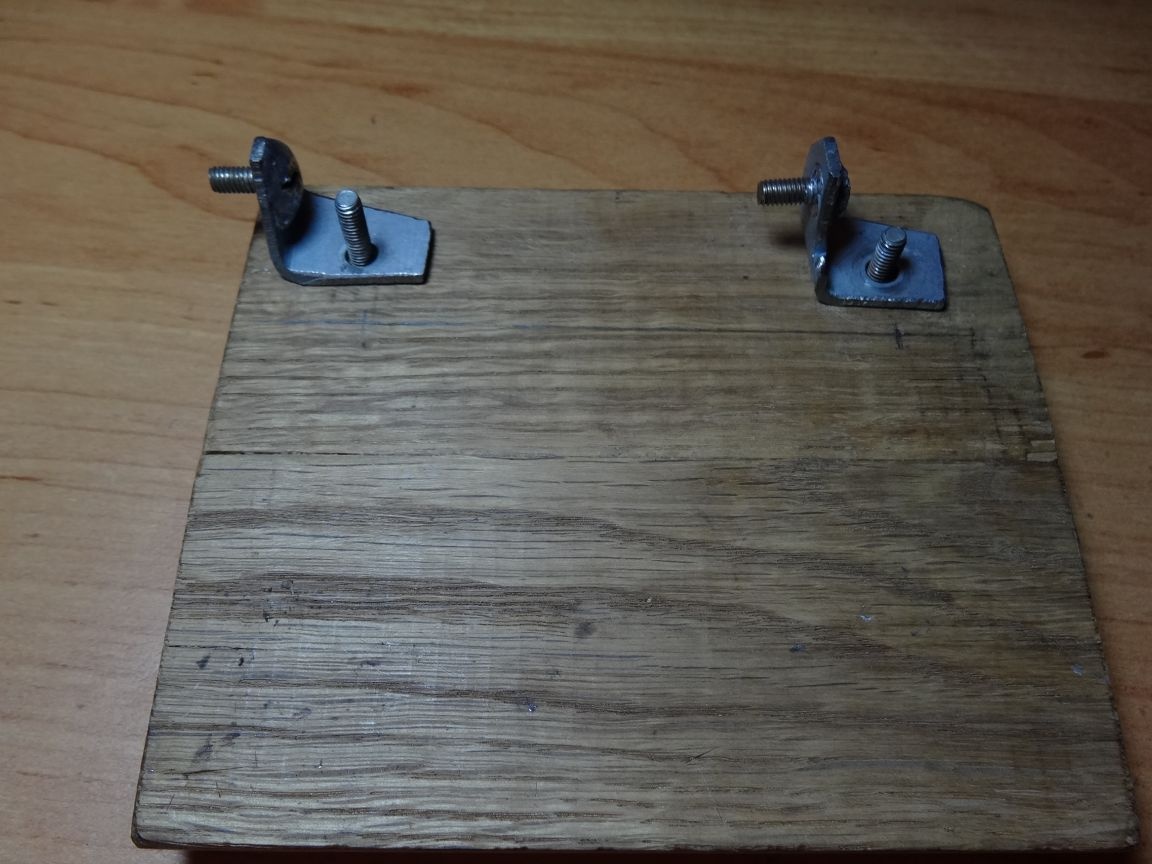
Now you can do the fasteners to the platform itself, I did not think for a long time and decided to use the M4 screws, since their rigidity will be quite enough. And to attach these screws, I drilled two holes through the base with a 4 mm drill and a 6 mm drill to the middle, then drove the screws from the back so that only the thread appeared on the outside, its length of 10 mm is enough to screw the wings on it. On the reverse side of the plank, I filled the very holes with a diameter of 6 mm with epoxy resin so that the screw would not scroll further and would not fall out.
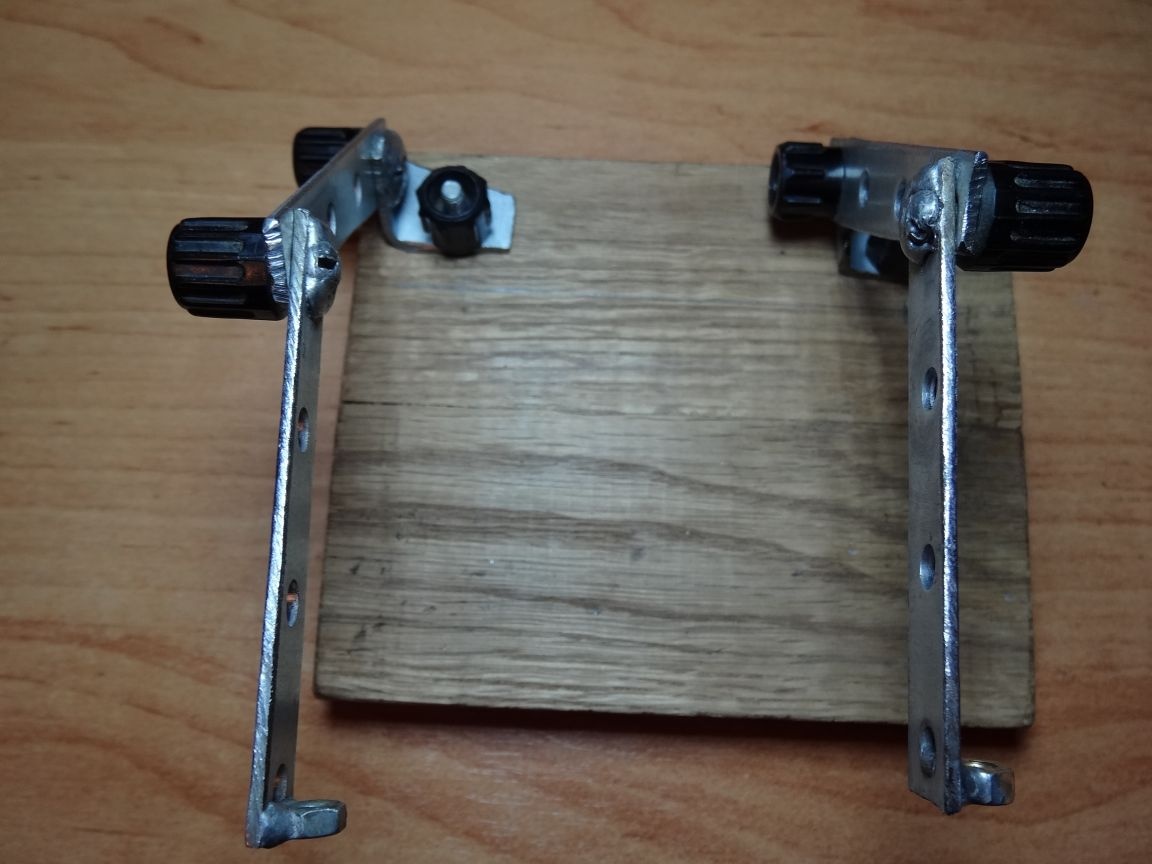
Step Three
In order to further attach the levers to these threaded studs looking out from the base, it is necessary to make corners.I sawed them out of a large corner with a hacksaw for metal, the plate thickness of this corner is 1.5 mm. And so that on the other hand, when tightening it, I do not constantly keep the screw from spinning, I soldered it with the simplest tin solder, using a gas burner and soldering acid.
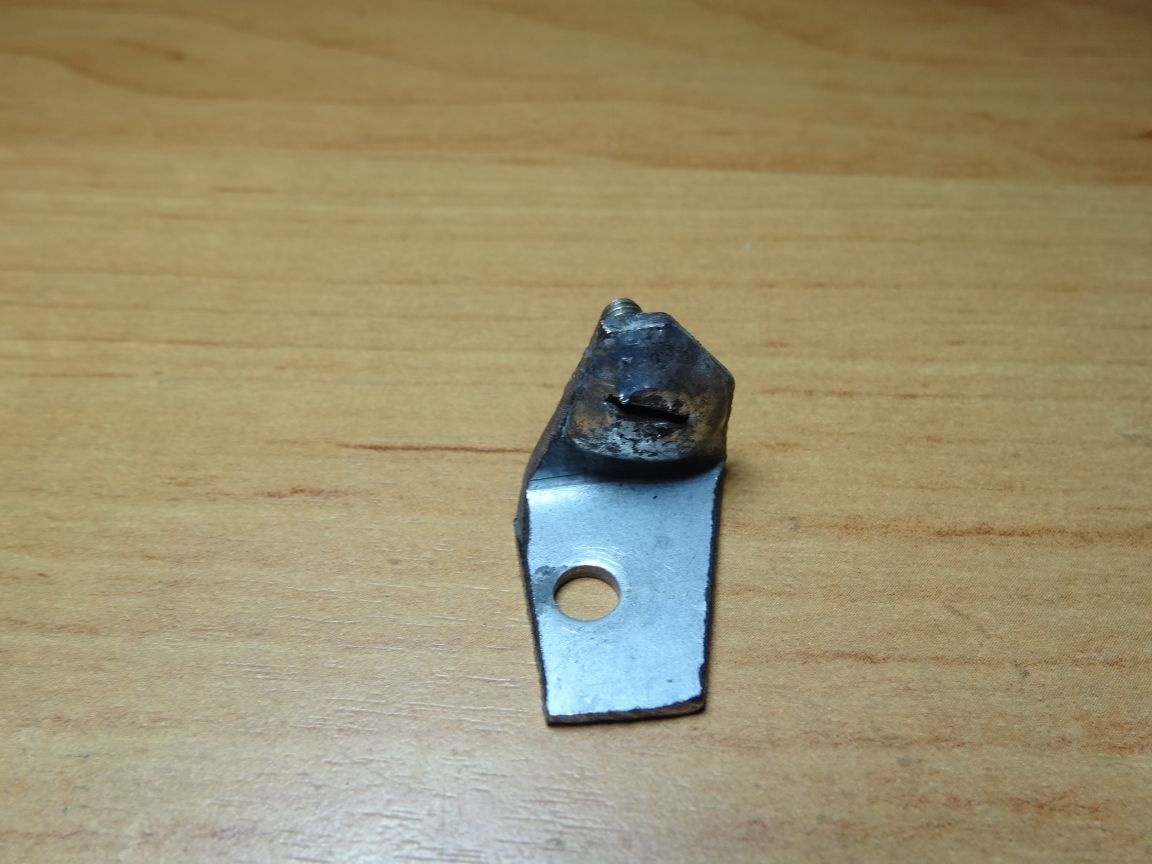
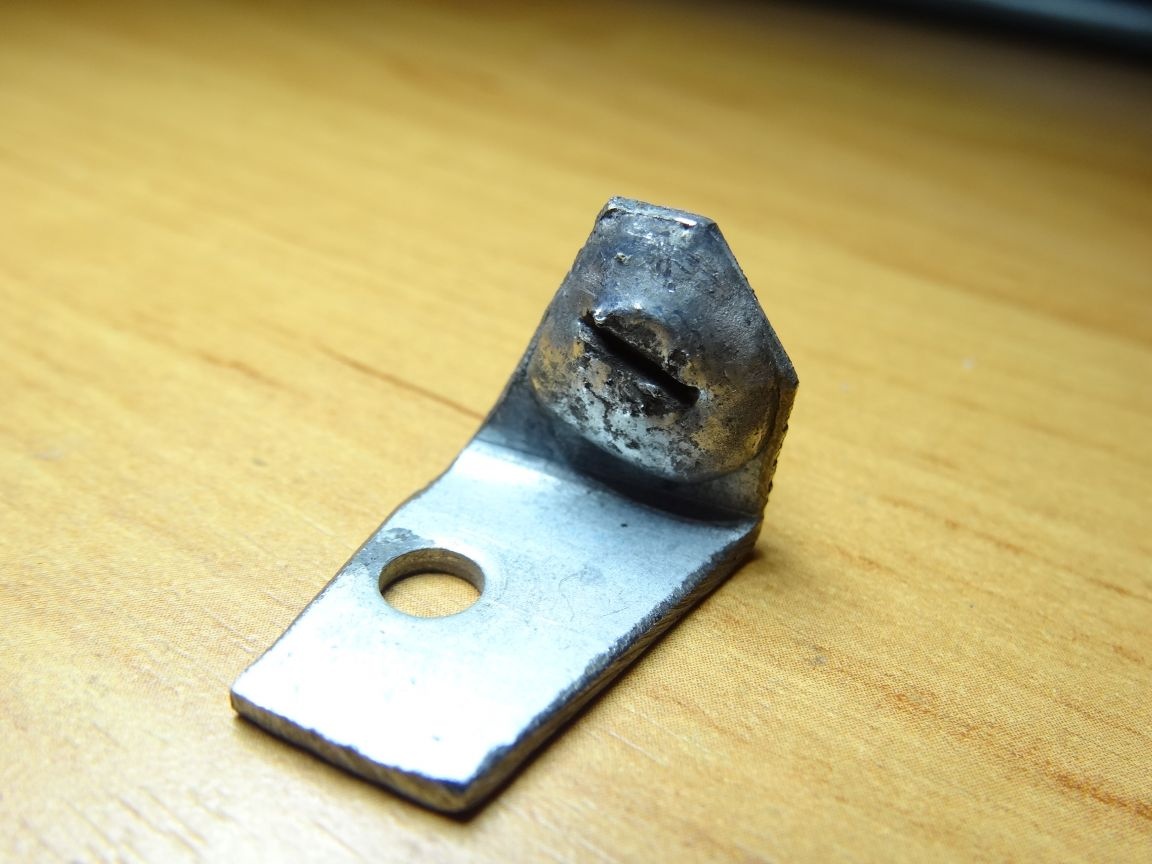
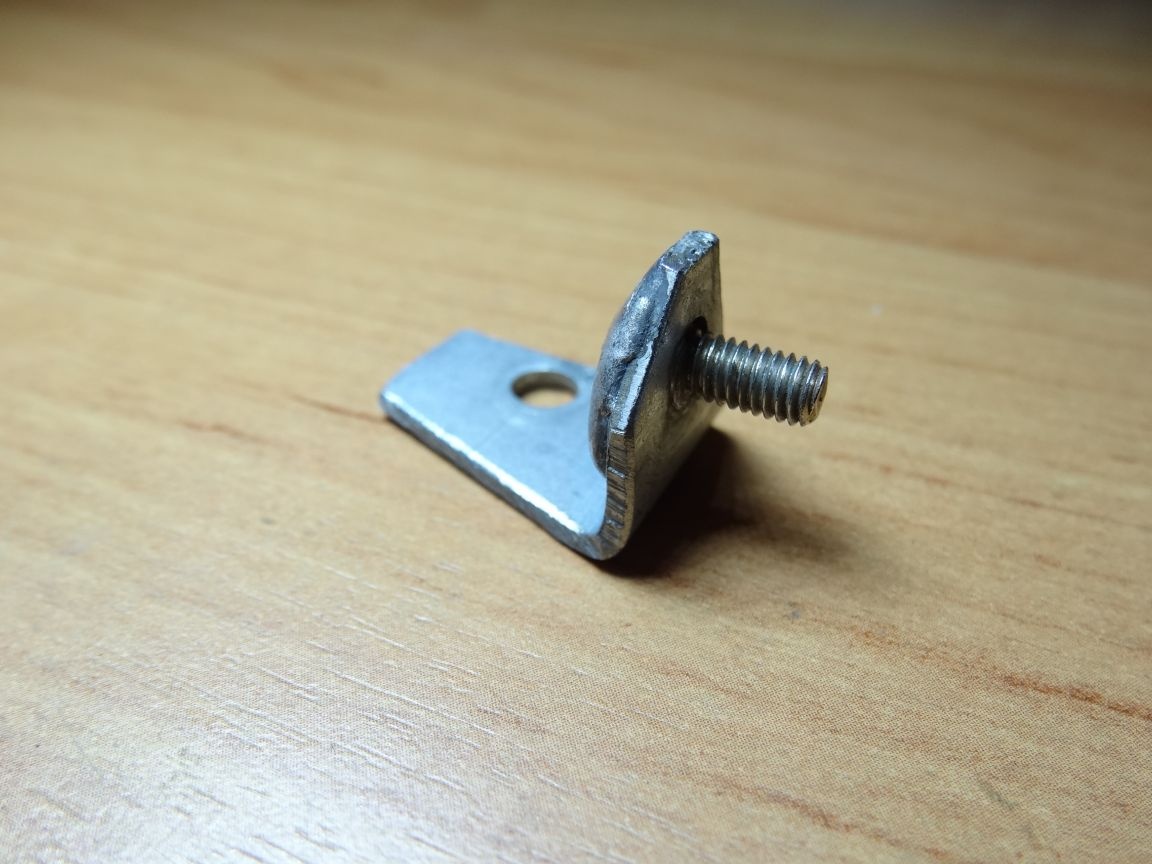
This connection is quite strong, in any case, there will be no heavy loads on such a homemade product. The second corner is done similarly to the first.
Step Four
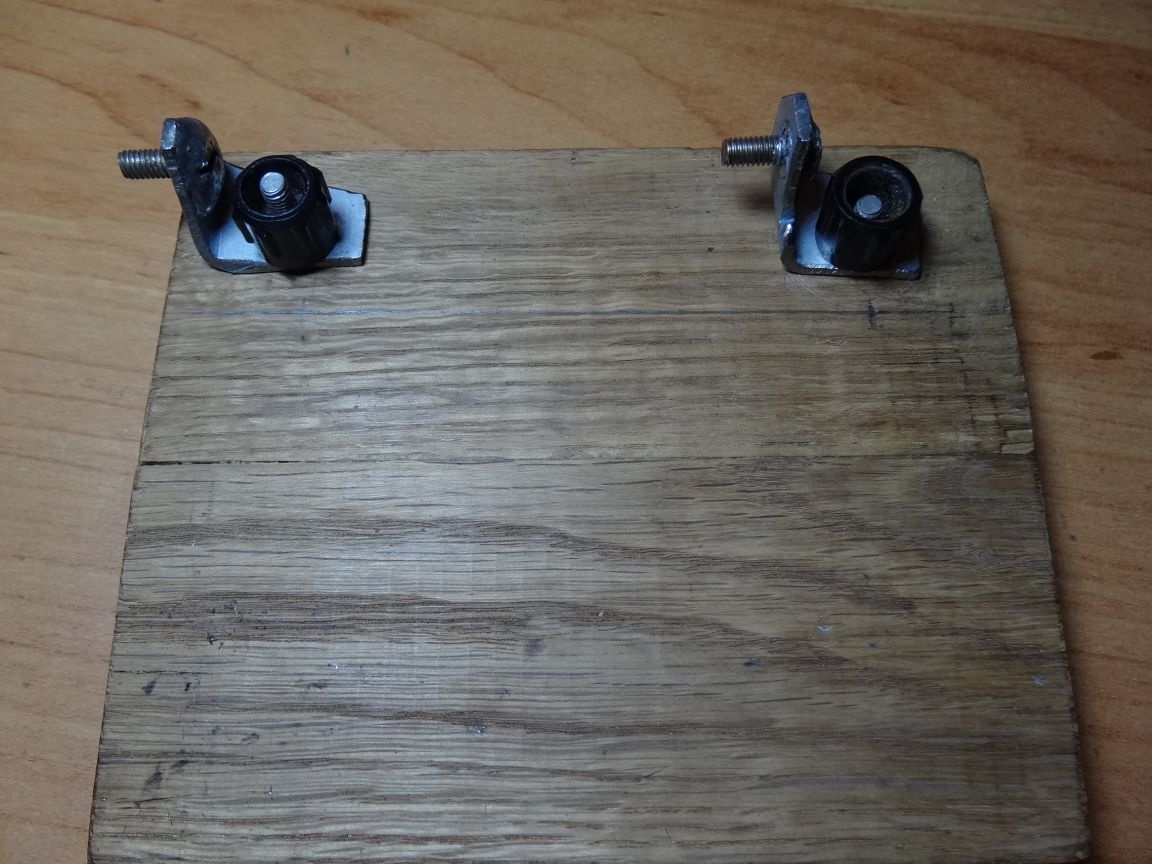
When the base with the fasteners is ready, we turn to the levers themselves, which will be adjusted using the thumbs that I twisted from the Soviet potentiometer. I made the levers from a metal plate 1.5 mm thick, holes were already made in it, so I did not have to drill anything.
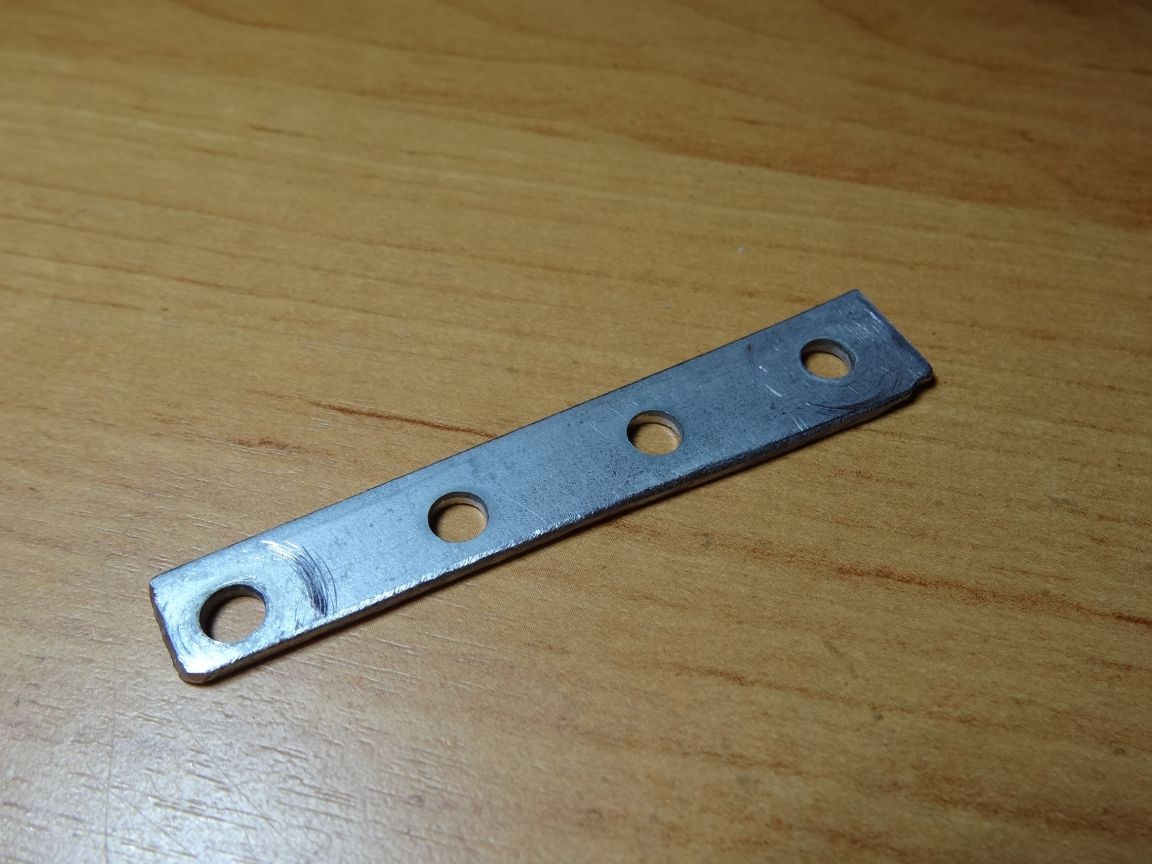
You will need two such plates, if you want to expand the functionality of your homemade product, then you can make more leverage.
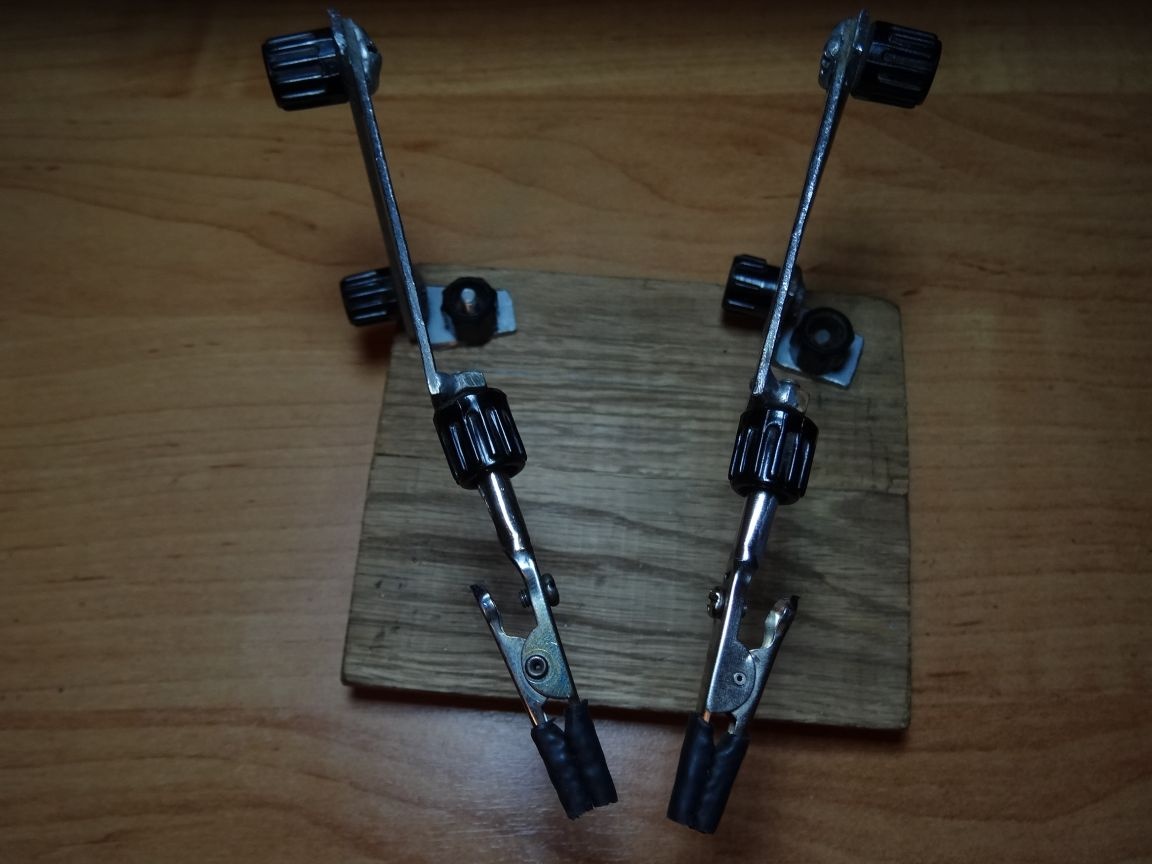
Step Five
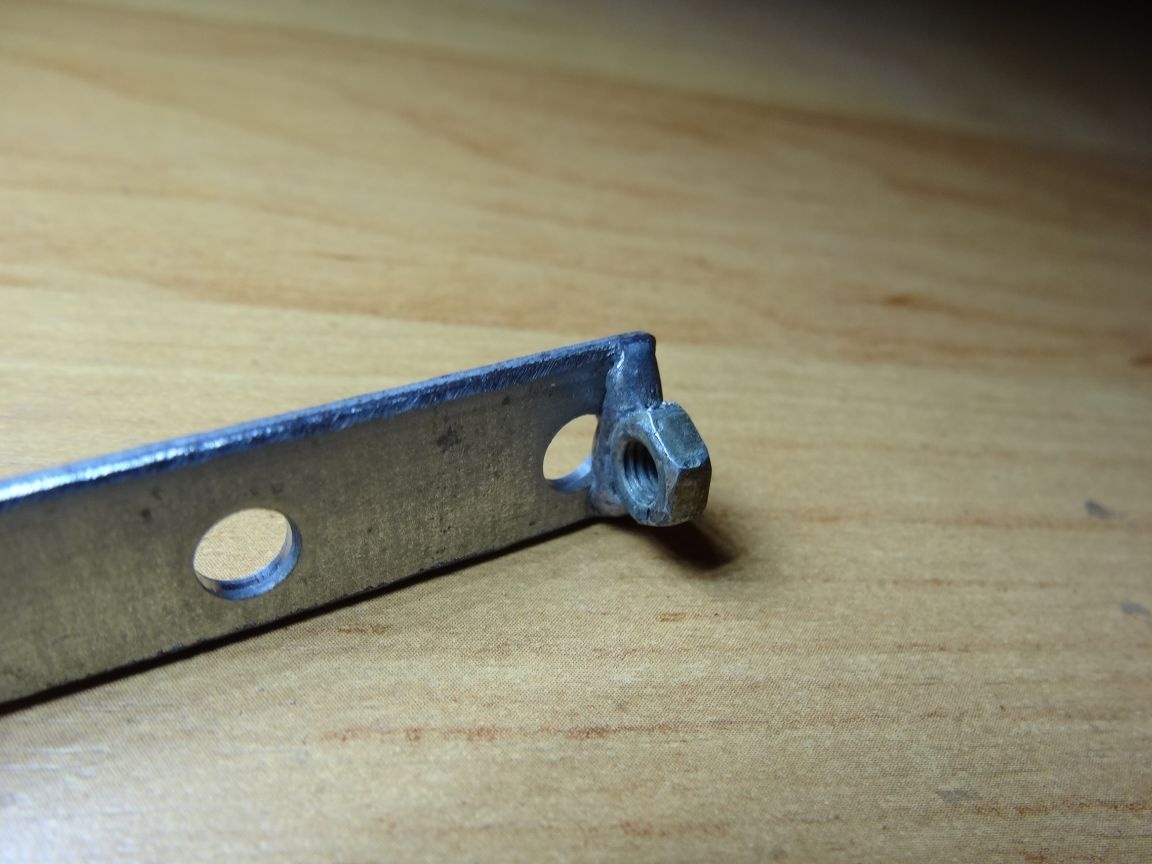
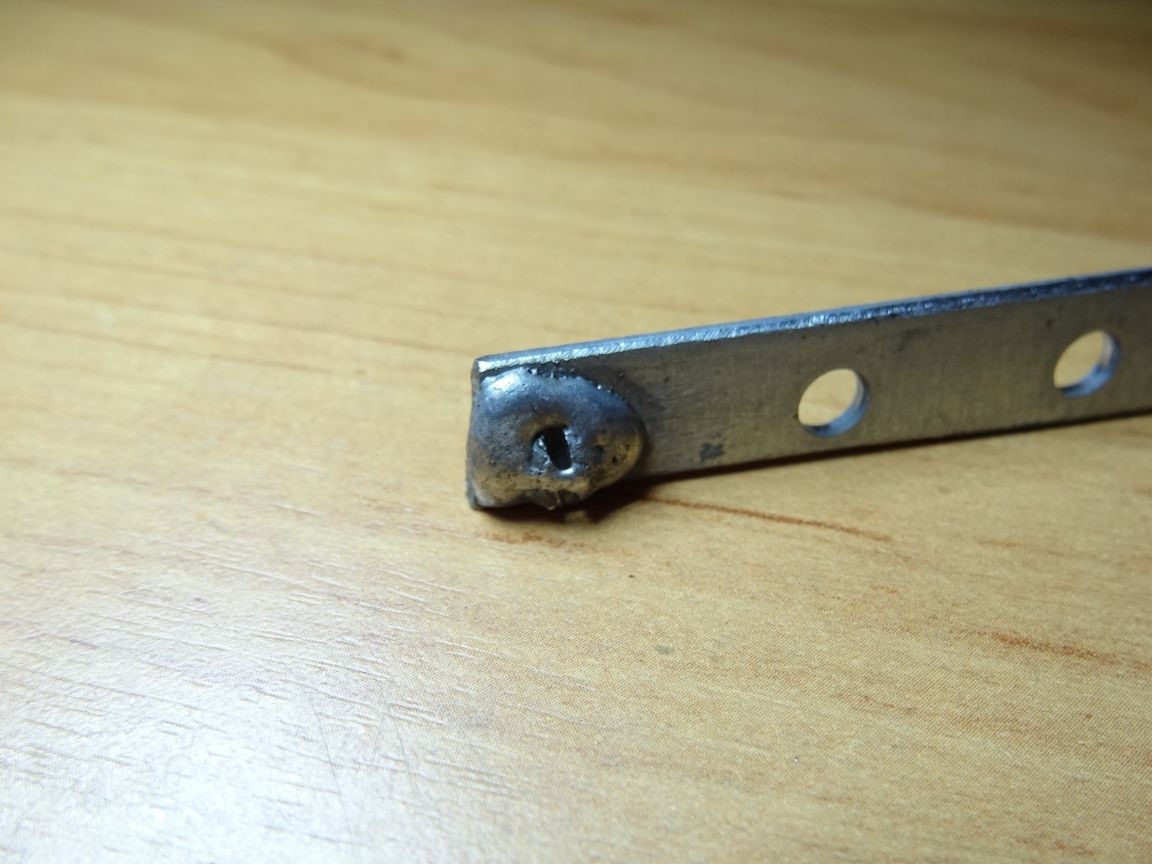
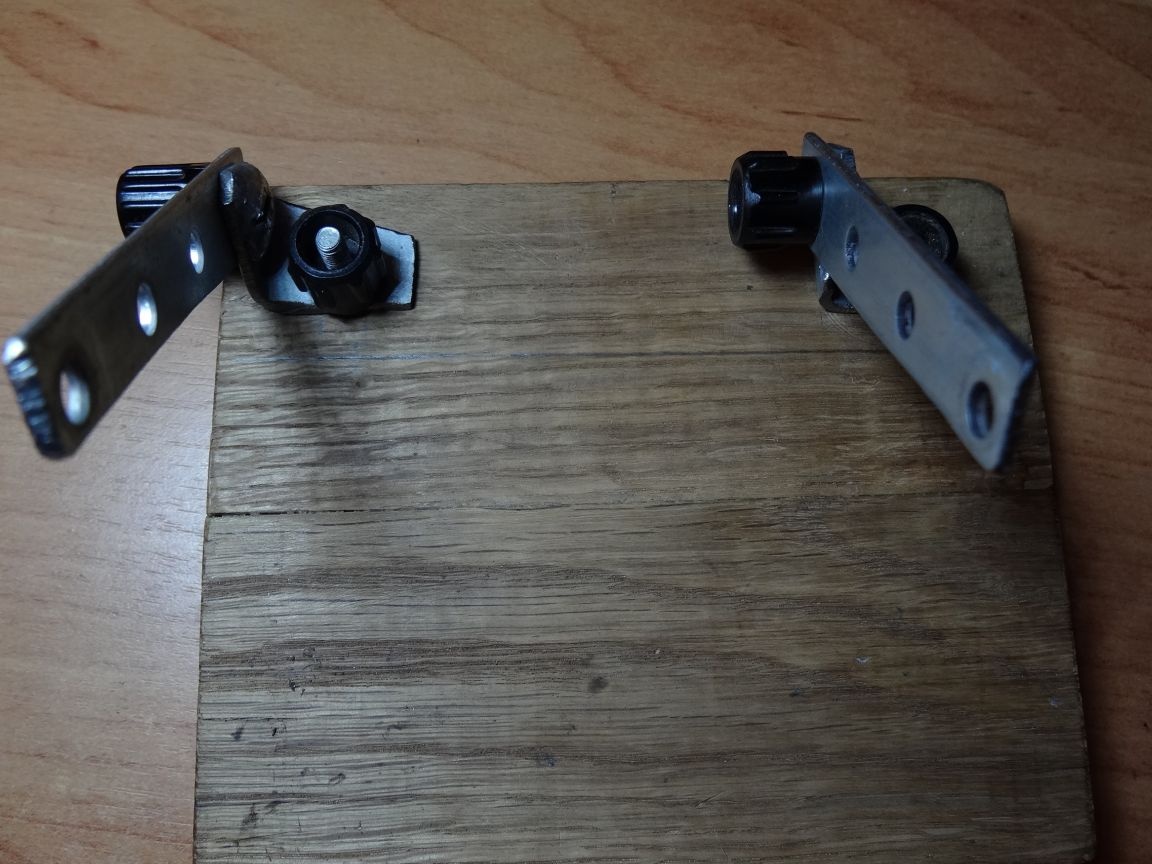
Since homemade provides for precise adjustment of the clamps during soldering, the presence of a second lever is required. In any case, one lever can not do. The second lever will consist of the same plate as the first, but have a screw on one end and a nut on the other. All these parts are successfully soldered to the plate, all that is needed at this stage is a gas burner, a little tin solder and soldering acid.
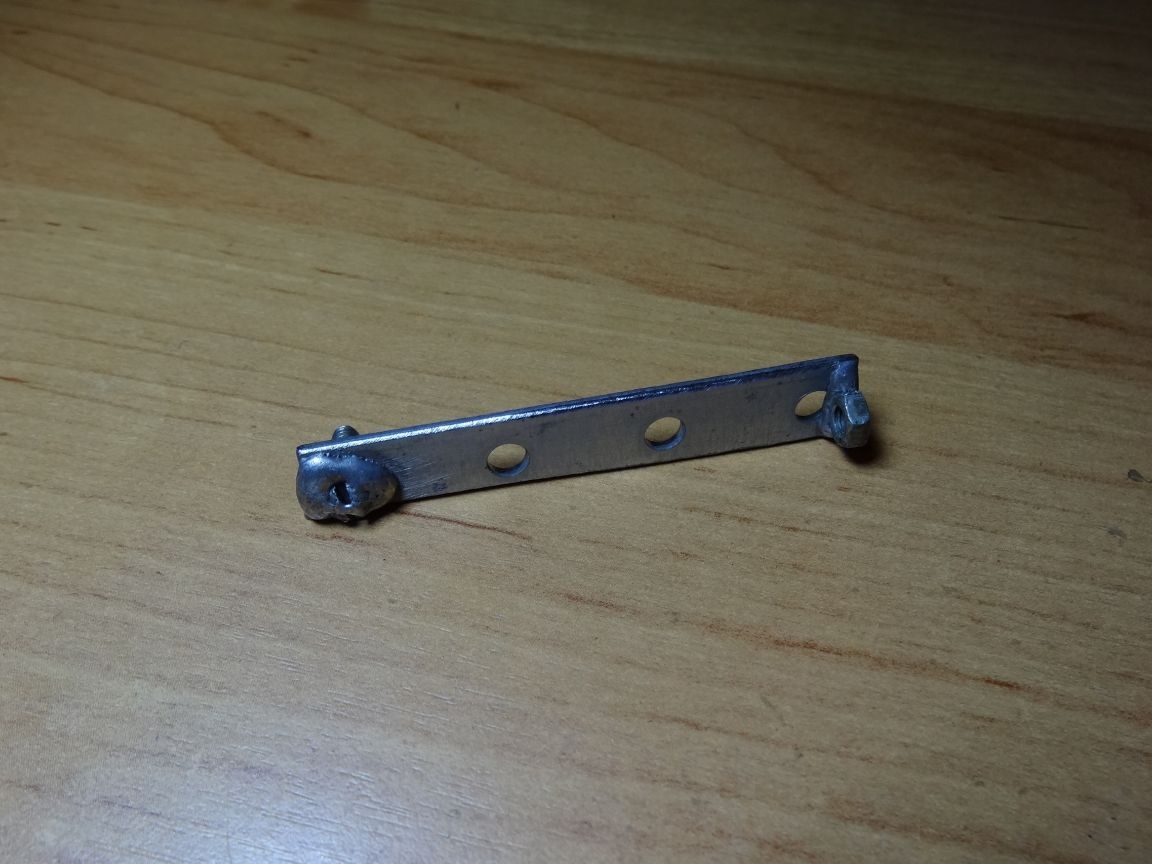
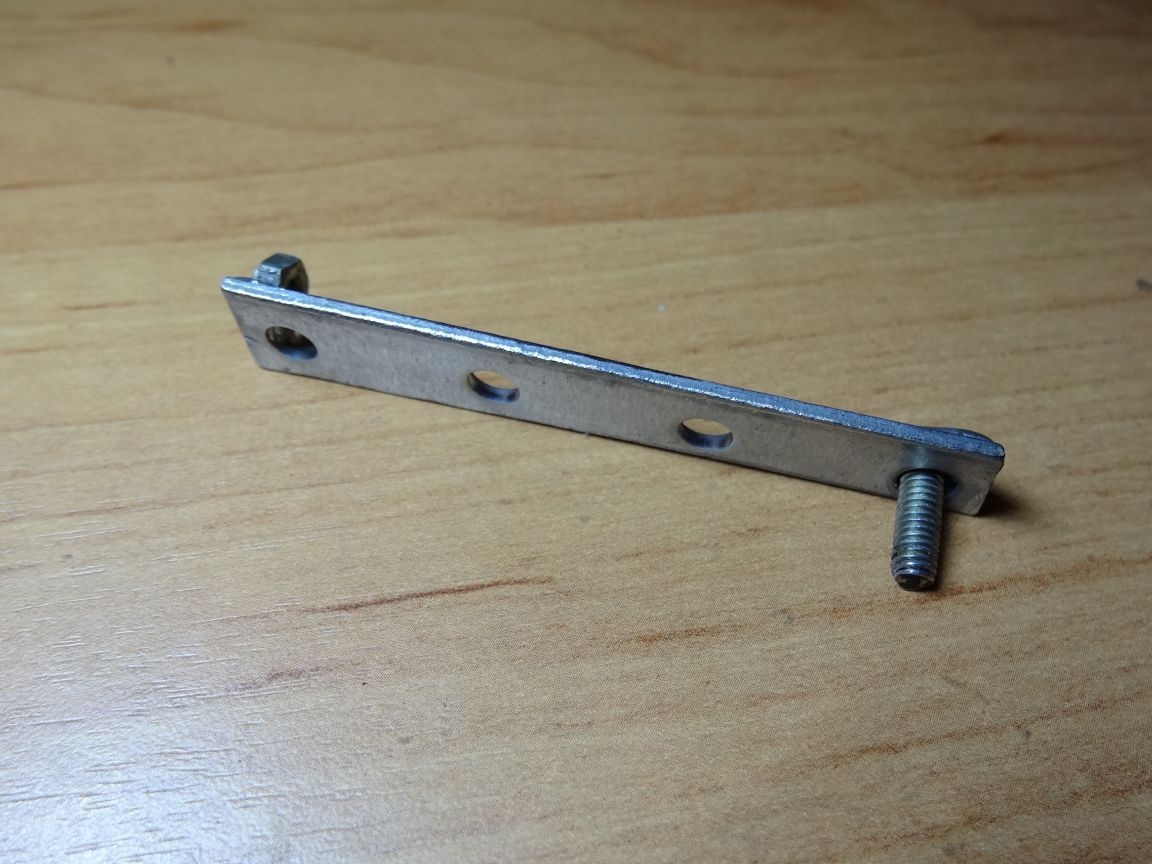
After soldering the parts, rinse them with technical alcohol or a similar solvent.
There will be two such levers, one for each clamp.
Step Six
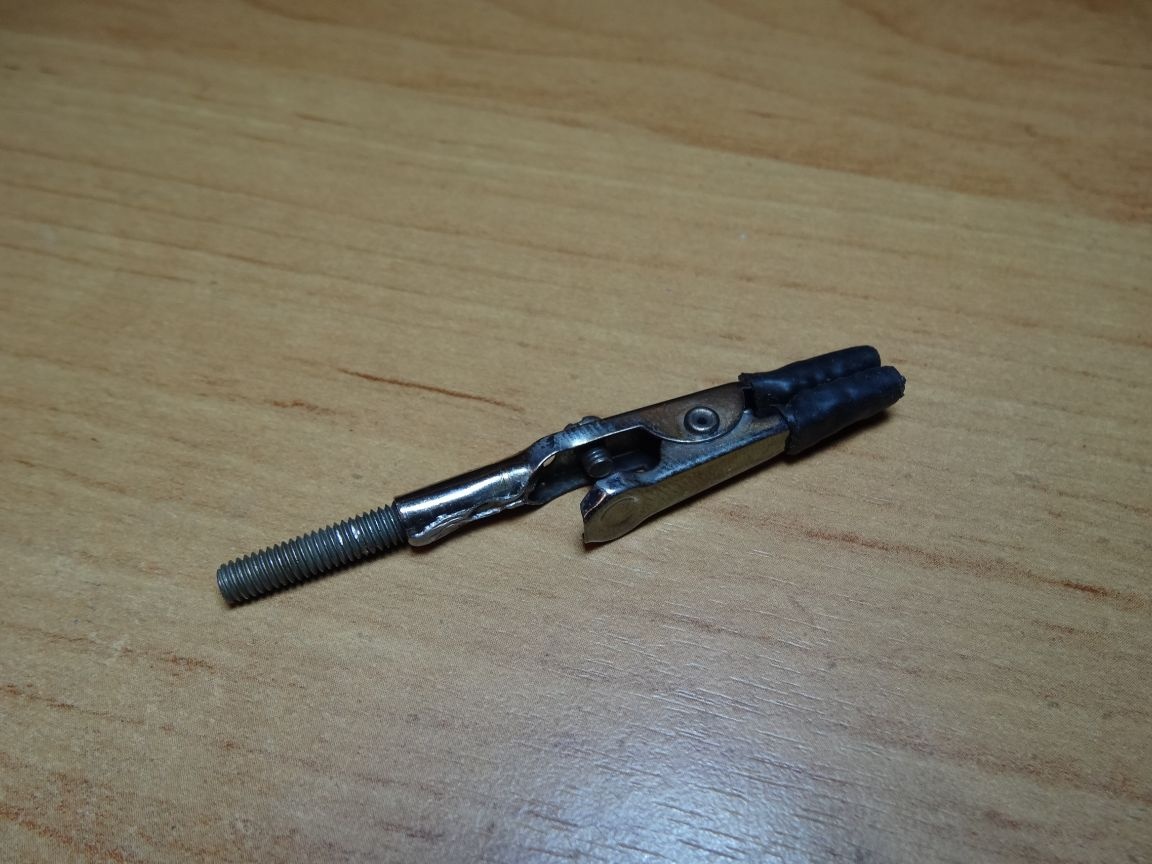
It's time to make clamps that can be easily installed in the levers and adjusted, both in height and position relative to the clamped part, vertically, horizontally or at a certain angle. Nothing smarter came to my mind how to make this option with the help of a hairpin and a lamb, which will lock the clamp in the required position. I made the hairpin from the same M4 screws with which I sawed off the heads with a hacksaw for metal. Further, the same method, tinning the hairpin and using a gas burner solder it to the crocodile clip, which I bought in the radio store for only 6 rubles.
With the second clamp we do the same operations. For better fixation, we place a washer of suitable diameter under the lamb.
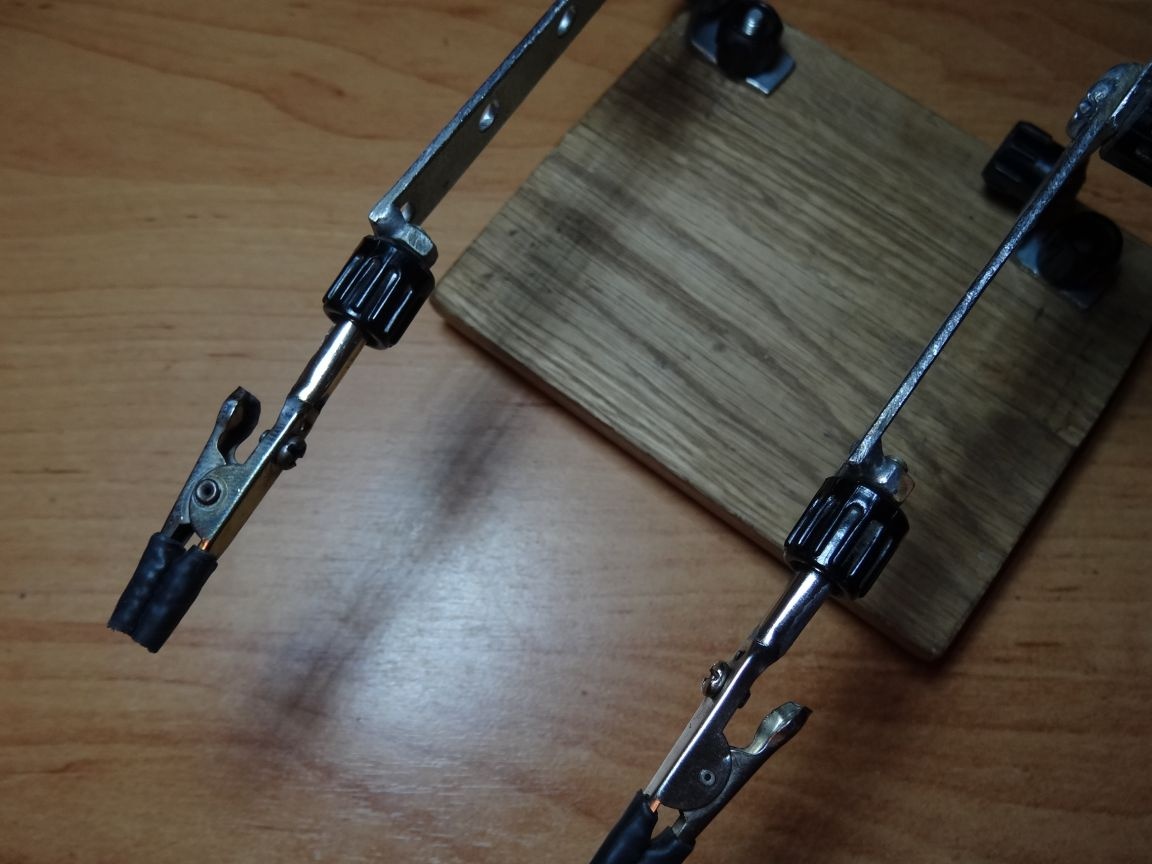
Seventh step.
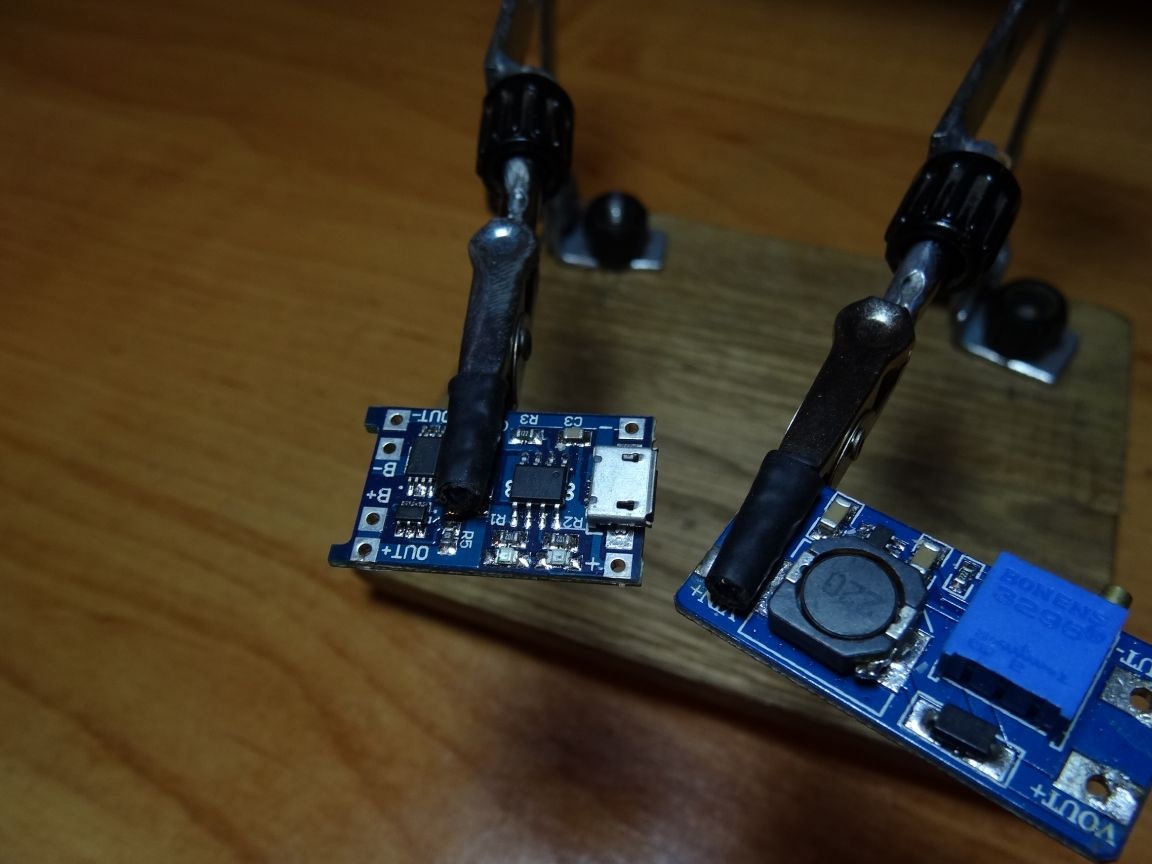
When I checked the clamps on how they hold parts and wires, I decided that their metal ends should be insulated, which would not only exclude component closure during soldering, but also reduce the chance of slipping. Since I didn’t find the heat shrinkage of the suitable diameter, and going to the radio store for more than 3 km was not a pleasant experience, I took the insulation from the old Sony wires, its quality was good enough for my homemade work, and everything turned out like diameter from the factory.
Now with such a rubber backing clamps hold parts and wires more confidently.
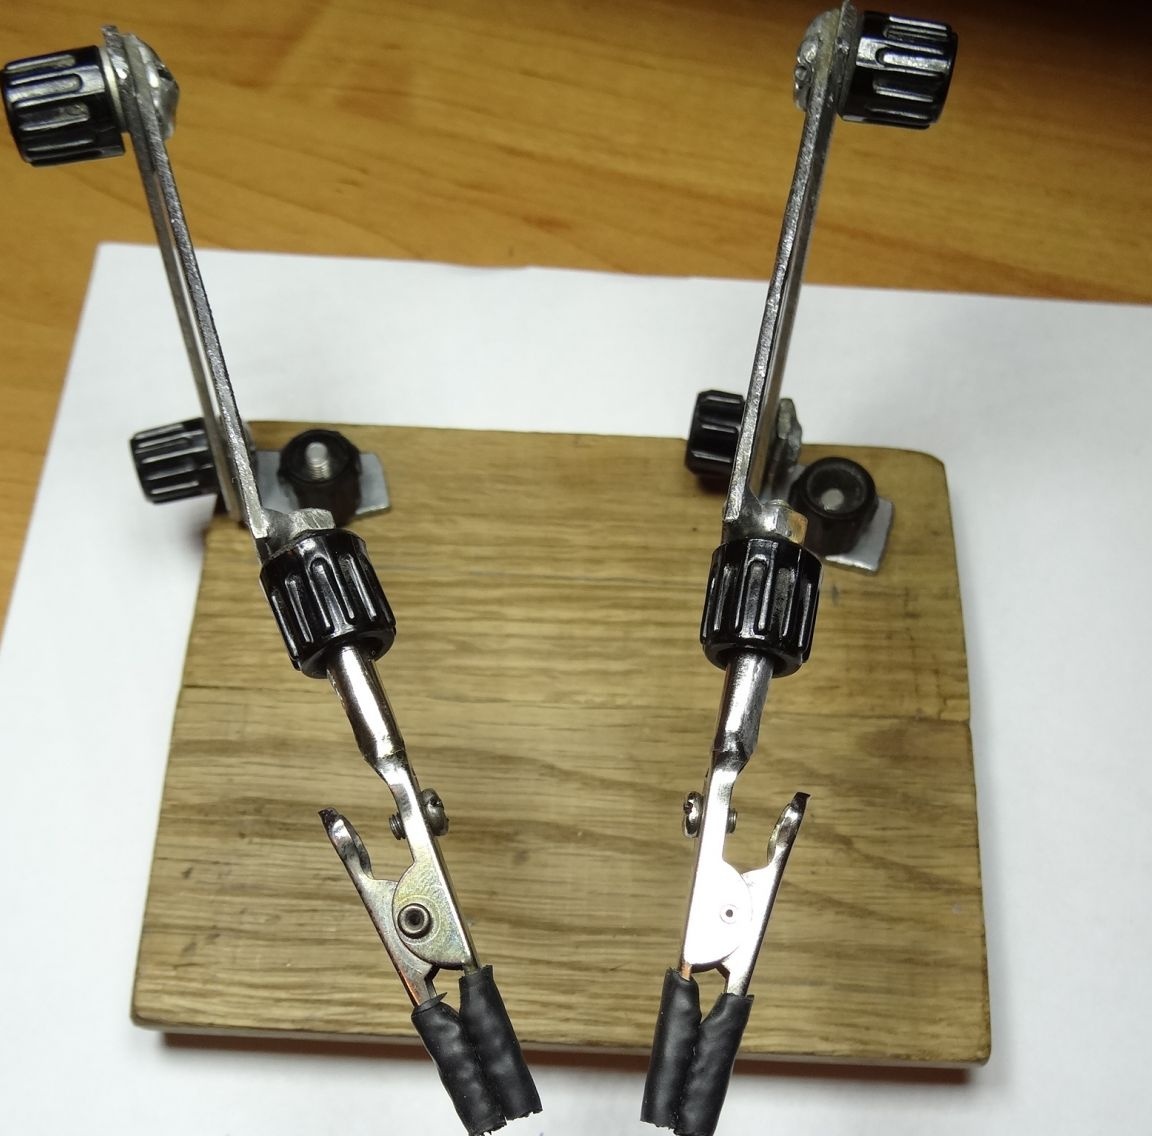
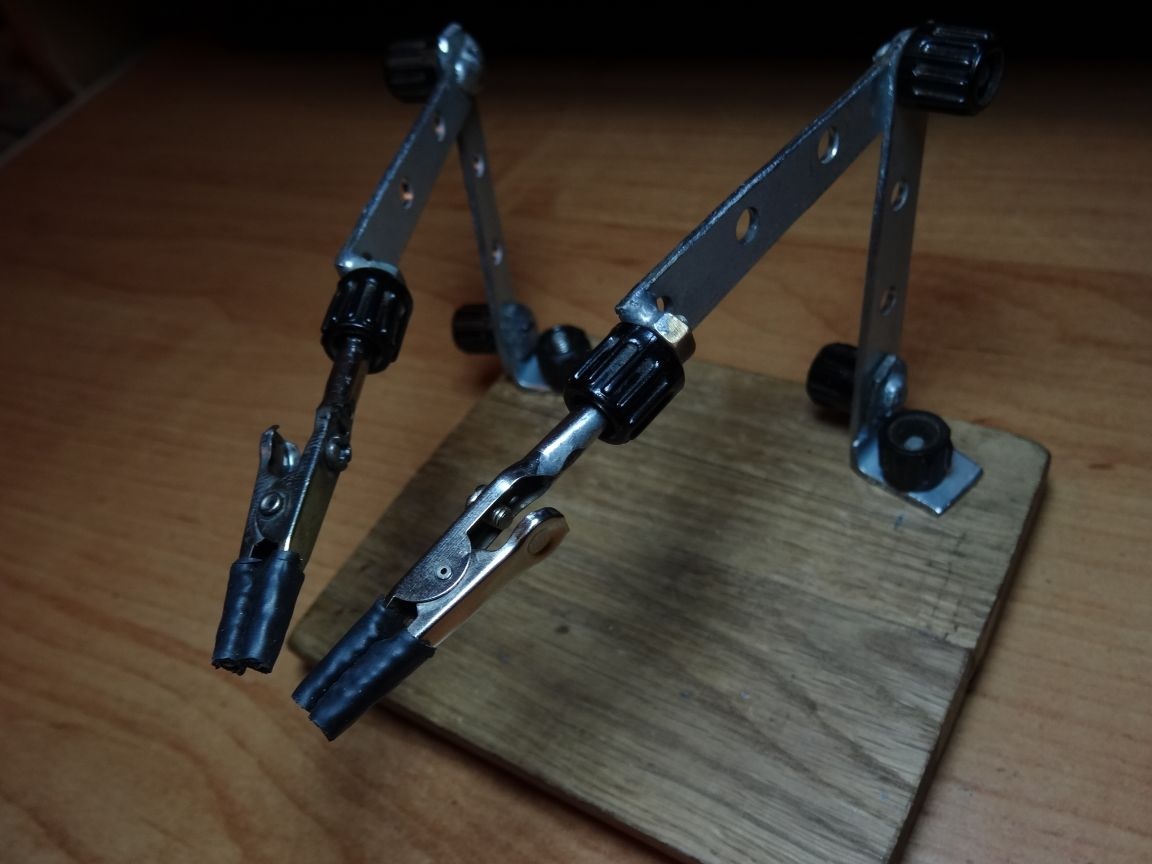
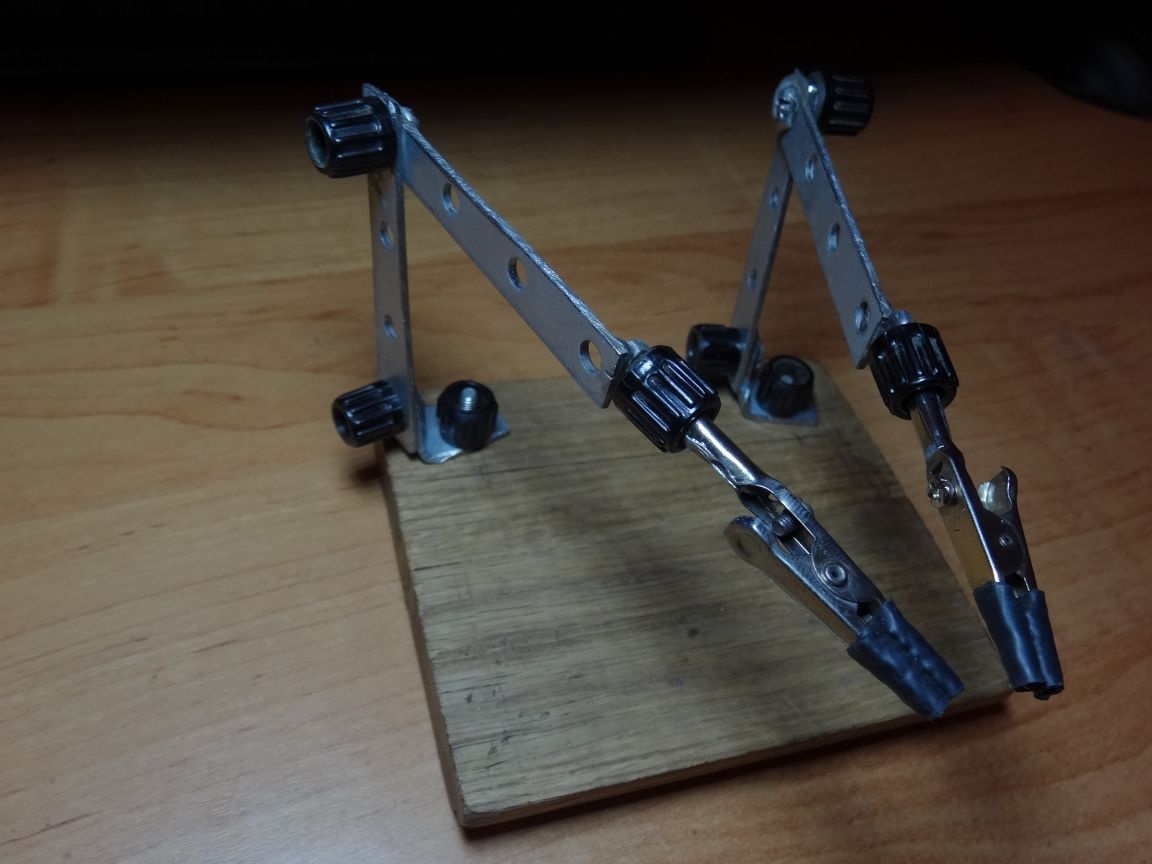
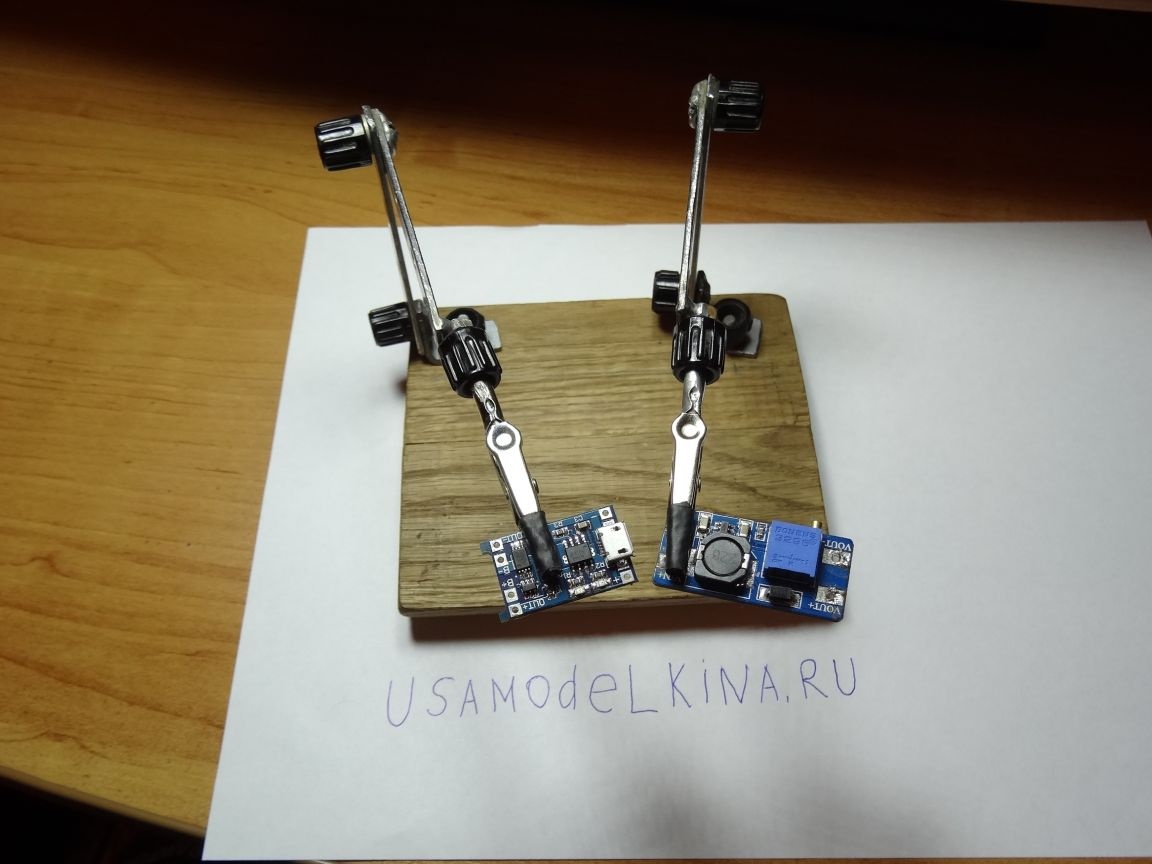
We collect all the details into a single whole.
On this the home-made “third hand” is ready, I am very pleased with her, because after I did it she helped me out more than once. Soldering with it is a pleasure, you don’t need to hold the wires with your hands, and for someone they sometimes tremble, which in general does not allow anything to be soldered.
Thank you all for your attention, creative success.