
Nowadays, everyone is actively striving to use electricity as an alternative energy. And this is reasonable, because the future is behind this type of energy. One author decided to make an electric trike for his children. Firstly, this type of transport will be quite safe for the child, when compared with a gasoline engine. And secondly, this technique is quiet, does not require fuel, you only need to recharge the batteries from time to time.
You can choose the right engine and battery depending on your needs. If you wish, you can even put the engine at 1 kV, but this is not safe, since the driving speed becomes too high, and the battery is required much more powerful.
In his design, the author decided to use a 250-Watt motor, which is powered by a 36V battery with a capacity of only 6 Ah. With a vehicle weighing 45 kg, a vehicle is capable of speeds of 25 km / h and a driving range of up to 50 km.
Materials and tools for making trike:
Material List:
- ;
- square steel pipes and other materials for the manufacture of the frame;
- plywood for the manufacture of seats and floor (the author used a thickness of 8 mm);
- plywood for the manufacture of a hood with a thickness of 3 mm;
- material for the manufacture of seats (foam);
- upholstery materials;
- Arduino nano, some LEDs, resistors, buzzer, button and switch;
- a variety of bolts and nuts for fastening;
- stop signal;
- leather for the steering wheel;
- spring for the manufacture of shock absorbers (optional);
- paint.
The main material for this project was a square steel pipe measuring 15X15 cm, but another similar material would do. Old parts are good of bicycles. In general, all materials can be easily found at metal depots.
Tool List:
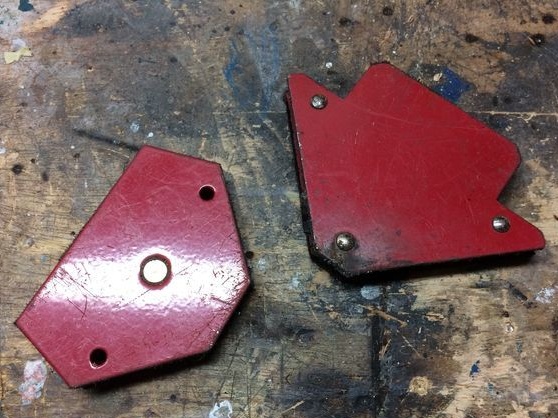
- welding inverter, electrodes, magnetic corners and other welding accessories;
- a hacksaw for metal and;
- stapler;
- pliers, wrenches, screwdrivers and other similar tools;
- ;
- soldering iron.
The process of making trike:
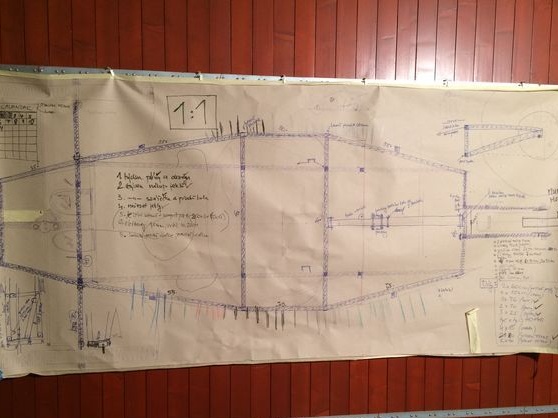
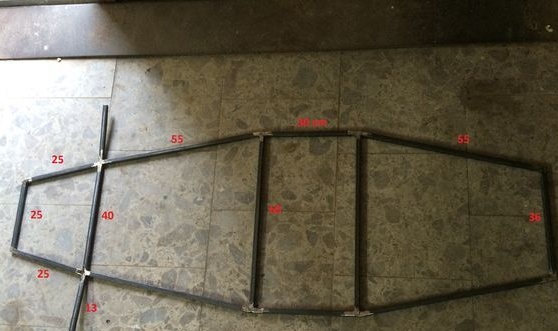
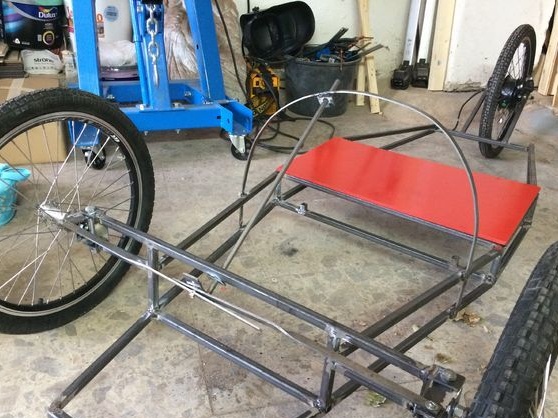
Step one. We make a frame
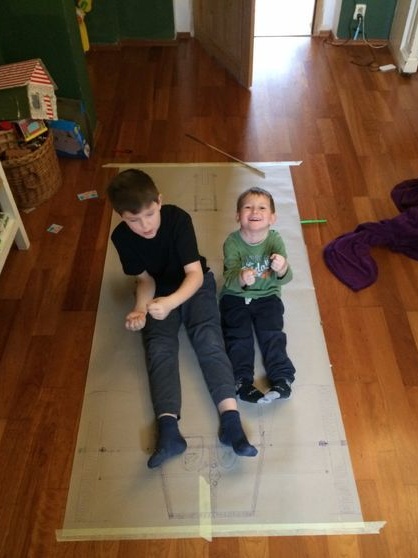
The frame is done quite simply, though for starters you will need to carefully think through everything and draw up a project. Well, then we take square pipes, cut into the necessary pieces and weld the workpieces.
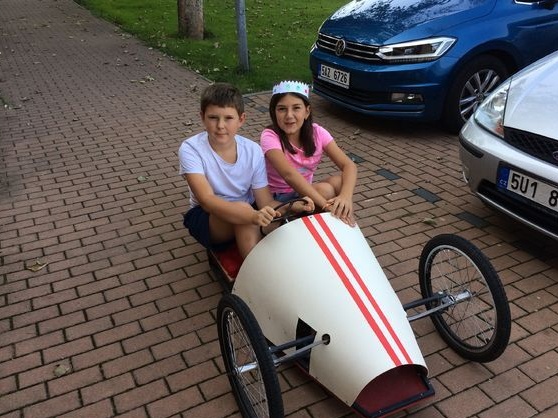
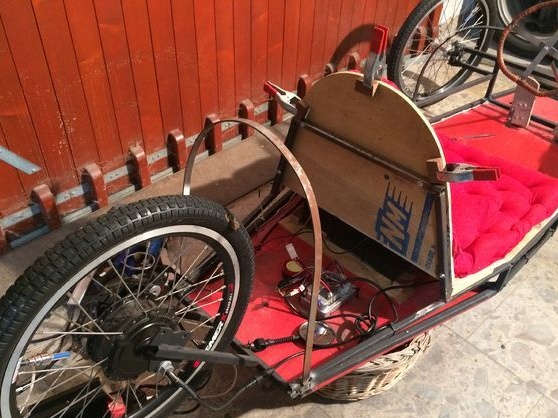
The equipment has three wheels, one of which is the driving one, and the other two steering.
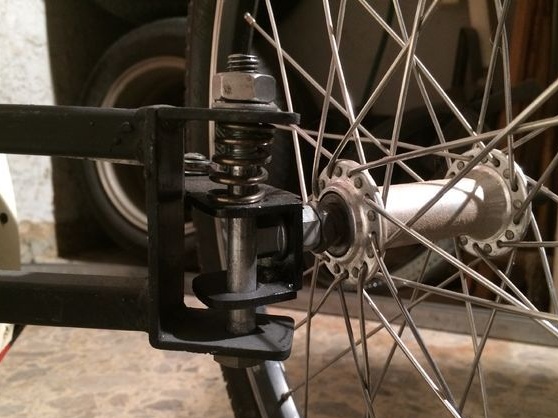
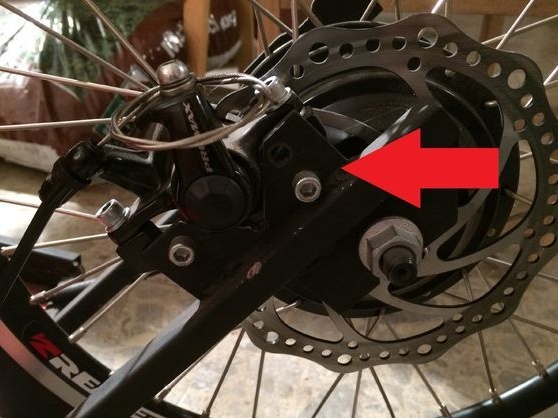
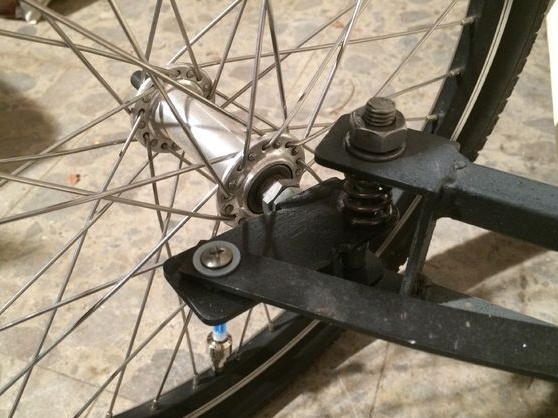
The rear wheel in which the engine is located is equipped with a disc brake.As for the front wheels, then you can put ordinary, without brakes. For vehicles that move at a speed of no more than 25 km / h, this is quite enough. By the way, the engine can also be used as a brake.
The rear wheel is simply attached to the frame, but with the front wheels you have to be a little tricky, since the steering gear is located here. Since the design is lightweight, the author does not fasten the front wheels through a fork, but simply on one side. Of course, this is not very reliable, sooner or later the axes will bend. Although, it all depends on the load.
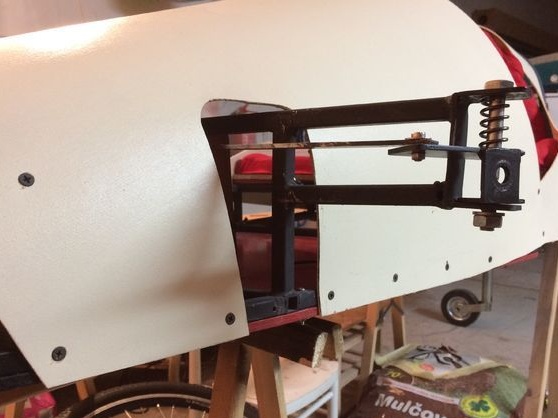
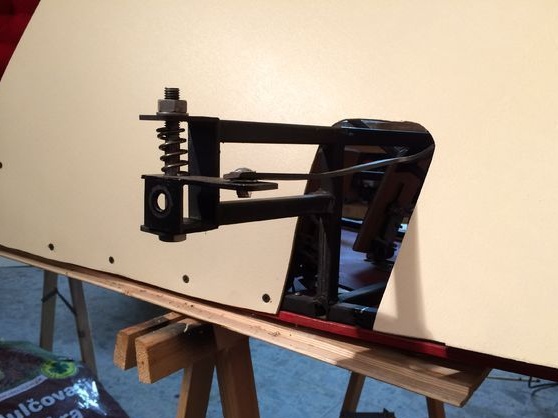
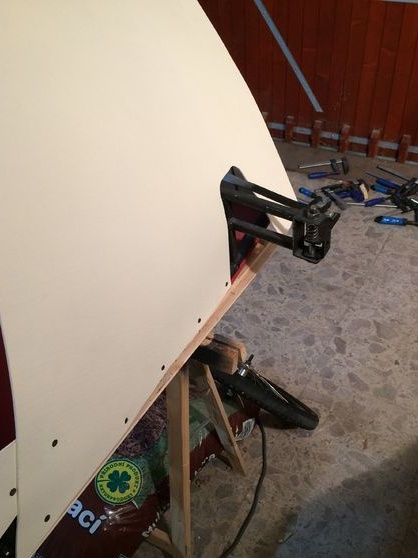
The front wheels can be connected through shock absorbers if necessary, but this is not necessary.
Step Two Fasten the wheels and floor
Before this step, the author painted the entire frame, this will prevent its rusting. Well, then you can fix the floor. Plywood is used as the floor. We cut the necessary pieces, drill and fasten using small bolts with nuts.
In the same way we fix the seat and back.
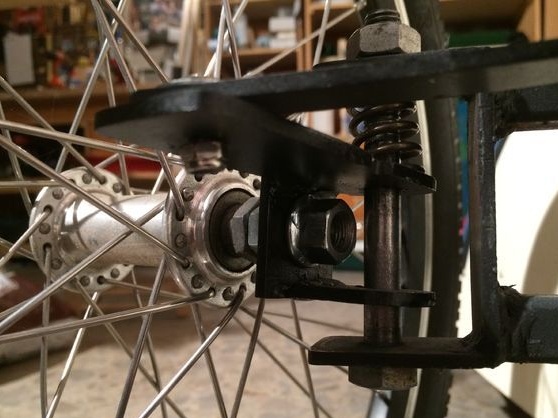
Well, with the fastening of the wheels no problems should arise. Fasten the front wheels to the front brackets and the rear to the rear fork. We carefully measure everything so that the rear wheel looks clearly parallel to the frame, and there is no “camber / toe” on the front wheels.
Step Three Steering
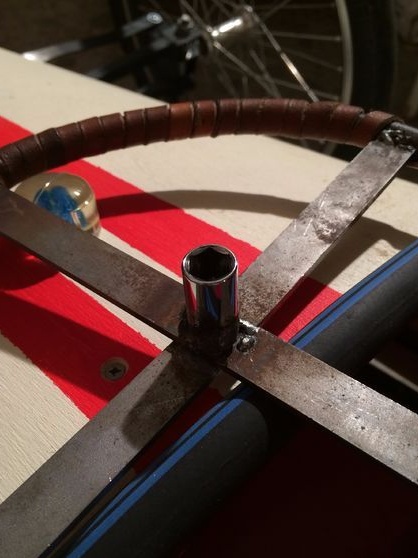
For the manufacture of the steering wheel, the author used a steel rod, as well as two metal plates. We bend the metal rod into the wheel, and in the center we weld a cross from two plates. To make the steering wheel pleasant and comfortable to hold with your hands, wrap it with a thin strip of leather, well, or trim it with other material.
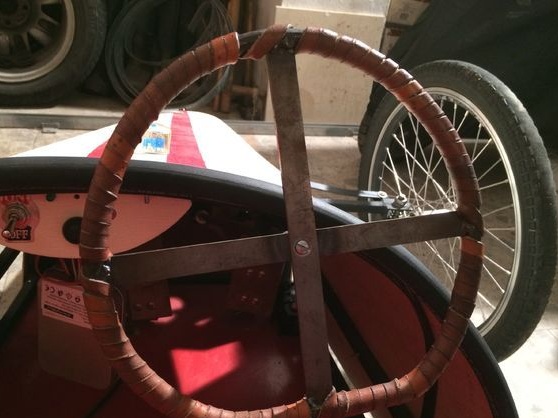
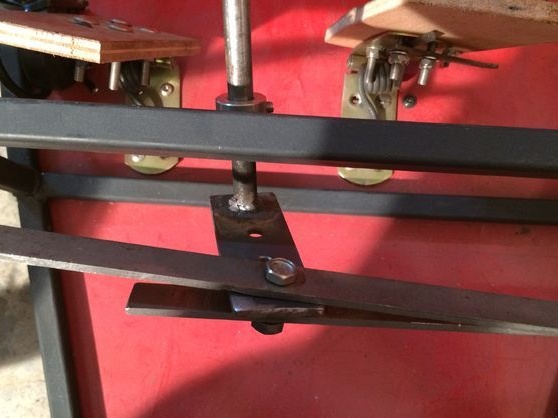
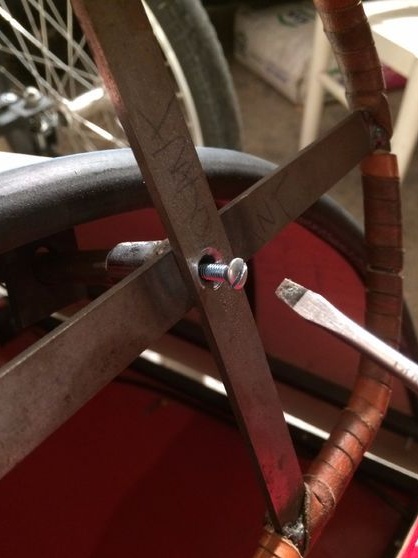
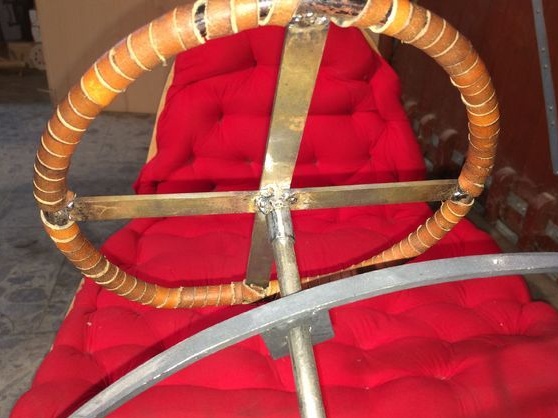
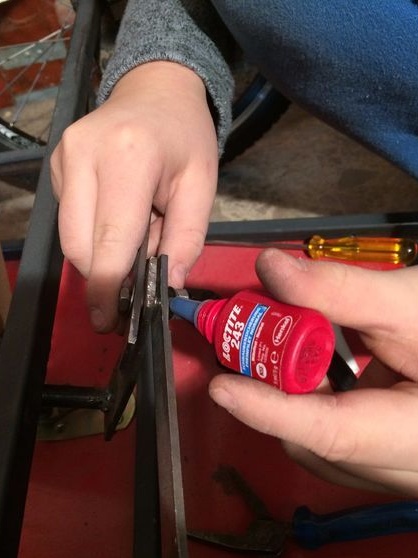
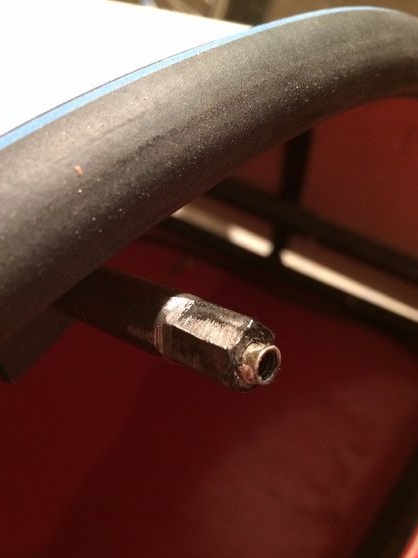
In addition, a shaft will be needed for steering, for this, you will also need a steel straight rod. It is advisable not to weld the rod directly to the steering wheel, but to connect them with a bolt and so on. This will make it possible to easily remove the steering wheel in the event of a breakdown.
The steering shaft passes through two steel plates with holes and then connects to the steering rods.
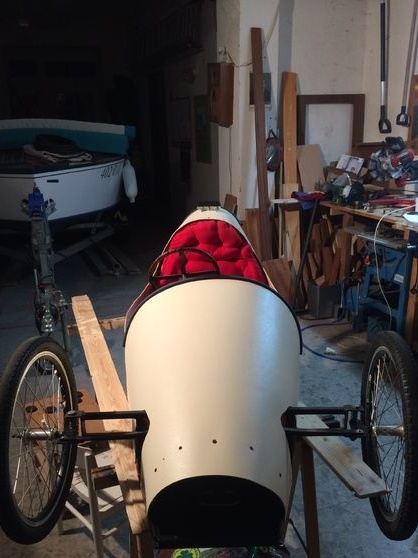
Step Four Sheathed car
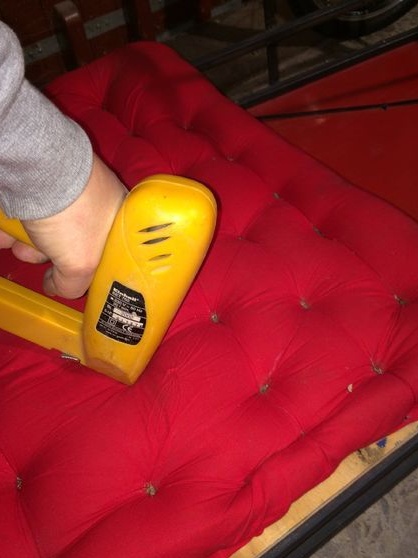
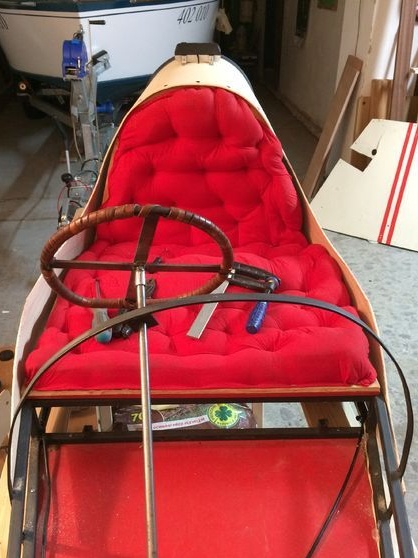
To sit in the car pleasantly, softly, to be beautiful, it must be sheathed inside with some kind of material. For these purposes, the author used polyurethane 10 cm thick. We cut it into the shape of the seat and back, and then fasten it in a zigzag fashion. The result is a rather interesting appearance. But denser fabrics are best suited for such purposes.
The author dreamed of making an adjustable seat for the car, but it turned out to be long and difficult. Although this is for the best, two children can ride simultaneously on a trike at once.
Step Five Car pedals
There are only two pedals, this is gas and brake. Pedals are made from boards or plywood, they are fastened with metal door hinges and bolts with nuts.
A cable from the rear brake is connected to the brake pedal. There is also a home-made contact group, which, when you press the brake pedal, turns off the engine.
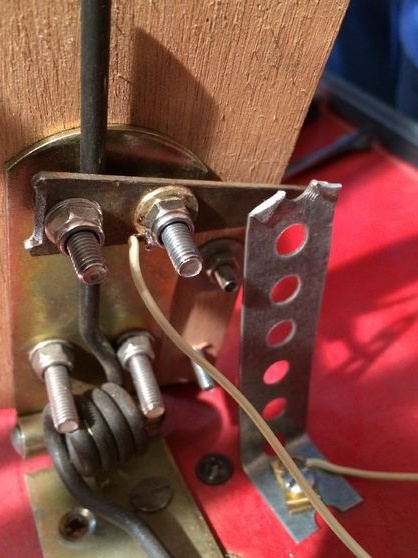
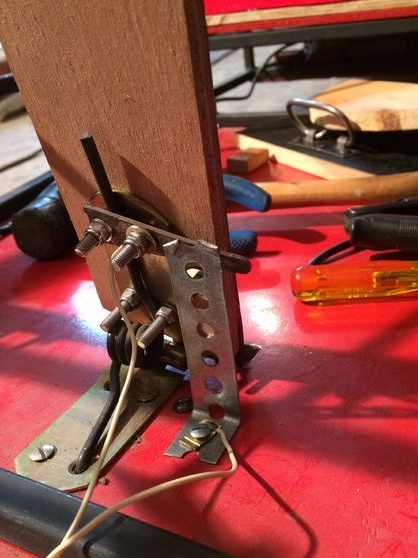

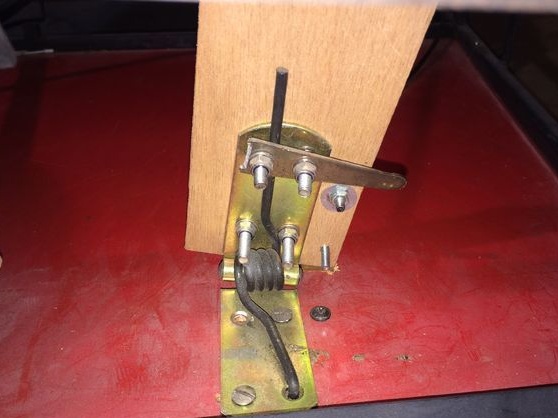
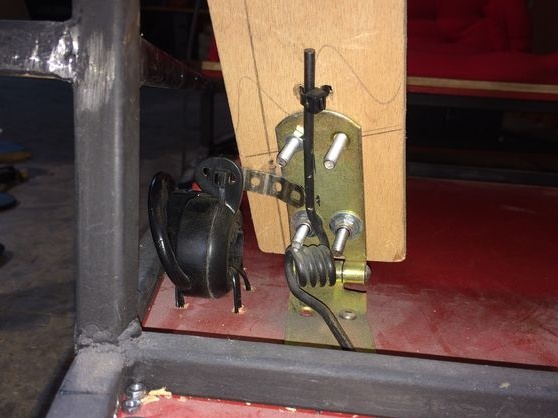
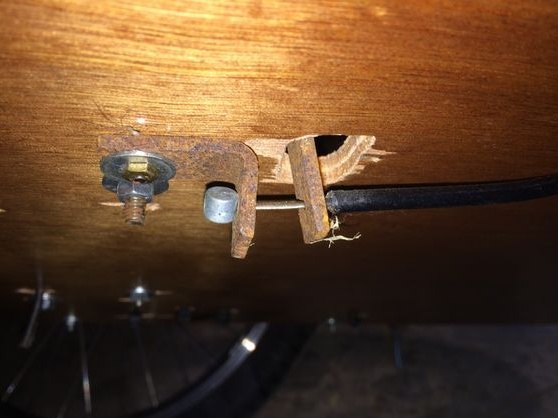

As for the gas pedal, it is using a lever connected to the bicycle gas handle, which is included. Under each pedal there should be a fairly powerful spring. Fasten all cables securely to the frame and secure with hot glue.
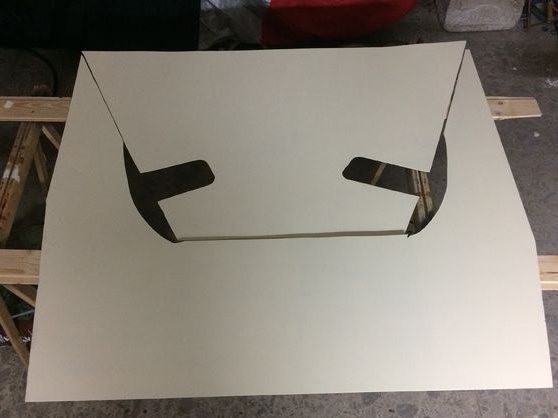
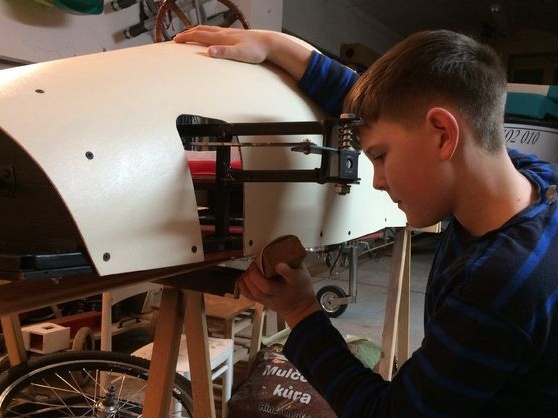
Step Six Car bonnet
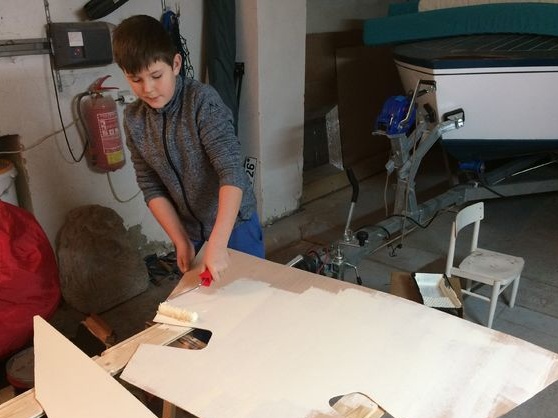
Any car required to have a hood. For the manufacture of the hood, plywood 3 mm thick with dimensions of 1250x1200 mm was needed. First we take the paper, make all the necessary templates, and then calmly cut out all the necessary details from plywood.
At the end, cut out all the details and paint in the color you want. Now you just have to fix the elements in their places.
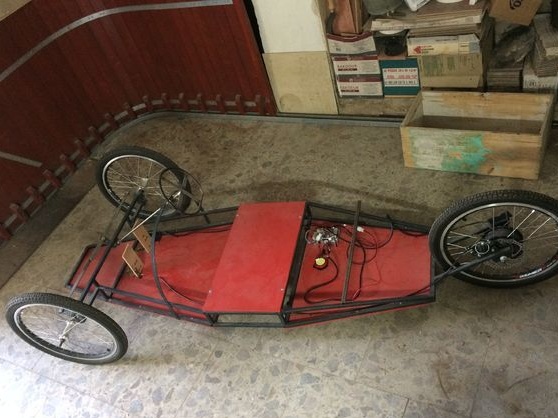
Seventh step. Connection
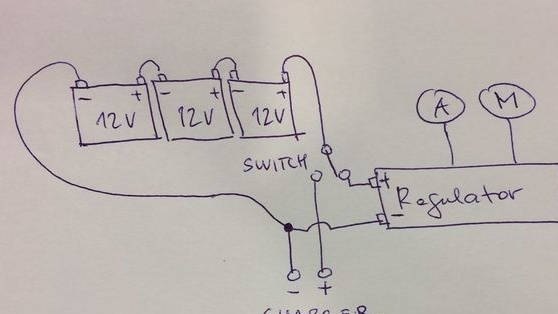
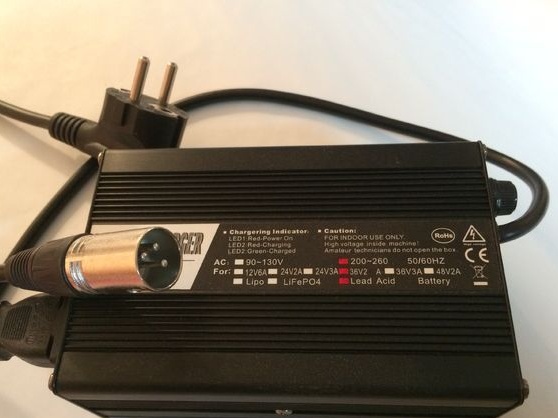
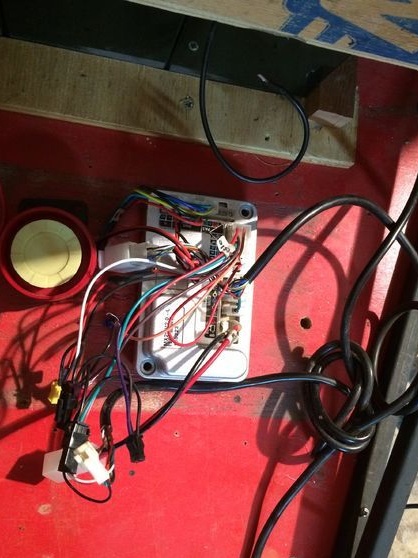

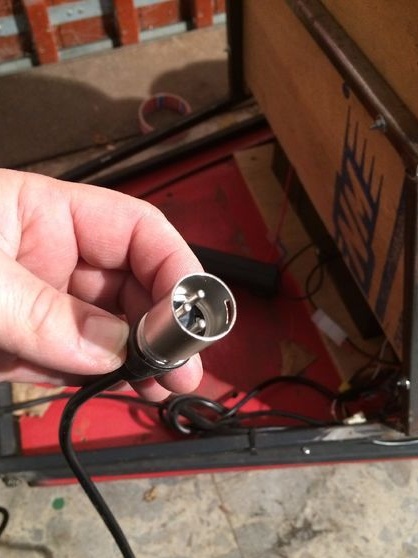
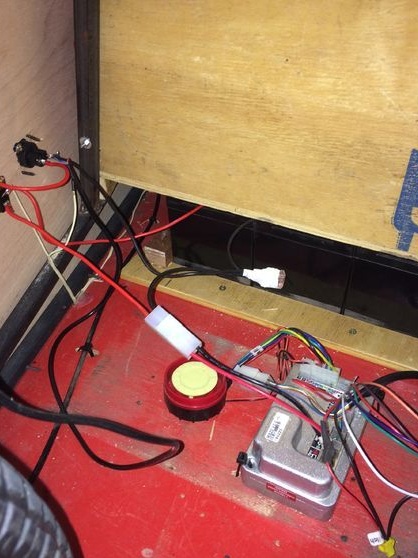
As a power source, the author used three traction batteries for 12V, which are connected in series. Since these batteries are rather bulky, they will jump when driving through bumps. Come up with a case for them and securely fasten.Also fix the regulator, this can be done using plastic clamps.
To change the mode between driving and charging, the author set a special switch in the circuit. Well, connect the rest in accordance with the scheme.
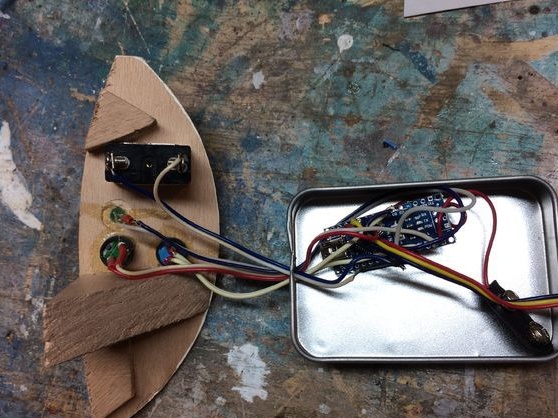
Step Eight. Flasher and sports features
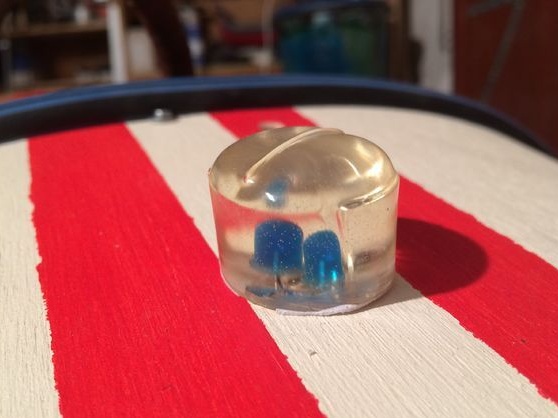
The author could not decide for a long time whether it would be a police car or a sports one. As a result, it was decided to make two in one. Sports lanes were applied to the body, as well as a police flasher that runs on the Arduino. The flashing light turns on when you press the button. Here, white and blue LEDs were used.
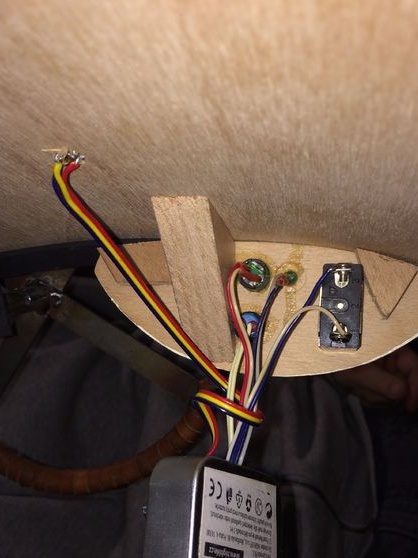
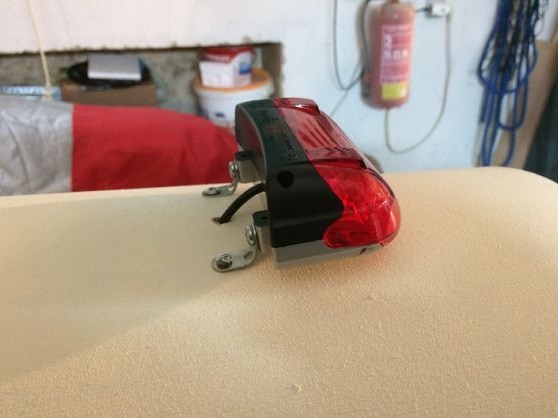
In addition, the car was equipped with a rearview mirror and a brake light. The lamp turns on when you press the brake pedal. Also, do not forget to install a couple of LEDs in the front so that in the dark it is clear where to go.