
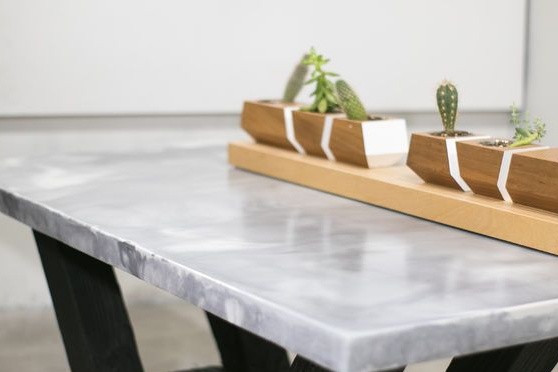
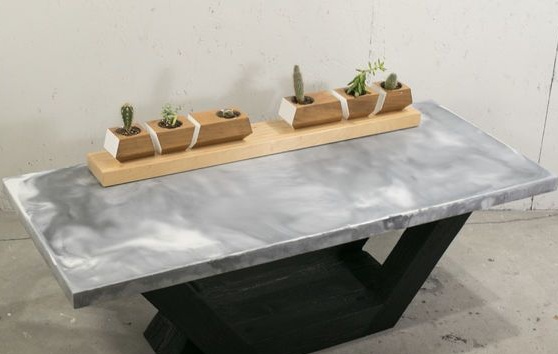
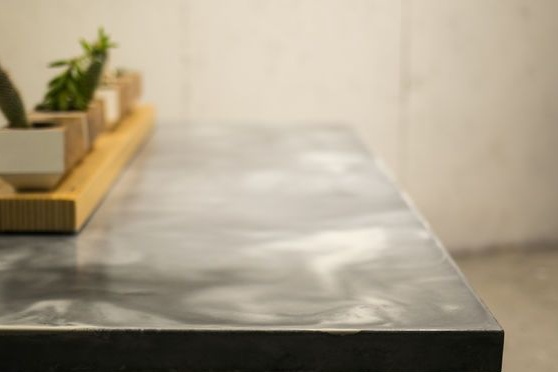
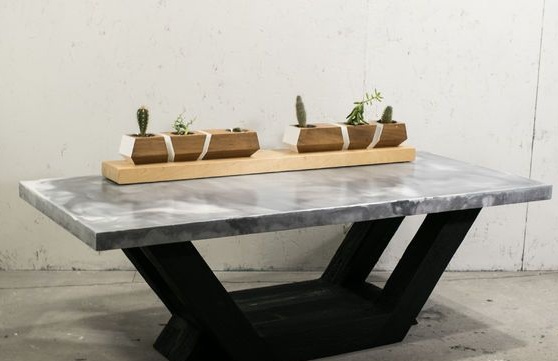
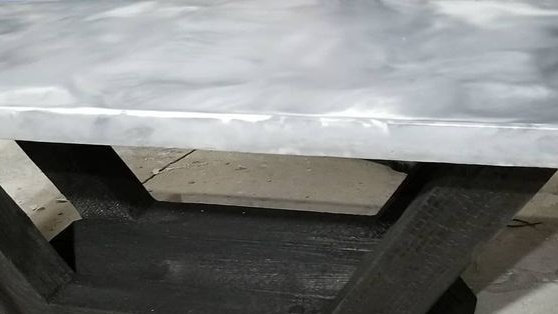
This time we will assemble a cool table from practically available materials. It looks quite stylish and rich, despite the fact that the costs are low. The author decided to make a table top for this table from concrete, it is made of marble.
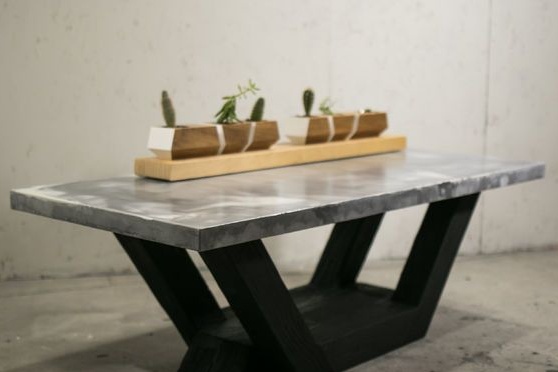
The author also made a unique foundation, using the oldest Japanese technique called “Shou Sugi Ban”. This technique involves burning wood. At the same time, the tree is reliably protected from rot and pests, and also has an interesting appearance. In the end, this charred wood is coated with oil and a fairly resistant coating is obtained.
Materials and tools for homemade:
Material List:
- a wooden bar for the manufacture of table supports;
- dowels;
- two packages mixed in advance GFRC Mix;
- 1.5 bags of AR Glass Fibers;
- device Cake Fondant for making perfect edges;
- a device for mixing concrete;
- pigment for concrete and more.
Tool List:
- burner (needed for burning wood);
- oil for impregnation;
- ;
- construction level and other measuring instruments;
- ;
- ;
- Japanese hand saw (or hacksaw) and more.
The process of making a table:
Step one. We make a wooden base
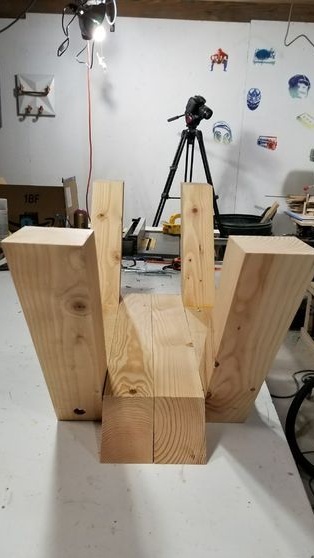

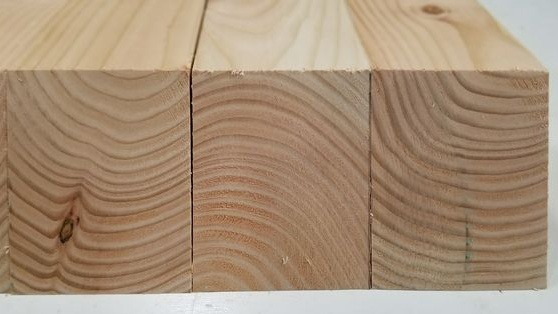
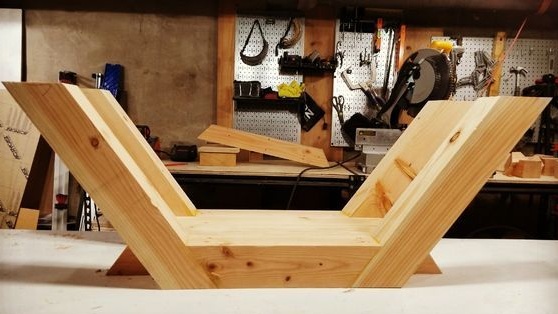
For the manufacture of the base, it is fashionable to use bars from the common pine. In total, the base consists of eight bars. It is advisable to process the materials on a planer in order to obtain smooth planes.
So, you will need to cut such blanks:
- four legs;
- two external struts;
- two internal struts.
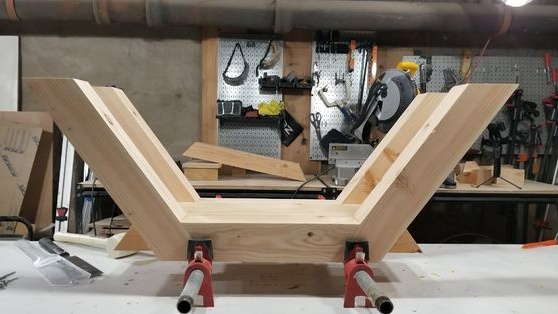
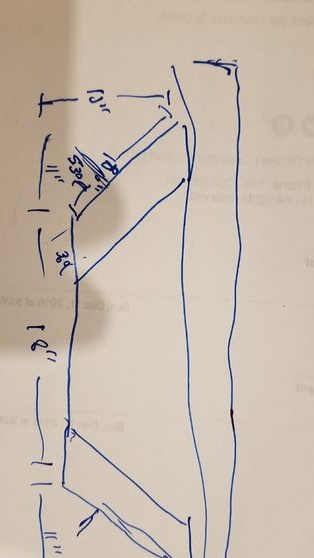
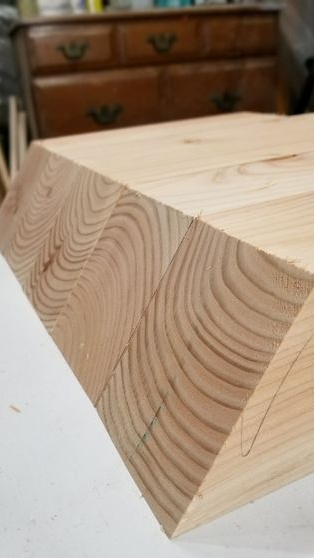
The author cuts blanks at an angle of 36 degrees. For work, the author used a mitral saw.
When the workpieces are ready, the places of the slices must be carefully sanded so that they become smooth. Well, then the whole thing can be glued with wood glue. We apply glue and fix everything thoroughly with clamps. Leave it until the glue is completely dry. To make the structure strong, it is advisable to tighten it with screws or use wooden dowels. We drill holes through the legs, hammer the dowels, and then these places can be covered with sawdust with glue.Well, or, immediately collect everything on the dowels.
Step Two Burning
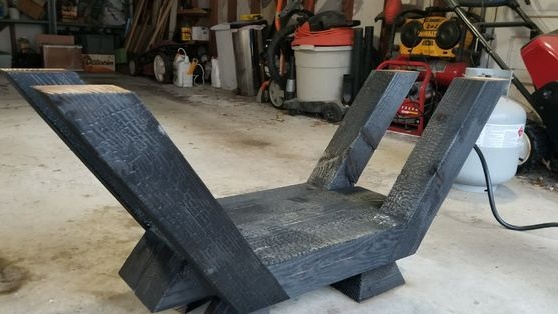
When the base is assembled, its author burns it with a torch, a blowtorch is also suitable for such purposes. When fired, the surface of the wood becomes black, which already eliminates the need to paint it. In addition, firing protects the tree.
Firing is not difficult. We warm the wood until it turns black, and then you need a bottle of water and a spray, with it you need to extinguish the fire. You will also need a brush to clean the ashes from the tree.
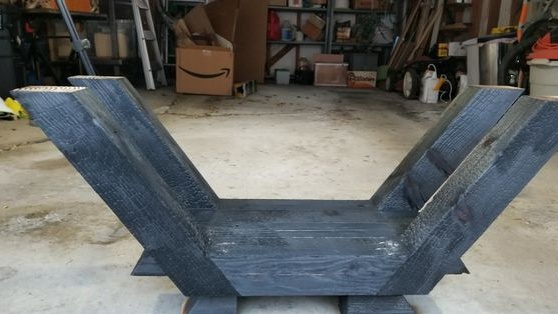
When the tree dries, it can be saturated with oil, for such purposes the author uses Danish oil. It penetrates deep into the wood, and then freezes. As a result, a fairly resistant coating is created. You will need quite a lot of oil, since after firing the wood becomes quite dry and quickly absorbs it.
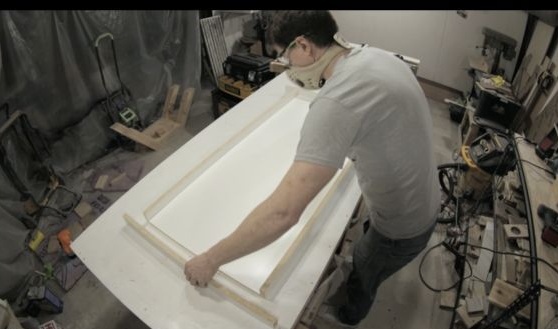
Step Three Making a mold for pouring concrete
The author makes the form of melamine. First cut four parts, these will be the sidewalls. They must be strictly the same height, otherwise the countertop will turn out to be a curve. Cutting is best done with a circular saw.
Then cut out the main part, it will be the “bottom” of the form. The whole thing is about to be assembled on the screws for gypsum plaster, we drill holes for them.
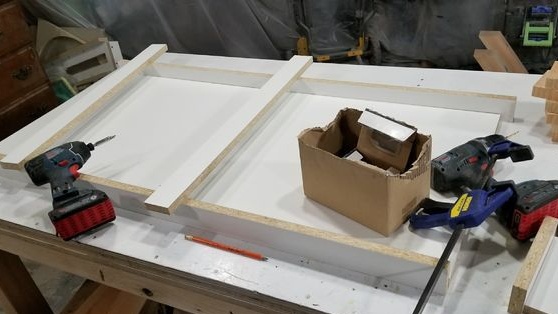
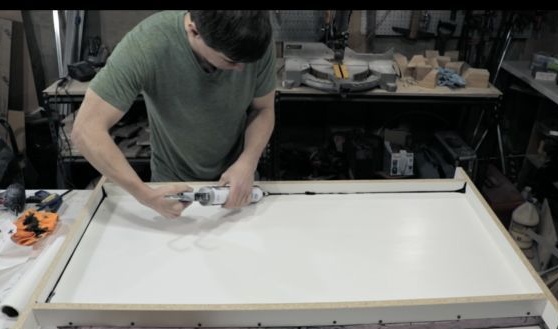
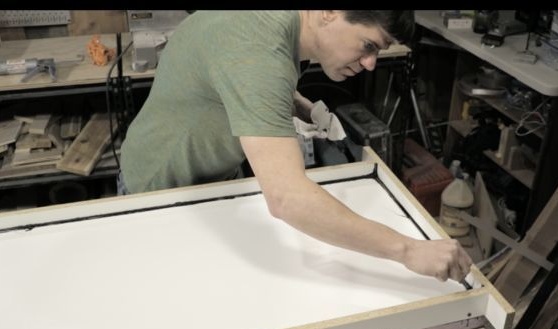
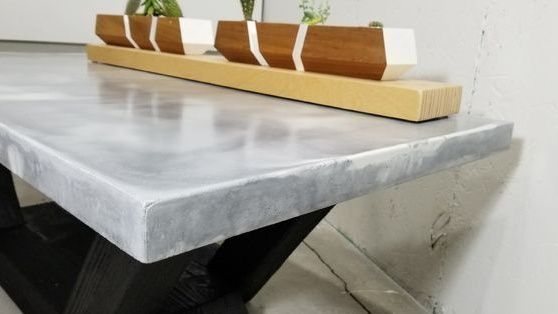
A paste-like beeswax is applied to the entire inner surface so that the concrete does not adhere to the mold. All joints are well sealed with sealant. After application, the sealant must be leveled to get the perfect edge of the countertop.
Step Four Mix and pour concrete
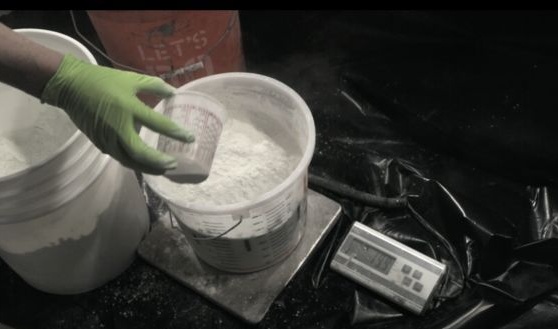
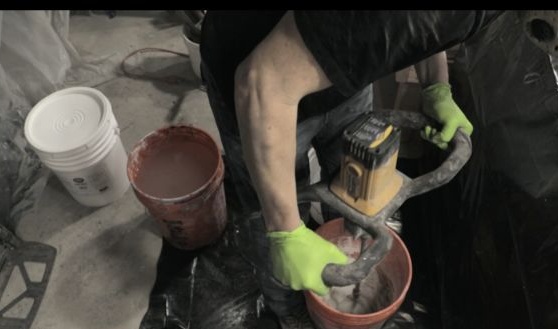

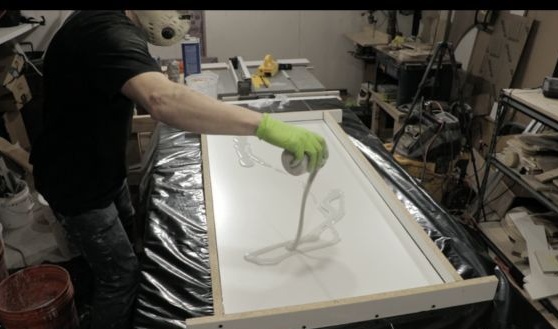
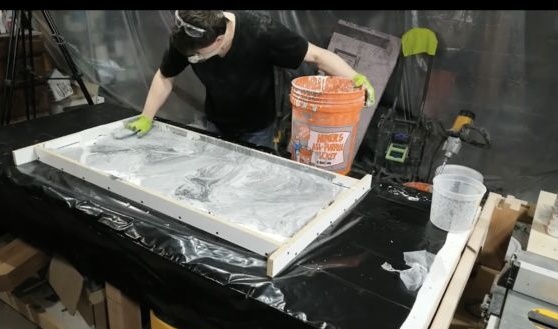
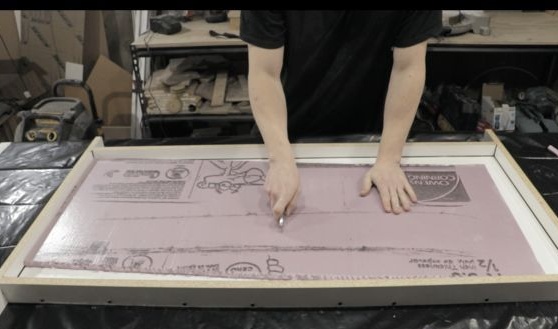
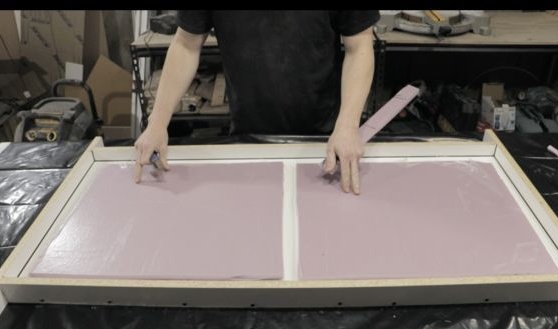
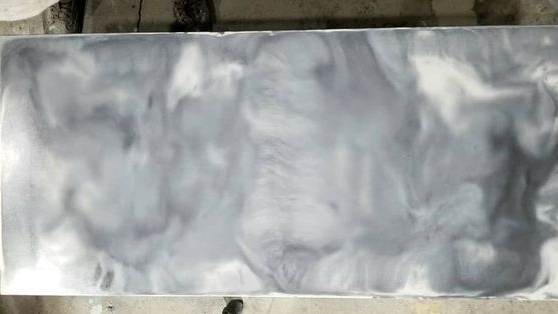
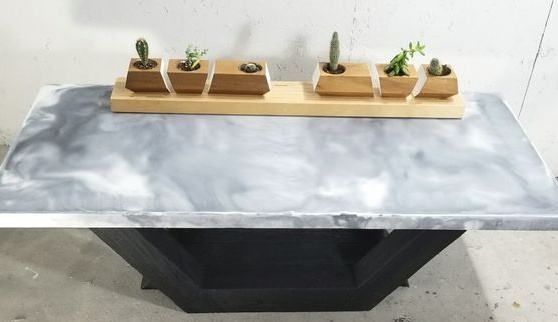
For pouring, the author used GFRC concrete, carefully read the instructions for mixing all components. The contents of the bag are mixed with approximately 3-4 liters of water. For this project, the author spent two bags of 22-23 kg. You will also need concrete for the front. To obtain the desired pattern, add pigments and form the desired pattern manually. We leave this whole thing to complete solidification of concrete.
Step Five We remove the formwork
When the concrete has completely hardened, the countertop can be carefully removed from the mold. We unscrew the fixing screws and disassemble the form. If the concrete is stuck, you can gently knock the mold with a rubber mallet.
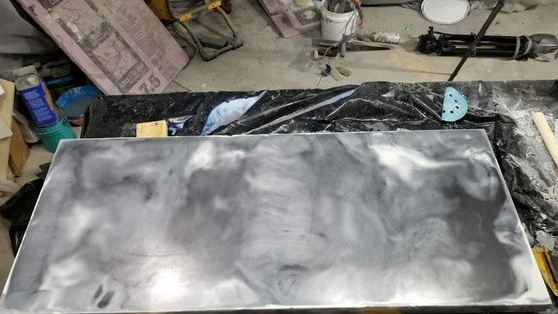
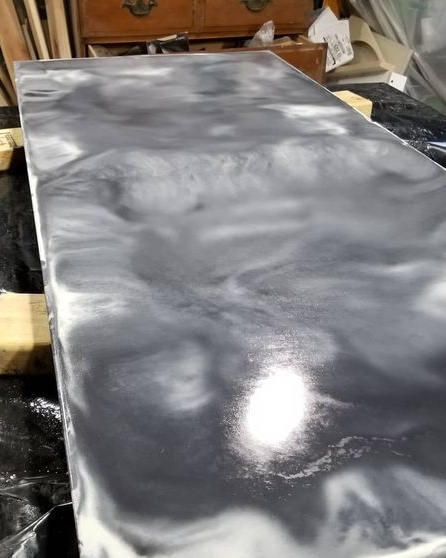
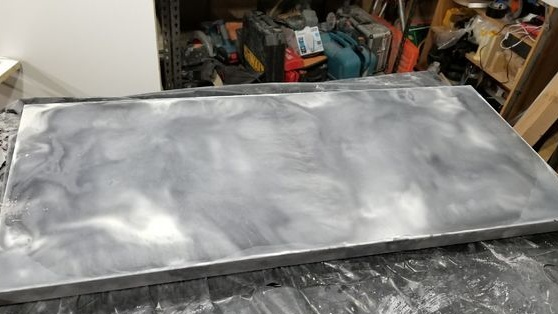
When you remove the entire form, the countertop can be properly sanded with sandpaper to make it completely smooth and even. At the end, it can be completely coated with epoxy glue or another coating.
Step Six Final assembly
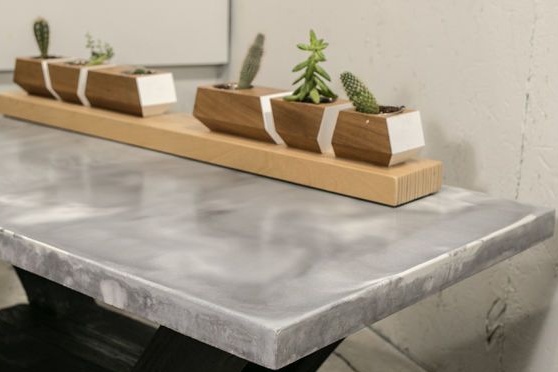
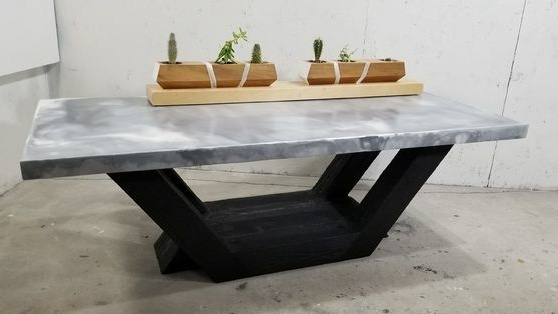
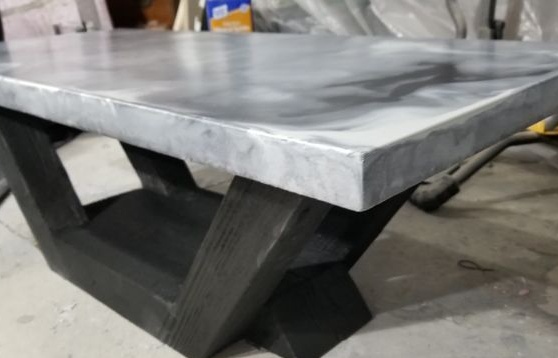
The table can be assembled. First of all, carefully center the countertop on the support. The table can be assembled. First of all, carefully center the countertop on the support. Now it needs to be fixed on the legs. Good glue will come to the rescue.