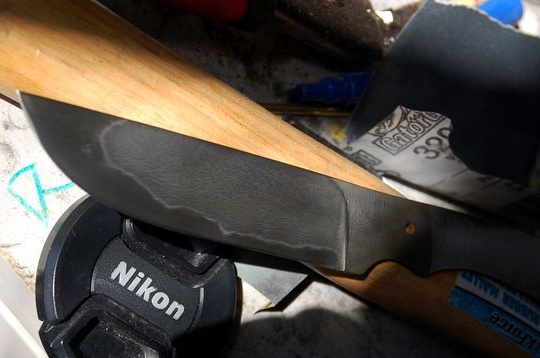
If you ever watched films about Japanese samurai, you should definitely notice a special characteristic line on their swords and knives. This line is called jamon. This line is formed during uneven hardening of the blade. The bottom line is that it is good to harden only the cutting part, make it as solid as possible, but at the same time leave the main body of the blade elastic so that it does not break. As a conclusion, we get a very sharp and strong blade with which you can chop, cut solid objects and it can withstand heavy loads.
How to get such a hardening? Everything is not so complicated, for these purposes they simply use various heat-insulating putties. In those days, it was ordinary clay, today they use various refractory cements and so on. The part of the blade that you cover will not heat up as much as the open, as a result, when cooled in water, a jamon line forms.
As for the shape of the line, it can be anything, it is not necessary that it be smooth. In ancient times, this line was made wavy and gave it various other forms. Thanks to the drawing, it was possible to understand in which forge this blade was made by which craftsmen. In this manual you will learn how to make a knife with a jamon line do it yourself.
Materials and tools used by the author:
Material List:
- high-carbon steel with a low manganese content (1095, W1 or W2 is suitable);
- wood for finishing the handle (the author used a walnut);
- brass rods for the manufacture of pins (ordinary nails are also suitable).
Tool List:
- sandpaper of various grain sizes (from 80 to 3000);
- tools for metal processing, suitable; band saw, useful to have;
- acid (the author used a PCB solution, which is usually etched by printed circuit boards. The main element here is iron chloride);
- water-based refractory cement (or other insulator);
- a temperature source of 815 degrees Celsius;
- motor or vegetable oil (you can pour in water, but with such intense cooling, the blade often cracks);
- epoxy adhesive;
- safety glasses, gloves, long-sleeved clothing made of thick fabric and other safety equipment.
The process of making a knife:
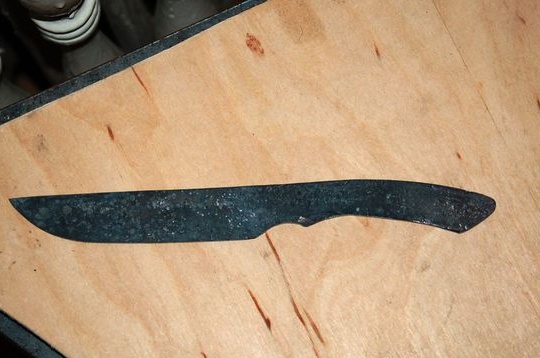
Step one. We form a rough profile
First of all, think about what your knife should look like, what size it should be, and so on.Draw it on a knife or thick cardboard, and then cut it out. Well, then everything happens in the classical way, transfer the template to the workpiece and cut it out. Work can be done with a band saw, grinder and even
If you have not enough tools and most of the work is planned to be carried out with hand tools, it is recommended to make metal tempering. At the same time, it will become soft, and it can be drilled, sharpened, cut with a conventional hacksaw for metal and so on. To release steel, the metal is heated to a critical temperature, for each grade of steel this temperature is different. For example, for steel 1095 the critical temperature is 73oC. Details of each steel can be easily found on Google.
There is another way, we heat steel and hold a permanent magnet, if it is not attracted, then the critical temperature has been reached and the metal can be cooled. We cool in the open air. This procedure is recommended to be done several times.
Step Two Blade grinding
At this step, we begin a more subtle processing of the blade, on m you need to align it and get the desired shape. First it works with files, and then we use sandpaper. Of course, a belt sander can do this best.
The most difficult at this stage will be the formation of bevels. They need to be made as even and symmetrical as possible. Bevels, again, are the easiest to do on a belt sander. If you work manually, the best friend will be a file and a vise. Some craftsmen also make bevels a grinder, but a lot of experience is needed here.
Important! Do not make the blade too thin at this stage, do not sharpen it. During heat treatment, the thin metal overheats. At the end, grind the plane of the blade and finish the basic work with metal.
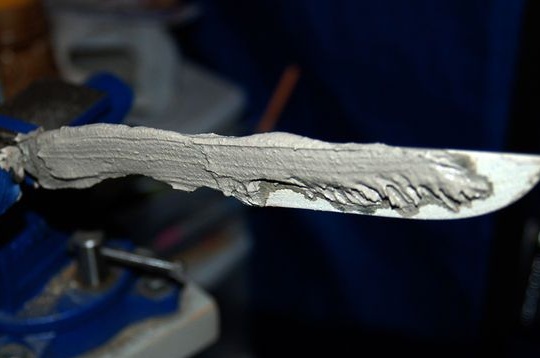
Step Three Preparing for hardening the blade. We apply thermal insulation
At this step, the author applies thermal insulation to the blade, and refractory cement acts as this. The first non-thick layer of insulation must be applied to the entire blade, including the blade. This will protect the metal from overheating. When the cement dries, apply a second layer to the blade, but this time you must leave the blade not closed, where, in your opinion, the jamon line will pass.

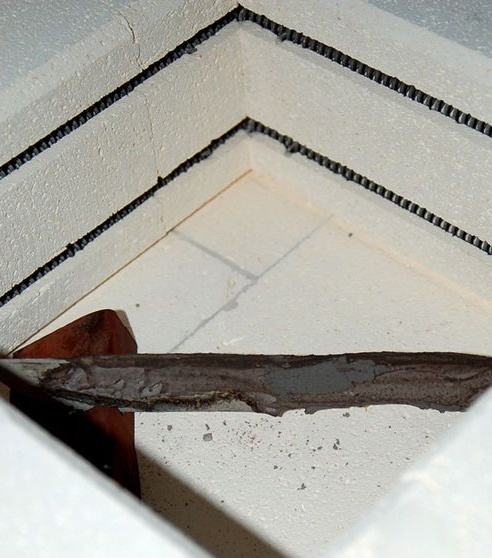
Step Four Blade hardening
For hardening the blade, you will need a furnace, you can also use a large fire and heat the blade in coals, additionally using a household hair dryer and a piece of pipe. A more professional solution would be the use of electric furnaces. The author carried out this work at home, but it is better never to do this, since it is very dangerous.
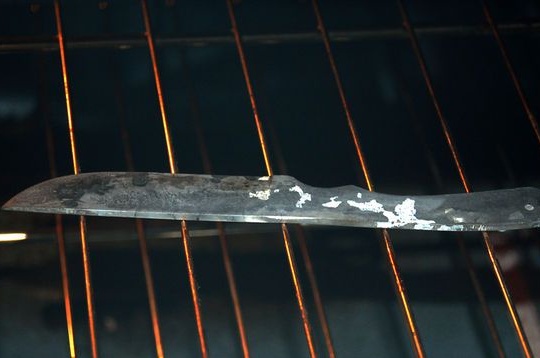
Hardening involves two stages, it is hardening itself, and then it is followed by tempering of metal. Tempering the metal, we make it very hard, but also very brittle. If you miss the hardened blade, it will break like glass. Some resilience is achieved by tempering the steel.
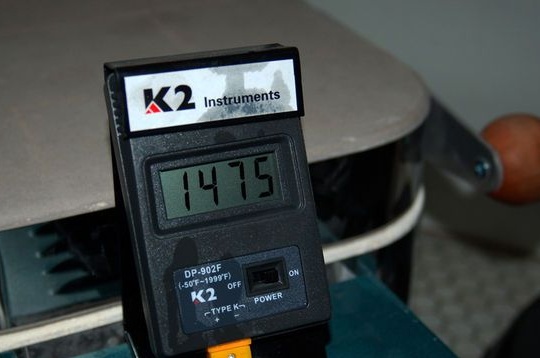
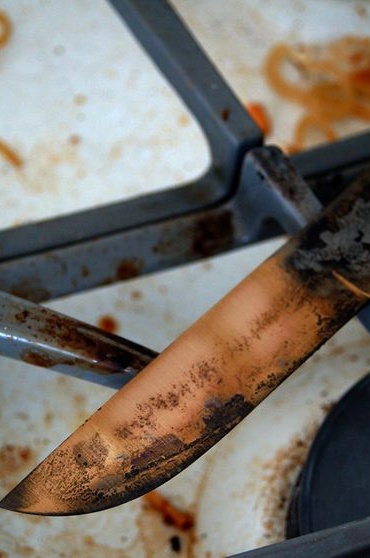
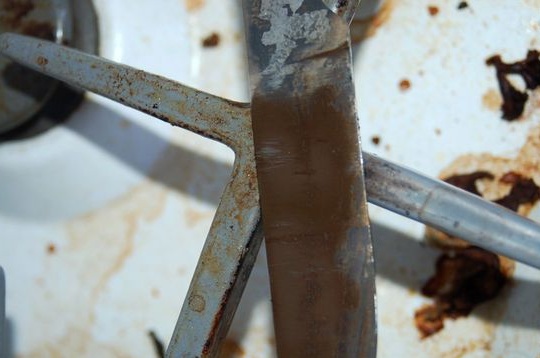
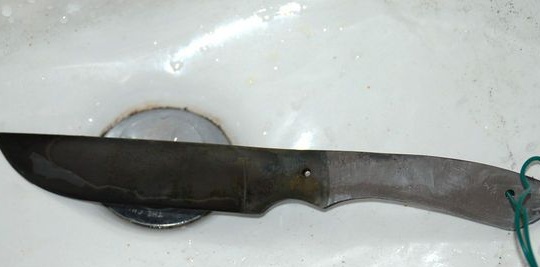
First of all, we warm the blade to a critical temperature, usually the metal at the same time begins to glow yellow. The workpiece must be heated evenly. Next, we cool the whole thing in oil. It is dangerous to use water, because with intensive cooling the metal often cracks.
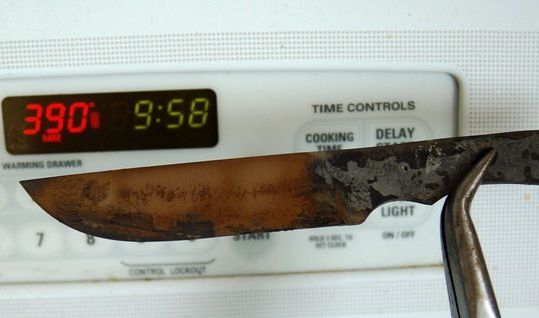
As for vacation, it can be done in a conventional household oven. We warm the oven to 205oC and place the blade for an hour. After that, turn off the oven and do not open until it cools down. That's all, now we have let go of the metal. As a result, we have a very durable blade with a strong cutting
side.
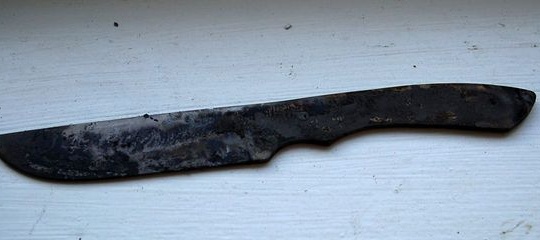
Step Five Blade grinding
After hardening, there is usually a lot of burning and scale on the blade. Needless to say, this whole thing needs to be cleaned up. Here you will be helped by sandpaper, and also combine it well with the WD-40. We clean the metal and grind the entire surface. If you wish, you can polish the workpiece so that the surface is mirrored.
First, use larger sandpaper, and then gradually reduce the grain size.

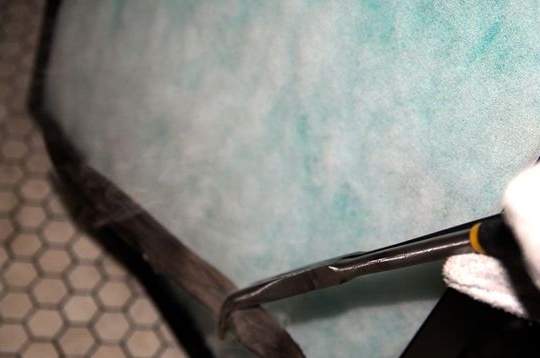
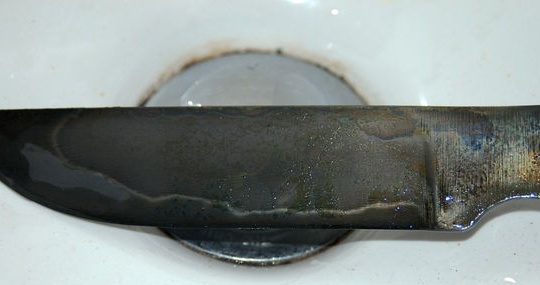
Step Six Acid pickling
Reveal the desired pattern will now help acid. First place the blade in acid for a while, but do not hold it for too long. After that, we determine the blade in a bath with a neutralizing liquid, and then thoroughly wash it with ordinary water.The procedure is done several times. After each time, the pattern will become brighter and brighter.

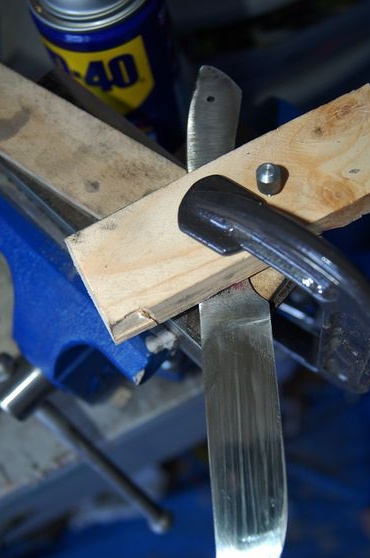
Seventh step. Handle finish
The author makes overlays on the pen from walnut. We cut the workpieces that are necessary in size, put them on the handle and drill holes for the pins through and through. The author used brass rods as pins, this is the most common option.
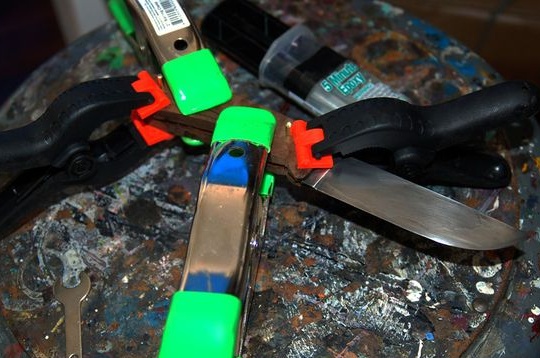
Now this whole thing can be assembled, spread the epoxy glue, apply it to the halves and squeeze the handle well with a clamp. Epoxy glue usually dries within 24 hours. When the whole thing dries, we use a belt sander and form the desired profile of the handle. You can do this manually, using files and sandpaper.
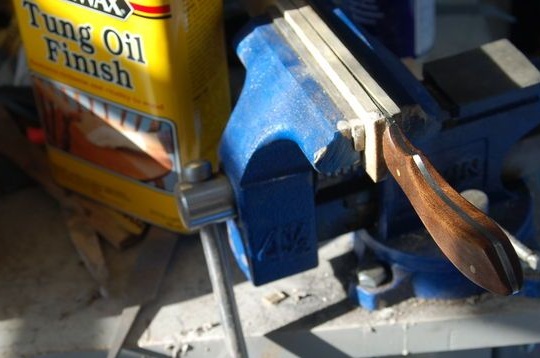
Make the wood perfectly smooth. In the end, you have to protect it from moisture, as otherwise the tree will crack. To do this, apply impregnation to the tree. In the most classic version, linseed oil is used. When it is absorbed into the tree, then after a while it dries. Finally, you can polish the wood.
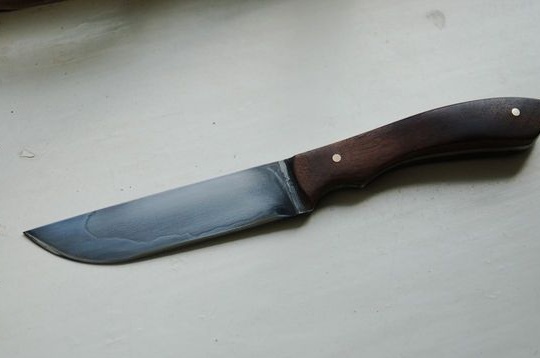
Step Eight. conclusions
That's all, the knife is ready. It turned out to be quite high quality, despite the not very large assortment of tools. The author took 20-30 hours to make, the largest amount of time was spent grinding. However, having experience and all the necessary tools, this is all done much faster.