

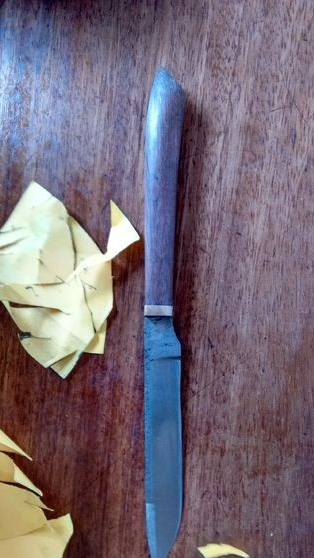
If you want to make a strong knife, then an old file will be an excellent starting material for such purposes. This steel is very durable as it contains a high amount of carbon. If you wish, you can harden this steel and get the desired strength.
But today we will not talk about this, we will consider a method of making a knife from a file, in which thermal work with metal is not carried out. This is convenient, since in this case the knife is much easier to make. True, there are pitfalls here, such a blade will not have flexibility, so it can be easily broken. However, we do not break files so often, so this is not critical.
The biggest difficulty here will be to form a profile of the blade, it is very important when processing it will not overheat. Otherwise, the metal will become soft and all this will lose its meaning. And the work is carried out with the help of a sharpener, and grinders with various discs.
I also note that a drill with metal drills for this homemade you don’t need to. The handle is made in such a way that you do not need to drill holes in the blade, but this is a huge plus. At most, you need to make a hole in the tree, but it can be burned.
Materials and tools for making a knife:
Material List:
- file;
- wood and brass plate for making hands;
- epoxy adhesive;
- impregnation for wood (like linseed oil).
Tool List:
- (with cutting and grinding disks);
- ;
- sharpened (not necessary, but useful);
- sandpaper;
- hacksaw for wood;
- vise, clamps and so on;
- with a polishing nozzle (optional).
The process of making a knife:
Step one. We design and make a template
First you need to come up with a knife design and make a template. Draw a design on paper. By the way, if you want, you can find a finished design on the Internet and just print it on a printer. If you wish, you can make your own adjustments to the finished template, and it will become unique.

When you prepare the project, cut it out of thick cardboard. This will allow you to hold a cardboard profile in your hands and figure out whether the knife will be convenient.
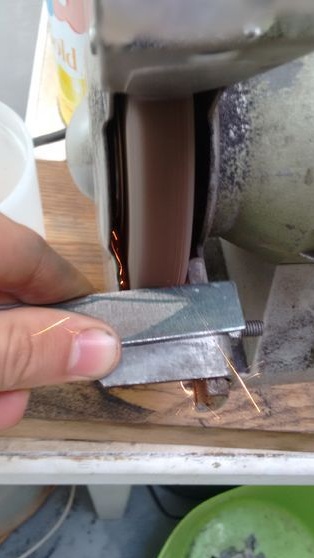
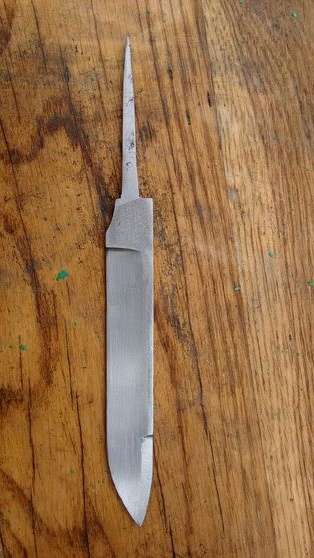
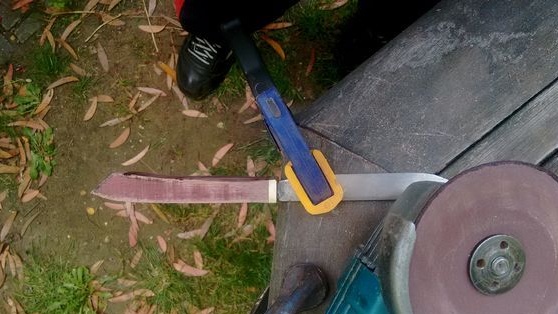
Step Two We grind a rough profile
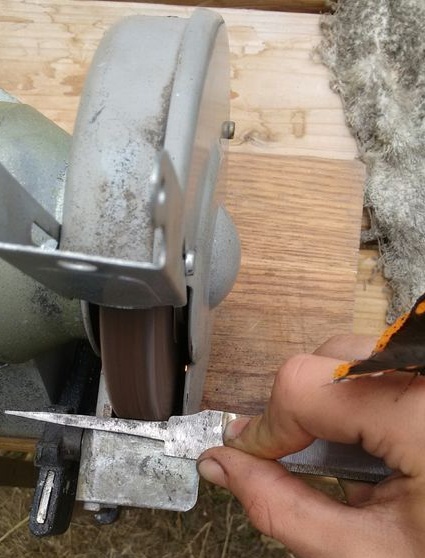
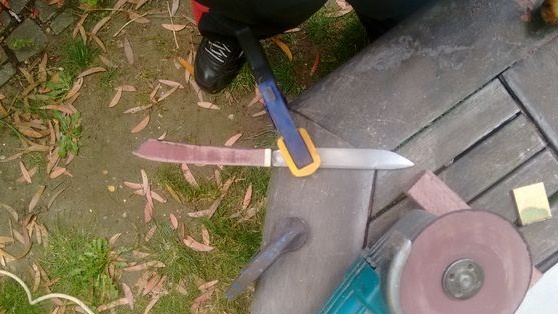
We transfer the template to the workpiece, for this you need a marker or felt-tip pen. After that, you can begin to grind the profile.The toughest work can be carried out on the grinder, if it is not, use a grinder with grinding discs. The most important thing you should worry about is overheating of the metal.
Take a container of water and constantly cool the blade in it. During overheating, the metal is tempered, and it already becomes not as durable as it was originally in the file. After tempering, the metal will again have to be tempered. When overheated, the color of the metal usually changes, but as a rule, if this has already happened, the steel is overheated.
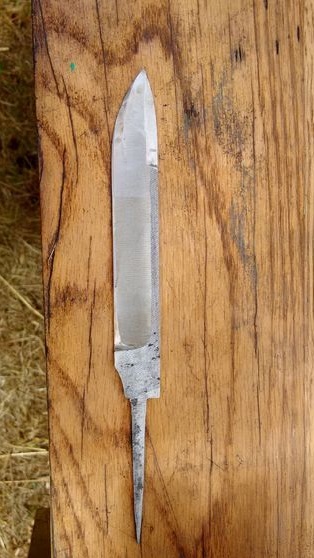
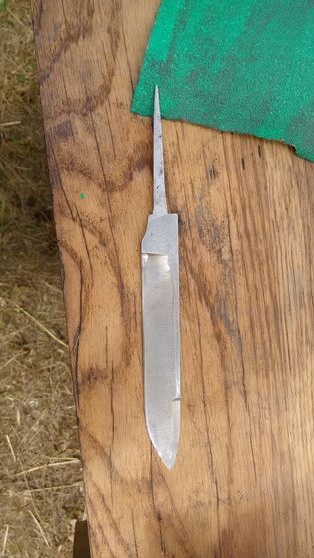
In addition to the main profile, you also need to grind the tail section. Its author makes it sharp, as a result, this part is simply glued into the hole made in the pen. If everything is done correctly, the design will turn out to be quite strong.
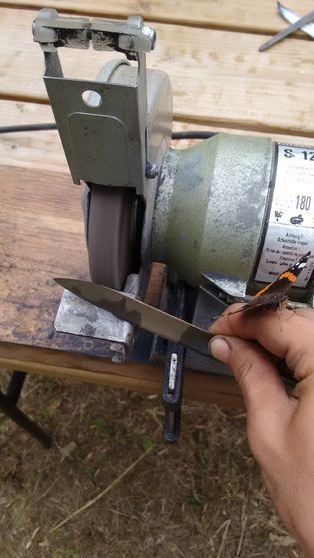
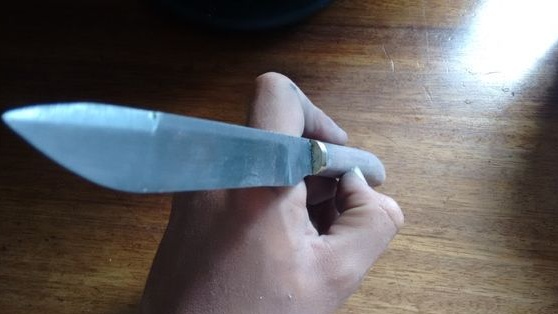
Step Three We form bevels
Bevels are a very important element of any knife. What will be the bevel, so the knife will cut. If the blade is thin, it will be well sharpened and cut perfectly. For the correct formation of bevels, they are usually marked out. It is also useful to draw a centering line that will divide the future blade into two parts. This will make the bevels at the same angles. But some craftsmen bring out good bevels without any measurements, but experience is needed here. However, if this is a knife for domestic use, do not bother.
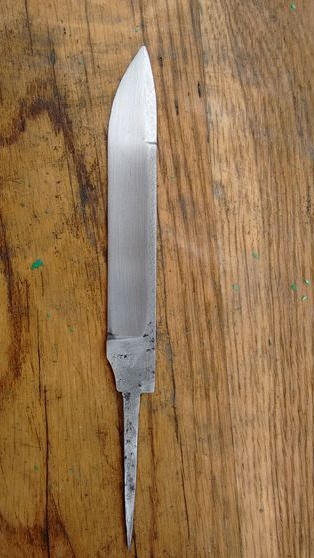
You can remove the bevels with a grinder, but again do not forget about overheating of the metal. A more professional solution would be to use a belt sander, but it is quite expensive. However, with the help of rough sandpaper, bevels can easily be made manually, though it will take a lot of time and effort.
After forming the bevels, grind them with fine emery paper to a shine. Sharpening while the knife is not needed much, as with further work they can be cut.
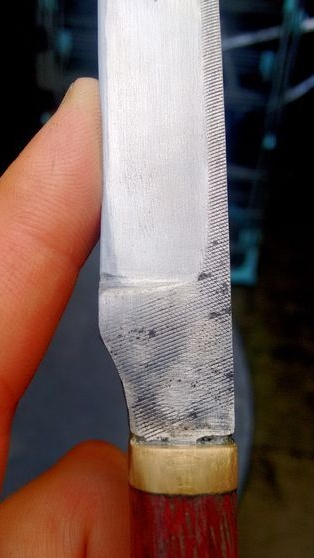
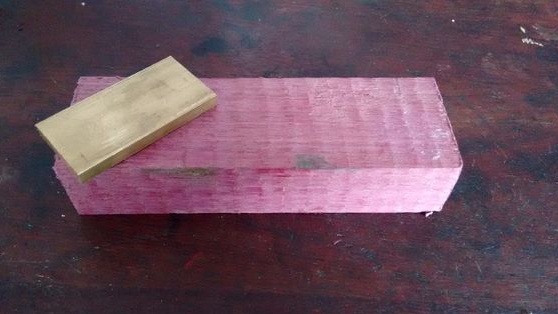
Step Four Getting to the handle
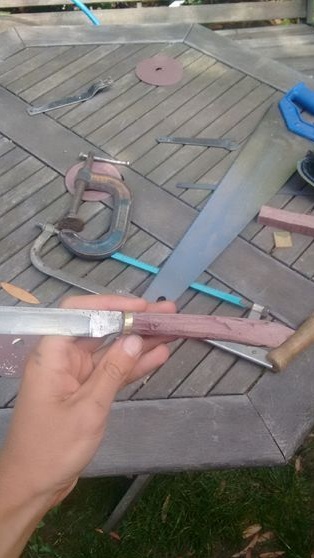
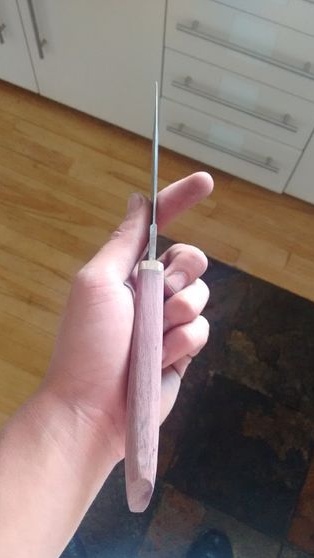
To make a pen, you will need a small wooden block and a brass plate. The last detail is used for beauty, so you can do without it. As for wood, the author used a purple tree, but you can choose any other at your discretion. An animal bone or horn is suitable for such purposes.

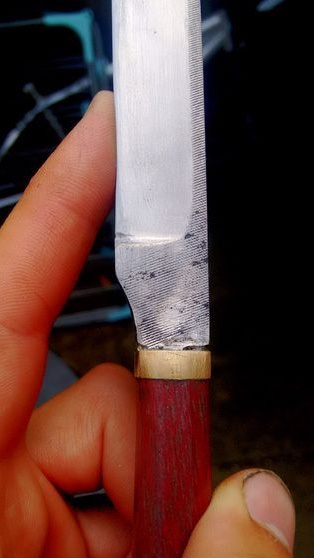
In a wooden blank we drill a hole. Its diameter should be slightly smaller than the thin shank of the knife so that it fits as tightly as possible. Next, we dilute the epoxy glue and pour it into the hole. Then we hammer the shank into the future handle with not strong blows. Such a connection will provide a fairly reliable mount. We leave this whole thing to dry for 24 hours.
If you will use a brass insert, then it also needs to be glued with epoxy glue. It is recommended to clean off the emerging drops of glue immediately, since then this will make it much harder.
Step Five Handle formation
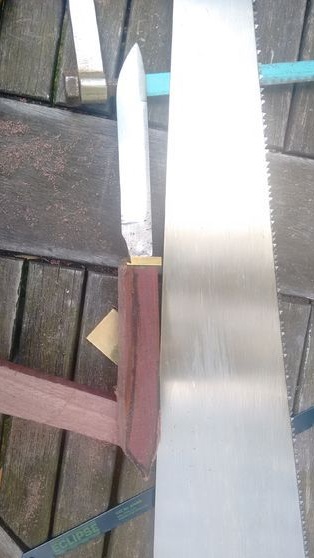
And again, a long and tiring grinding awaits us. But now everything will be much easier, because we will process the tree. First of all, we need to cut out the main profile of the handle, you can come up with any design you want. Large excess parts are cut off with an ordinary hacksaw on a tree. Pre-mark everything with a marker. Also, a jigsaw is suitable for such purposes, it is better to use a cutting tool with as small teeth as possible, and a hacksaw for metal is also suitable. Otherwise, notches can not be avoided, however, this is not critical.
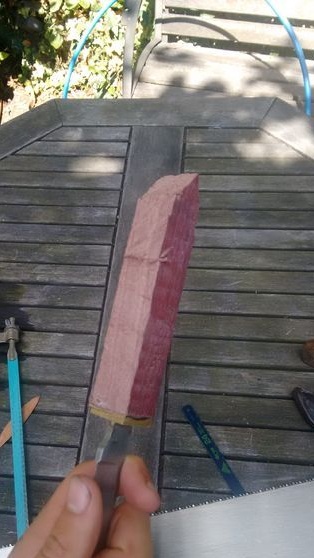
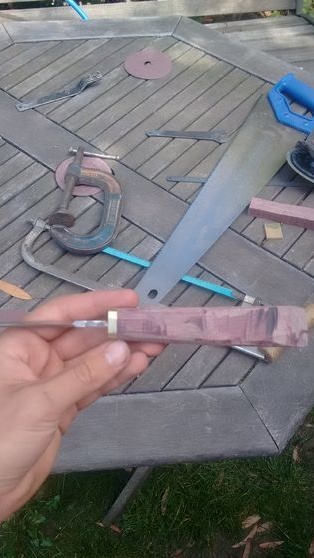
Having cut out the main profile, we proceed to rough grinding. Rasp will help to remove large pieces of wood. You can also use the grinder with special grinding discs. We fasten the knife for the metal part to the table with a clamp or in a vice and begin work. Do not press too hard on the handle, do not forget that the file metal is fragile. The author decided to make himself a rounded pen.
When finished roughing, arm yourself with sandpaper from large to the smallest. You need to properly polish the entire surface of the handle, it should find a finished look. Finally, use the smallest padded paper to make the surface of the pen perfectly smooth.
Step Six Finishing work with a knife
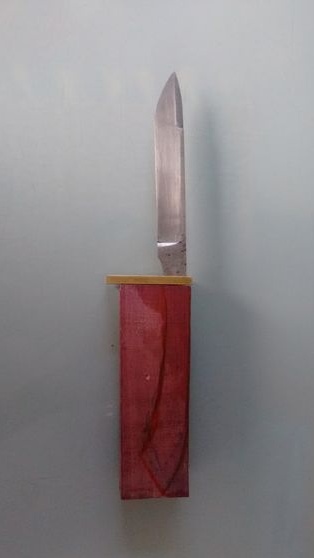
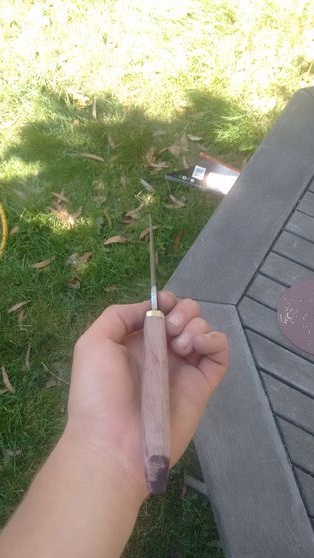
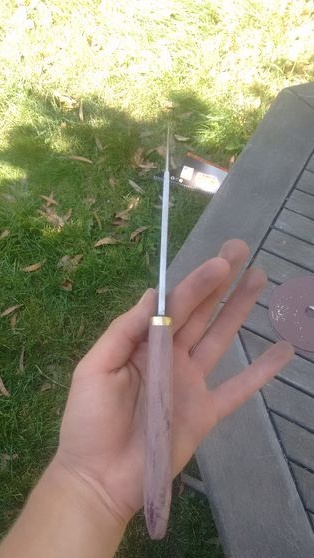
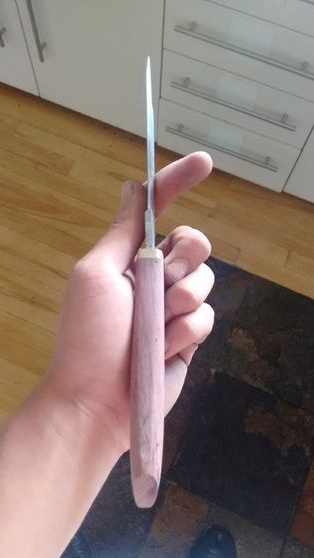
In the end, you need to bring the handle to perfect condition. After polishing with sandpaper, the author polishes it, then he needed a “dremel” with a polishing nozzle.After polishing, the tree must be protected from moisture using various impregnations. If this is not done, the tree will quickly crack. Flaxseed oil can be used as an impregnation, but the author decided to use Danish oil. A total of four layers were applied. Apply a layer, polish the pen, then apply the next layer and so on. At the end, the handle should be left for a while, preferably in the sun, the oil will dry out.
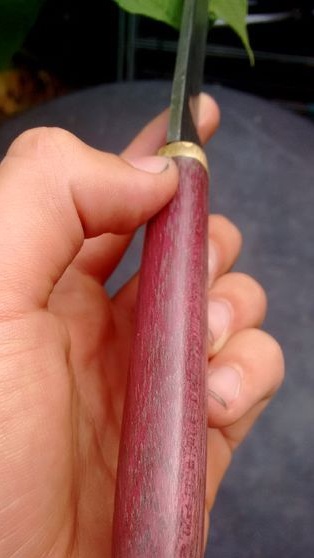


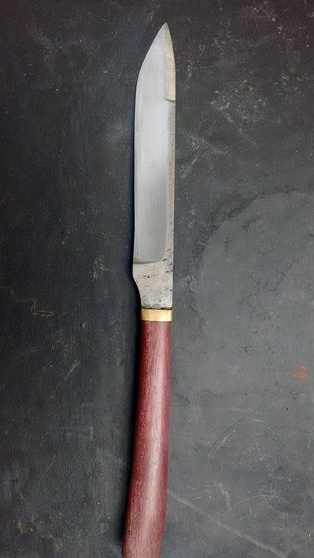
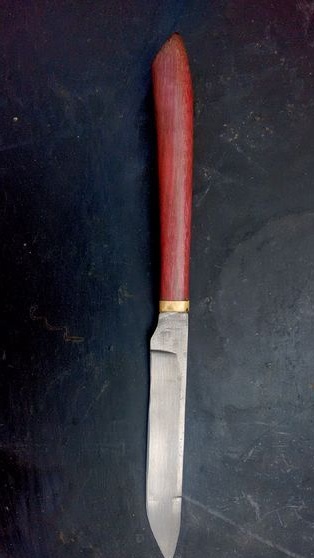
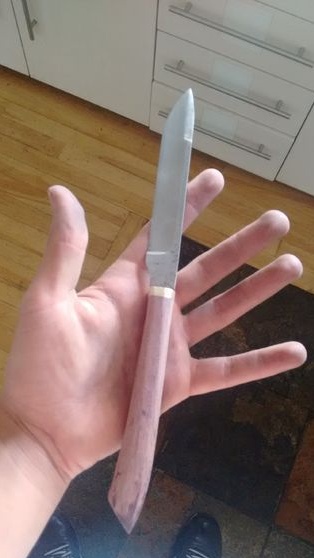
The photo shows that the hand has a bright brown or almost red color. Over time, the pen will become, as intended, purple. This will happen because the wood used by the author oxidizes over time.
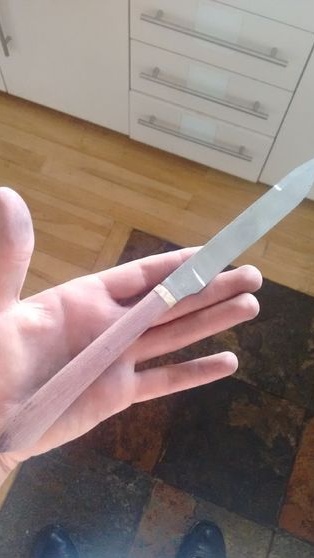
With the handle finished, now it remains to sharpen the knife. The easiest way to solve this problem is with fine sandpaper. Ideally, the knife should be so sharp that it can easily cut a sheet of paper, this is the oldest technique for checking knives for sharpness. Various grindstones can also be used. Japanese water stone is especially suitable. Do not forget to moisten it with water, while it is cleaned and sharpen the blade perfectly.
That's all, good luck!