The cordless tool is more mobile and easier to use compared to its network counterparts. But do not forget about the significant drawback of the cordless tool, this is how you yourself understand the fragility of the batteries. Buying new batteries separately is comparable in price to acquiring a new tool.
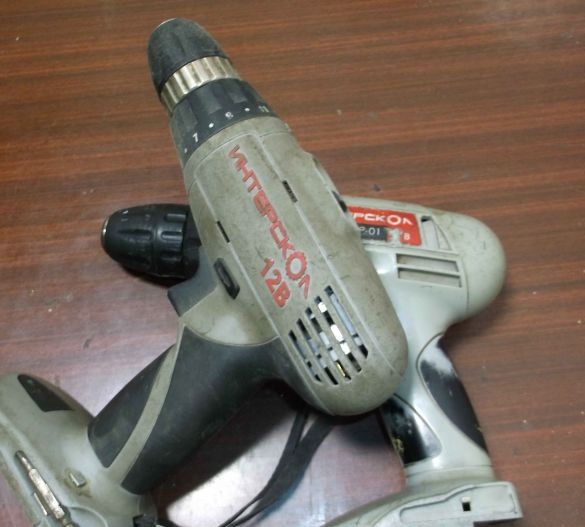
After four years of service, my first screwdriver, or rather, the batteries began to lose capacity. To begin with, I assembled one of two batteries by choosing working “banks”, but this modernization did not last long. I remade my screwdriver on a network one - it turned out to be very inconvenient. I had to buy the same, but the new 12-volt Interskol DA-12ER. The batteries in the new screwdriver lasted even less. As a result, two serviceable screwdrivers and not one working battery.
On the Internet, they write a lot how to solve this problem. It is proposed to remake outdated Ni-Cd batteries to 18650 Li-ion batteries. At first glance, there is nothing complicated about this. You remove the old Ni-Cd batteries from the case and install new Li-ion. But it was not so simple. The following describes what to look for when upgrading a cordless tool.
For alteration you will need:
Flexible wire 2.5 sq. mm
Soldering iron
Old battery (housing)
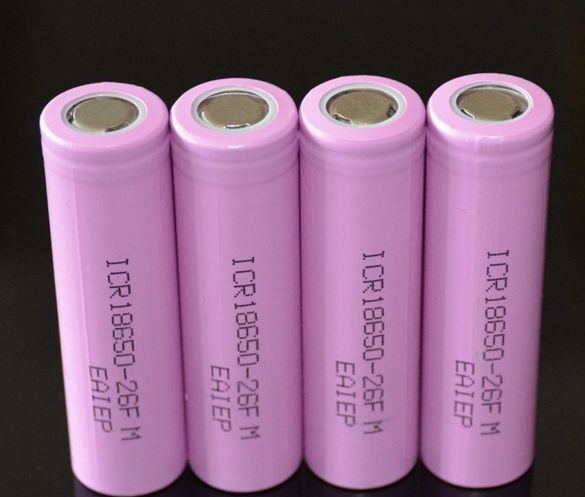
I'll start with 18650 lithium-ion batteries. Purchased on.
The rated voltage of the elements is 18650 - 3.7 V. According to the seller, the capacity is 2600mAh, marking ICR18650 26F, dimensions 18 by 65 mm.
The advantages of Li-ion batteries over Ni-Cd are its smaller size and weight, with a larger capacity, as well as the absence of the so-called "memory effect". But lithium-ion batteries have serious flaws, namely:
1. Negative temperatures sharply reduce capacity, which is not the case with nickel-cadmium batteries. Hence the conclusion - if the instrument is often used at low temperatures, then replacing it with Li-ion will not solve the problem.
2. A discharge below 2.9 - 2.5V and a recharge above 4.2V can be critical, a complete failure is possible. Therefore, we need a BMS board to control the charge and discharge, if it is not installed, then the new batteries will quickly fail.
On the Internet, they mainly describe how to remake a 14 volt screwdriver - it is ideal for modernization. With a series connection of four 18650 cells and a nominal voltage of 3.7V. we get 14.8V.- just what you need, even when fully charged, plus another 2V, this is not scary for the electric motor. And what about a 12V tool. There are two options: install 3 or 4 elements of the 18650, if three is not enough, especially with partial discharge, and if four is too much. I chose four and in my opinion made the right choice.
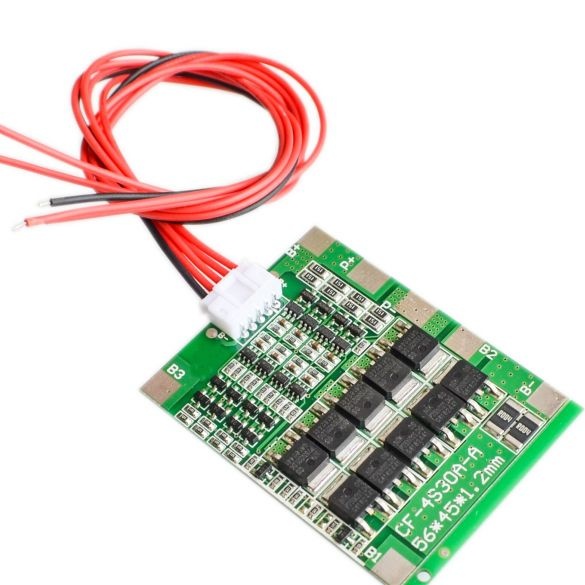
And now about the BMS board, it is also with AliExpress.
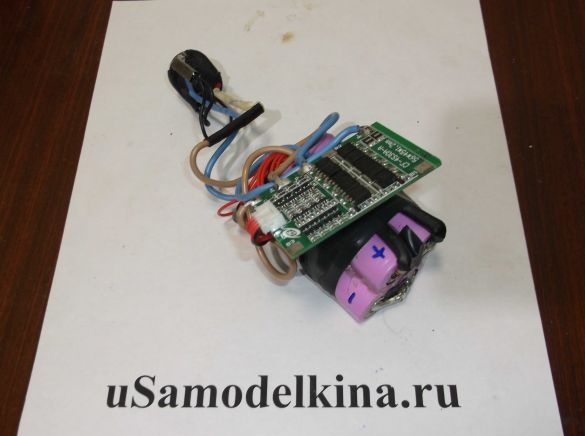
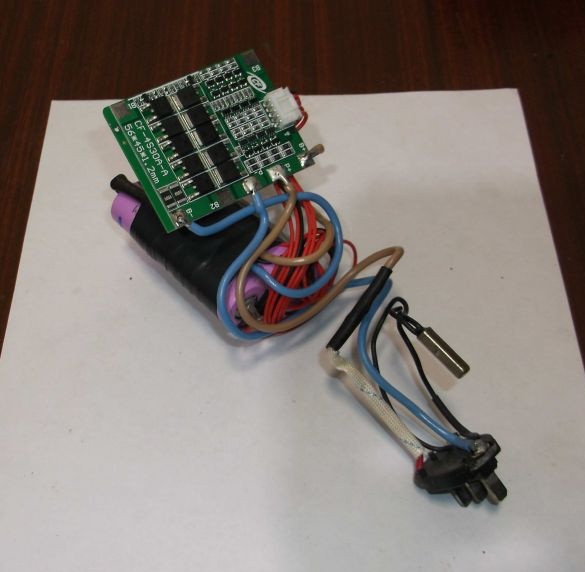
This is the so-called charge control board, battery discharge, specifically in my case CF-4S30A-A. As can be seen from the marking, it is designed for a battery of four "cans" of 18650 and a discharge current of up to 30A. The so-called "balancer" is also built into it, which controls the charge of each element separately and eliminates uneven charging. For the board to work properly, the batteries for assembly are taken from the same capacity and preferably from one batch.
In general, there are a great variety of BMS boards with different characteristics on sale. I don’t advise taking a current below 30A - the board will constantly go into protection and in order to restore operation, some boards need to be supplied with charging current for a short time, and for this you need to remove the battery and connect it to the charger. There is no such drawback on the board that we are considering, you just release the trigger of the screwdriver and, in the absence of short circuit currents, the board will turn on itself.
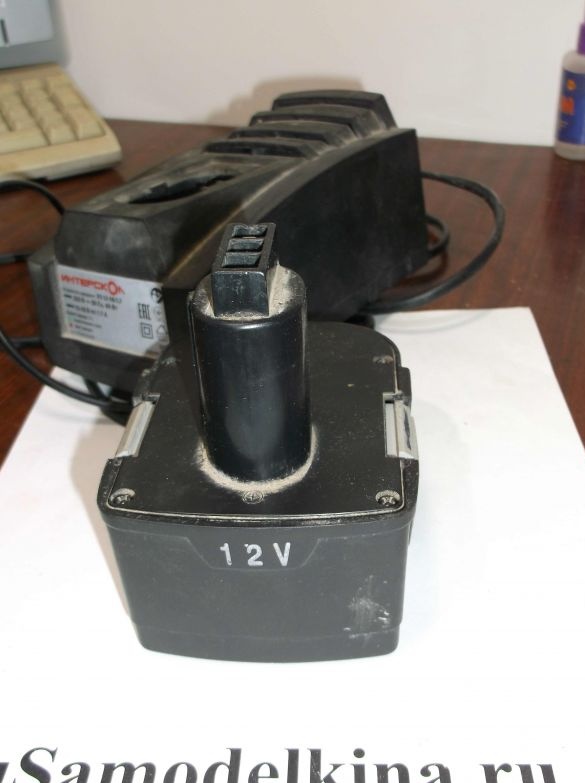
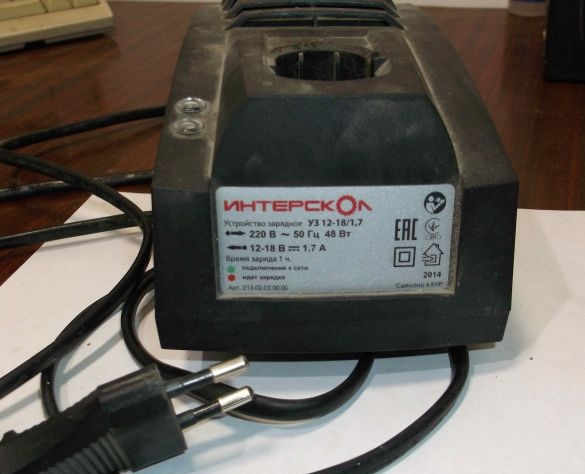
To charge the converted battery, the native universal charger perfectly fit. In recent years, Interskol began to equip its tool with universal memory.
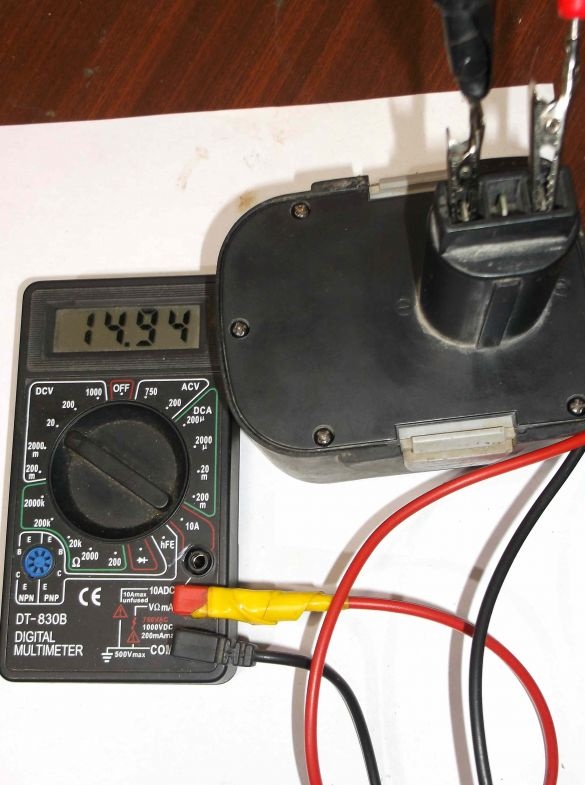
The photo shows to what voltage the BMS board charges my battery together with a standard charger. The voltage on the battery after charging 14.95V is slightly higher than that required for a 12-volt screwdriver, but this is probably even better. My old screwdriver became faster and more powerful, and the fears that it would burn out, after four months of use, gradually disappeared. That seems to be all the basic nuances, you can proceed with the alteration.
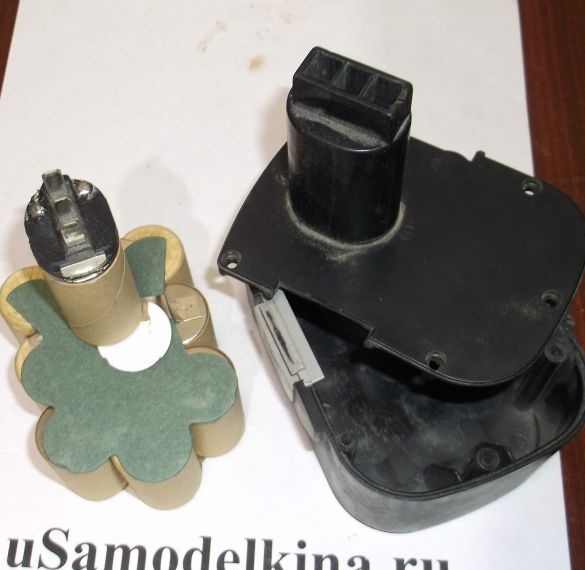
We disassemble the old battery.
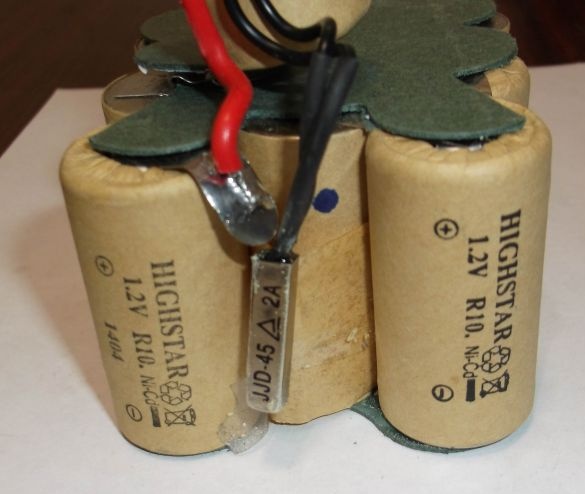
We evaporate the old cans and leave the terminals together with the temperature sensor. If you remove the sensor, then when using the standard memory, it will not turn on.
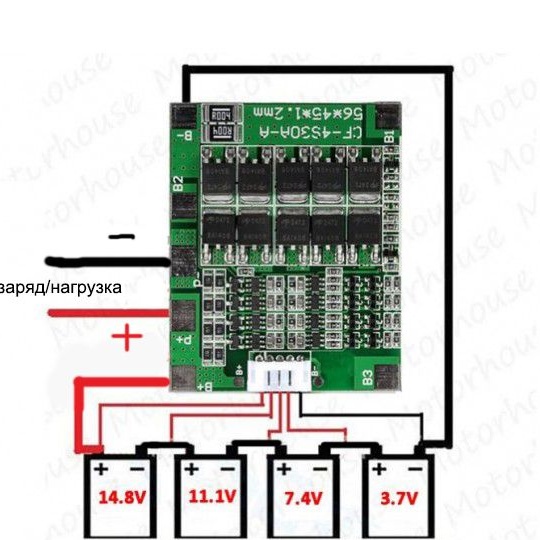
According to the scheme in the photo, we solder 18650 elements into one battery. Jumpers between the "banks" must be made with a thick wire of at least 2.5 kV. mm, since the currents during operation of the screwdriver are large, and with a small cross section the power of the tool will drop sharply. The network writes that it is impossible to solder Li-ion batteries since they are afraid of overheating, and recommend connecting using spot welding. You can only solder you need a soldering iron with a power of at least 60 watts. The most important thing is to solder quickly, so as not to overheat the element itself.
It should turn out approximately so that it fits into the battery case.
From the board to the terminal, the wires should be flexible, as short as possible and a cross section of at least 2.5 square meters. mm
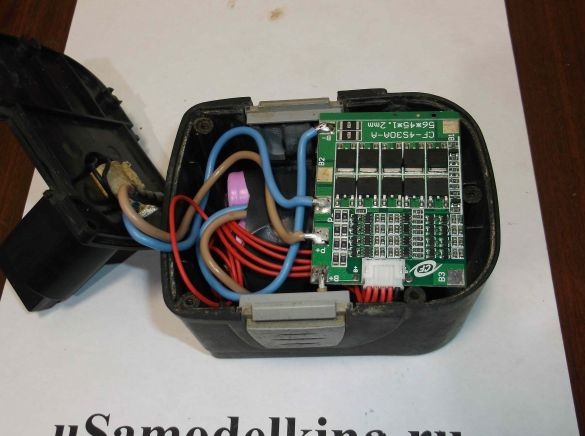
We carefully place the entire circuit in the case and fix it with any gasket to prevent damage to the parts.
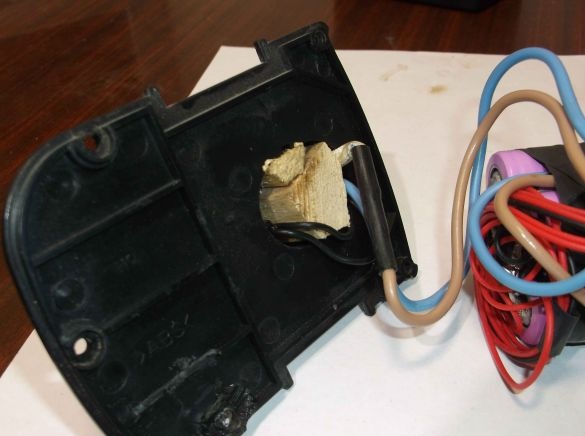
To fix the terminal, I simply put it in place and wedged it with wooden wedges. It remains only to assemble the body.
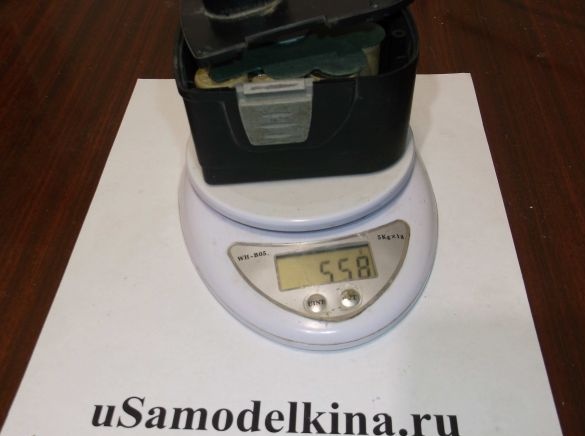
The weight of a standard Ni-Cd battery is apparently 558 grams.
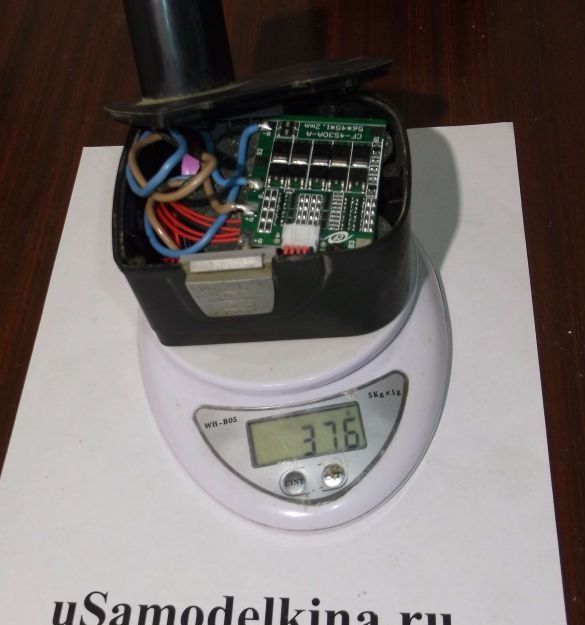
The weight of the converted battery is 376 grams, therefore, the tool has become lighter by 182 grams. In conclusion, I want to say that this rework is worth it. The screwdriver has become more powerful and the charge lasts much longer than with a native battery. Redo, you will not regret!


