And it is necessary, to convert a gasoline car into an electric one, just a little, replace the ICE engine with an electric one. How Master has dealt with this task, we will learn from this article. He used to do that before car and he has a lot of material on this subject. For those interested, you can watch several videos by clicking on the link. This is not a pure instruction, but rather a direction indicator.
Tools and materials:
-Car;
-Various tools and equipment (wrenches, screwdrivers, drilling machine, etc.);
-Engine from electric lift truck;
-Batteries;
-Coupling;
-Controller;
-Wire;
-Jack;
Step One: Car
The first thing you need to do is choose the right car. They are not all equally suitable for conversion into an electric car. You need something lightweight and energy efficient.
Heavier cars need more energy when driving, and thus, batteries run out faster. Hydro or electric power steering and brakes, power windows and electric locks are also not needed. In general, you need as little power-consuming appliances as possible.
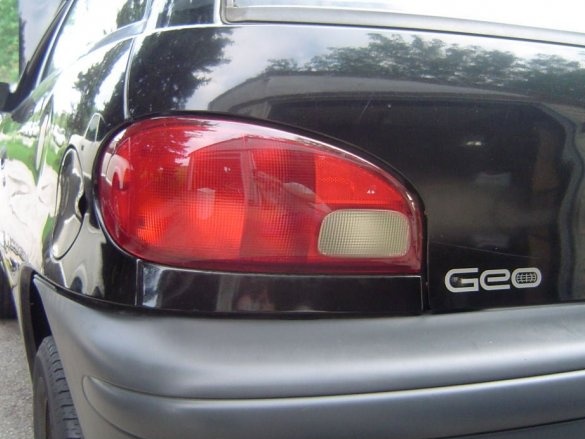
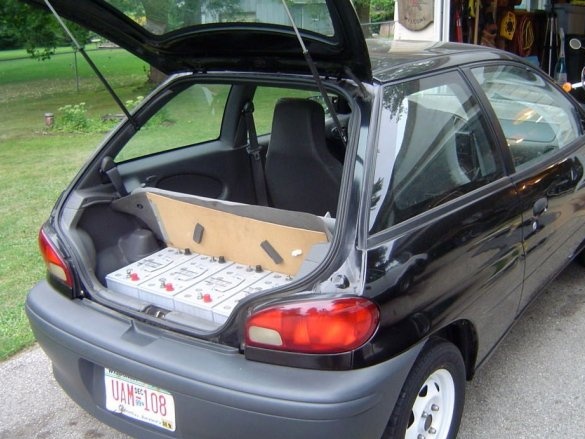
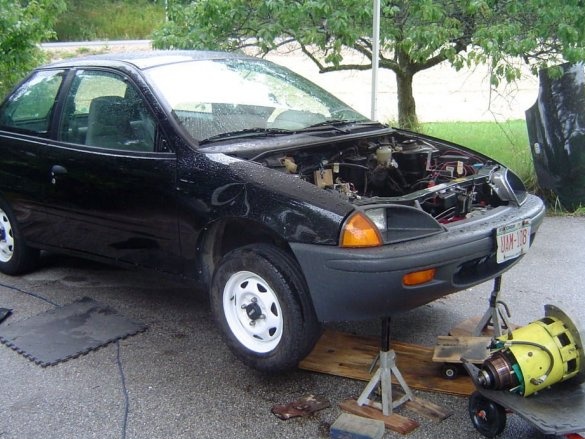
As a result, the master acquired Geo Metro for $ 500. The engine worked fine and the body was in good condition. The clutch did not work, but in an electric car it was not needed, however, like a regular engine.
Step Two: Dismantling
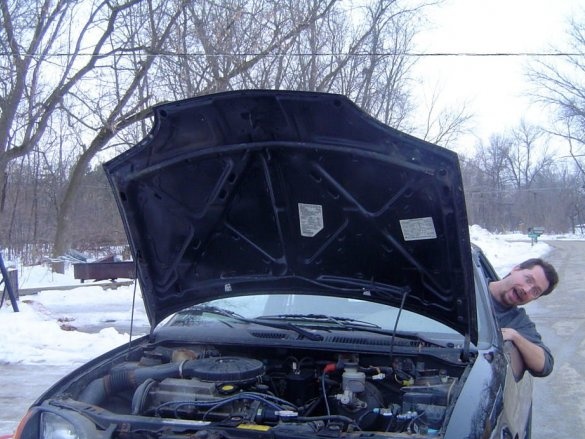
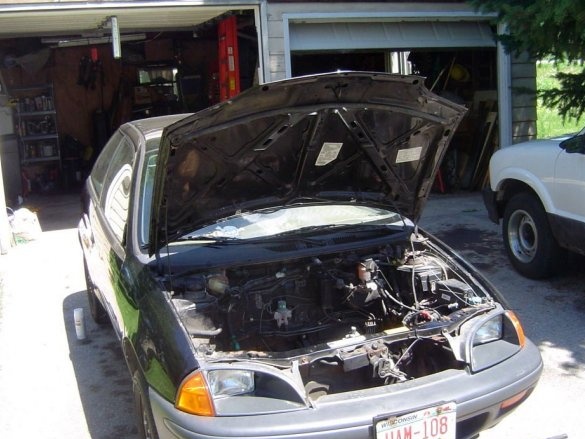
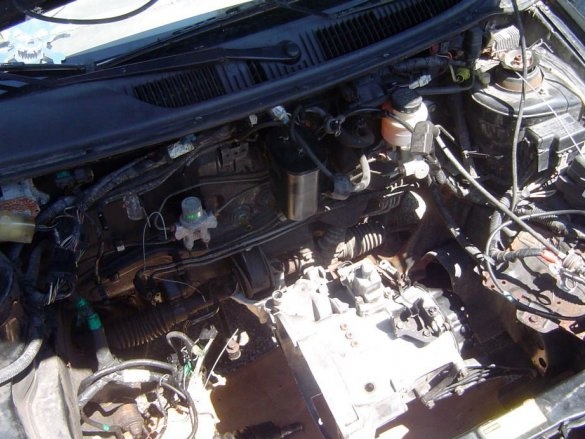
It is necessary to remove everything related to the gasoline internal combustion system. Dismantle: gas tank, exhaust system, muffler, coil, starter, radiator, fuel lines, etc. Removing all unnecessary parts will reduce weight and simplify subsequent installation of equipment. The master did not touch the airbags and other elements of passive and active protection.
If everything is carefully dismantled, then you can sell parts to cover costs. The master bought the car for $ 500, but then sold the engine, gas tank and radiator for $ 550.
Step Three: Adapter Plate
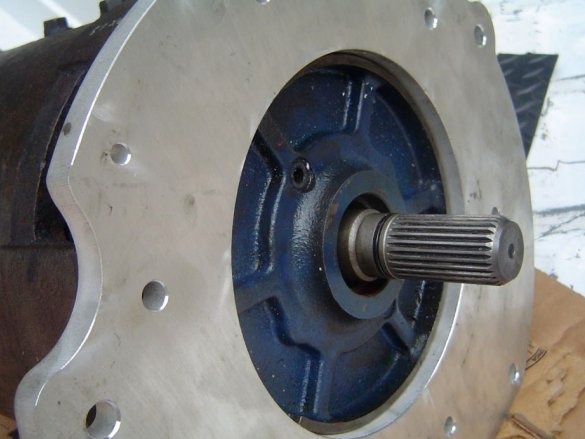
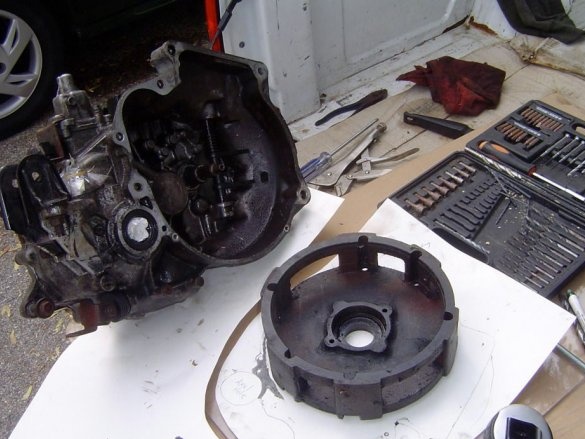
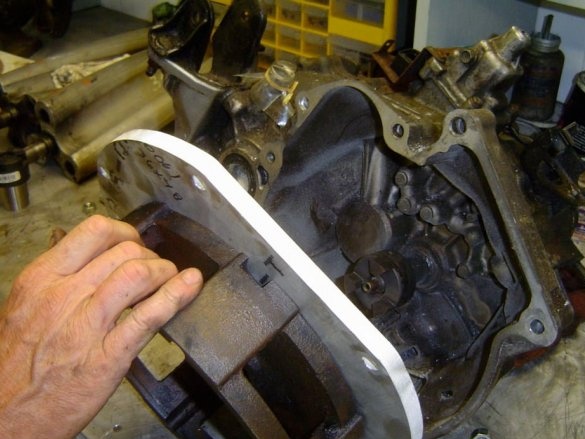
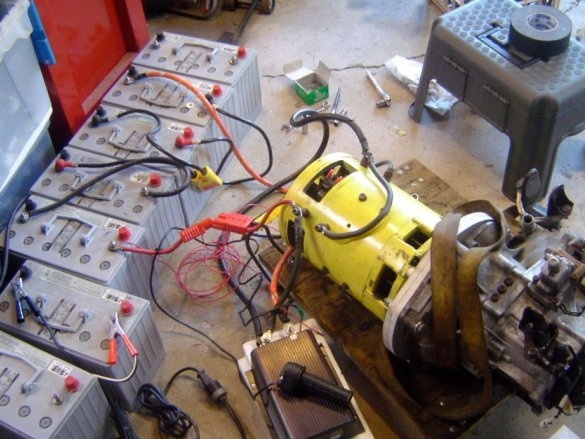
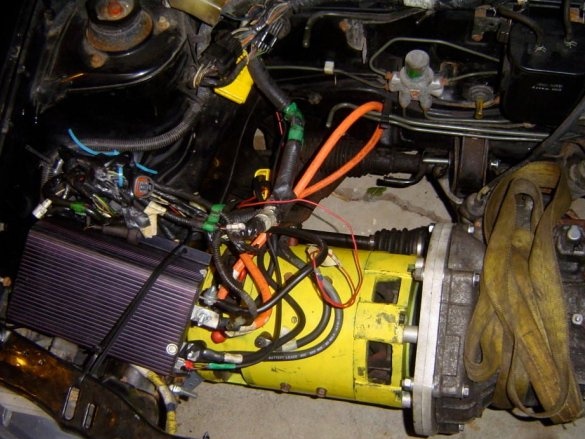
The engine has been dismantled, but the standard gearbox will be used in the future. The question is how to attach the motor to the gearbox? The master found a way out and made an adapter plate from a piece of aluminum sheet. The master took the gearbox out of the car and then outlined it with a pencil and marked all the holes. Then he cut the aluminum plate to the desired size and shape. The center of the drive shaft of the engine and the center of the drive shaft of the transmission should be perfectly aligned.
Before screwing the engine and transmission together with the adapter plate, it is necessary to make a coupling that will connect both shafts.
Step Four: Coupling
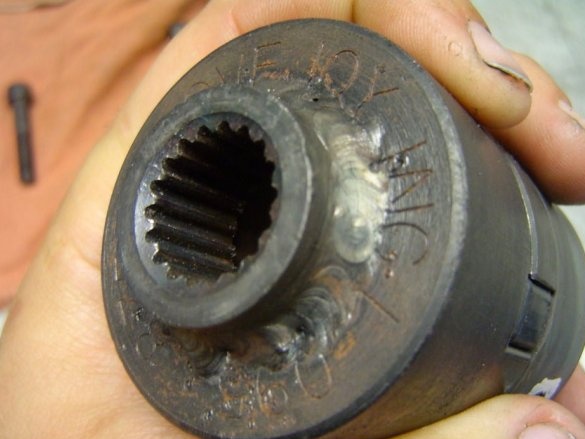
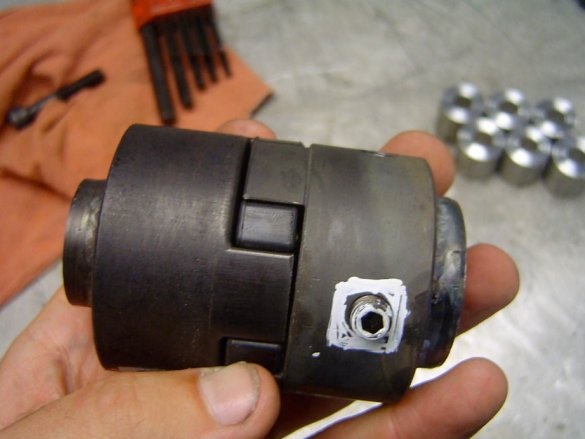
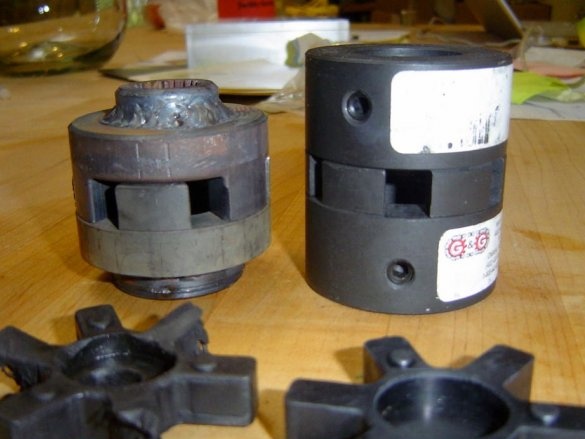
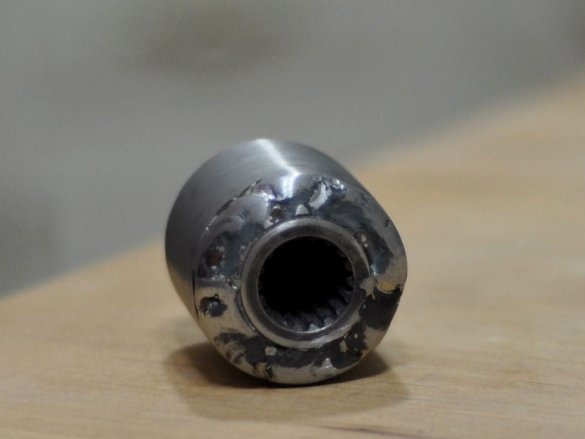
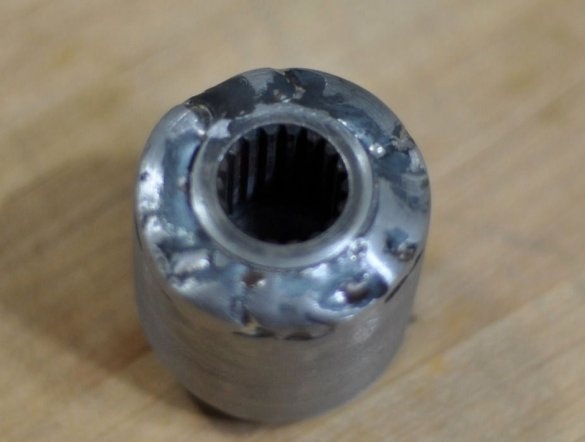
You can connect the motor shafts and gearboxes in different ways, but the master decided to use a coupling from some mechanism.
With this connection, the car worked all summer. Then there was a breakdown. The master thinks that alignment has not been completely observed. Then the clutch was a little redone.
Step Five: Motor
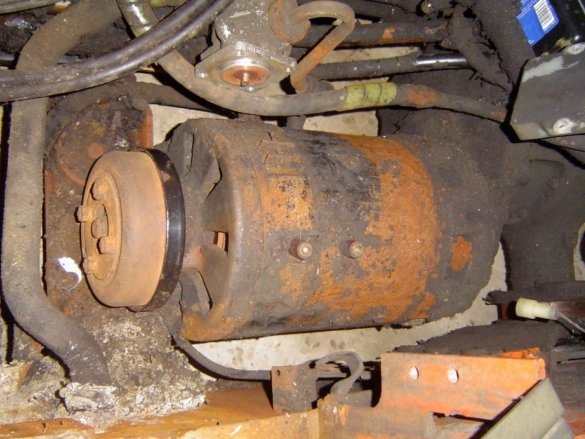
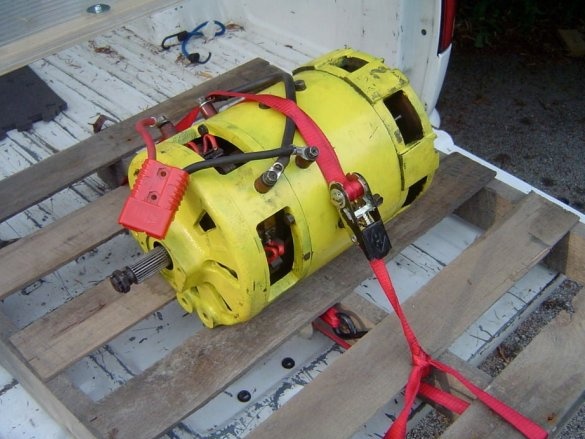
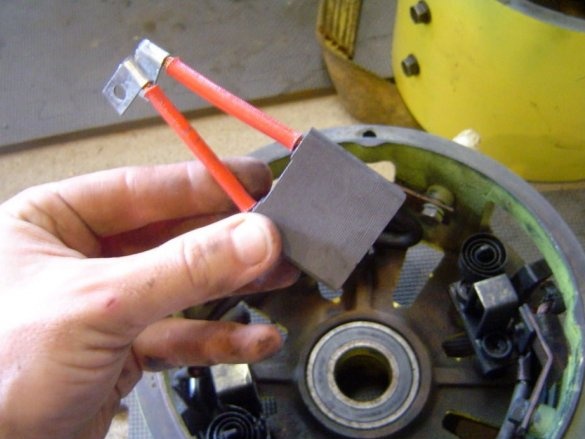
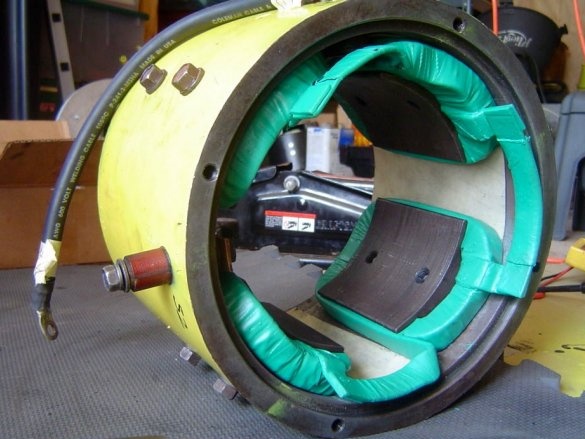
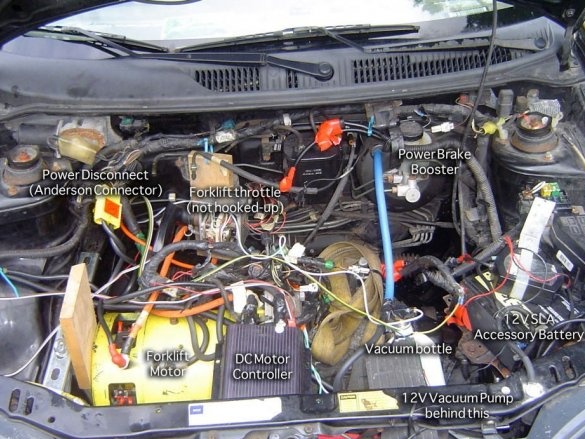
Master bought his motor for $ 50 at the garage some guy. It was a motor from a forklift. The motor was very old and rusty, but working. The master cleaned it, removed the coils and sprayed insulating epoxy on them, checked the bearings. Also replaced the brushes, put it all together and painted.
Step Six: Batteries
This car uses 6 12V batteries. These are real Deka Dominator helium batteries. They do not require maintenance. The master was able to buy used batteries at $ 12 apiece.
The disadvantage of these batteries is that they are demanding on charging. The master purchased a 72 V charger designed for these batteries for $ 200.
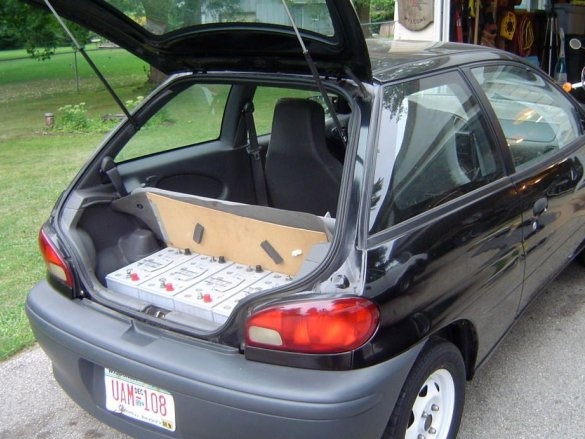
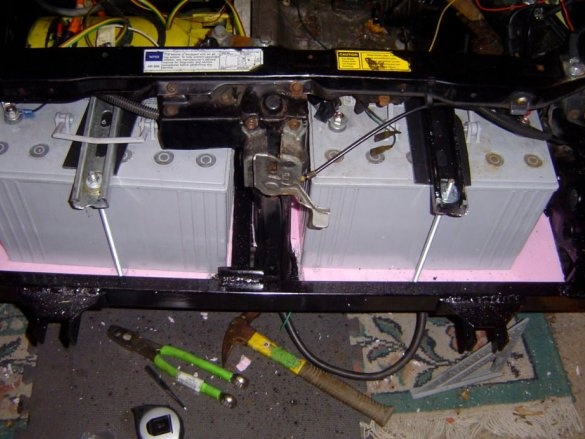
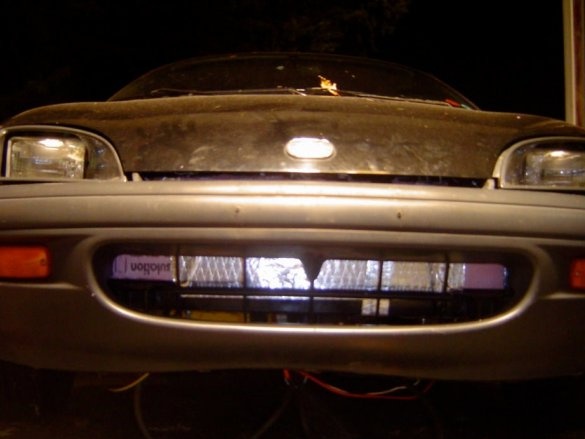
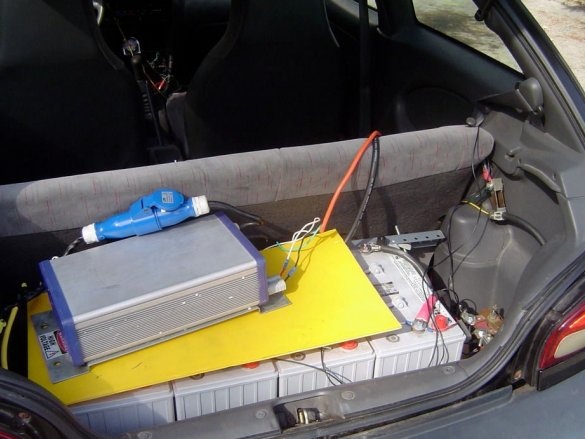
Four batteries are in the trunk of the car, and two are in the front, where the radiator used to be.
For the rear batteries, the master cut two parts of the bed frame so that they lay on the spare wheel and bolted the frame to the frame of the car.
To install the front batteries, the bumper was dismantled. Then the frame is welded and fixed in place of the radiator. Now you need to install the batteries and put the bumper in place.
In the store, the master bought a “charger power input”. This is an electrical connector with a rubber cover. Since the gas tank has already been removed, it has a connector in place of the neck of the gas tank.
Batteries are charged overnight.
Subsequently, the wizard changed the configuration of the batteries. The maximum number of batteries is 12 pieces, which gave the master 144 V. On these batteries, he was able to accelerate to 117 km / h.
He also works on a battery heater in the winter.
Seventh step: controller
The controller is an important part of an electric vehicle. The controller is electronic unit that regulates the operation of the electric motor.
The master uses the Curtis 400 A peak PWM controller, designed for use with series motors. It can operate in the range from 48 to 72V.
The greater the current strength, the better the acceleration (thrust). The higher the voltage, the better the maximum speed and economy of the car.
The 72 V controller proved to be a good compromise in cost and efficiency. Master bought it on E-Bay for $ 300.
To connect, follow the diagrams provided by the controller manufacturer; use thick cables, such as a welding cable, to connect the batteries to the controller and motor.
The master uses a 5 kΩ potentiometer as a choke. The potentiometer is installed in conjunction with the standard gas pedal.
Step Eight: Summary
This car can travel 32 km on a charge, and has a maximum speed of 75 km / h. This is enough for a trip to work and back. If necessary, add batteries.
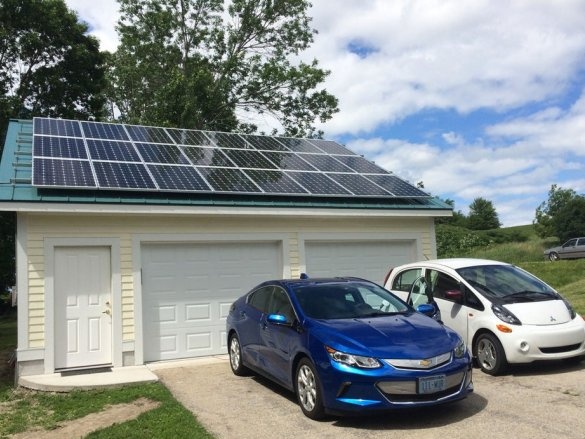
This project cost the master about $ 1,200, including the purchase of a car. If the master did everything himself, he would have spent only $ 800 on everything. This car is charged in the master’s private home through a renewable energy program. All electricity comes from wind, biogas and other renewable energy sources.
The master mainly drives in third gear, but the engine torque is such that you can start with the fourth.
Heater.
Since this car no longer has the original engine, it also does not have a heater. If necessary, you can install a ceramic heater.
The brakes.
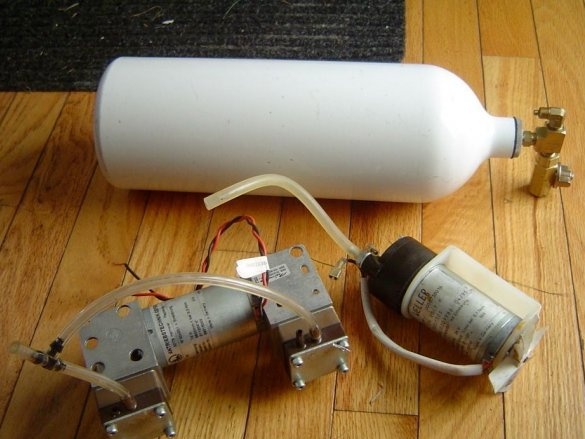
One of the reasons why the master chose this car was that it has manual windows, manual locks, a manual gearbox, and steering without a mechanical drive. The only problem was the brakes. Established brakes have a vacuum booster. With the dismantling of the engine, the brakes do not work as needed.To start, the master played with an aquarium air pump, just to find out how the vacuum brake system works. After that, I started looking for a 12-volt air pump so that it could be used as a vacuum pump. As a result, a 12 V pump and an aluminum cylinder receiver were installed. As soon as the pressure in the cylinder drops, the pump starts to work.
Now the car has power brakes, as it was originally, only it is driven by a tiny electric motor in a small pump, and not a gasoline engine.

