

Today I would like to share with you a simple way of manufacturing a simple, budget-friendly version of manufacturing a mini electric drill.
Then we will consider the identified pros and cons of the resulting product.
The mini drill is widespread and is used to perform an incredibly large volume of tasks in home conditions the garage, in the country or repair.
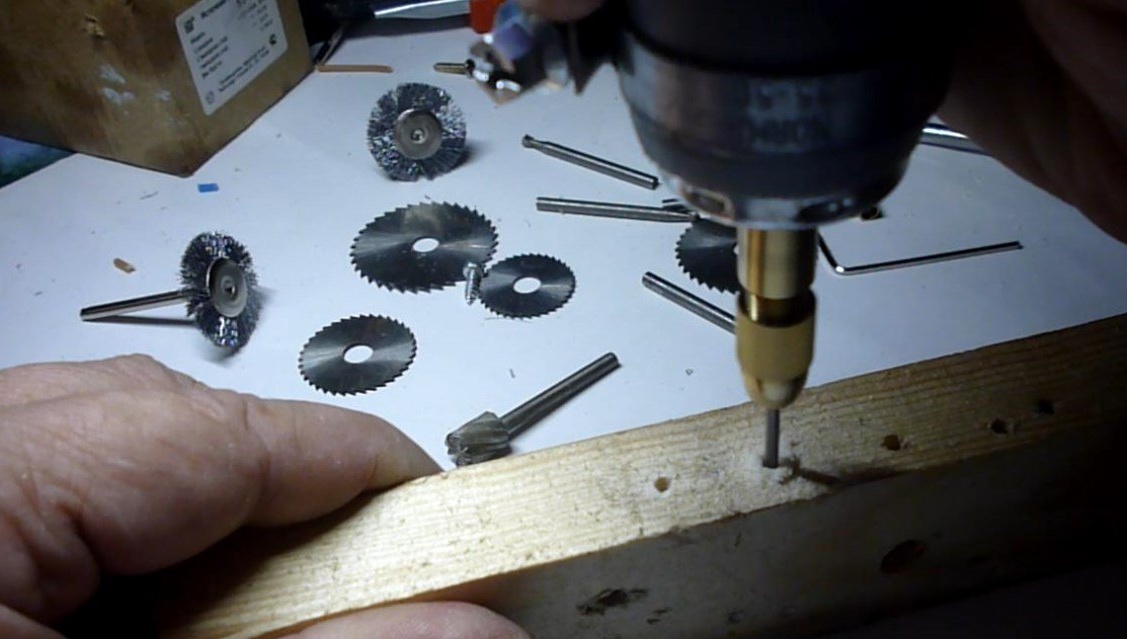
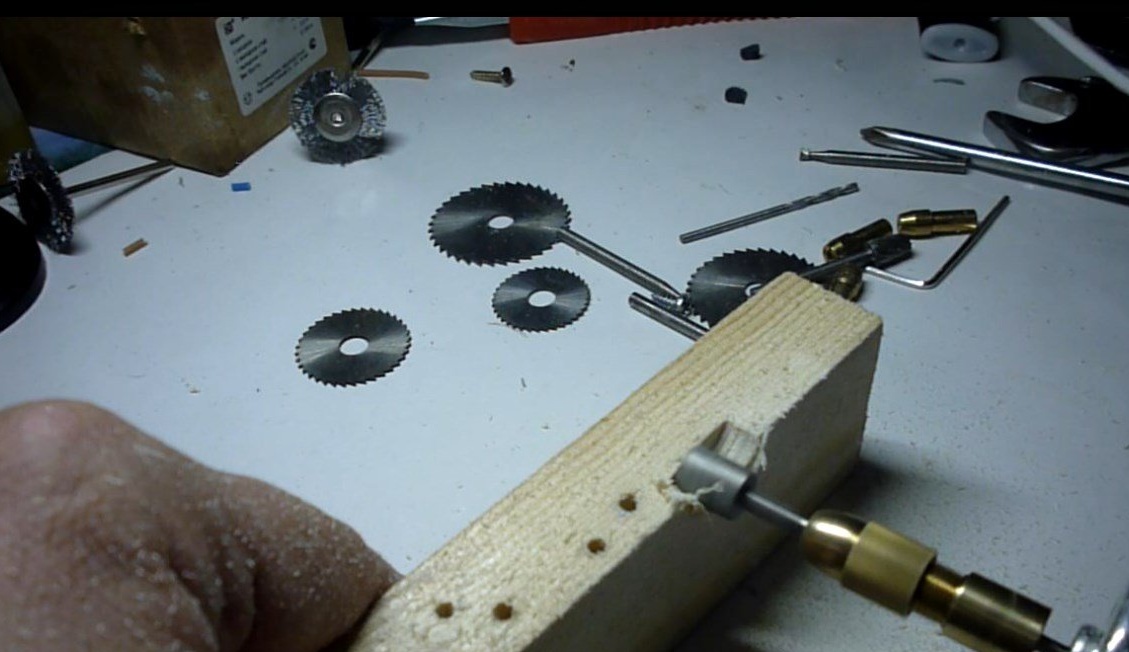
A mini drill is used for a wide variety of small jobs. In particular, it is used for drilling electric printed circuit boards, a conventional electric drill is completely unsuitable for such work.
A mini drill equipped with special nozzles can very well be used as an engraver, or as a grinding machine or milling cutter. To use it in this quality, special nozzles with a rough working surface are used. In the process, the nozzle processes the part or applies the necessary pattern to the workpiece.
Of course, a thick iron mini drill cannot be mastered, but a hole in a metal sheet with a thickness of up to one millimeter is enough to drill a bit of strength.
Do-it-yourself mini-drill manufacturing options are unimaginable. Everything fits into your flight of imagination, fantasy and is restrained exclusively by the components you have for making a drill.
So your fantasies are limited only by your bins of spare parts.
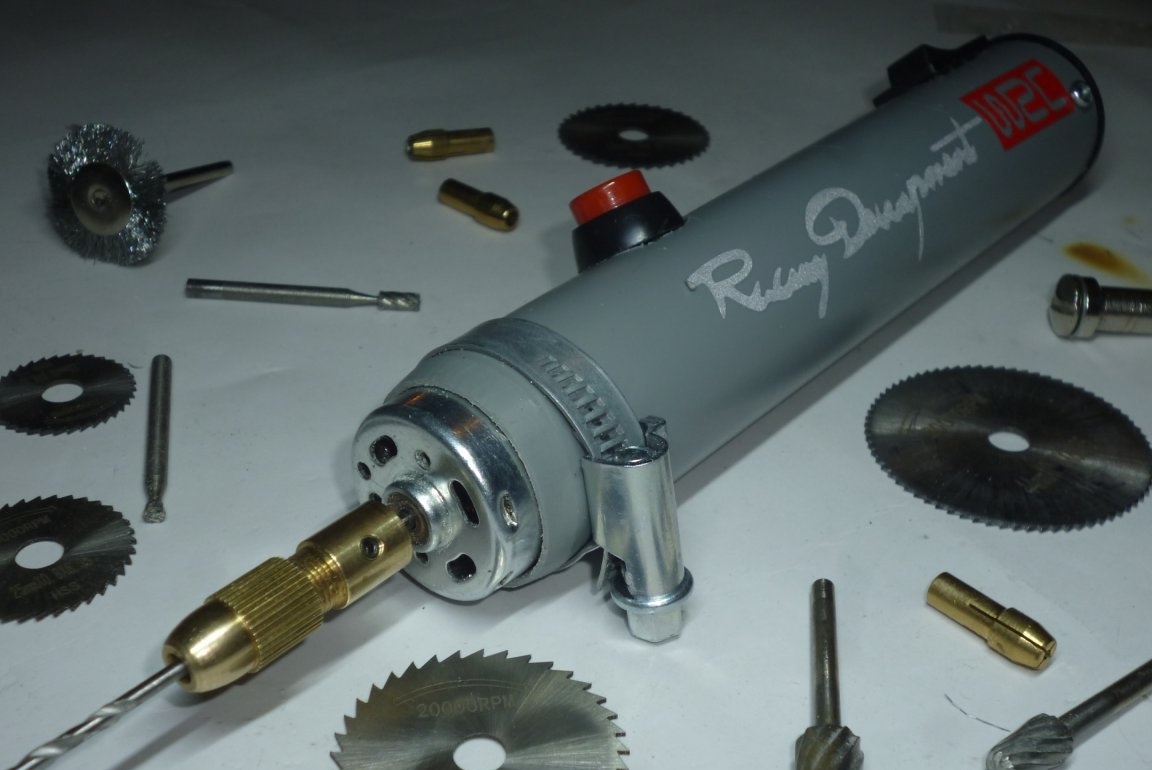
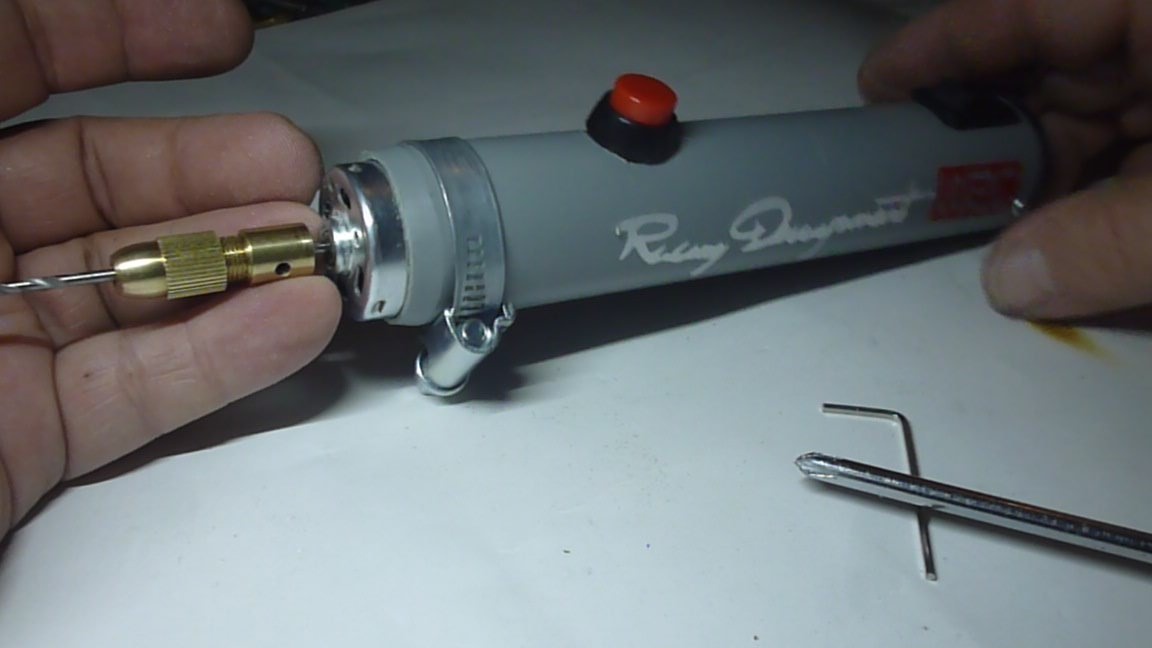
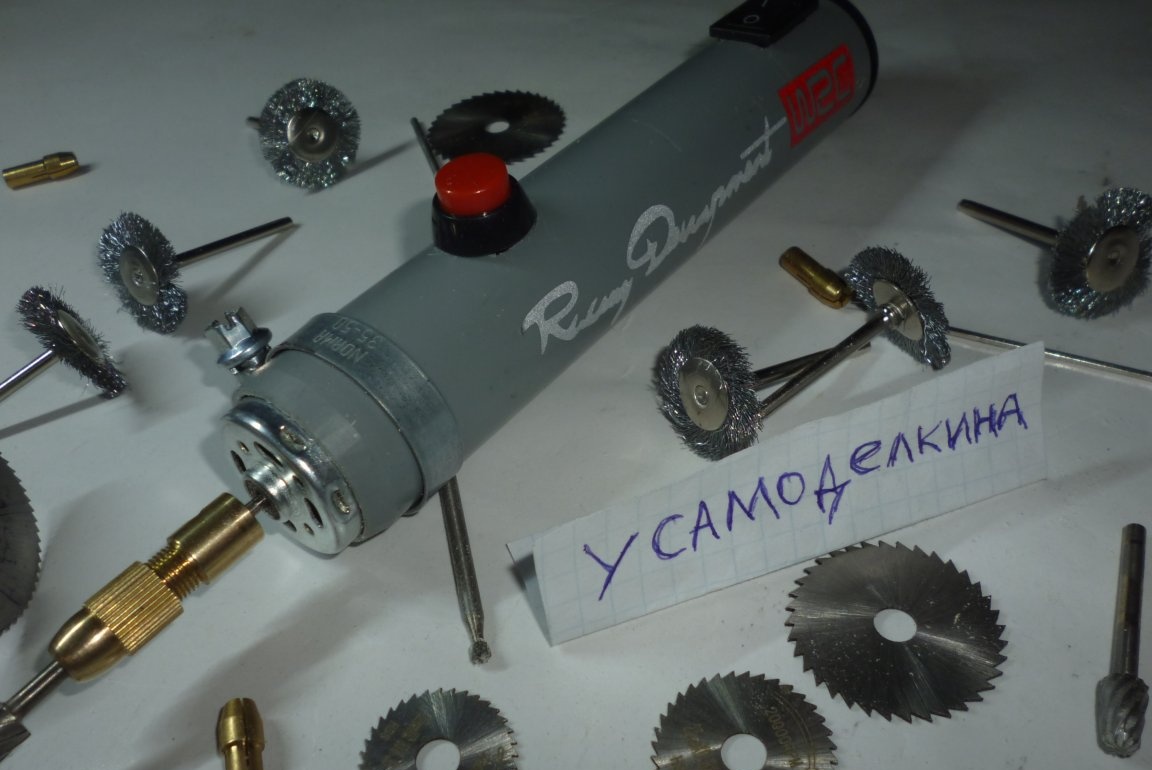
The heart of any mini drill is a small but powerful electric motor. Also, for the manufacture of our mini drill you will need a collet chuck (a collet chuck is a type of drill chucks. They hold the drill in the drill during the drilling process. The quality of the work of the electric drill depends on the quality of the collet chuck and, accordingly, the attachment of the drill to the electric motor.Therefore, the choice of a collet cartridge should be approached with all responsibility), it is quite problematic to make a collet cartridge on your own at home, so it is better to buy it in a store.
Standard cartridges (with collets for drills with a diameter of 0.5 to 3.2 millimeters) can be found in any online store at an affordable price, the price varies from 100 to 150 Russian rubles.
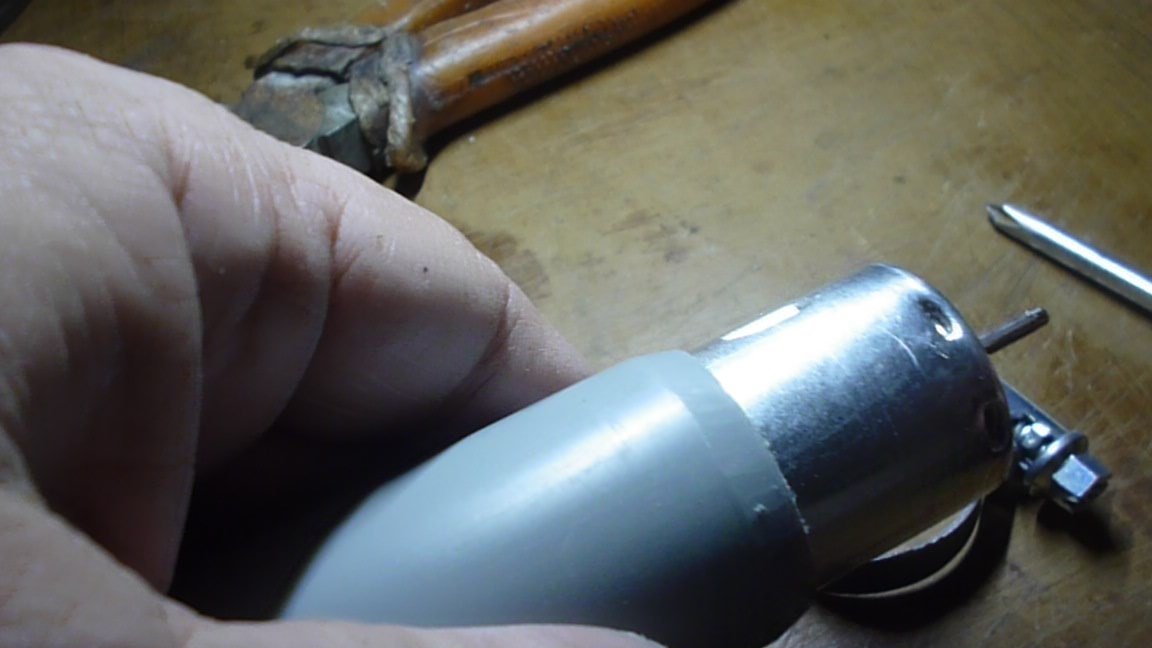
An important detail of mini drills where all components are located and fastened is the case. There are many options, in our case, a tube from a fan pipe is used, the inner diameter of which, as well as possible, coincides with the outer diameter of the electric motor. When fixed in the housing, the engine stood up almost without gaps.
Connecting electric wires - are selected based on the power of the drill, but due to the fact that we use an electric motor with low power consumption, we select insulated electric wires of a small cross section. For high-quality soldering of the electrical circuit, we will need acid for soldering and tin rods, a soldering iron or connectors.
Almost any beginner enthusiast can assemble a mini drill on his own. It is up to desire and perseverance.
As always, compliance with safety precautions when working with high-risk tools. Work carefully. Observing all safety precautions. Do not taste the electricity with your tongue, do not stick your fingers where the dog does not stick its tail. Before any action, turn on the brain. And then, take a word, each member of your close-knit family, including the dog, will have its own mini drill.
And so we proceed to the manufacture of mini drills.
Video instruction for the manufacture of mini drills.
Tools for making mini drills:
1. An electric drill or any drilling equipment.
2. Jigsaw or hacksaw.
3. A screwdriver.
4. Stationery knife.
5. Soldering iron.
6. Sandpaper.
7. File or file.
8. Glue for plastic.
9. Vise or clamp.
10. Pliers or pliers.
11. Drills.
12. Edging machine.
13. Cutting wheel for metal.
Materials for work:
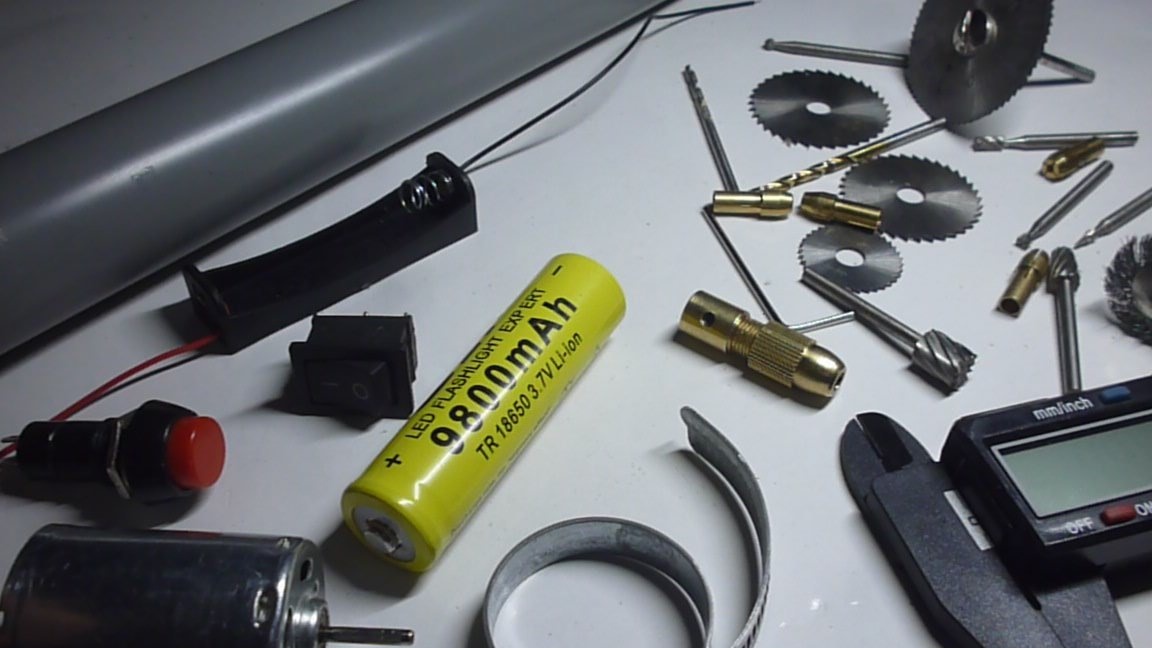
1. The electric motor is suitable size, you can pick up in a Chinese online store.
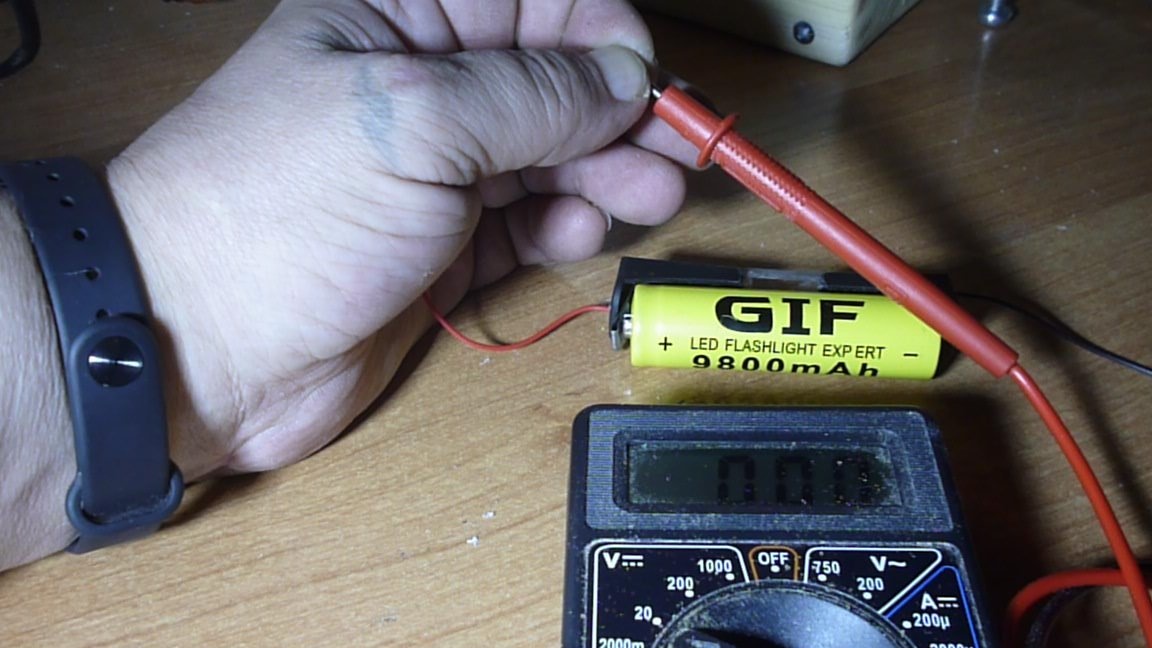
2. Battery capacitive 18650, voltage of 3.7 volts.
3. Block for mounting the battery.
4. A set of wires.
5. Collet chuck with a set of collets.
6. A fan tube, matched by an electric motor.
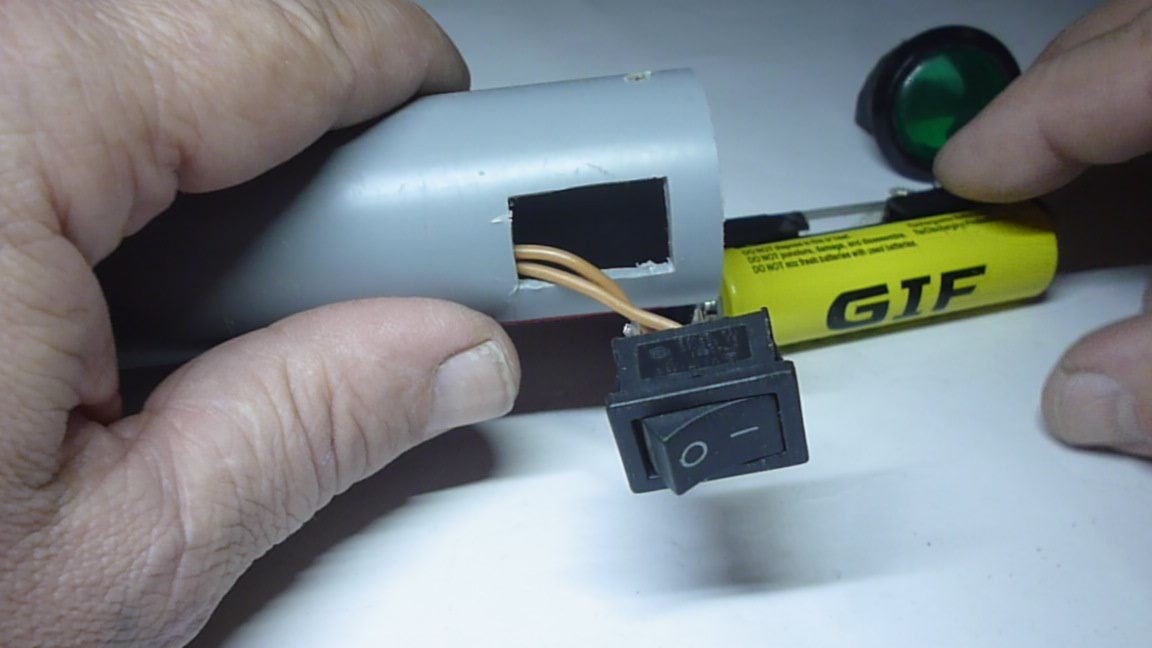
7. The switch.
8. Button.
9. Solder.
10. Soldering acid.
11. Self-tapping screws.
12. male to female connectors.
12. Drills, milling cutters, discs for subsequent work.
13. Clamp fixing the electric motor.
Production Order:
1. Measure the size of the case from the fan tube, based on the layout.
2. Cut the desired tube size for the housing.
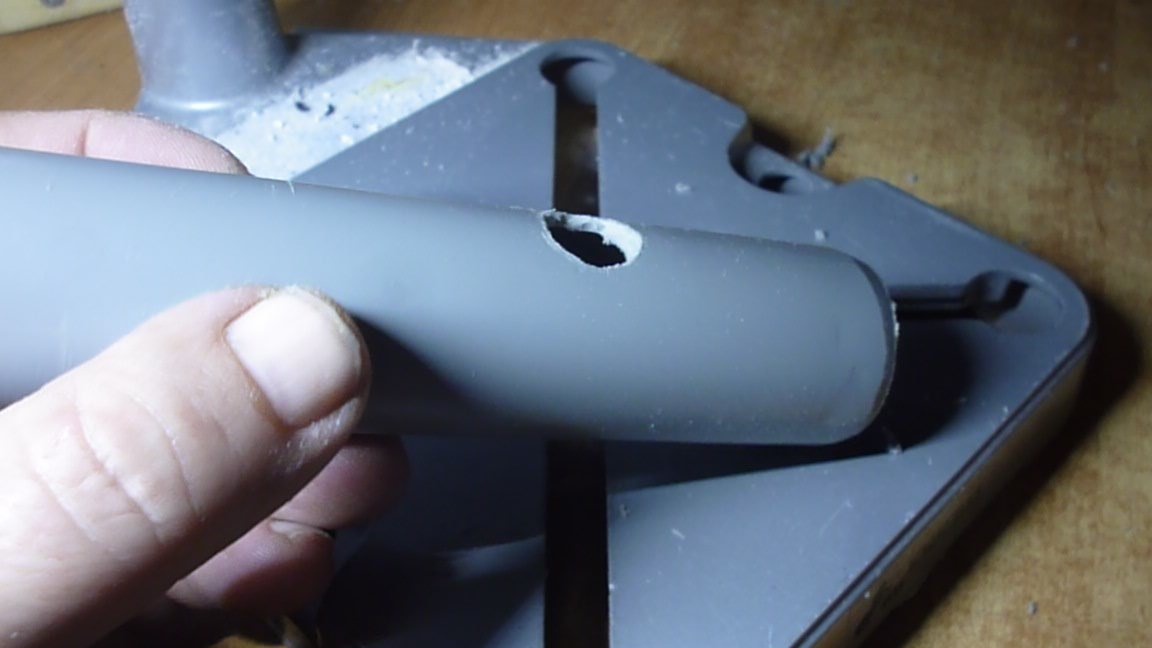
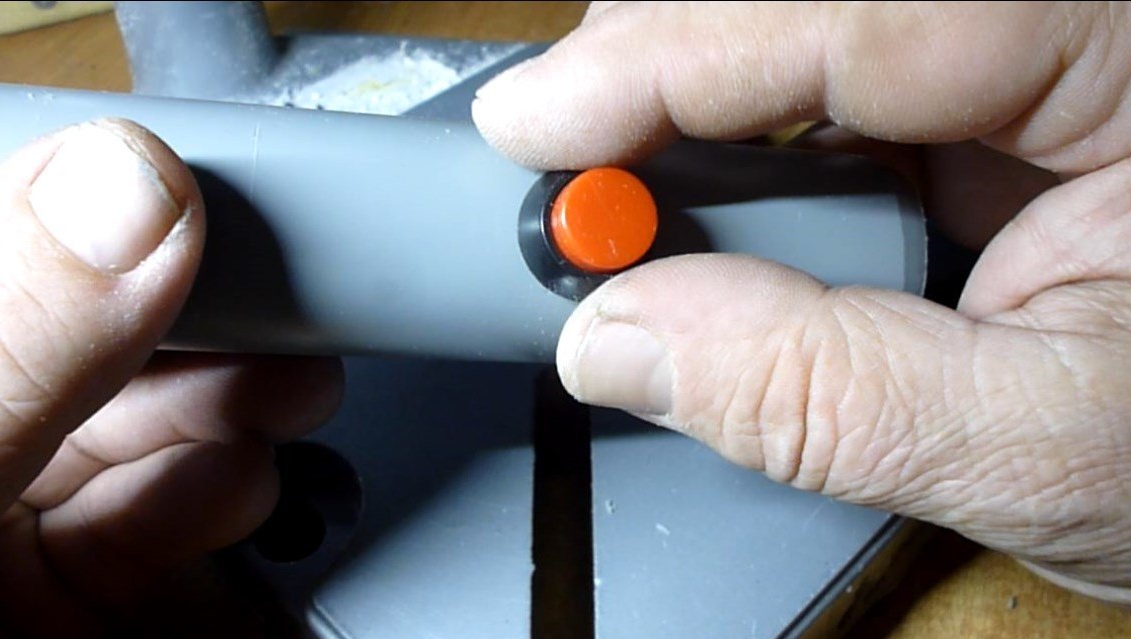
3. We drill and drill holes, in the resulting drill case, under the button and switch.
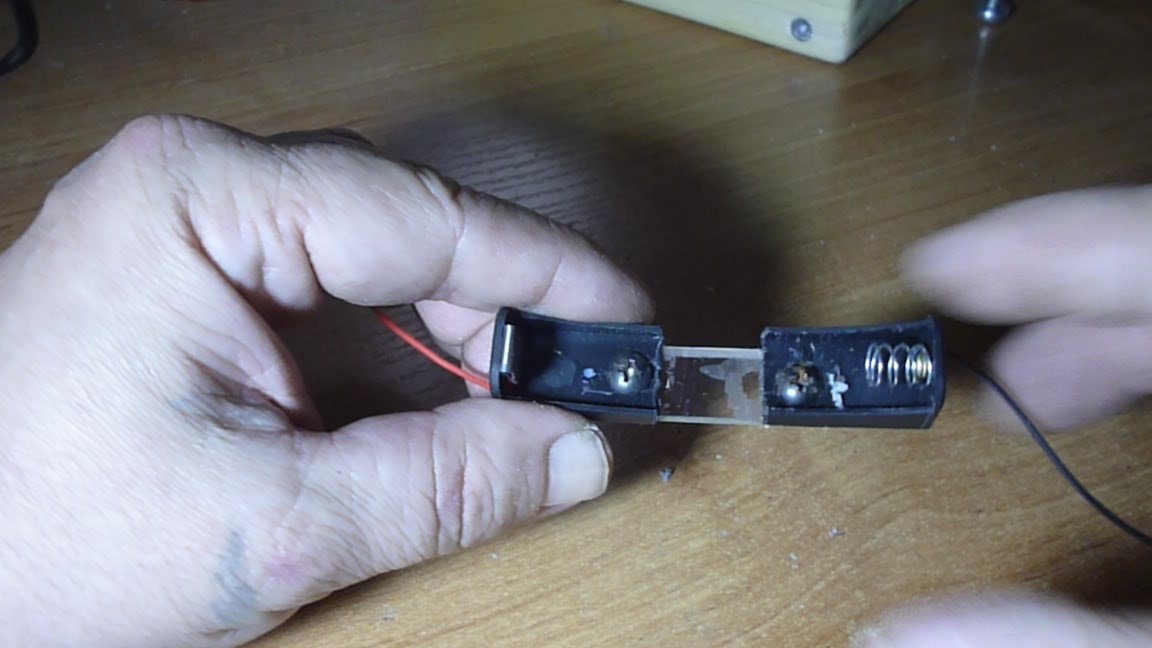
4. We remodel the battery pad to our size, it is available shown in the video clip.
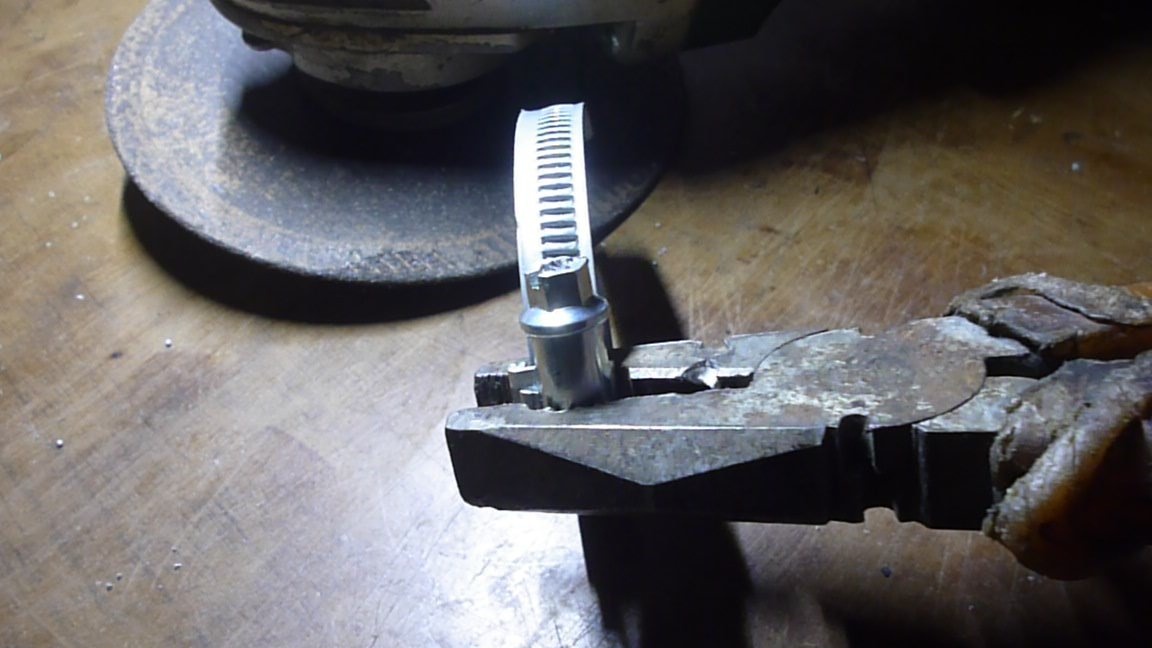
5. We trim the motor mount clamp.
6. We solder components for powering the electric motor.
7. We make the back cover of the drill.
7. We make assembly of a mini drill.
8. Test run Mini electric drill.
Technical analysis of mini drills:
Pros:
- budget costs for components;
- sufficient compactness of the product;
- convenient use and management of a mini drill;
- autonomy of use;
Minuses:
- low power;
- insufficient voltage for high quality operation.
That's all for today. Write comments, criticize on the merits and come back again.
Good luck to all!!!