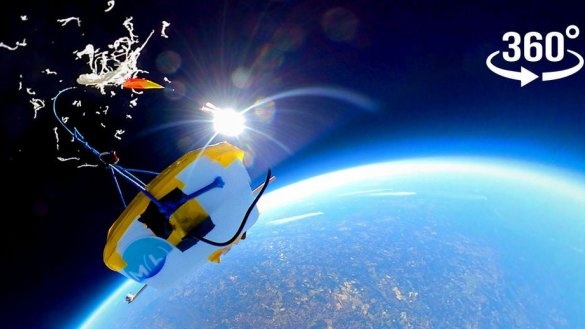
Well, not really into space, but to the stratosphere for sure. In this article, the wizard will tell you how to launch a balloon with a 360 camera, but warns that everything must be agreed with the local authorities.
Let's watch a short video.
Tools and materials:
-Camera Insta 360;
-Gloves;
-Helium;
-Libra;
Step One: Material Selection
When choosing materials, the task was to make the probe as light and small as possible. There are ready-made kits for sale, for example, Eagle Pro Weather Balloon Kit. This is not the cheapest probe ($ 750), but its personal on-board computer allows you to measure temperature, altitude and wind speed.
The master went his own way assembled the kit as cheaply as possible.
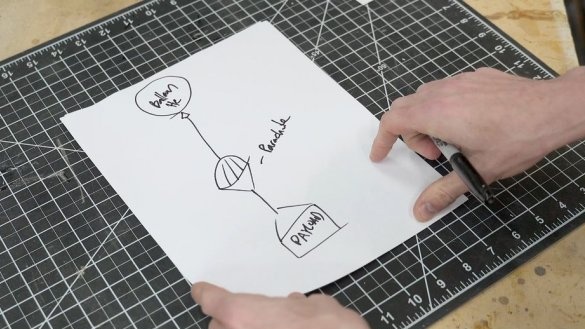
Weather balloon.
He used a probe weighing 300 grams. Weather balloons are measured mainly by their weight. The size of the probe depends on the weight of the payload and factors such as the height of the ball's explosion (or the height by which it rises before damage) and the flight time.
Parachute.
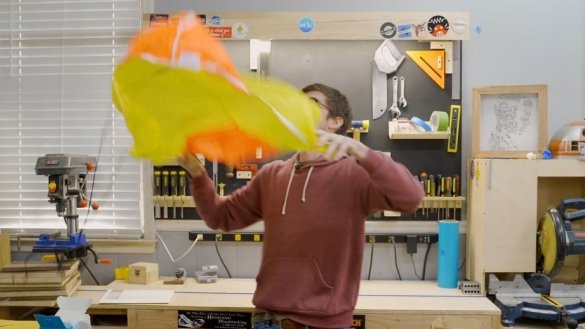
The speed of the descent will depend on the size of the parachute. In this case, the master wanted her to be about 5 meters per second. Since the weight of the laden cargo will be about 1 kilogram, the master selects a parachute about a meter in diameter.
Camera.
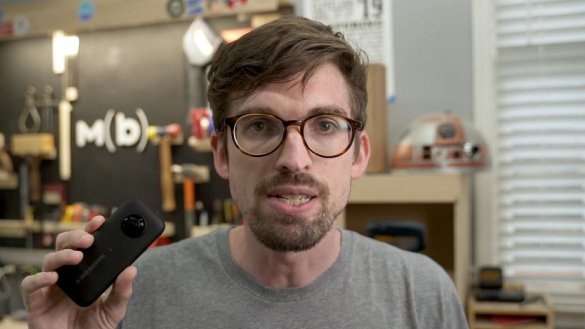
You can use a regular GoPro camera, but the master wanted to, I wanted to get 360 frames, so he chose Insta360 One X.
GPS tracker.
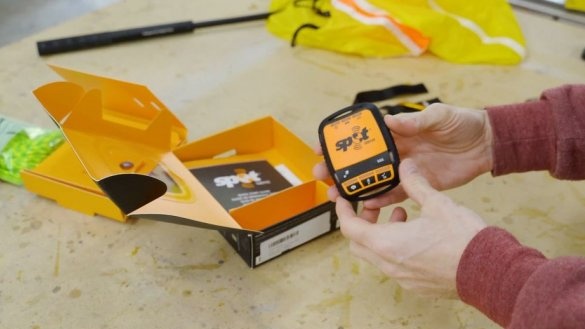
A GPS tracker is needed to track the location of the probe during flight and, most importantly, after landing. Some use an old cell phone with integrated GPS for this purpose.
Box.
The master uses a box of heat-insulating material.
Fishing line.
To tie the payload to the parachute, and the parachute to the balloon, the master uses a fishing line.
External battery.
A battery is used to power the camera and GPS tracker.
Nitrile gloves.
To prevent sweat marks (which can lead to damage to the ball), the master uses gloves.
Step Two: Build
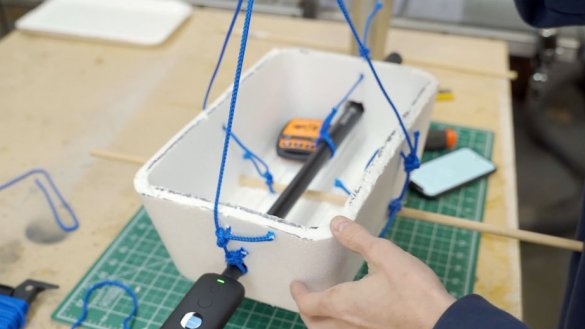
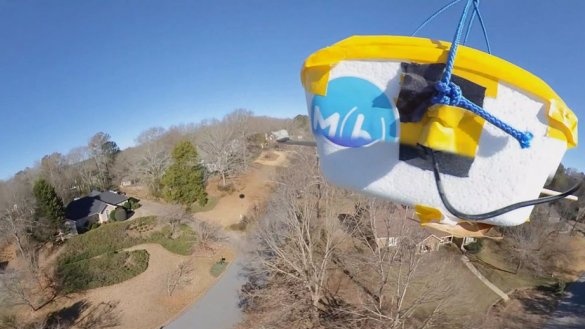
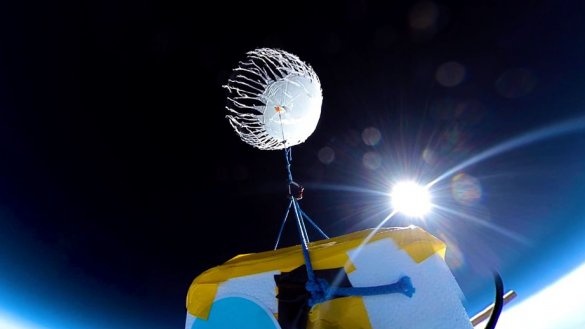
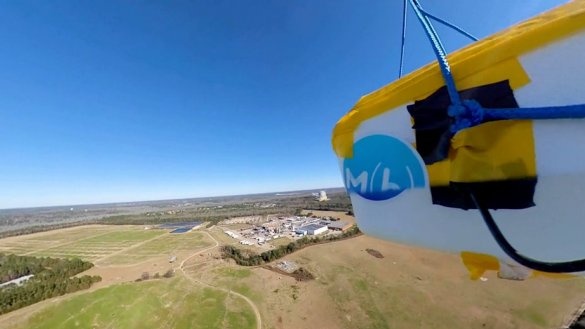
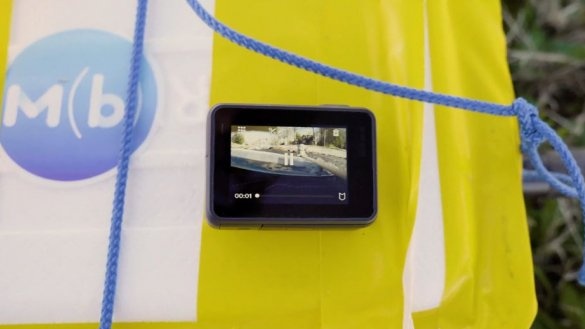
The master used a foam box. He put a battery and a GPS tracker in a box. He made four holes in the walls of the box. Along the box, I installed a selfie stick with a camera on the end. Across the box mounted a wooden stick. Such a crosshair will prevent the box from flipping over upon landing. This is important for the GPS tracker to work properly.
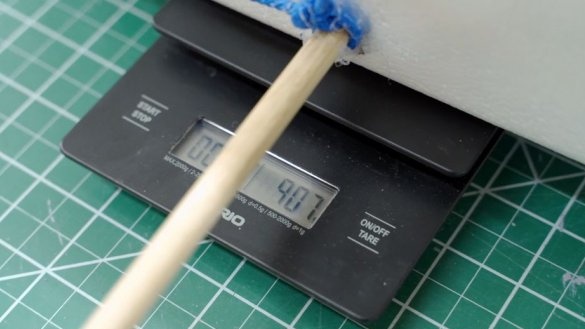
After assembly it is necessary to weigh the box with the equipment + parachute.
Step Three: Flight Rules
Next, the wizard provides some requirements for the launch of the probe.Although these rules are international, the master emphasizes that local rules need to be harmonized and guided by.
In the USA, if the weight of the cargo is less than 4 pounds (1814.37 g), and the rope can withstand 50 pounds (22.6796 kg) to break, then such a ball can be launched by private individuals. Of course notifying the relevant service.
In particular, notifying the air traffic controller 6-24 hours before launch and inform the following:
Start Date / Time
Launch place
Estimated time to reach maximum height
Expected Flight Duration
Estimated landing place
Probe diameter
Weight and length of the payload.
Before starting, you need to find the optimal start location. It is best to make sure that the launch and landing sites are outside the aircraft landing and take-off zone. You can check it on the site.
Step Four: Calculations
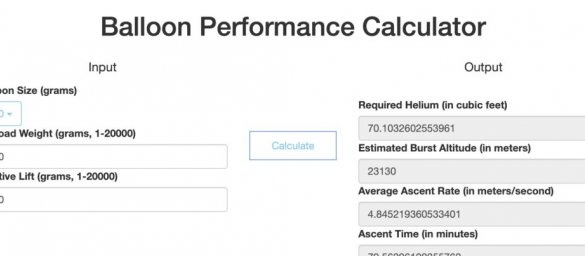
To understand how high the balloon will rise, how fast it will move and where it will land approximately, you need to know its lift.
The master used.
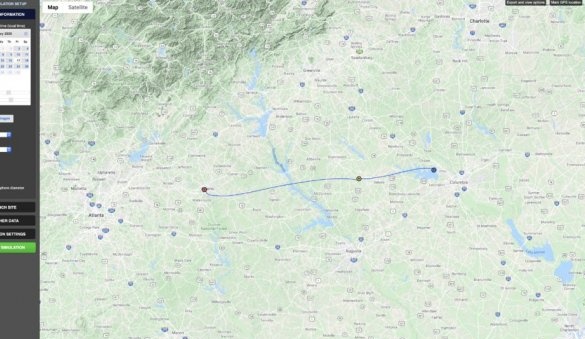
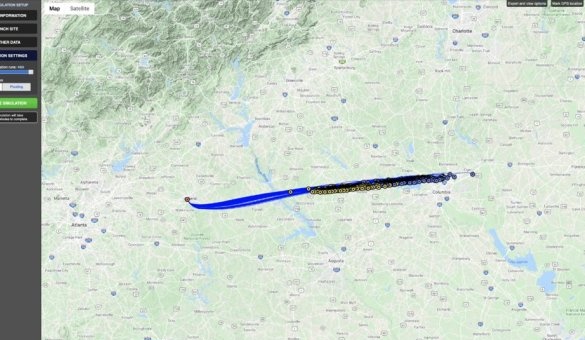
Using a calculator, its lifting force is calculated, how much helium should be used to refuel the ball. Using this data, you can simulate a landing zone. To do this, the wizard uses the site. This flight simulator can run up to 400 different versions, which will vary depending on conditions.
Step Five: Launch
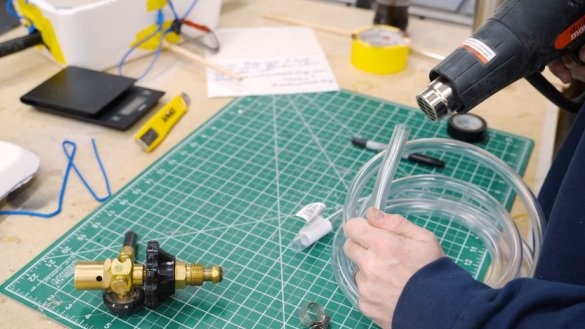
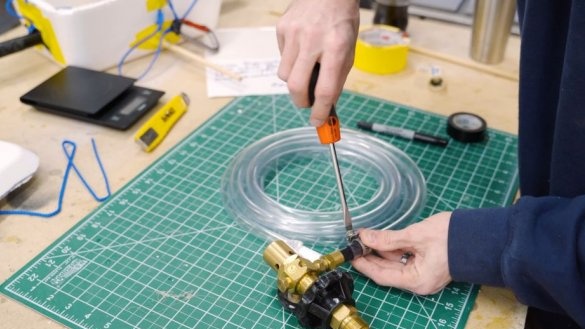
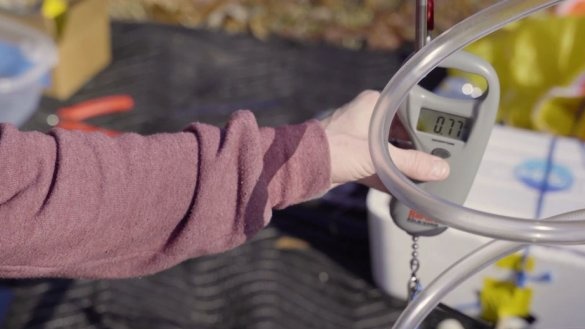
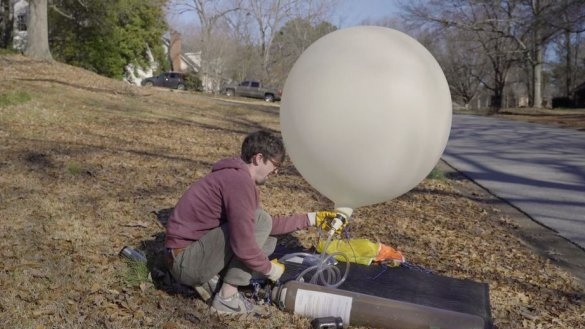
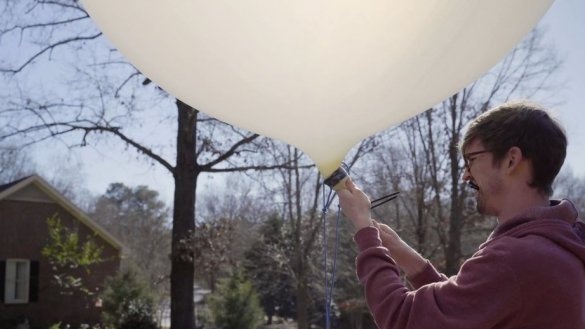
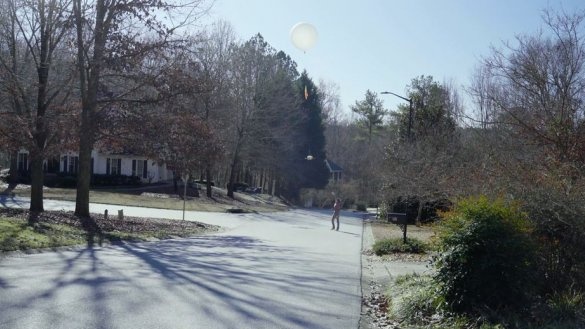
The master fixes the tube on the gearbox. The second end of the tube is placed in the neck of the ball. According to calculations, it is necessary to fill the ball with helium so that its lifting force is 3.1 kg. After filling with helium, the neck is bandaged.
A rope is tied to the ball, then a parachute, then a box. The distance between them is 1.2 m.
Now you can start the probe.
Step Six: Flight
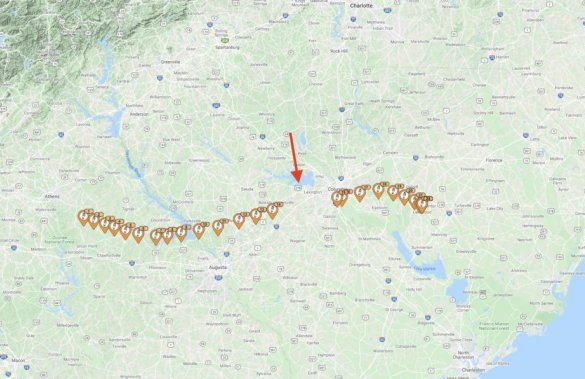
The GPS tracker will send a signal approximately every 5 minutes. To save battery power, it will not send new signals if the device has not moved. The wizard tracked the position of the probe using the application on the smartphone. The screenshot shows that at some point the signal stopped coming. This probe rose to a height from which the signal did not pass.
As soon as the probe reached a certain height, the ball burst and descent began. And again the signal went from the tracker.
The probe flew 200 miles (321.869 km) and landed in the wasteland.
The wizard provided several videos. The first is placed at the beginning of the article and you can see a small video of the flight on it. Below are two videos. On the first, the process of calculations, assembly, launch, on the second video, you can watch the entire flight, including the time of landing.
By the way, when viewing a flight video, you can change the viewing angle.
Article sponsor website offering tuning bmw. On this service, your car install any additional equipment not provided by the BMW manufacturer.

