

1. The body of the sponge for shoes.
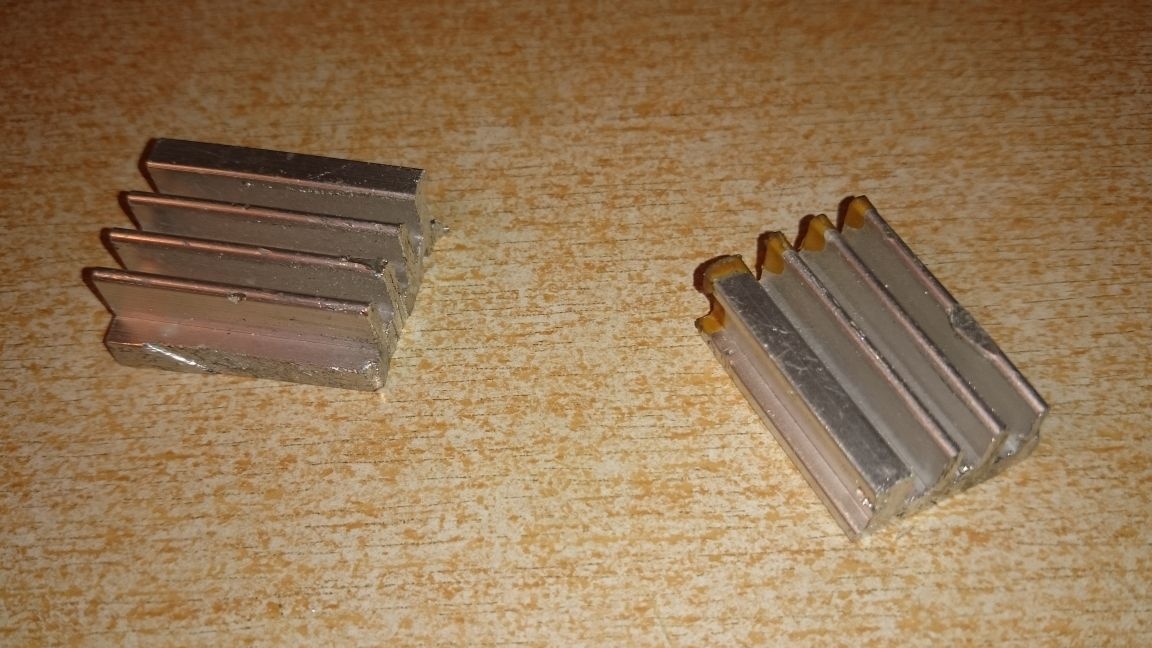
2. 1W LED (white, cool white), radiator
3. Collimator lens.
4. Lock button or rocker switch.
5. Cardboard, office.
6. Wires.
7. Battery.
Process:
I almost threw out the spent sponge for shoes, suddenly the idea of a case came for something. I decided to use it as a case for a homemade flashlight. Everything was necessary, it remains only to collect.
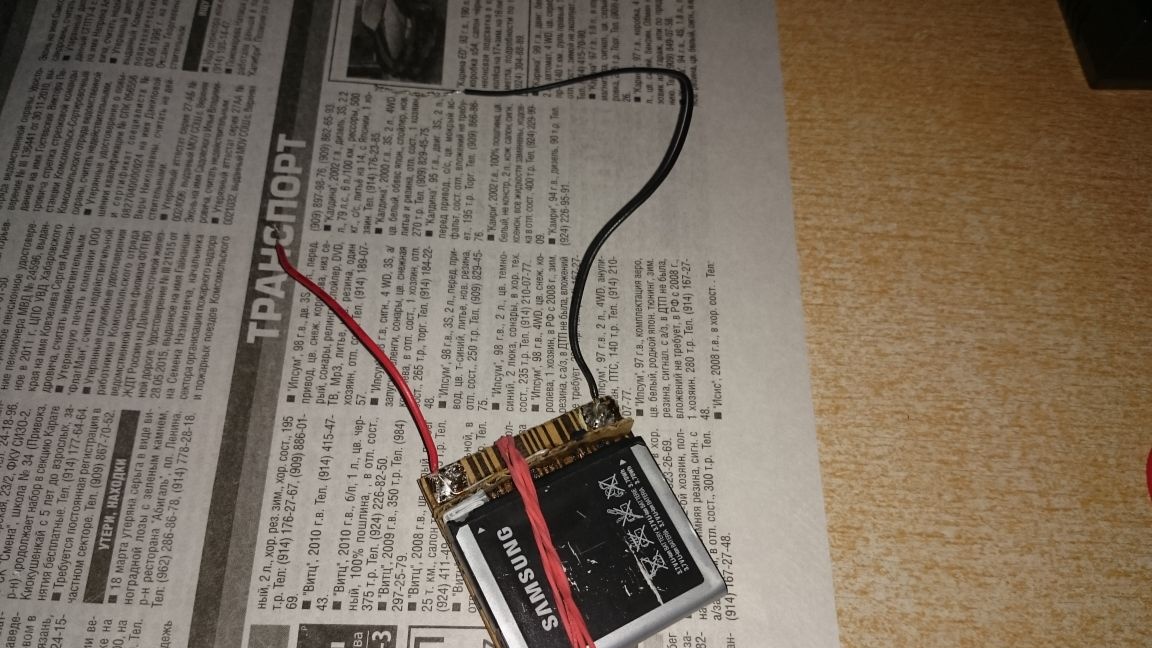
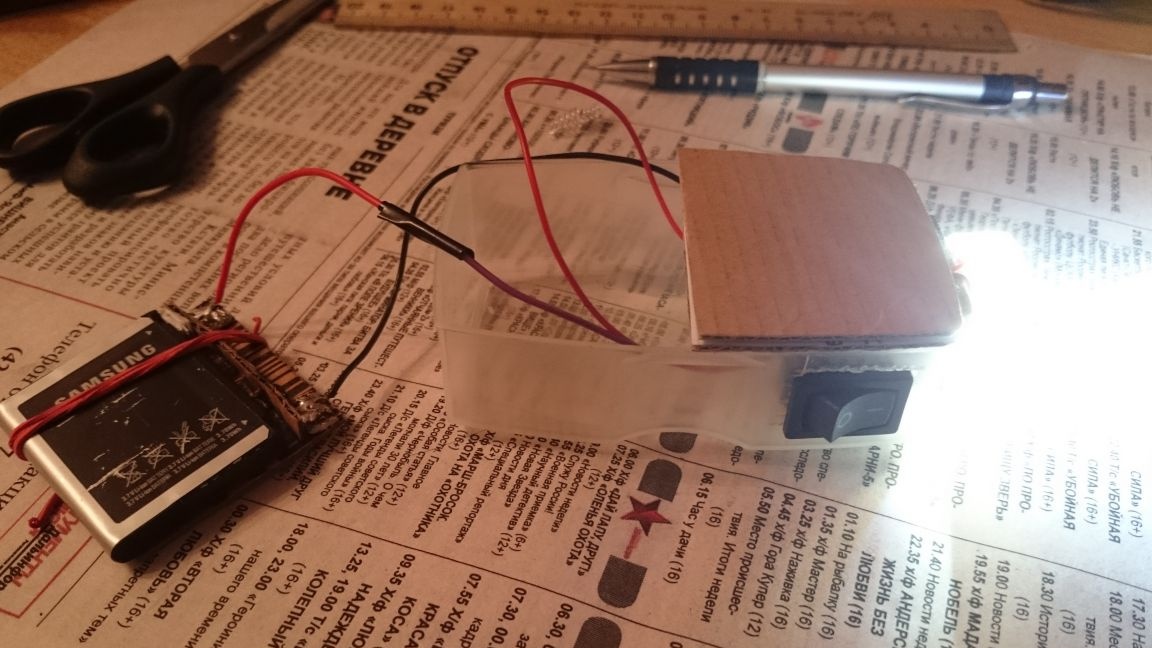
First I made a holder (contacts) for the battery. To do this, cut out a small cardboard base (from thick cardboard). Then I cut an end along the width of the base, from the same cardboard, wires were inserted into it (from a twisted pair. It’s convenient that they are hard wire.) To the left of the contacts is glued paper in the form of an accordion (it springs the battery, because the contacts on the other side) . On the edges of the base are glued contact plate pieces from foil fiberglass. The wires are soldered on them. The edge of the battery protrudes slightly beyond the base. When the elastic is put on, it presses the battery to the contacts.
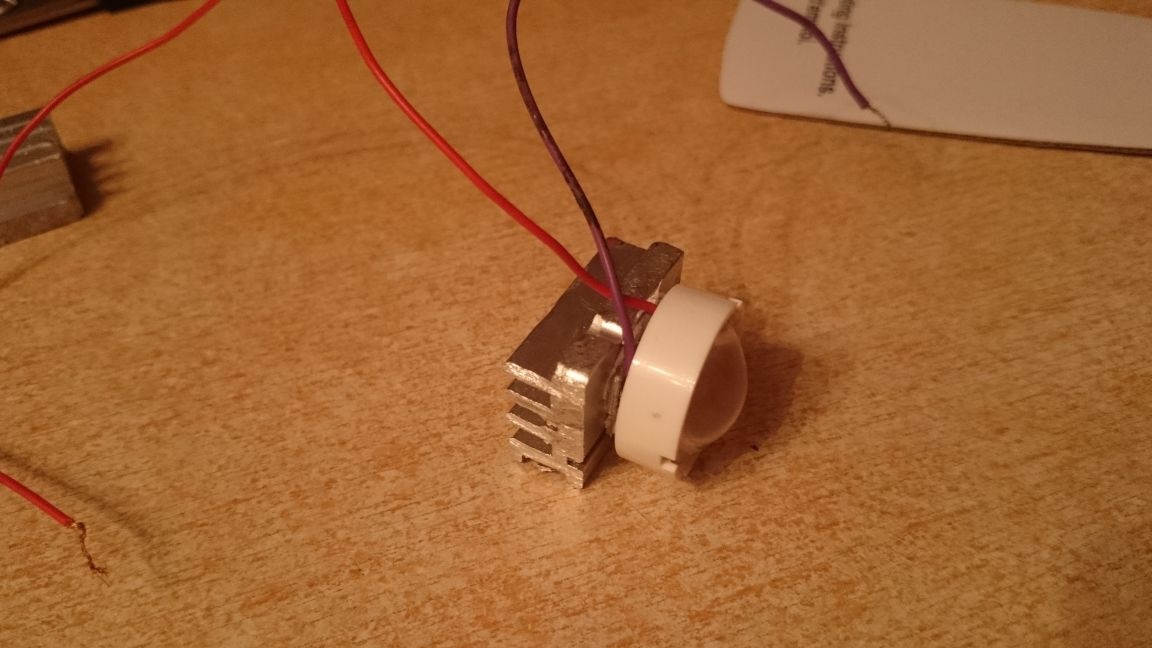
Then I soldered the LED to the contact substrate, naturally through thermal grease. He brought out the wires.
You need to take the radiator and stick it to the substrate. I turned out to be a little big, and I divided it into 2 parts.
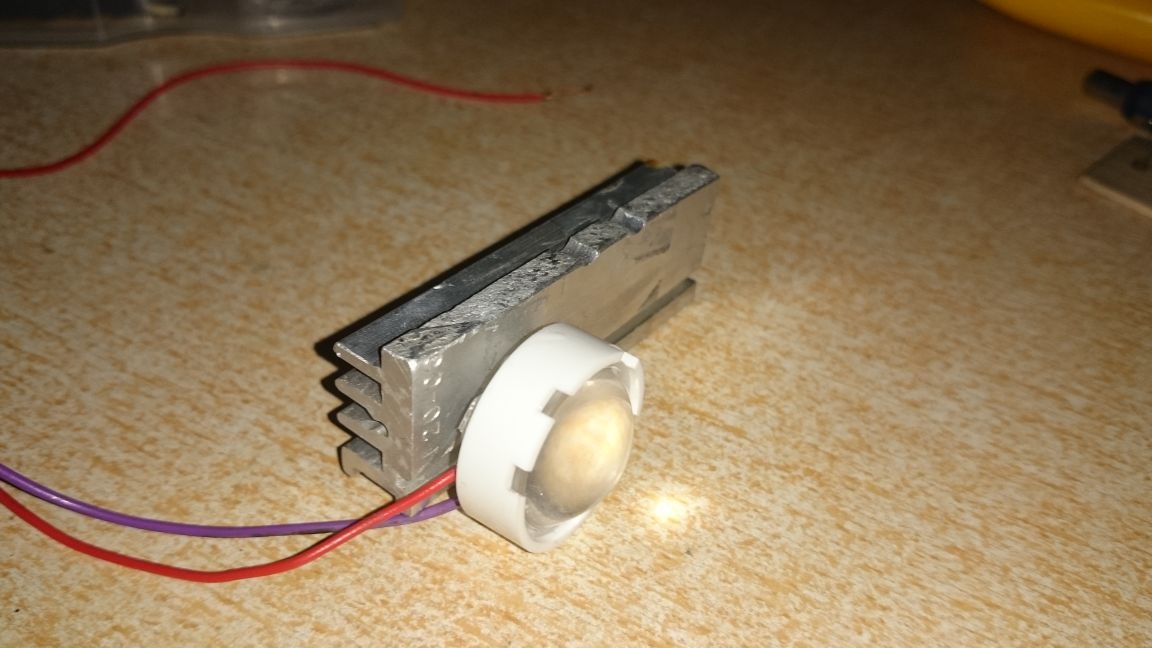
I glued the LED:
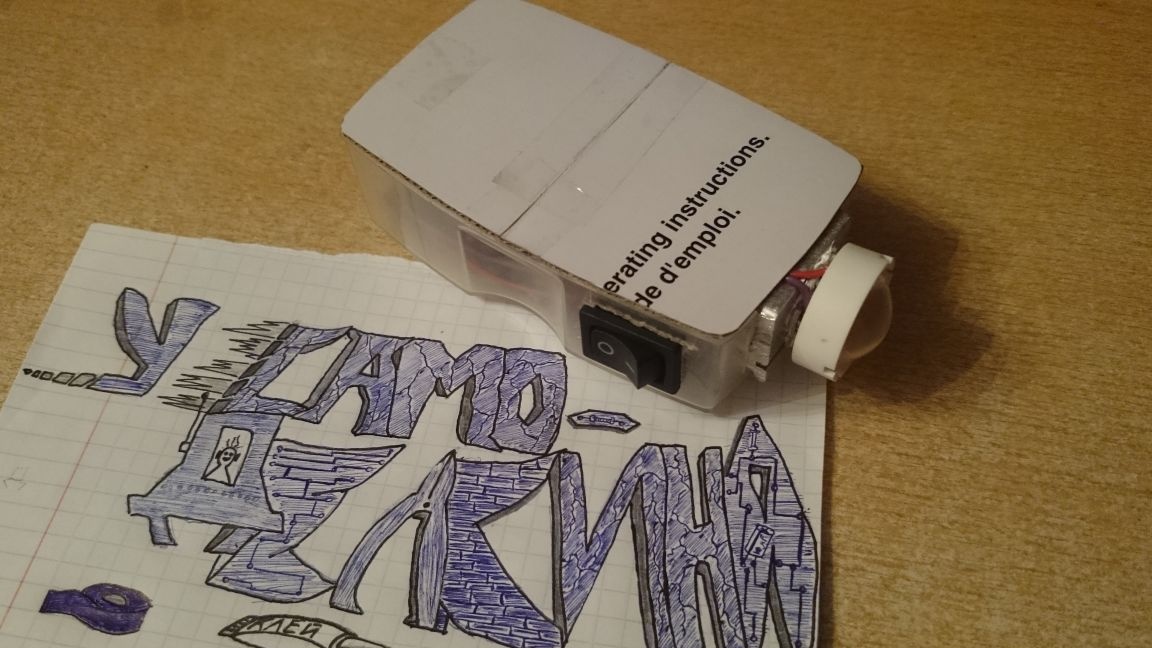
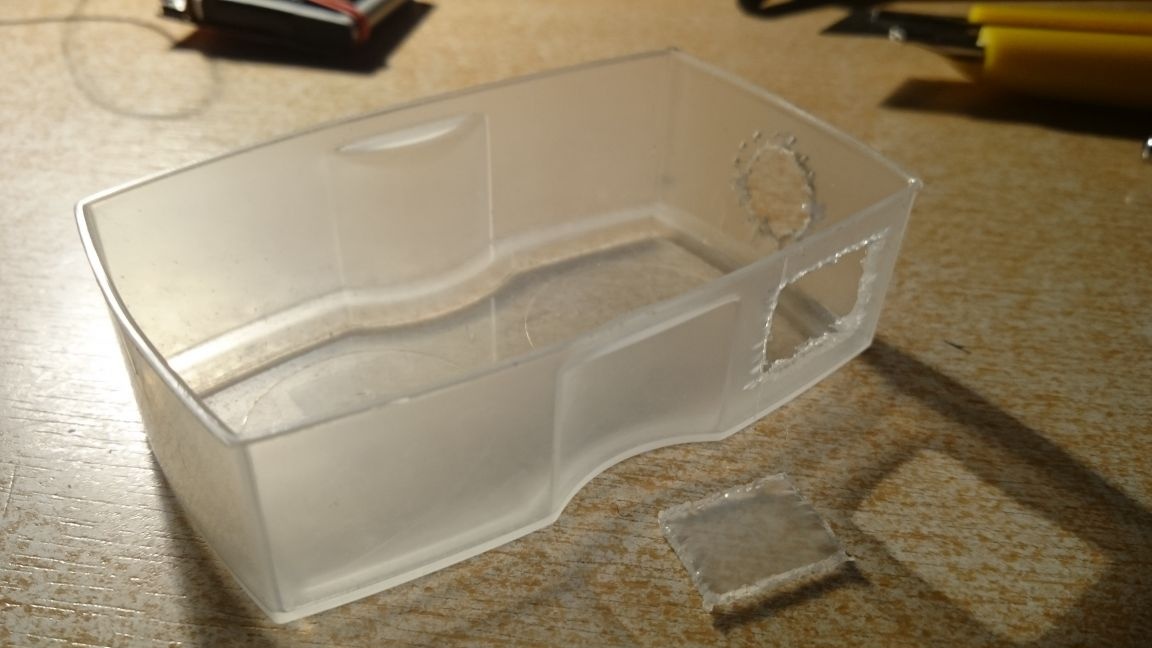
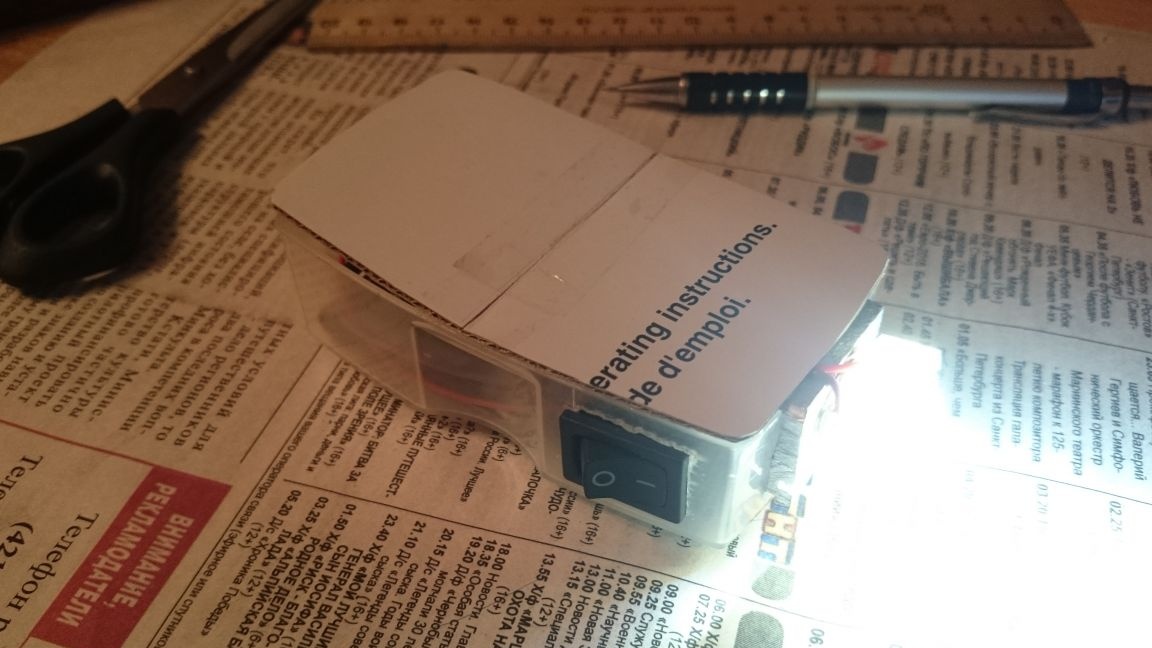
Now the case:
I took just such a “contraption”, threw out the cover, cut a hole for the switch over the thumb, and partially the front wall for the radiator.

I glued the radiator.
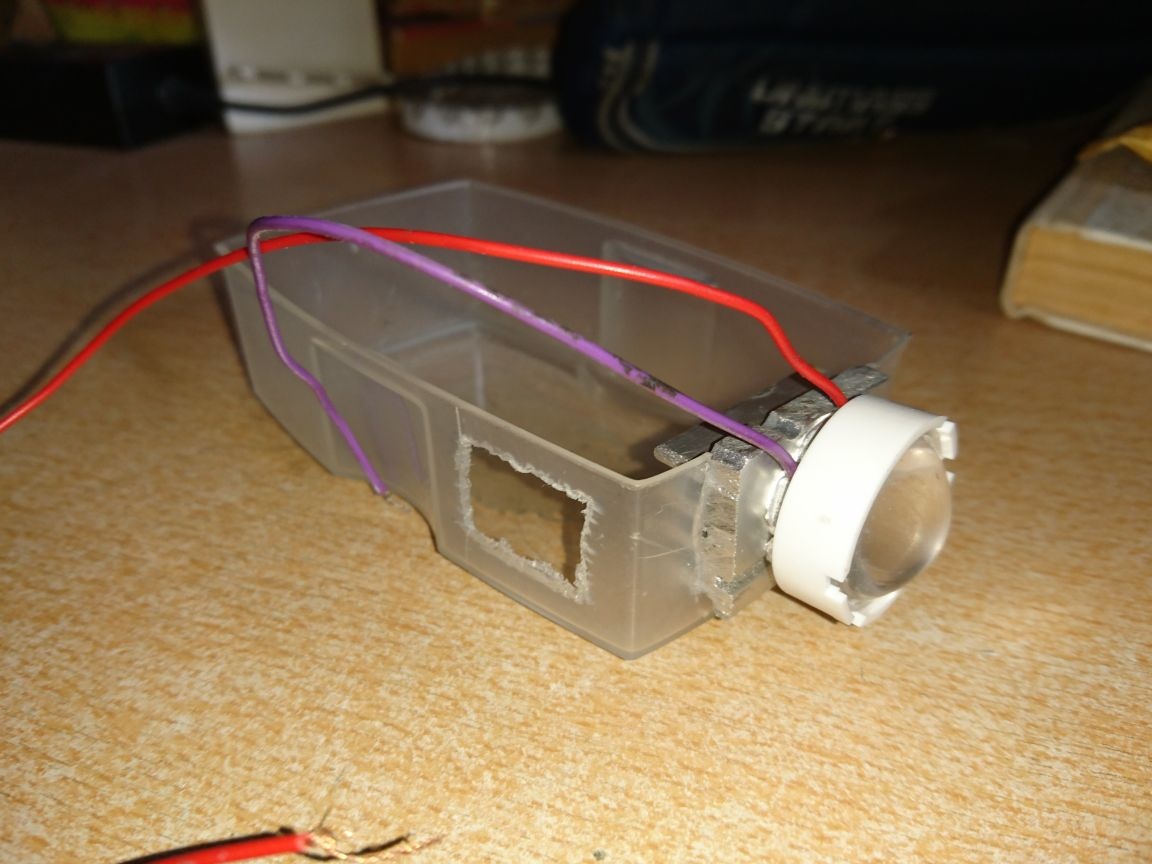
Soldered wires to the switch. Packed everything in the case.
The cover was made of thick cardboard. Cut in shape. Because I still use this battery in some places, so I didn’t take out the connector for charging the battery, so access to it was necessary. Initially, I wanted to make a sliding part in the lid, I did not bother, I made it reclining: I cut it in half, pasted tape. The part that is glued over the radiator. The other side leans back. In order not to open, glued with adhesive tape to the body. Also, this design of the lid allows you to stick foam rubber to it, so that when the lid is closed, the battery does not hang in the case.Foam rubber was not at hand, I did not do it, maybe later I will glue it.
You can always get a battery.
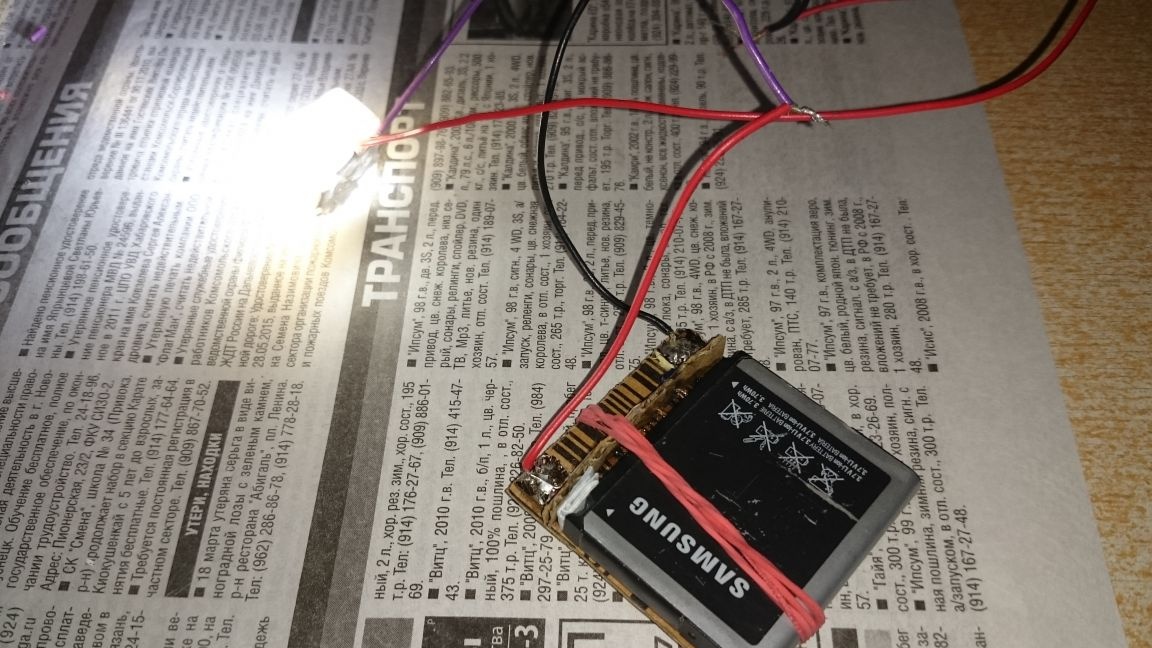
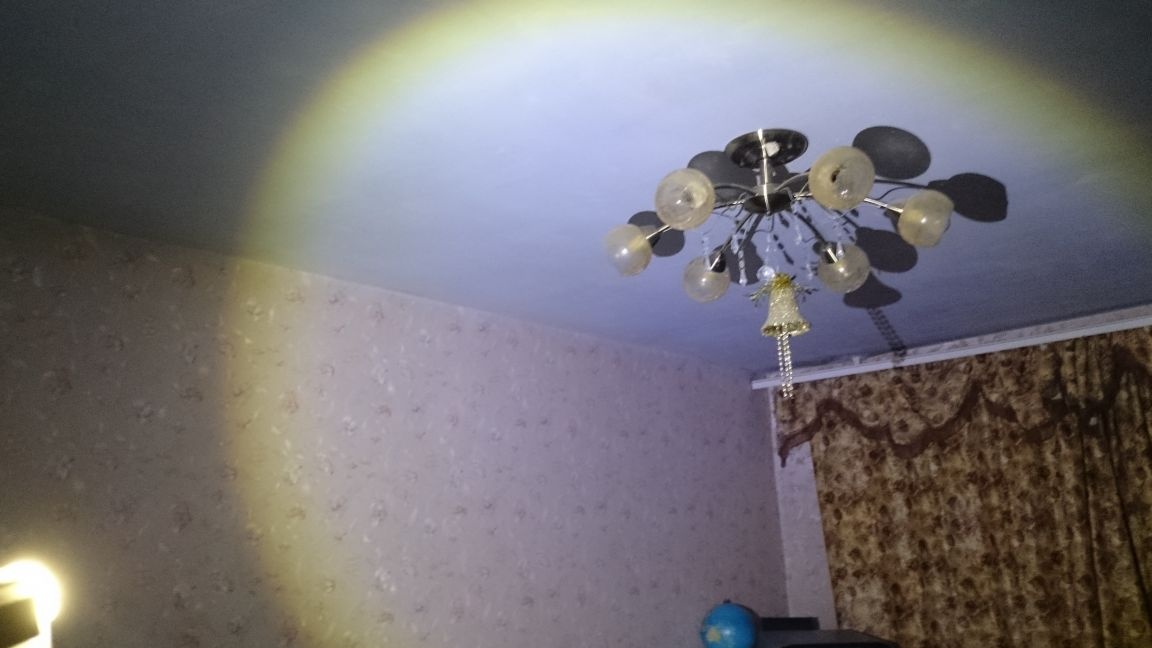
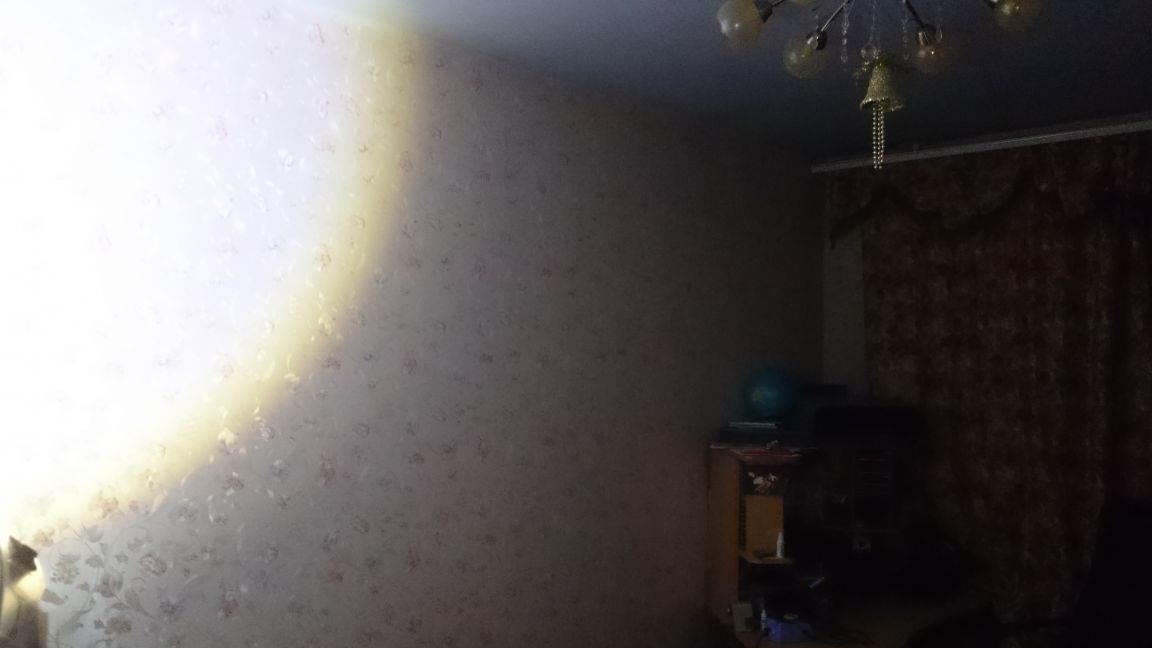
Rate the light here. (the light in the room is completely off)
Weighs 59 grams.