

I greet you again, with a cheerful spirit, the inhabitants of our siteswho, for the sake of their relatives, friends, acquaintances, or simply for the sake of an idea, are able to come up with and do do it yourself from unnecessary trash, the necessary "trash".
Somehow it turned out to be florid with the introduction, but, excuse me.
This article will focus on the device for making cotton candy.
I have long wanted to make such an apparatus, but ... either my hands did not reach, it was just laziness.
A couple of months ago, my grandchildren simply overpowered me with requests to try to make such an apparatus. (It was painful for them to “fall in love” with this cotton candy, which they occasionally buy and bring as a gift from N. Novgorod, because it is not sold in our village). (Do not be surprised, so here we live - we rarely travel to "foreign countries" and very large cities).
As V.S. Vysotsky said: “There is nothing to do, he challenged the port, put the“ miracle-yuda ”and leaked ...”, in general, they persuaded me, and I proceeded to manufacture this device:
And now, in addition to jokes, I will briefly tell everyone who is interested in how to make the same (or similar) device from the materials at hand at home.
In the end, this is what happened:
I must say right away that there are no my “inventions” in this homemade product, but I’m sure that it will definitely pull on “innovation”.
And yet, this Self-Made Tool of Sweet Fog, as I called it (abbreviated hereinafter SADIST), I have already made and used as intended (grandchildren are happy), so I will describe in great detail only the nodes important for the work of this SADIST. Some parameters are very important for repetition (unless, of course, you want to repeat this homemade work). Read carefully, I will explain all the manufacturing difficulties that I encountered and repeatedly altered in order to get a better result than the same devices manufactured by the Celestial Empire and those offered by friends on youtube.
- Let's start with the main node:
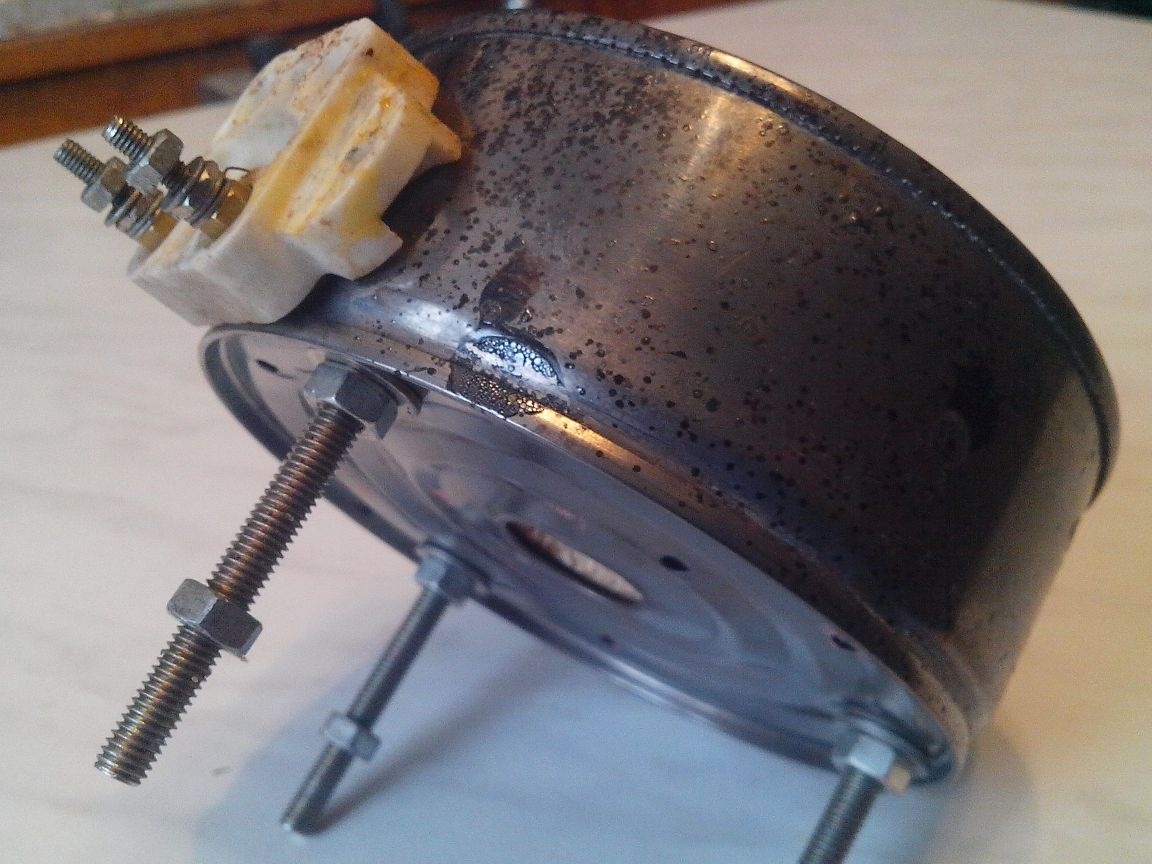
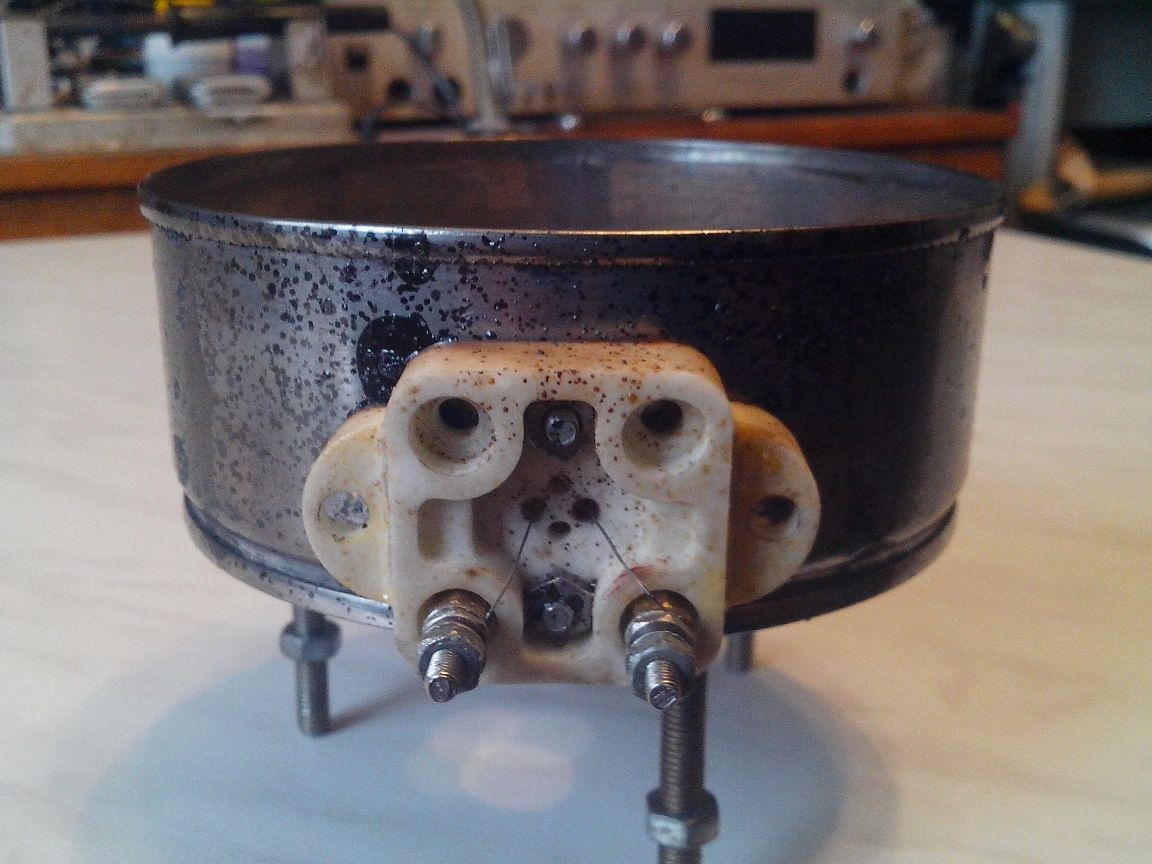
After reviewing many publications on this subject on the Internet, I realized that there was no need to “invent bike"Because the simplest and cheapest option for manufacturing the main unit, containers for the formation and spraying of sugar caramel, will be two top covers from gearboxes for a 50 liter (large) gas bottle.
To find such gearboxes is not difficult, especially since for our homemade products they may be faulty for their intended purpose.(Fortunately, in our village three years ago we carried natural gas into apartment buildings, in connection with which people refused to use bottled gas, so that these reducers are “even a dime a dozen”).
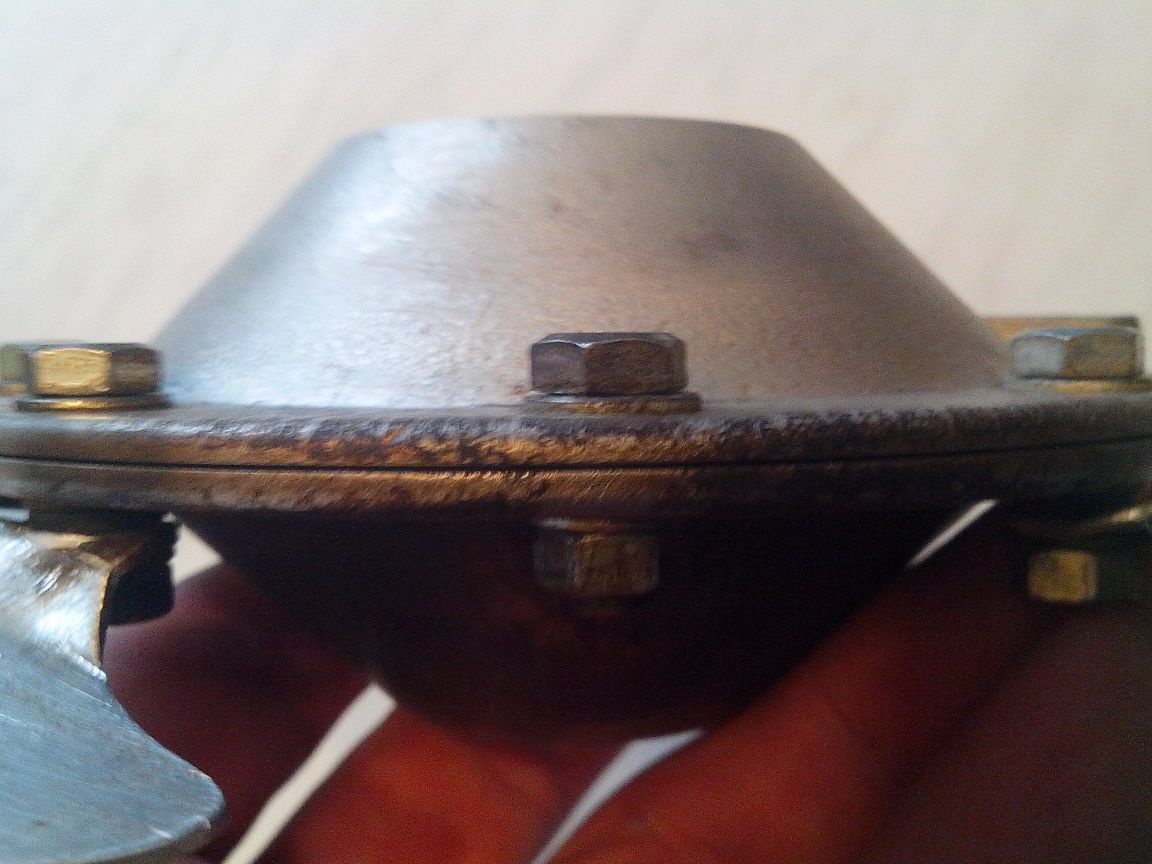
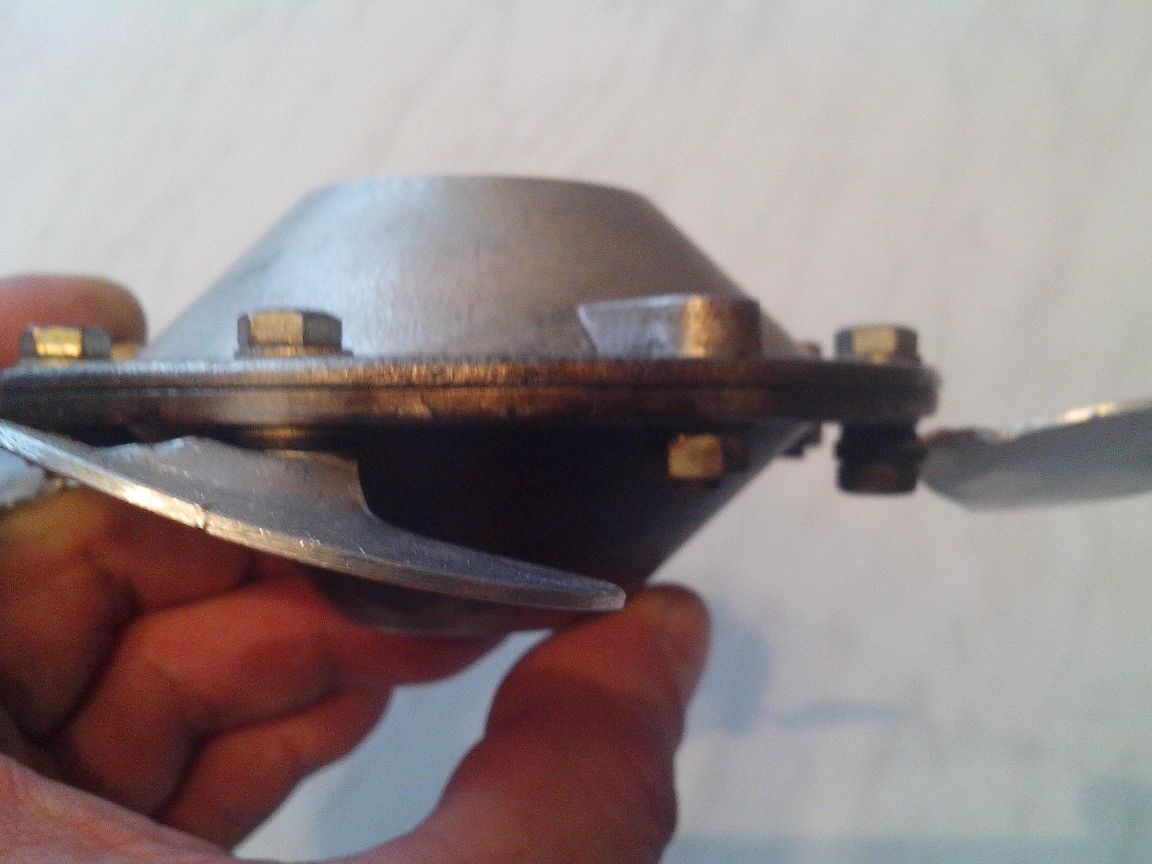
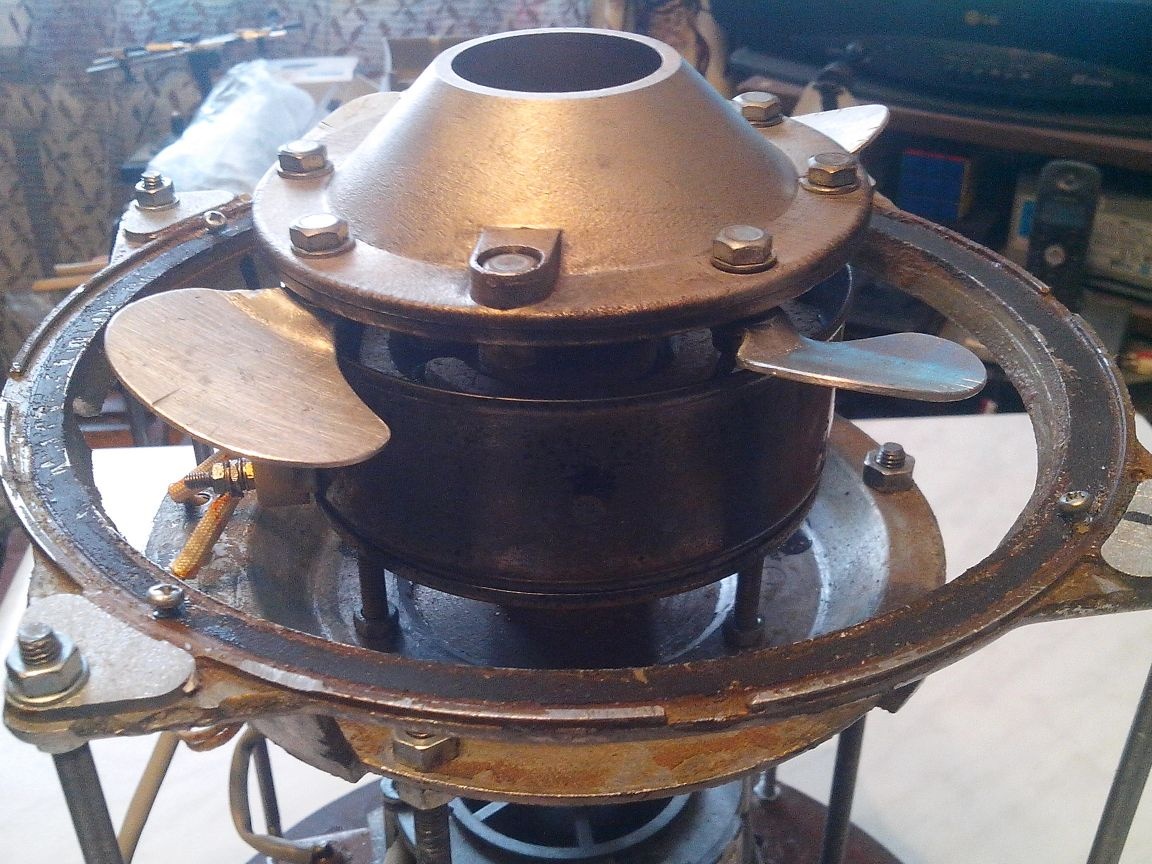
So, we take the two top covers from these gearboxes, cut one of them from the top (conical) side to form holes 35 - 40 mm (in this hole we will fill in granulated sugar)
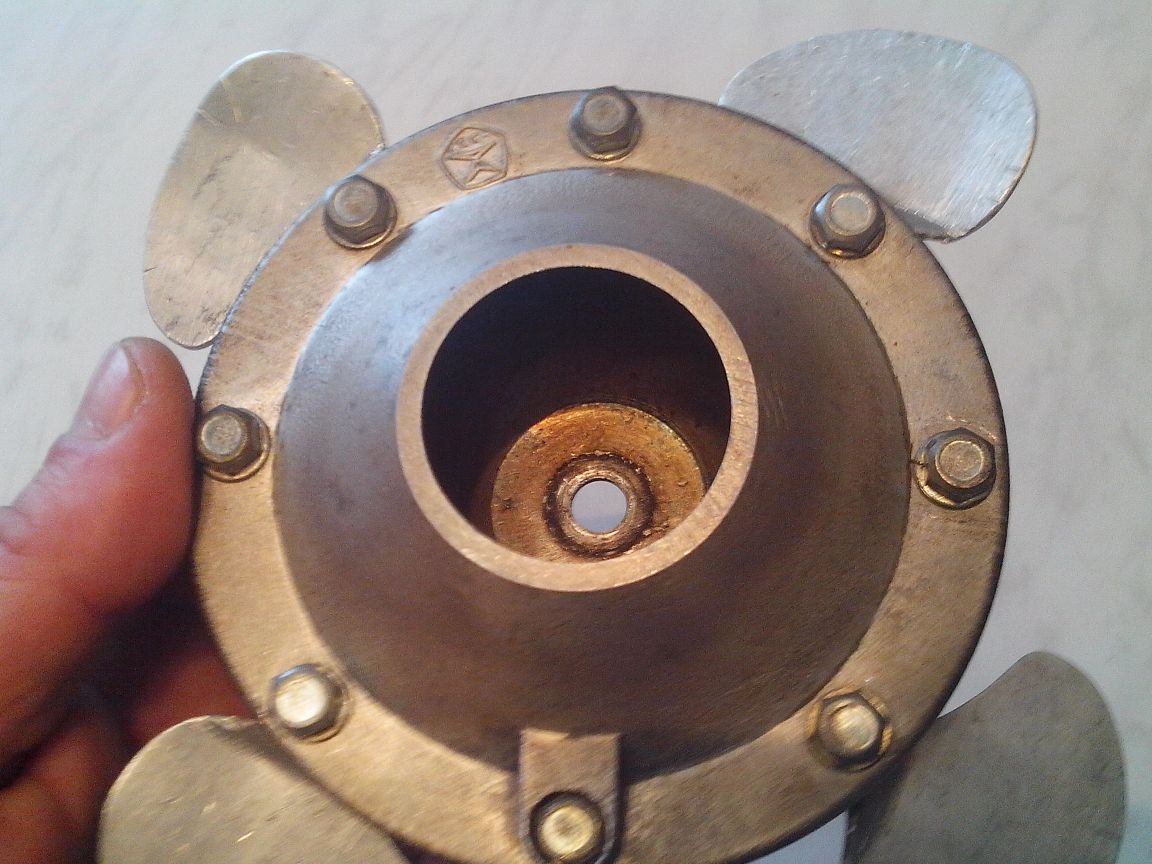
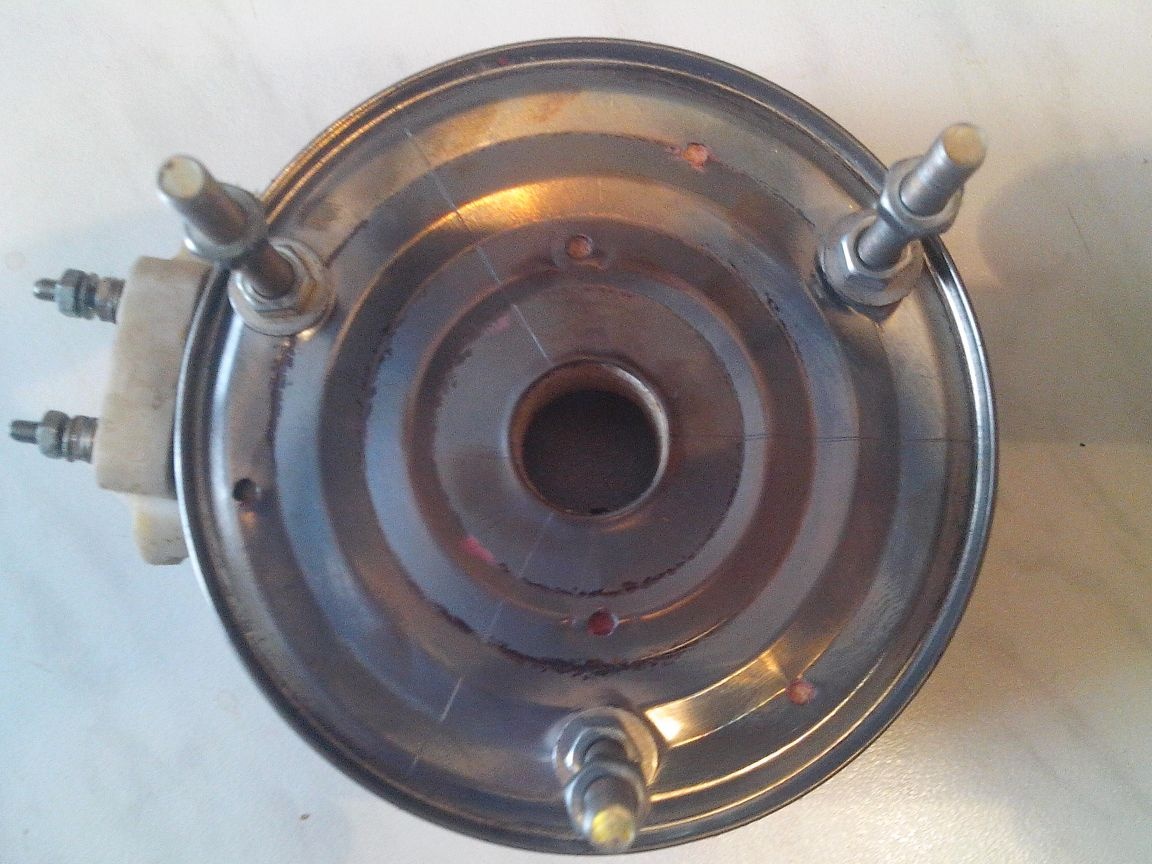
in the second we drill a hole for mounting the Heads on the rotation shaft (I have 8 mm).
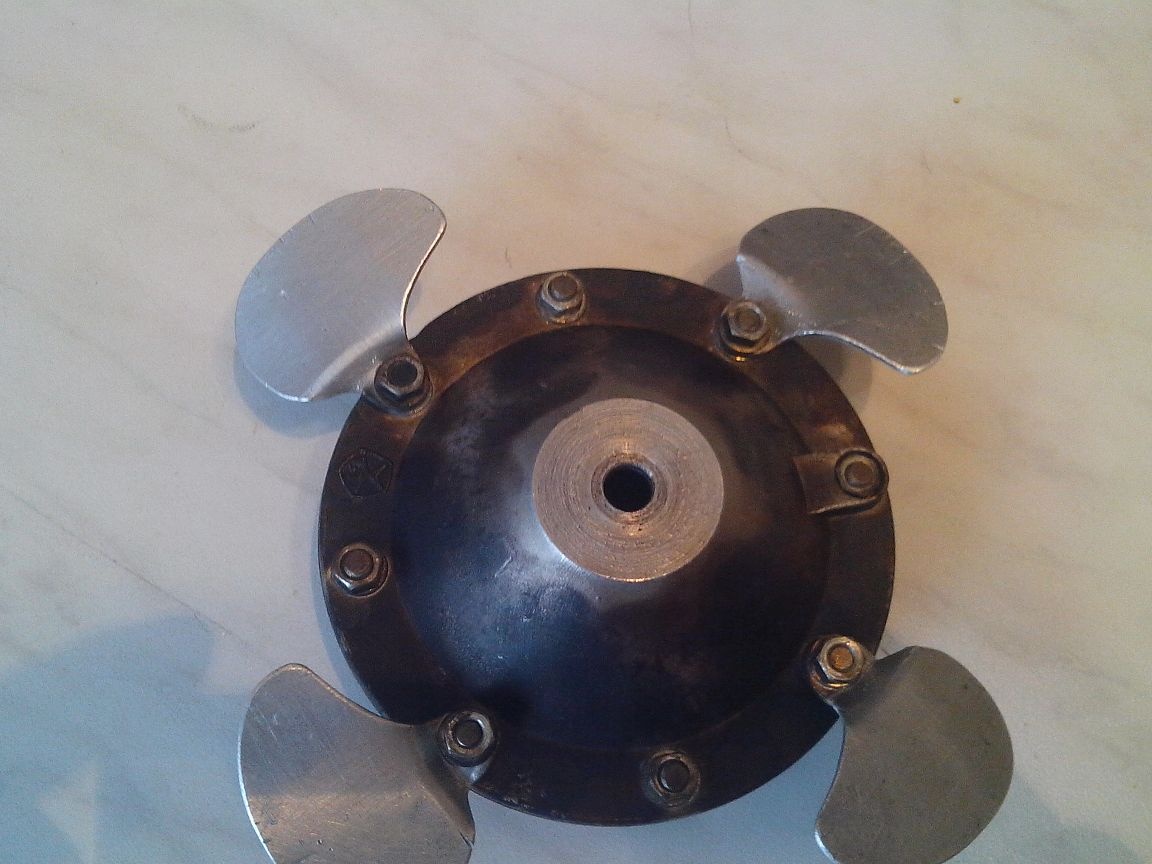
Then we grind the ends of the covers (which have the maximum size) on the skin (on the table) until a smooth surface is formed (remove the shoulders), and connect them with M5 bolts into a single unit through the already prepared holes (there are 8 of them, four bolts are taken longer for attaching the fan blades ) through washers - gaskets thick no more 0.2 mm. I used stainless steel foil with a thickness of 0.1 mm, putting 2 washers under each mounting hole between the covers.
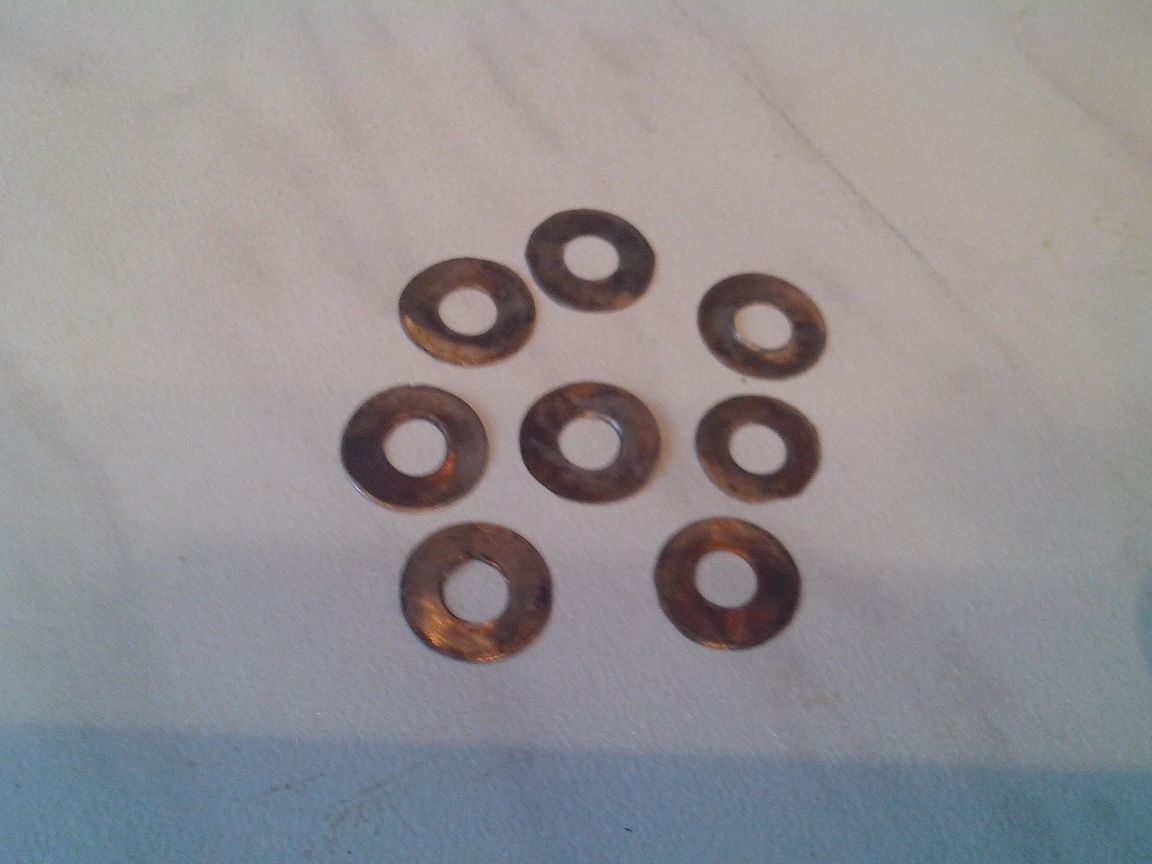

For washers - gaskets, you can take aluminum, brass or bronze foil in several layers, but it is very important (use a micrometer) so that the total thickness of the washer between the covers is no more than 0.2 - 0.22 mm (I tried to increase the thickness of the gasket to 0.3 mm, it would seem nonsense - 1 tenth of a millimeter, but the result is negative).
Can not use for washers - gaskets combustible material such as paper, plastic, etc., so as to obtain sugar caramel, the head will be heated to 400-500 ° C.
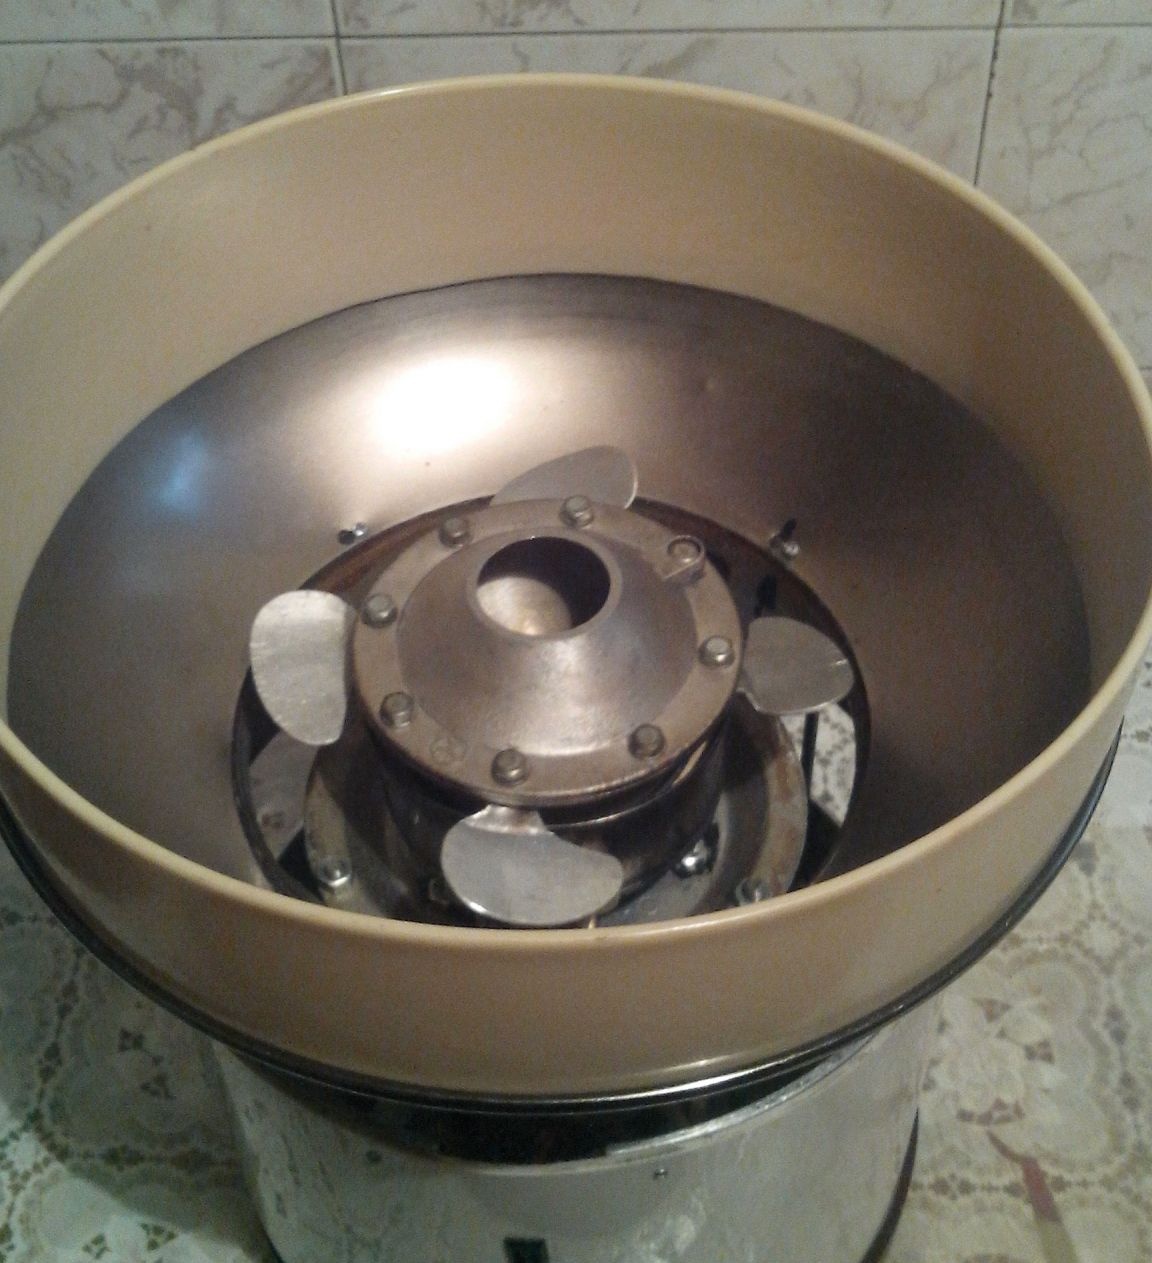
The shape of the fan blades and the material from which they are made (it can be galvanized iron, aluminum with a thickness of 1 mm or more, tin and other elastic heat-resistant and plastic material) does not matter much, the main thing is that they (the blades) create a bend when the Head is rotated ( we will call it that) apparatus air flow parallel to the Head i.e. to allow air flow during rotation of the Head sought to center.
Everything is with the main node.
I'll tell you honestly, if you did it right, you can be sure that this SADIST will definitely work for you. You can change the heating element, engine, fasteners, etc., the main thing is you have a head (a container for the formation and spraying of sugar caramel), everything else is a matter of technology.
- Move on:
It’s not difficult to understand that as the basis for my homemade work (I would like to call it a SADIST, because I did and remade it for more than 2 months), I took a fiberglass circle with a diameter of 250 mm and a thickness of 20 mm lying in the barn for a long time in general, what I found, then took it.
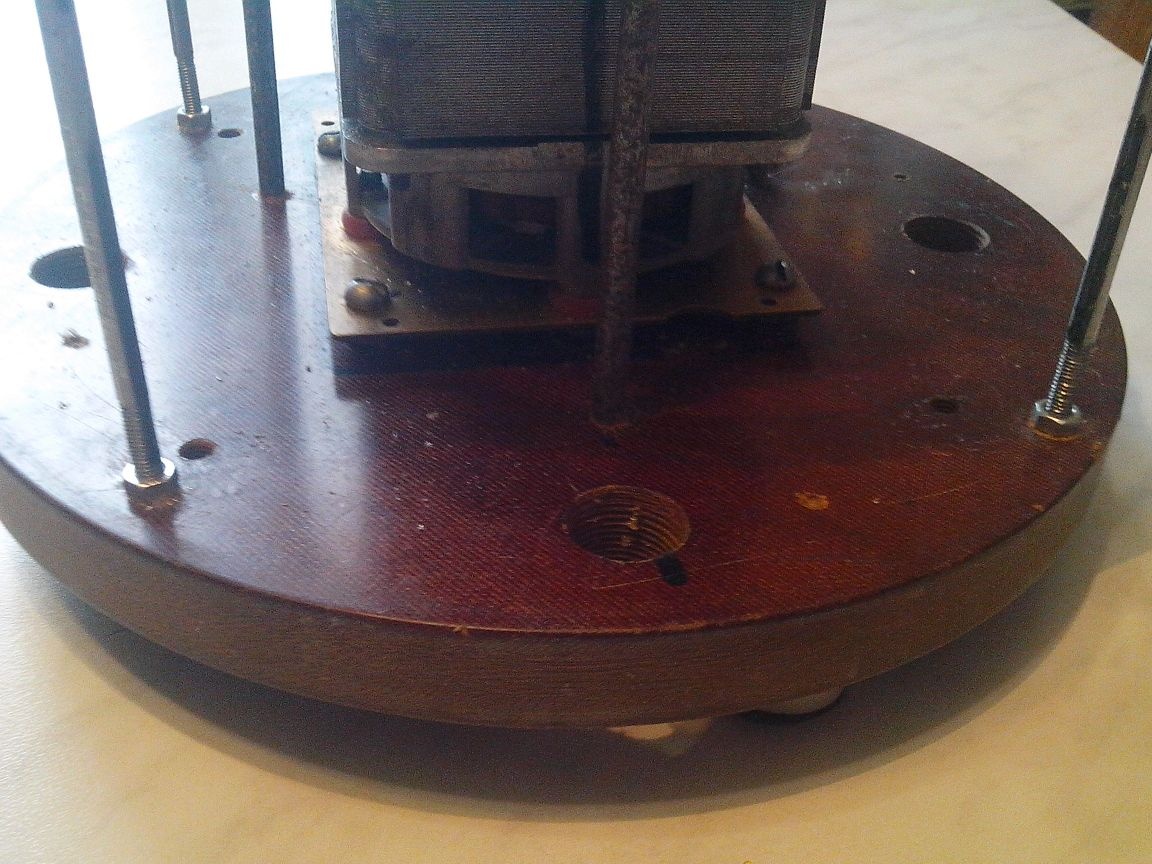
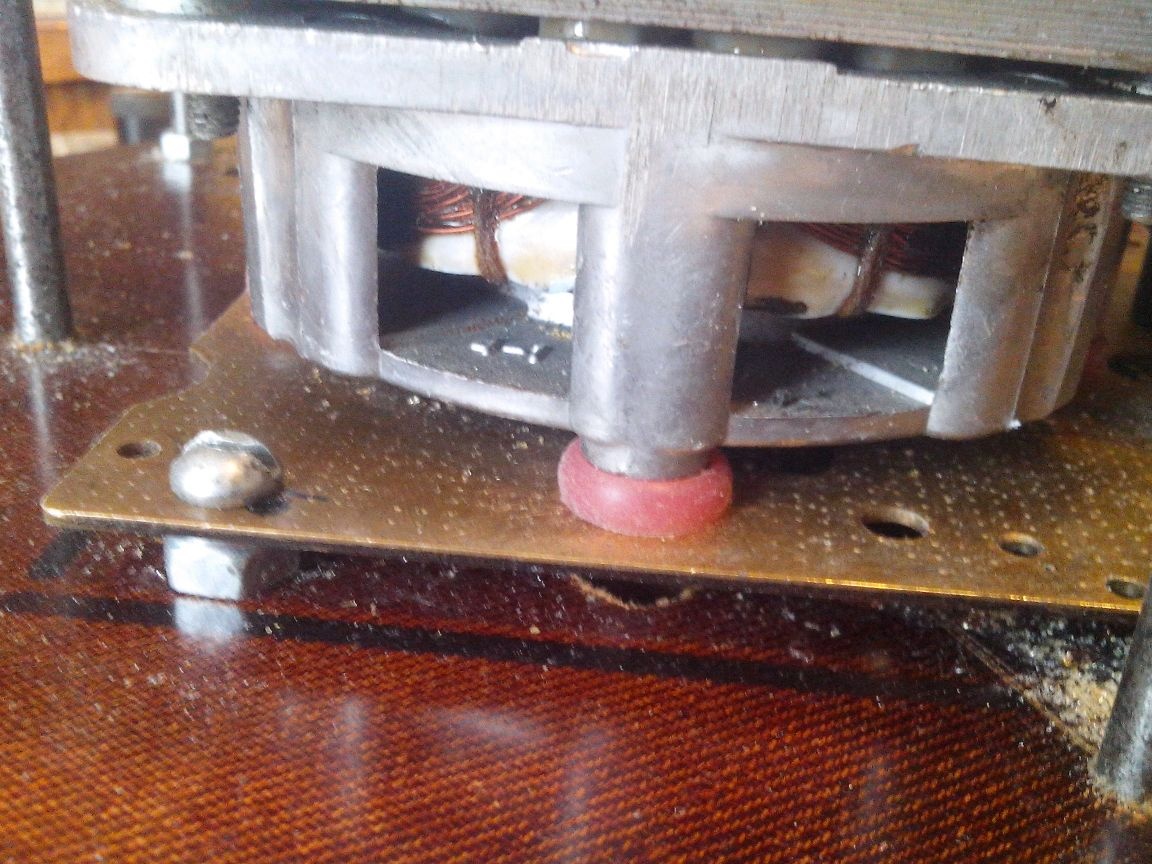
There is nothing to describe, you can take any suitable base (not necessarily round), the main thing is that it be weighty for sustainability, and to him (for any) you need to attach legs (just kidding) legs, better rubber,
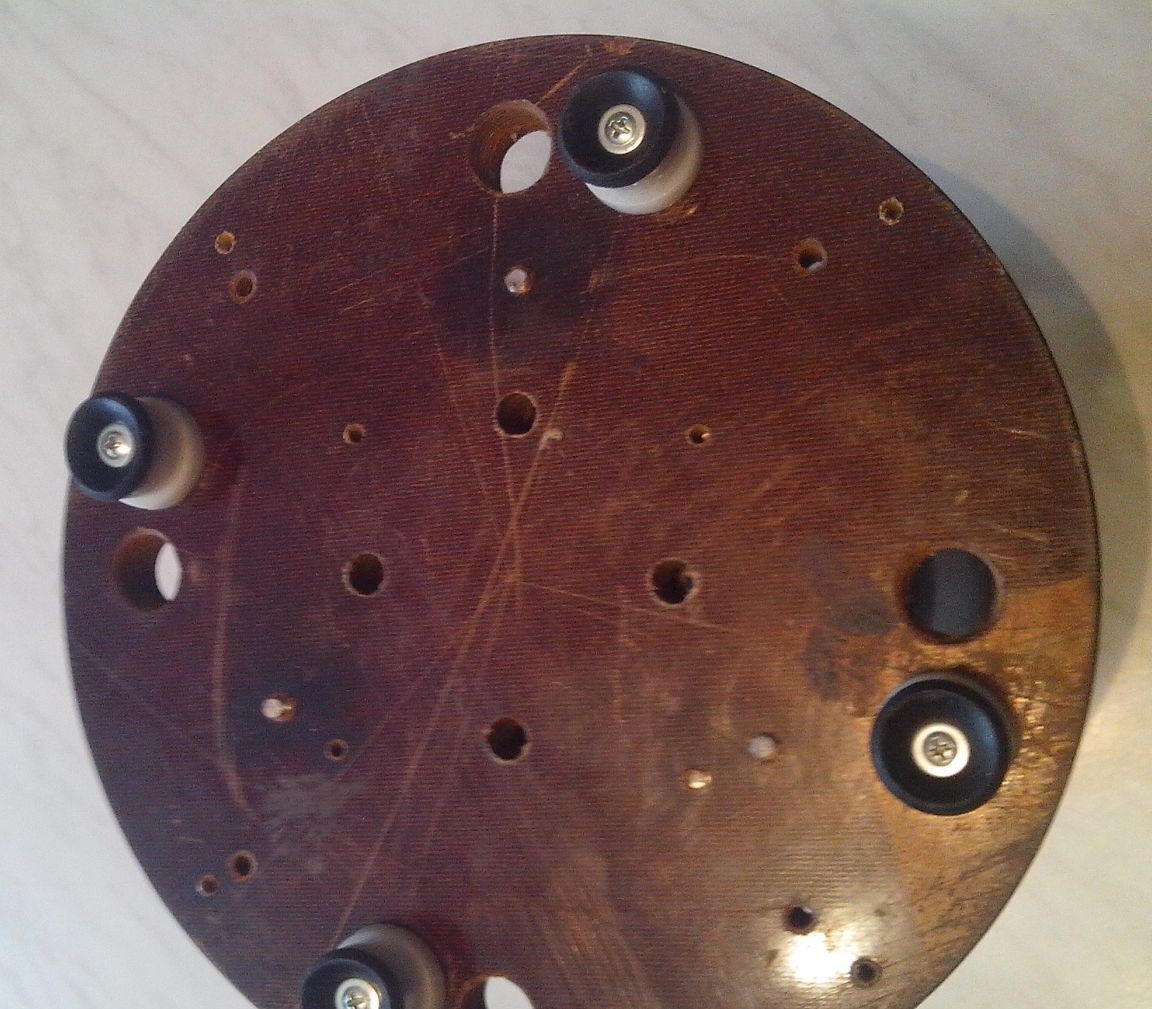
so that they do not slip on the surface during operation. This (in any case) is necessary, because Your design will vibrate when the engine rotates, and crawl away from your chosen place (I guarantee).
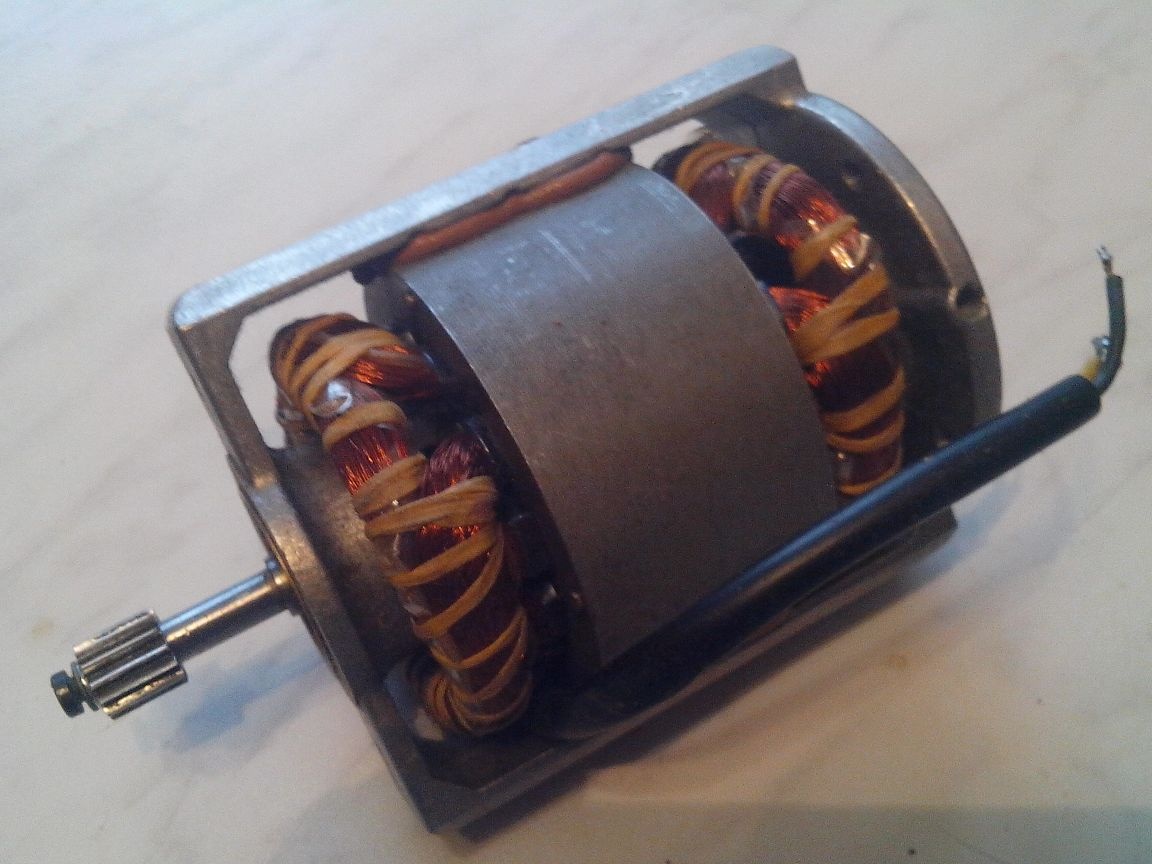
- Now the engine:
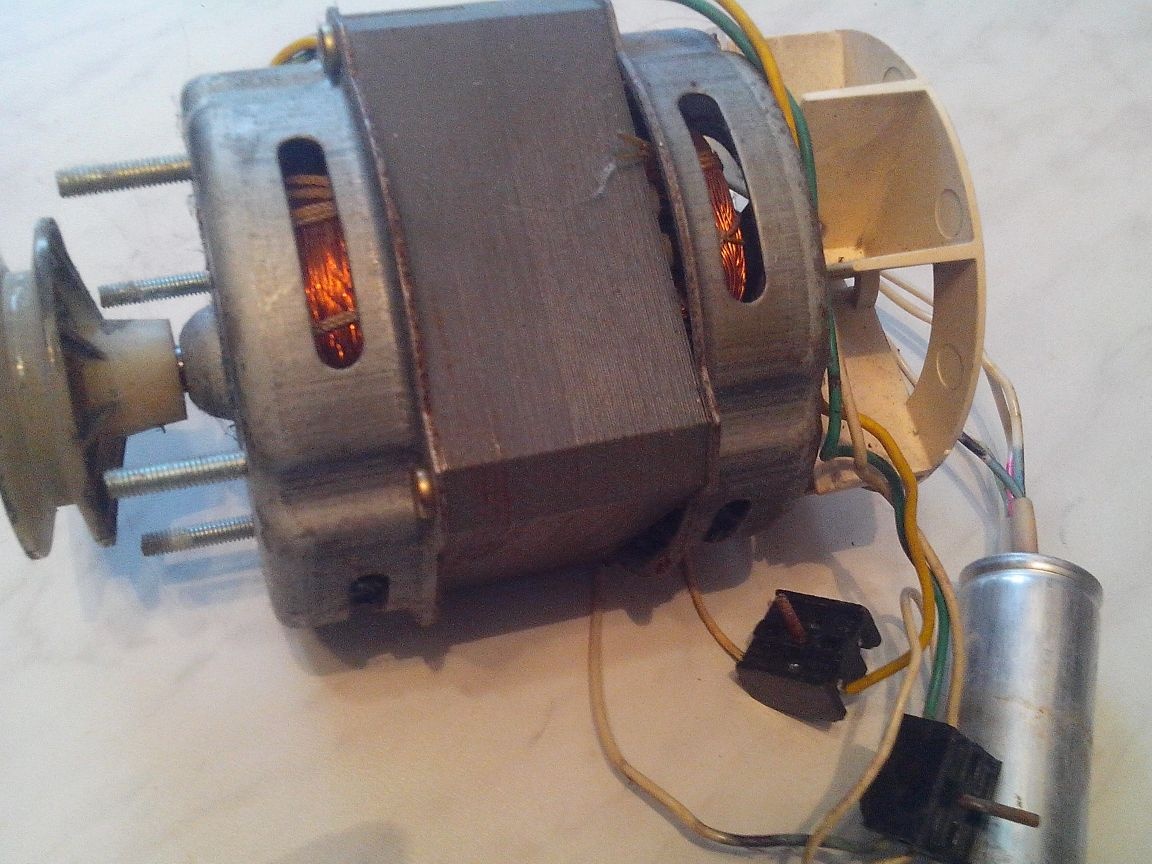
In principle, the engine, forgive me, our main "Kommentarschiki" of this site for not calling it an "electric motor", you can take any, from the old washing machine and the like, from the old "hefty" tape recorders such as "Timbre" etc. The main thing is that he be Asynchronous, i.e. brushless (so that it runs through the capacitor) and so that it rotation speed ranged from 1000 to 1350 rpm. The brush motor cannot be used in this design. he usually has very high rotational speeds and a short-term mode of operation.
Honestly, on no site, believe me, I studied them a lot, when describing such a homemade product, not one author did not indicate the parameters of the engine used by him.
During the manufacturing process, there were many engine options that could be used in my device, such as:
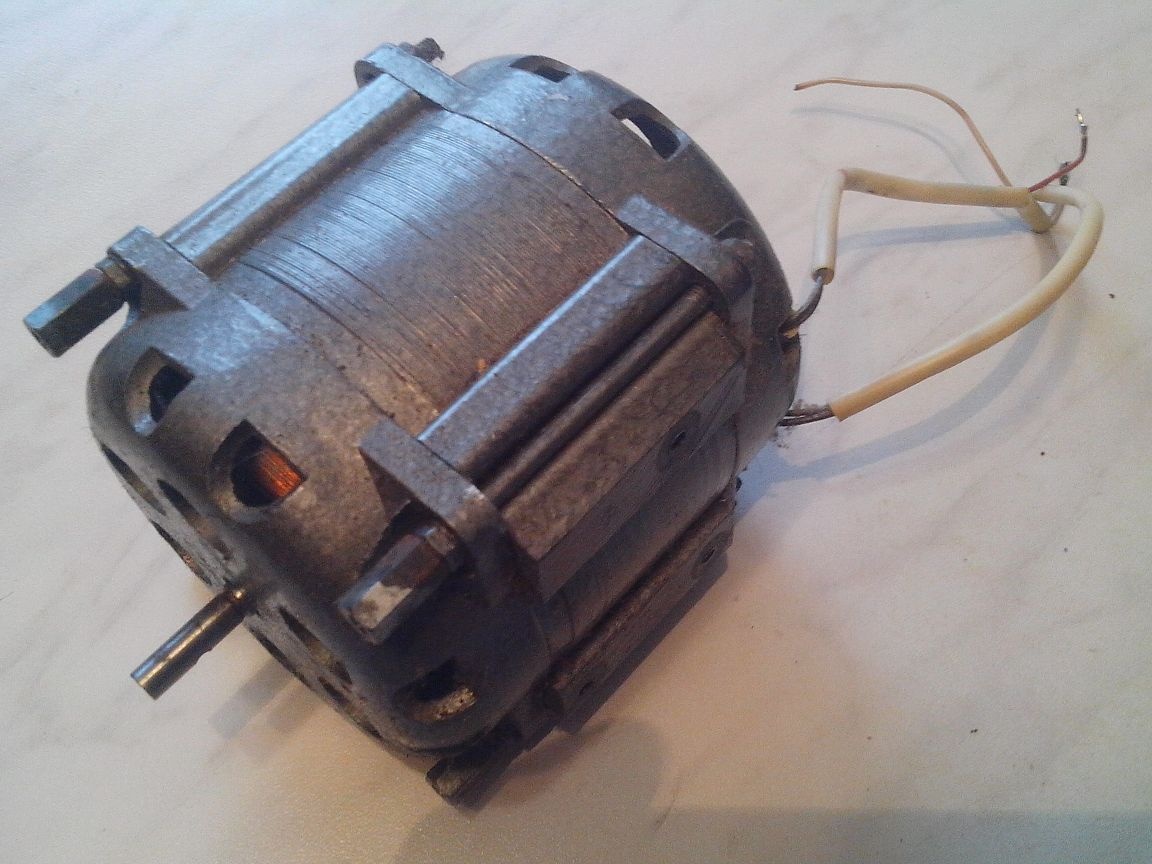
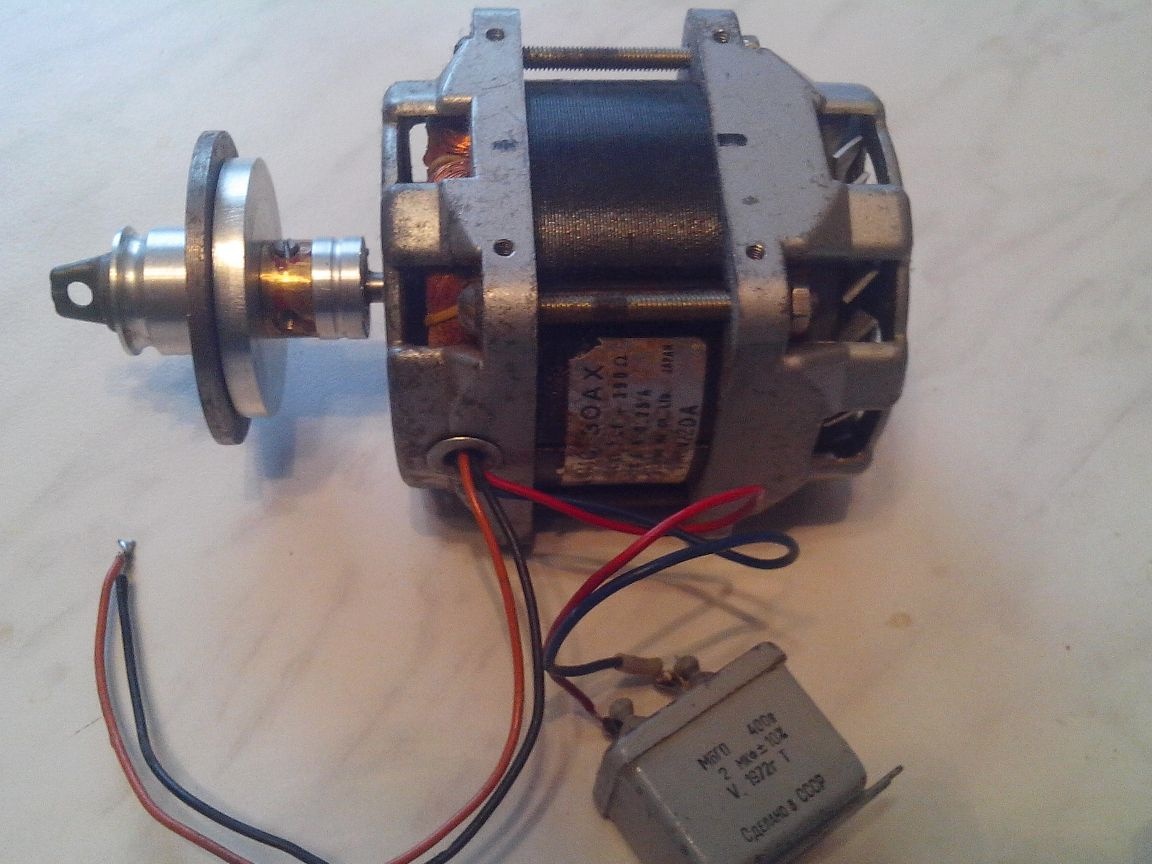
but I settled on this,
based on the dimensions of the design, the benefit of the above parameters and fasteners, he fit perfectly. I won’t lie, I don’t remember where he came from, but it seems to me from some big reel “mafon”.
Then everything is simple:
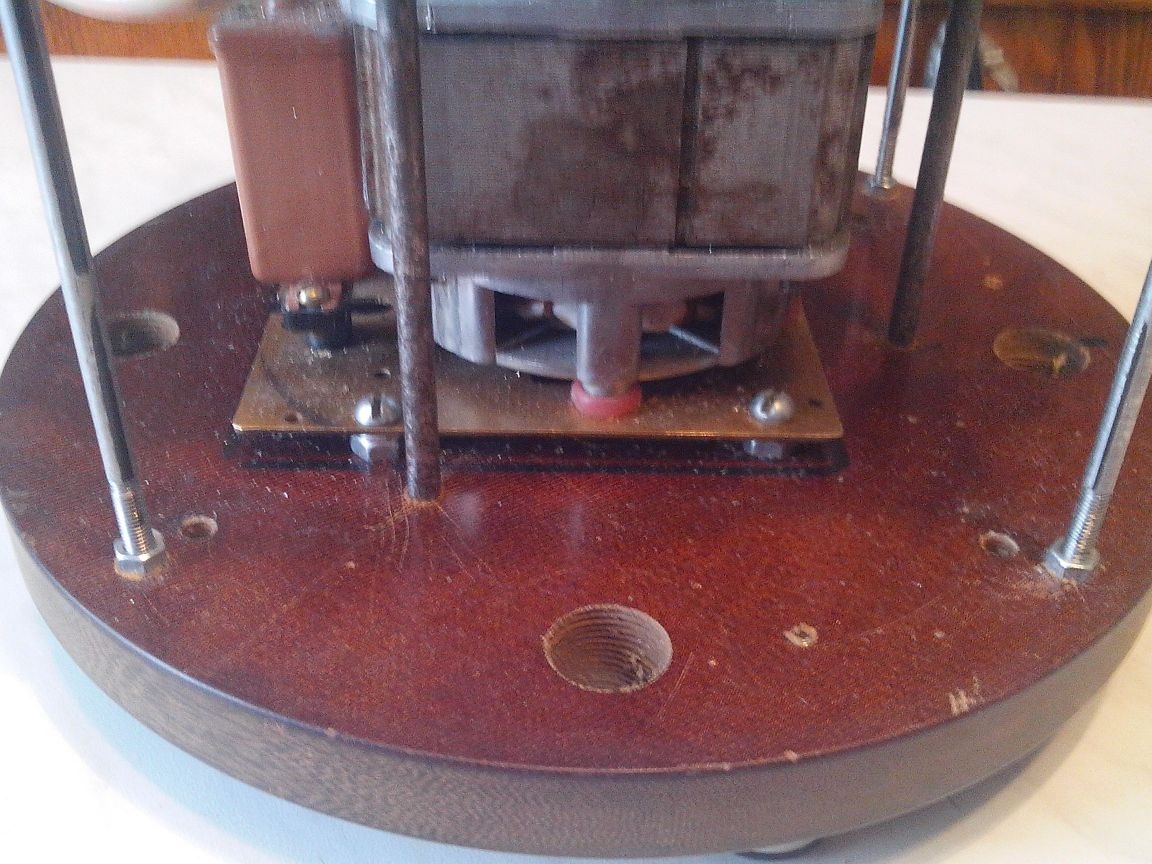
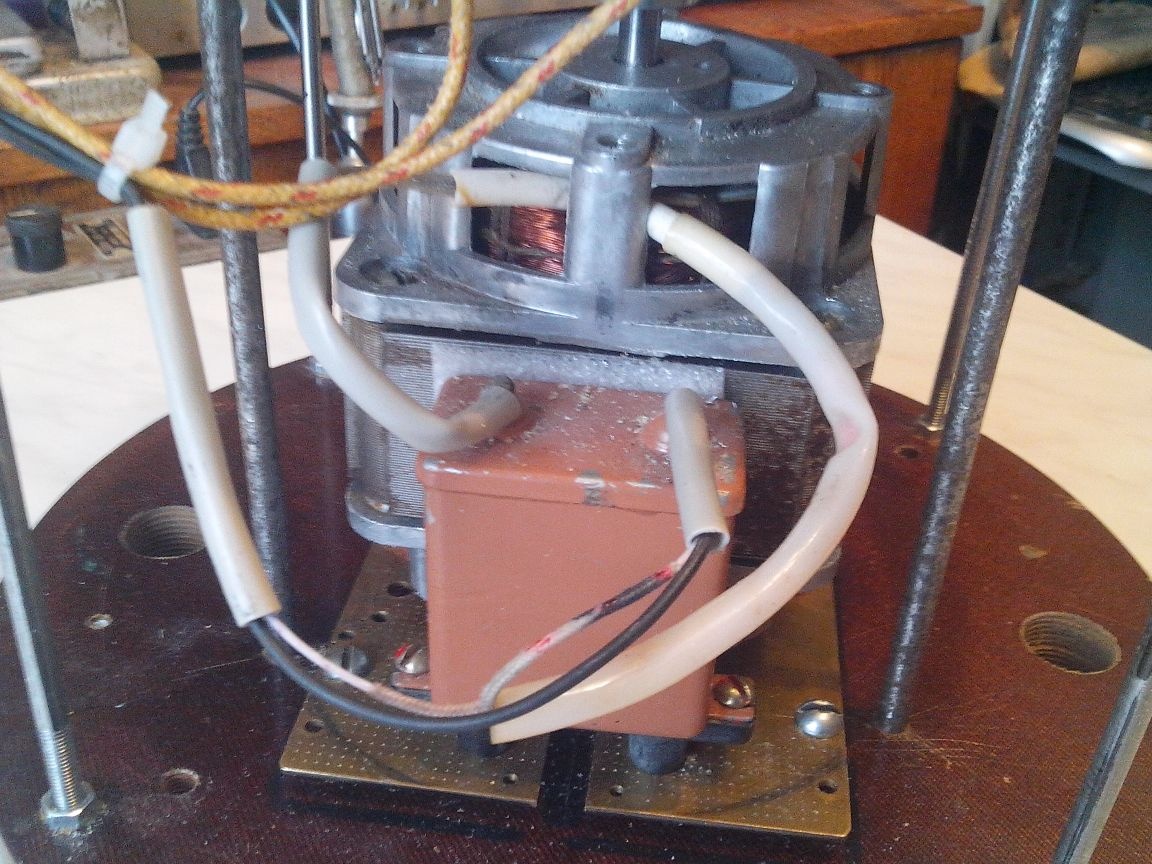
- We fasten the engine strictly centered of our grounds (I think it’s not necessary to explain in detail here), do not forget - it is very important.
When attaching the engine, I put on the mounting bolts between the base and the engine silicone bushings
By the way, a good thing, if you take it apart, do not throw it away).
It allowed me to partially reduce vibrationtransmitted to the base during rotation of the engine and provide vertical shaft adjustment engine (by tightening or loosening one of the four bolts securing the engine to the base, I got the opportunity to change the vertical position of the motor shaft relative to the center of the base).
- Base for motor shaft with Head (upper frame).
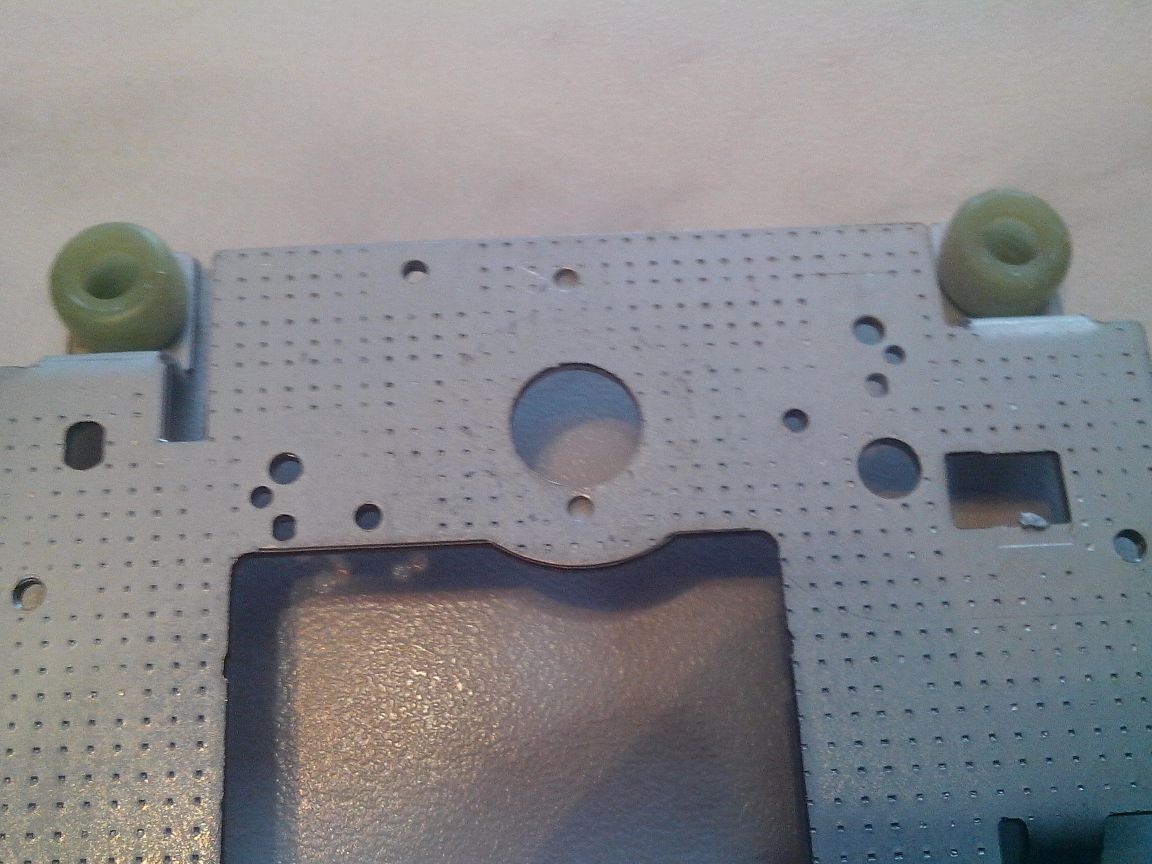
As the basis for the shaft of the Head and the connection to the motor shaft, I used aluminum frame from the old 25 watt dynamics (such dofig speakers in old wooden speakers such as S90, etc.).

I disassembled it to the skeleton, and fastened the lower part to the base of the structure with three studs ø 6 mm. I connected the upper part of the speaker frame, in which there were already four holes for fastening, for greater rigidity of the structure with the base with studs ø 5 mm. I used these pins to fasten the lining of the finished structure and stiffening my SADIST. This is very important because all further fixtures will be attached to this, let's call it "Top", frame.
- The node connecting the motor shaft to the Head.
On the Internet there are many (yes, to fig, full, above the roof, etc.) manufacturing options for this site. The bottom line is to find a suitable mount in which there is a bearing into which you can insert a shaft that can be connected to the motor shaft and onto which our Head can be securely fixed (container for the formation and spraying of sugar caramel). The “dead” stepper motor is best suited - two halves of the body of which with two bearings are connected together and fixed to the base through the finished holes, and the shaft on which the Head is fixed is inserted into the holes of the bearings - a container for the formation and spraying of sugar caramel (by the way, this the easiest and best optionbecause beating of the shaft is reduced to zero due to the very high-quality (as a rule) manufacture of such engines. Therefore, I highly recommend that if you can find at least a stepper motor housing, use it.
I did this:
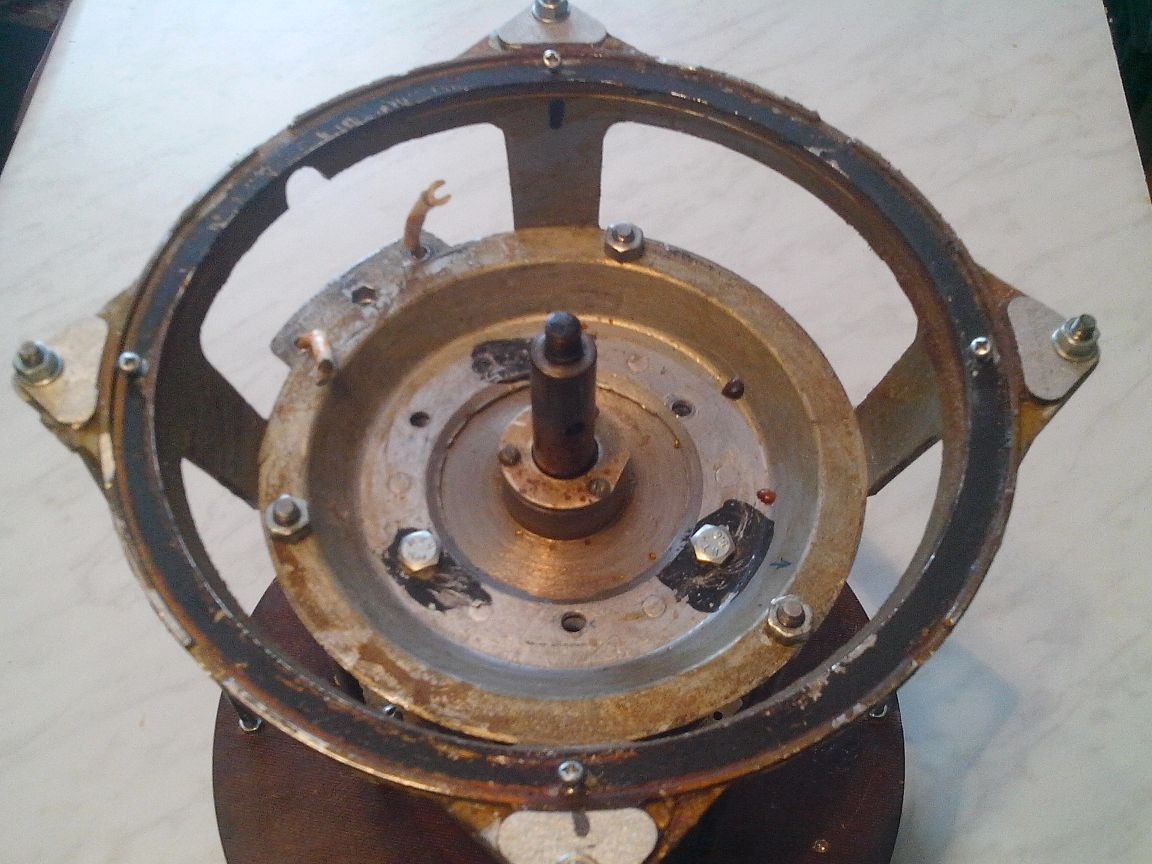
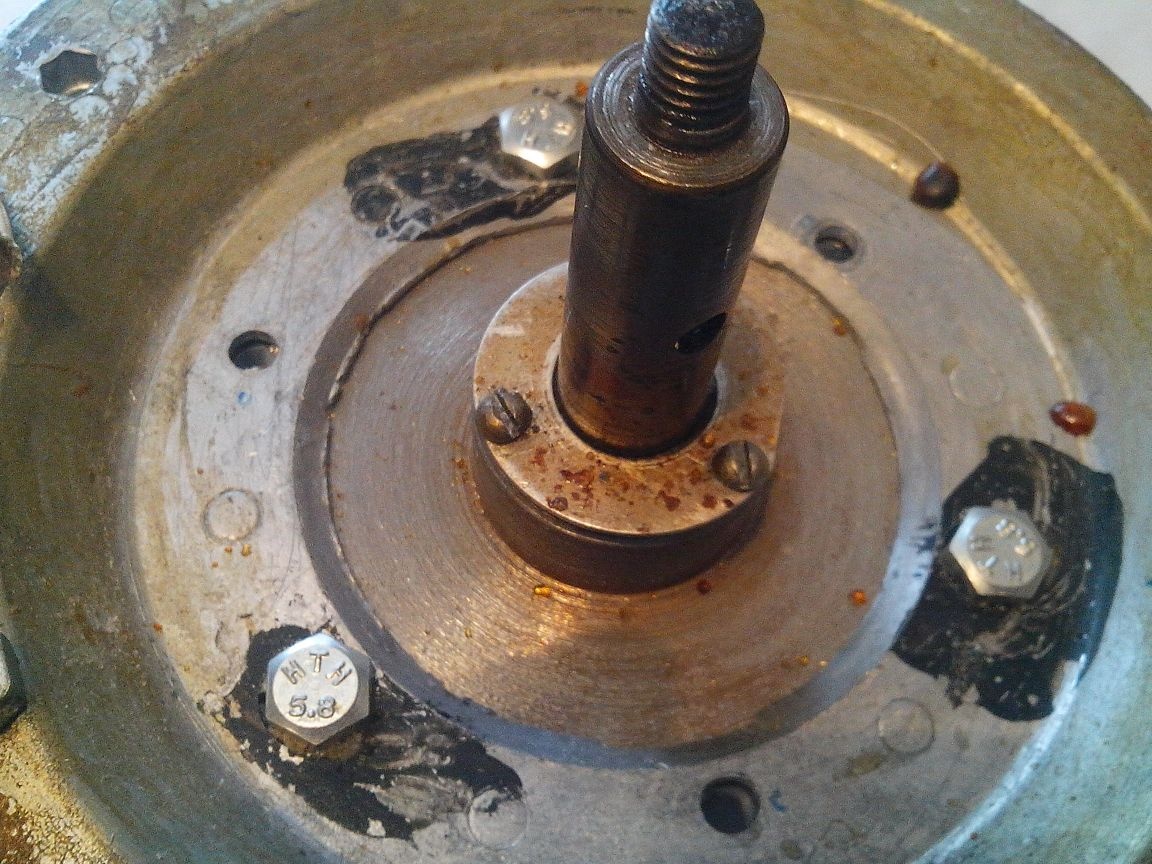
At our dilapidated enterprise, according to an old friendship, I turned on a lathe a T-sleeve for installing two bearings (which I could find in my bins) with an internal ø 8 mm and a shaft ø 8 mm for these bearings and a soft sleeve, the end of which M8 thread was cut for fastening the Head. They screwed up, of course, but "for lack of ...".
Nevertheless, after mounting the sleeve on the upper frame and installing the shaft with the Head mounted on it in the bearings, it turned out not bad (runout was minimal), it remains only to connect the motor shaft and the shaft with the fixed Head.
To coaxially align these two shafts with minimal runout, I used soft sleeve,
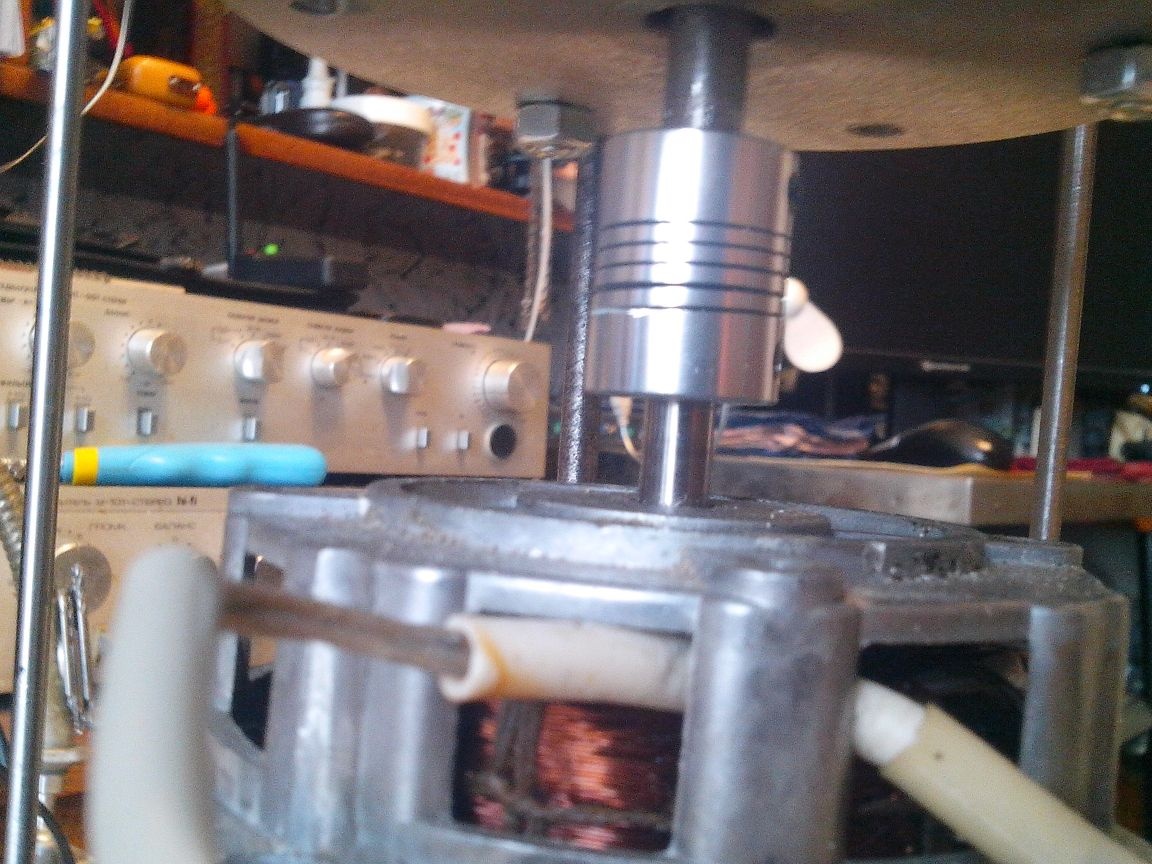
which I ordered on Aliexpress. The diameter of the motor shaft I had was 7 mm, and the diameter of the shaft on which I installed the Head was 8 mm (I just found such bearings, and the M8 thread for our “turners” was easier to cut than the non-standard M7). Everything turned out perfectly.
By the way, these soft bushings - just a Chinese miracle - you can order any sizes on each side of the sleeve, they cost a penny and quality is beyond praise. In this regard, the Chinese are super.
Look at aliexpress by simply typing “soft sleeve”. I was shocked by the price when I saw these bushings on the site and twice in shock when I received an order and appreciated the quality. Well, like, I consider myself cunning in the "pieces of iron", but, friends, friends, I don’t understand how they do it!
But back to "our sheep."
So, I fixed everything and applied 220V to the engine. The head (a container for the formation and spraying of sugar caramel) rotates with minimal beating. Everything's OK!!!
It remains only to make a stable heating of this Head in the lower part, so that the powdered granulated sugar can, having warmed up to 180-200 ° C, turn into caramel syrup, under the action of centrifugal force, fly out into a 0.2 mm slot and cool down under the blades of the built-in fan, driven by the air current, rise up in the form of the Sweet Fog so that it is wound on a stick and fed to “hungry humanity”.
- So, the heating element.
At this stage, “dancing with a tambourine” began for me.
I could not find anything ready for my design, so I decided to make a heating element (hereinafter NE) myself.
Initially, there was an idea to organize the heating of the Head using a gas burner that works autonomously from a collet (dichlorvos) spray,
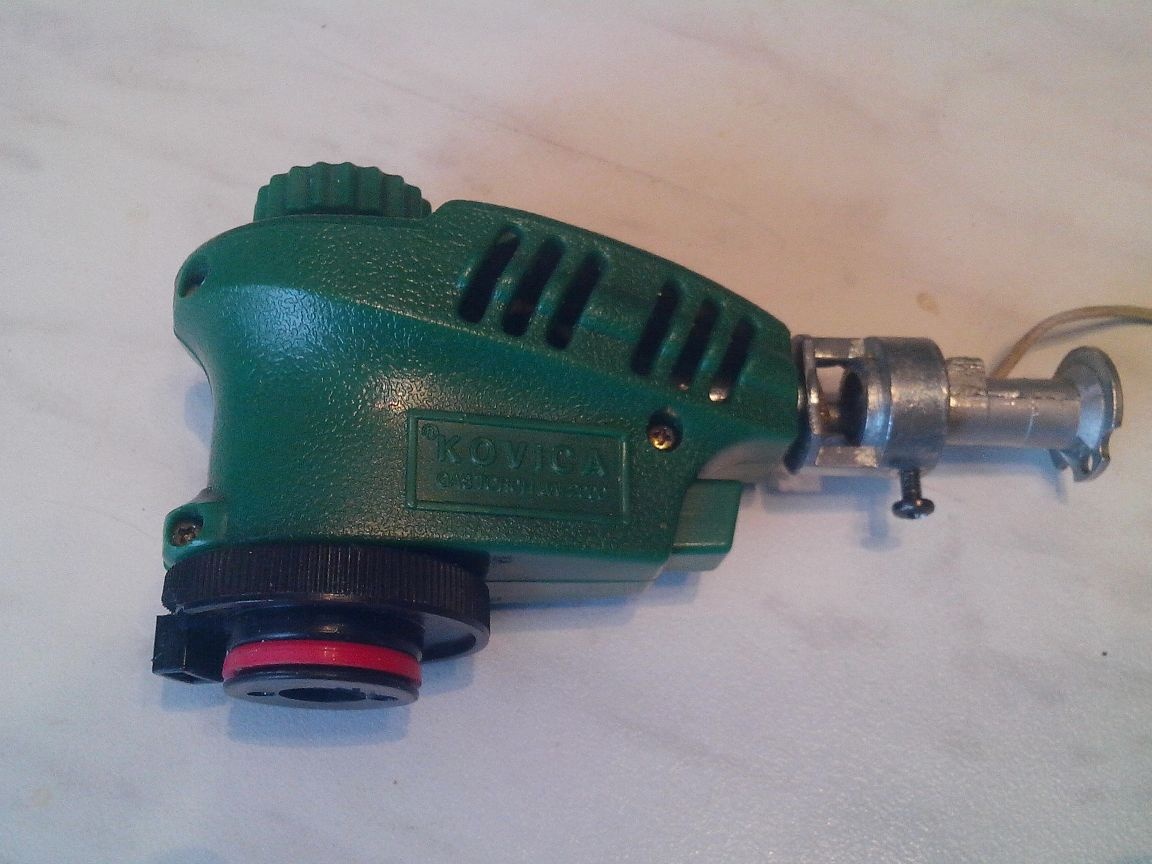
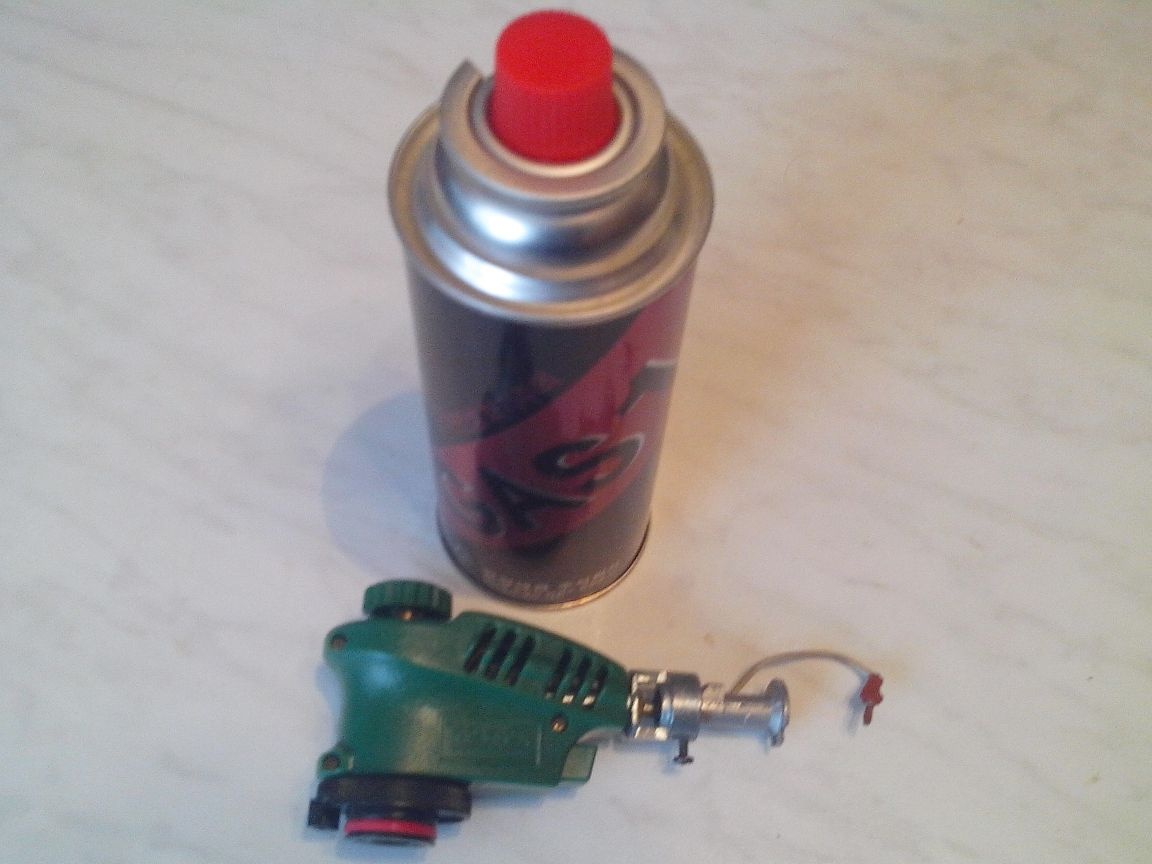
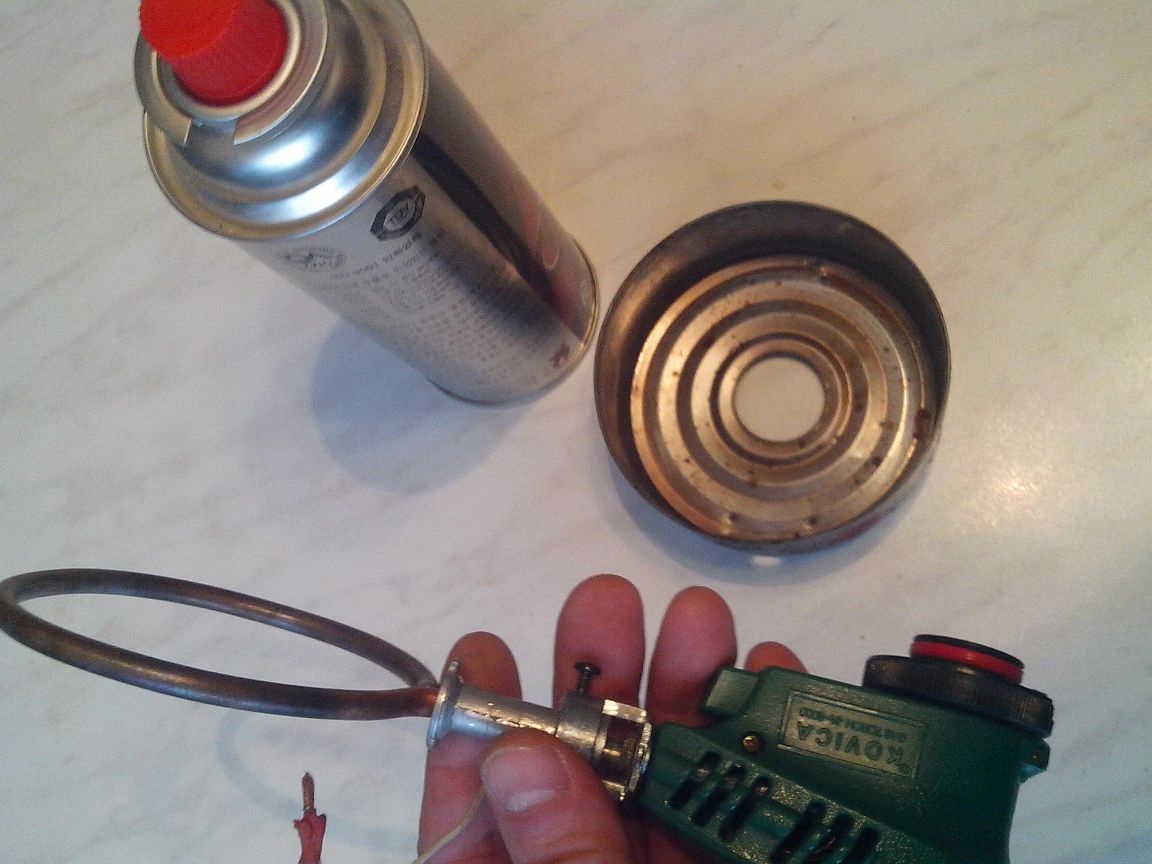
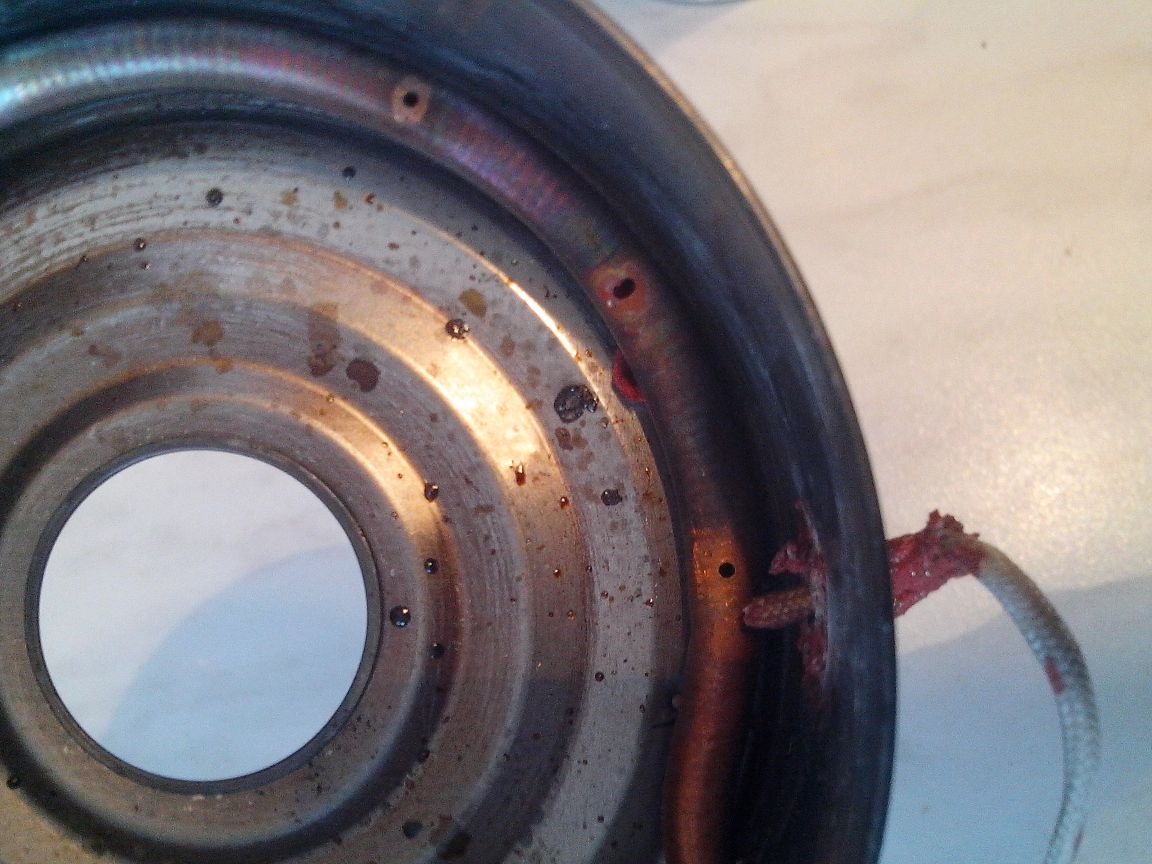
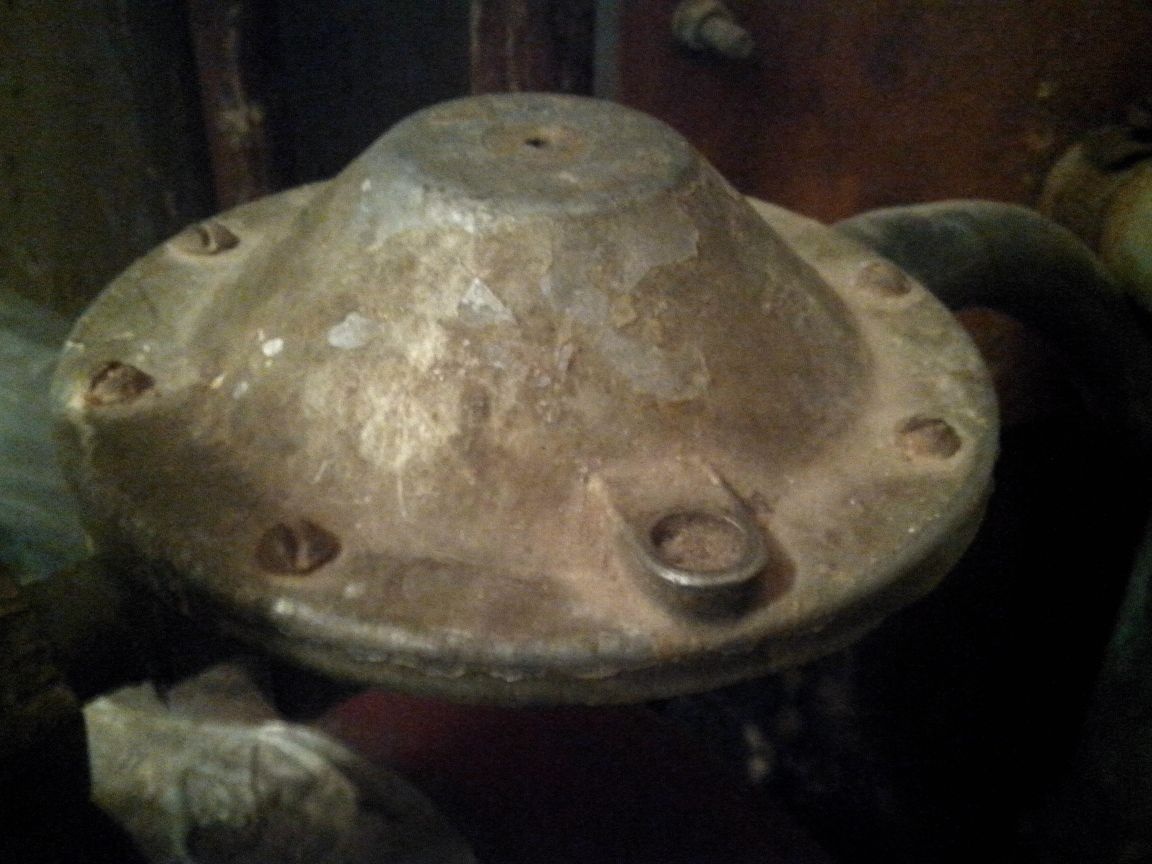
however, after several tried options, it was not possible to obtain stable NE operation. During rotation of the Head, the burner flame either blew out and went out, or started to smoke, sugar caramel overheated, and it flew out without forming a sweet mist (cotton candy). During experiments with gas, the lower part of the Head was smoky (you saw it in the photo).
Besides, on reflection, I decided that using two sources of energy (electricity and gas) in one design is at least wasteful, but mostly stupid. It was decided to make a homemade mini electric stove on the model of those that our grandfathers did when there was nowhere to buy everything, and there was nothing to it.
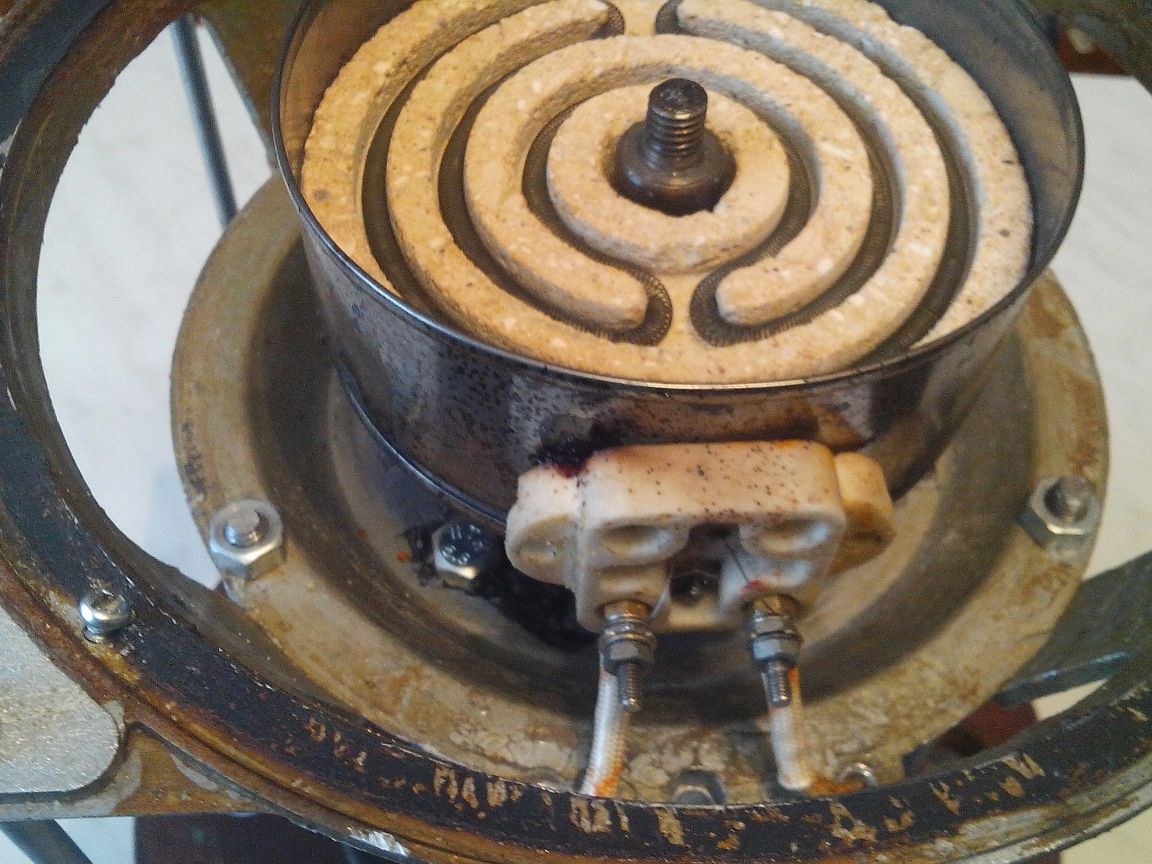
My NE (mini electric stove) had to consist of a frame with legs, a stone in which a nichrome spiral was laid and the nichrome spiral itself.
Under the frame in all respects (internal diameter, height and heat-resistant material), a can of red fish - Sprats in tomato sauce - ideally suited. There is one important point here, we must take tin can, i.e. she must magnetize. Its inner ø 98mm, and the outer ø Heads 100mm - well, right, what you need !!! The height was also suitable for my design, so that I did not have to cut it.
In the bottom of the NE canister frame in the center, I drilled a hole for the shaft - ø 18mm and three holes ø 5mm for fixing legs-bolts.
All frame is ready.
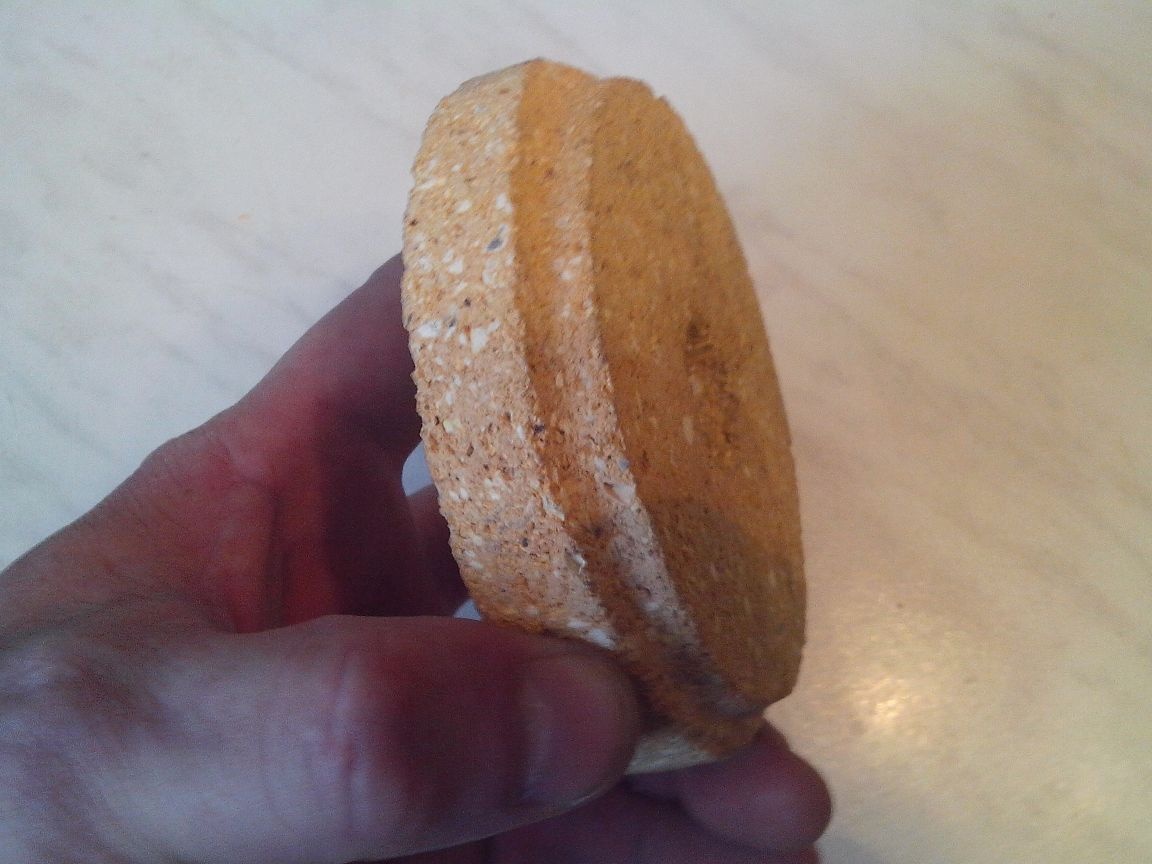
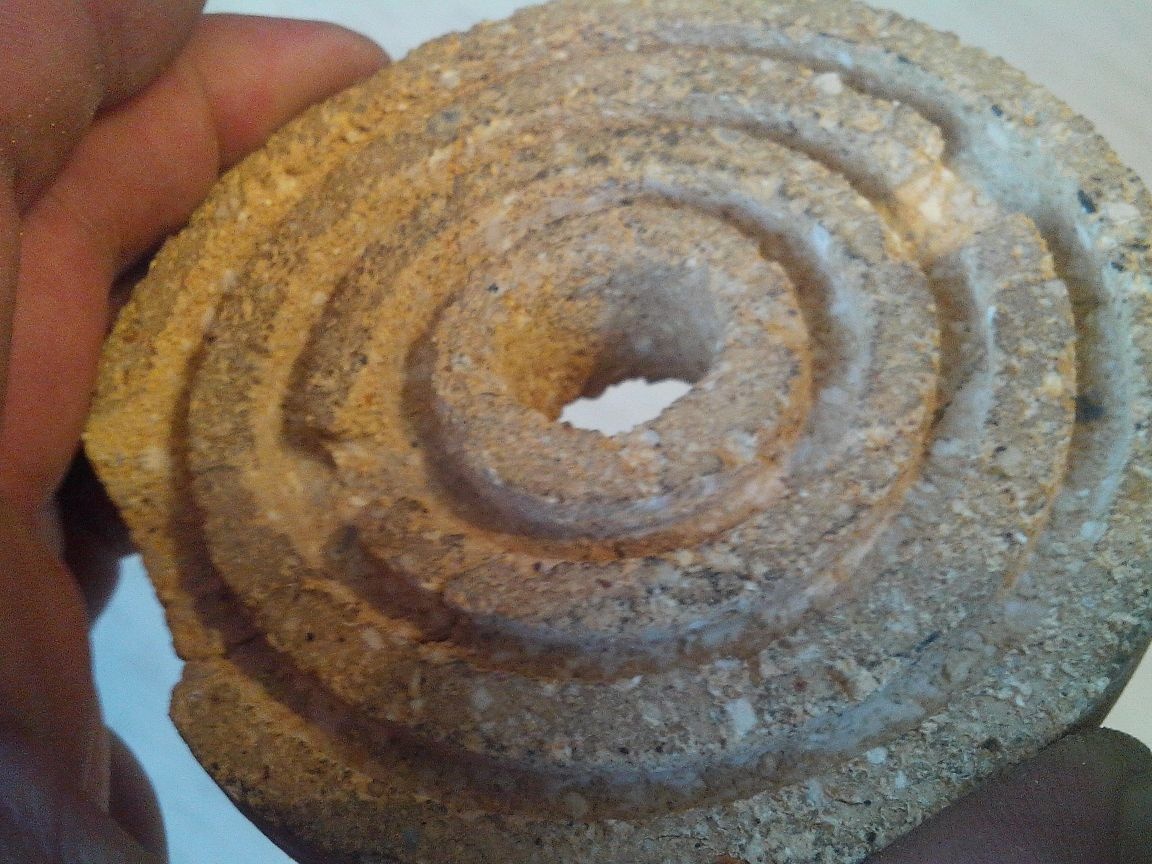
Next we need, let's call it a stone for a spiral. In the first version, I made it from an asbestos cement slab 21 mm thick,
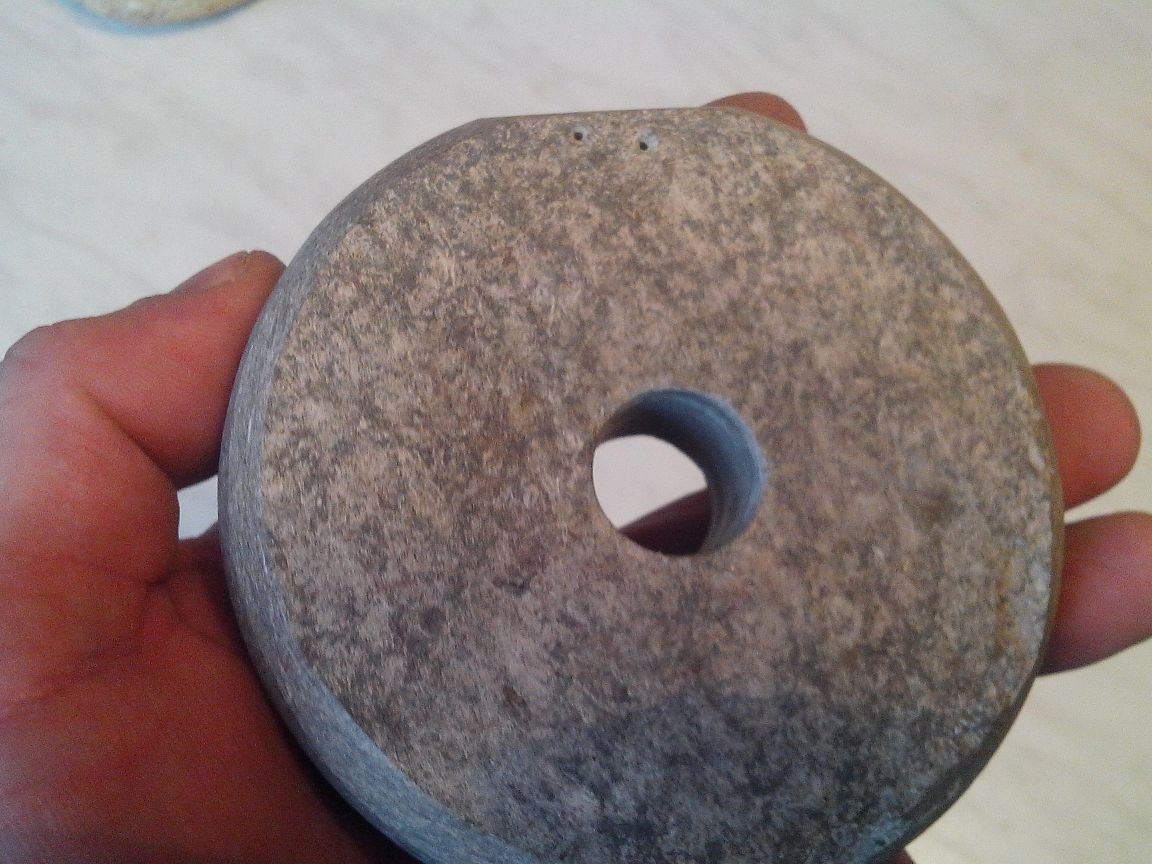
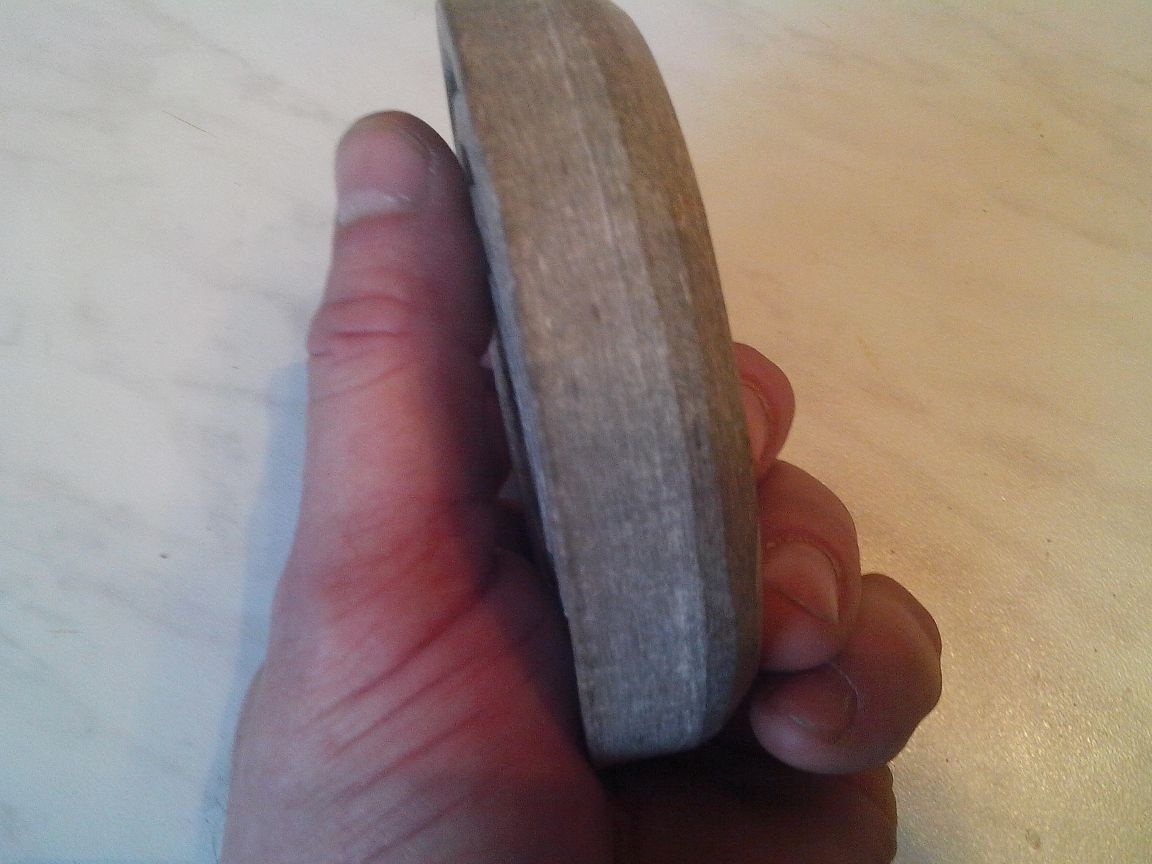
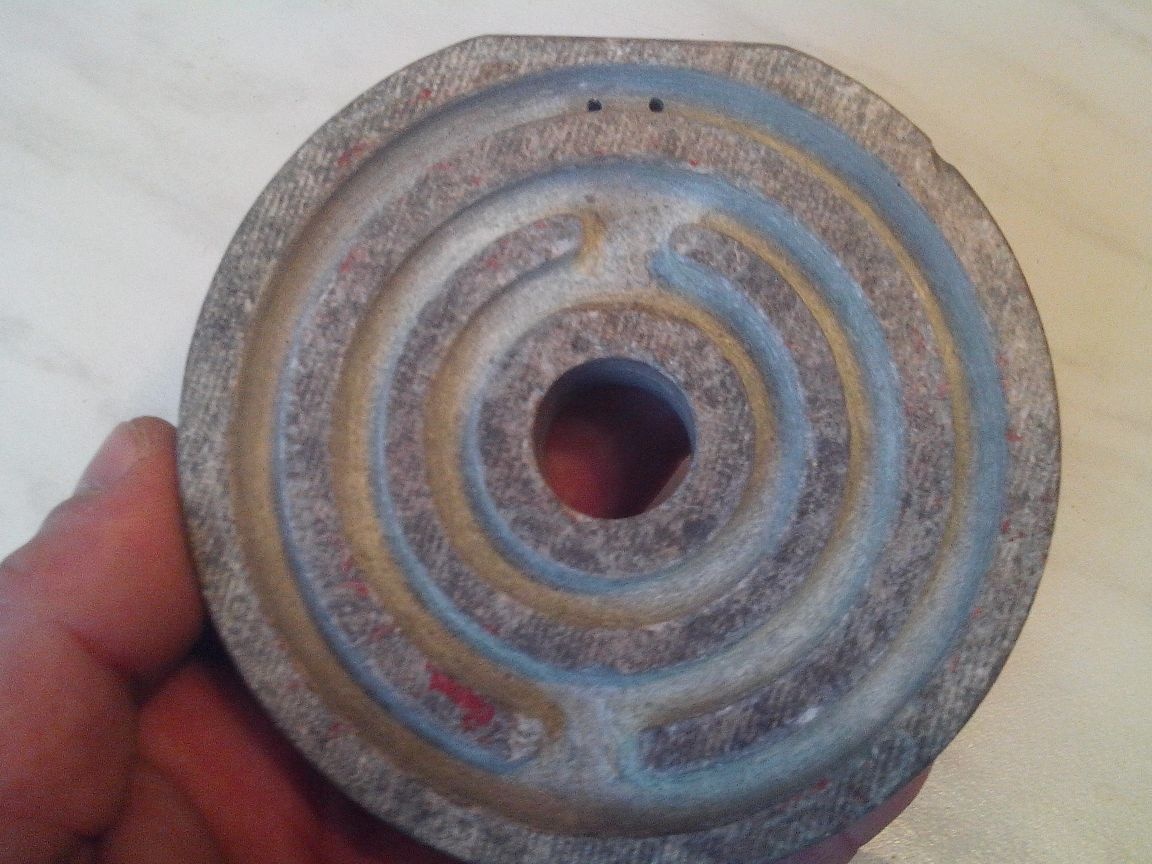
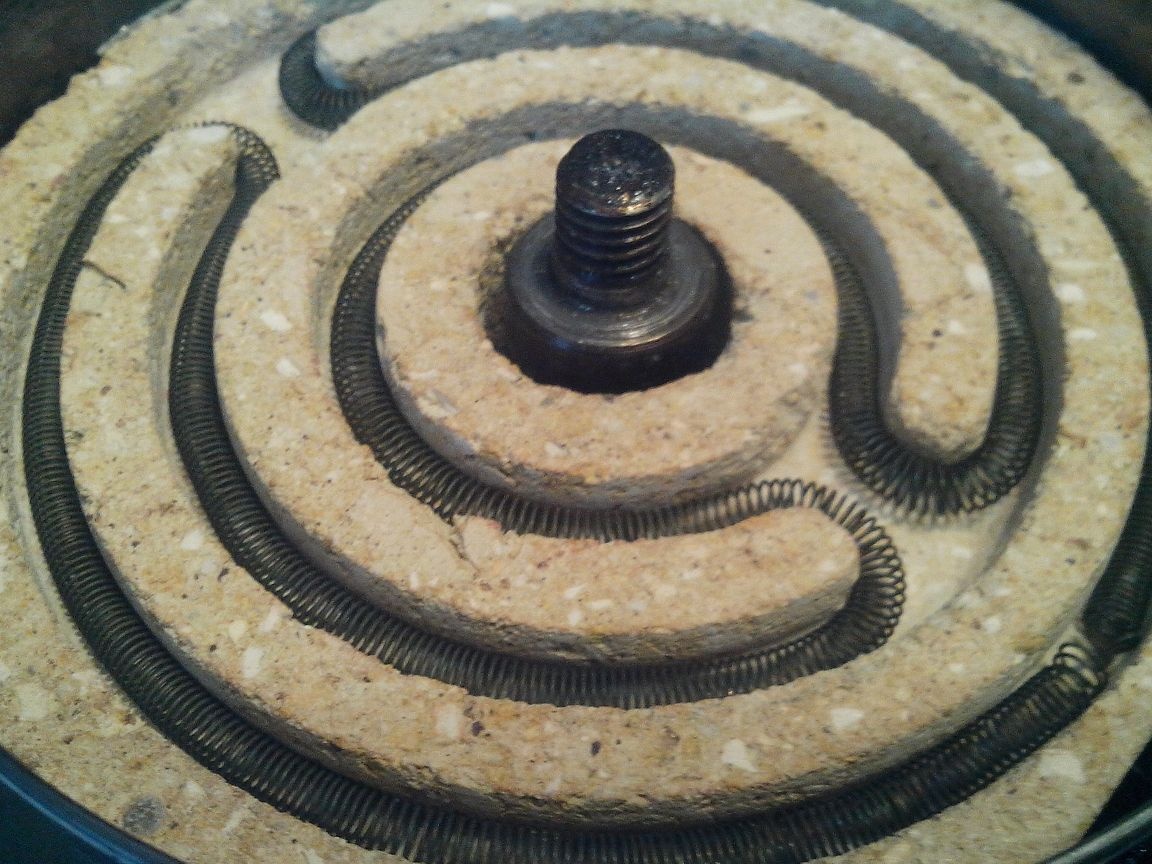
but during operation, asbestos cement began to delaminate and, in my eyes, lost its right to exist. Final most reliable and safe the option was to make a stone for spiral from refractory bricks (also called fireclay). It is not difficult to find such a brick, and it is processed, as it turned out, quite easily. I effortlessly sawed a whole brick with a grinder (cutting wheel on a stone) along, leaving a 22mm thick plate, then made a 100mm square from this plate, machined it to a perfect circle ø 98mm on an electric grinder and drilled a hole ø 18mm in the center.
(When processing refractory bricks, a lot of dust harmful to all living and non-living dust is formed, therefore I recommend to carry out these works outdoors and at least in a gauze bandage. To reduce dust during processing, it was possible, of course, to soak a brick by lowering it into water for a couple of hours, but I did not do it, because I was not sure how he would behave during processing, he was afraid that he would begin to crack).
I made the spiral grooves at the factory, which I already mentioned, according to my marking. According to the turner, it was not difficult.
All Stone for the spiral is ready.
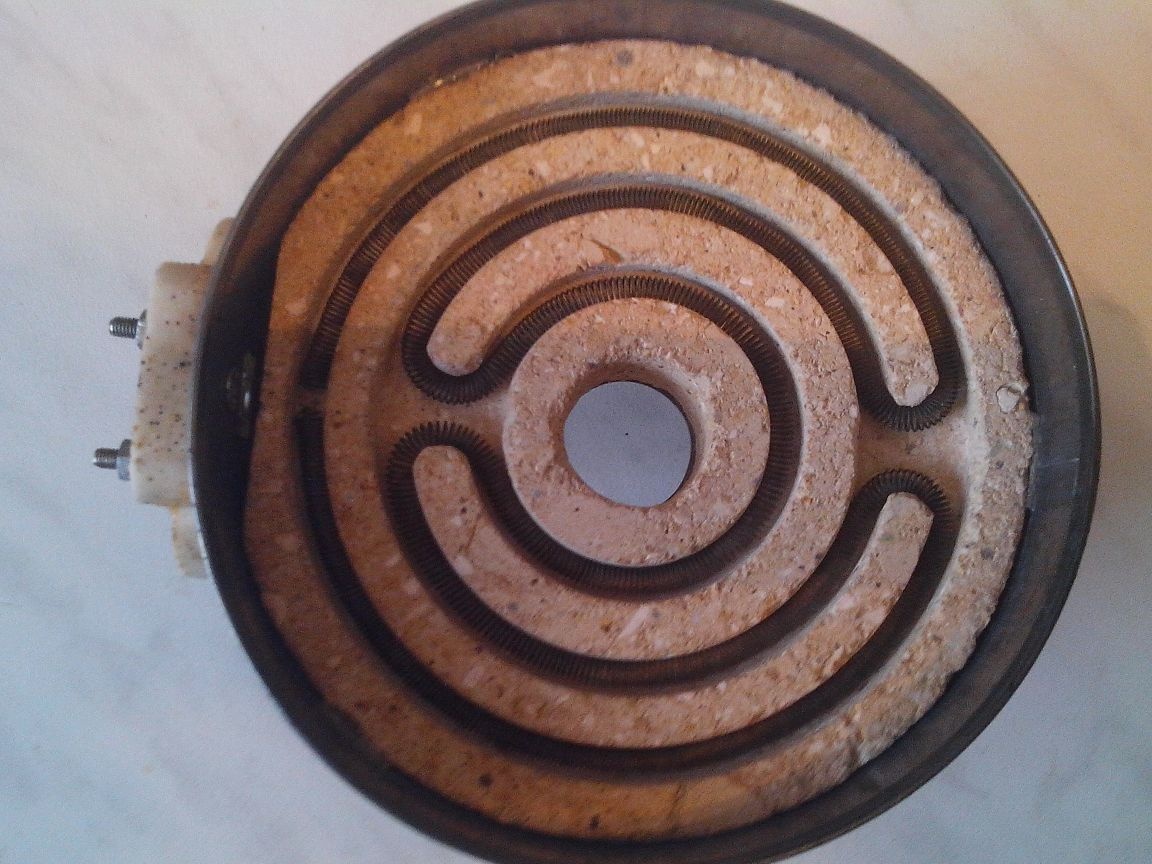
Now a nichrome spiral. At this stage, the task was to make a spiral so that it worked from a 220V network, did not overheat (it was heated to red-orange) and fit along the width and length of the grooves in the stone. After repeated trial and error, I was able to make a spiral that is suitable in all respects for my SADIST. For its manufacture, I took 9 meters nichrome wireø0.3mm and wound it round to round on a wire ø 3.0mm.
It remains only to assemble the Frame, Stone and Spiral into a single whole, bring the ends of the spiral and fix them on a tile plate.
It turned out an excellent mini electric stove.
It remains to assemble the entire SADIST in a single design:
Install NE
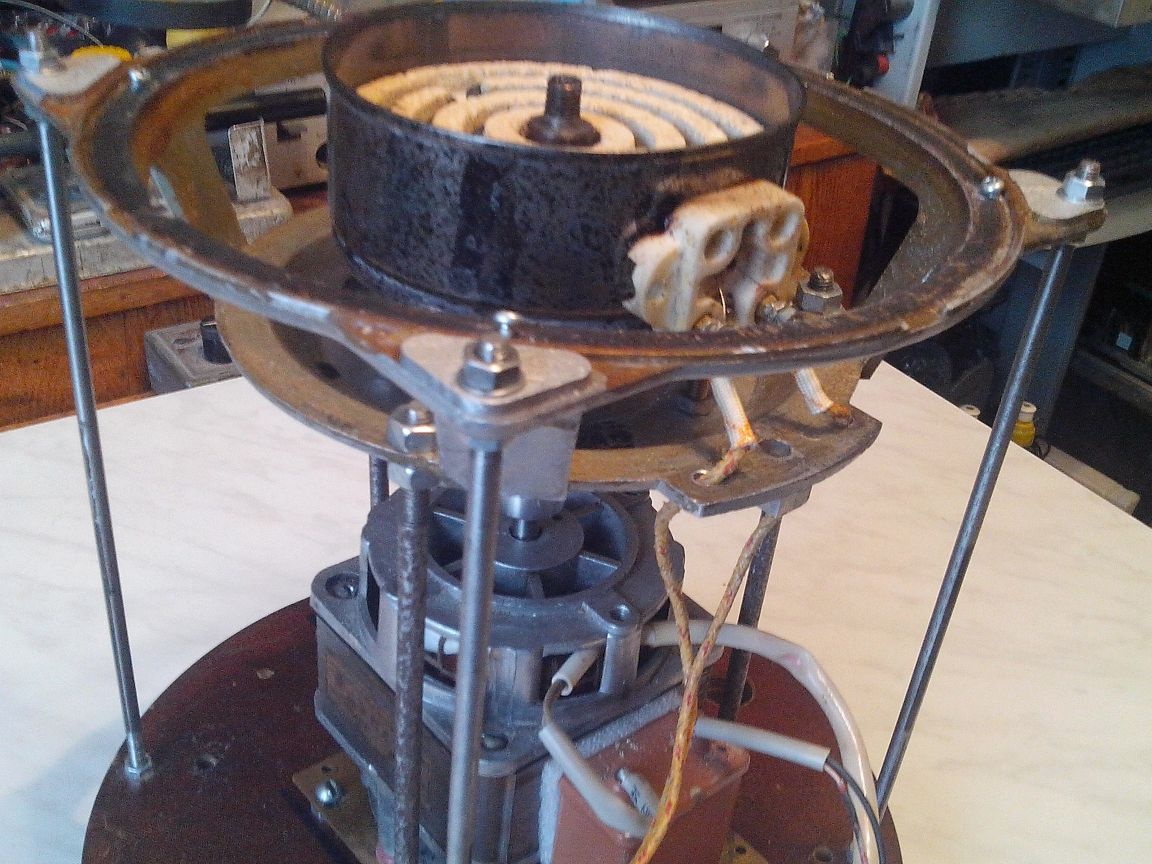
Fasten the head
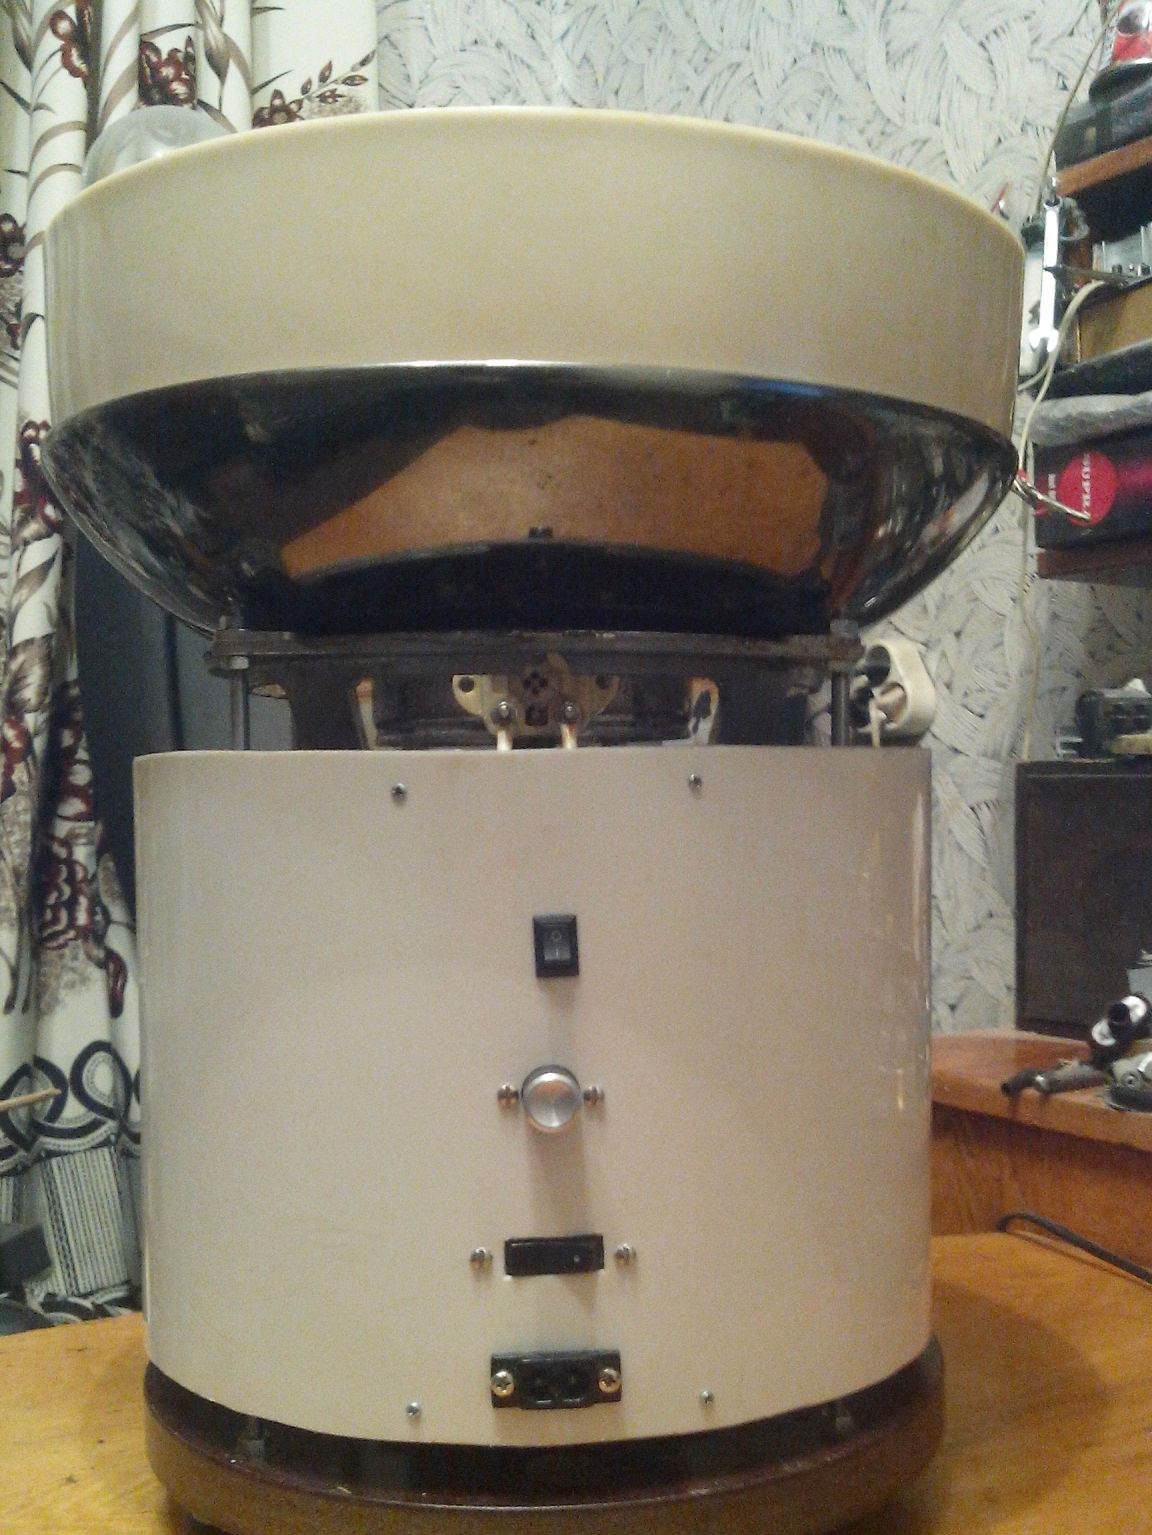
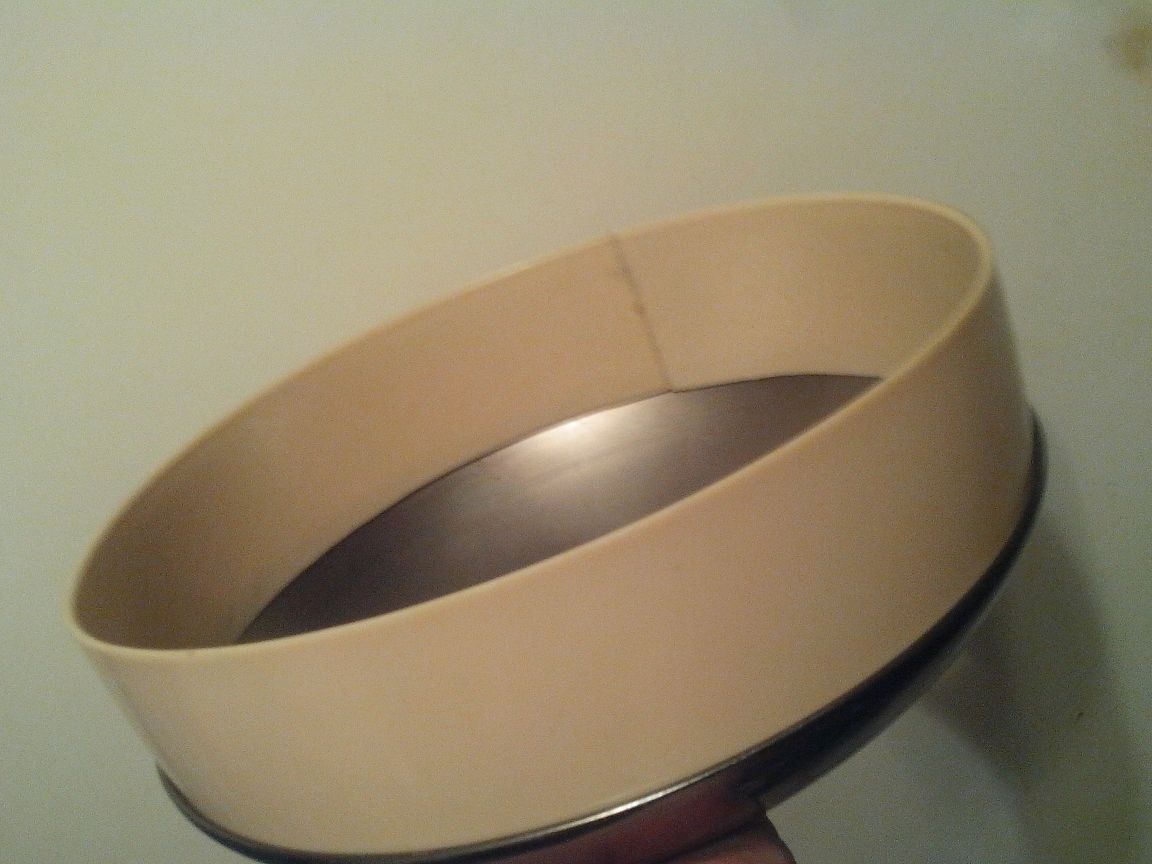
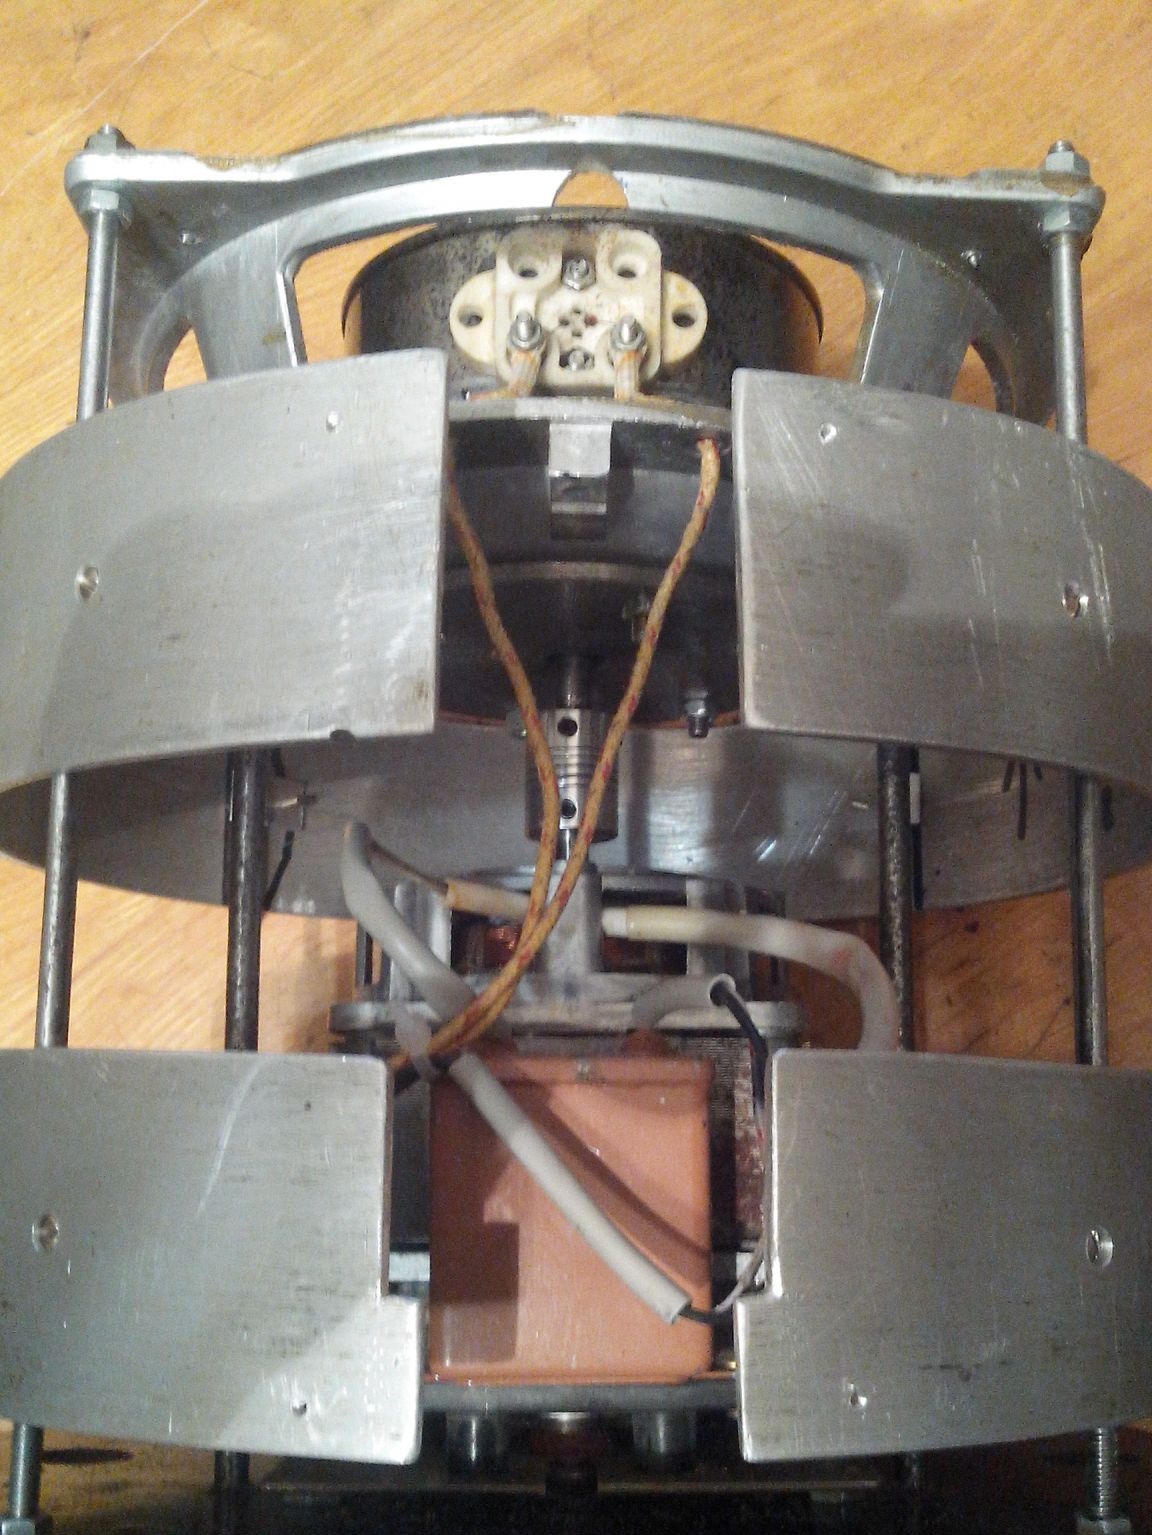
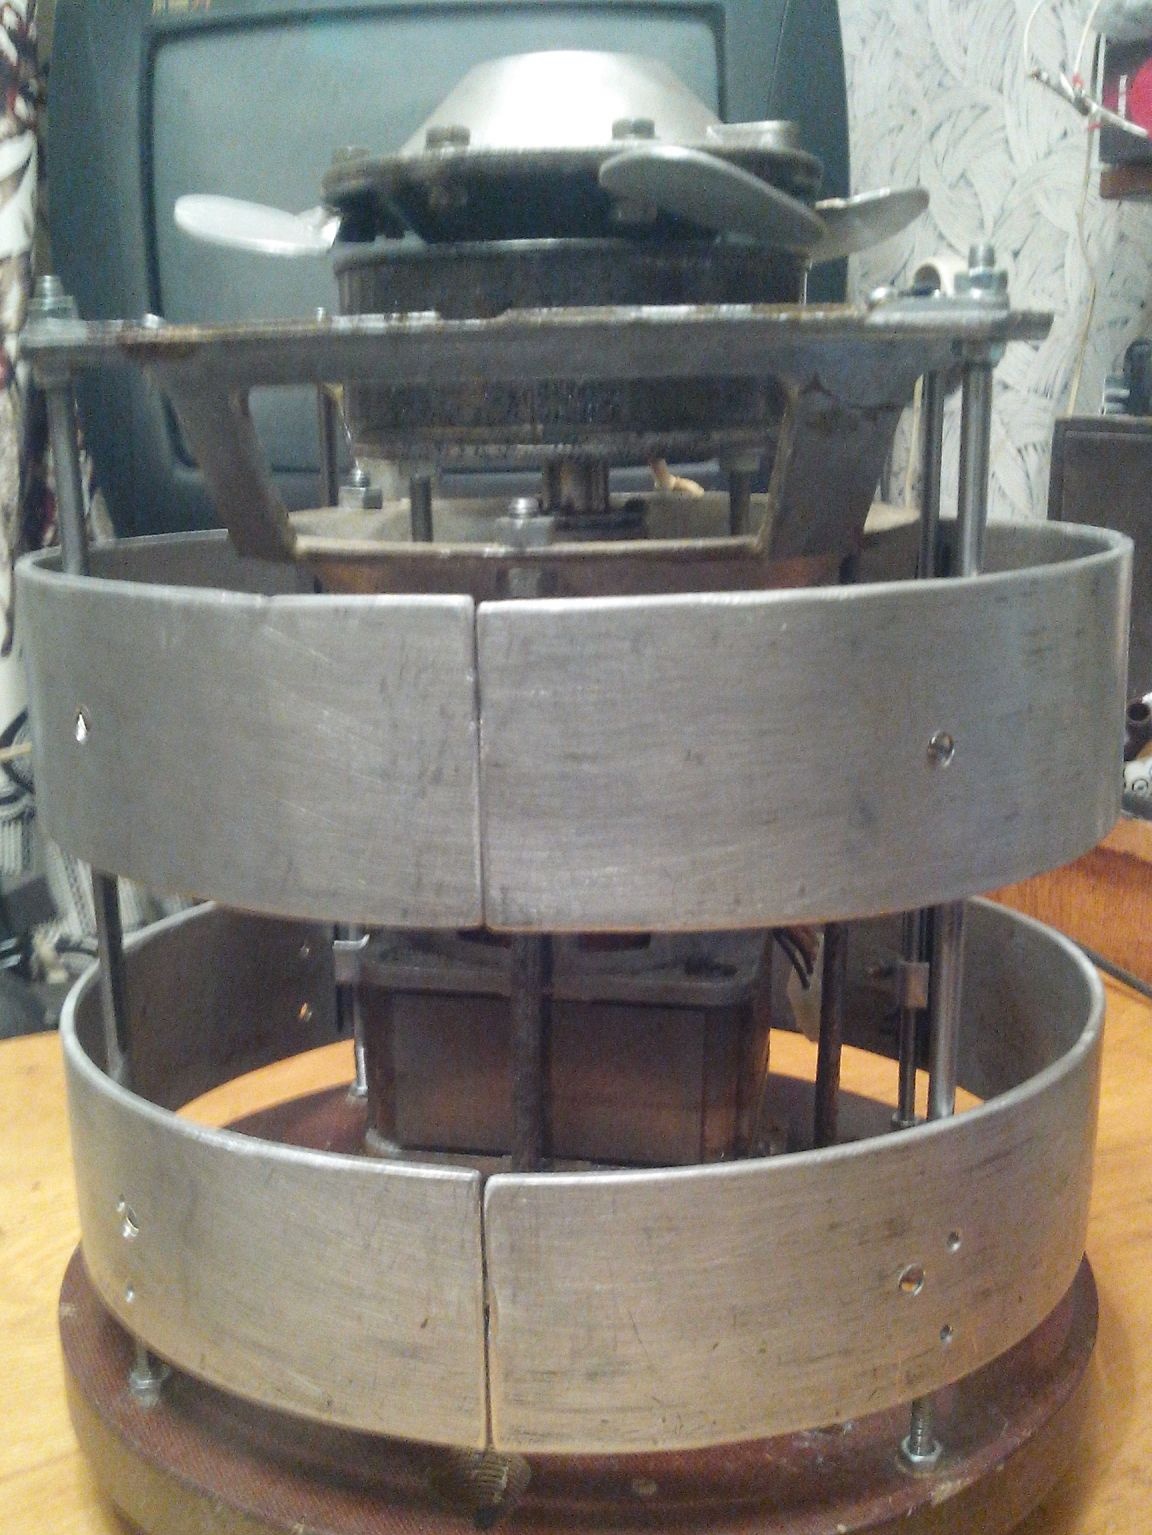
That's all. On top of my design, I fixed a metal lampshade from an old lamp, having previously cut out the bottom

and to the top by inserting a ring of white linoleum.
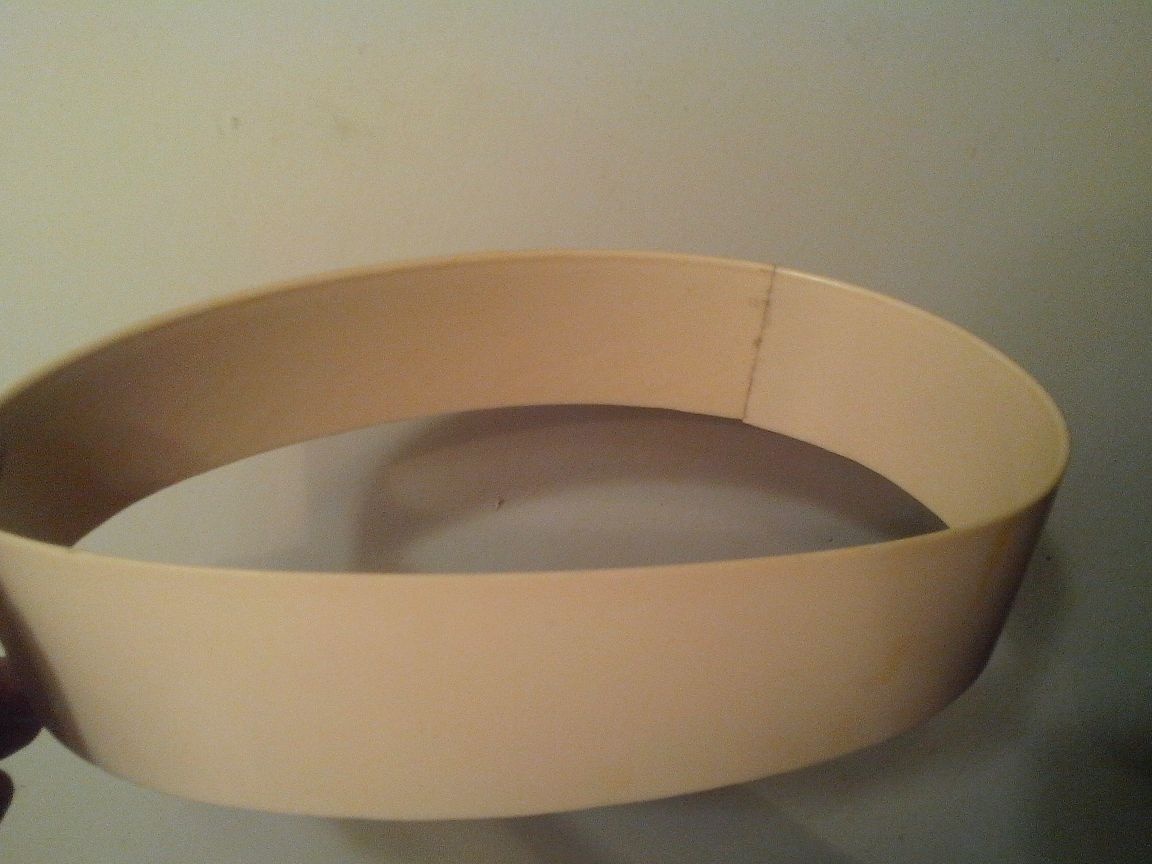
They are needed to protect hands and walls from flying caramel microparticles when starting the engine.
Facing
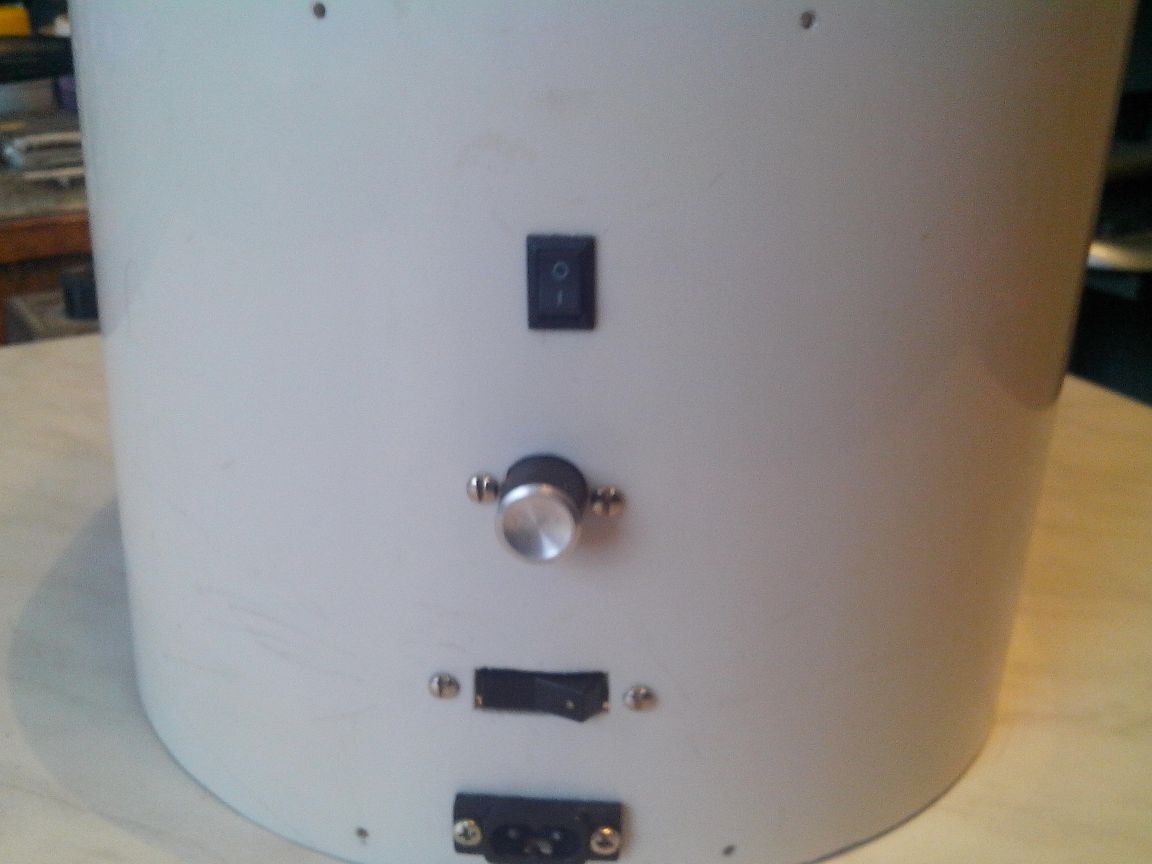
With controls (on top - a toggle switch for turning on / off the NE; the second on top - the on / off button of the electric motor; the third on top - the toggle switch on / off the general power supply; the bottom - the connector for connecting the power cord).
I made an unusable Spot-teapot from the plastic case, cutting off everything unnecessary from it (the case) and securing it with small screws on aluminum half rings,
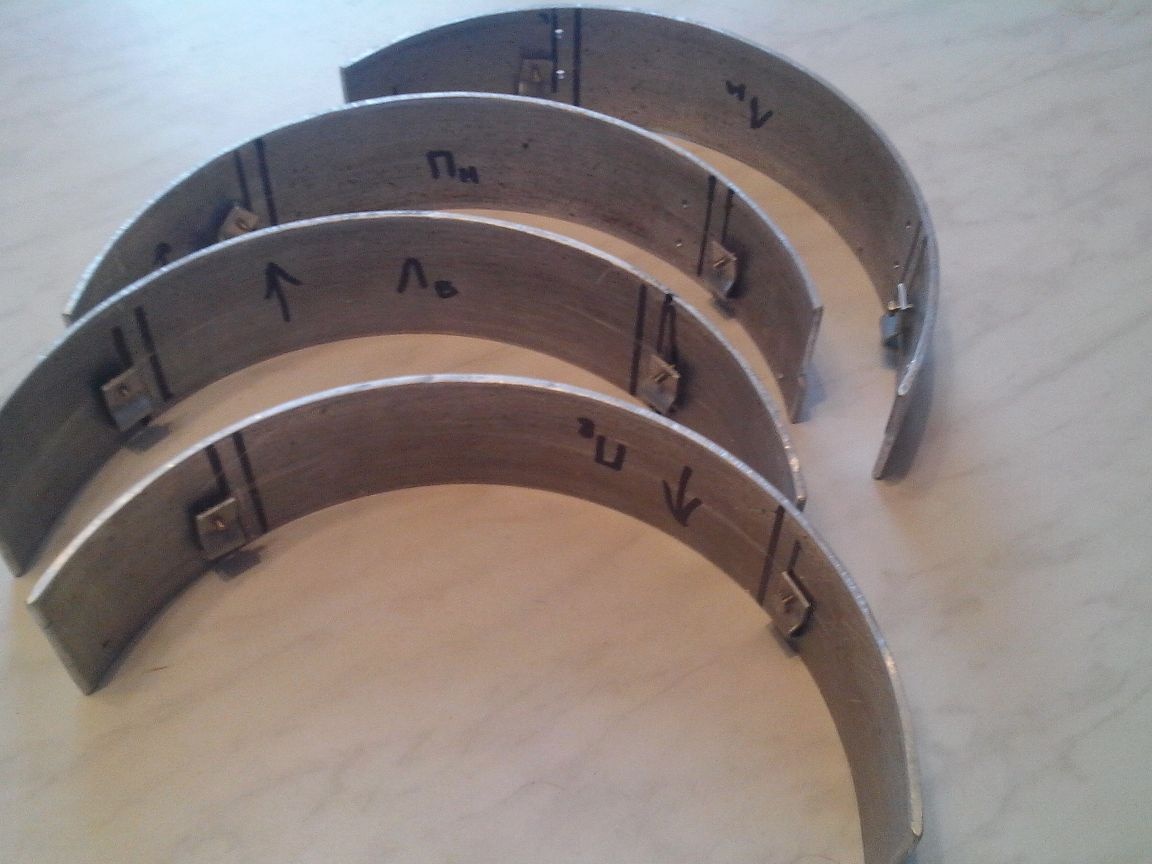
Which in turn was fixed on 4 studs of a frame ø 5 mm.
That's all the SADIST is ready.
General form:
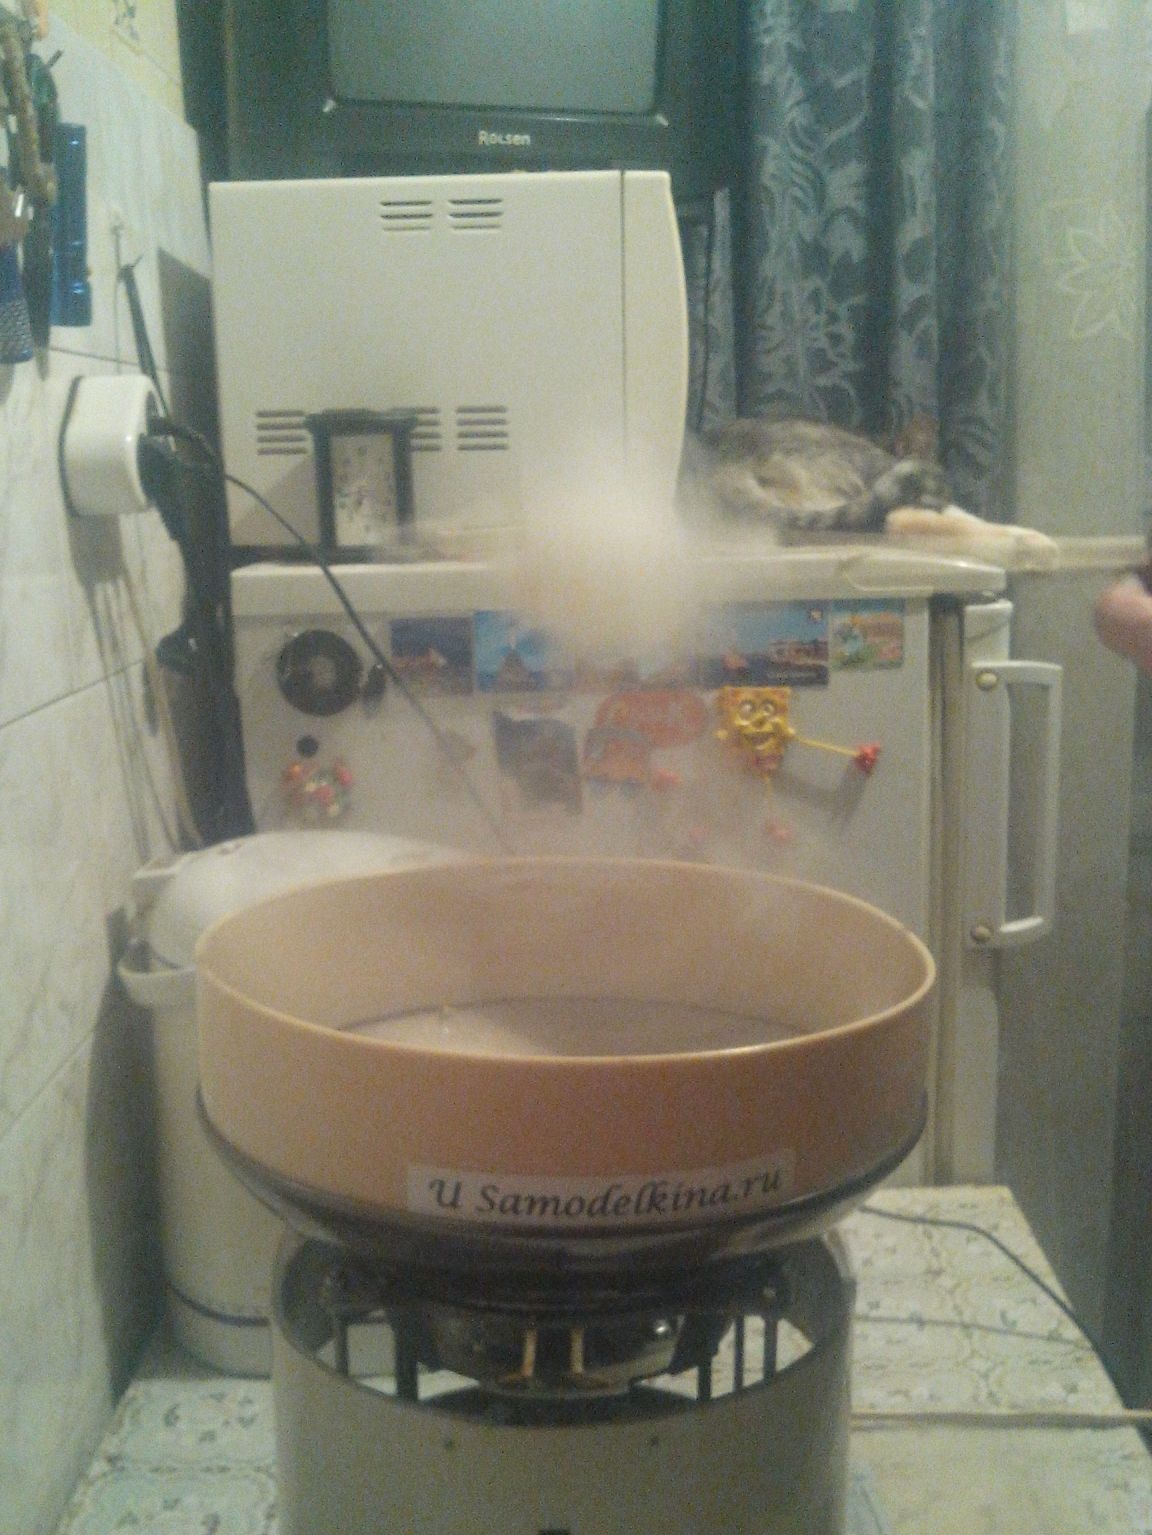
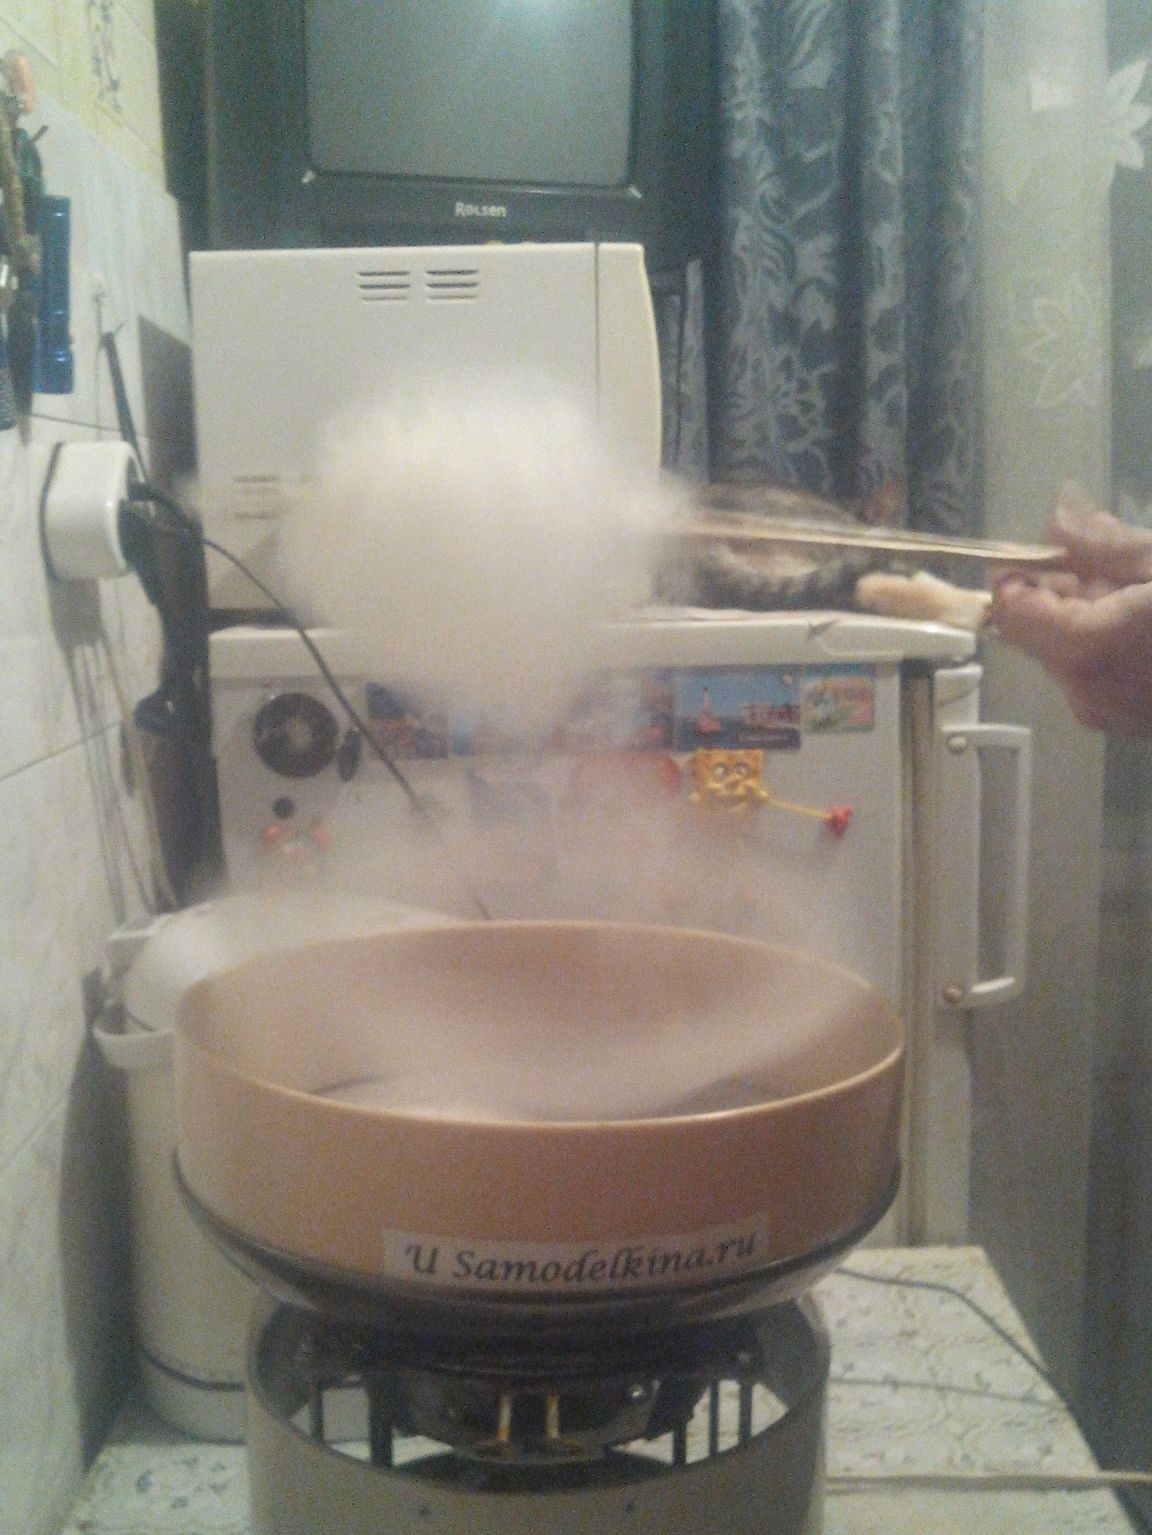
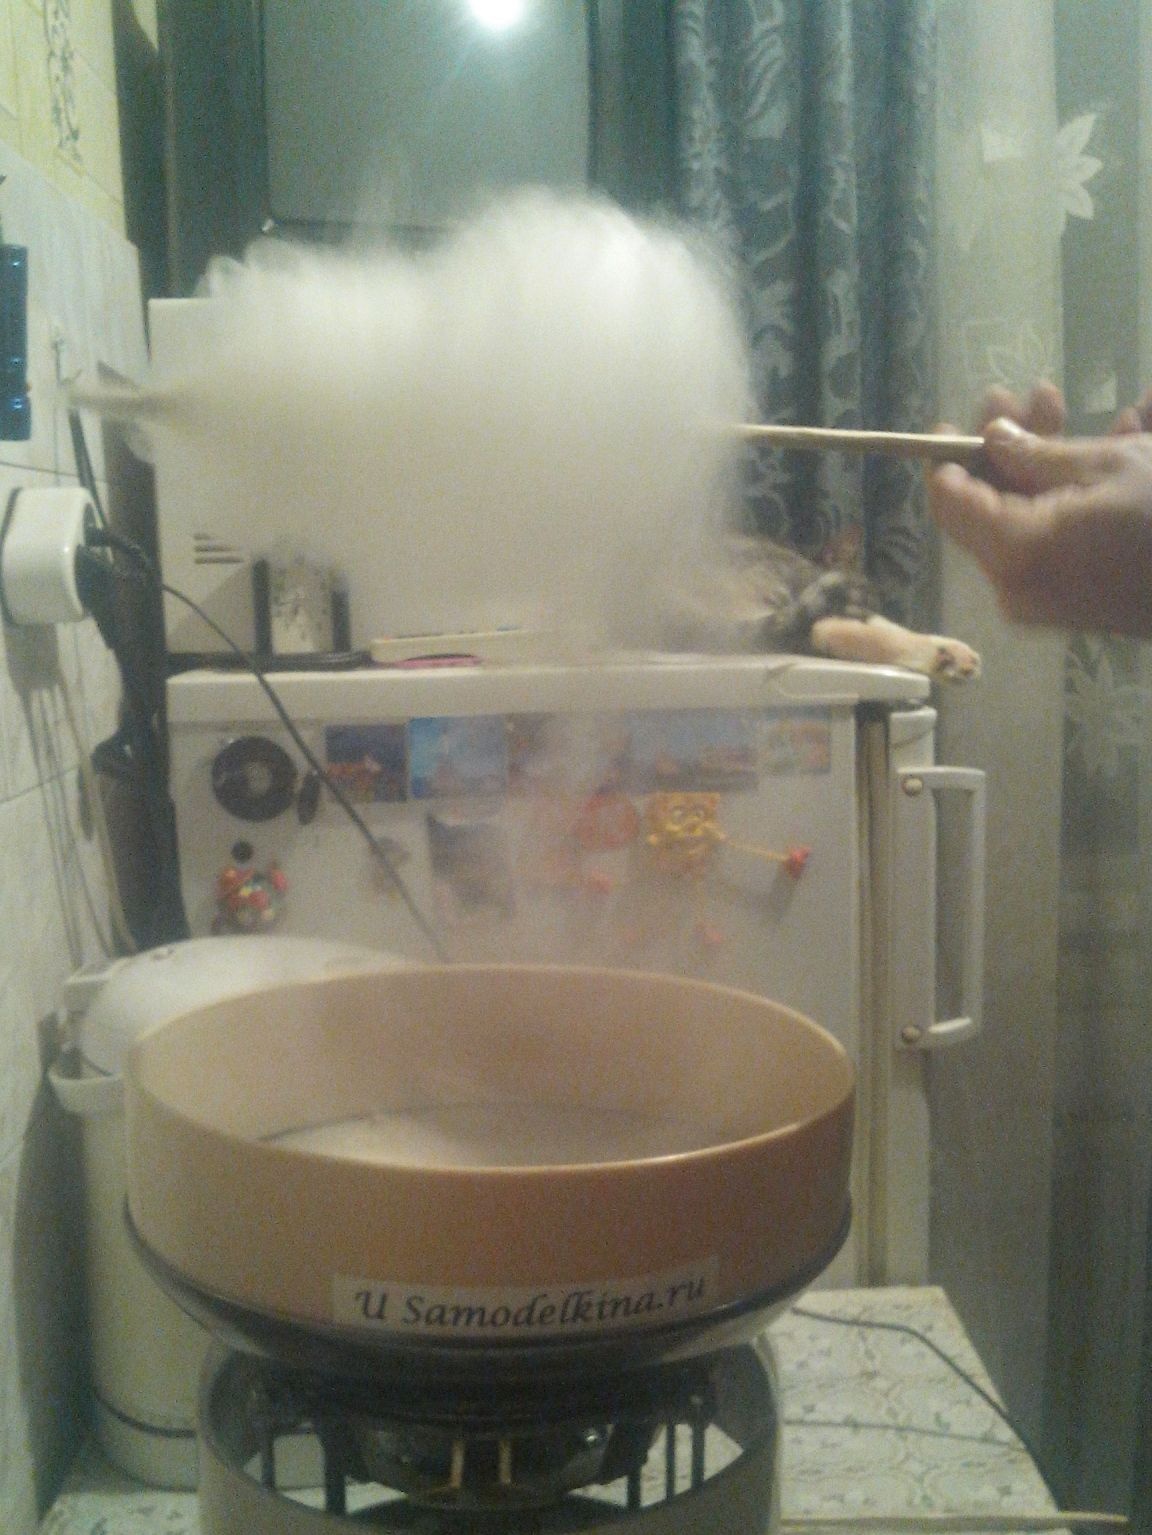
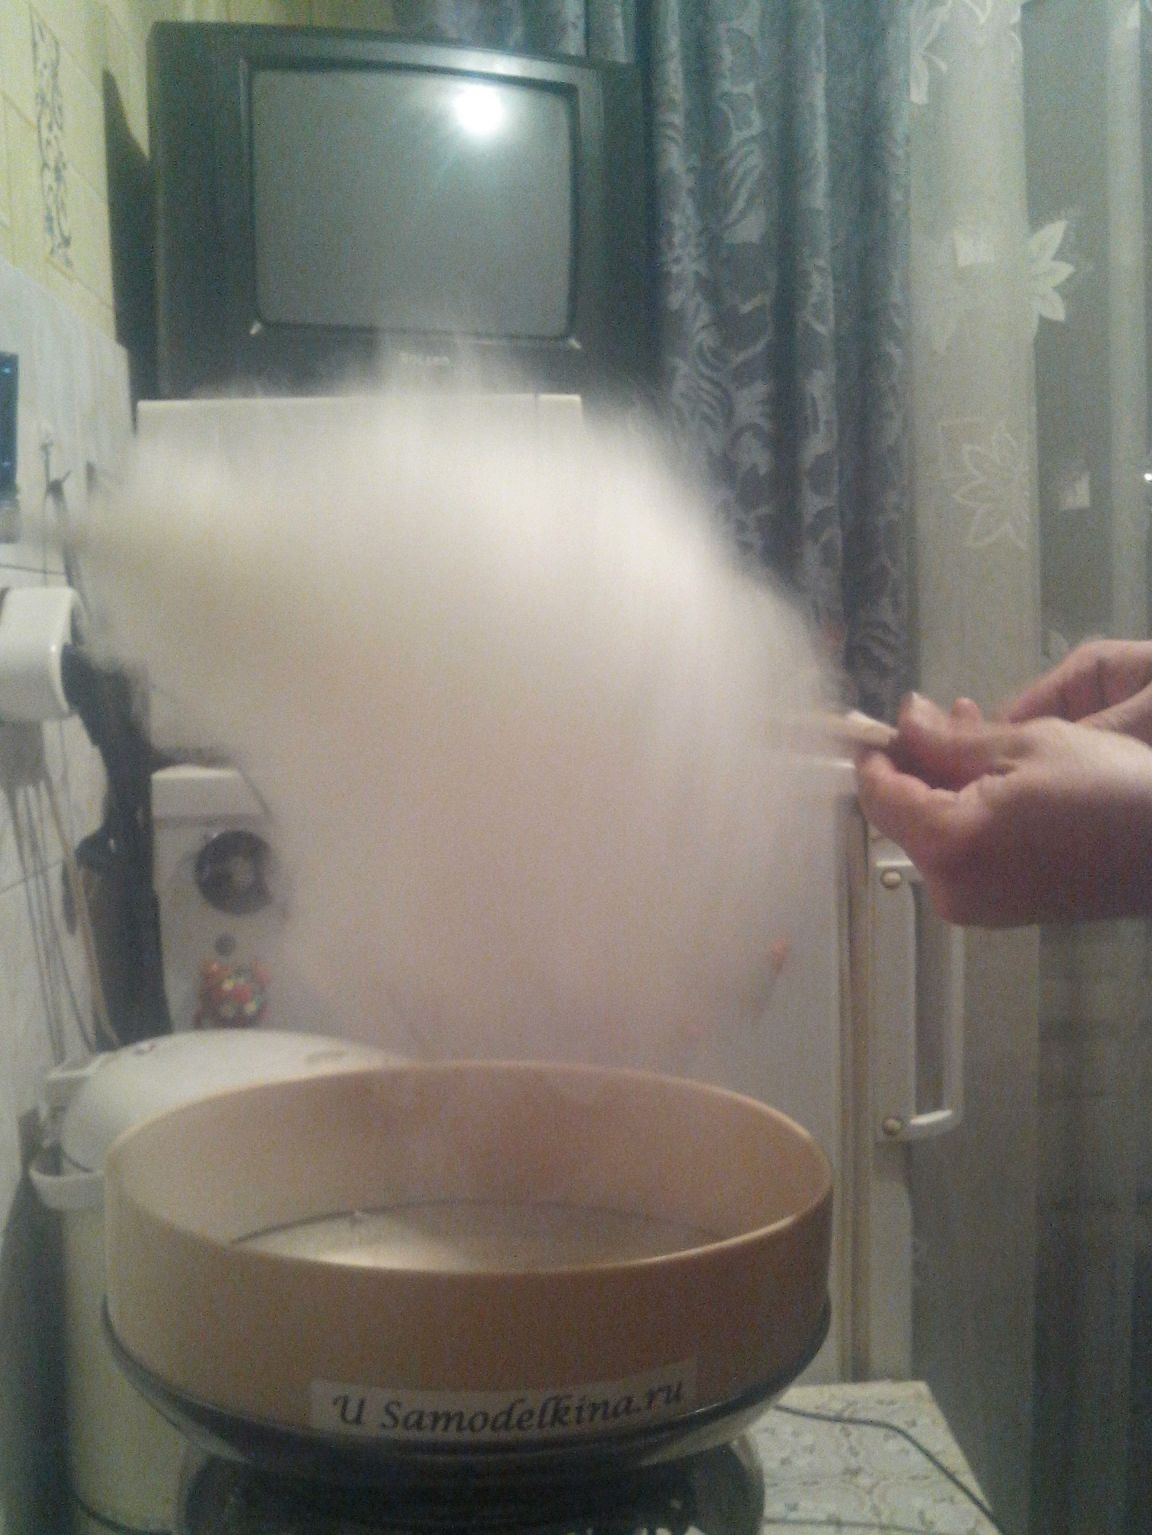
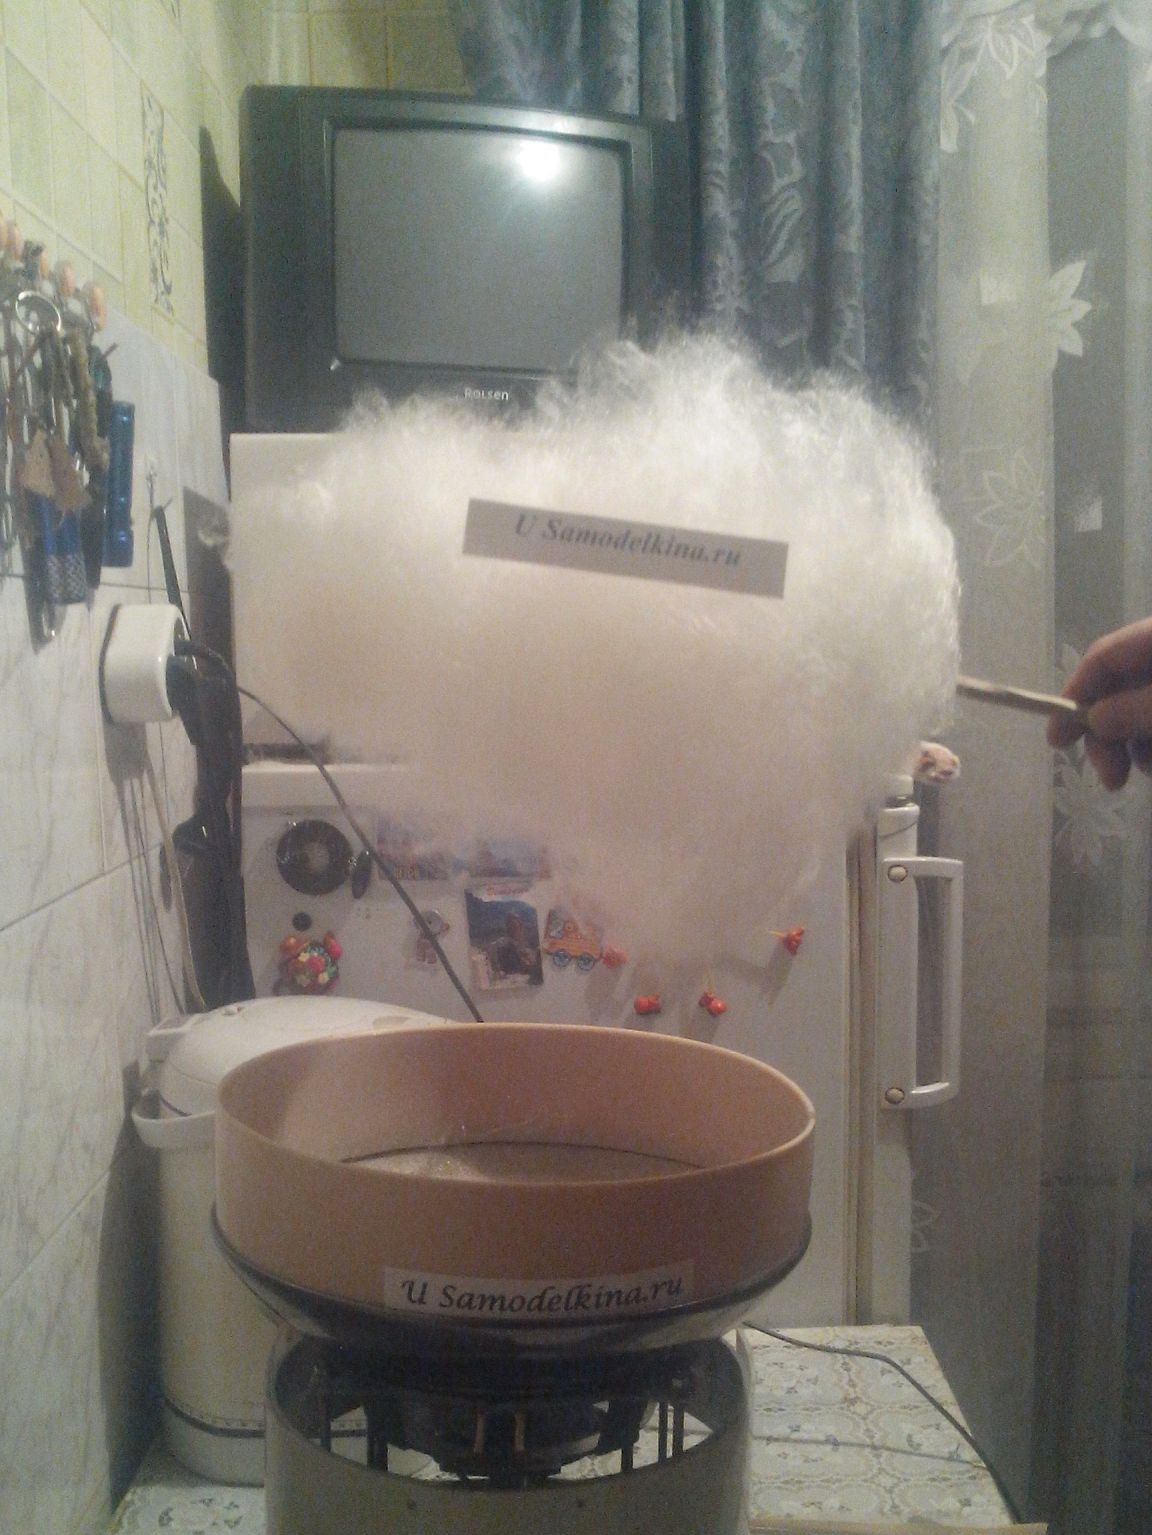
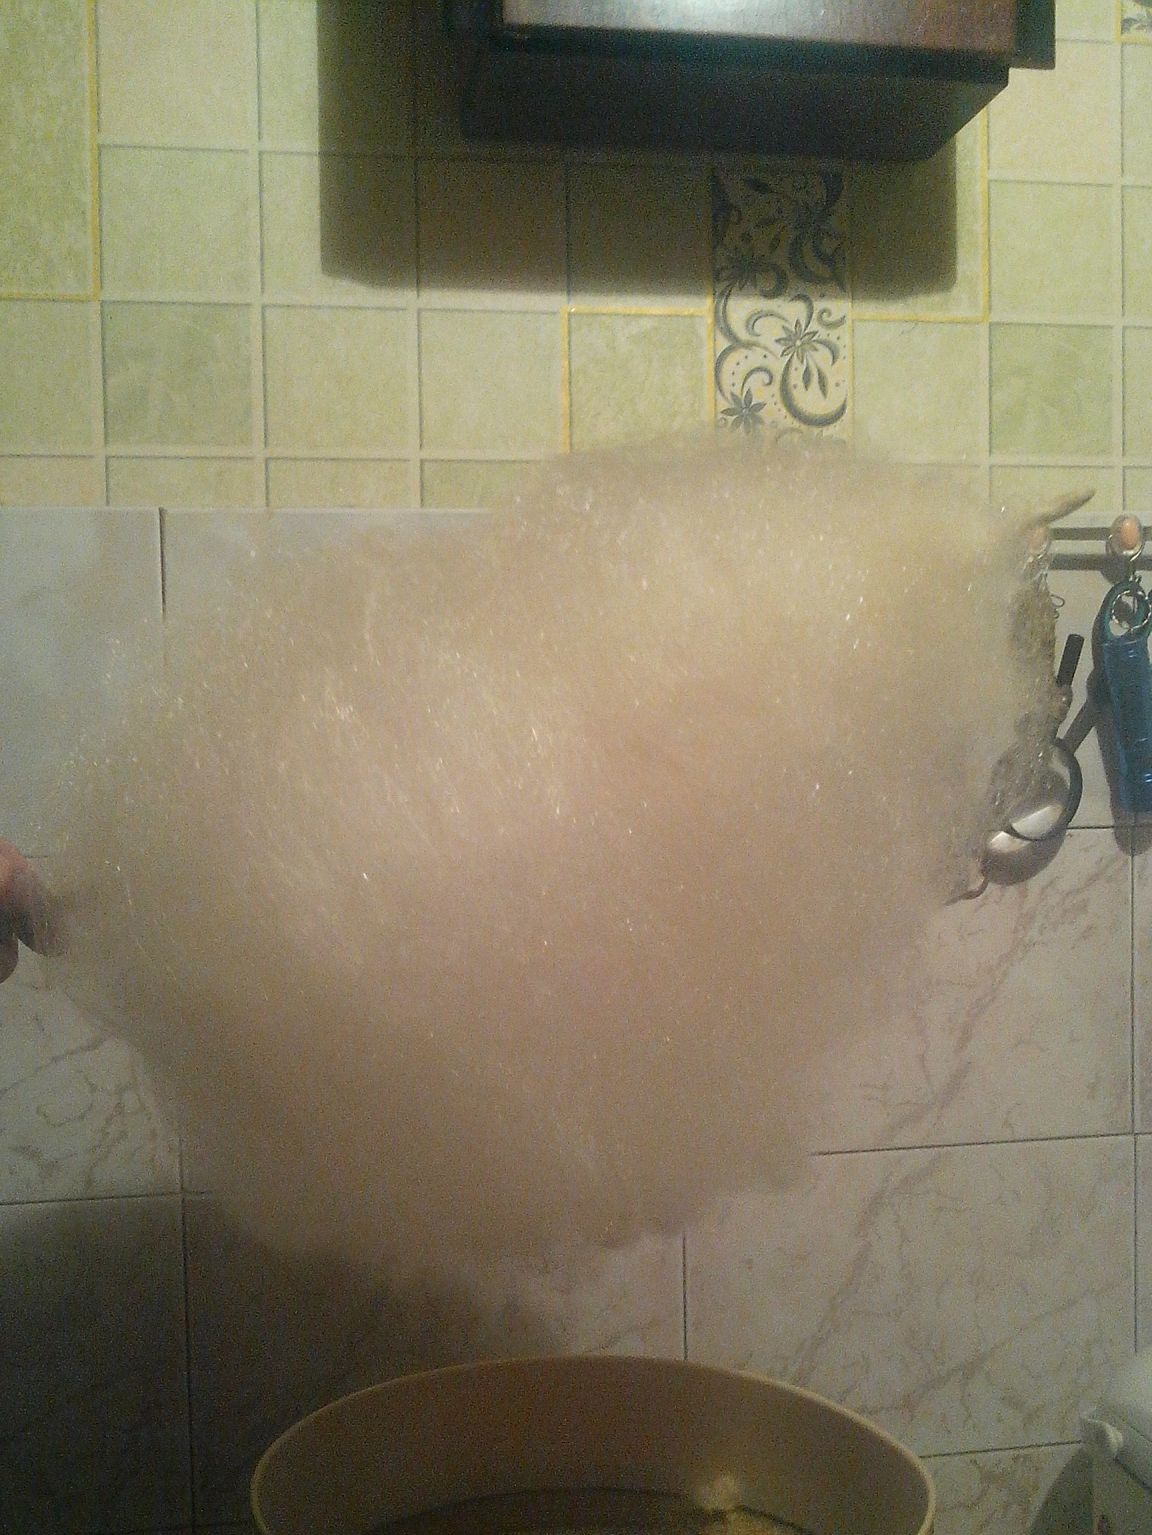
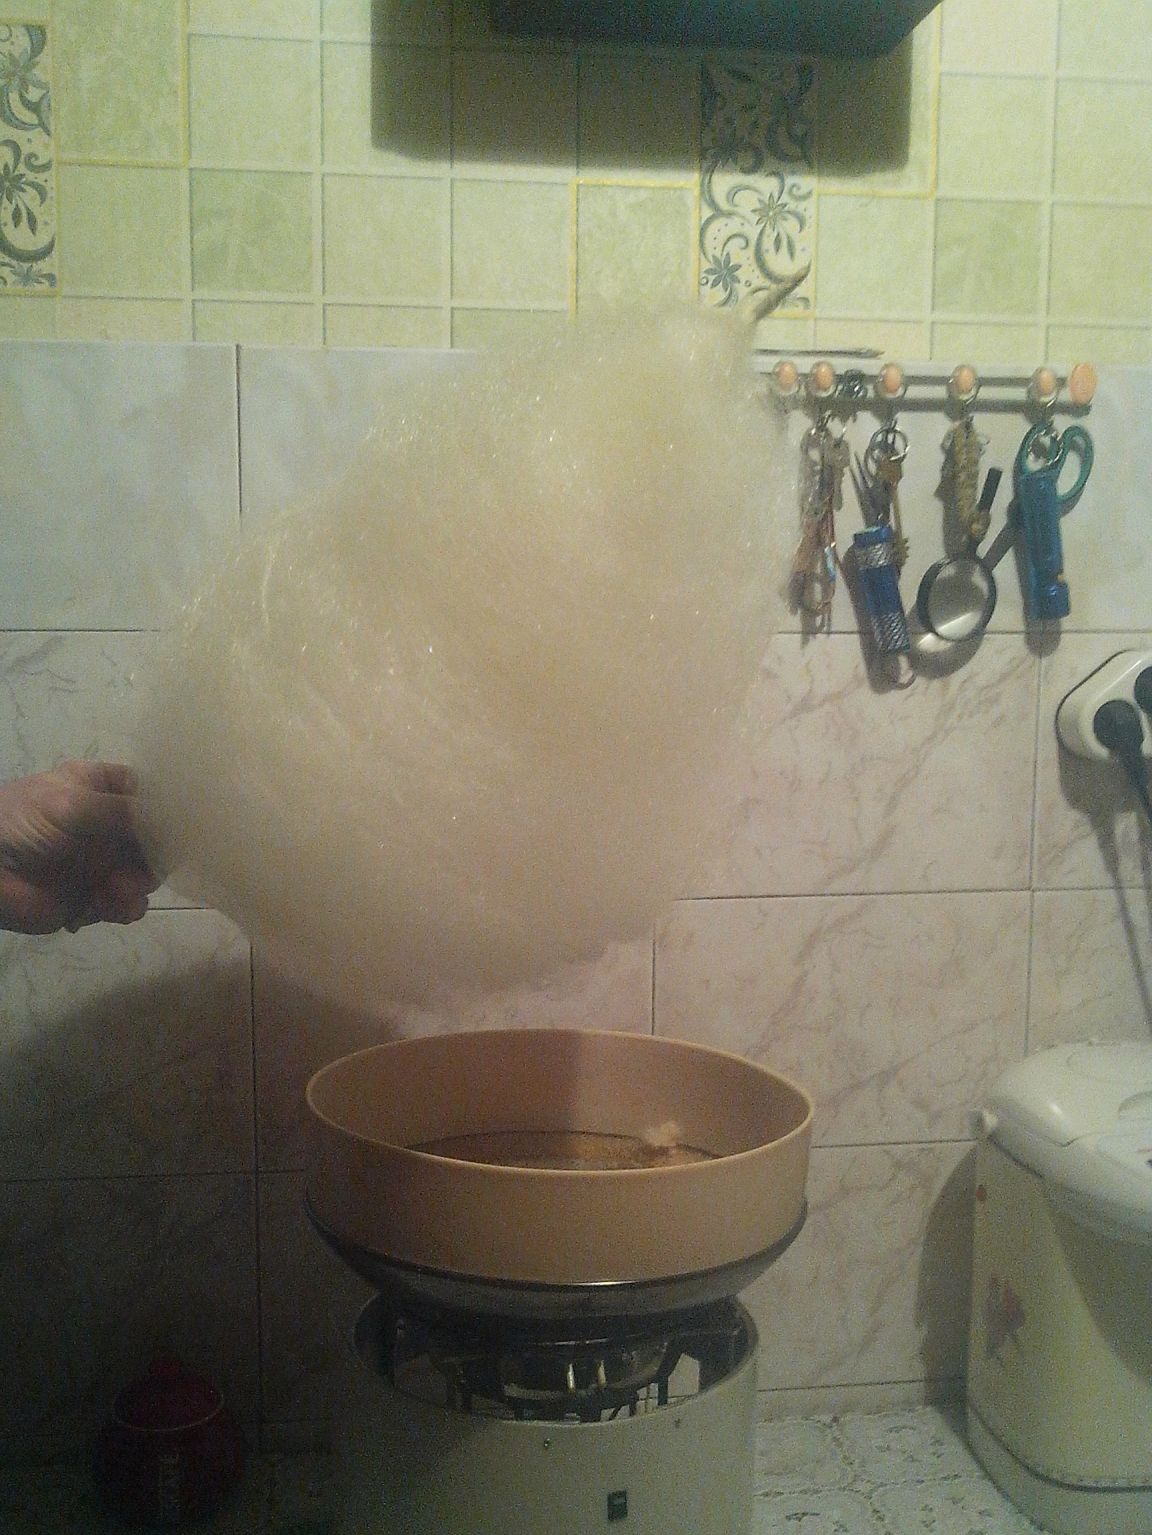
And the process of producing cotton candy (to visually assess the amount of cotton candy received - a stick on which I wrap it - 55 cm. This is the output of their two tablespoons of granulated sugar):
Regards, MNS1961.
Good luck to everyone, and Happy New Year!