

Hello, dear visitors of the site!
Today I want to tell you about how quickly and easily you can make a convenient garden drill out of an outdated circle on concrete.
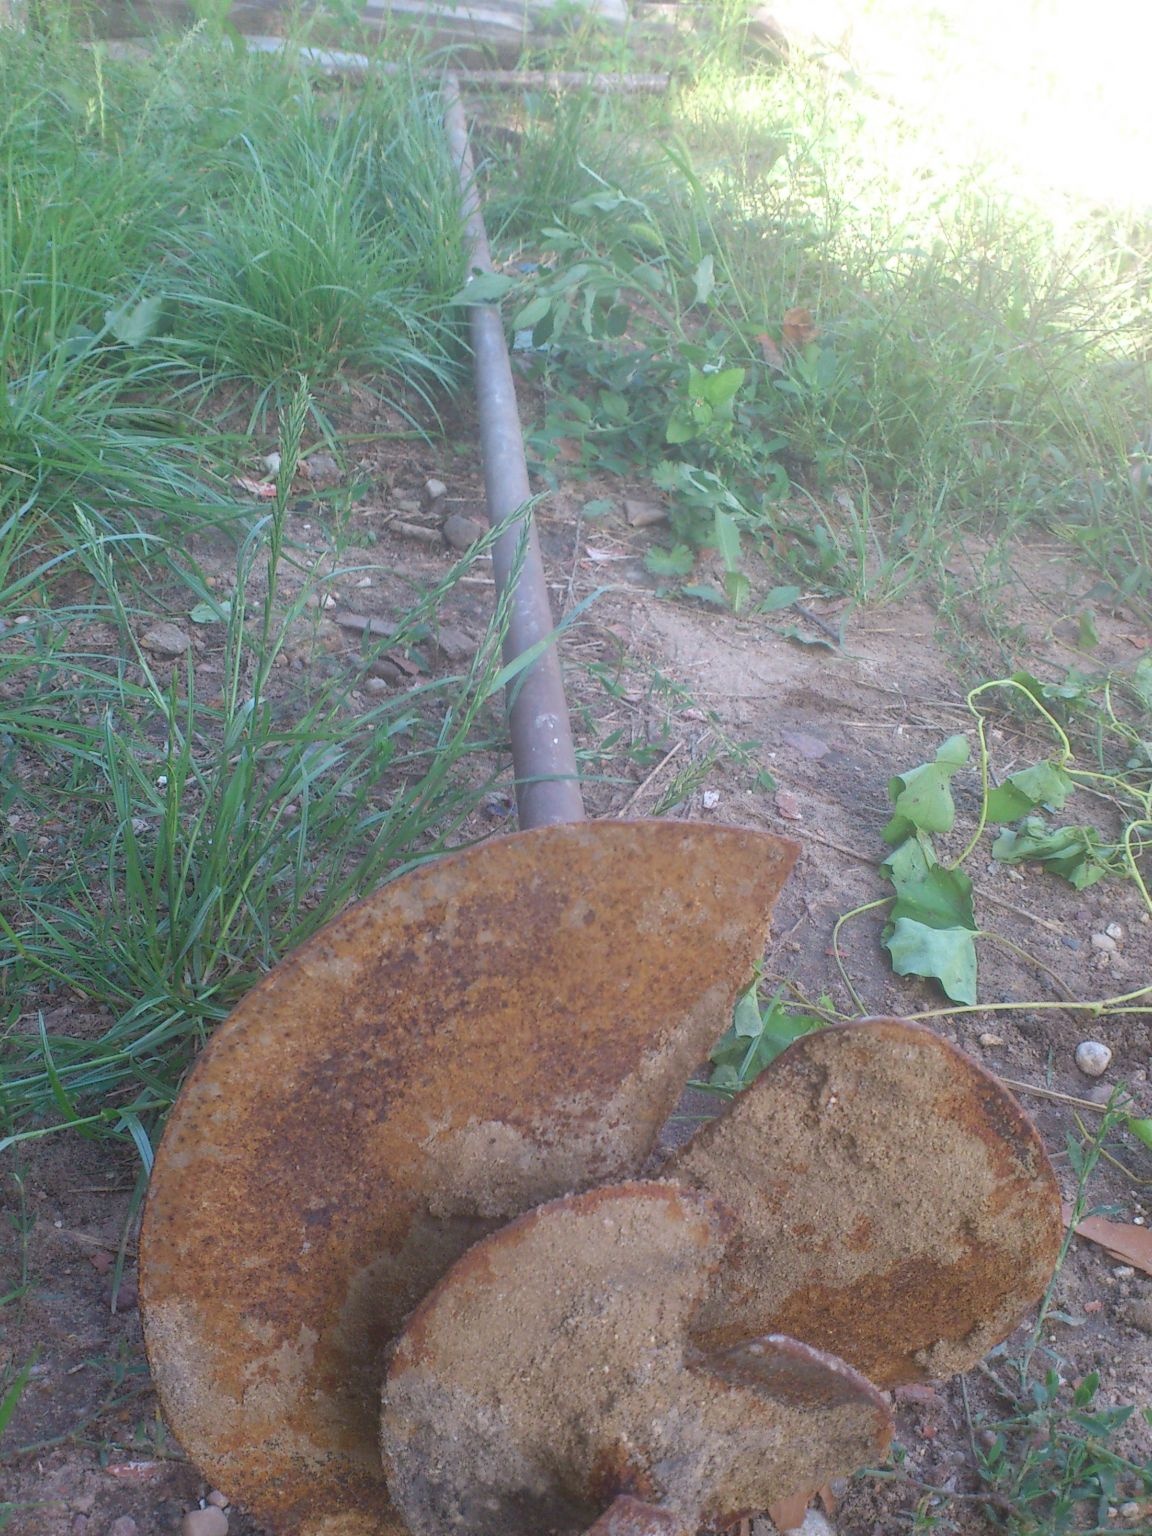
I already have experience in making a drill. Once I needed to install concrete poles (old, still Soviet-made. So, their cross-section was like that of a modern telegraph))))), and in order not to dig a hole with a shovel, I made a drill. True, the earth in that place was solid and rocky, and I needed the diameter of the wells large enough, so then I had to make a powerful and heavy construction of steel water pipes and sheet metal, 4 mm thick. (The walls of the old safe, the so-called "fireproof cabinet", served as the "donor"):
The drill successfully withstood work in rocky soil. After that I used it one more time. I then needed to dig a pit a meter from the foundation of the house. Naturally, this could be done only by being sure that soil movement would not occur, otherwise the consequences could be catastrophic !!! I remembered my hand storm. I had to make extension cords for it so that I could drill to a depth of more than two meters:
I then dug a shallow trench, and in it, in a row, I drilled deep wells, immediately filling them with reinforcement and concrete. At the same time, their location was alternated so that a few days later a solid wall of “concrete columns” formed in my ground, the top of which I concreted “in a monolith” without sparing the transverse reinforcement. It was safe to dig a pit with such a retaining wall, which did not reach the end of this retaining wall with the depth and inferior to it in width.
Since then, the drill has never been used. But for a long time there was an idea to make a lighter design of a smaller diameter. Indeed, sometimes it becomes necessary to transplant large enough plants, for example. Or install some kind of column.
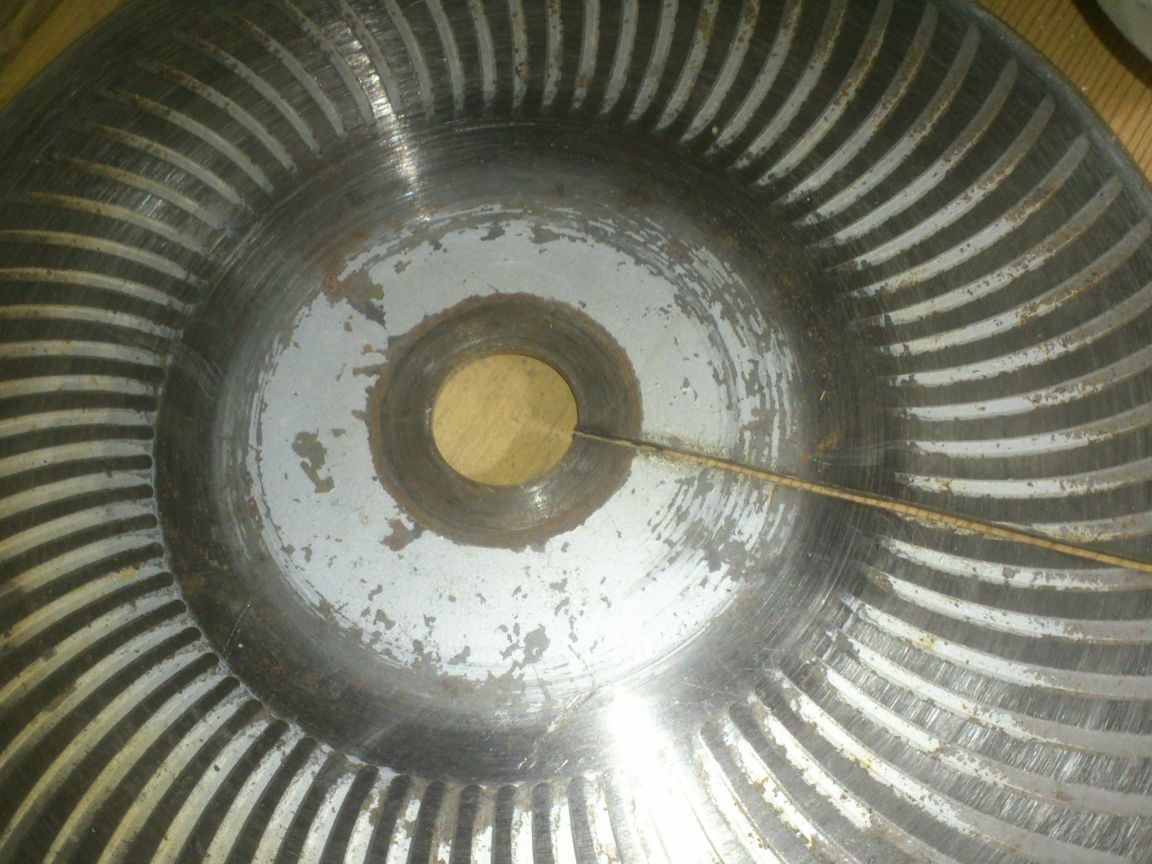
And recently, I was "ordered to live long" a diamond disk for reinforced concrete for the "big grinder" (230 mm).It was a heavy, very good, disc of one well-known manufacturing company. (I will refrain from unauthorized advertising))). It served for a very long time, cutting concrete together with rebar like oil, but, as they say, nothing lasts forever, and the cutting layer with diamond chips was depleted:
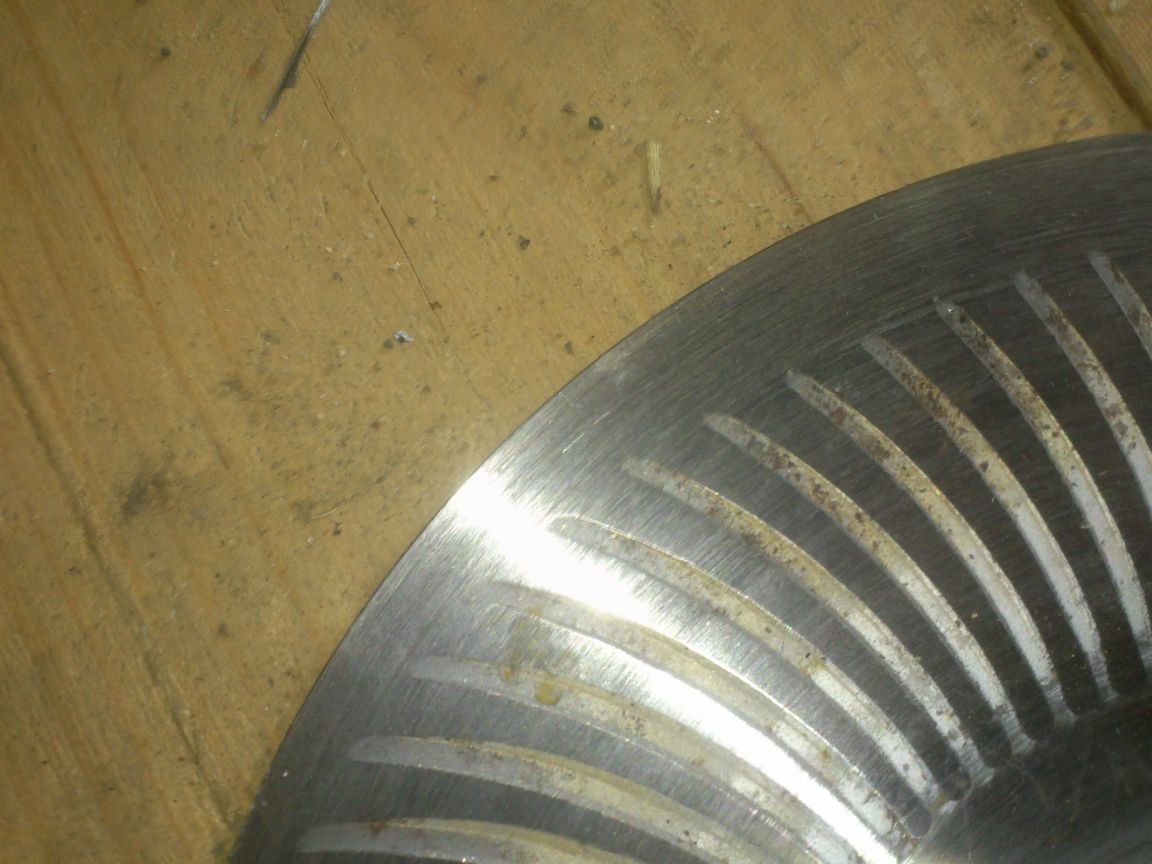
As you can see, this was not a segmented disk, but the so-called "turbo", and therefore, the remaining "stub" was an even steel circle without any slits. And I immediately decided that it would make an excellent garden drill.
Here is what I needed to make it:
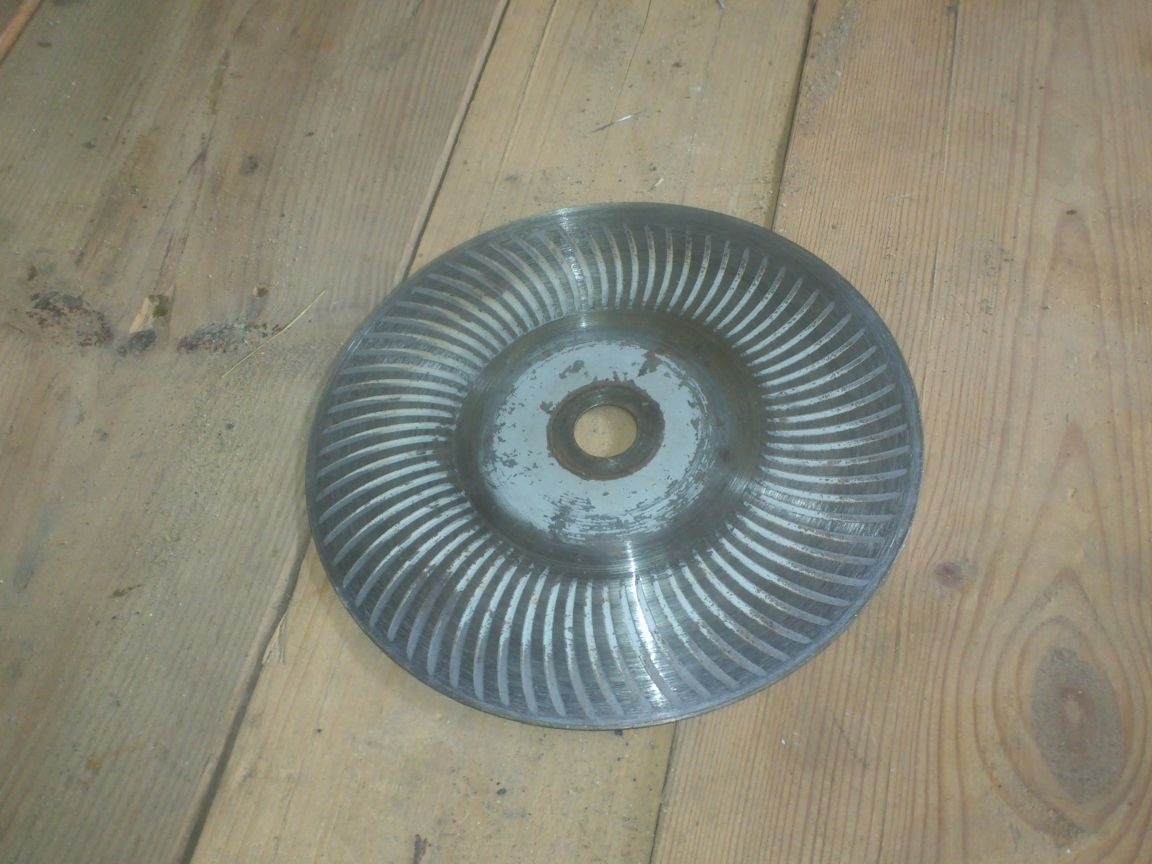
1. The erased "turbo-disk" on concrete for angle grinders, with a diameter of 230 mm.
2. A section of a steel water pipe DU-15, 1 meter long.
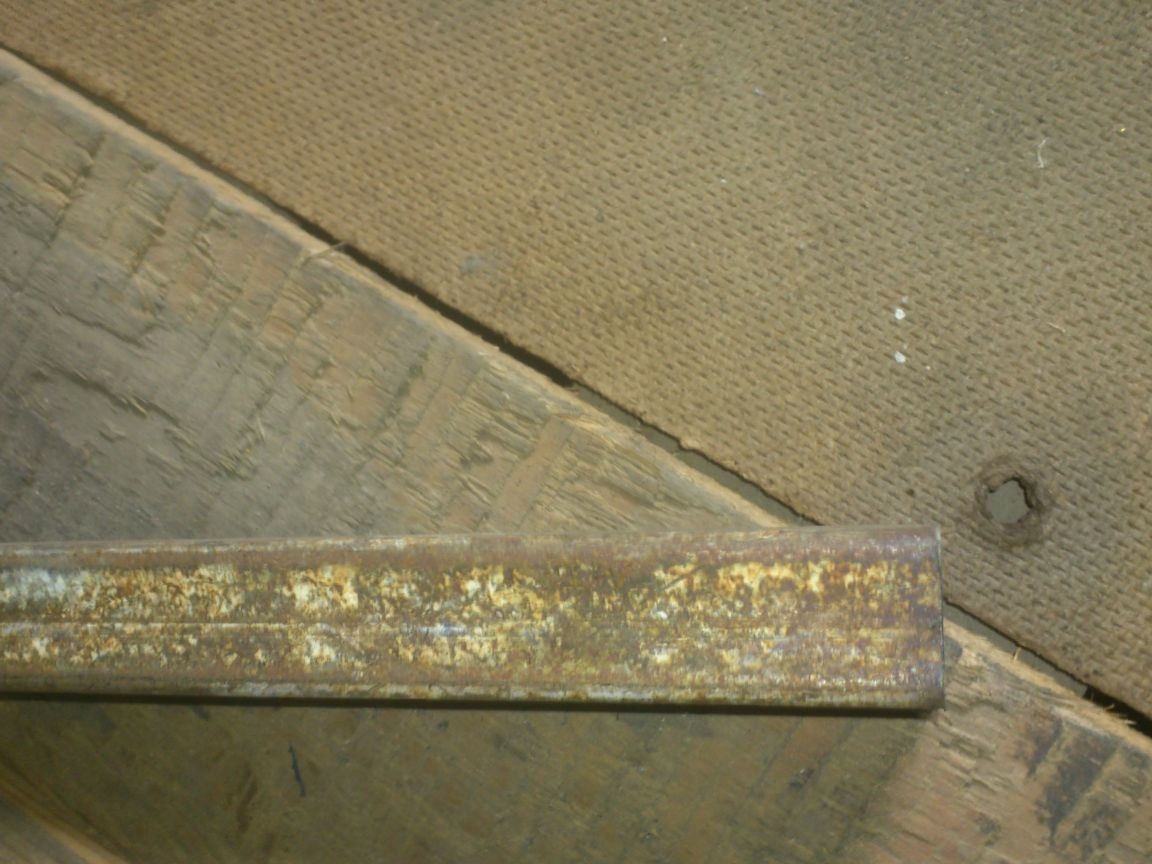
3. A section of a profile pipe, with a section of 15 by 15 millimeters.
4. Plastic plugs.
As I have already said, the new drill, unlike the old one, will not be designed to work in heavy rocky soils, it will not have to move the stones to the side, “drilling” to great depths, so I decided to make it a “screw type” with an angle of attack equal to 90 degrees.
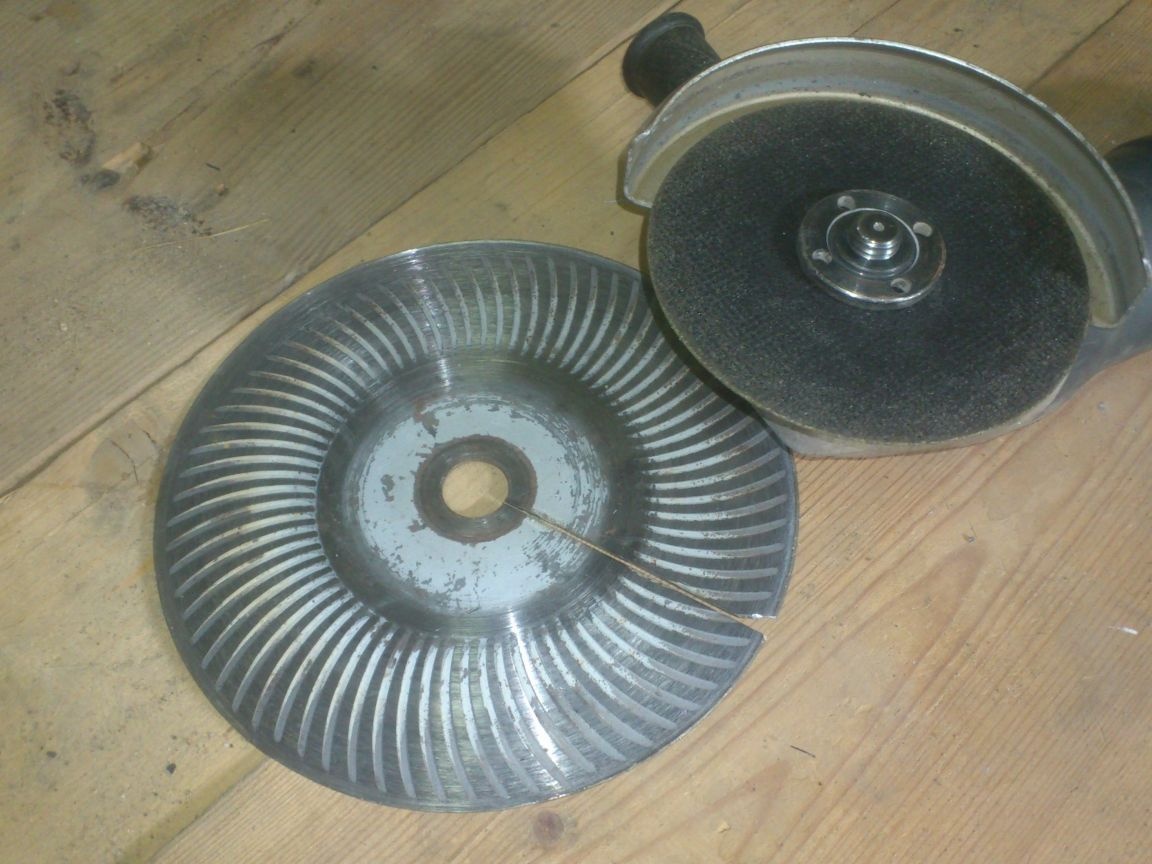
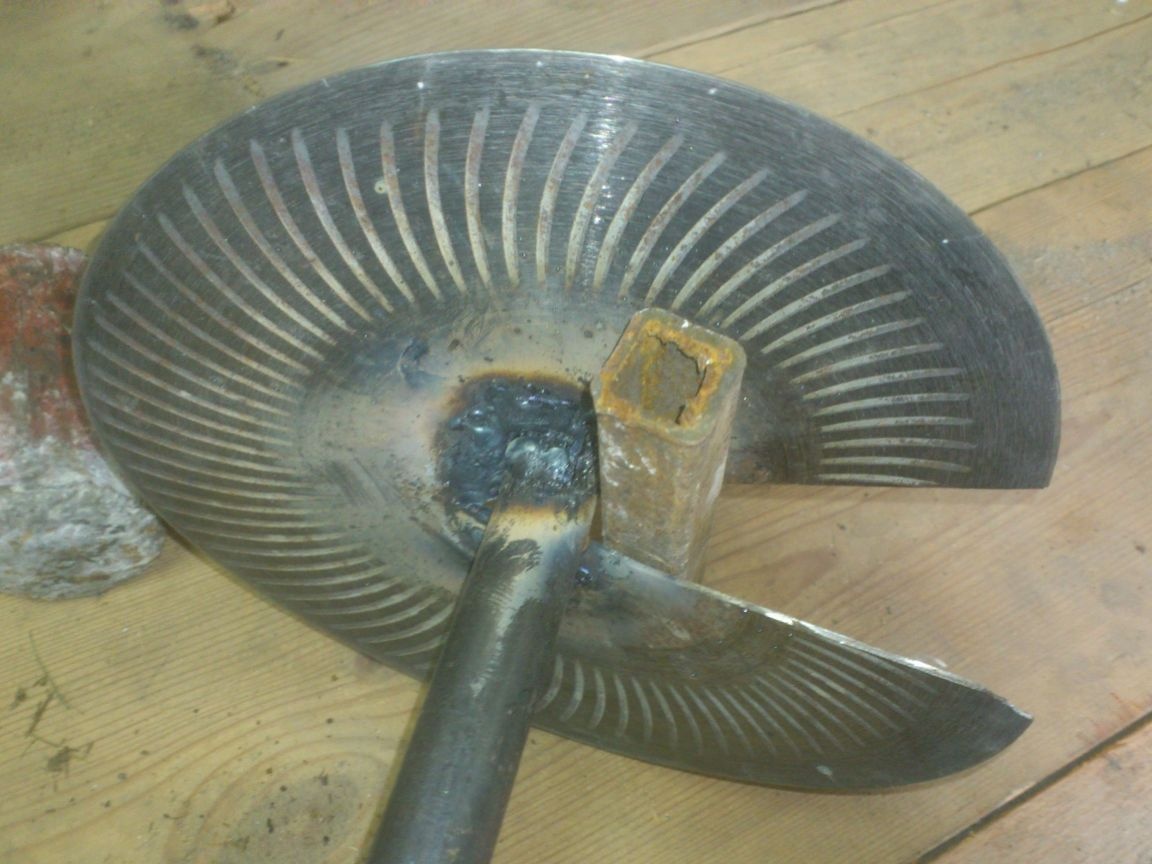
To do this, I sawed it along the radius using a small angle grinder:
As you can see, the edge burst and broke off. This led me to think that perhaps the disc is made of too brittle carbon steel, and it won’t be able to bend properly ... But, on reflection, I decided that a well-known tool manufacturer could hardly make a disc that could blow burst and fly apart by fragments! Rather, only the outer part was heated, heating up to red from strong friction when the diamond layer ended. And the bearing part itself simply must be made of their more ductile metal.
Therefore, I continued to work, proceeding with the manufacture of the axis. I decided to make it from a steel water pipe DU-15. After all, as you know, the landing gear at the angle grinder has a diameter of 22.23 mm. And the outer diameter of the pipe DU-15 is 21.3 millimeters. As per order !!! I just need a gap of about a millimeter, which will allow you to bend the disk.
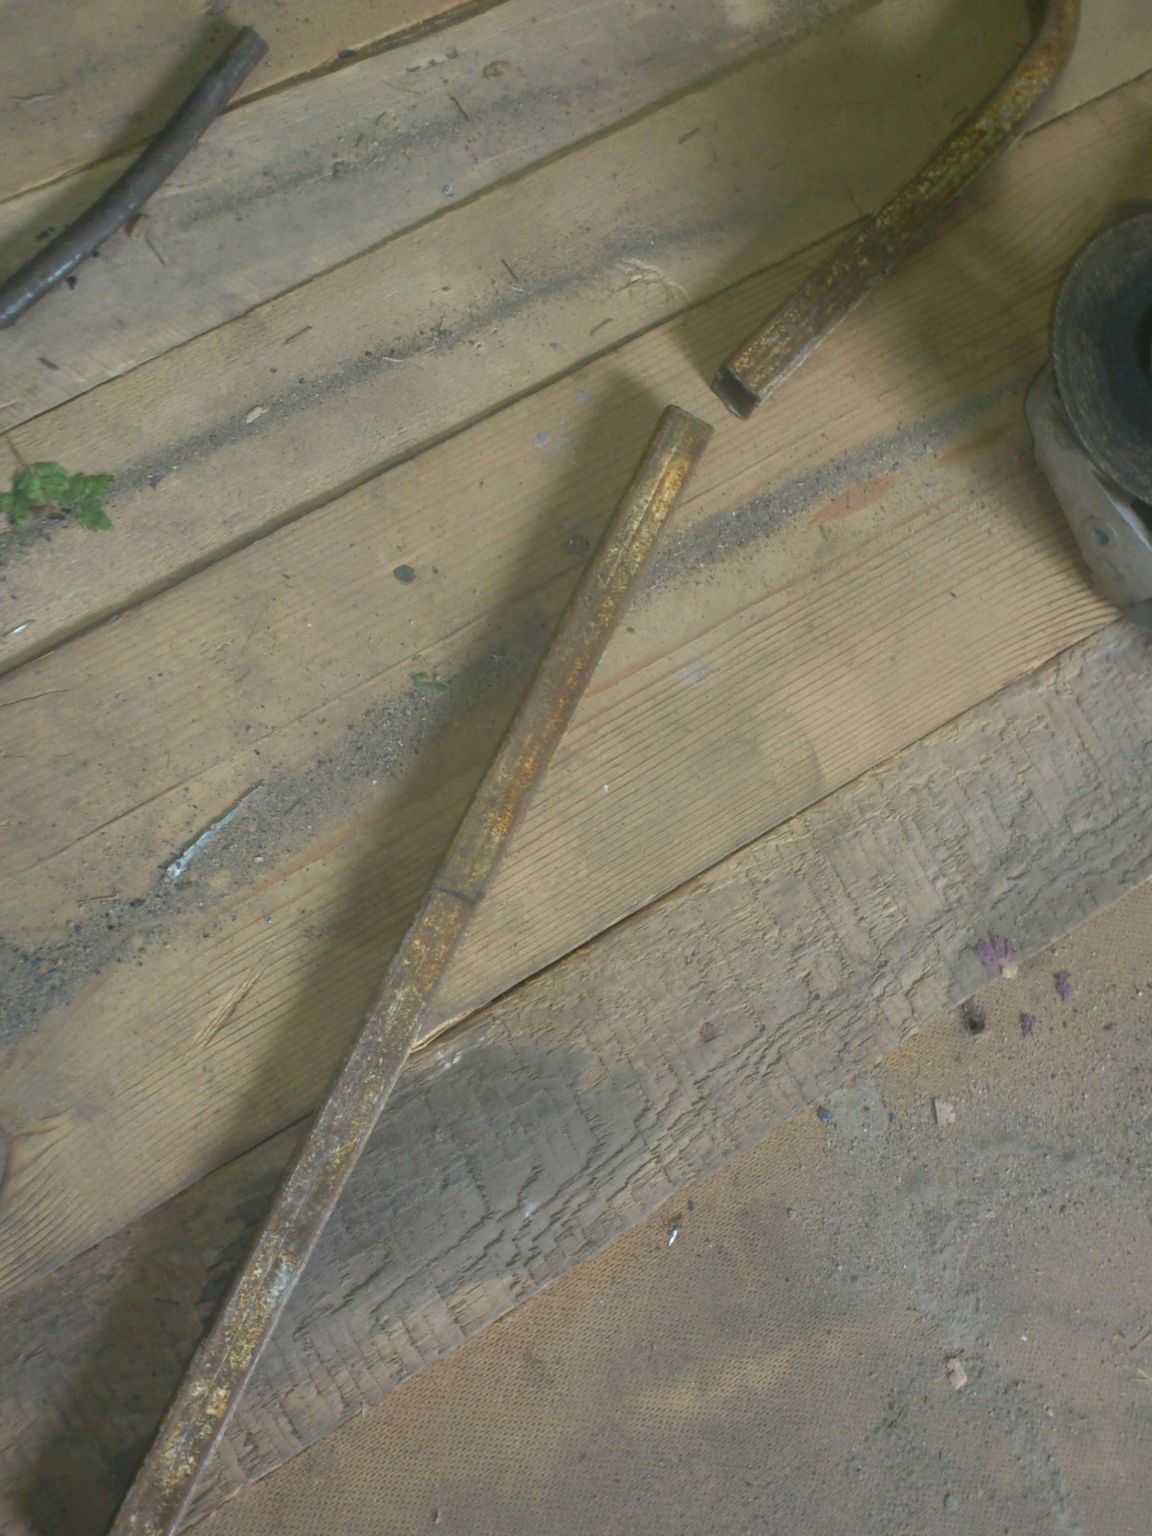
A piece of such a pipe, one meter long, was just found - there were two of them after manufacturing tubular snow retention
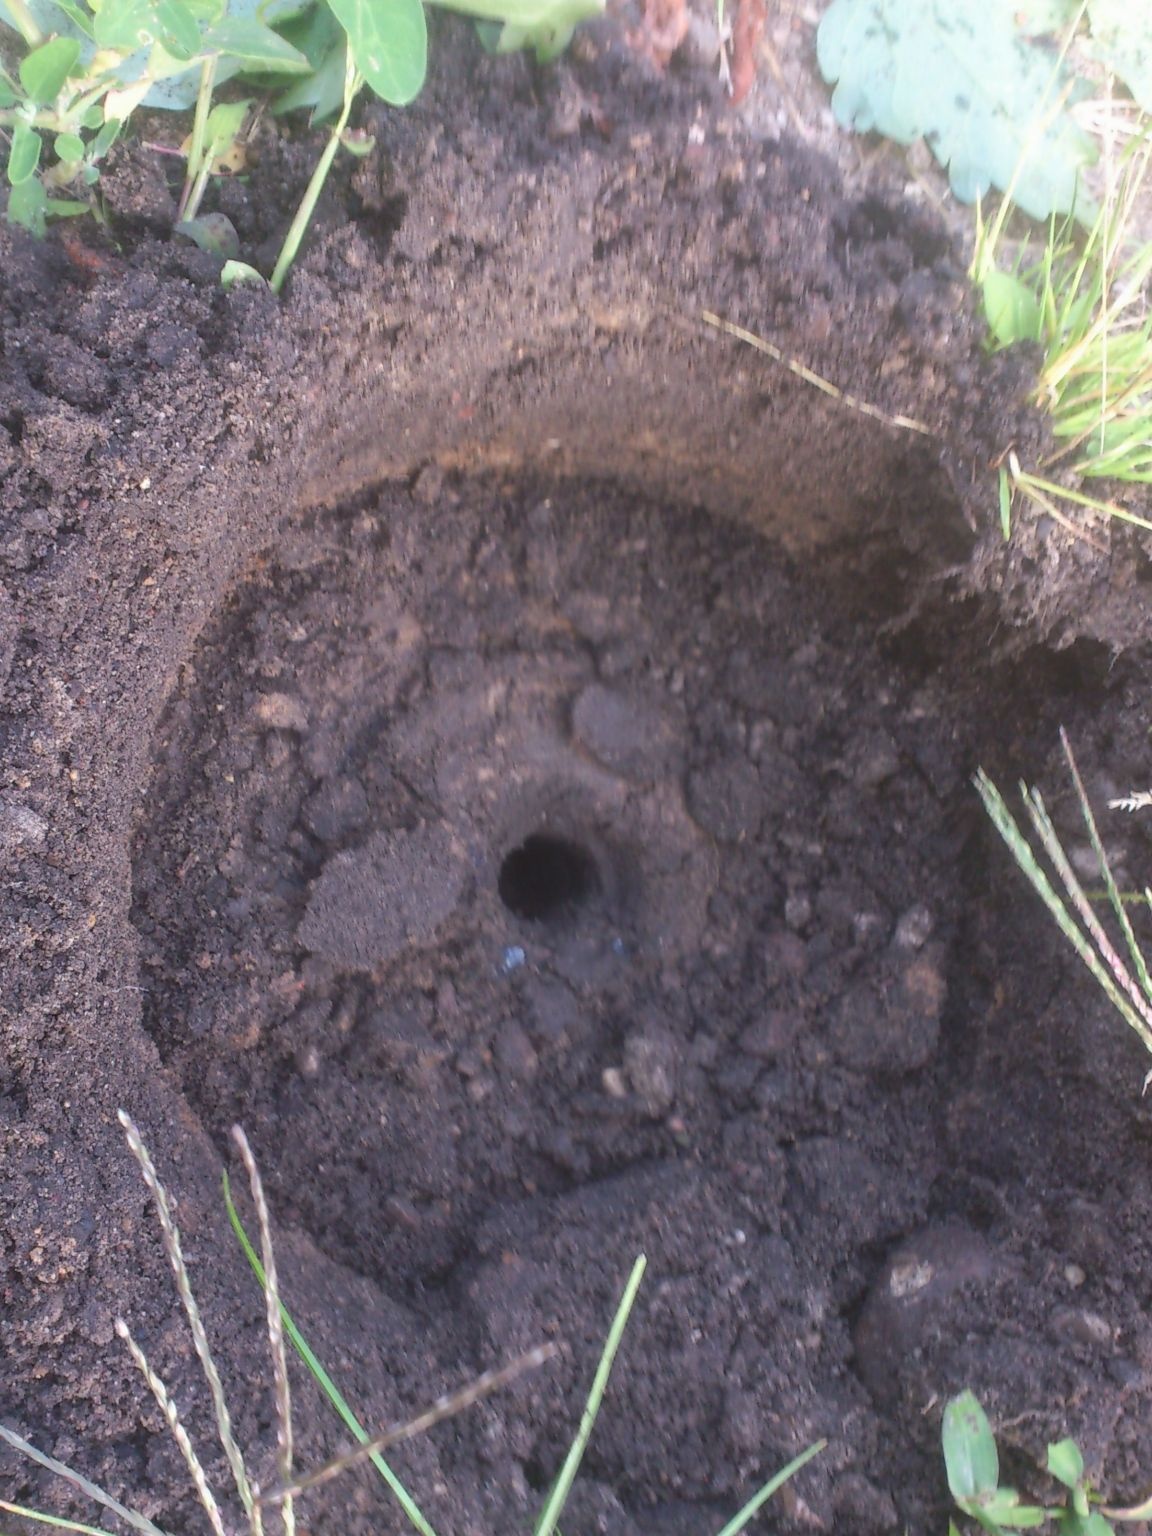
I did not consider it necessary to do any “drill”, or the semblance of a screw at the end. The protruding part of the axis below the borehole does not participate in the drilling process, and is needed exclusively for fixing the drill in a horizontal plane. Therefore, it will be enough to make a point.
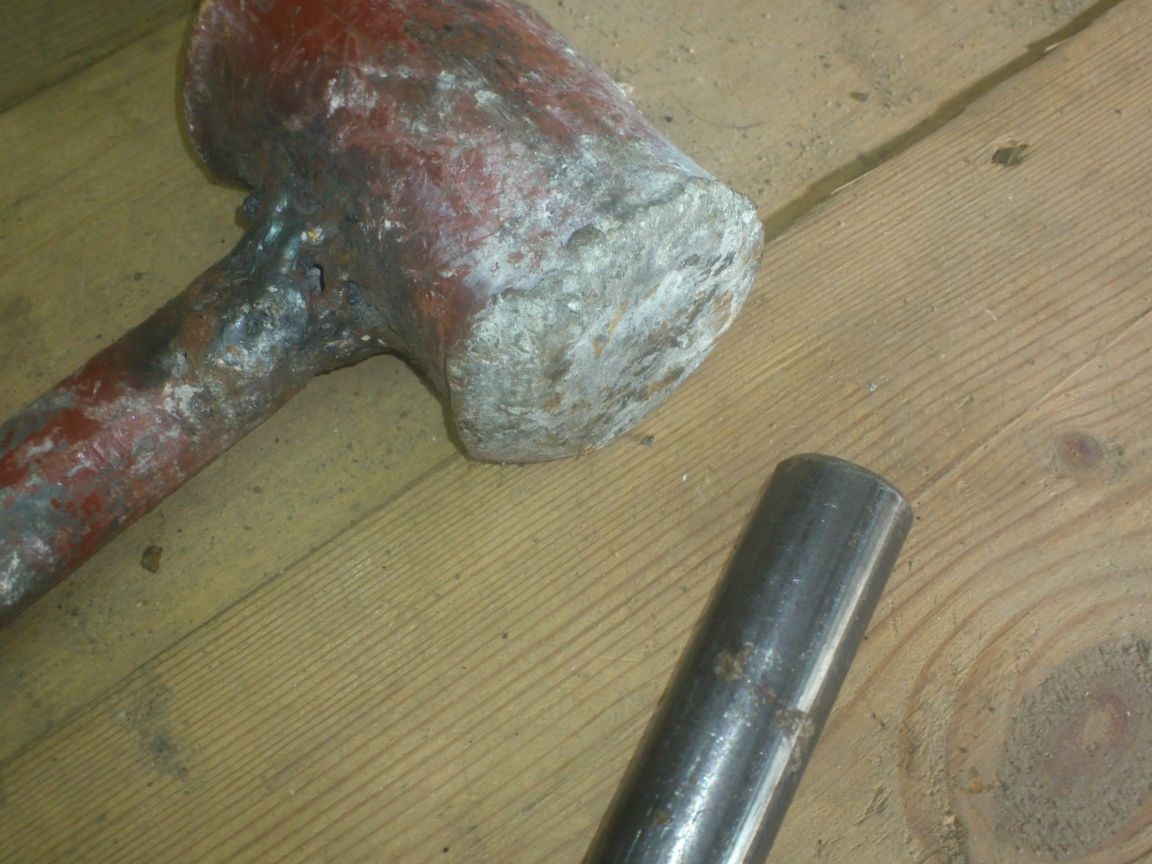
Initially, I wanted to hammer a pin of a suitable diameter inside, scald it, and then grind it ... But it was "at the level of mental design.")))). In fact, he began to do it spontaneously when time appeared due to a forced interruption at my construction site. And so I had to limit myself to what was at hand. And I went the simpler way - flattened the end of the pipe:
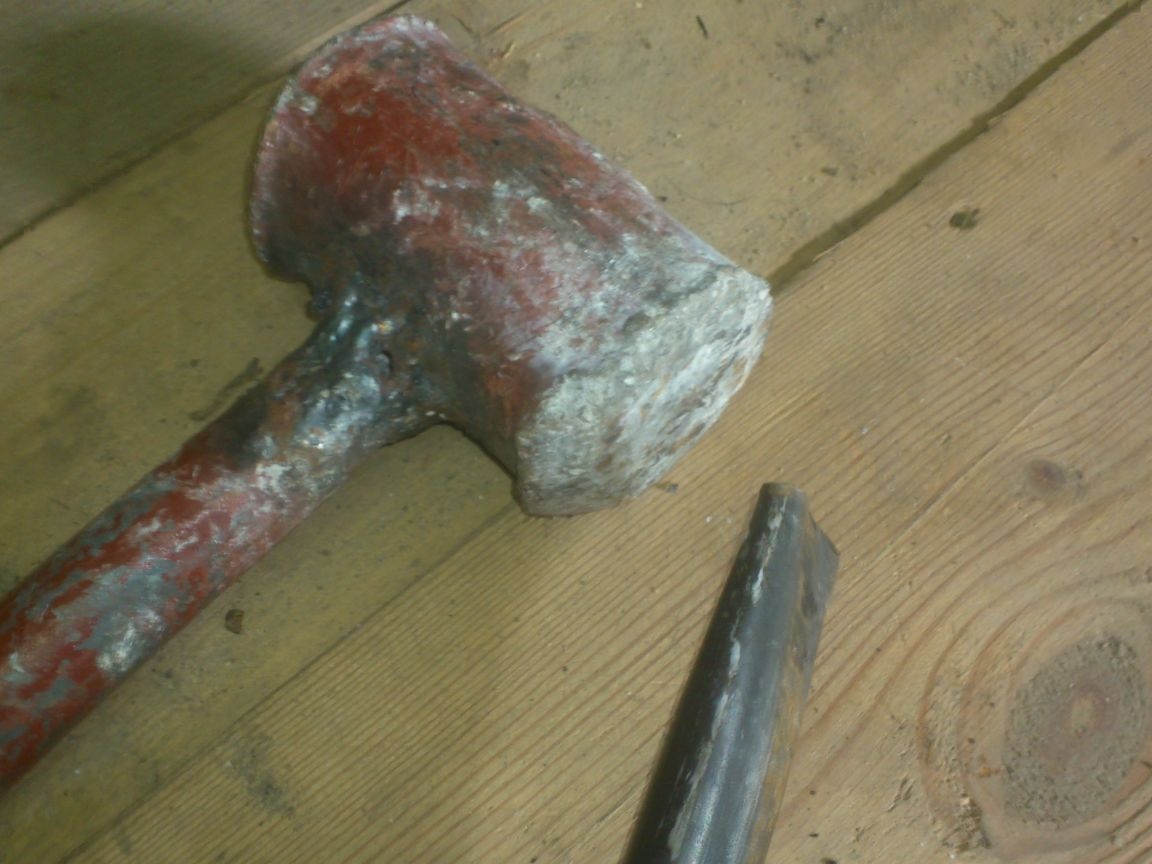
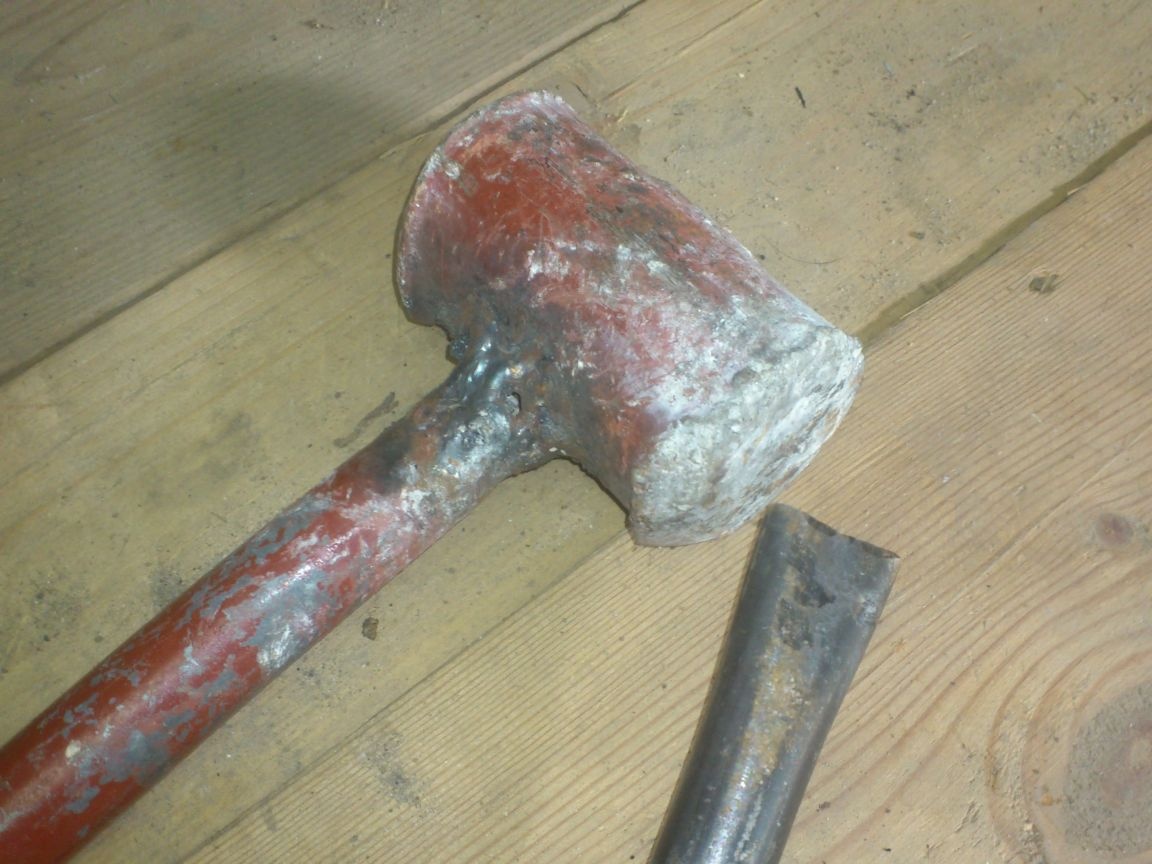
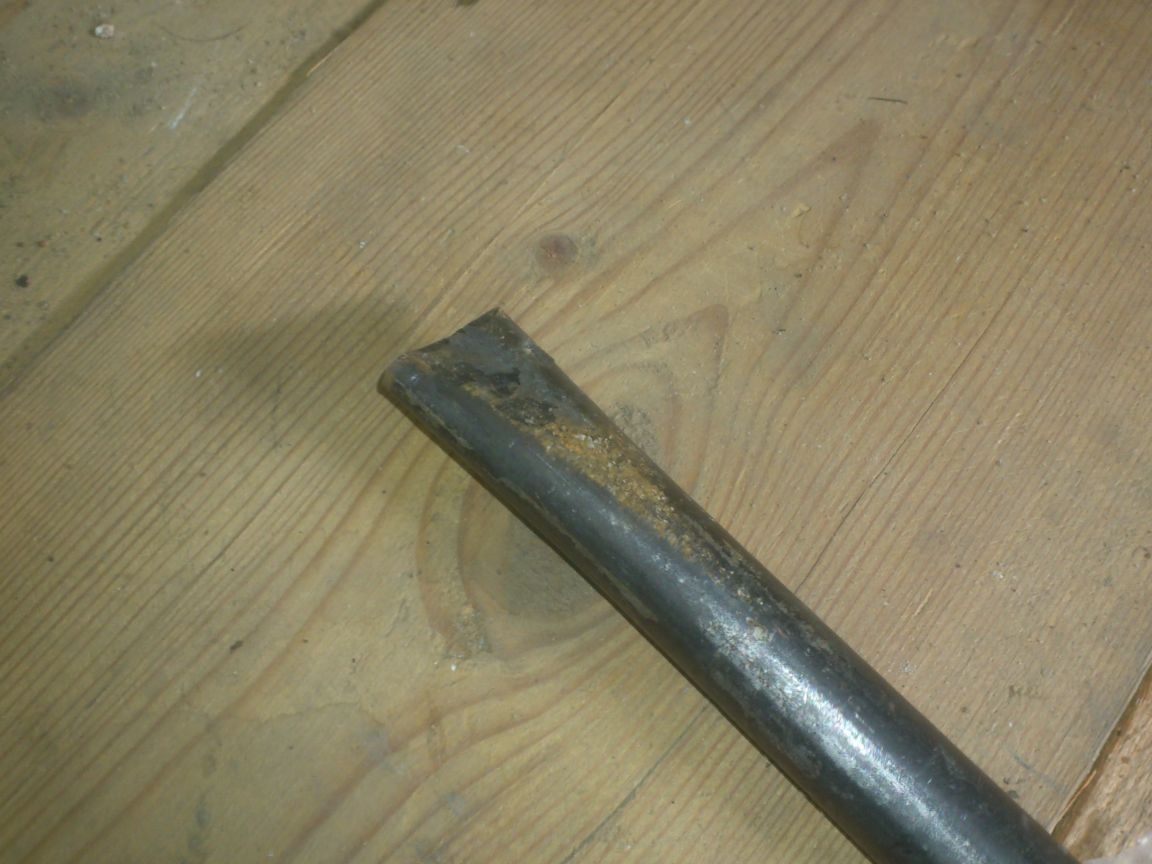
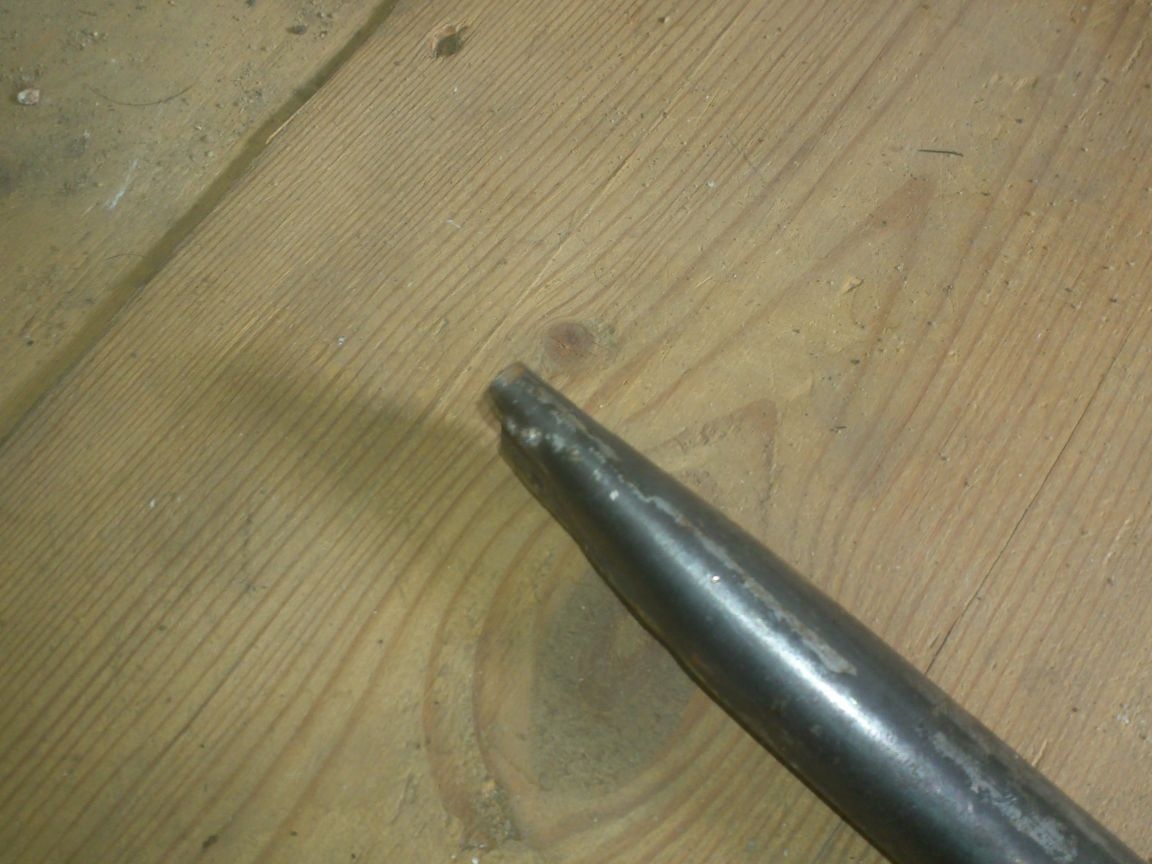
And then he cut the corners with a grinder, giving the flattened end the appearance of a point:
Later, when I am engaged in welding, I will scalp and clean it.
In the meantime, everything needs to be tried on ... I estimated the length of the protruding part by eye, sticking out exactly as much, "so that it was normal."))))).
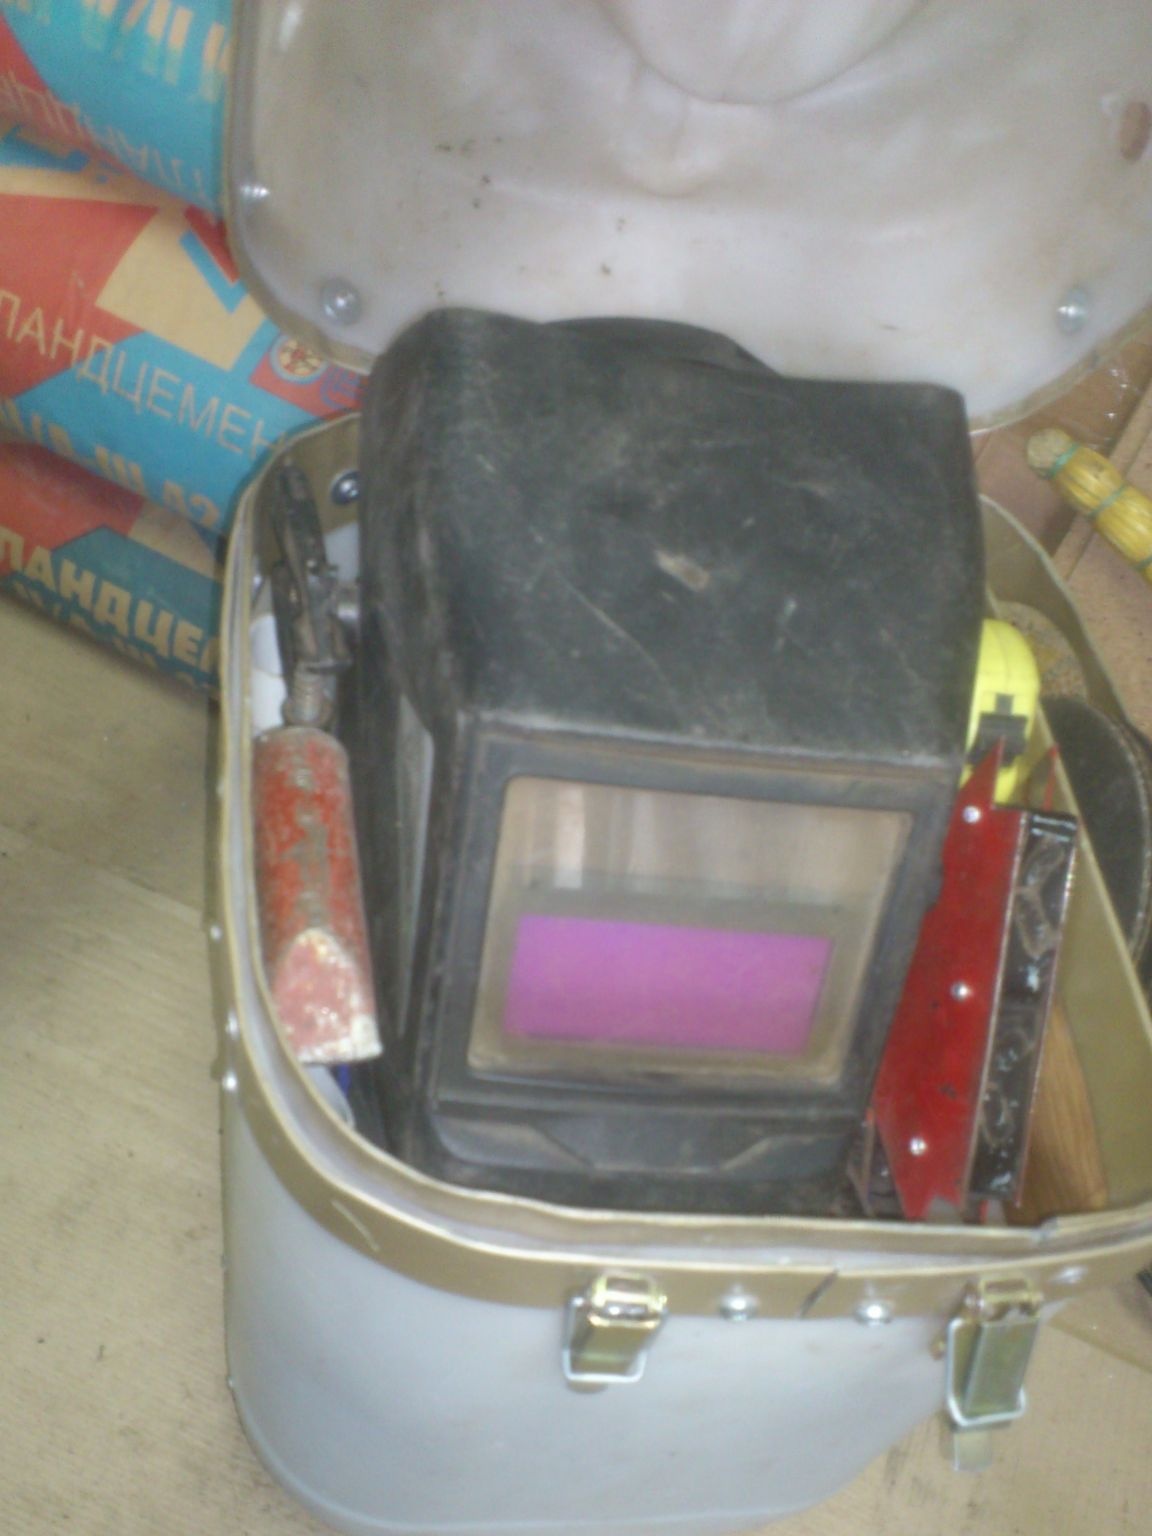
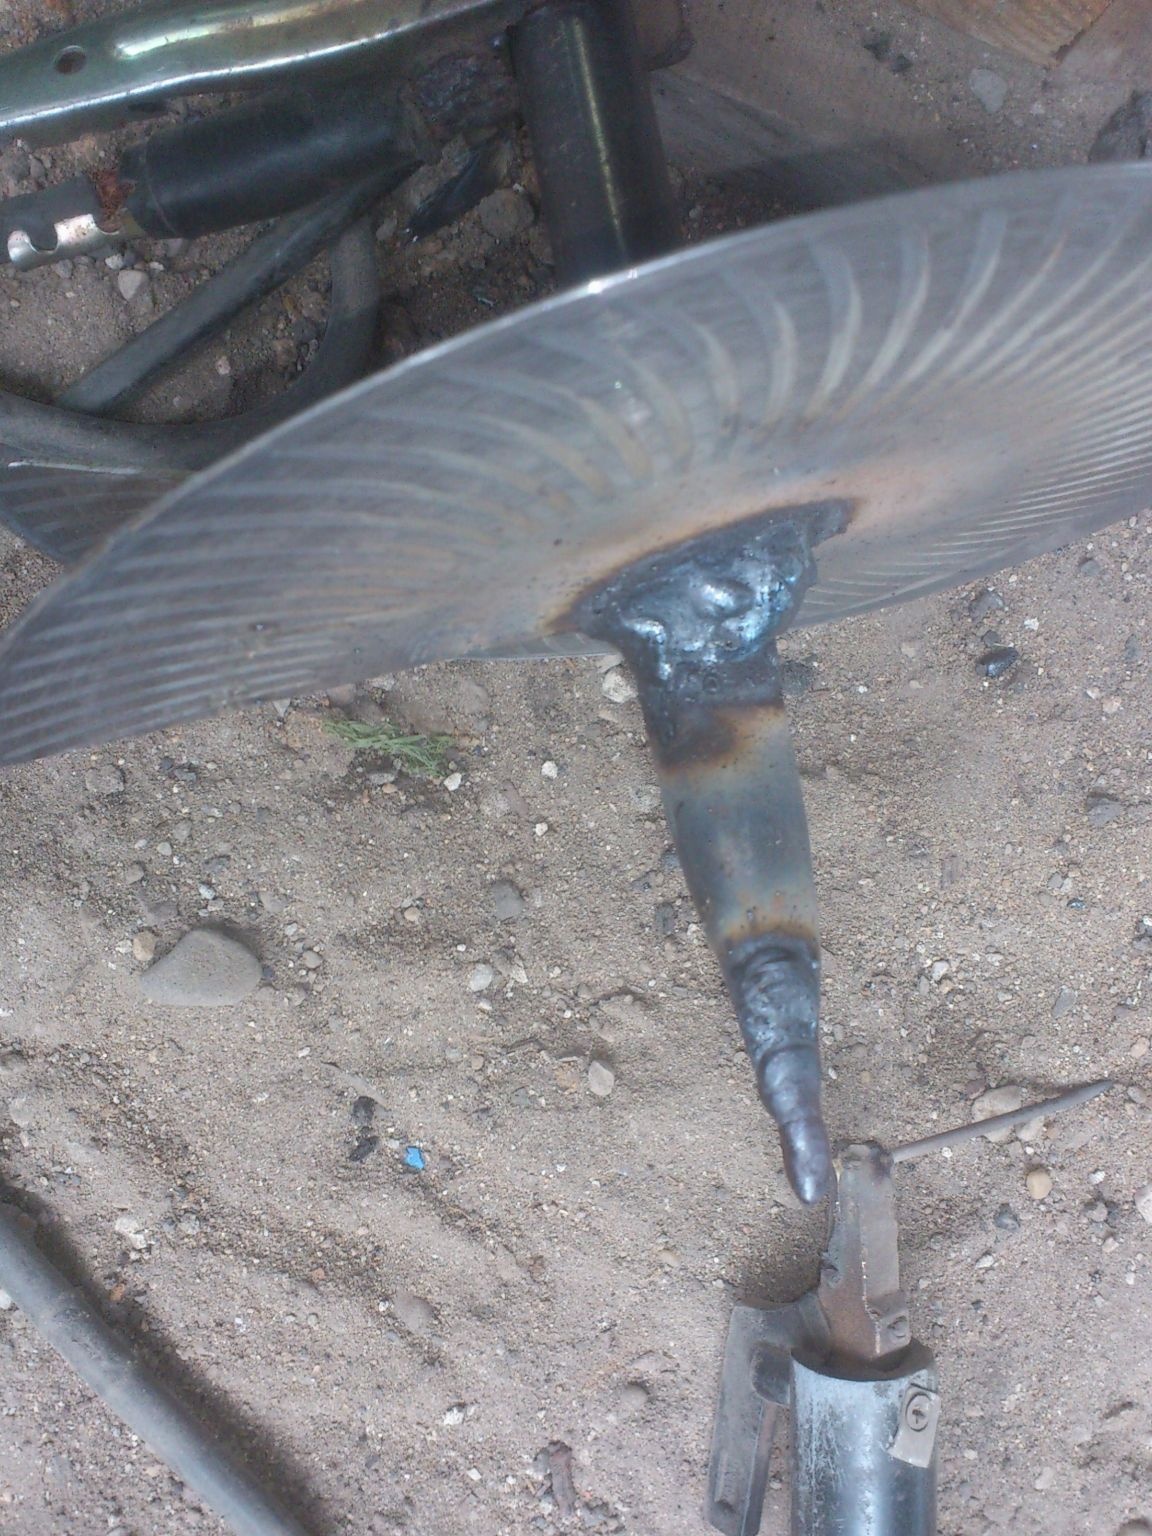
Now we take the welding machine (which I "live" in box, from the canister, and weld only one edge (the one that will be cutting).
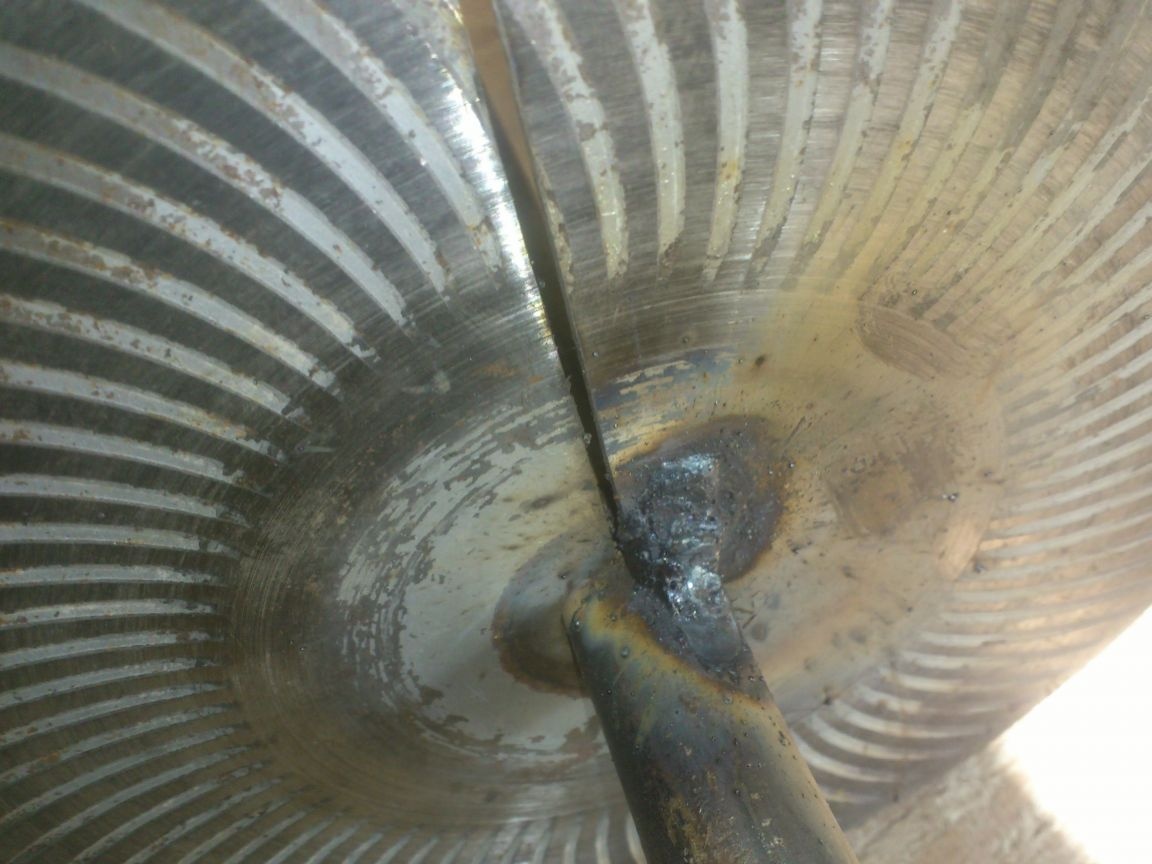
It turned out that this metal is not welded very well. First, I had to carefully weld the molten metal from the electrode onto the disk itself, and only then weld this metal with the pipe.
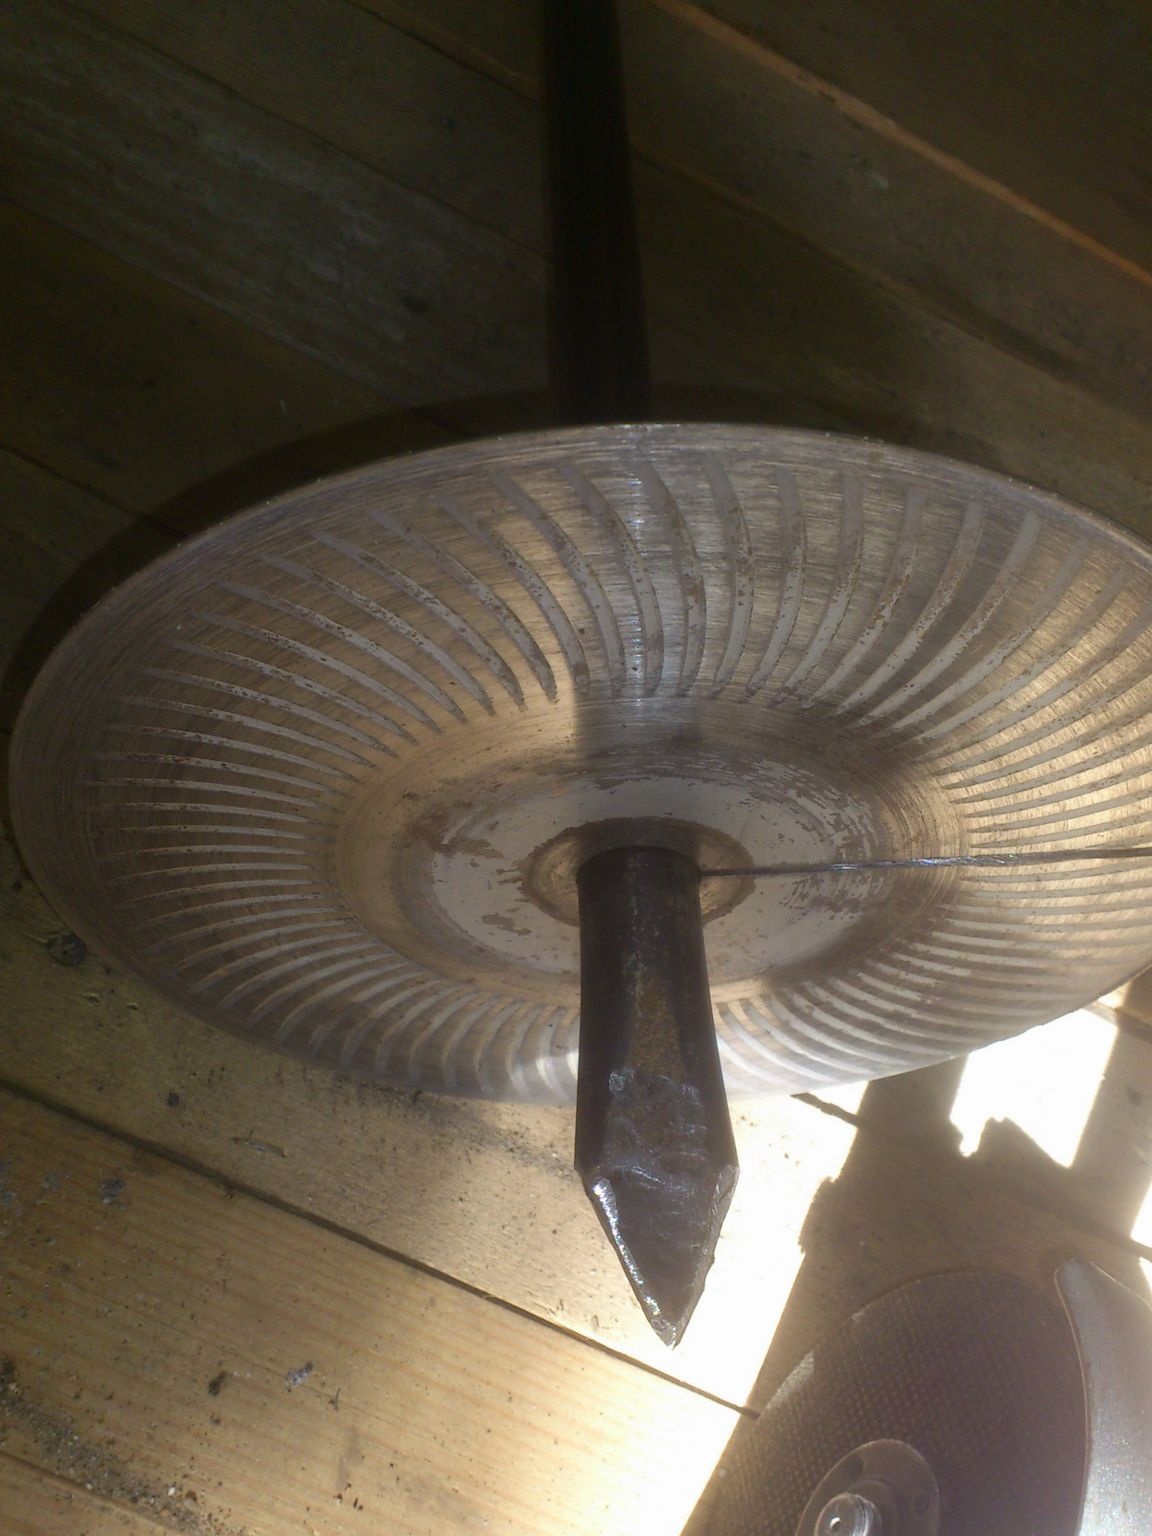
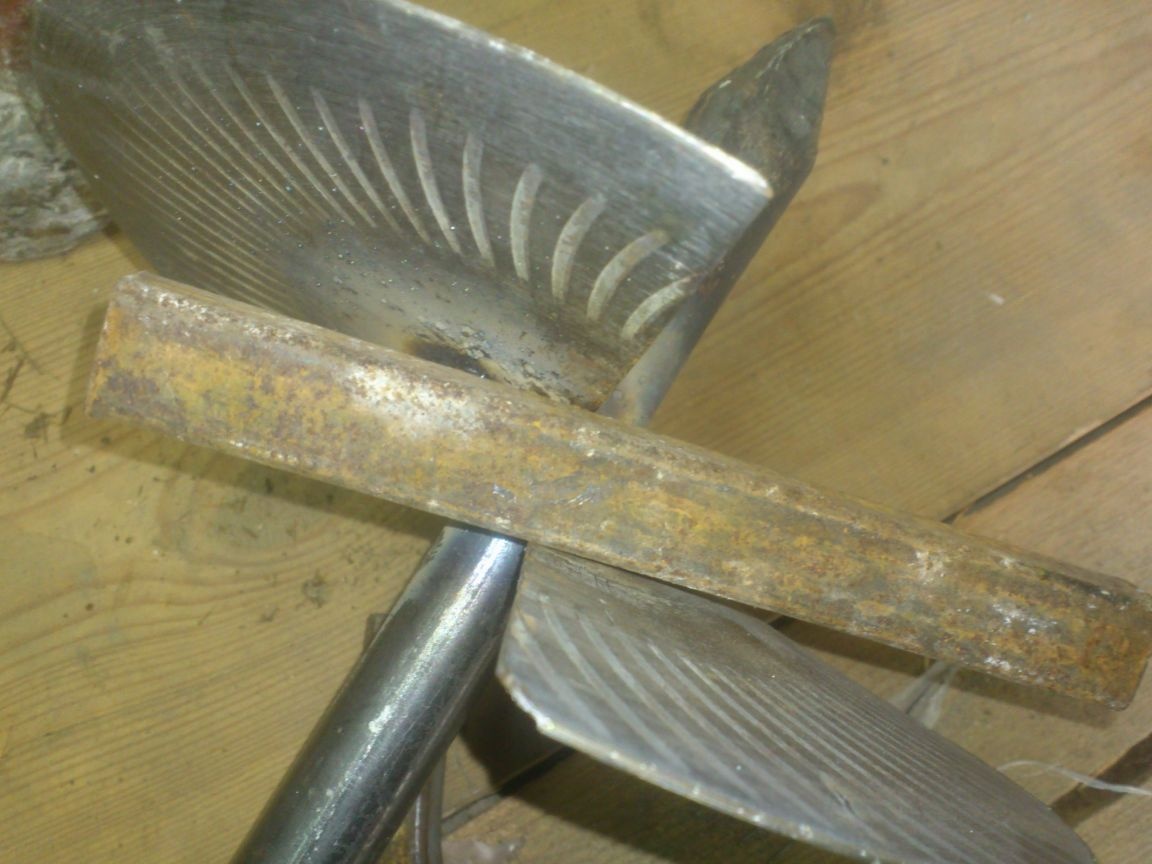
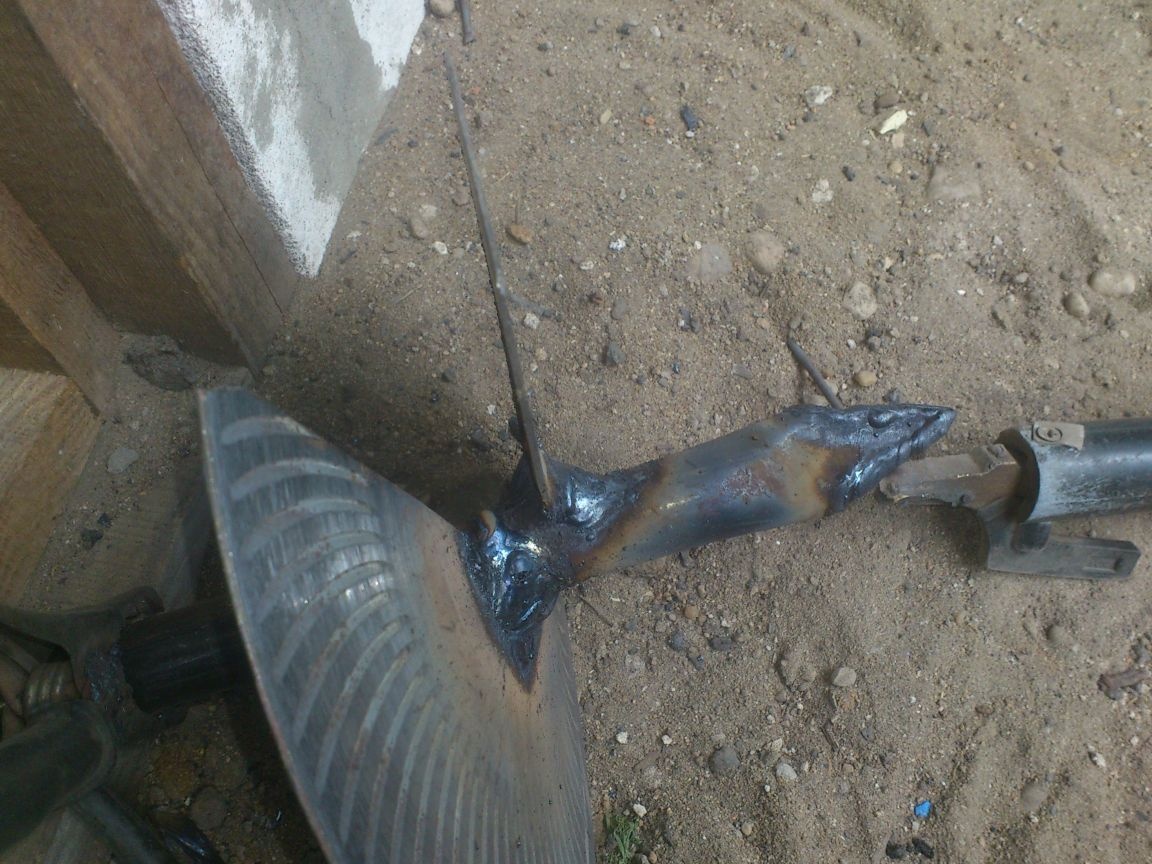
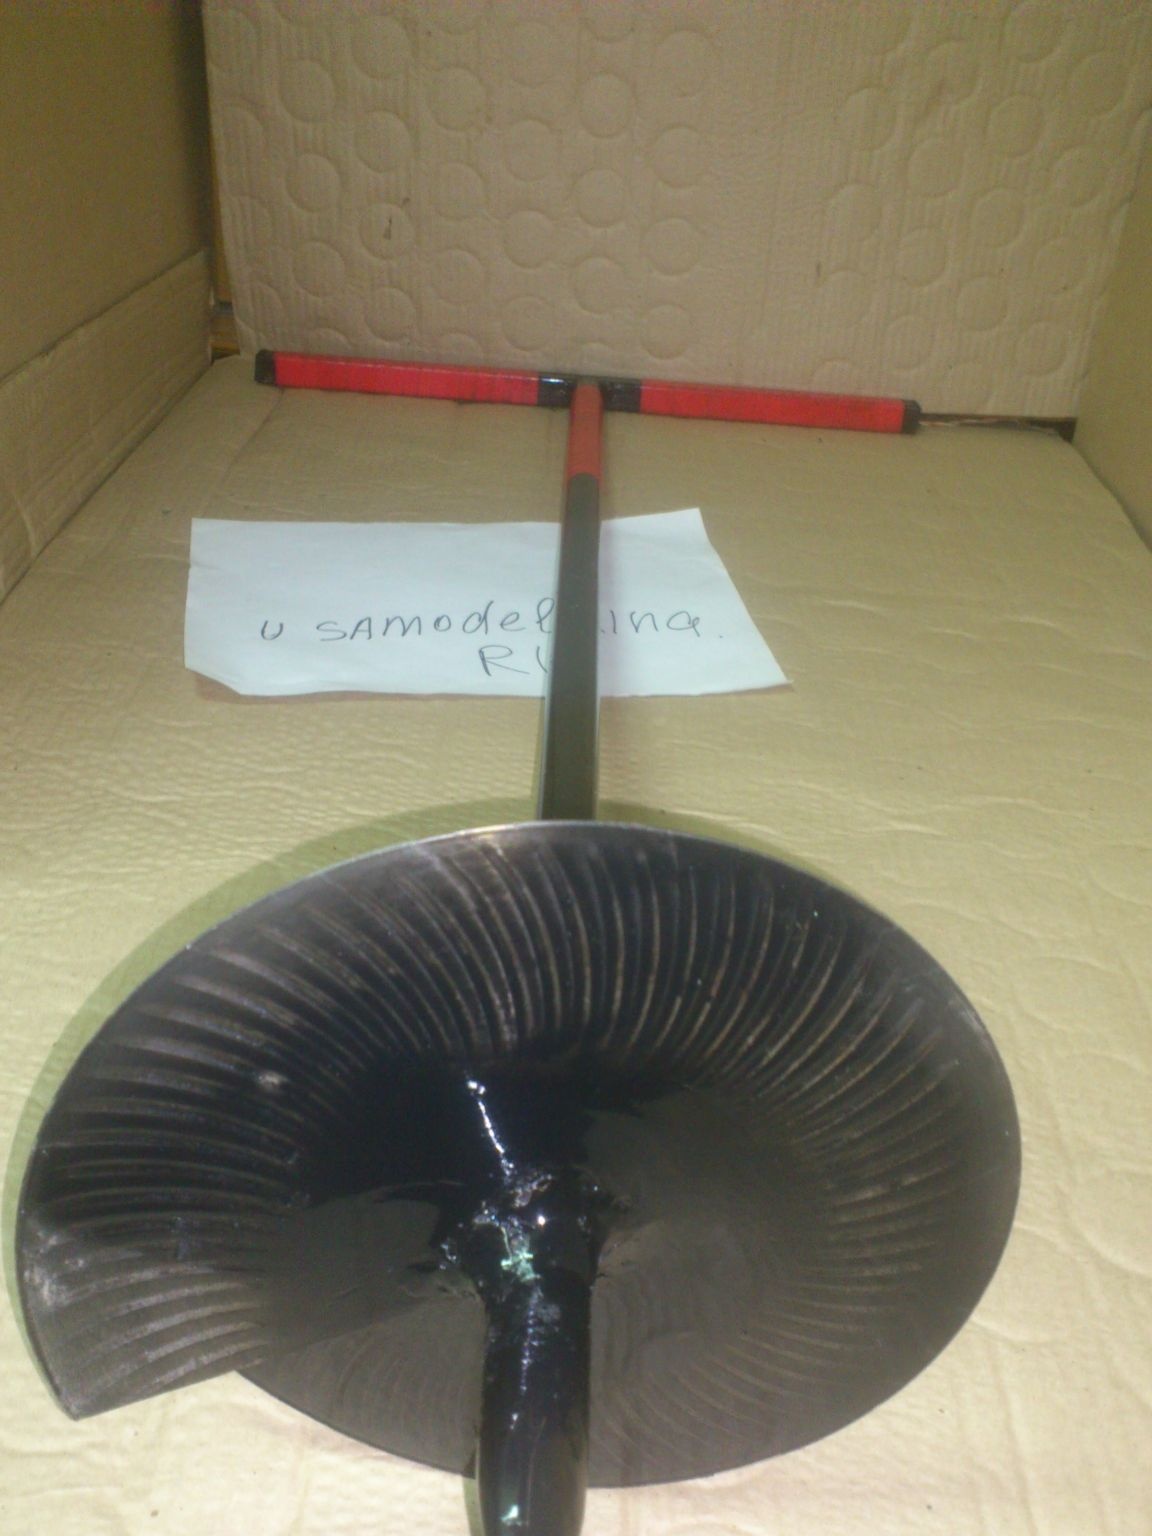
Now it is necessary to stretch our cut disk in a vertical plane and weld in this position. Besides the fact that I decided to give the future drill properties such as the lightness of the structure itself, I also decided to ensure ease of work for the sake of high performance. Therefore, I decided to make the difference in the turns of the spiral small - 25 mm. In order to push the turns to the desired distance, I used the template from the trimming of the profile pipe, which I hammered between the screws:
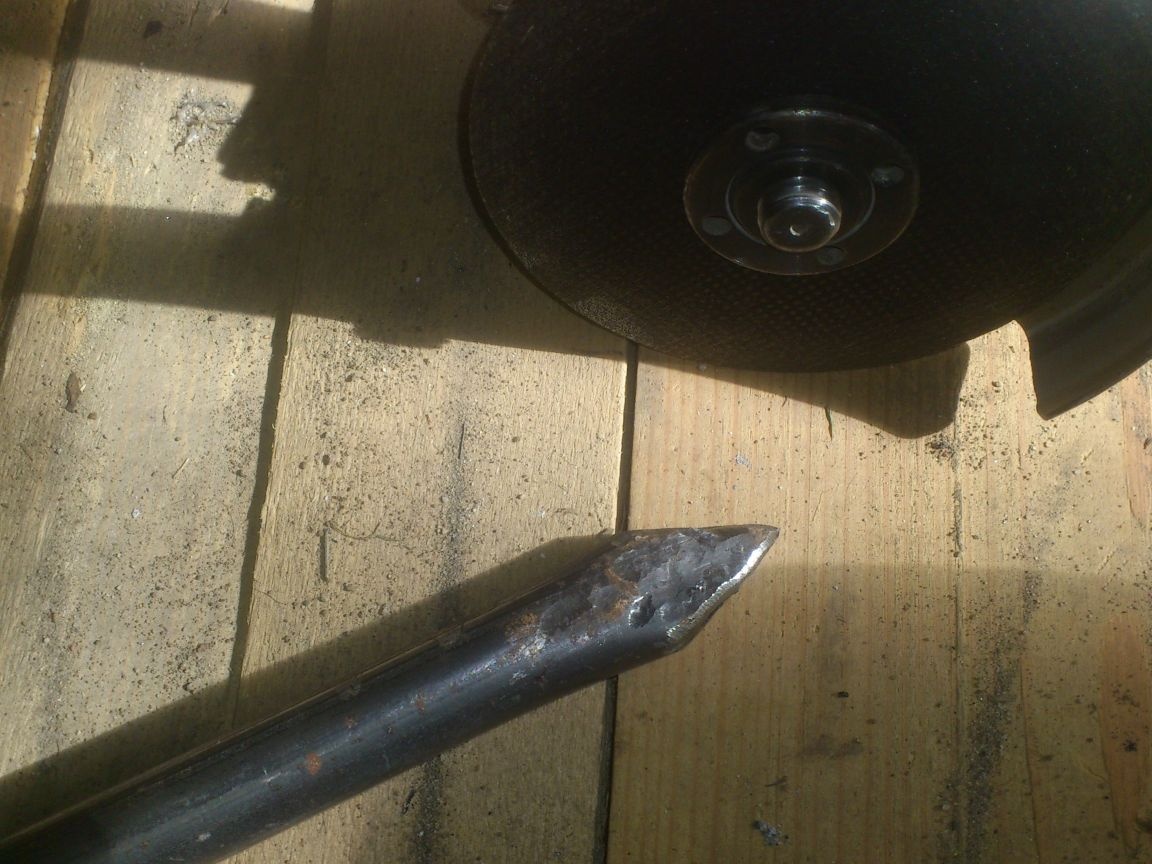
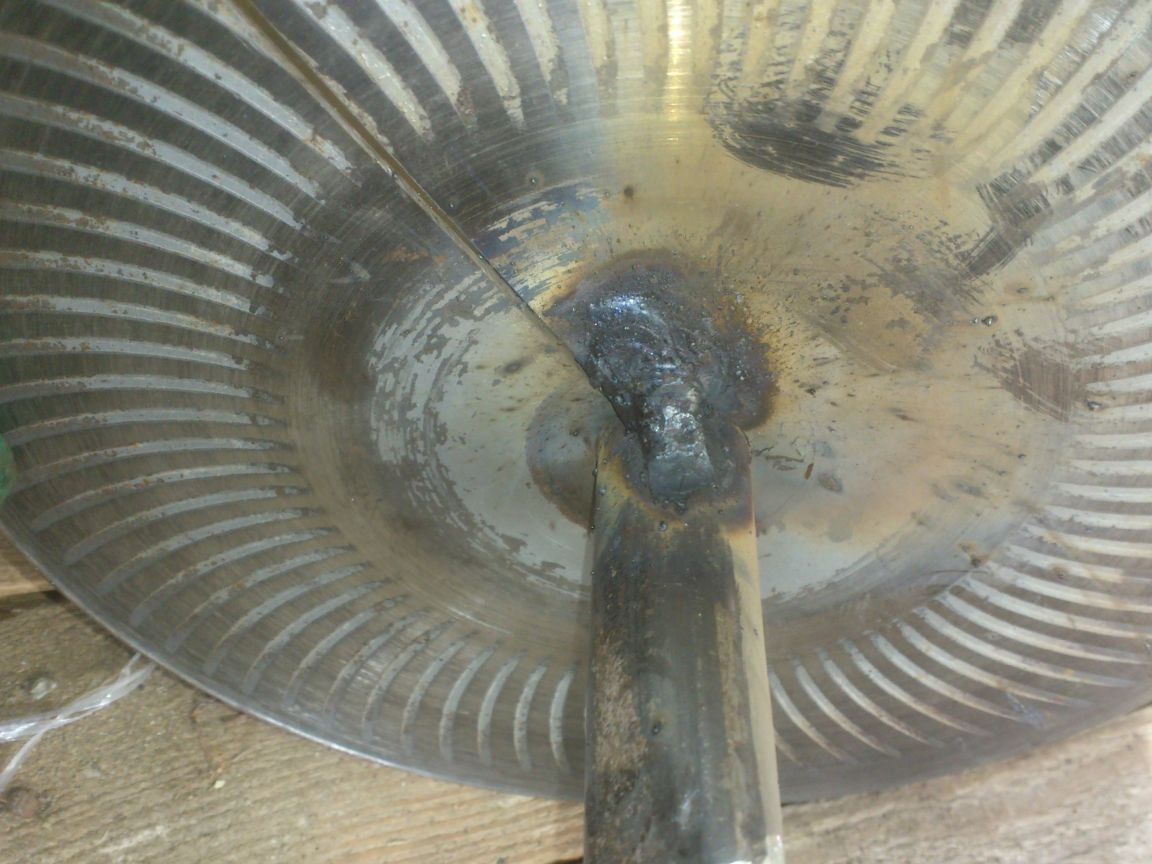
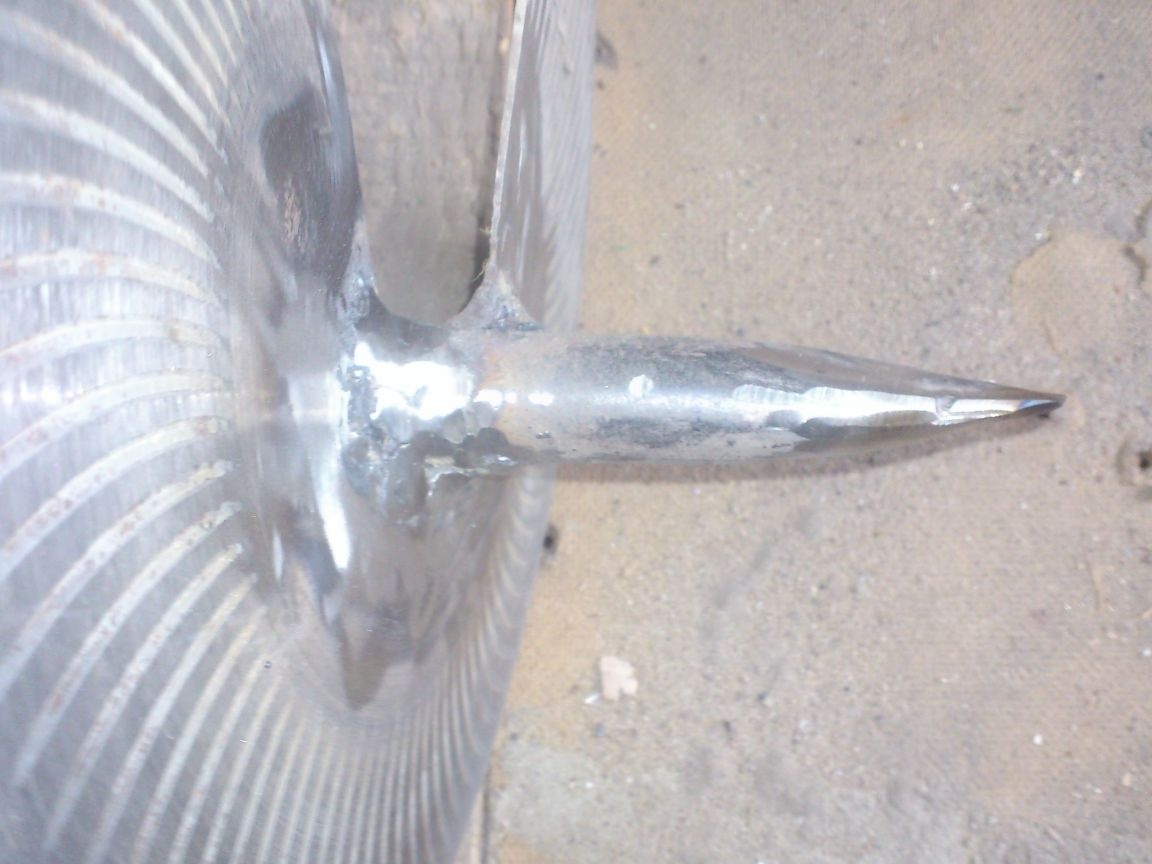
So, let's continue ... There is no silver lining. But it became easier to boil around the entire circumference - after all, plastic metal was already welded on the disk))). And at the same time, the point-tip was also brewed:
Now you need to make a cross-handle. The pipe from which I made the axis, at one time I cut on my homemade cutting machine, and therefore it is cut off exactly.To make it easier to weld and not fool with semicircular cutouts, I decided to make it from a square pipe. Fortunately, in my "scrap metal" there were cuttings of the desired section, from which I was able to cut a straight piece, half a meter long:
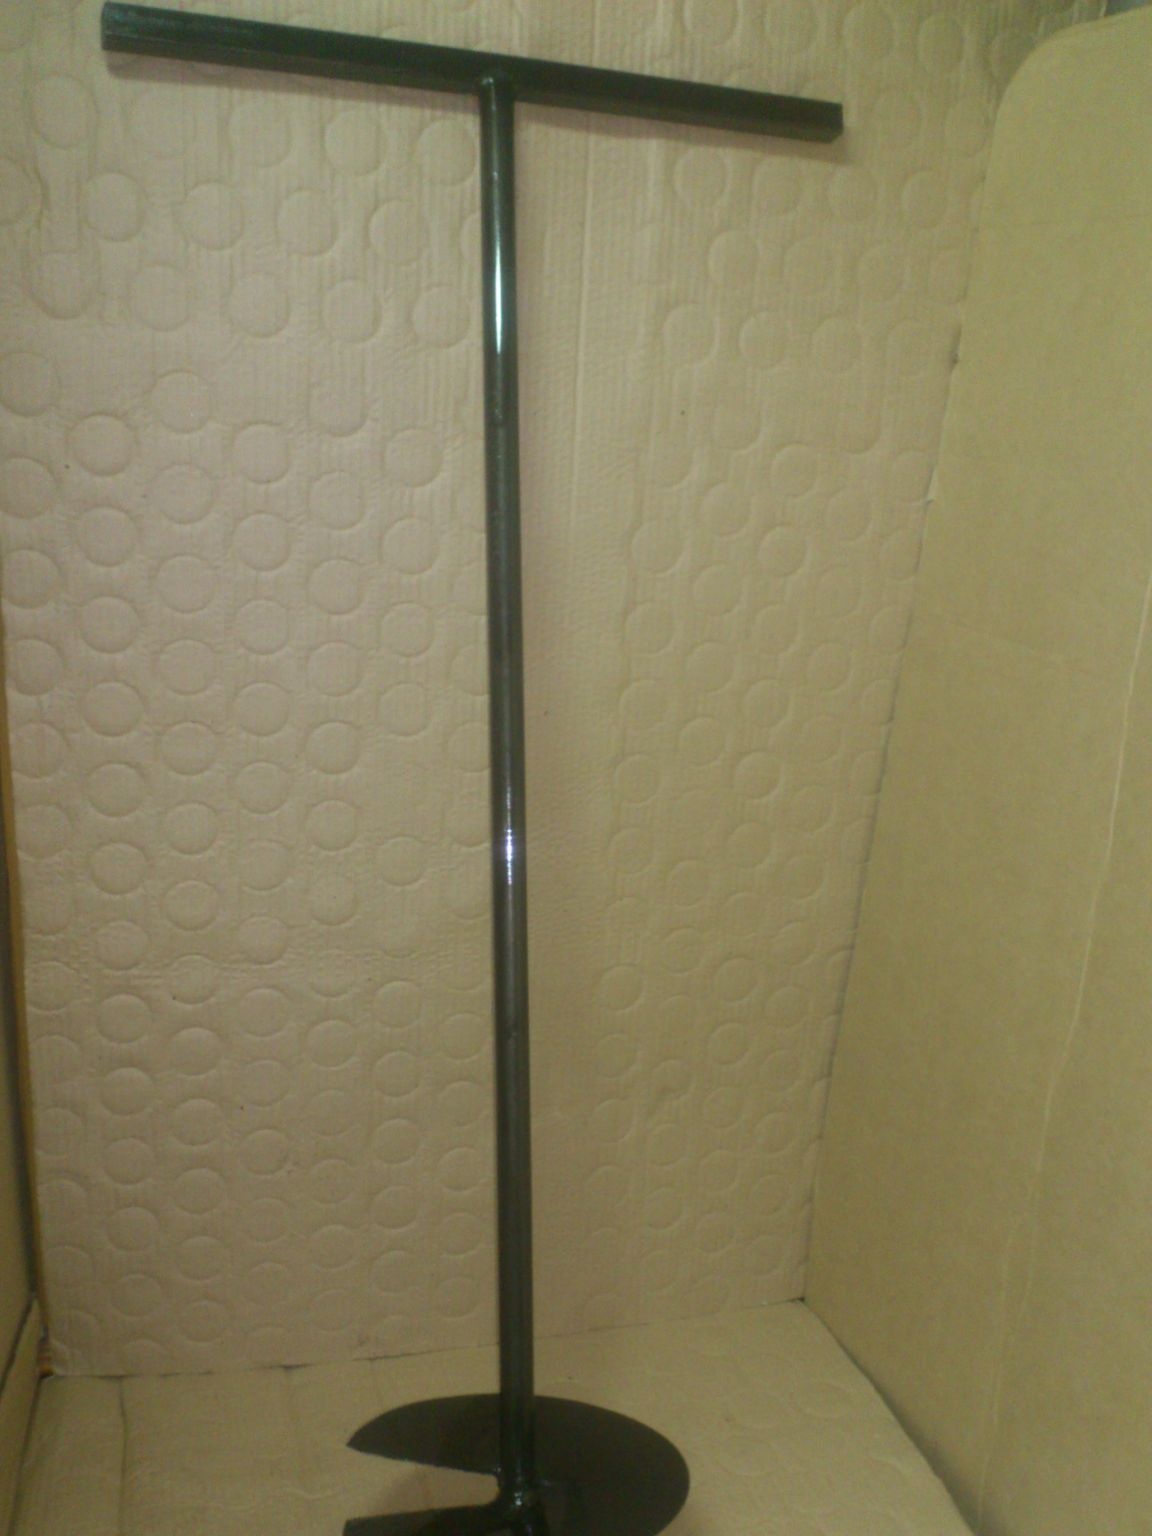
This segment was welded as a cross-handle, after which the whole structure was cleaned with a “grinder”:
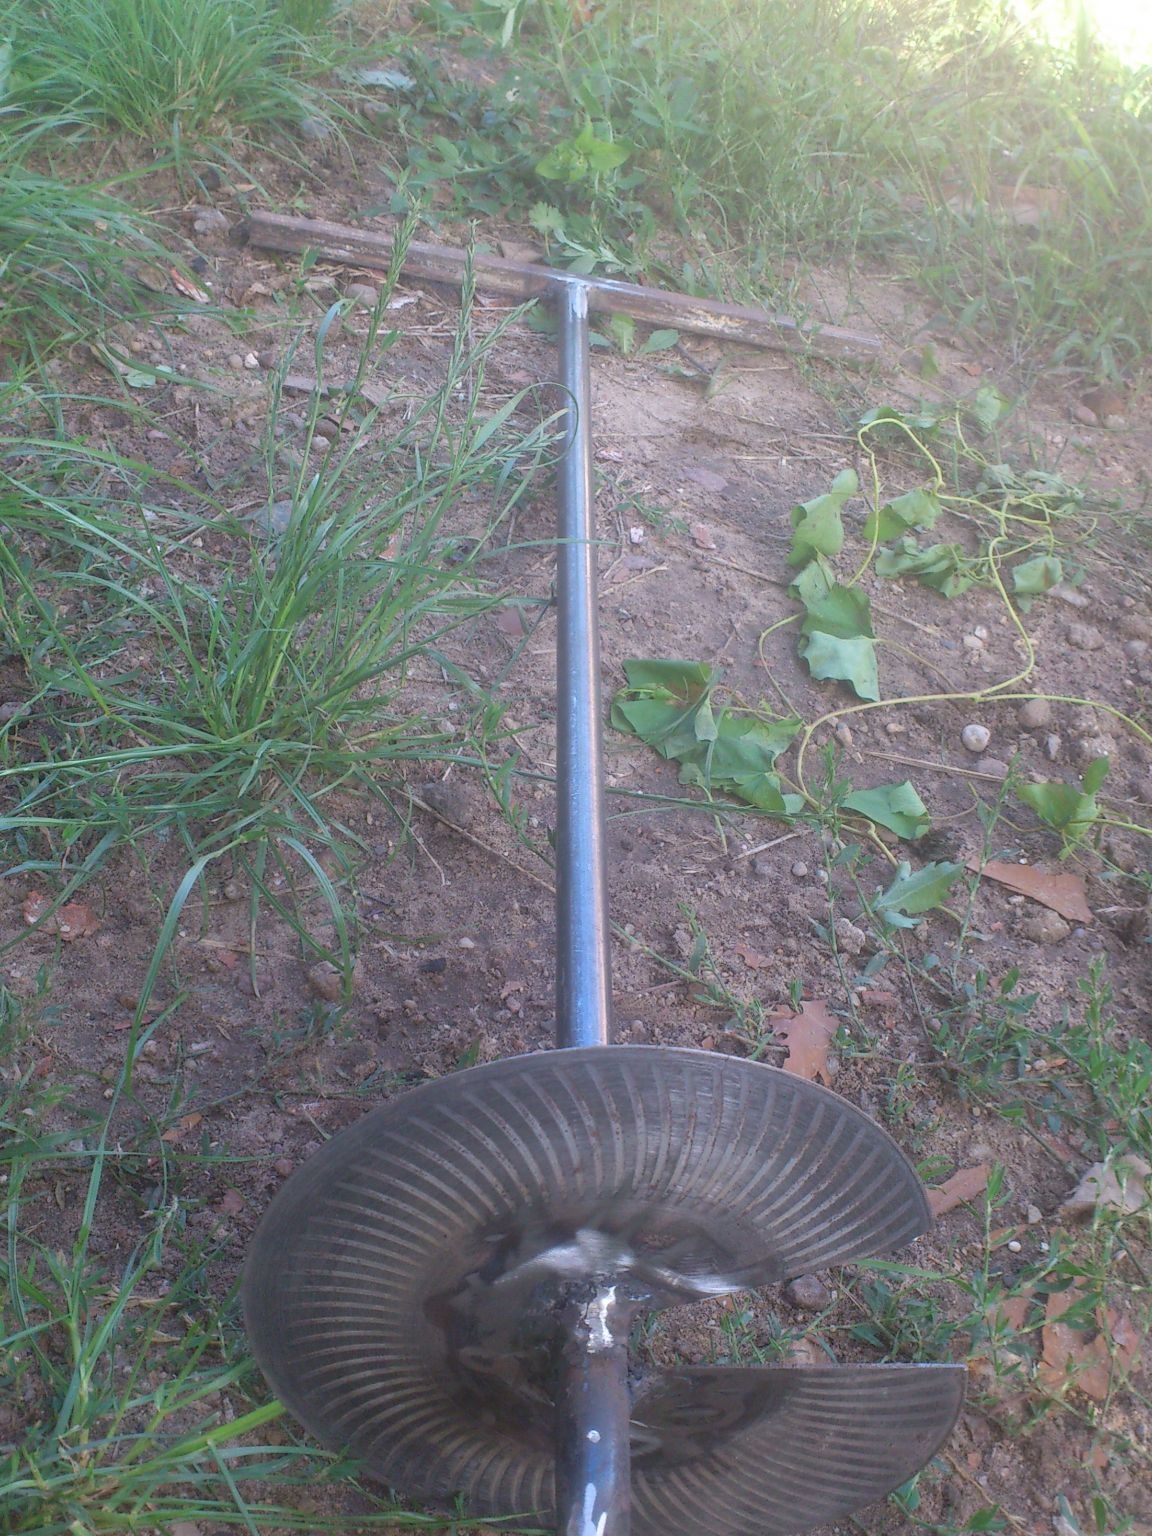
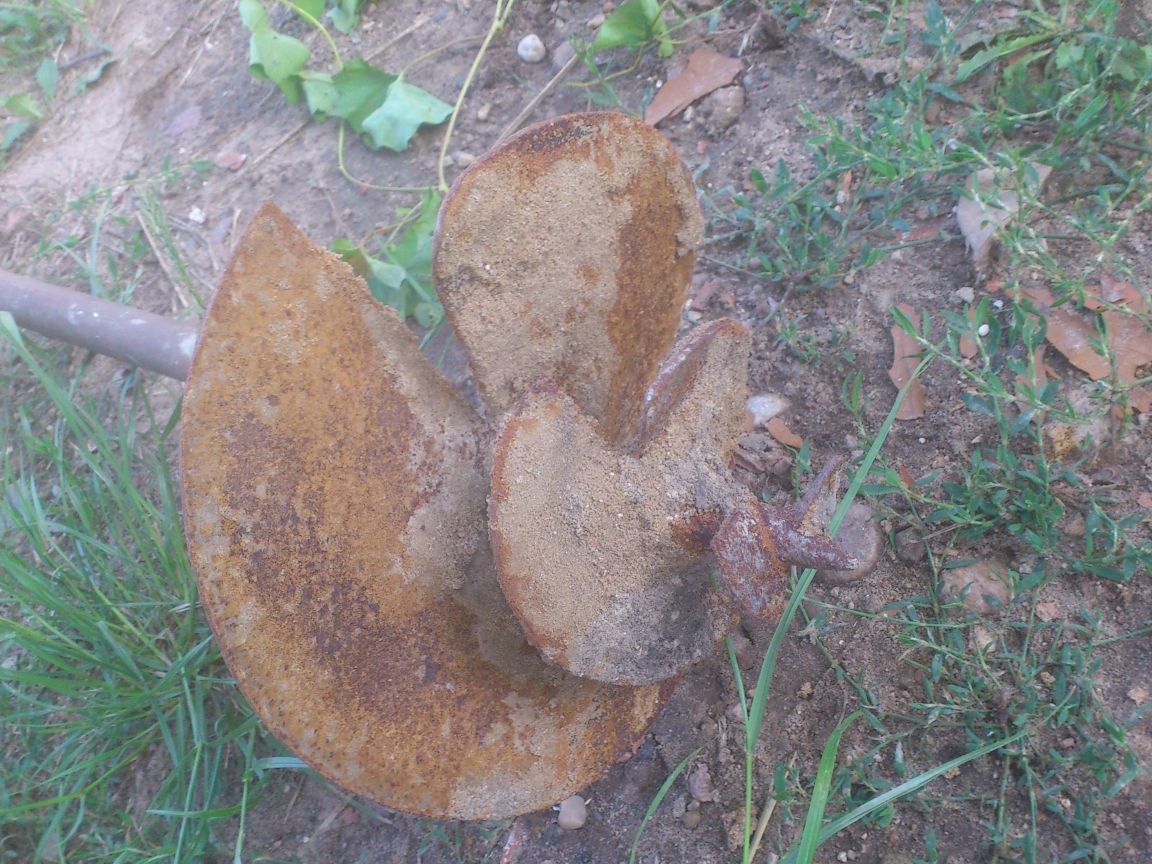
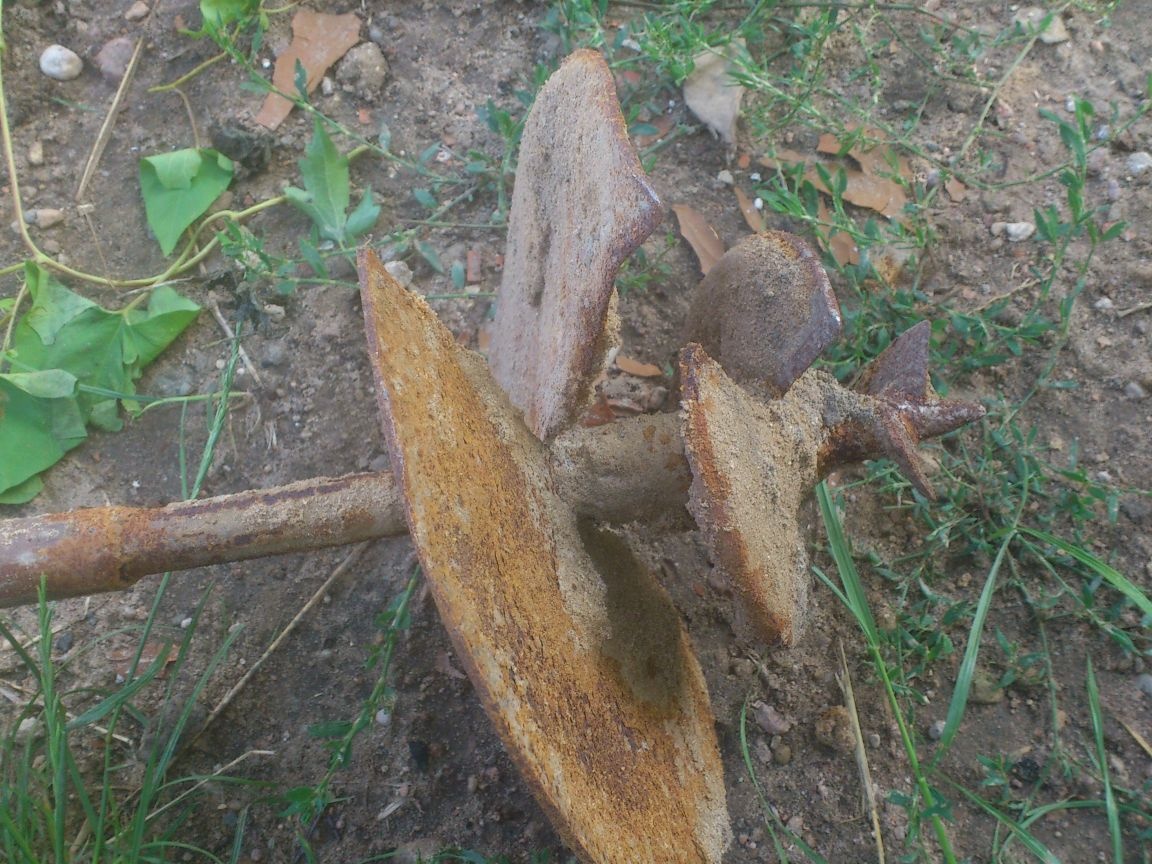
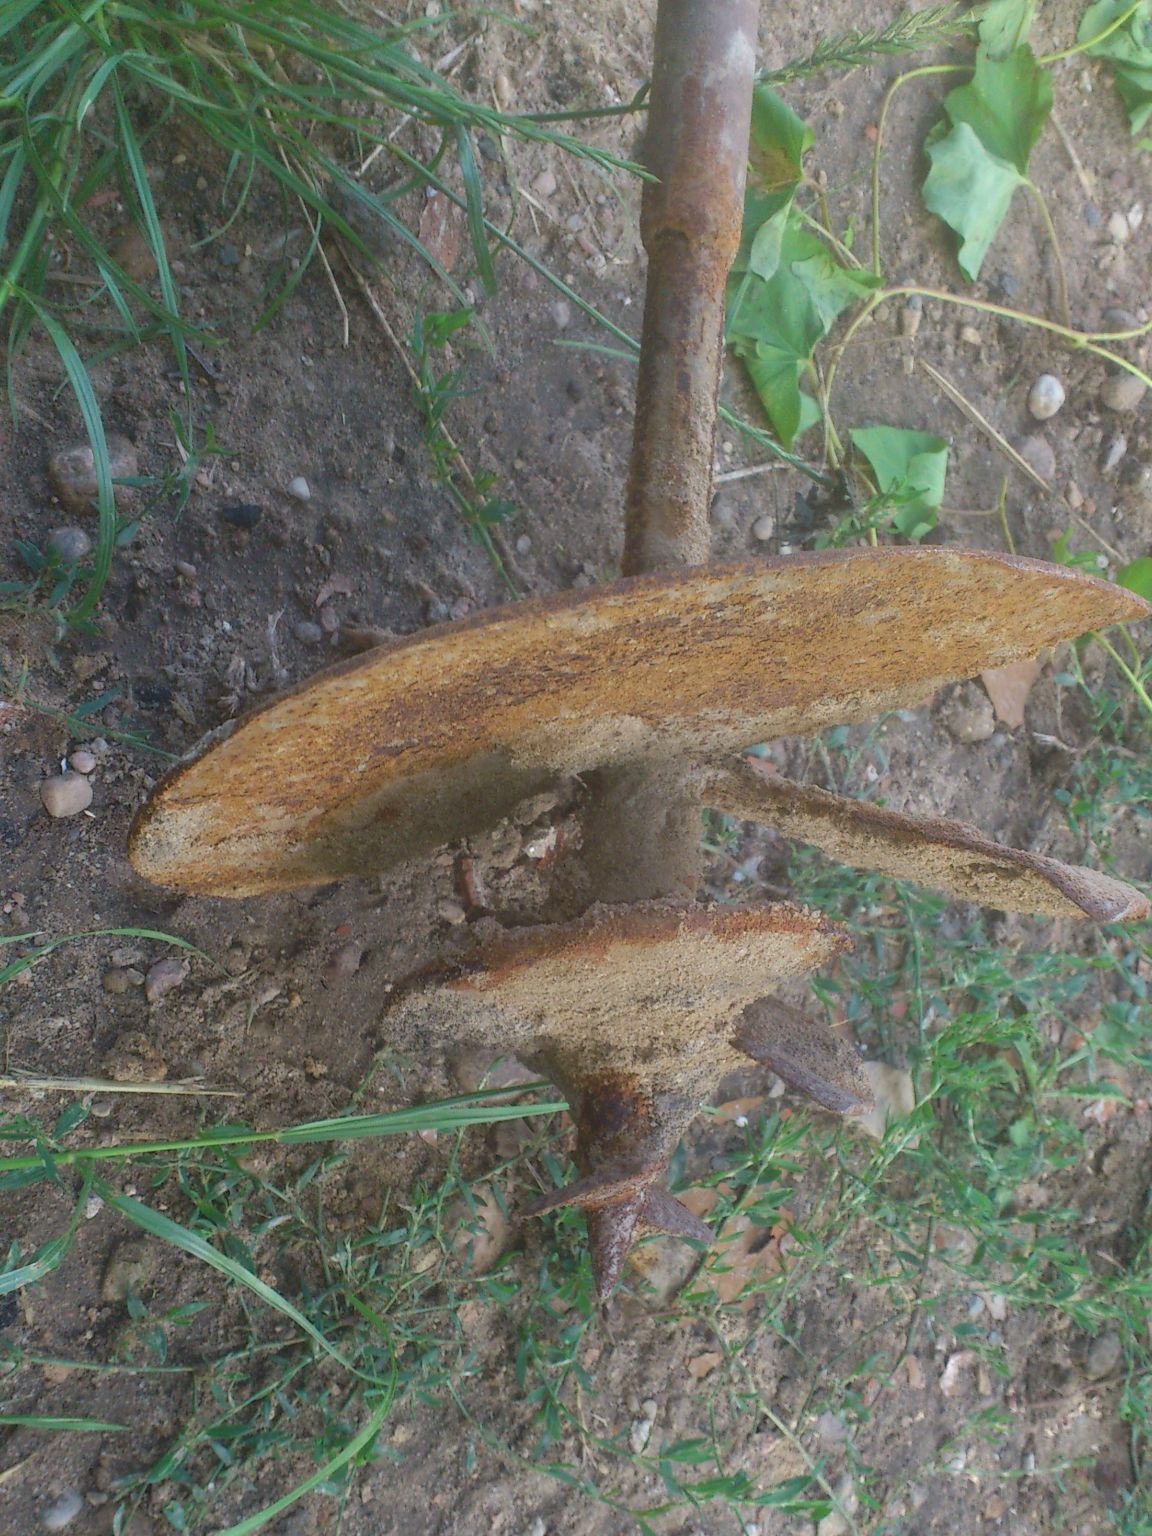
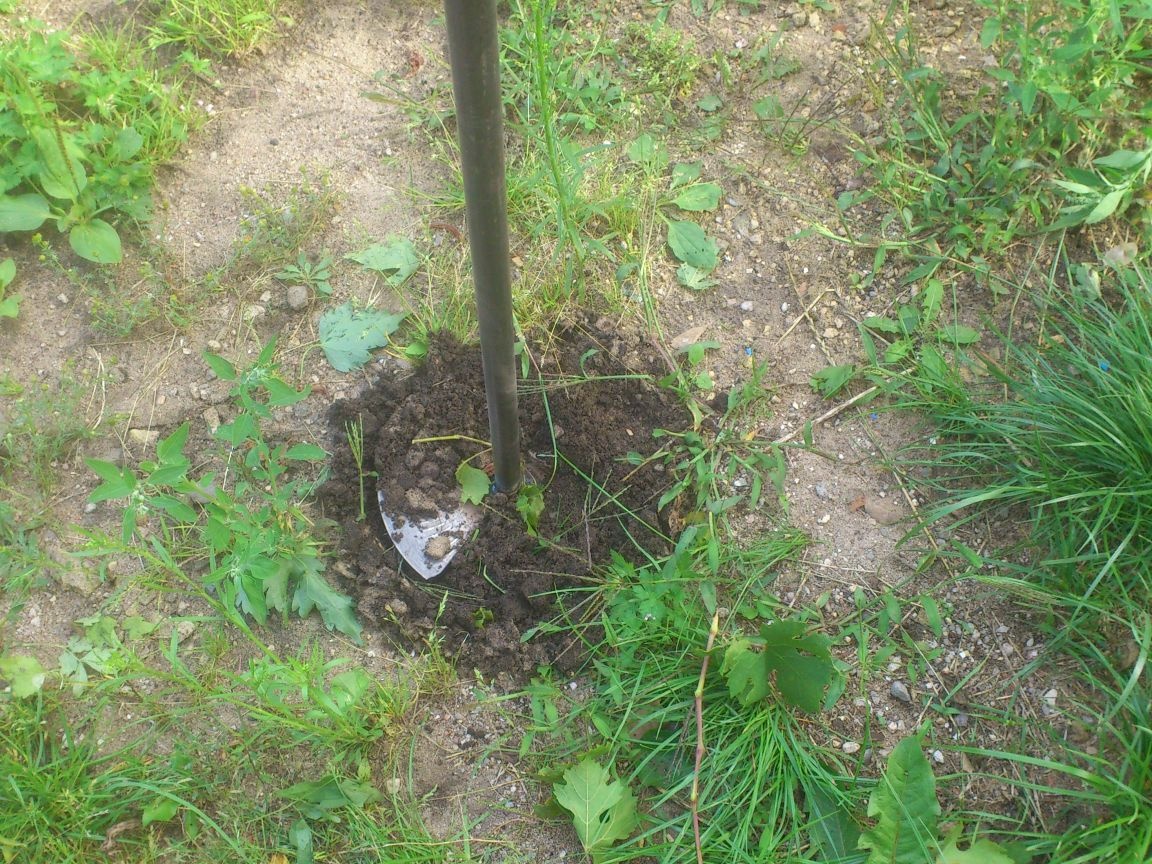
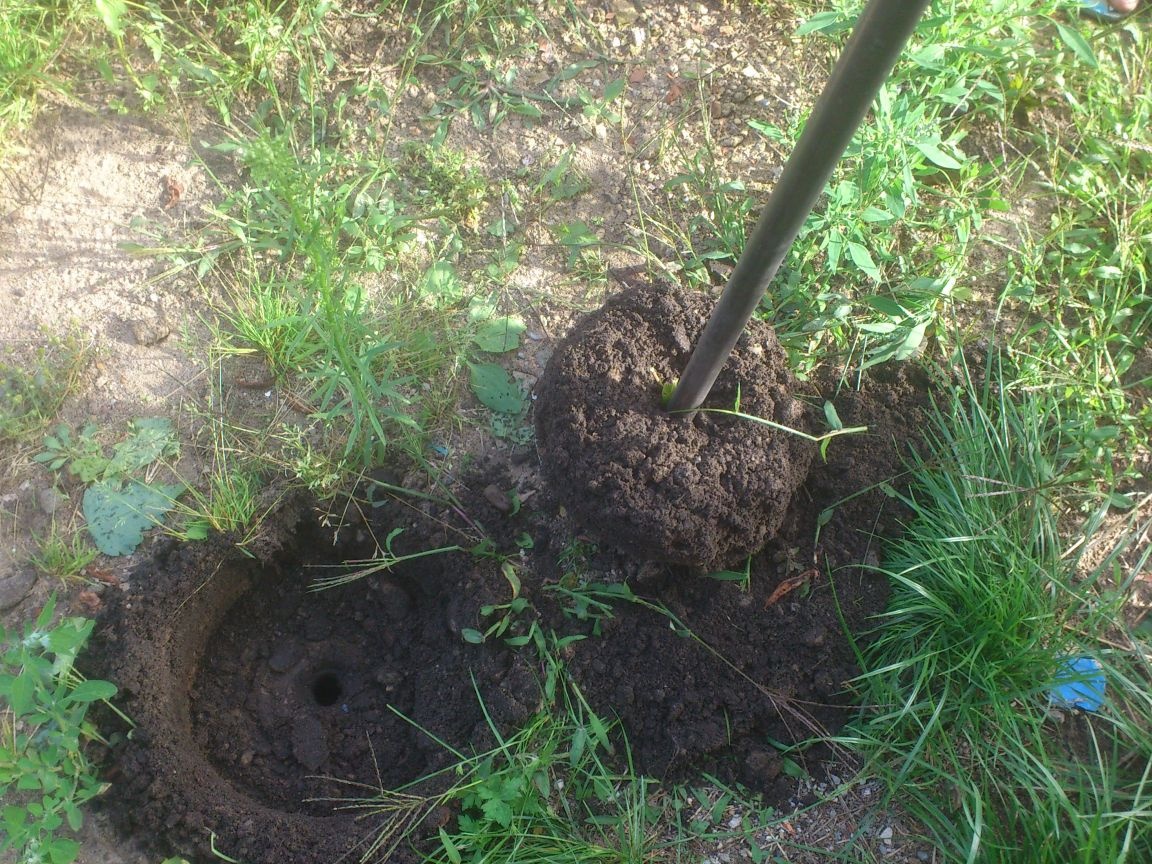
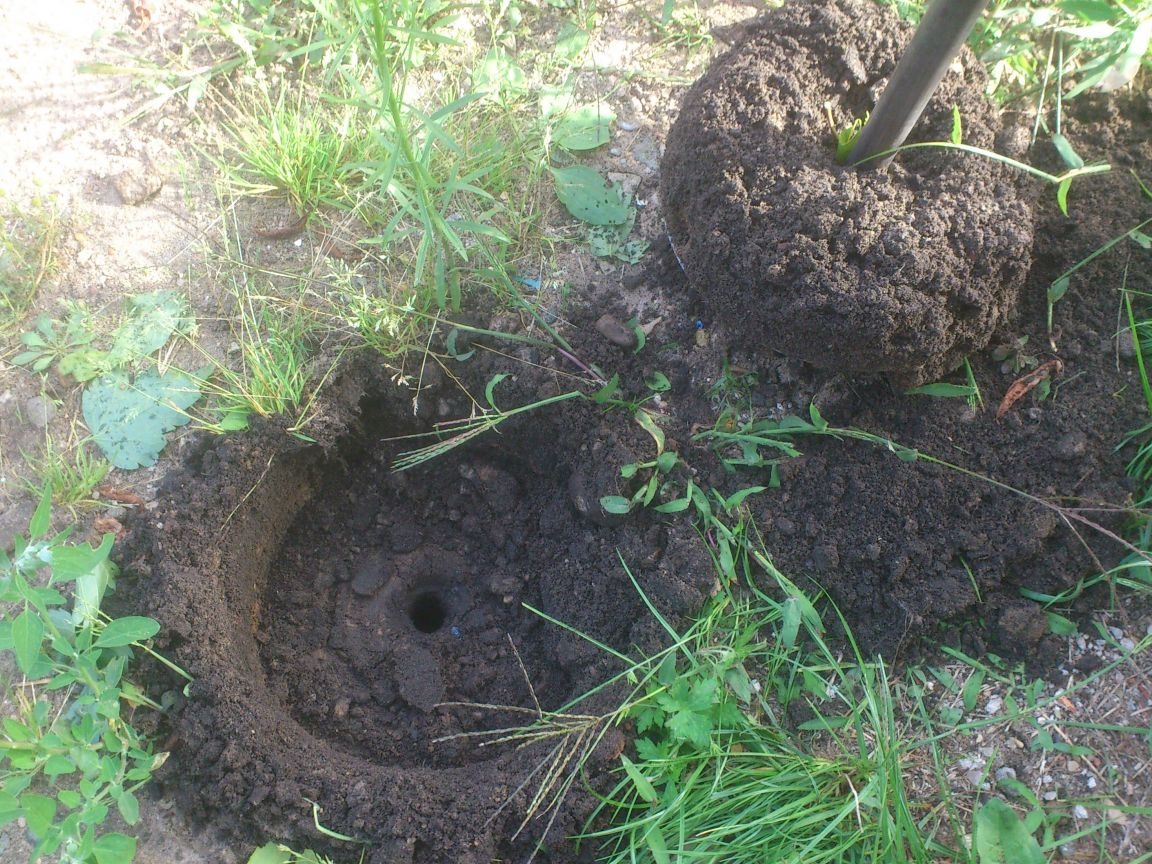
At this stage, I tested it. Having made several revolutions, I was convinced that the resulting drill very easily entered the ground, which I needed ...
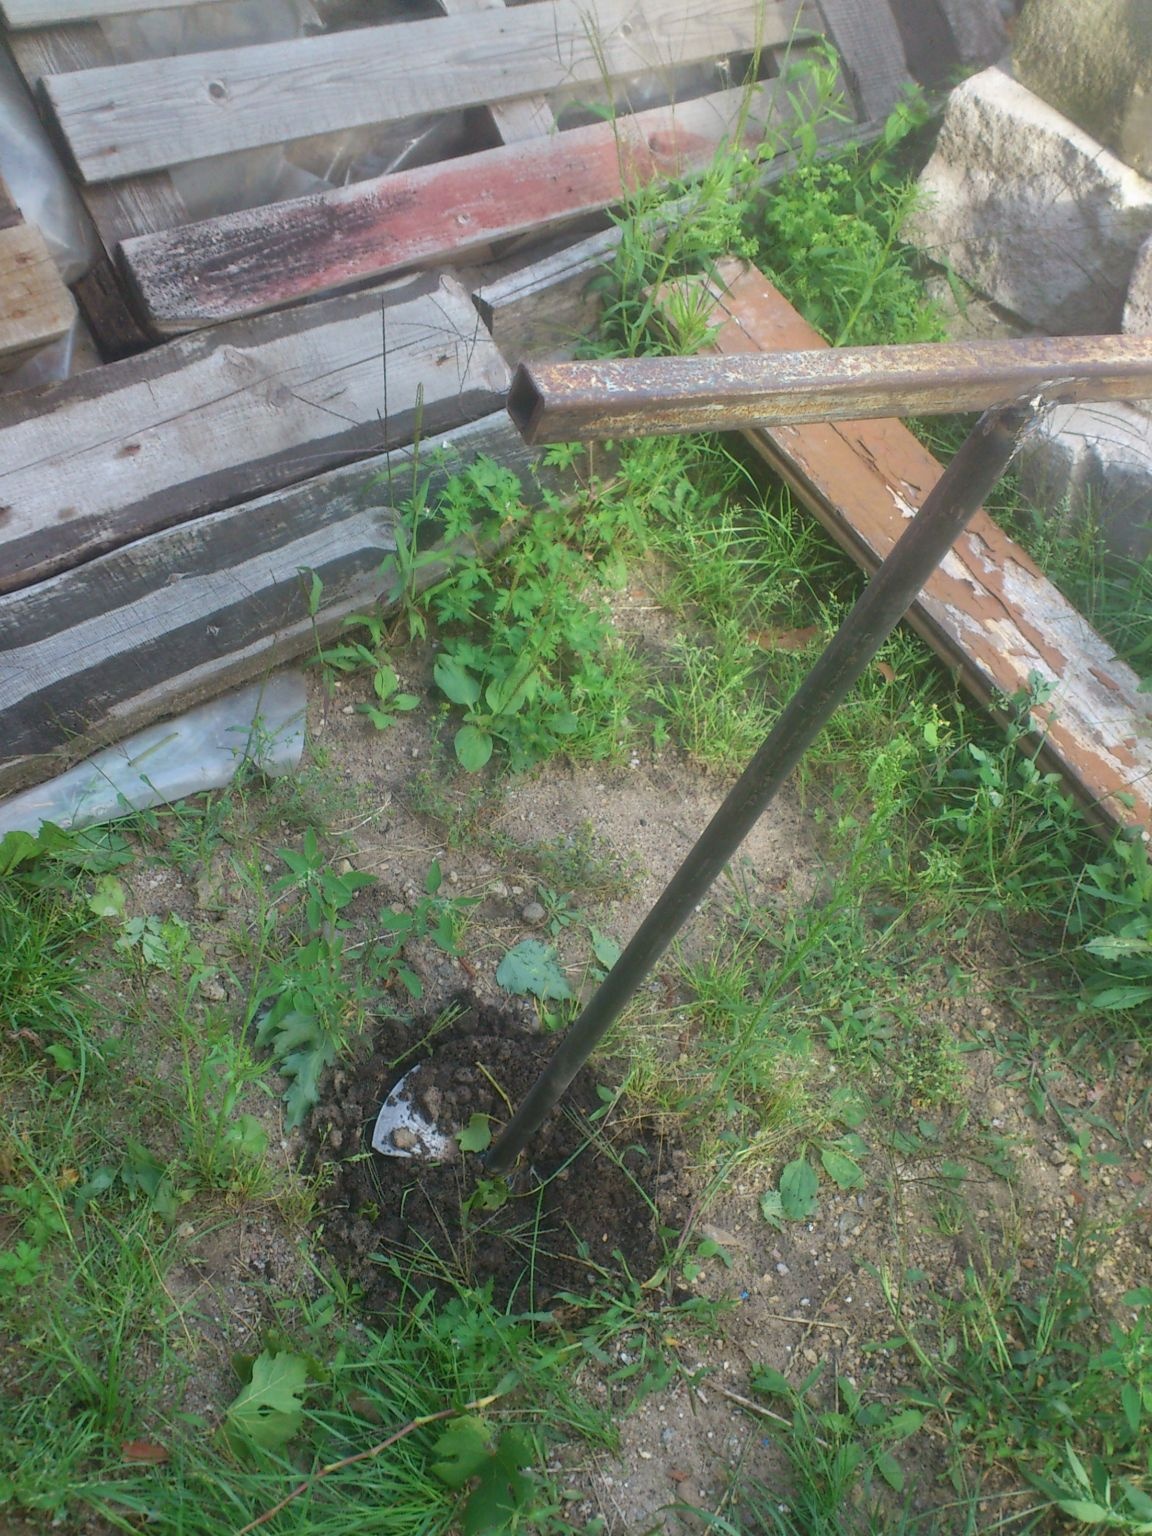
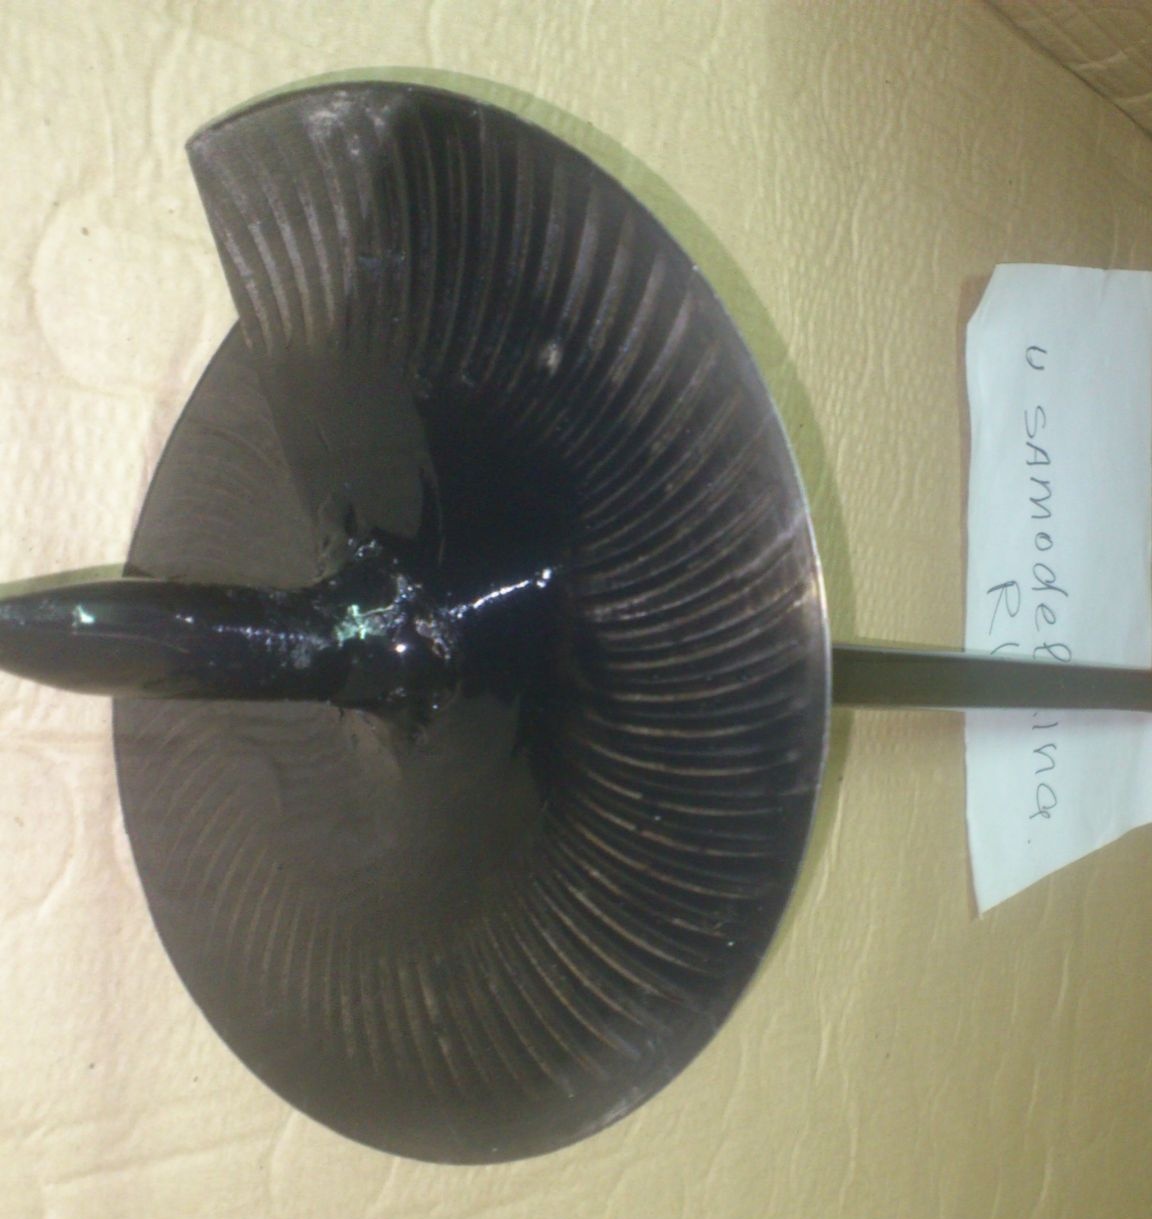
That's done. Getting to the "combing" of the structure. (Although many have already pointed out to me that this is supposedly superfluous, and that this does not affect the functionality, I still hold the opinion that all homemade products need to be brought to a “finished look." So it’s much more pleasant to use them later. .. Even, with such a primitive tool as a garden drill ... But what is already there! I even have crowbars painted!))))).
This time I felt sorry for the blue paint from the spray can, and painted the whole drill black:
Well, of course, plastic plugs ...
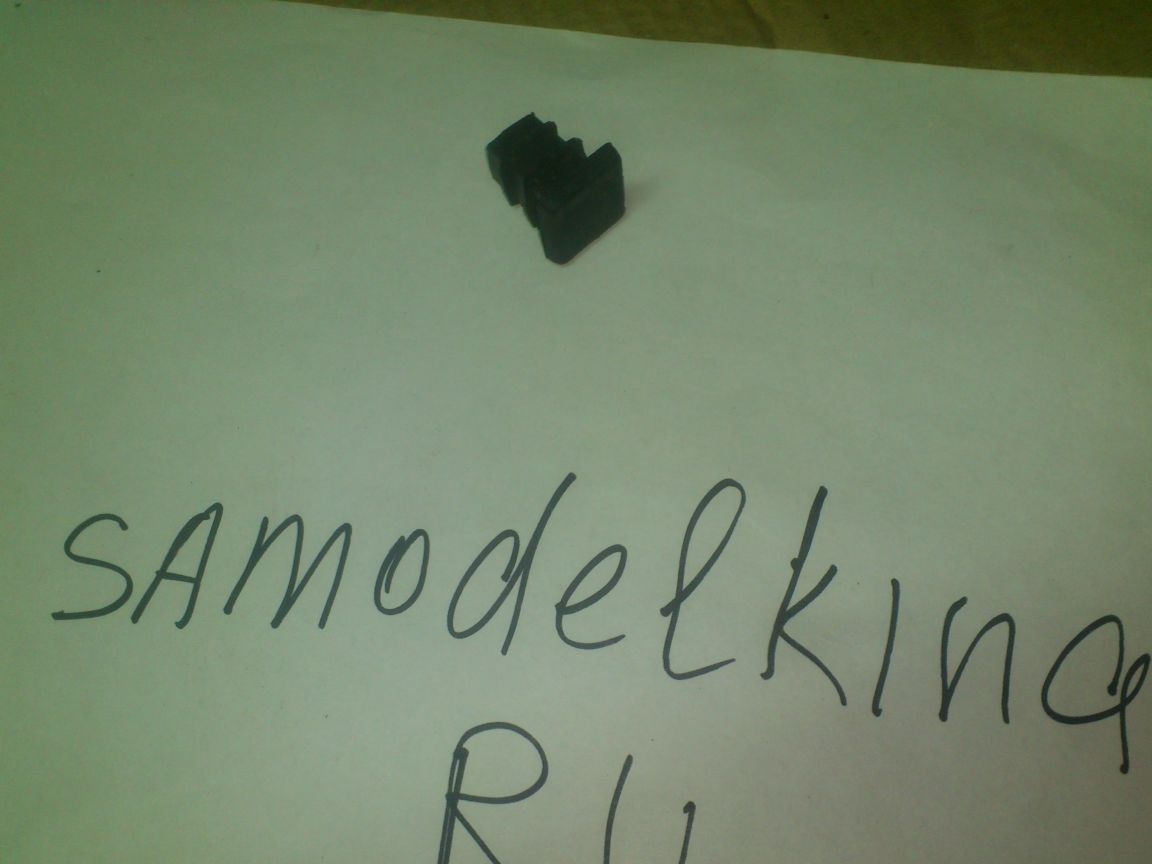
They cost a penny, but there are a lot of benefits. Besides the fact that they prevent dirt and moisture from getting inside, they also give the product a more finished, “factory” look. And in my particular case, they also exclude a palm injury with a sloppy grip.
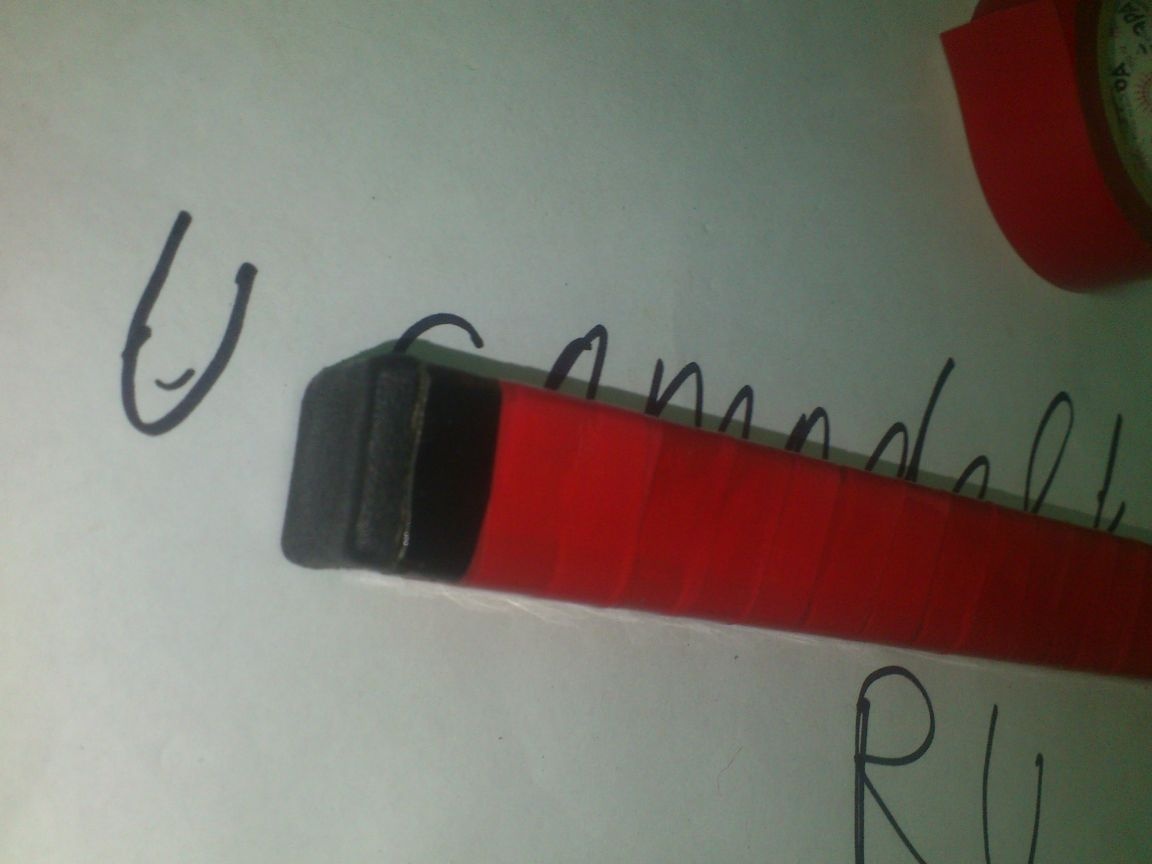
Well, of course, it is necessary to make the tool brighter so that it can be easier to find it later in a dark shed, or not to forget it in the garden. For this, a red electrical tape is suitable:
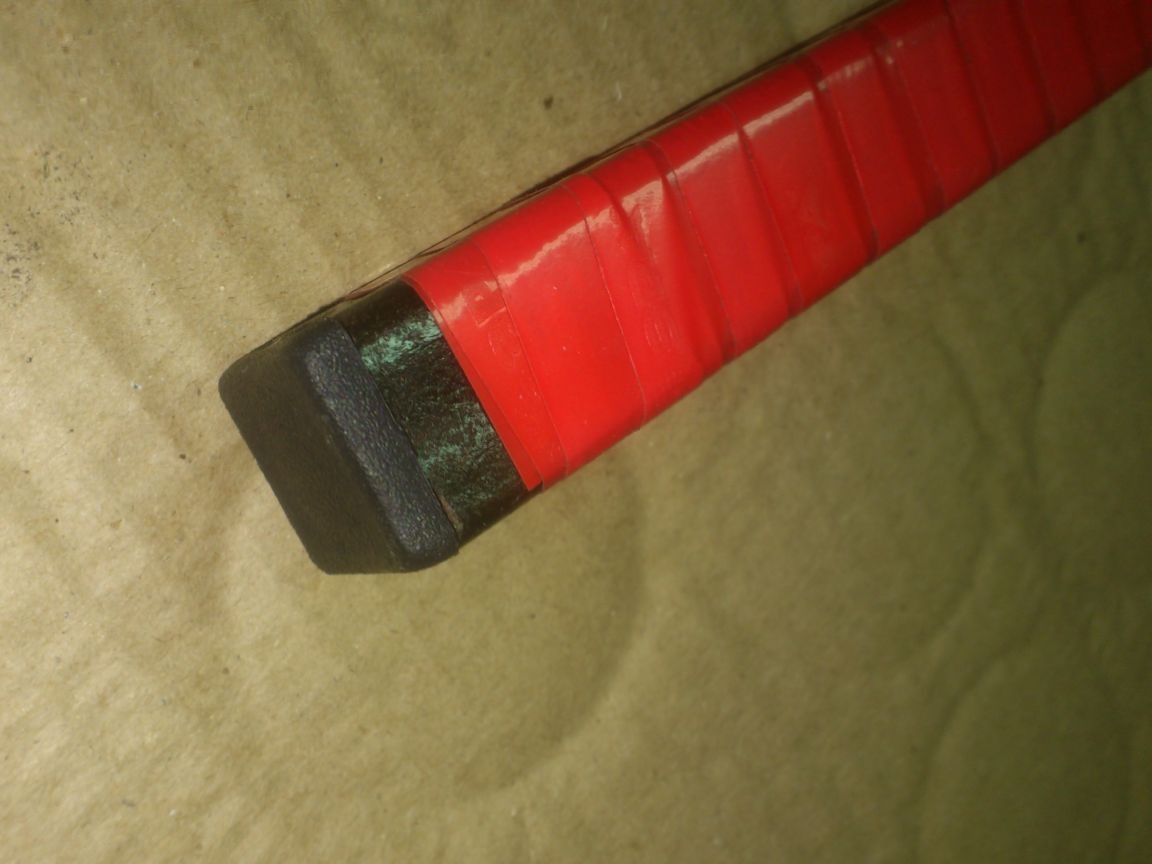
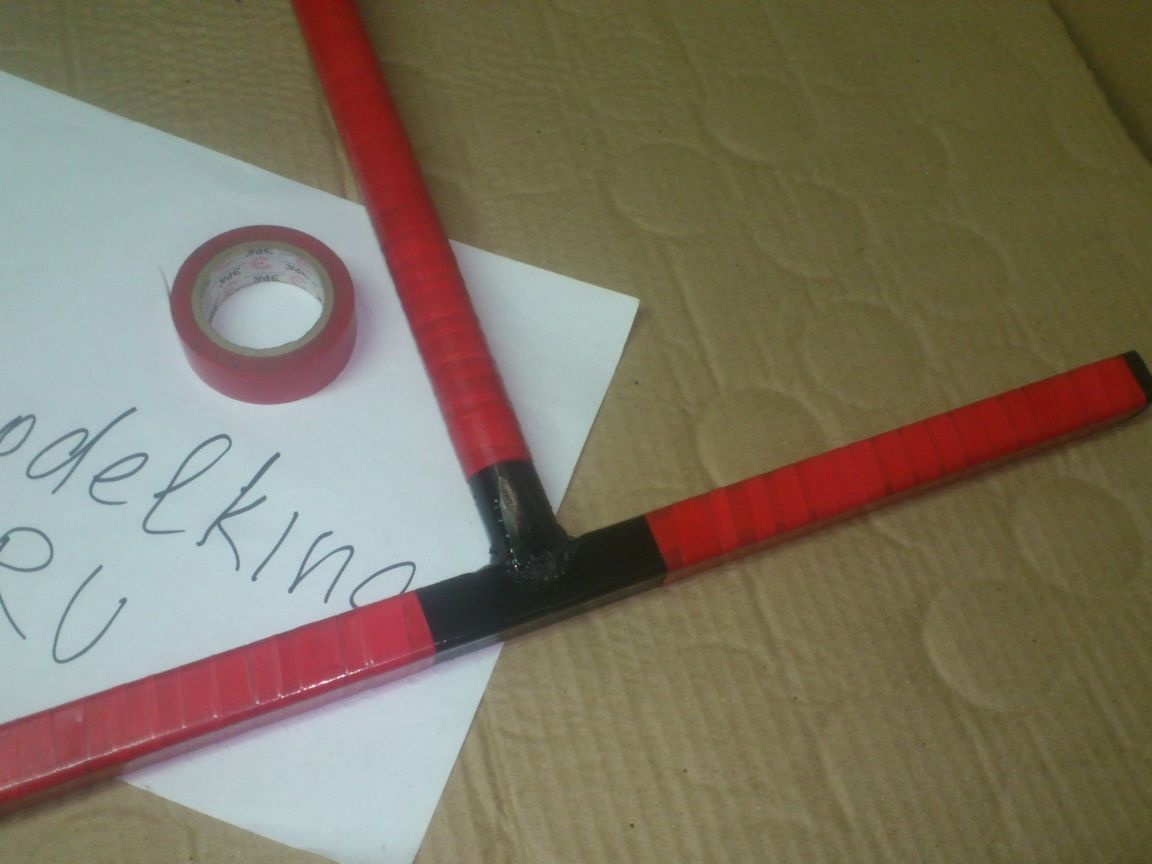

That's all! Here is the necessary tool I got from what suited only for ejection:
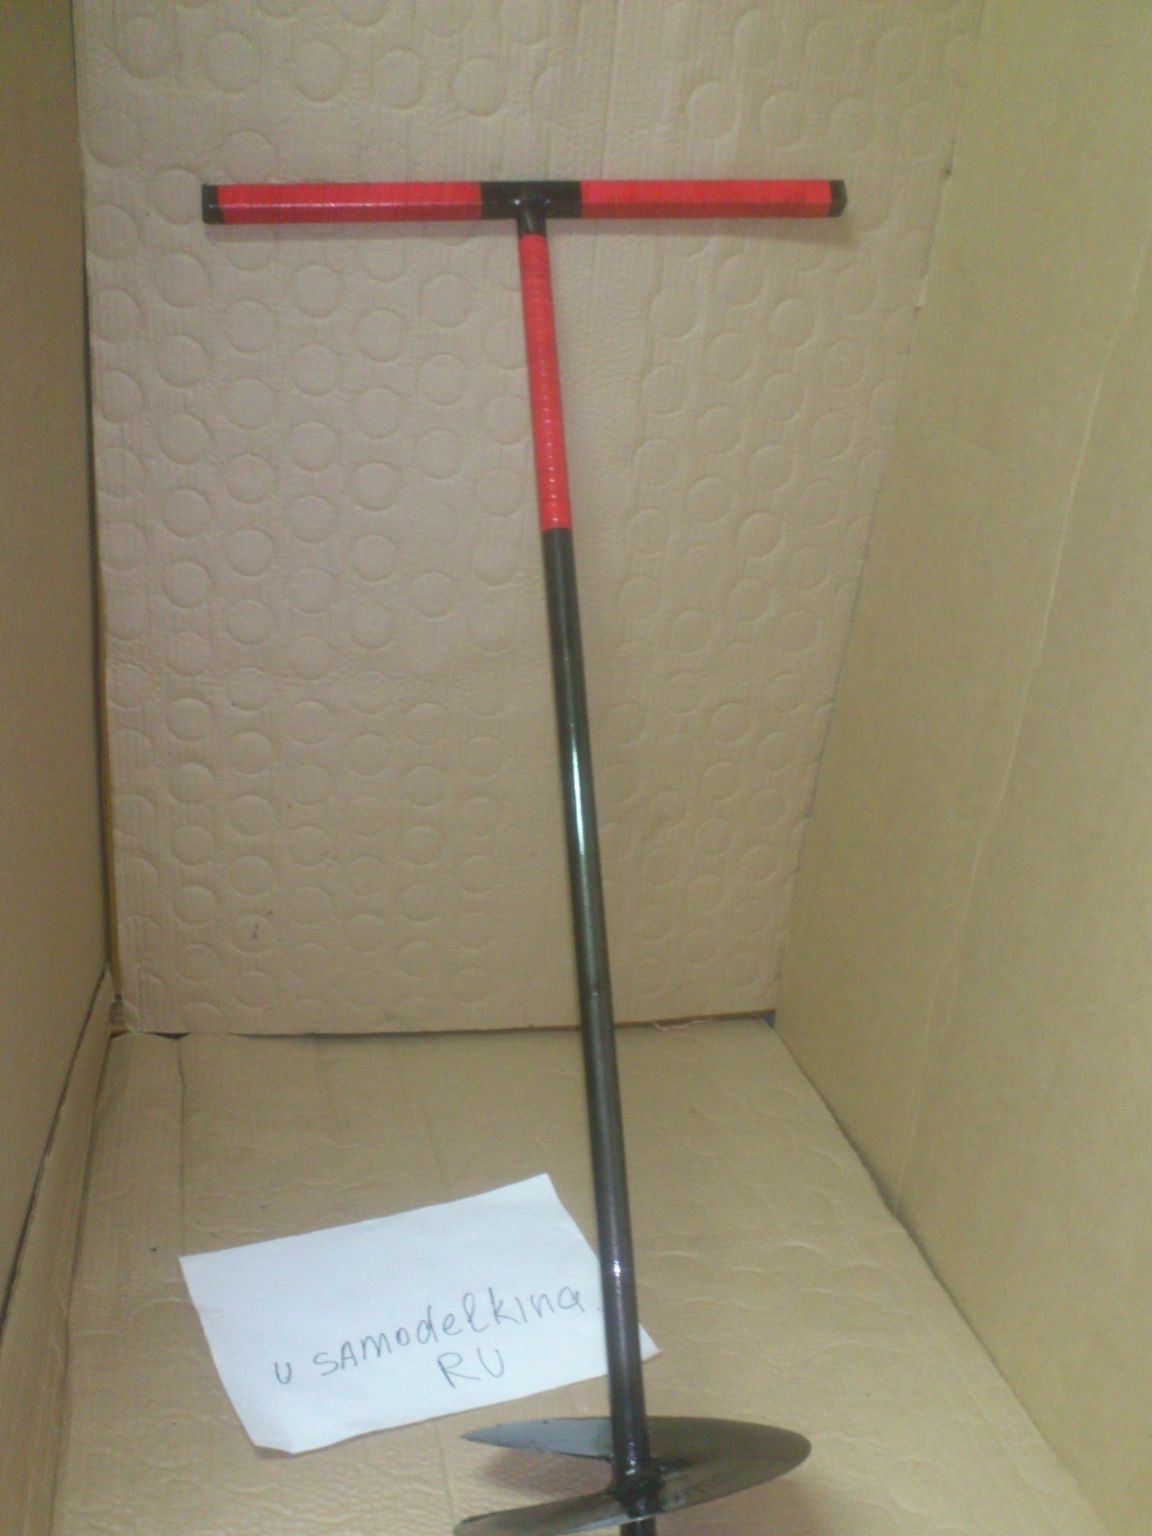
All the best! I hope someone will find this information useful!